[quote name='burton73' date='Mar 19 2017, 10:03 PM' post='2465897']
I'm running a wilwood pedal cluster too, so after test fitting i noticed that I'll need to cut into the pedal box and push them further into the cavity. The clutch master cylinder and both brake master cylinders are screwing me up fitment wise.
[/quote]
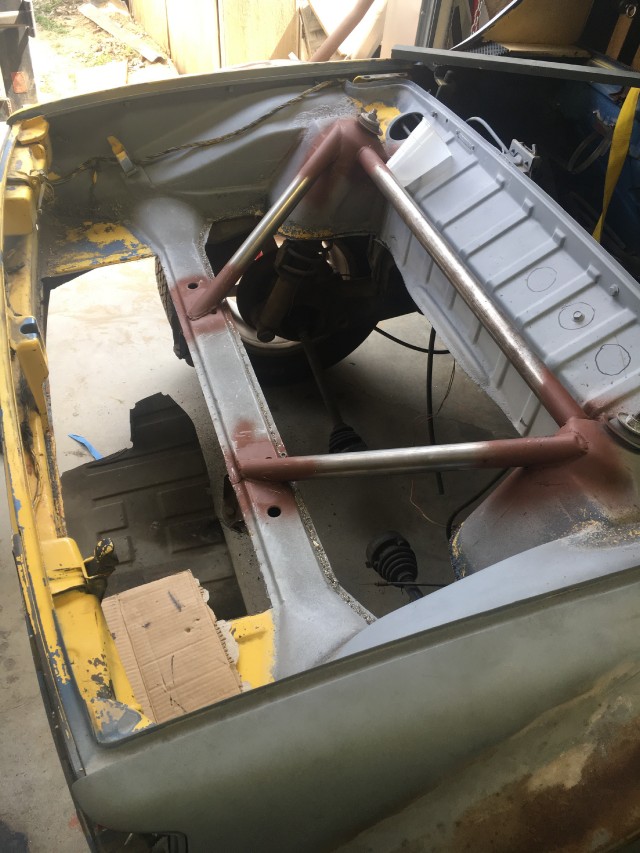
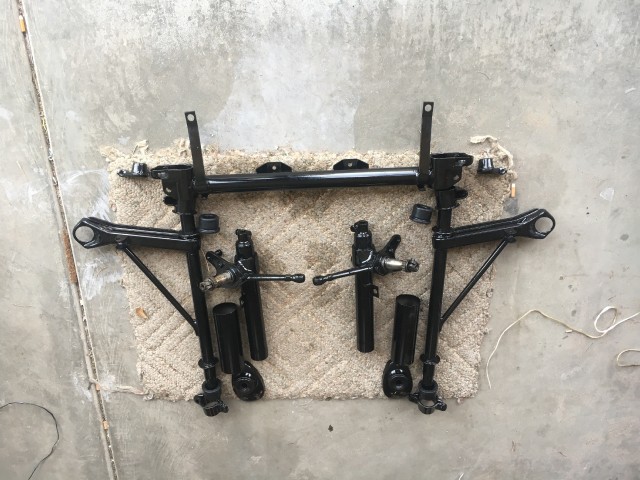
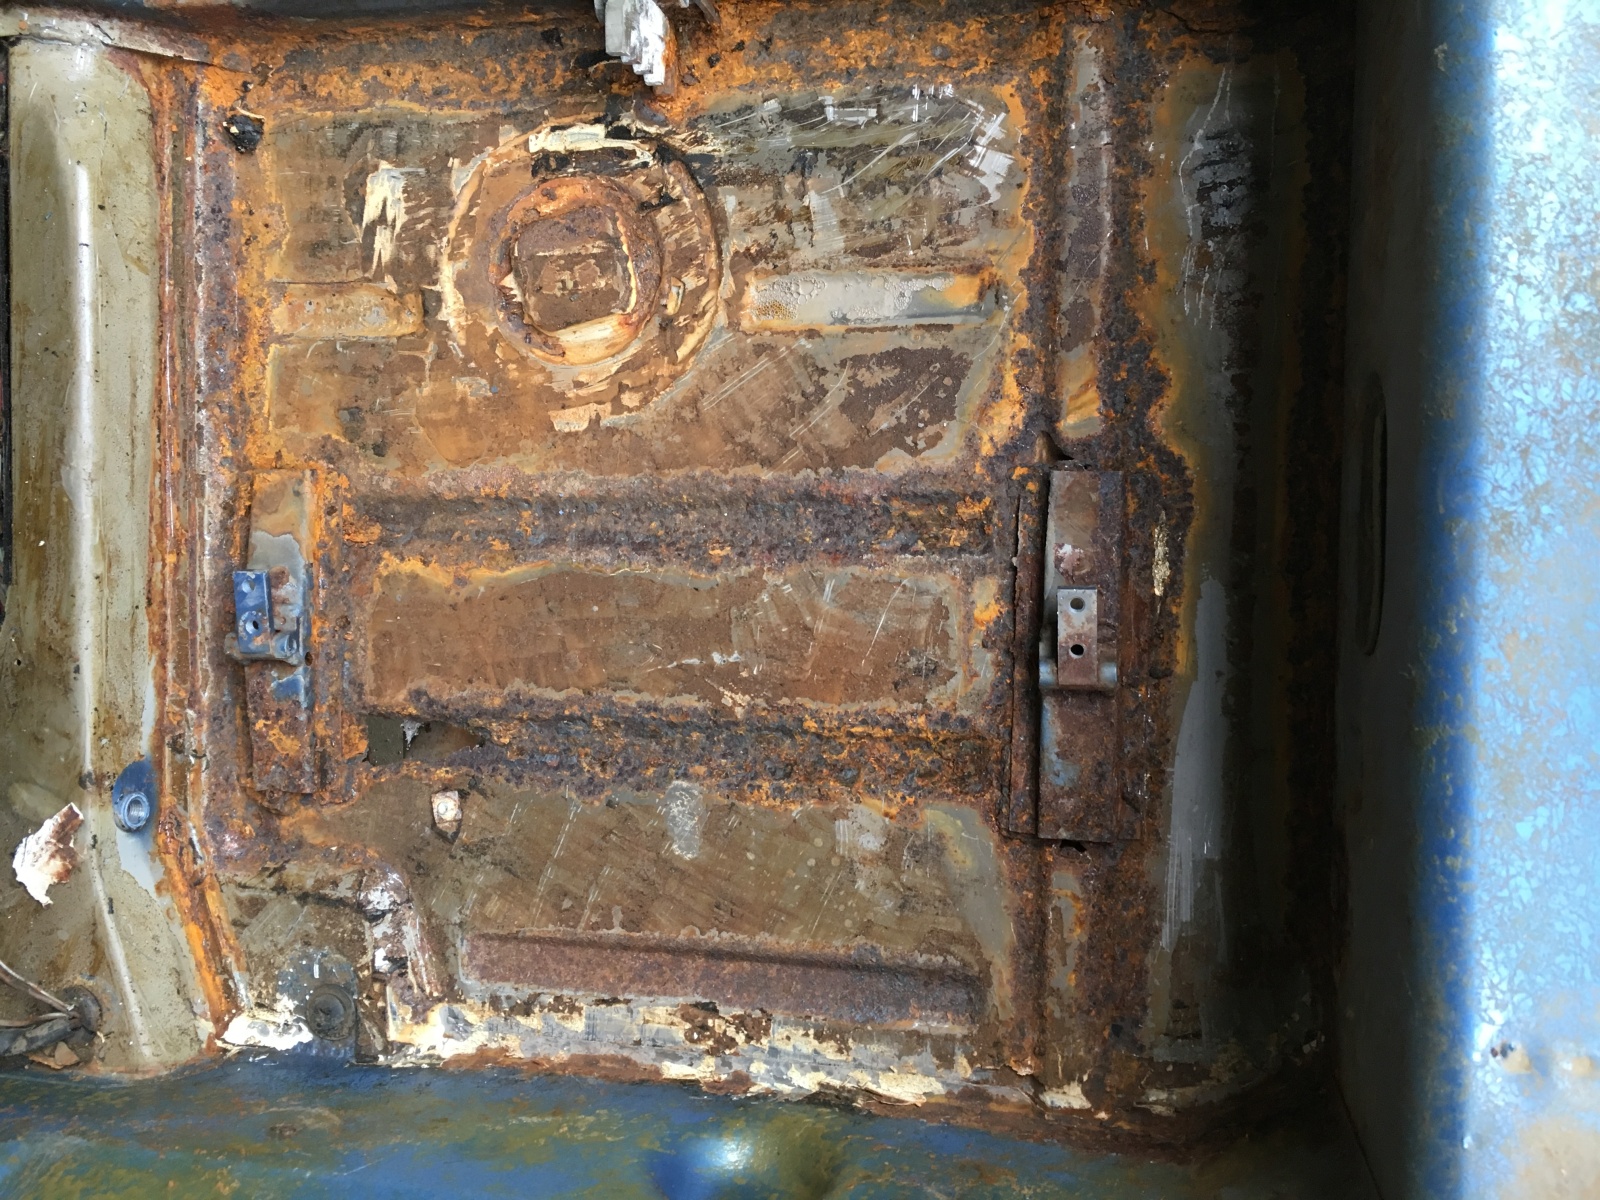
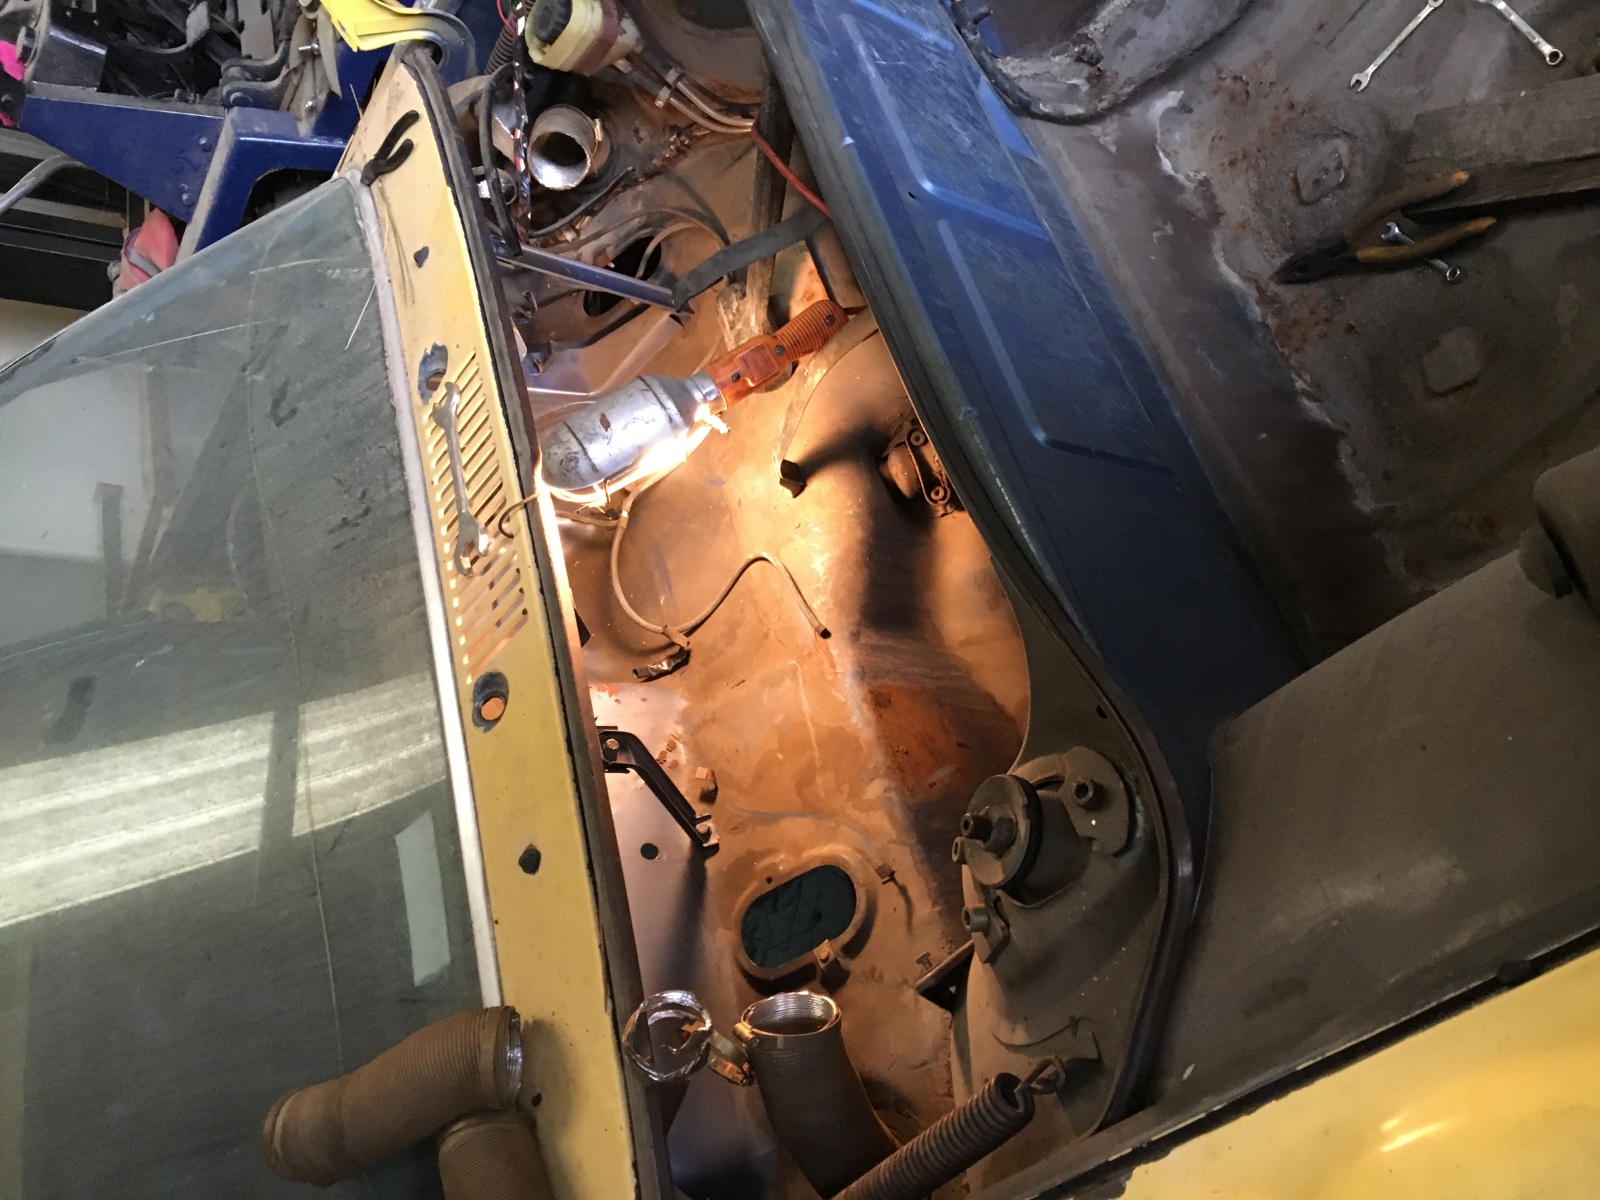
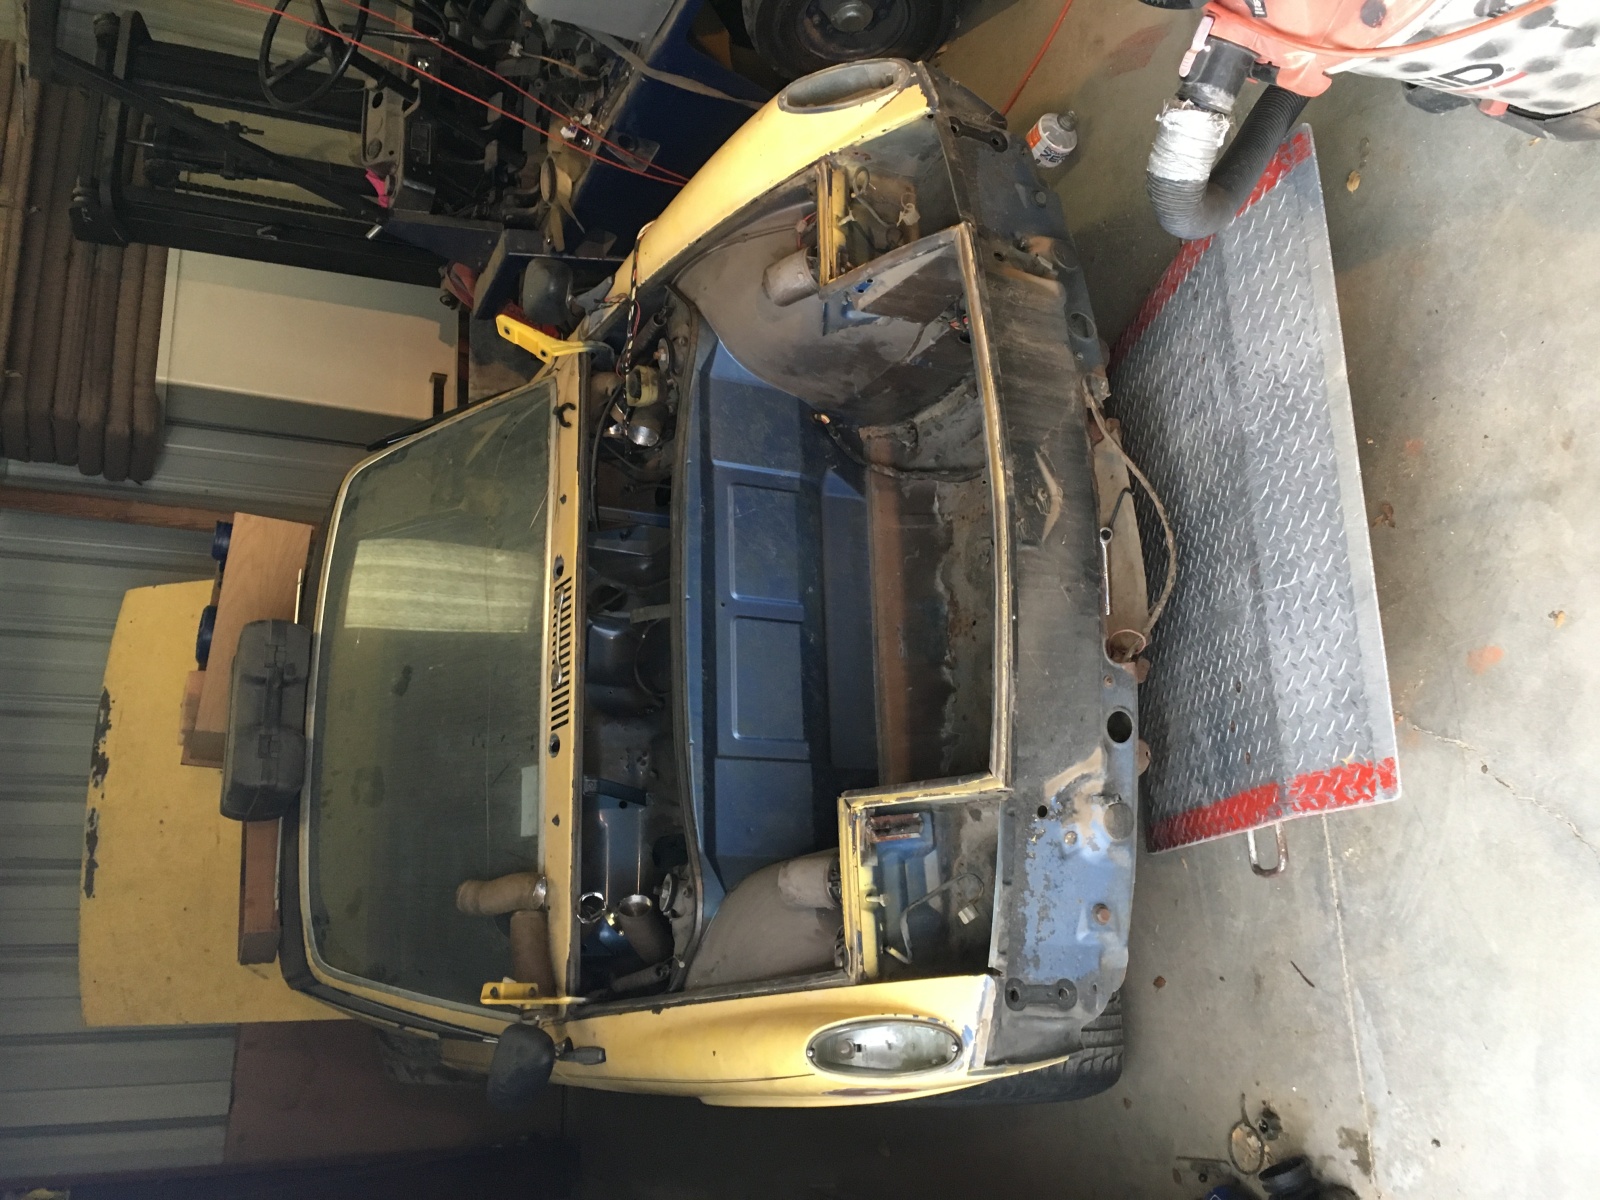
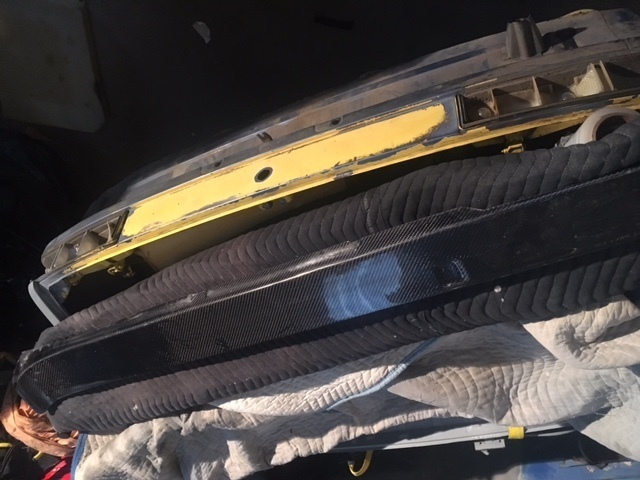
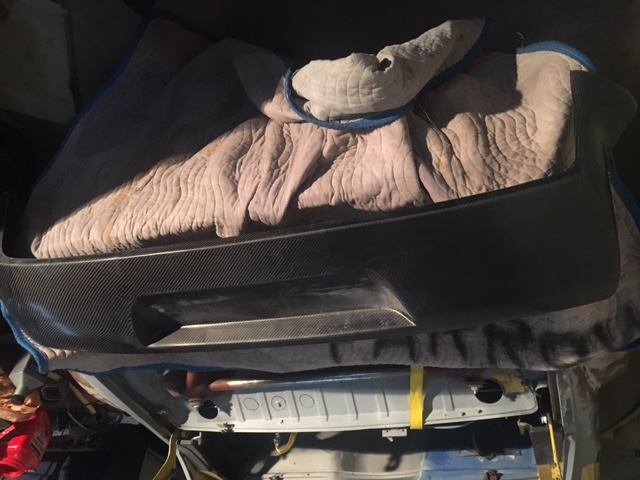
I am running Wilwood Pedal Clusters also and you have to cut into your old peddle area and weld in a piece of bent steel with the holes to fit the MC and have the Pedal Clusters bolted to it. A very kind member sent me instructions and the part several years ago. I have not finished it but you have to have a short length MC and brake Cylinders to clear the bellows on the front Steering and still have the brake lines come out. I am running a Carrera aluminum center on the steering. I have a Clutch MC and 2 brake MC for Boxster brakes. I am running a 930 Turbo trans with a slave cylinder on it.
It looks like a mess but it will all be good when I weld in the piece that I have shown. I have done test fittings and it had to go this much forward for the pedals to work. You can see the outline on the old floor where the brake cylinder was before. I am almost 6 ft. tall. There was no room before with the stock set up. Also with out the factory pedal cluster, you have to work out the gas pedal.
What are you running for an engine?
Bob
Click to view attachment Click to view attachment[/quote]
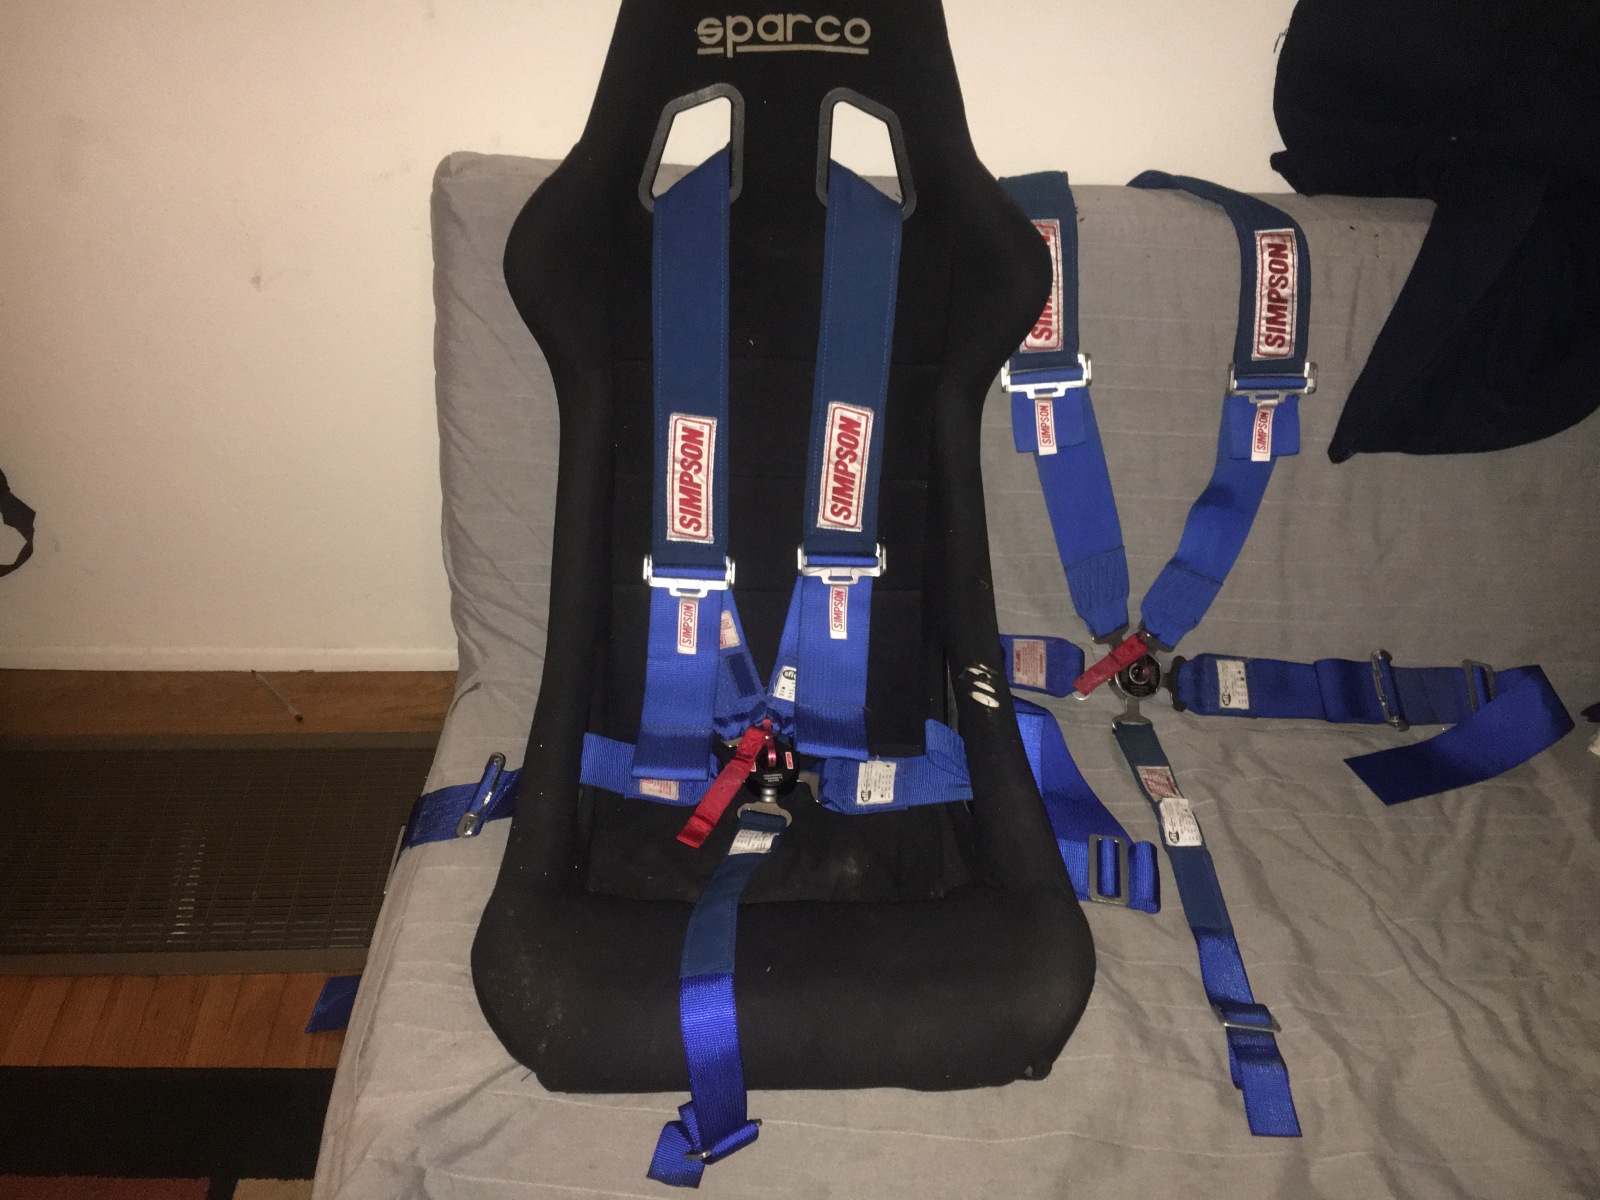
Thank you for the photos, it gives me something to go off of. Im running 2 of the small master cylinders like you have pictured. Even if i can get the whole pedal box pushed in 1-2 inches ill be fine. Like you said the steering rack does make for a tight squeeze.
I need to get my seat in the car before i make any permanent decisions.
Motor is going to be an ej20x with equal length headers, catless up pipe, 3" turbo back exhaust and a cut out for a 2.5" muffler. 1200cc five0 motorsport injectors, e85, stinger or AEM infinity ecu, frozen boosts water-air intercooler, and im sure im forgetting a couple things.


 slacker thread is in order!