Help - Search - Members - Calendar
Full Version: Hell Hole Repair Advice
914World.com > The 914 Forums > 914World Garage
defianty
I'm now working on the hell hole on my restoration/conversion. So far I've repaired a large section of the passenger side firewall and the inner wall of the long in the engine bay. I have a new RD engine shelf to go in and also a repair panel for the inner wheelhouse.

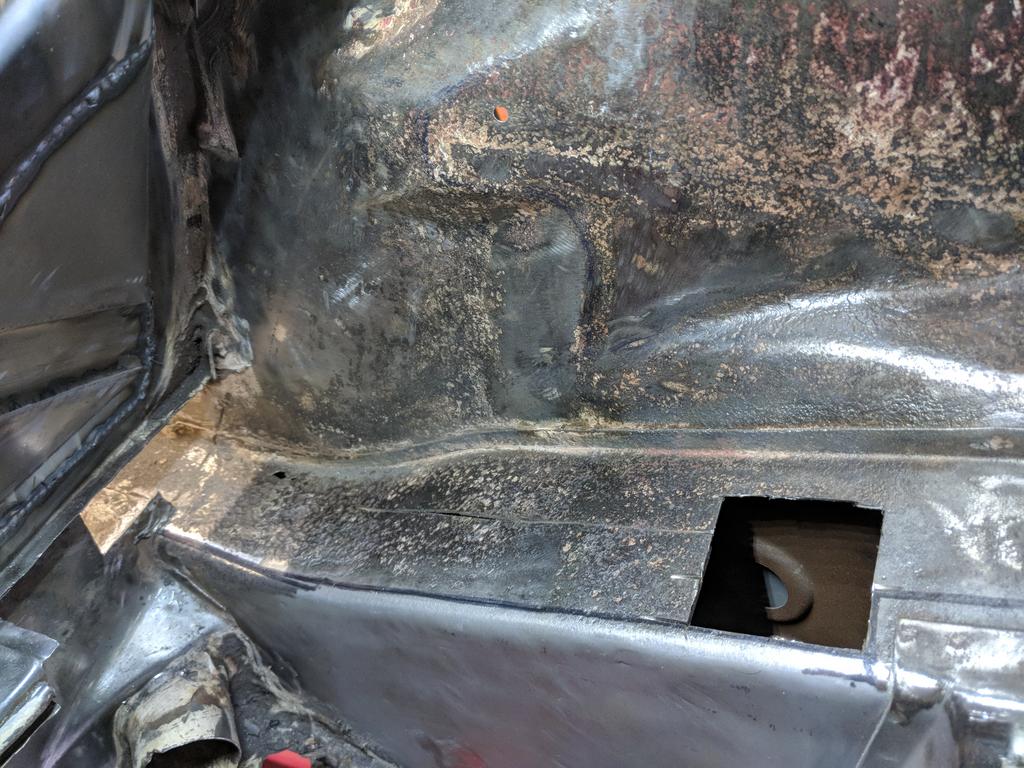
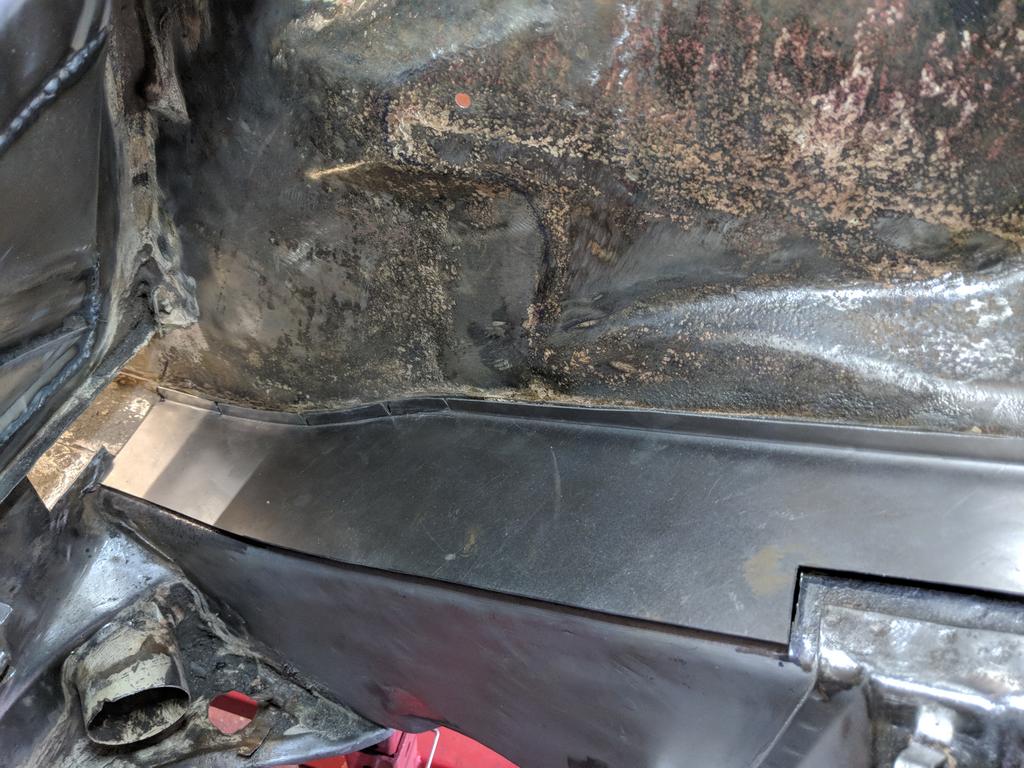
Here's where I am at the moment, just starting to cut out the rot and replace with the repair panel I've fabricated.

IPB Image

IPB Image

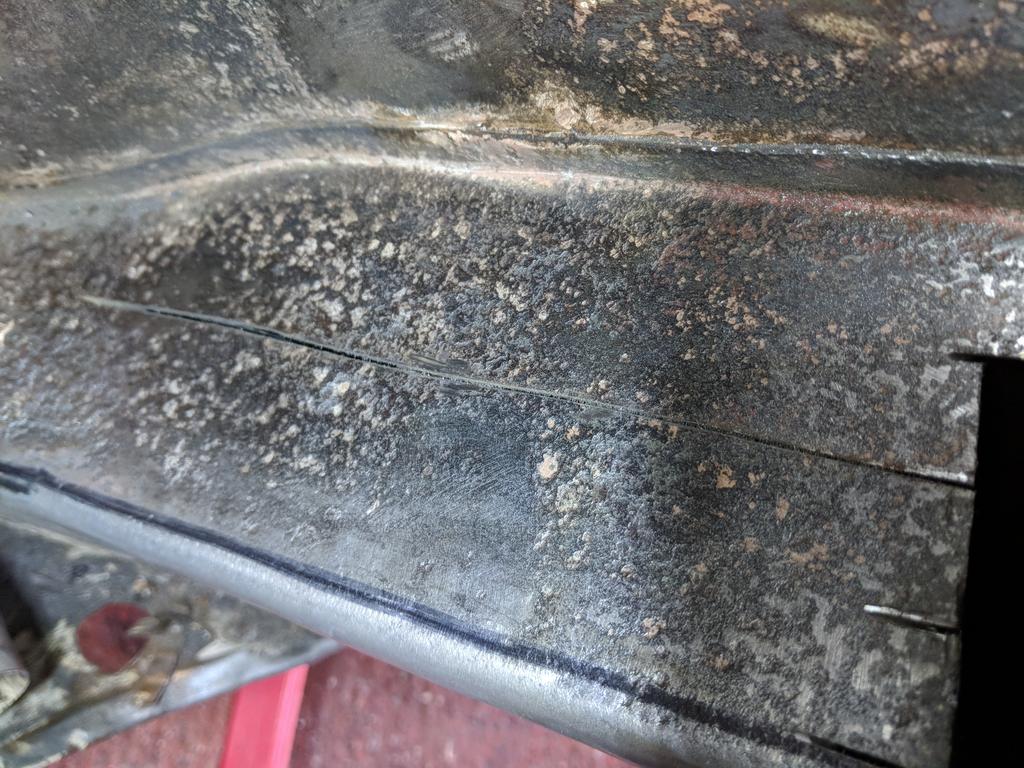
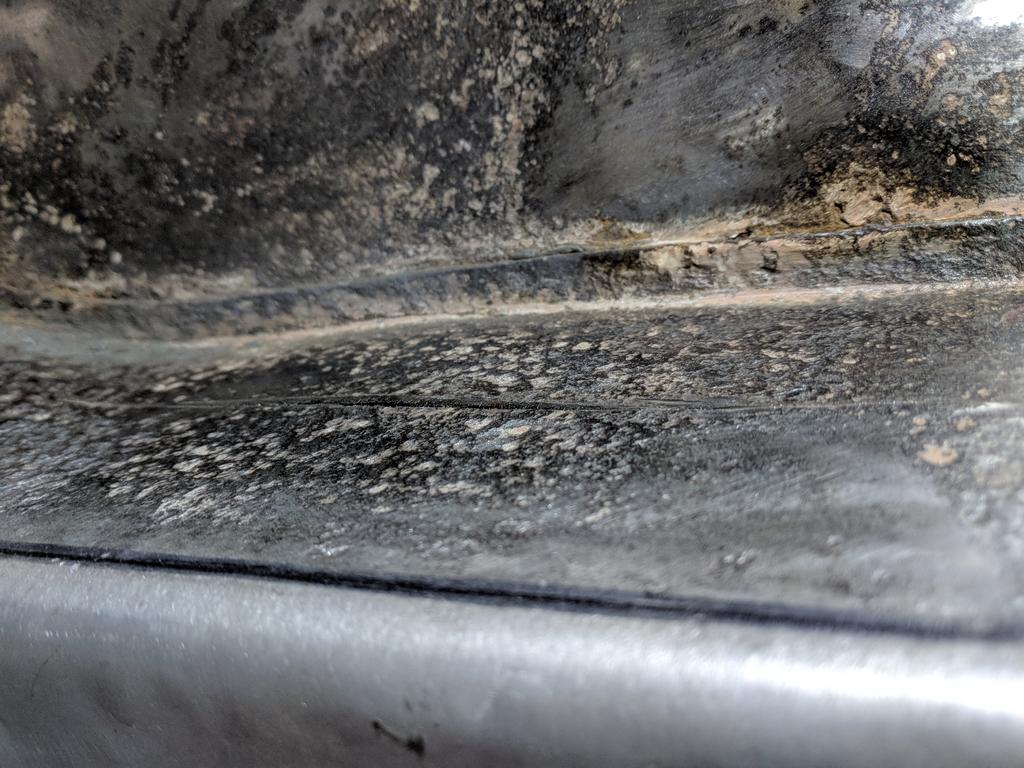
After cutting into the panel with a 1mm cut off disc it was clear the some forces were pushing to close the gap slightly after I'd finished. You can also can also see that pressure has been released and the metal has warped slightly.

IPB Image

IPB Image


This is where I am now and I thought I'd stop and get some advice. The car is on jackstands located on the four jacking donuts I also have the doors gaps well braced.

I am missing something? Safe to proceed? Your thoughts please.

Thanks.

GregAmy
You may need these:

http://www.tangerineracing.com/tools.htm

Look for "Adjustable Chassis Braces".
defianty
QUOTE(GregAmy @ Dec 5 2017, 01:09 PM) *

You may need these:

http://www.tangerineracing.com/tools.htm

Look for "Adjustable Chassis Braces".


Thanks, but the doors are already braced. Not as comprehensively as the Tangerine kit but more than good enough.
cary
The inner wheelhouse comes first. But you have to get the hell hole ramp out of the way first. Looks like you've got it on the run.
In looking at your center cut I would be safe to assume you've done the research and are aware the the ramp area is two layers. I marked the approximate locations in yellow lines. To finish the middle cut you'll need a Dremel with a flex wand and a reinforced disc. The black one. The red ones explode like a potato chip. The hardest cut is the side to side under the firewall.
Click to view attachment

Click to view attachment

After you've completed the center cut it will be time to cut out the ramp. The next challenge is locating the spot welds under all the degradation. Don't try and be a Super Hero and try and take it out all in one piece. Less is More. I'm pretty much going with Rick's chisel method on spot weld removal. Thin the removing/discarded portion with edge of the cutting disk or the round end of my 3/8" air belt sander. Then work it with multiple wood chisel. If it doesn't pop off. Go back and thin the top again. Once again less is more.
Click to view attachment

defianty
Great thanks Cary.

That's perfectly clear now. Despite seeing this repair a hundred time until today I never realised it was double skin in that area. Hence my mistake cutting that little inspection window. That can be fixed, no problem.

Clear on how to proceed now, thanks.
cal44
Before you start the stitch welding process, make sure all the metal is clean. Power buff with a cup brush and stringer brush then in tight areas use a Dremel with brushes.
A nice couple of swipes with medical alcohol will tell the story on a white paper towel.
I reckon you have removed all damaged old metal?

Now get to weldin'

This is a "lo-fi" version of our main content. To view the full version with more information, formatting and images, please click here.
Invision Power Board © 2001-2024 Invision Power Services, Inc.