I prefer most often to lurk, but after a spin to a nearby autobody shop about filling in some rock chips on the rear fender flairs of the clown car netted me a 13,500 estimate, I've been a little on edge for rust. This morning I set out to change the clutch cable which had snapped last weekend. As I was getting myself situated I noticed some of the undercoating seemed more...flaky than usual.
I moved my finger towards it, brushed it and off it came! along with another small piece. I was now staring in disbelief at a mixture of pink body filler and carpet. OK! I told myself, this seems relatively minor, let's just clean the area, I can fix this, maybe not the best way, but I can!. That was five hours ago. As I worked I realized I needed to see where the damage was on the interior, so I removed the carpeting. Once again, I spied a familiar orange tinge... under the urethane installed at the factory. I started working with a chisel and hammer. What was a small hole was in fact a seam running along and right up to the driver's side right seat bracket. The concrete below glared at me menacingly.
The clown car (my 914-6) was the result of an venture from a forum member offering turnkey restoration of 914s. I have no interest in flaming or anything mean, so I will not say who, and that's not a challenge either, since frankly all of this was beneath urethane, and said individual cleaned, primered and properly painted surfaces all the way to the old urethane on the floor pans. but it is worth mentioning because rather than spiral down the inception styled road of 'oh god I'm doomed, DOOOOOMMMMED!' I sat back and thought about what they -had- restored and what I had to go back and work on. The interior of the door panels was rusty, I sanded, sealed with POR15, clear coat has a craze to it, but stable and looks fine. Small side sail bumps. Originally thought body filler, probably tin worm, but unlikely to fail while driving and drag me half out of the bottom of the car. Longitudinals, hell hole both extensively reviewed during restoration, both are clear. I don't see bubbles all over the car, and the 13500 was with a note saying "we don't serve yer kind round these parts try these guys since they do antiques" from a shop filled with classic american muscle cars and more of a 'get lost' message, which I understand because scope creep is real.
I want to believe this is one of those typical stories where I don't wind up with the Porsche 914 equivalent of "you have died of dysentery" on the Oregon Trail PC game, but I also have to face up to the fact that I will have to acquire new front and rear floor pans. Happily they can be ordered from Pelican without much fuss (the available weld in panels for the 914 is really REALLY a reason I love them in an odd sort of way.)
I know I have to invest in a welder as I lack the skills. I want to prepare the area as best as humanly possible because A.) I believe in being a good steward and B.) I'm afraid while I'm happy to pay for their services, I am cheap and would prefer to do the prep work myself.
Advice (maybe prayers?) is/are appreciated, but I will be searching threads and educating myself accordingly as I know I need to. in the meantime, here's some NSFW Porsche Floor pan gore;
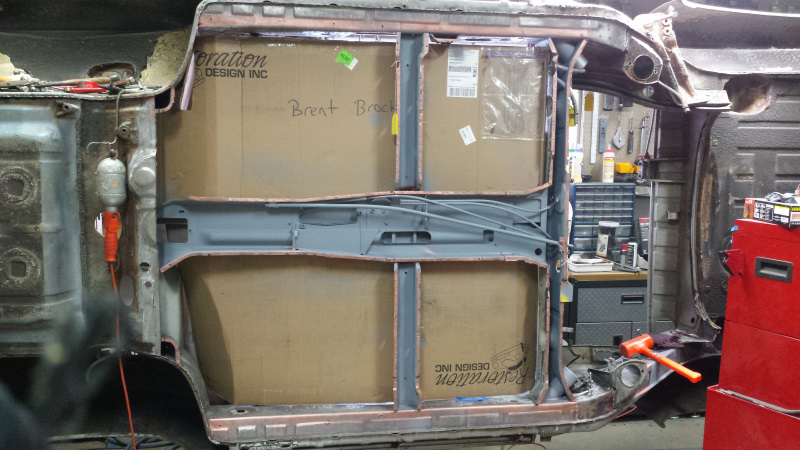
Click to view attachment
the initial discovery and early cleaning
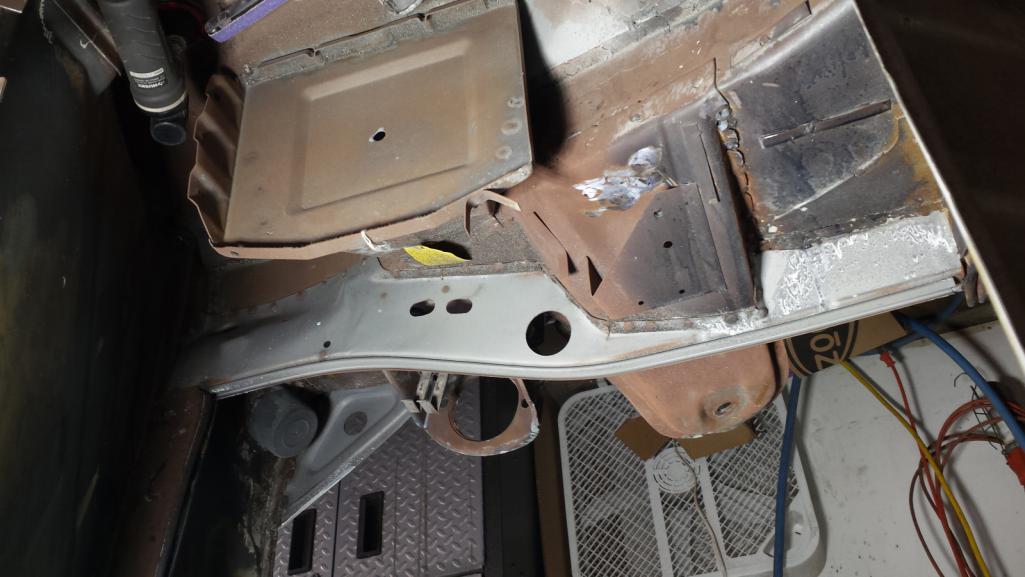
Click to view attachment
The point at which I realize I should probably look at the top end of things.
Click to view attachment
because regrettably I am a millenial, I wanted to show off my PPE for working with fiberglass and sanding.
Click to view attachment
The moment my heart sank, the colour drained out of my face, and I had to go have a little sit down.

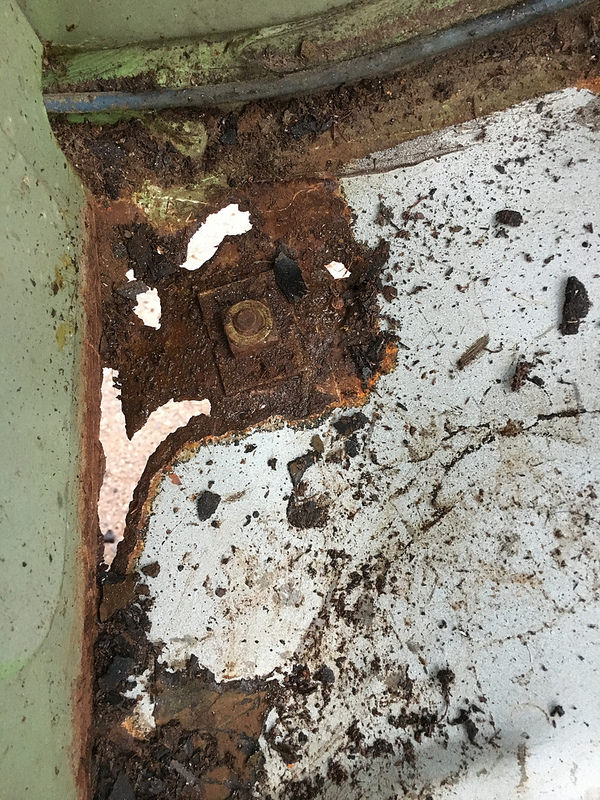
Click to view attachment
This is the extent of the rot. You can see the garage floor clearly a menacing glare fixed on it's eyeball-less face :E! I wont blame the consumption of Hubert's lemonade, wait, no, yes I'll blame it for the rust after all!
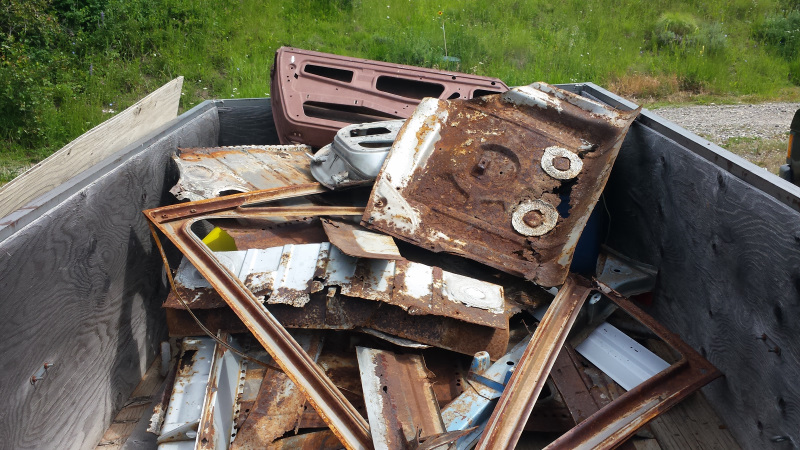
Click to view attachment
The start of (and at which point I realized that the floor pans were toast on both sides) the surface rust on the other side.
I'll admit it was heartbreaking to discover. I wanted to give up and throw it all away, sell it and be done with it. But then again, new front and rear floor panels are made for a reason, and the last undiscovered country (Star Trek) both my father and I were starting into was body work in the last couple years. I'm hoping I'm not right thinking this will require the selling of one of both a kidney and a lung, frankly I have no idea, though (in a phrase I use talking with my employers often) I look forward to the opportunities it will afford me moving forward. Bonus points here in how my dad managed to cause the usual reaction that always happened when there was a setback and he had to tell mom one last time.


 I don't have a picture of the trunk metal, but it is -surface- rust so I know with some effort and no welding, I'll be OK. The usual 'boy it's a good thing you brought it to us, because this, this, and this was also wrong, but we done gone fixed it fer ye!' situation


 . There's a lot of rust there, like night and day difference between here and the passenger's side.
 Especially since I'm starting with the big ugly floor pans.
