Help - Search - Members - Calendar
Full Version: 1973 Rusty Subaru Conversion Restoration
914World.com > The 914 Forums > 914World Garage
CamWilson
First off, let me say hello to everyone here. I've been lurking for quite some time and have very much enjoyed following so many of your restoration threads.

Life and work are finally at a place where I decided to bite the bullet and go get my own 914 - and I'm afraid it's going to be quite the challenge.

Details on the car: 1973. Engine is a 2.5L subaru that's mated to the original 5 speed trans via some kind of kit/adapter plate. The engine runs - but barely. It's got quite a few OBD2 codes and it seems to me as though the spliced up wiring harness the PO created has a few issues.

Interior: Nothing installed in the car, but seems as though 70% of it is included in the boxes of parts that came with the car.

Chassis: Seems as though someone did a partial restoration on this one quite a few years ago. There are a few areas where signs of sheet metal repair can be seen. I basically can't tell what I'm getting into. Could be good - more likely it'll be a bunch of stuff that needs to be removed and then reworked.

Pics:

IPB Image

IPB Image

IPB Image

Hell hole area - you can see the old patching work

IPB Image
Interesting routing of coolant hoses. Plus, pretty sure that's exhaust pipe being used to route the coolant.

IPB Image
IPB Image
IPB Image
CamWilson
Getting into the car to see what kind of shape she's really in. Started on the front end one evening just because I figured it'd be low effort.


Pulled the trunk seals off and found the usual rust in the channels.
IPB Image
IPB Image


Pulled the headlight assemblies out - not great, but not horrible either.
IPB Image


Not pictured: removing the turn signals and side markers. No drama in those areas.


The next morning I started on what I expect to be the meat of the job.


Step one, remove the motor

IPB Image


Step two: Inspect.


Upper firewall is perforated in multiple places. It's been patched over with some kind of very hard rubber compound. I started grinding some of it off with a flapper wheel but stopped to go buy a respirator. The stuff is tough though and I'm not looking forward to getting it all cleaned up.


IPB Image

A closer look at the perforated upper firewall (passenger side)


IPB Image


Interestingly (to me at least) the lower firewall is all in good condition.


Old sheet metal patches spot welded into the hell hole as well as onto the passenger side motor mount


IPB Image


Suspension console. Missing the sheet metal ledge that previously ran around the edge of the engine bay, but otherwise looks okay.


IPB Image


Awkward angle shot of the drivers side hell hole area. Most of the discoloration you're seeing on the firewall in these pics is from an aerosol adhesive that the PO used to mount sound deadening material.


IPB Image


I'm going to go get these areas all cleaned up and will post a few more pics once I know just how bad it is.
76-914
Congrats on your acquisition. You'll be busy for awhile. I didn't see the ECU. Does it use a MicroSquirt or factory ECU. welcome.png beerchug.gif
Tdskip
Welcome!

She looks pretty solid, think you are off to a very good start there.
CamWilson
QUOTE(76-914 @ Dec 19 2018, 08:49 PM) *

Congrats on your acquisition. You'll be busy for awhile. I didn't see the ECU. Does it use a MicroSquirt or factory ECU. welcome.png beerchug.gif


Factory ECU - for now at least.
effutuo101
There are vendors in the VE Subaru form that can sort out the wiring harness for you and make it very clean. Then some fixes on parts and you should be good!
It looks like you have a great project. Keep us posted!
76-914
QUOTE(CamWilson @ Dec 20 2018, 05:23 PM) *

QUOTE(76-914 @ Dec 19 2018, 08:49 PM) *

Congrats on your acquisition. You'll be busy for awhile. I didn't see the ECU. Does it use a MicroSquirt or factory ECU. welcome.png beerchug.gif


Factory ECU - for now at least.

I run the factory ECU too and have never regretted it. Keep the OBD port. It's nice to have when troubleshooting. beerchug.gif
CamWilson
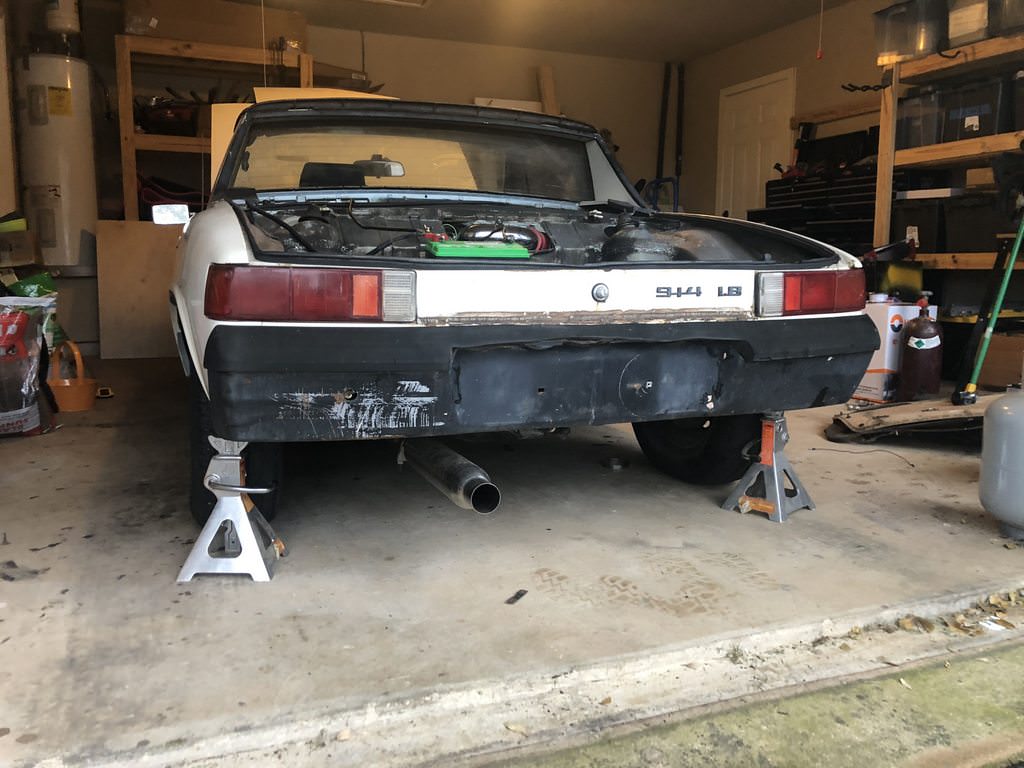
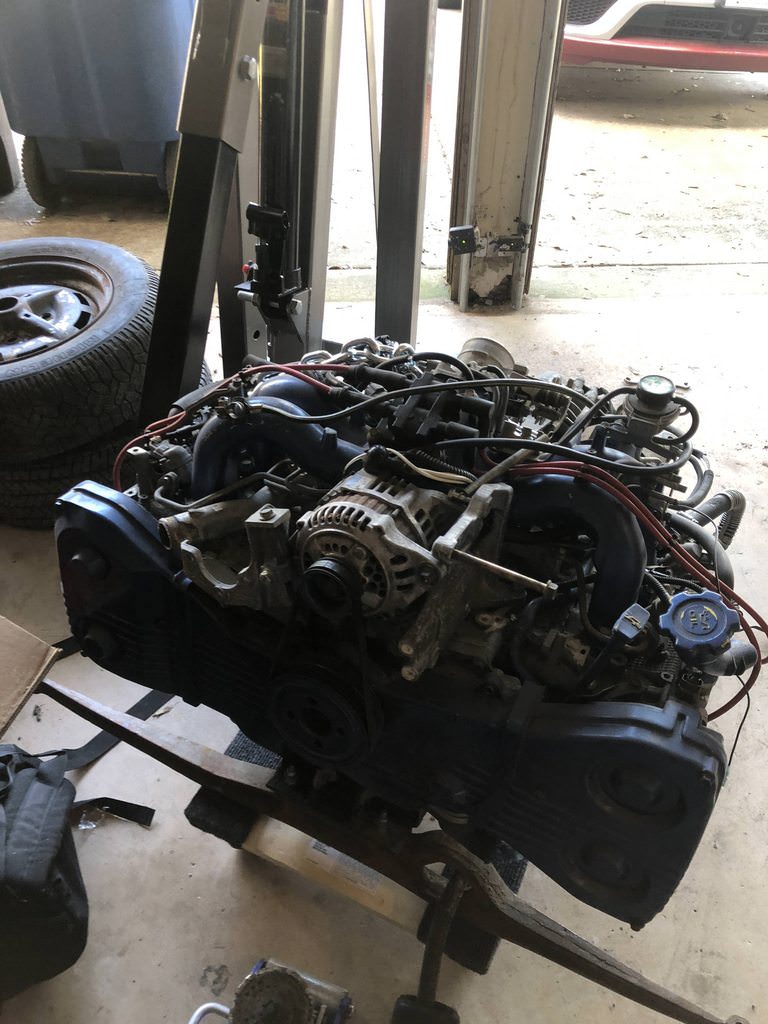
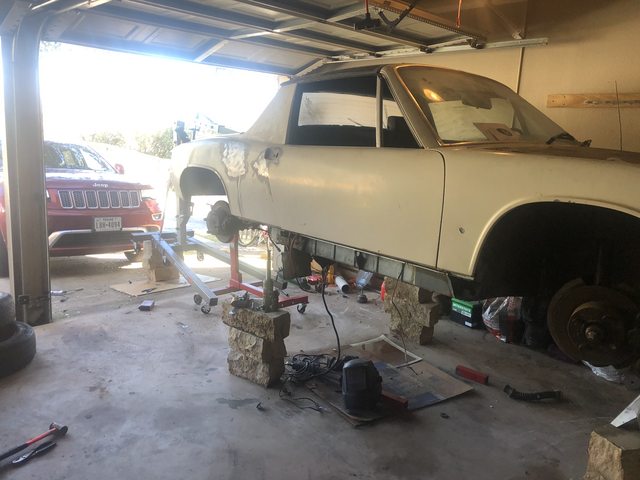
It took me a few days, but I got the car up onto the rotisserie (which I first had to build). I went the cheater route and built the entire thing out of HF engine stands. 4 stands (all purchased during their holiday sales) turned into two uprights and two bumper bars. Lots of cutting and welding, but it was easily accessible and now its done (you can see the engine hoist in the back there that I had to use very creatively to get the car up on stands by myself

IPB Image

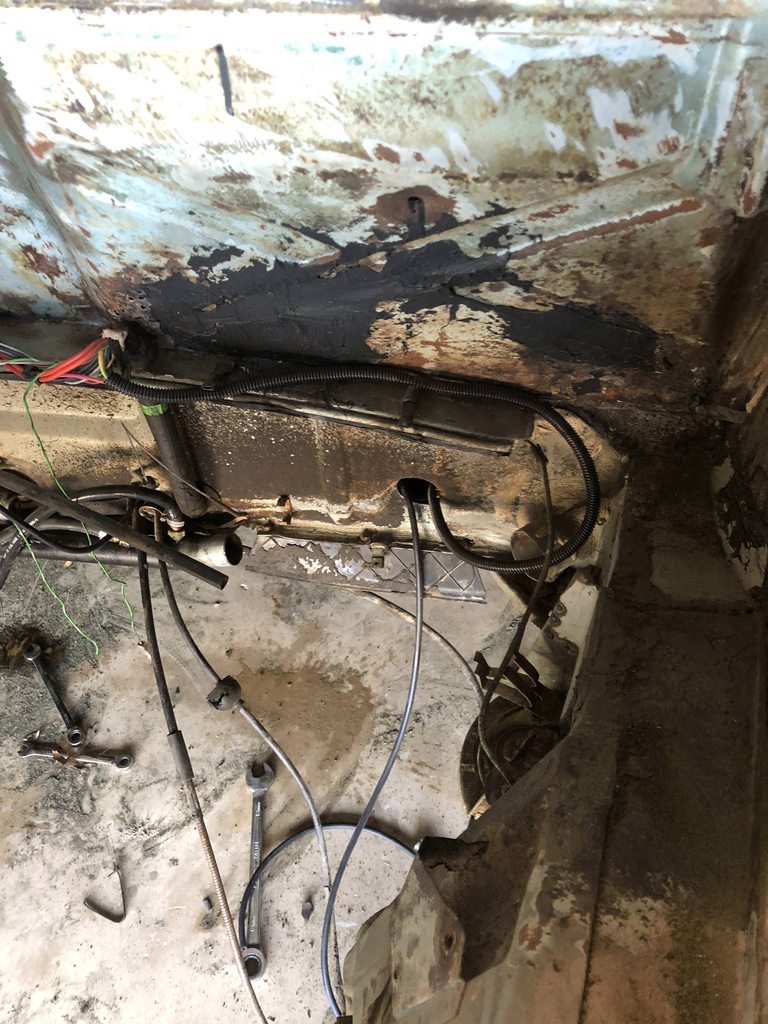
With that done I set about further inspecting the rust. Starting in the hell hole I got to work on removing the old patches.

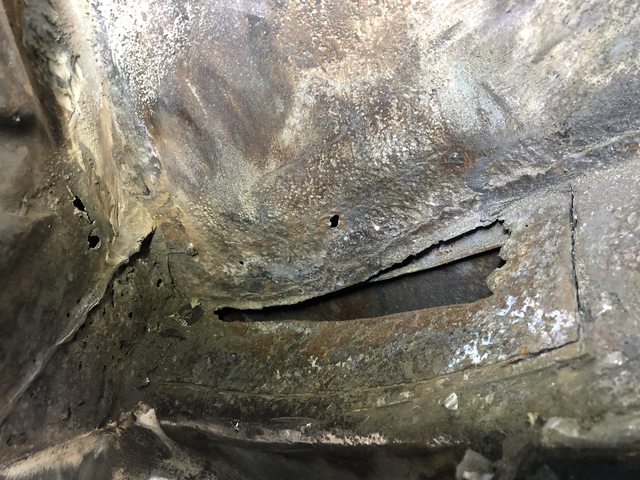
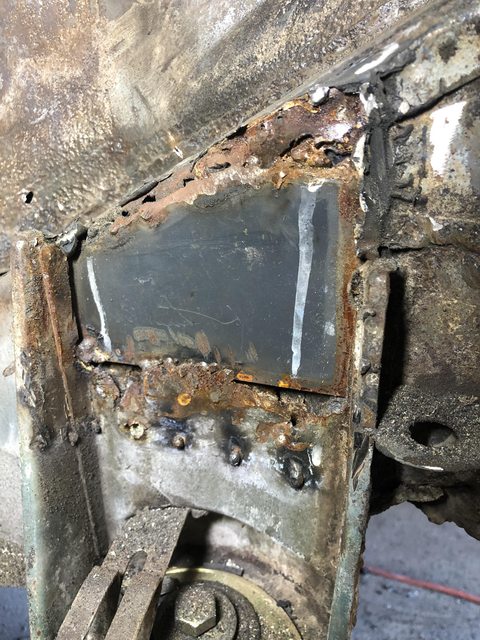
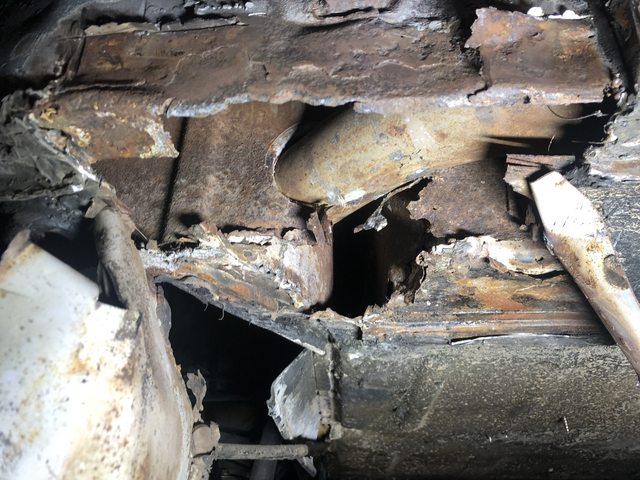
Good sized hole right at the hell hole spot

IPB Image

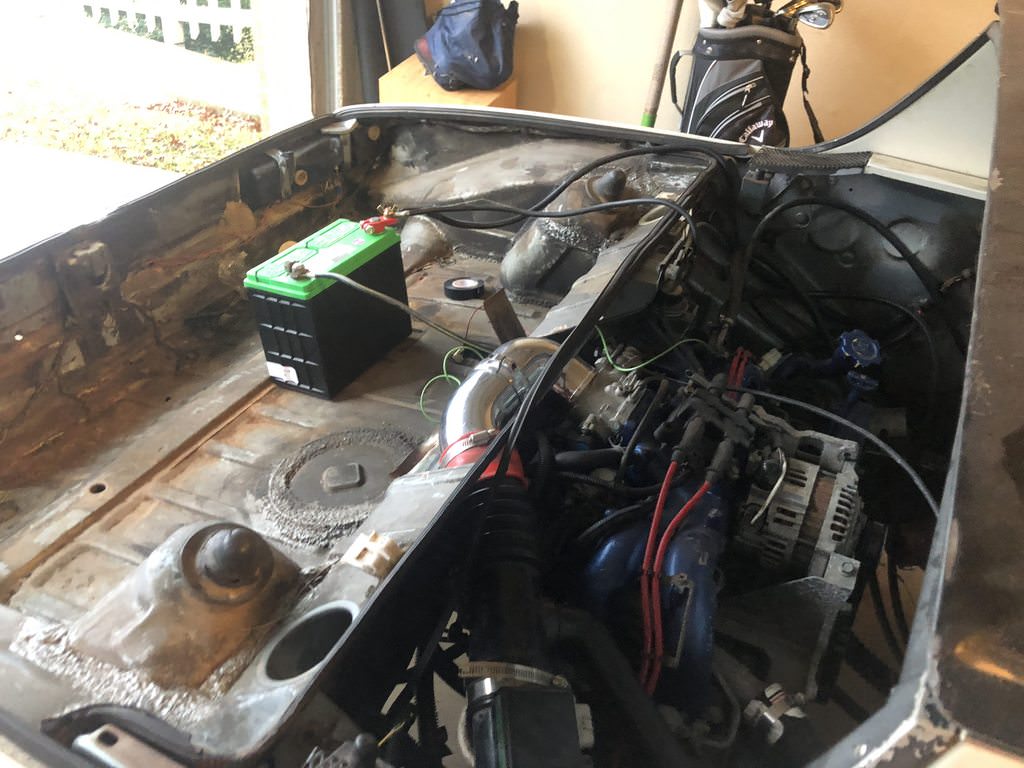
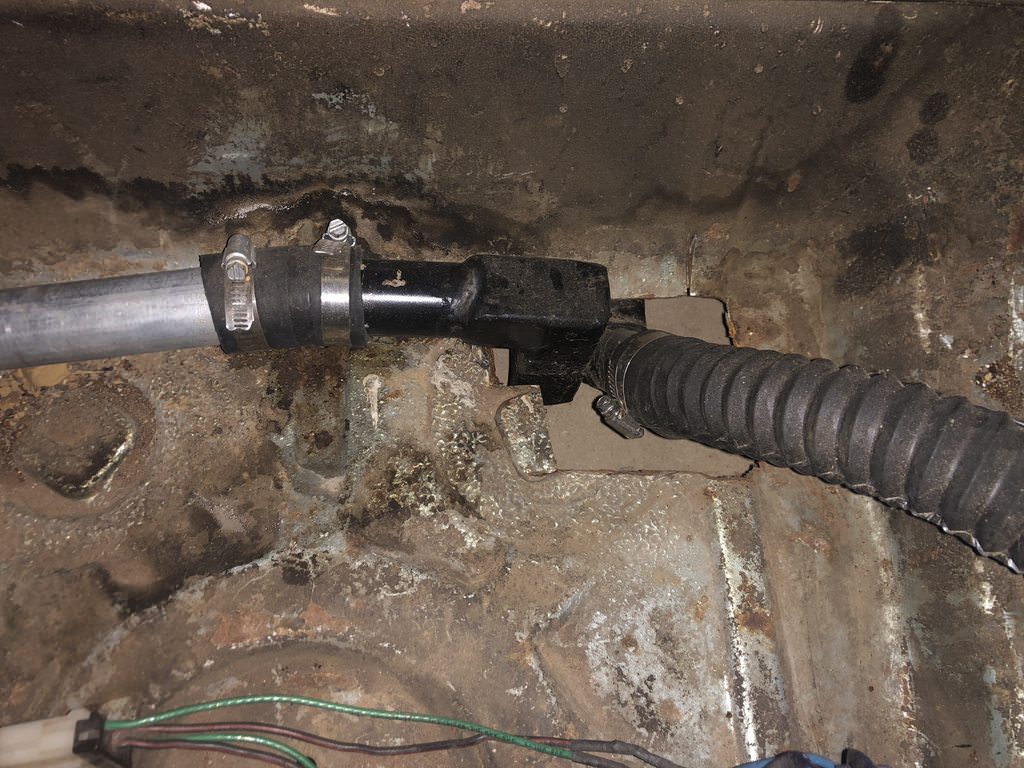
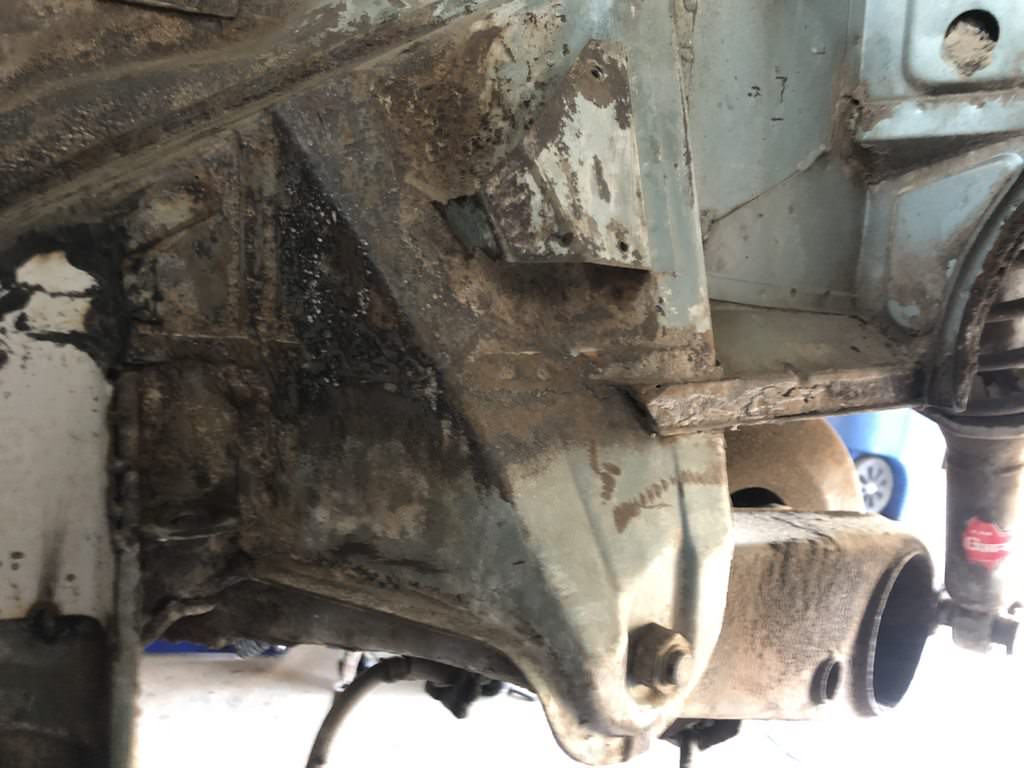
Some more creative patch work by the P.O. - some 3/16 steel spot welded into the engine mount.

IPB Image

Now I've seen plenty of you guys on here replace the suspension console - but I haven't seen too many engine mount replacements. More worryingly, I can't seem to find any for sale. Cross the bridge when I come to it I guess.

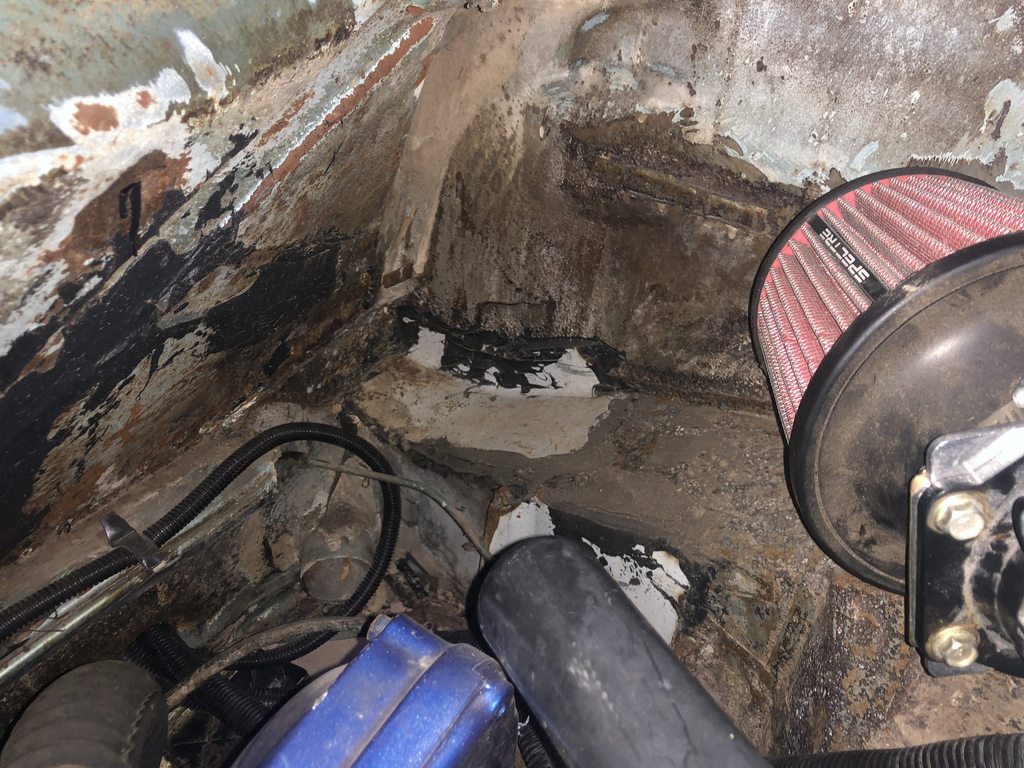
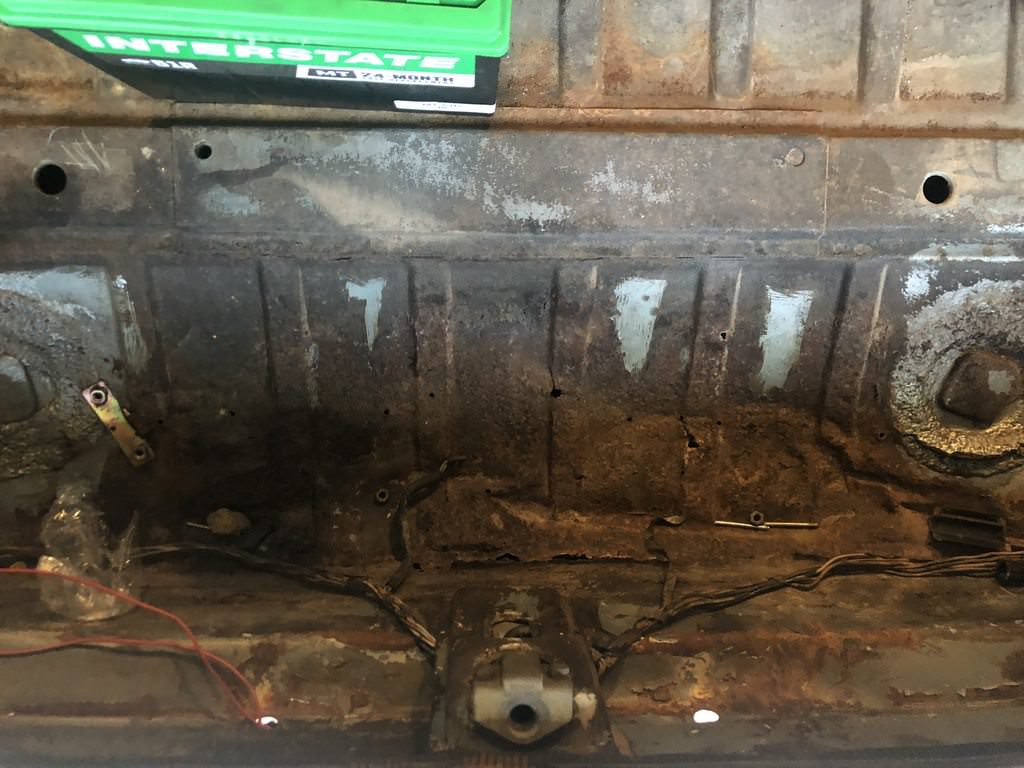
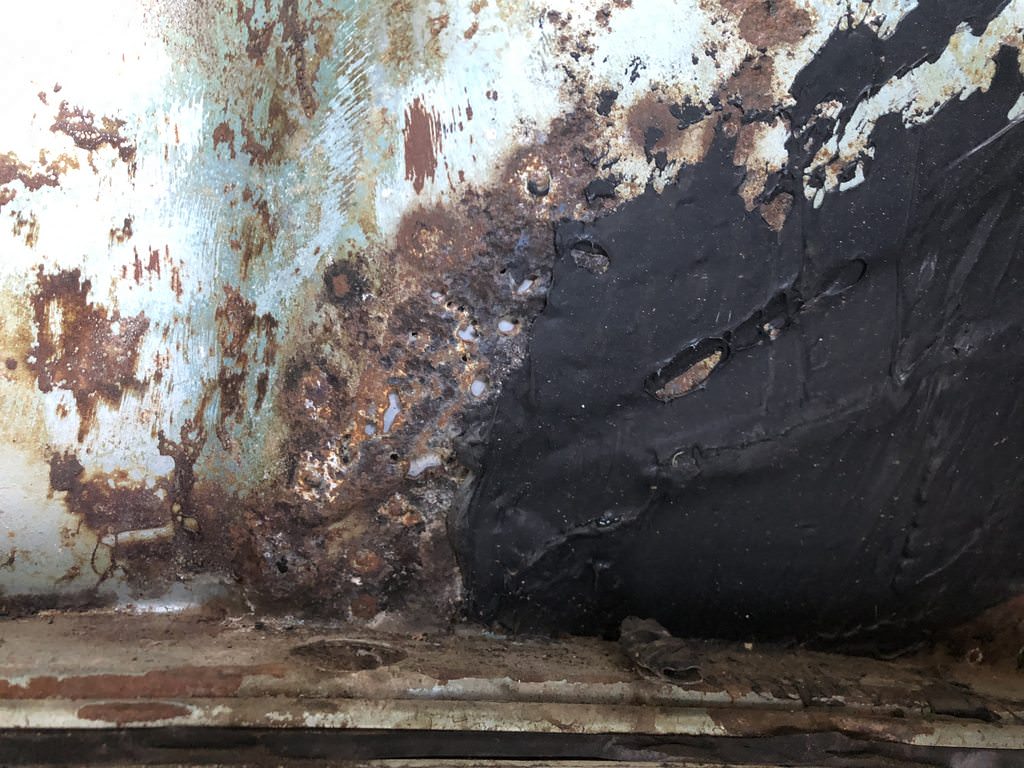
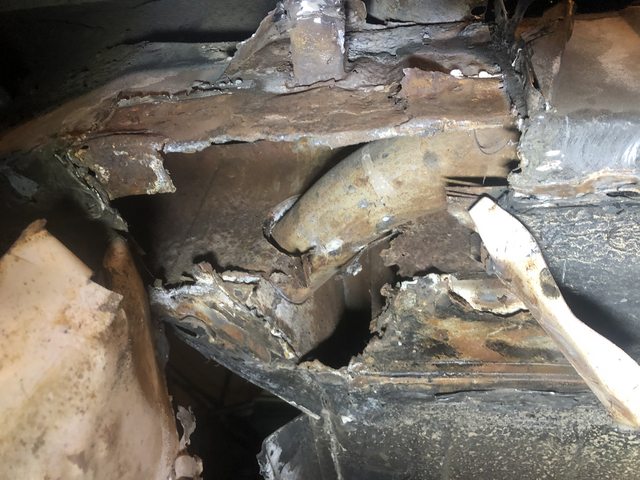
I pulled off that 3/16 steel and this is what was left behind it.

IPB Image

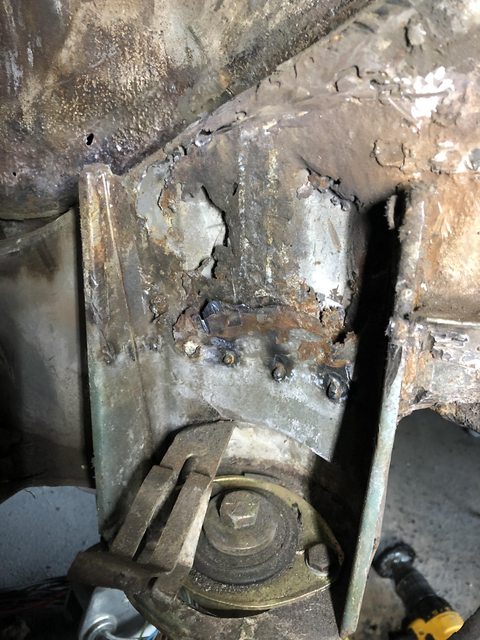
Definitely going to have to get that motor mount off in order to replace all the sheet metal behind it.

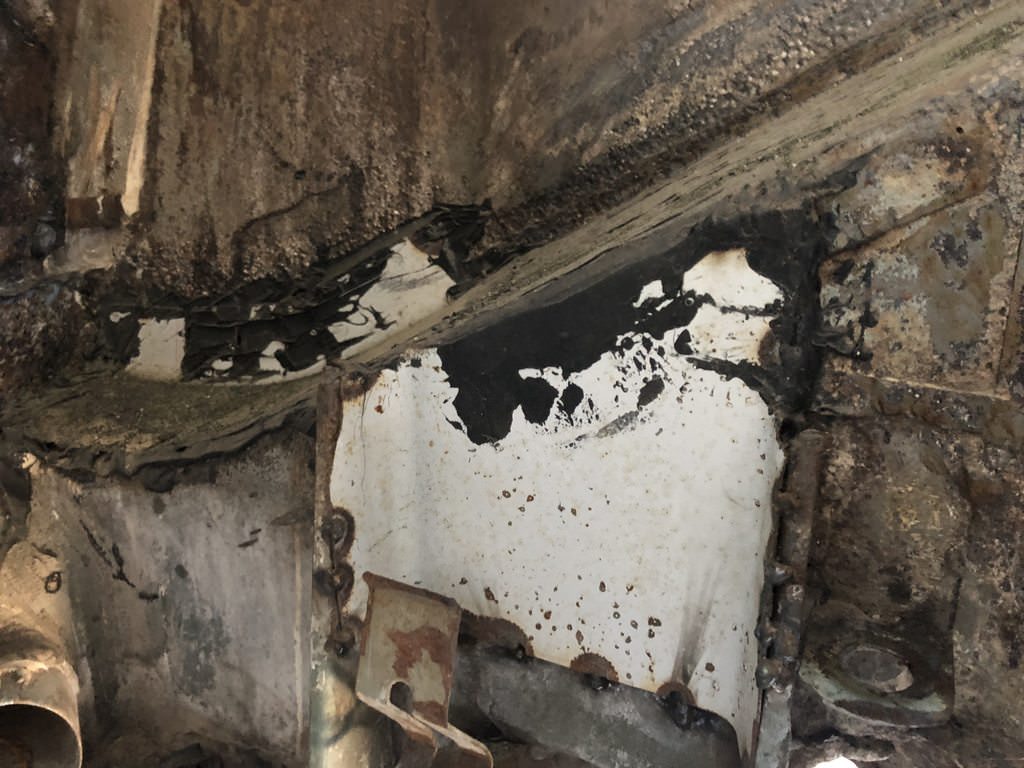
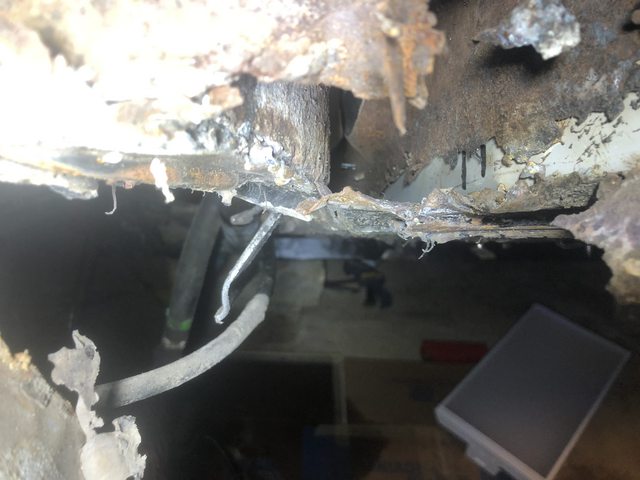
Next was onto the jack post area, and this is where my day got really truly crappy.

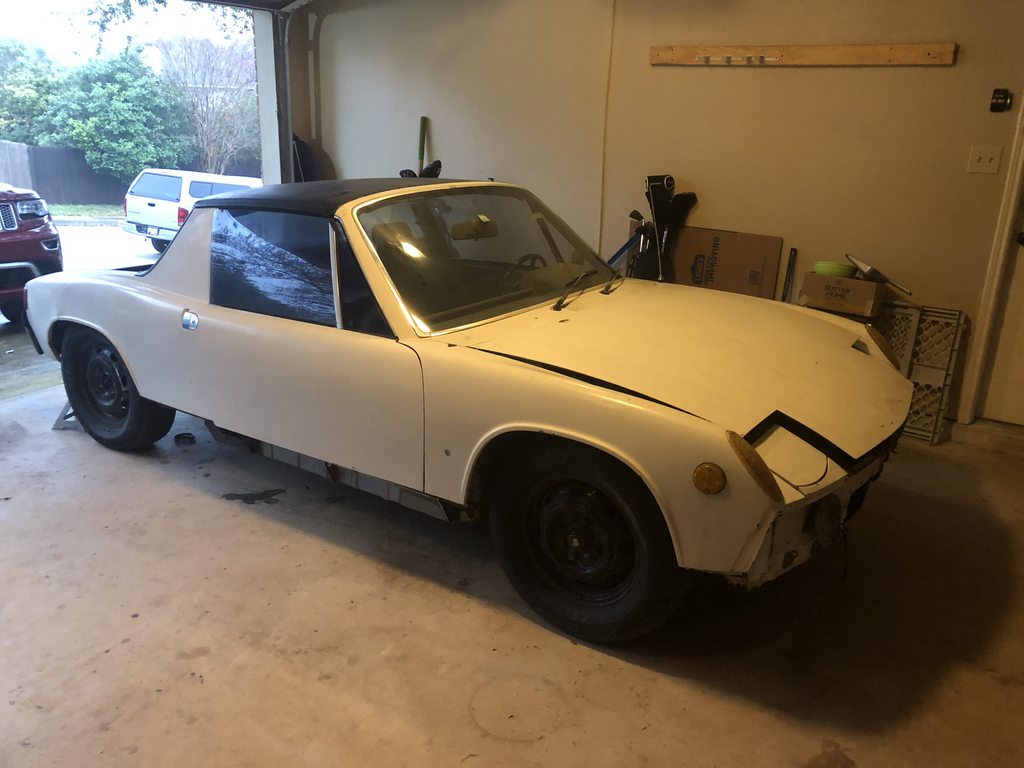
First off here's how it looked when I got the car (it actually was covered in rubberized underbody coating, but I gave it a quick hit with the sandblaster before I took pics) - looks like trouble, I know.

IPB Image


IPB Image

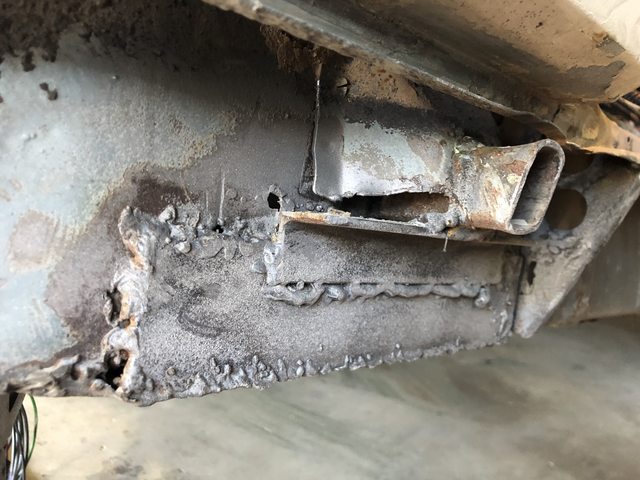
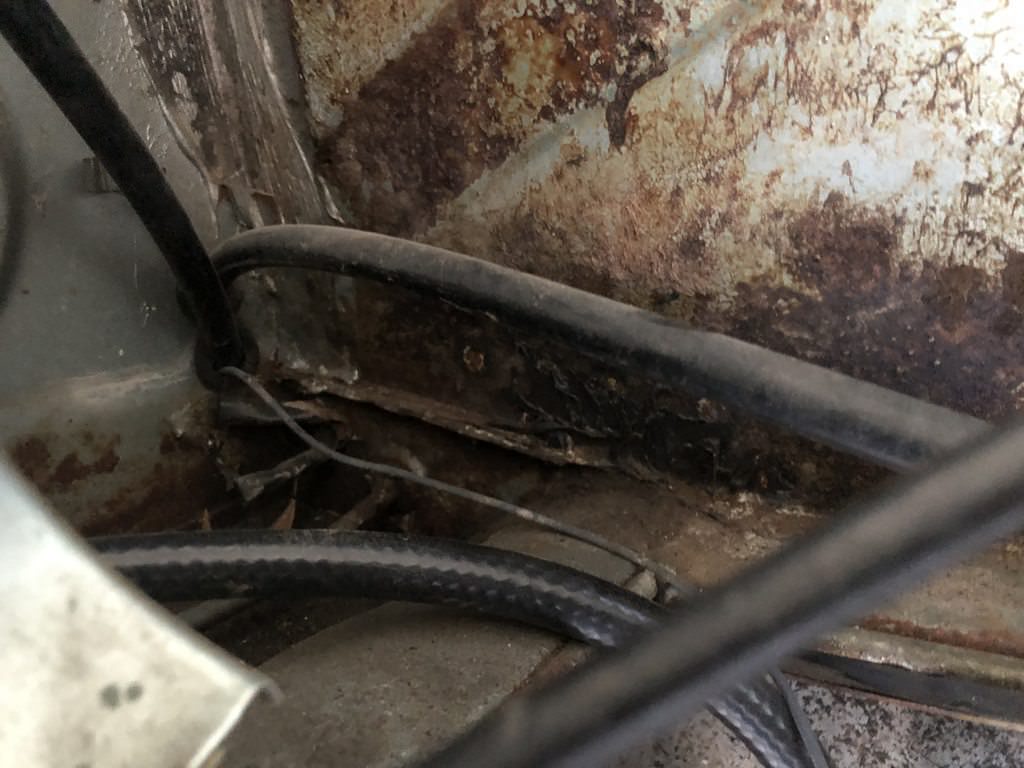
First I removed all of the *extra* steel

IPB Image

I don't have a good picture of it, but it then became obvious that the floor boards had a lot of patching as well. I got work peeling back these floor board patches so that I could get a real look at the longs. I found nothing but ugliness.

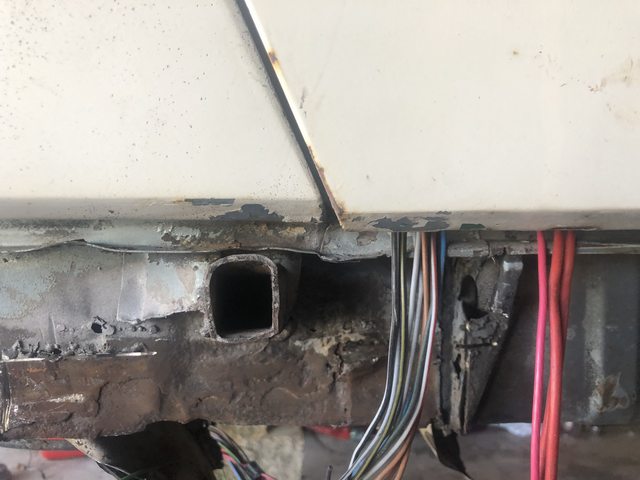
Here you can see the inner long where the heater tube comes through is completely rusted away.

IPB Image

You can also see that the outer long where the jackpost is attached and up into the wheel well is also pretty well disintegrated.

IPB Image

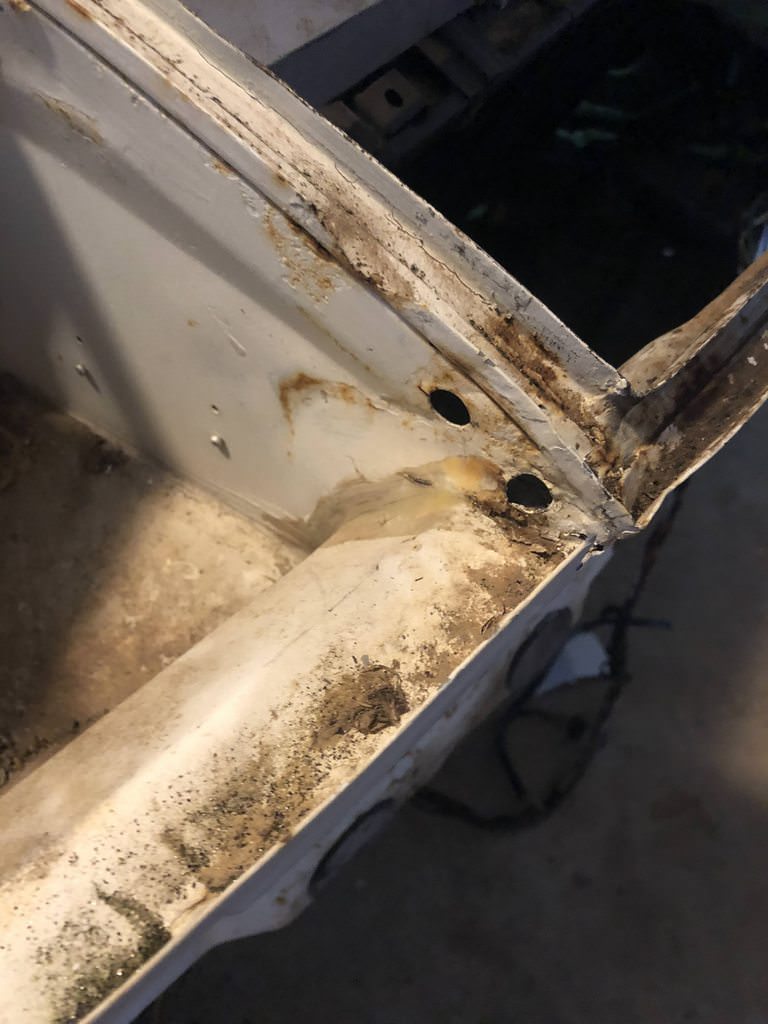
Here's a shot of the inner firewall. You can see another sheet metal patch that's been installed behind it. . Bottom inch or so all the way across is completely rusted away

IPB Image

So that's were things stand at the moment. Next up is getting started on remving the sill plate, outer rocker, etc... as well as ordering a whole bunch of new sheet metal.

Will post pics as things move along.

Happy Holidays everyone!


tazz9924
Its always impressive to me just how bad some people are at welding. When I did my car i was by no means a good welder but I could at least get the bead fairly center and not wonder off by a half inch. Looking at these pictures makes me feel better about myself. smile.gif
jimkelly
car seems to be precariously lifted.

maybe you can stack some wheels with tires 4 high, at four corners under cabin for some added safety?

anyway, even though these cars are light when compared to other cars, danger still exists if it falls unexpectedly.

be a safe as you can.

IPB Image
mb911
QUOTE(jimkelly @ Dec 29 2018, 10:30 AM) *

car seems to be precariously lifted.

maybe you can stack some wheels with tires 4 high, at four corners under cabin for some added safety?

anyway, even though these cars are light when compared to other cars, danger still exists if it falls unexpectedly.

be a safe as you can.

IPB Image

agree.gif

Gives me the chills to look at that..
Andyrew
I agree with others to be safe!!!

Fun looking project, looking forward to more progress!
This is a "lo-fi" version of our main content. To view the full version with more information, formatting and images, please click here.
Invision Power Board © 2001-2024 Invision Power Services, Inc.