Full Version: Rebuiding Inside-out
Pages: 1, 2, 3, 4, 5, 6, 7, 8, 9, 10, 11, 12, 13, 14, 15, 16, 17, 18, 19, 20, 21, 22, 23, 24, 25, 26, 27, 28, 29, 30, 31, 32, 33, 34, 35, 36, 37, 38, 39, 40, 41, 42, 43, 44, 45, 46, 47, 48, 49, 50, 51, 52, 53, 54, 55, 56, 57, 58, 59, 60, 61, 62, 63, 64, 65, 66, 67, 68, 69, 70, 71, 72, 73, 74, 75, 76, 77, 78, 79, 80, 81, 82, 83, 84, 85, 86, 87, 88, 89, 90, 91, 92, 93, 94, 95, 96, 97, 98, 99, 100, 101, 102, 103, 104, 105, 106, 107, 108, 109, 110, 111, 112, 113, 114, 115, 116, 117, 118, 119, 120, 121, 122, 123, 124, 125, 126, 127, 128, 129, 130, 131, 132, 133, 134, 135, 136
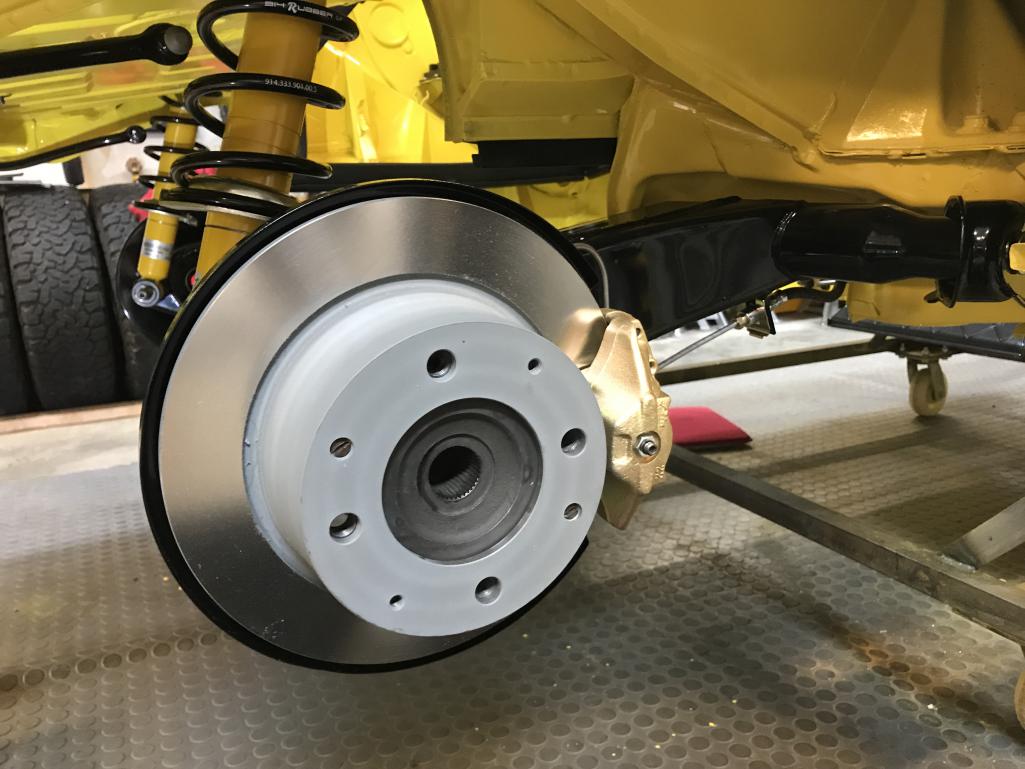
And then the right side, which took about 30 minutes--after I spent 2 hours on the left.
Looking way too nice there Bob.
Hope you are smiling when the car goes from looking like the ultimate garage queen to looking like a well worn daily driver.
Ha
Really great work.
Hope you are smiling when the car goes from looking like the ultimate garage queen to looking like a well worn daily driver.
Ha
Really great work.
wow! beautiful! keep up the good restoration of your car!
QUOTE(bkrantz @ Feb 11 2021, 06:27 PM) 
And then the right side, which took about 30 minutes--after I spent 2 hours on the left.
Paint the brake rotor hubs with some good hi-heat black paint ... helps to dissipate heat and to keep them from rusting ... 
Thanks, guys.
Doug, stop causing trouble.
Mark, sounds like a good idea.
Doug, stop causing trouble.
Mark, sounds like a good idea.
I opened the box of small painted parts and got out the headlight eyebrows.
And new rubber mounting grommets. How hard can this be?
First attempt looks pretty good.
But with the holes lined up, the outer edge sits high compared to the fender. (Yes, the front is not aligned but the eyebrow kept moving before I took the photo.)
After a bit of bending to shift the side tab with the hole upward, the upper surfaces align (and the front does look off in the photo, but the damned thing moved again). Unfortunately, the bending cracked and flaked the paint in a few spots, so I have to touch that up before mounting the eyebrows.
Same story on the right side. I could swear that I checked the fit of the eyebrows before taking the car to the paint shop.
Between paint coats, I got out the front window channel from the right door, that I plan to use again.
But like all the other silver trim, the PO painted this black--after some sanding.
Here's where the sanding ends, compared to the original finish that was protected inside the door.
I did get a buffing kit from Eastwood, but first I need to finish-sand the PO section--after I remove the anodizing.
I did try sanding first, but the anodizing is tough stuff. So I tried the standard home garage approach, and borrowed the oven cleaner spray from the kitchen.
I tested it on the lower section, and then went ahead and sprayed the upper section. I let the first treatment sit for 30 minutes with a bit of brushing.
It looked splotchy, so I gave it another spay and let it sit 20 more minutes. I washed off the oven cleaner, and the finish looked uniformly duller and a bit darker. The OP sanding is still visible.
Now additional sanding was easy. Here it is after 320 grit.
And after wet sanding with 600 grit.
Timing for the buffing. I started with black on one cotton wheel.
Only about 10 minutes got this.
And then white compound.
Another 10 minutes. I like it.
I need to go back and dress the edges a bit more, and then think about sealing.
I need to go back and dress the edges a bit more, and then think about sealing.
But I made another problem for myself. The polished window track from the original right door looks so good, it makes the track from the replacement left door look bad.
Although it was never sanded, it has some big scratches near the upper end.
Now where did I put the original left door?
Now where did I put the original left door?
Taking care of business! As always!
Cheers
Cheers
QUOTE(jaredmcginness @ Feb 13 2021, 08:58 PM)
Taking care of business! As always!
Cheers
Back at you, Jared. Also doing my best to support all the 914 and restoration businesses! (imagine an avatar that involves throwing $20 bills)
So, after at least of foot of snow and blowing wing all night, I went to fetch the spare (original) left door. I was in a hurry to get the door, so did not take a photo then. Here is the spot.
Yup, just like I remembered, with PO black paint. And while the door looks OK, it has some serious bondo plus rust along the bottom seam.
About 30 minutes later, I had the door completely stripped and the front window channel out.
Truth time. What's under the black paint? Will it be better than the channel from the replacement door?
After some acetone...
Sanding marks, but no gouges like the channel from the replacement door. Yay! We work with this.
Like yesterday, oven cleaner to remove the anodizing.
That leaves a splotchy finish, which sands off easily.
First, 320 grit.
Then 600 grit.
Then polishing with first black and then white compound. Shiny!
Much better option.
The door shell back in cold storage.
After that, I installed the eyebrows, after the touch-up paint dried overnight.
The left side fit is still a bit off, but OK for now.
man those eyebrows are a PIA! great job, excellent work on the window trip polishing!.
one question is on the eye brow installed it looks like the front edge of the eyelid over laps the edge on the car? is that what you were having to bend?. mine just does not fit well and this is something i need to go back again and get right. i could not get those grommets to pull thru and stay in place, so what’s the secret?
one question is on the eye brow installed it looks like the front edge of the eyelid over laps the edge on the car? is that what you were having to bend?. mine just does not fit well and this is something i need to go back again and get right. i could not get those grommets to pull thru and stay in place, so what’s the secret?
Not sure if @bkrantz has found the same, but on my car adjusting that front metal lip was the ticket to getting things lined up.
I did adjust the vertical lips on the front panel by tapping them inwards as needed so the front eyebrow edge can overlap.
To get the grommets in, I first made sure the eyebrow tabs sat tight against the walls of the headlight bucket. That required a bit a bending, and trial and error. To install each grommet, I pushed it in hard from the headlight side, and then pulled or flicked the protruding tip sideways in all directions. That was enough to get part of the grommet lip on the outside of the hole. After that I get working and twisting until the lip was out all around.
To get the grommets in, I first made sure the eyebrow tabs sat tight against the walls of the headlight bucket. That required a bit a bending, and trial and error. To install each grommet, I pushed it in hard from the headlight side, and then pulled or flicked the protruding tip sideways in all directions. That was enough to get part of the grommet lip on the outside of the hole. After that I get working and twisting until the lip was out all around.
The trick I used to install the eyebrow grommets was to use a dowel or blunt drift to push into the hole on the back side of the grommet to poke the pointy side through. The drift causes the pointy button to stretch and squeeze through the hole. Sometimes I push hard enough I thought the drift would poke through or the grommet would tear but they never did.
New LED headlights from Vintage Car LEDs. Should be plug and play.
Collection of assorted screws that came off the headlights 18 months ago. I have replacements for most that are necessary.
Except the AM4 machine screws. I will order 6, preferably in stainless.
This is a "lo-fi" version of our main content. To view the full version with more information, formatting and images, please click here.