I figured I would make a build here. I am very active on the facebook group and have received some great feedback and help from the guys over there. I will try and remeber to update this as I complete some work.
I'm in my late 20's and have wanted a 914 for a long while now. I've been through 11 or 12 VW's water and aircooled - Rabbits, Caddys, Beetle, etc... so it's natural progression I suppose.
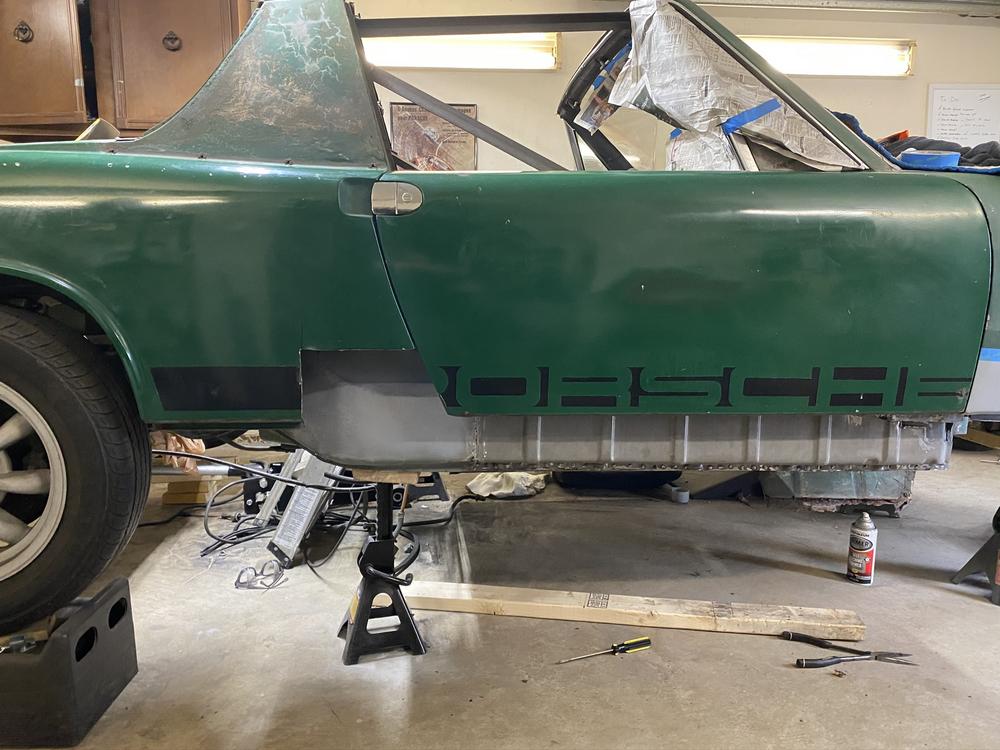
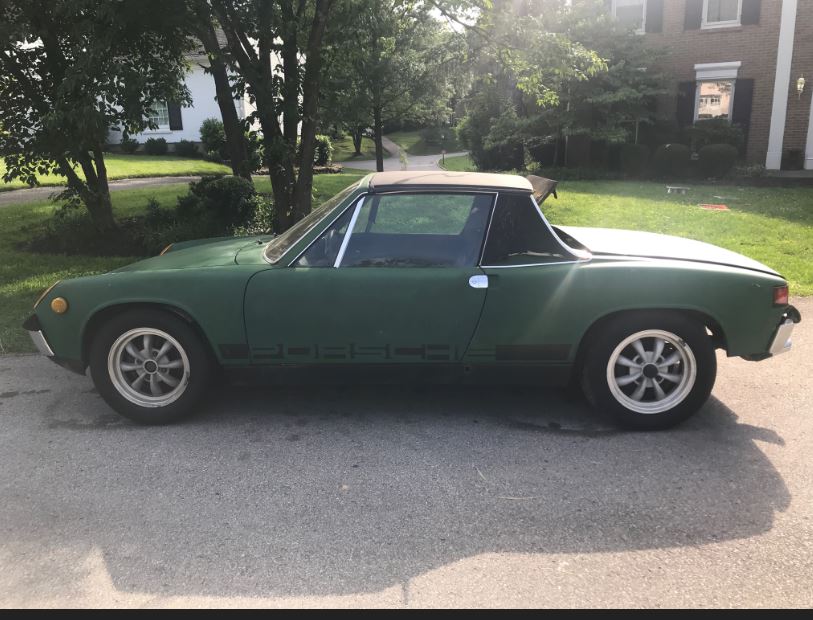
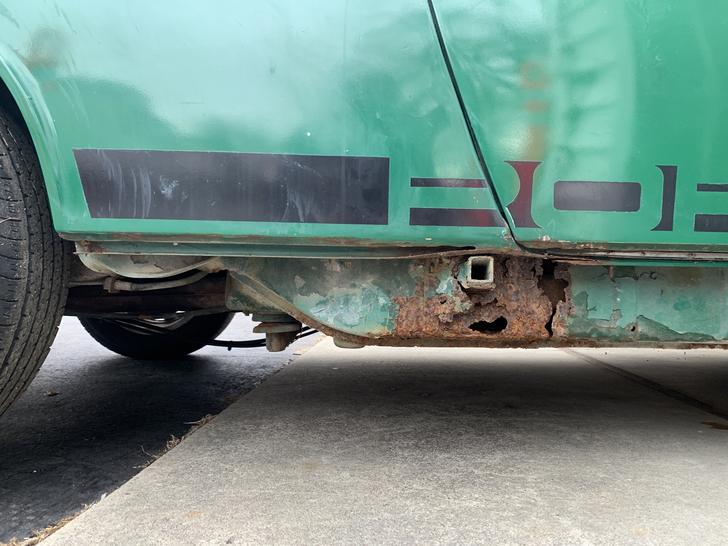
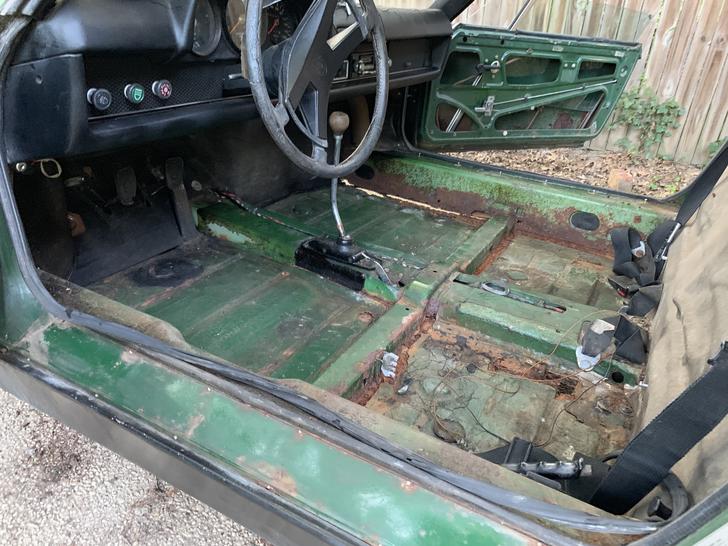
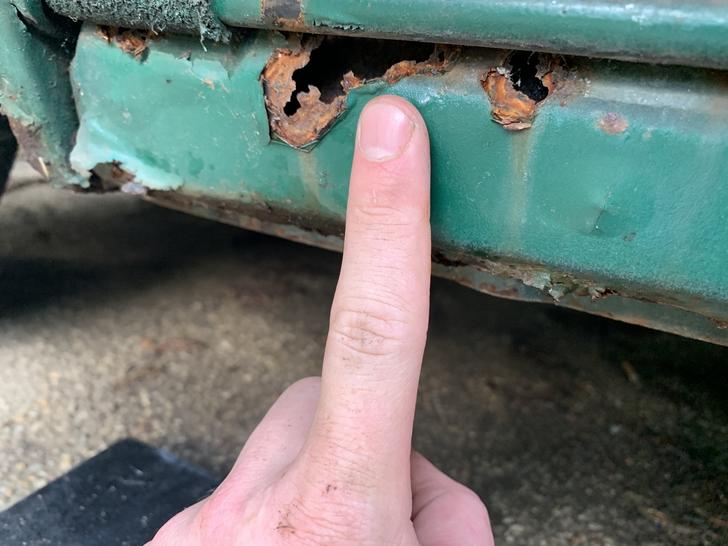
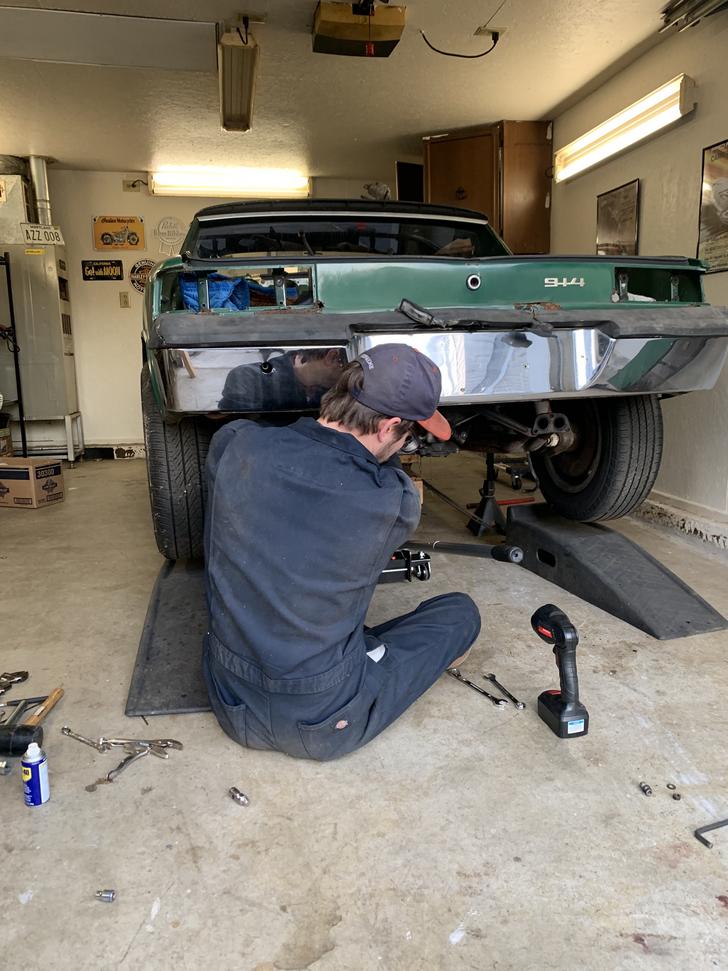
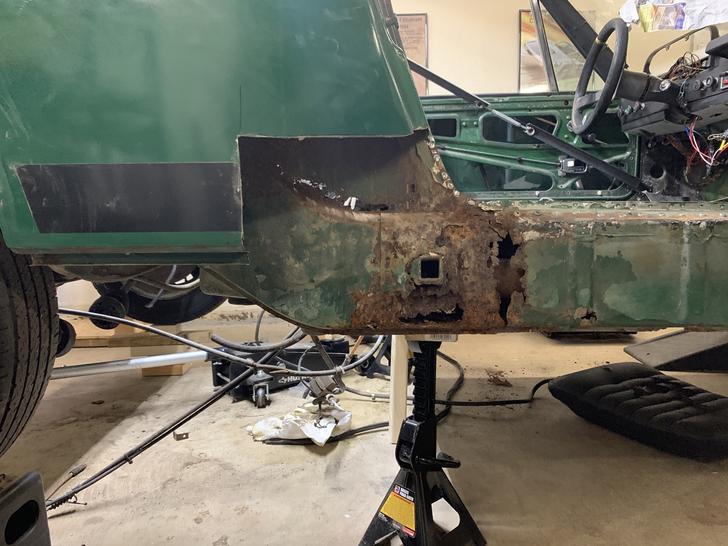
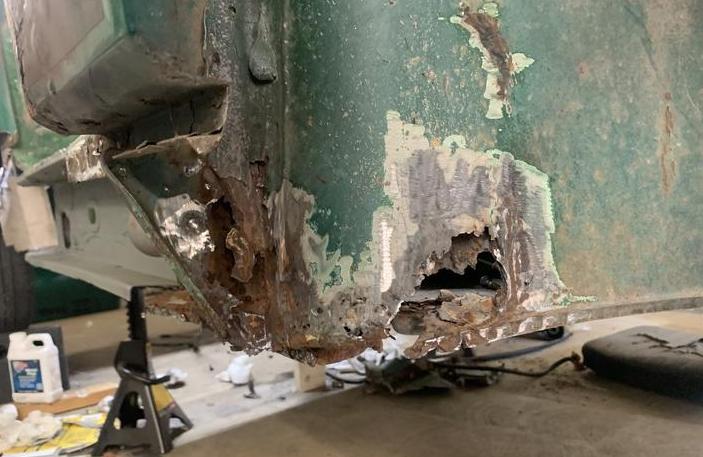
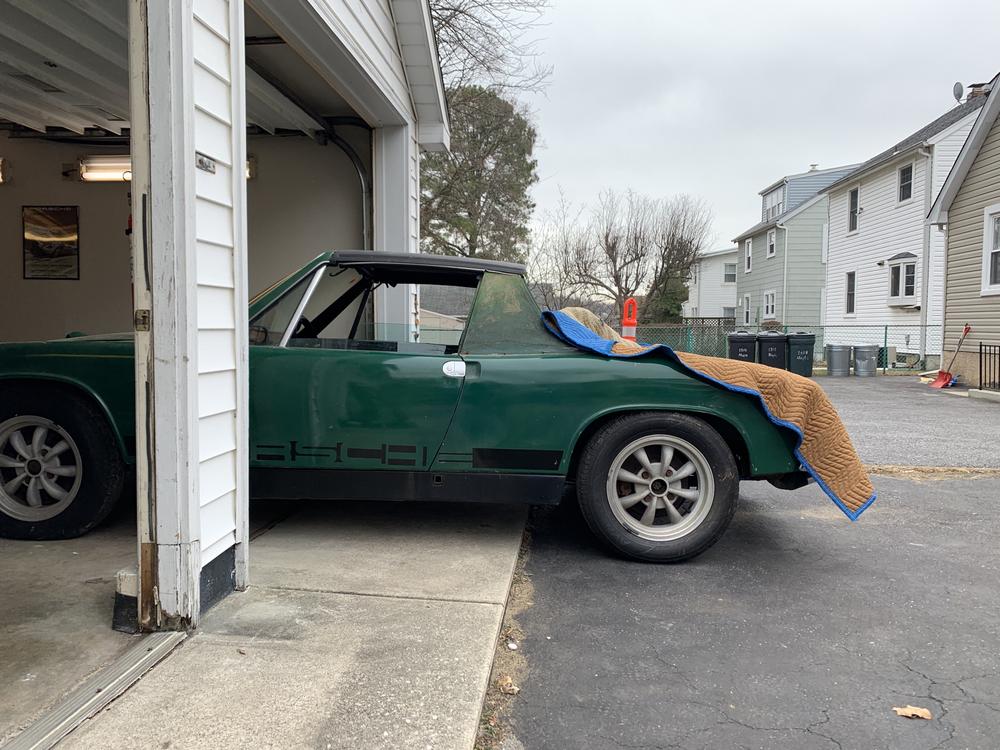
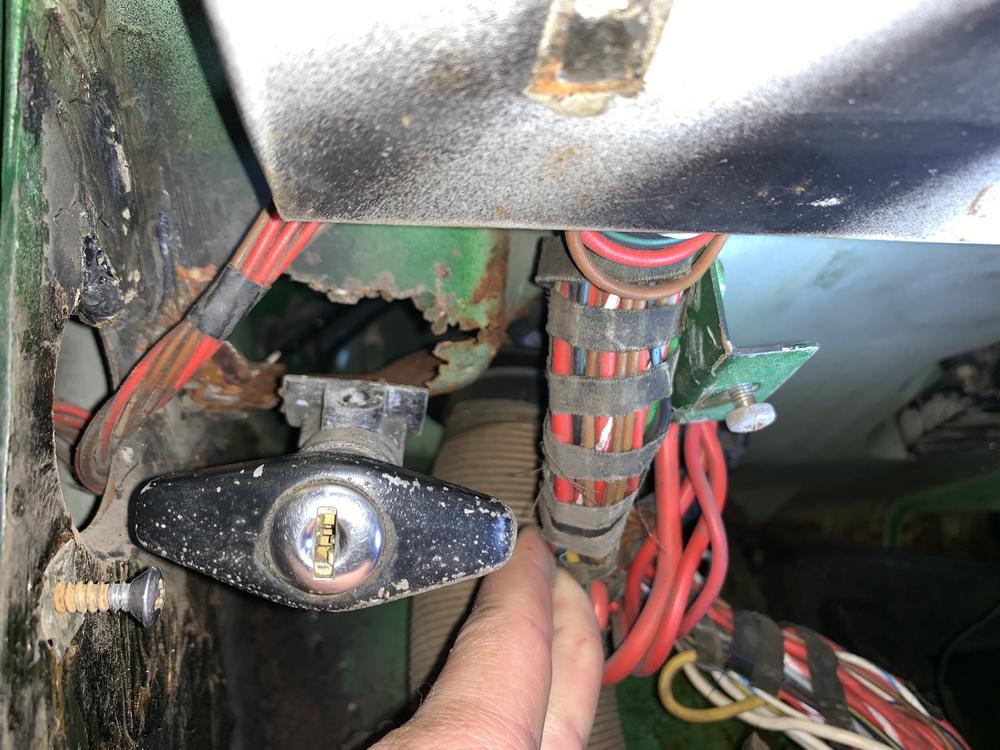
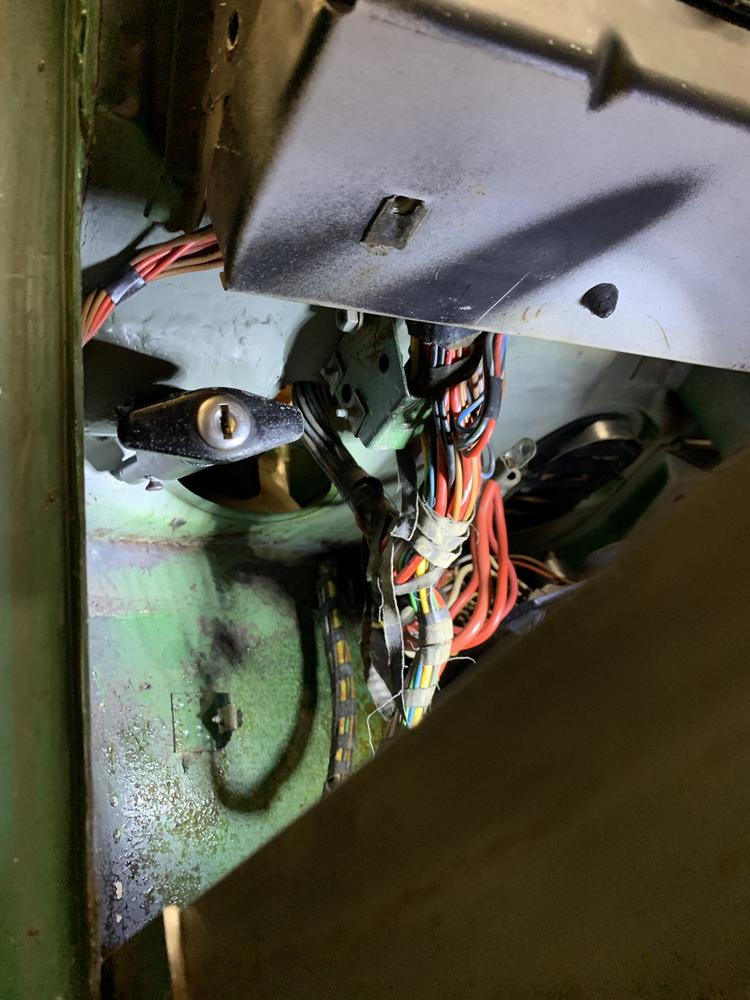
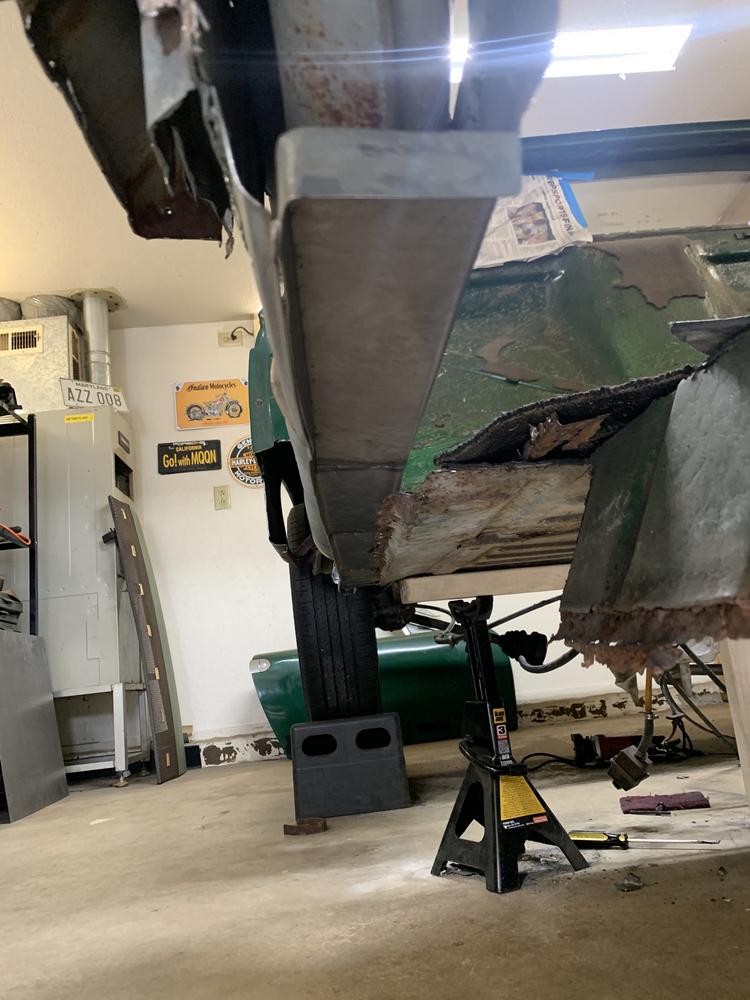
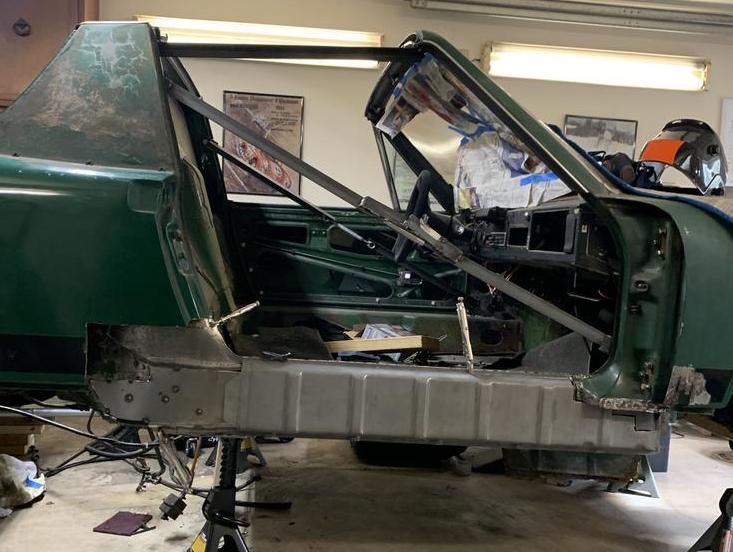
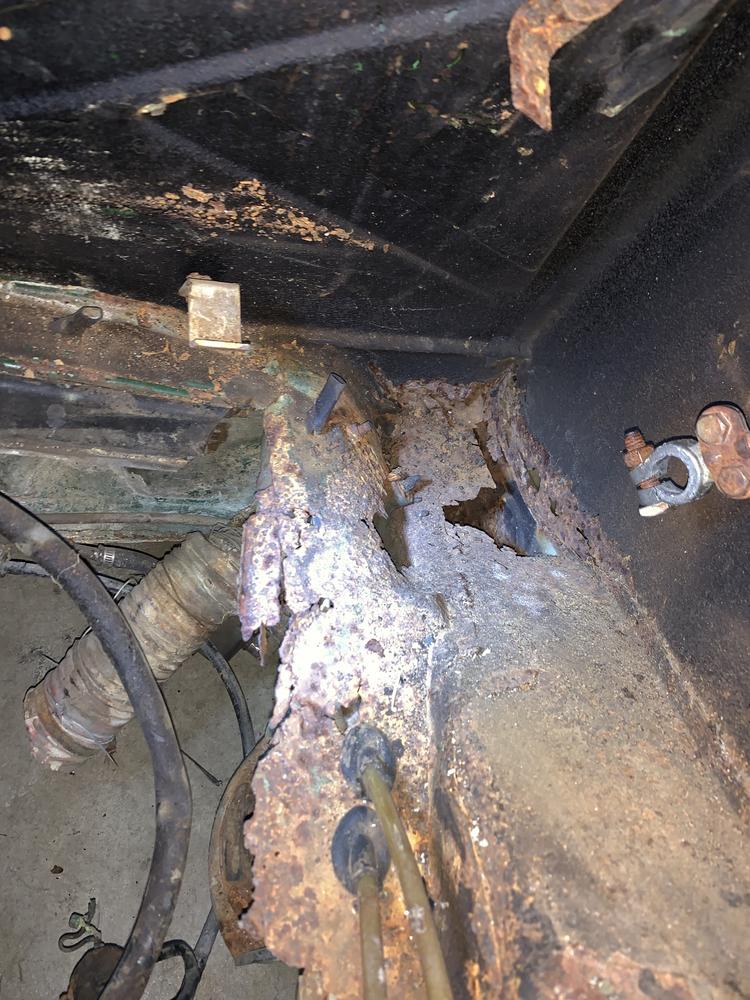
I found this car in Louisville and towed it home last summer. A friend looked at it for me. Gave me the OK, said there was minor rust, but a solid project. I paid for the car, and drove out that weekend. Upon arrival I found there to be a pretty severe case of rust...
I stored the car the rest of the year - bit the bullet and decided to go to town on the structural repairs.
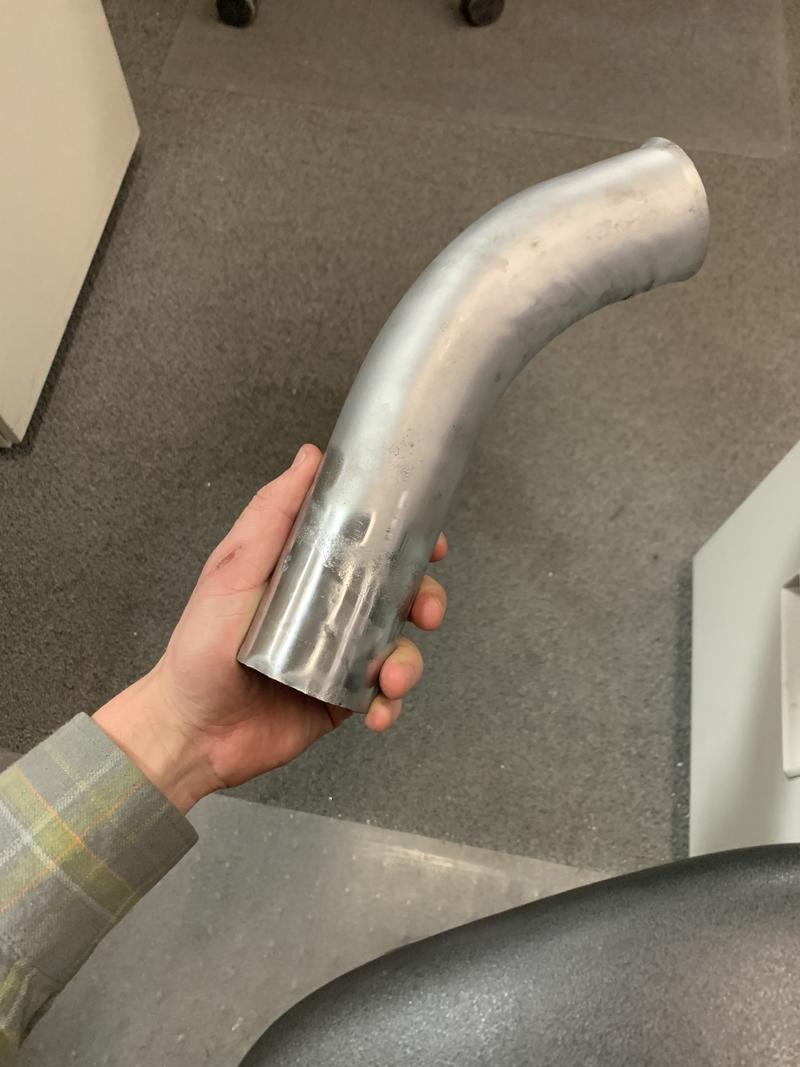
It is the color and the car I want. I work in fabrication by trade, so I am not too scared to take on this project.
I will not be driving the car until I feel it’s solid.
I am cutting some corners - depending on how you look at it. This is a budget build. But I will be using as many replacement parts (AA and RD) as I can. Without removing too much of the car.

Car:
12/70 vin. Added to database.
Off the road since 1998.
1.7 gunky motor.
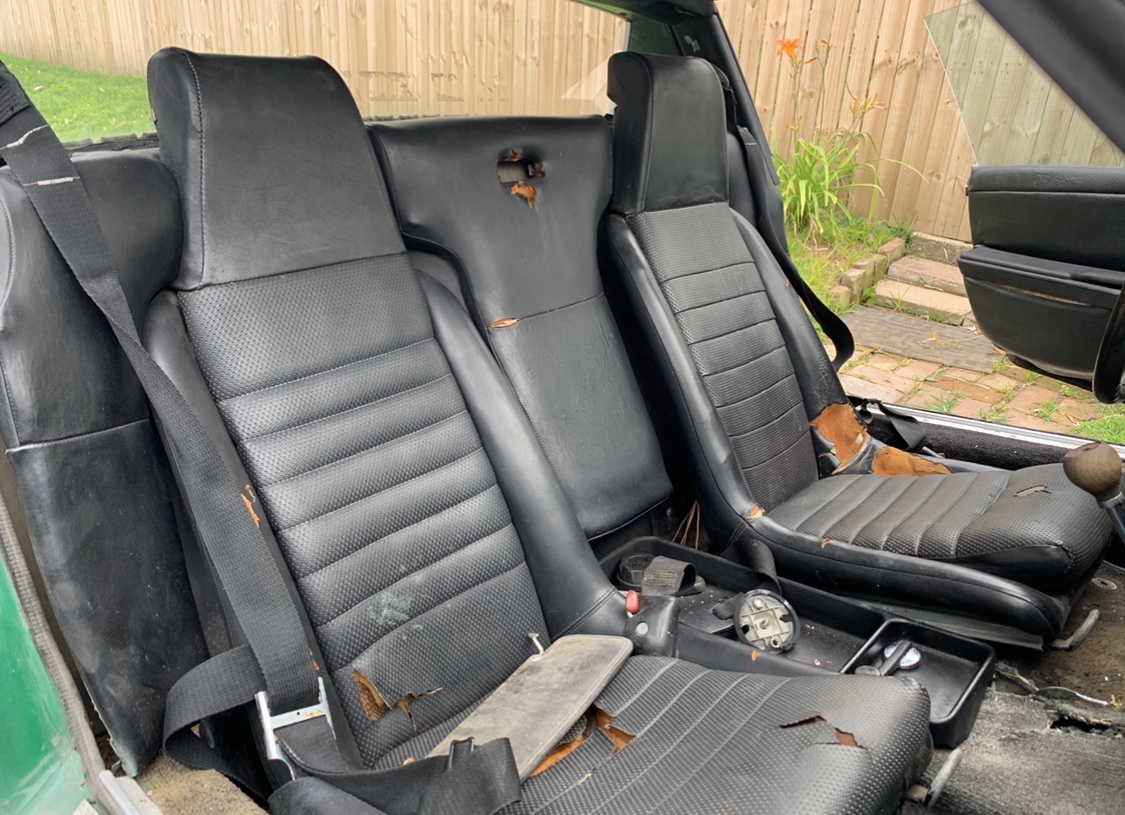
Toasty interior.
70k miles shown, iirc. So probably 170k
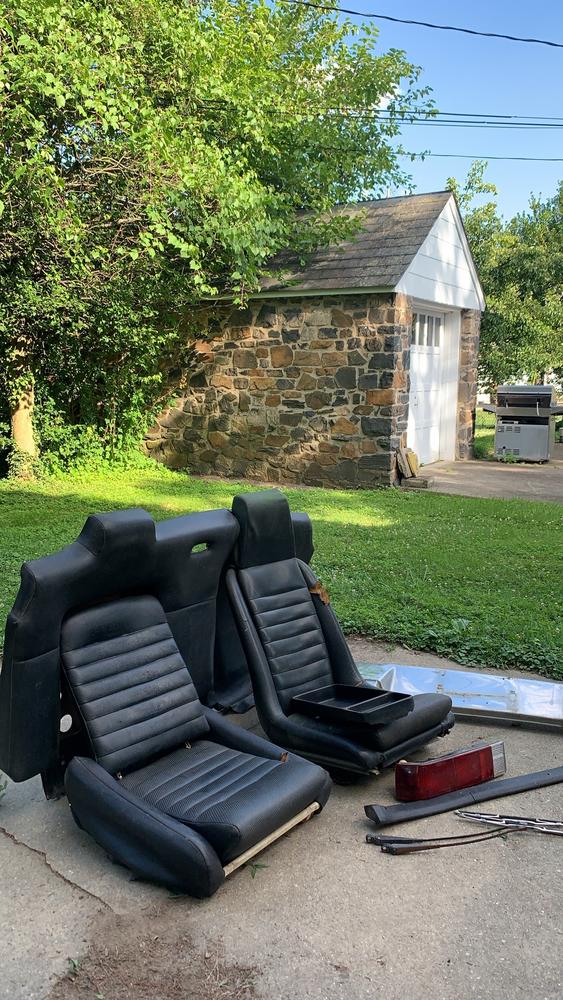
Came with late style black adjustable seats.
Plan:
Fix structural rust so I can drive the car ASAP
I’d like to keep original paint (too late)
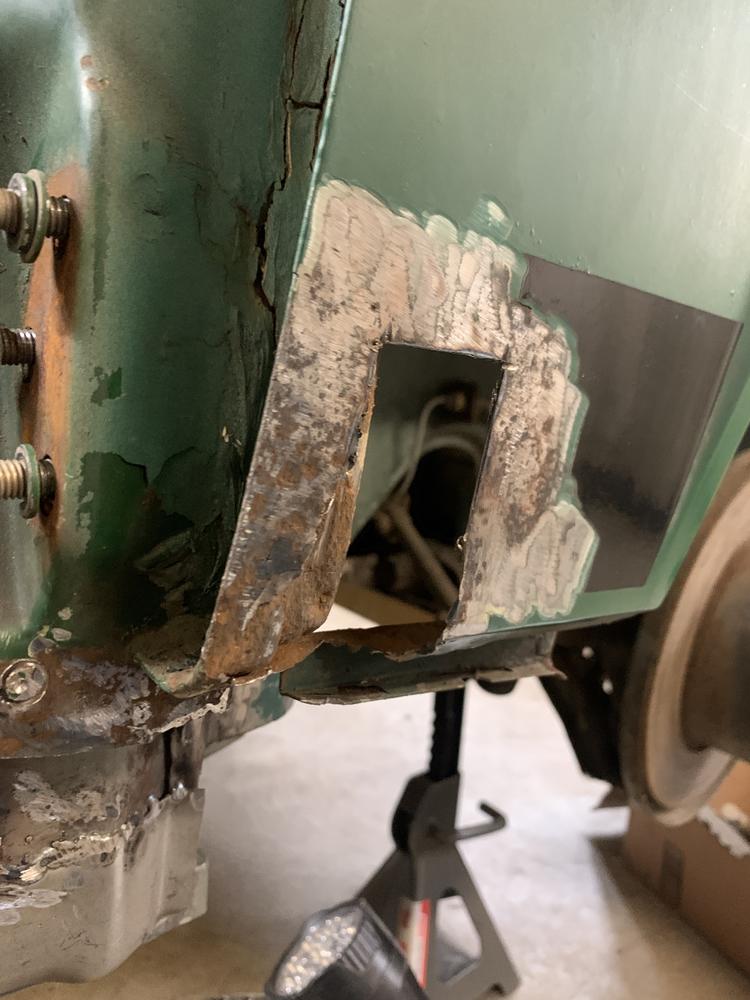
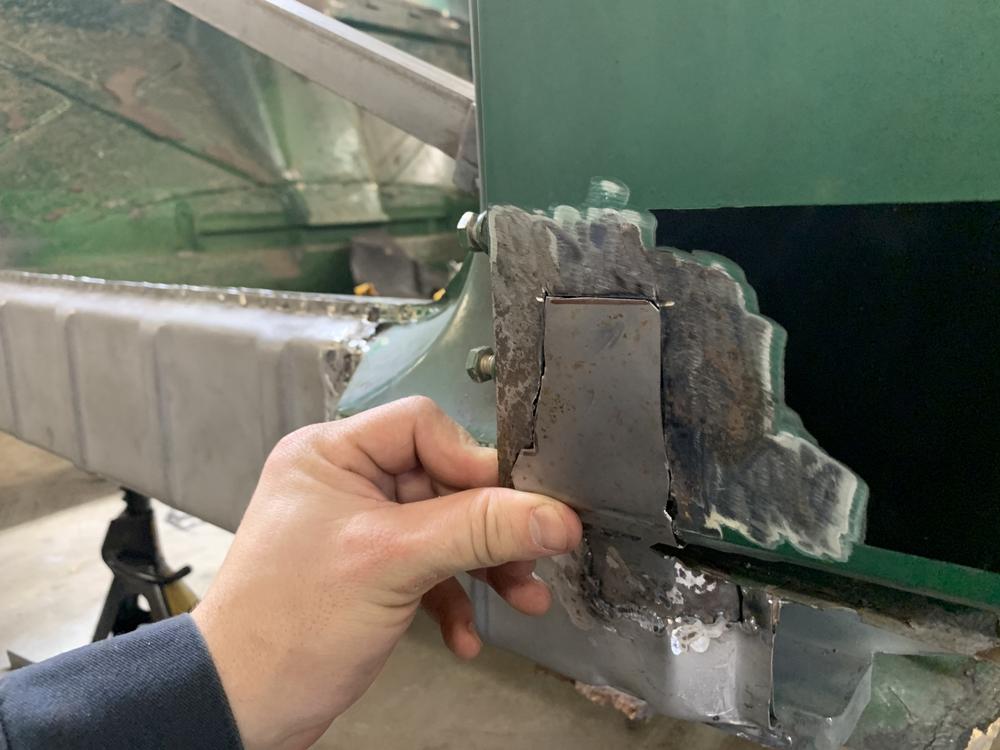
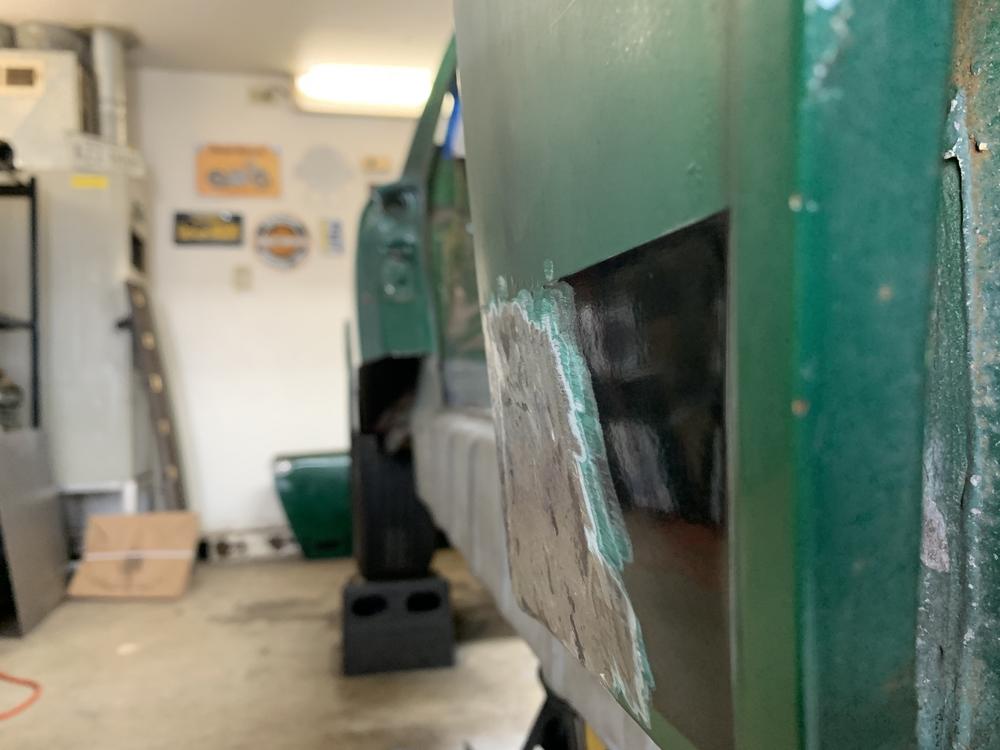
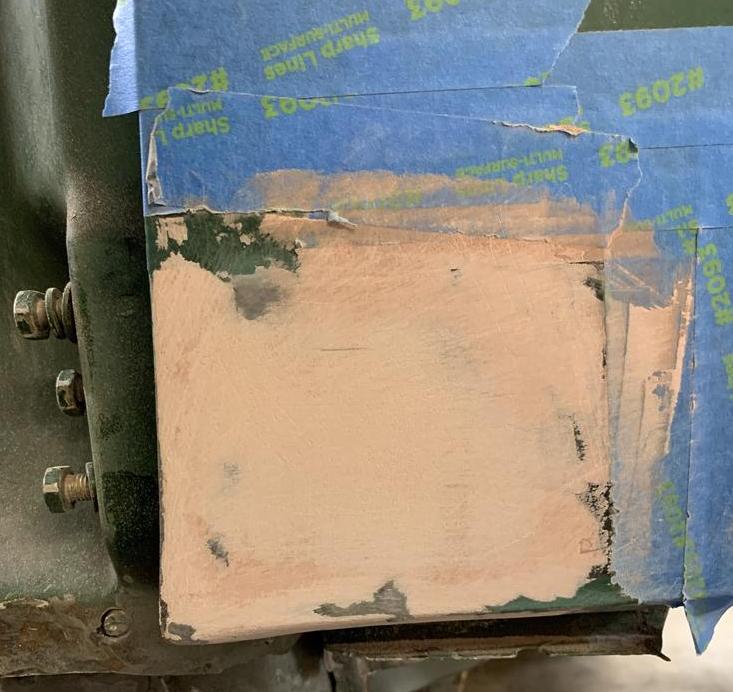
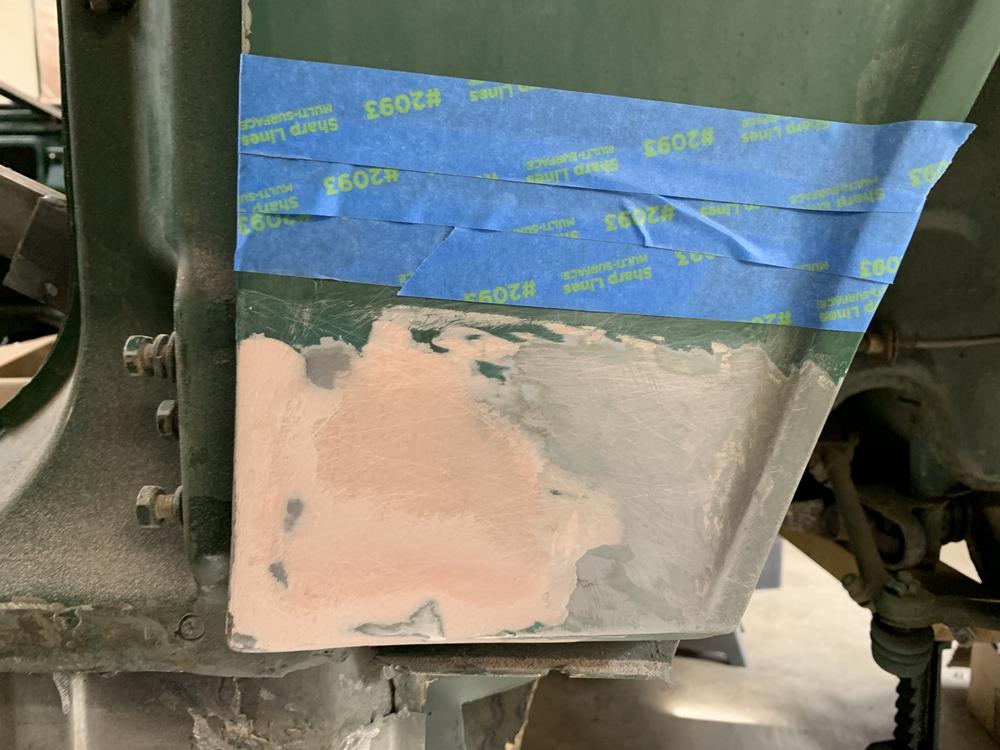
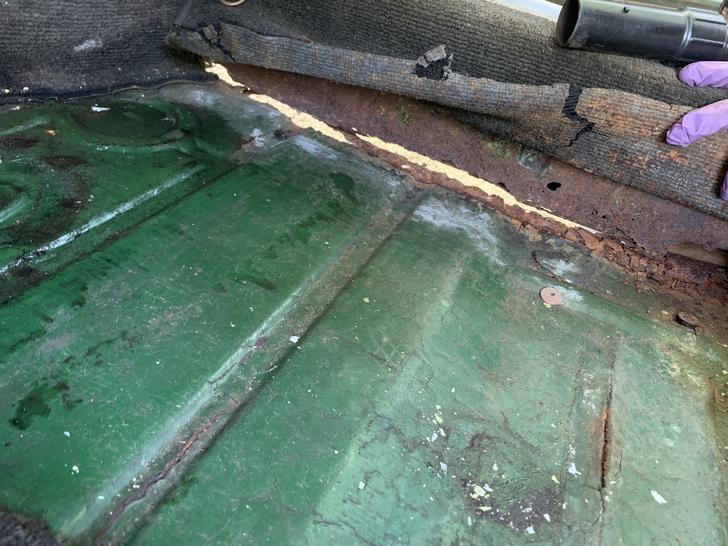
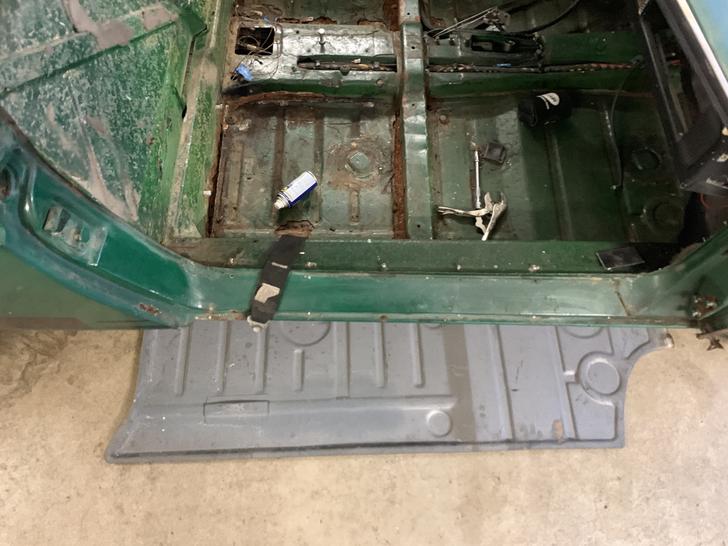
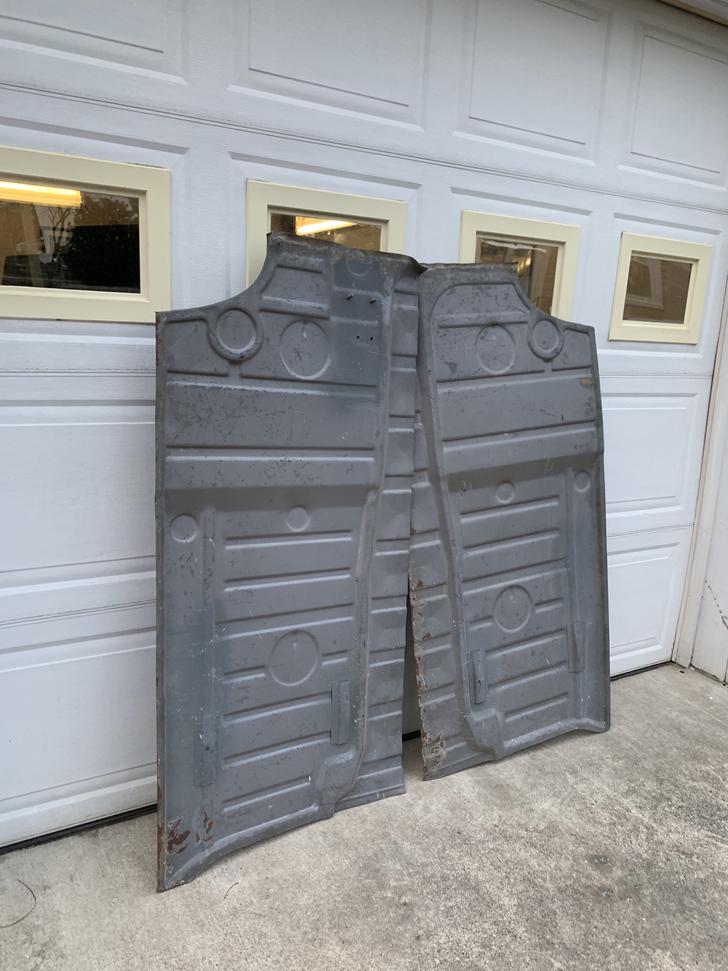
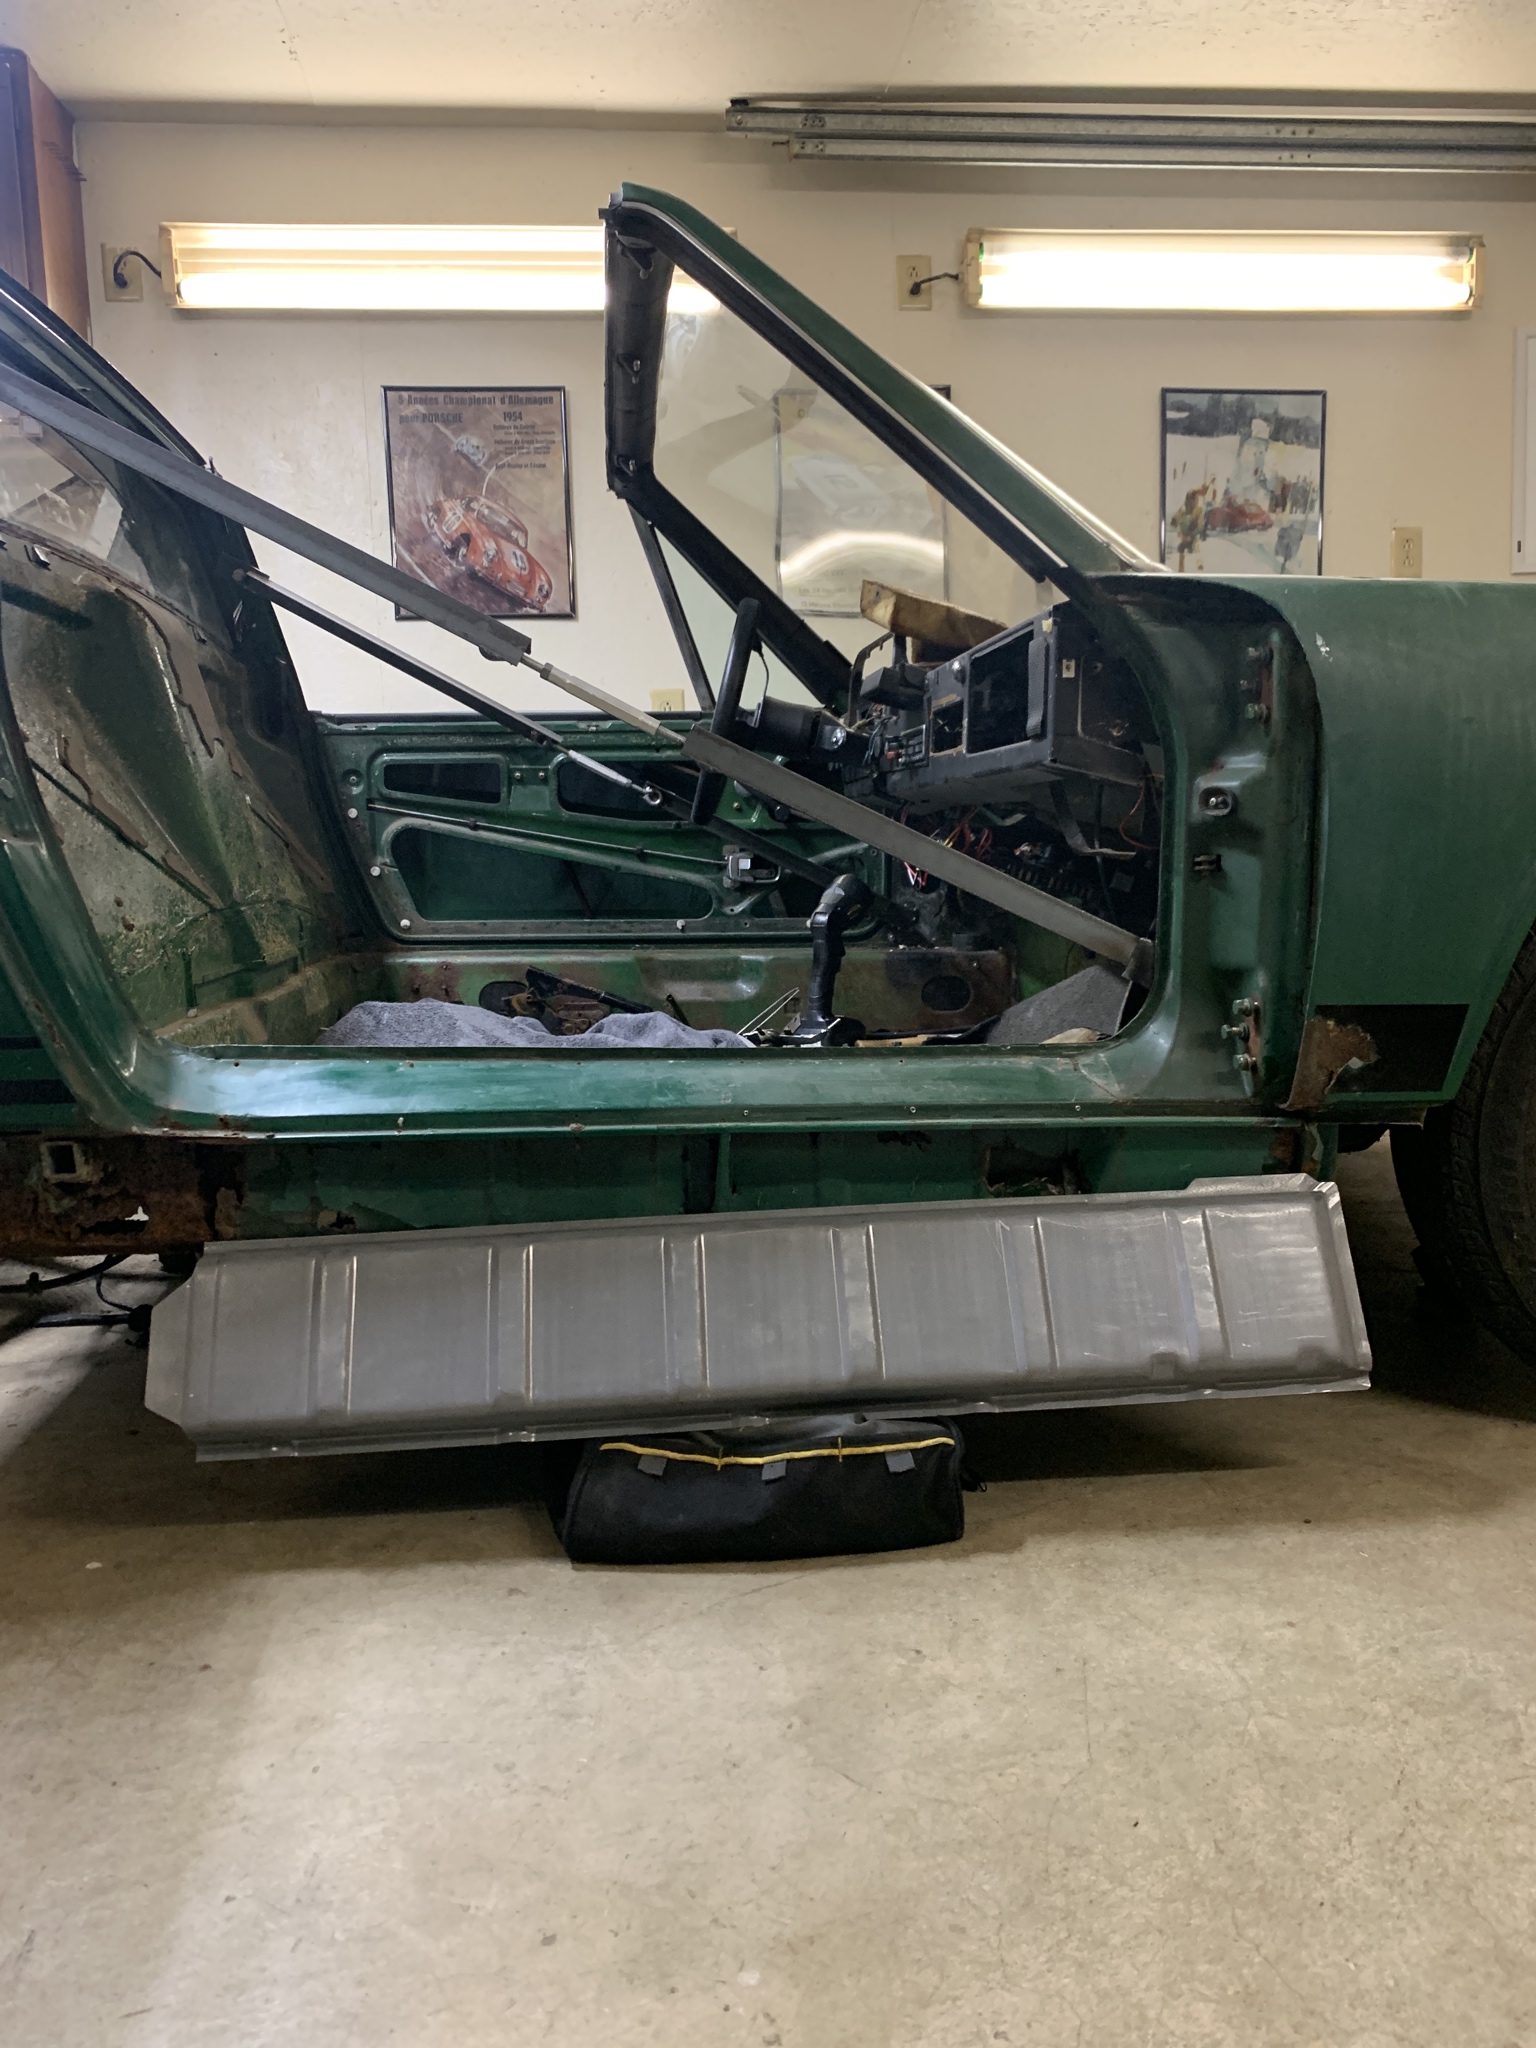
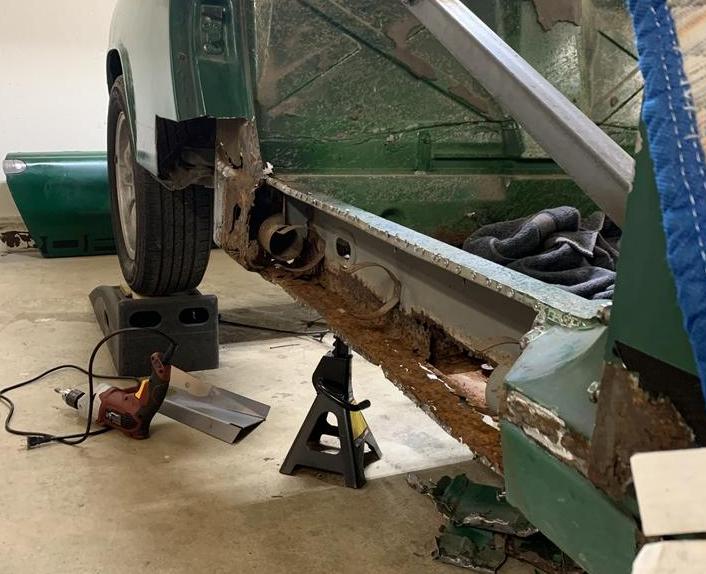
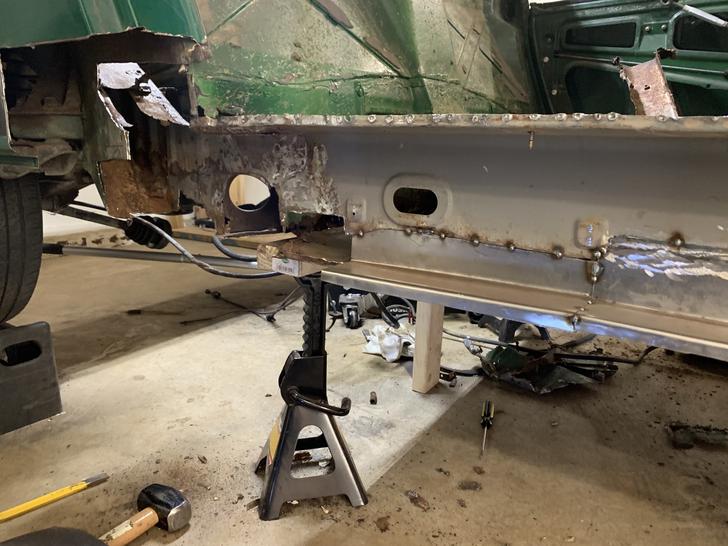
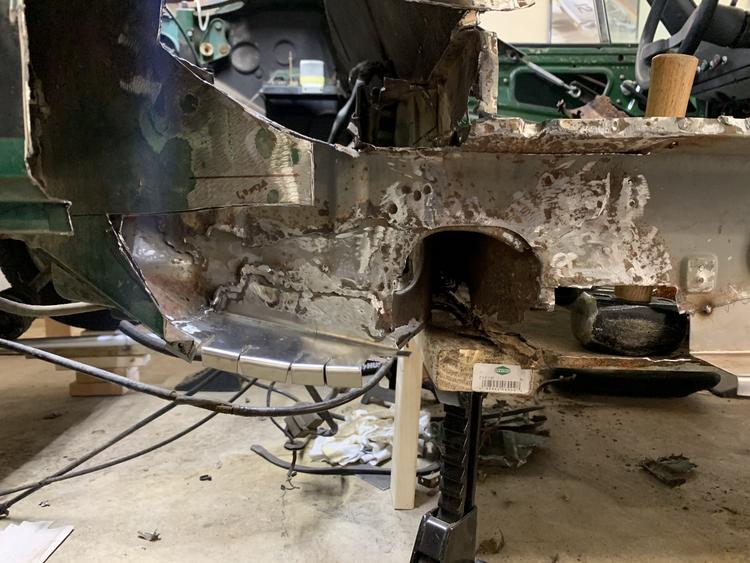
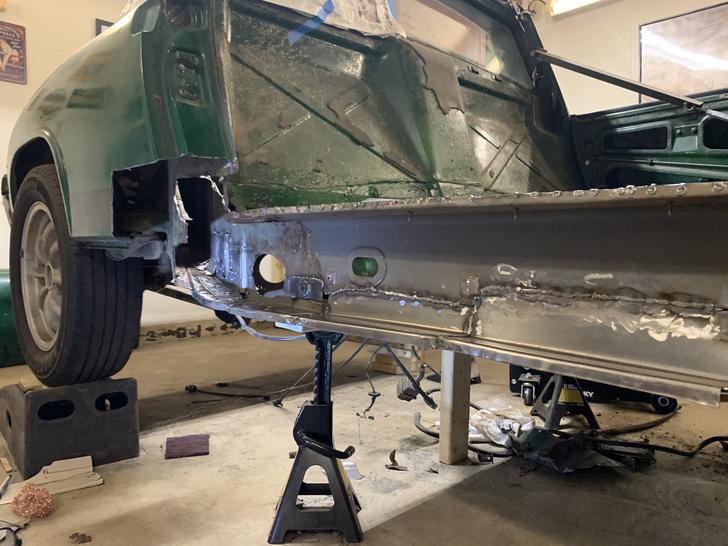
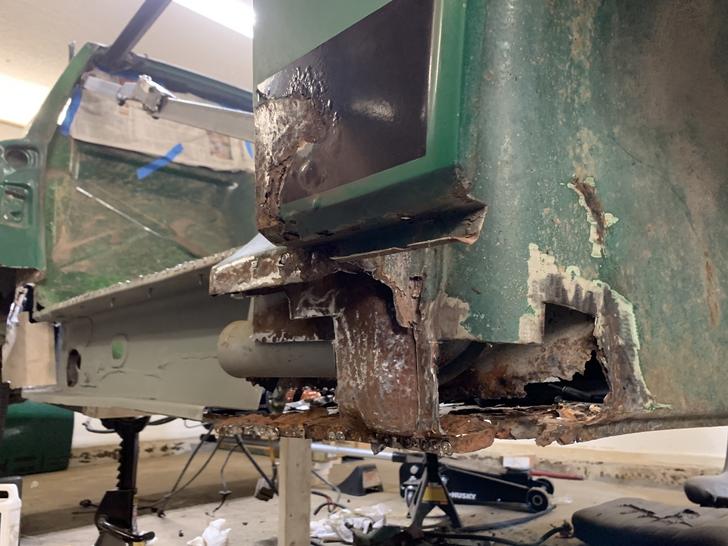
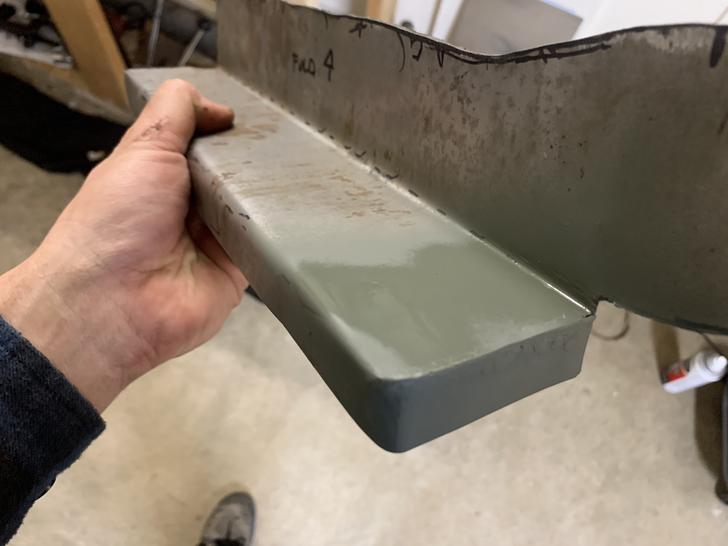
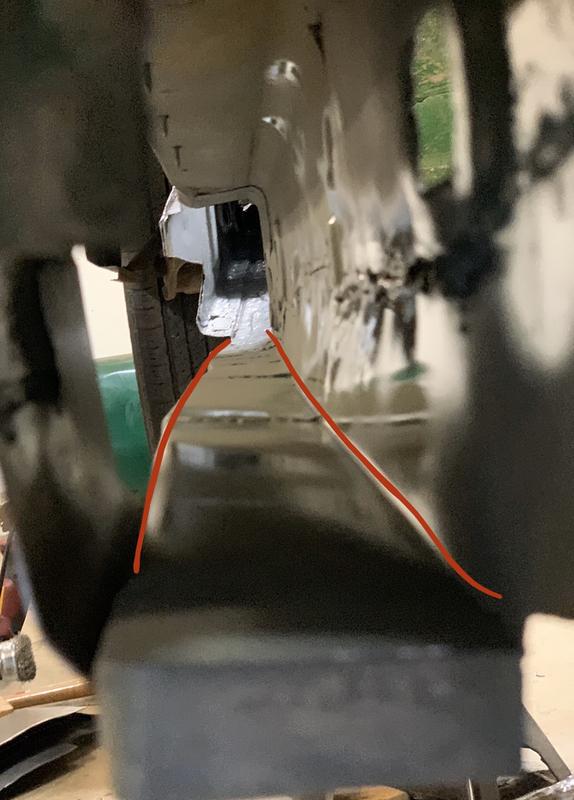
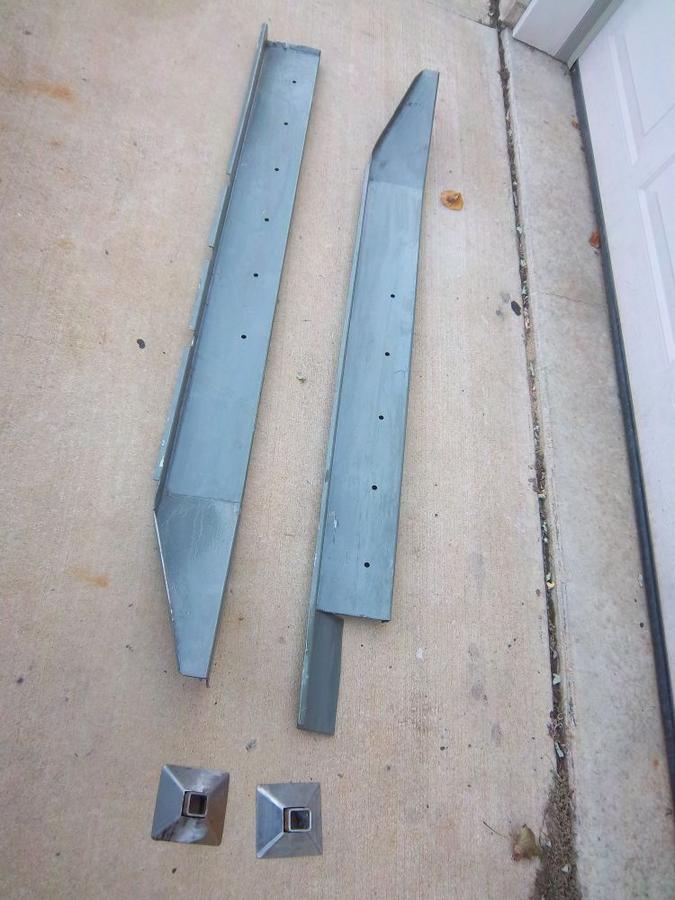
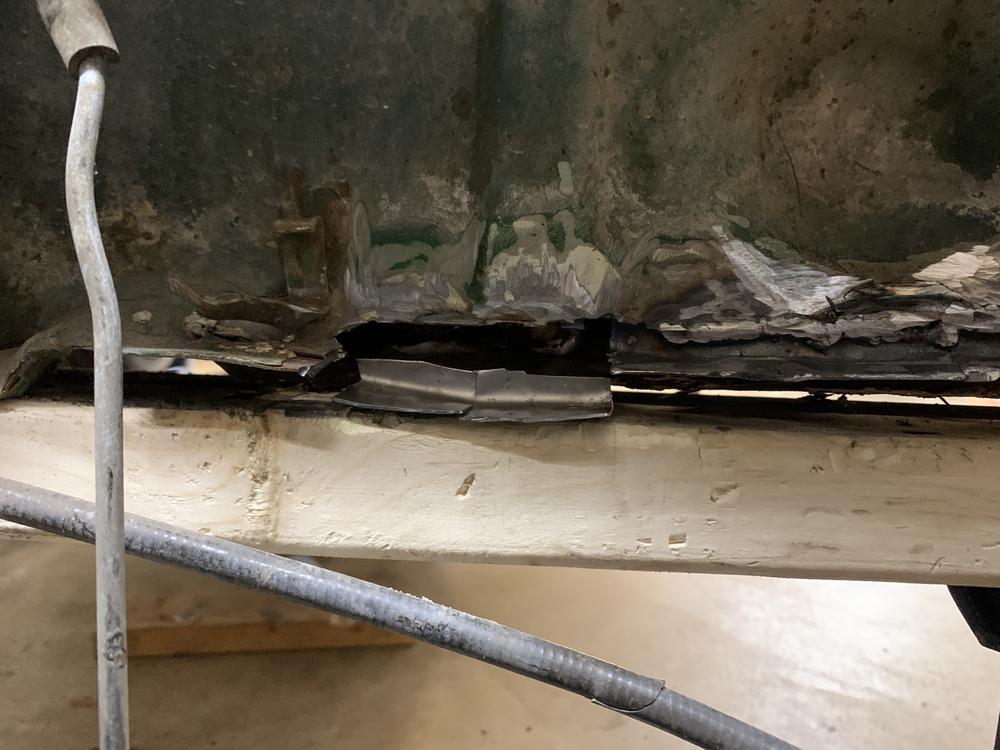
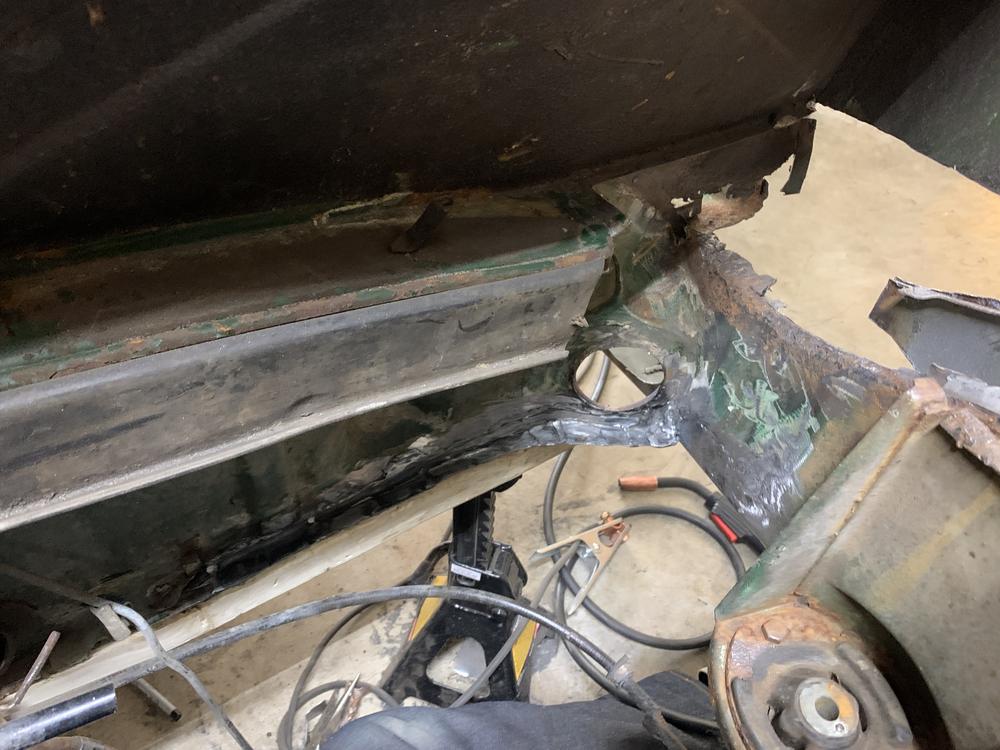
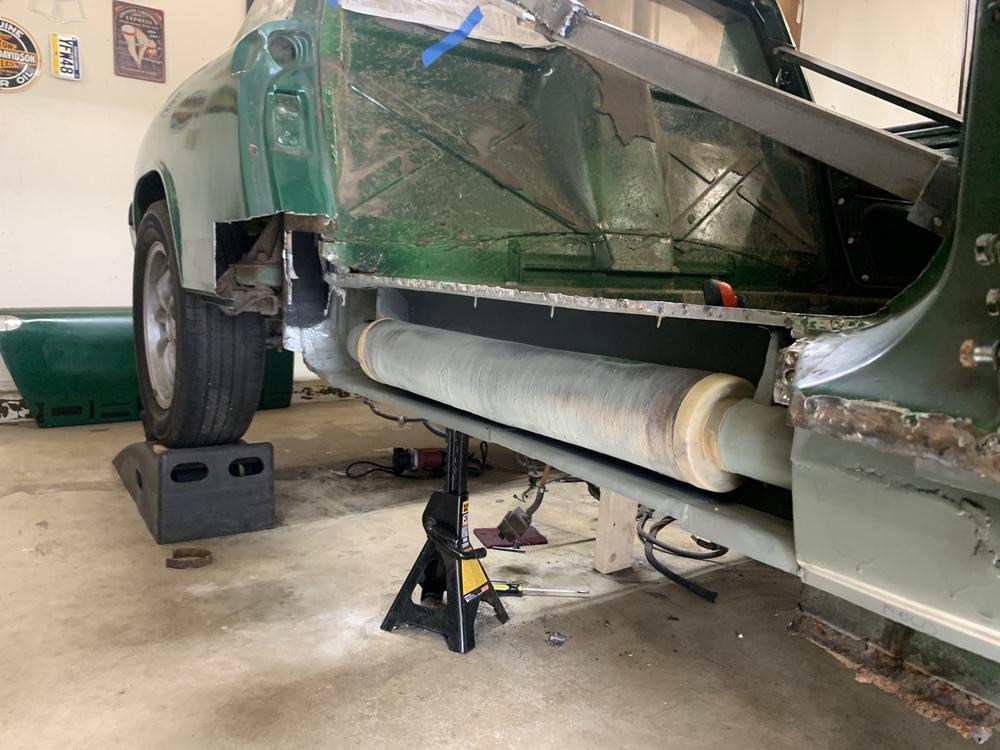
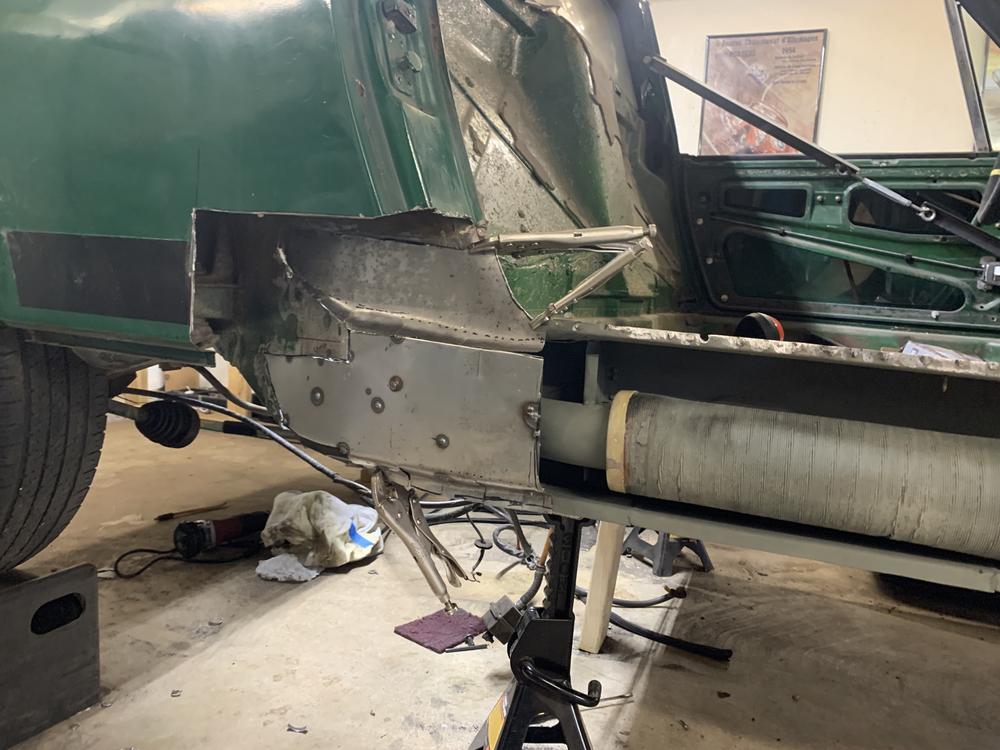
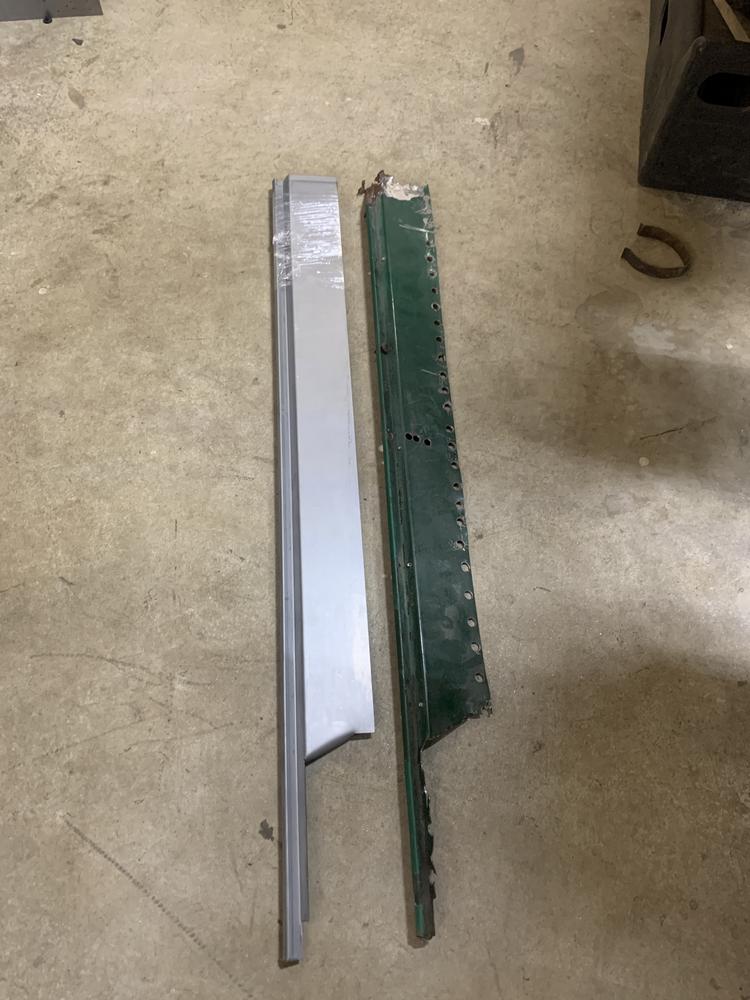
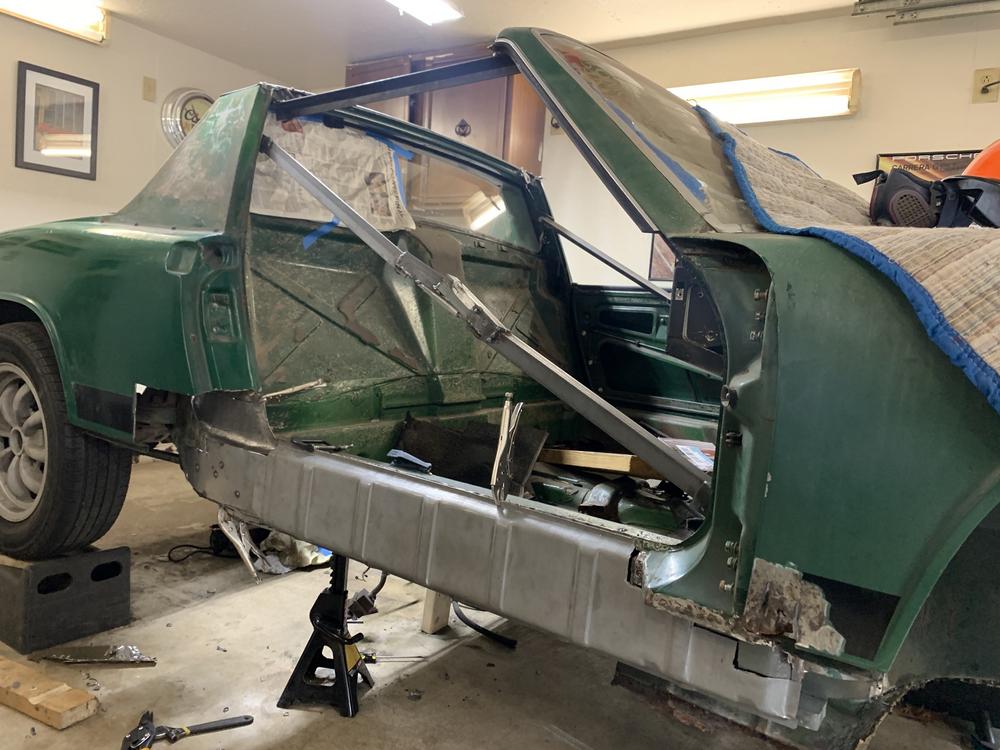
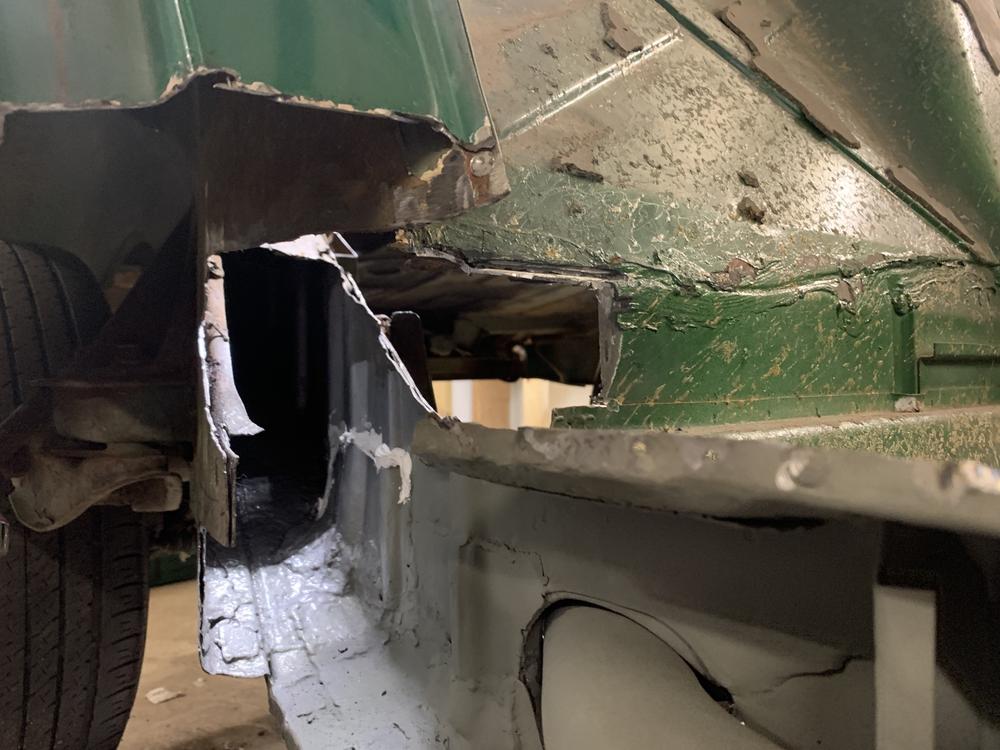
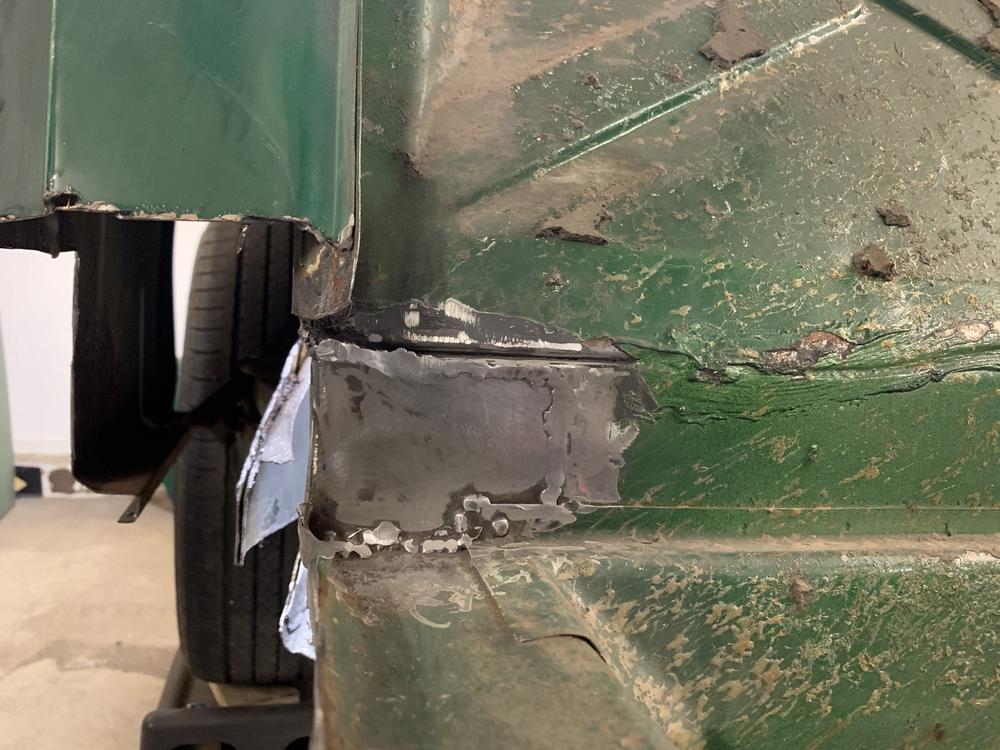
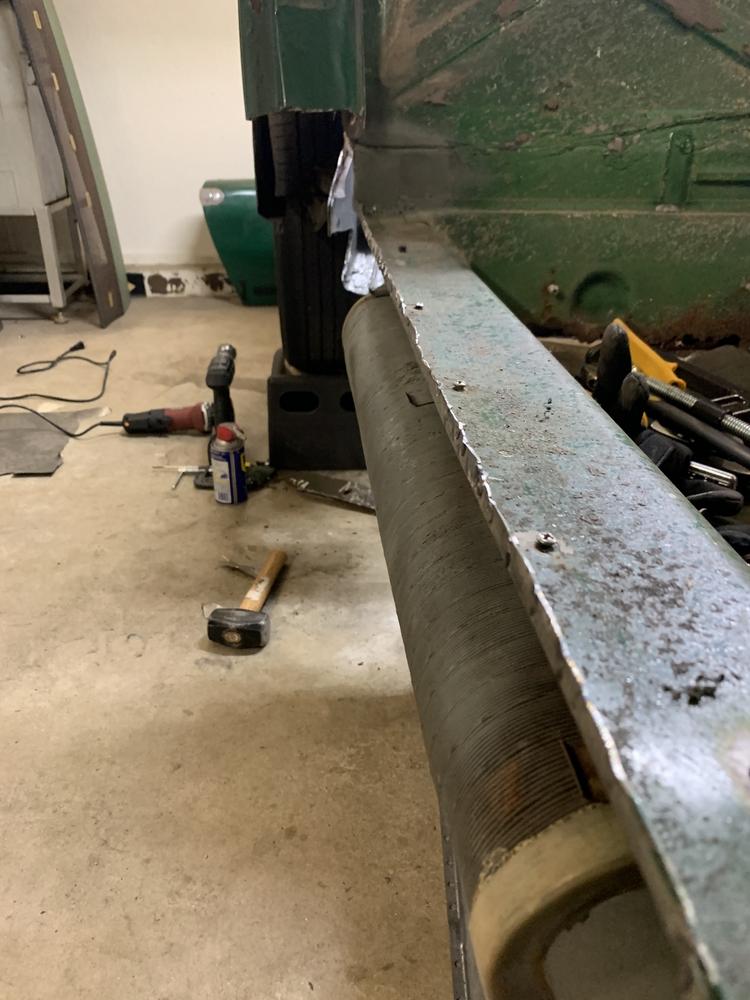
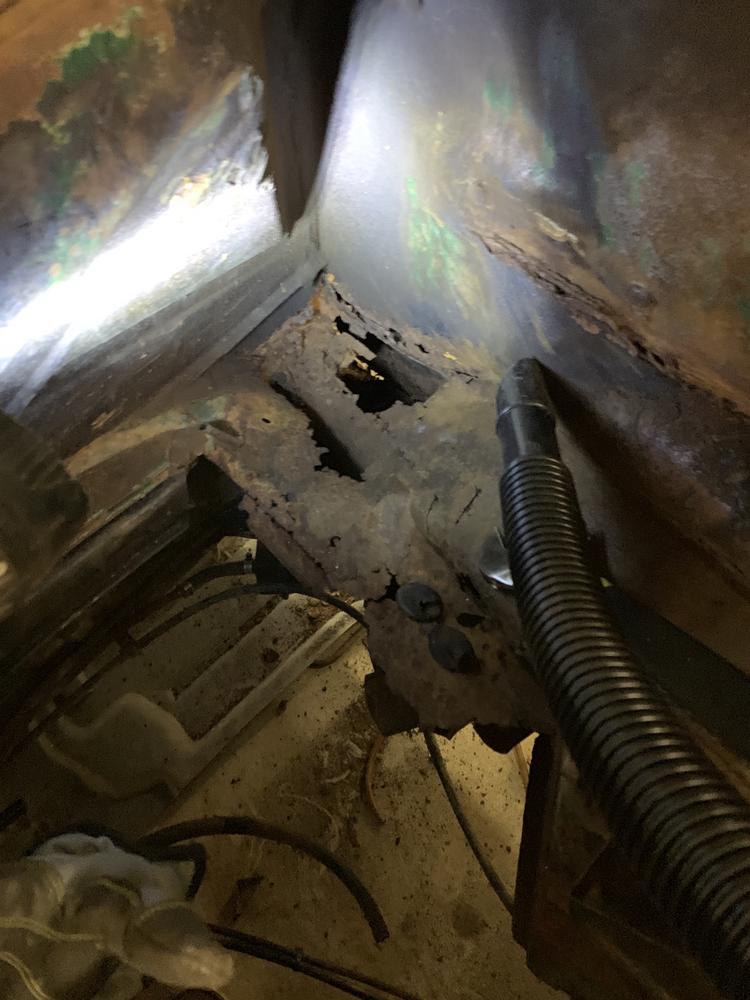
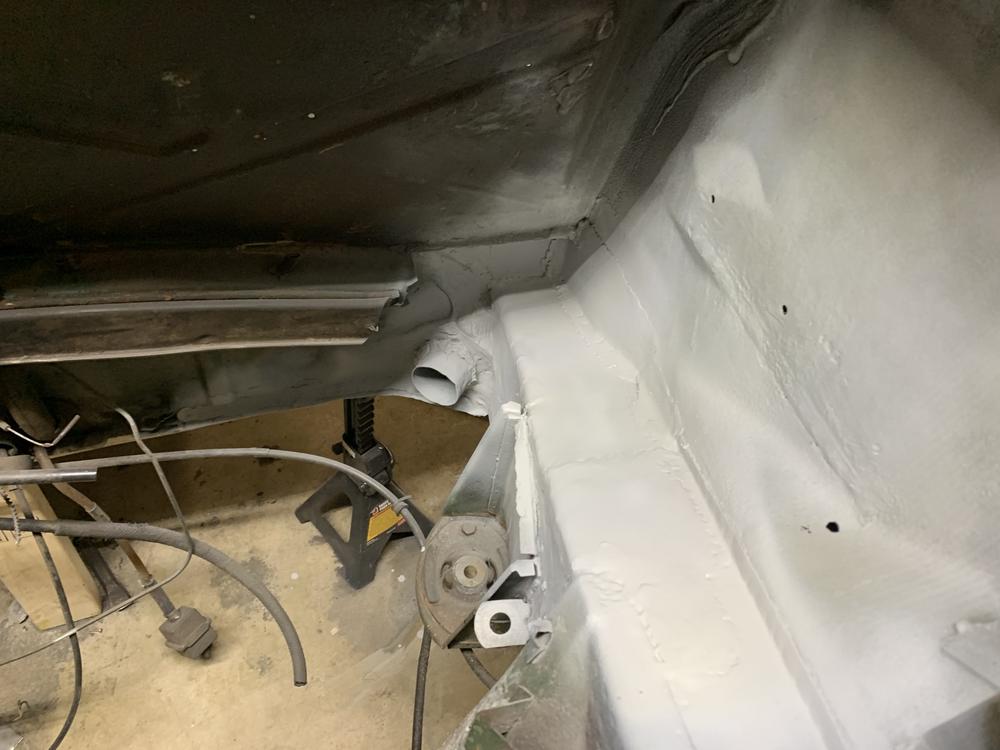
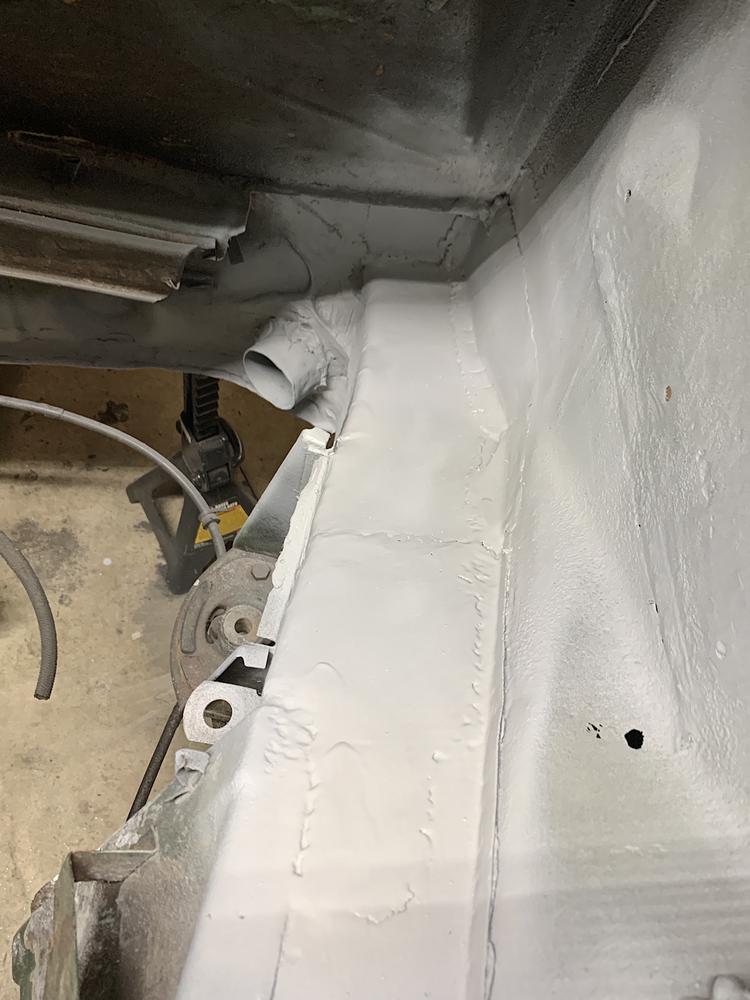
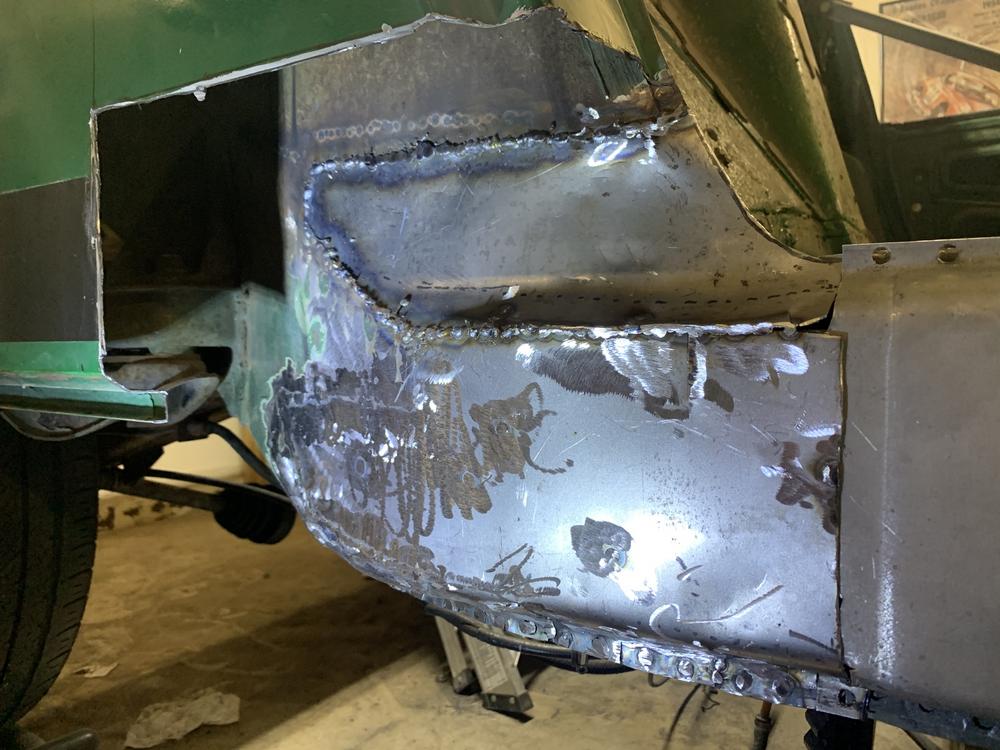
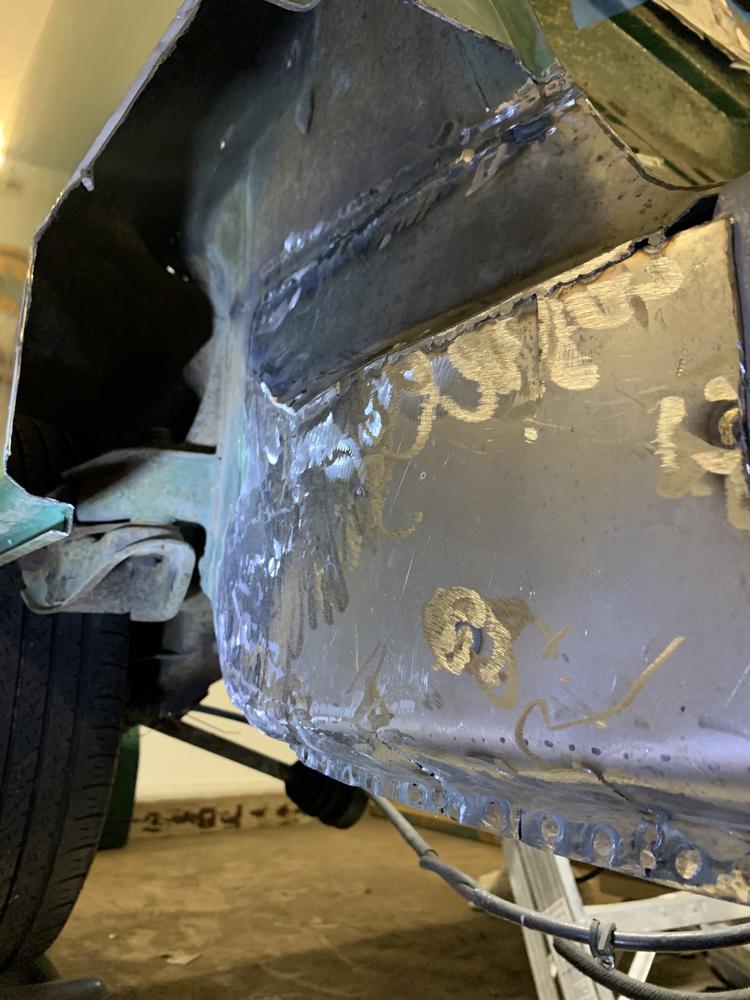
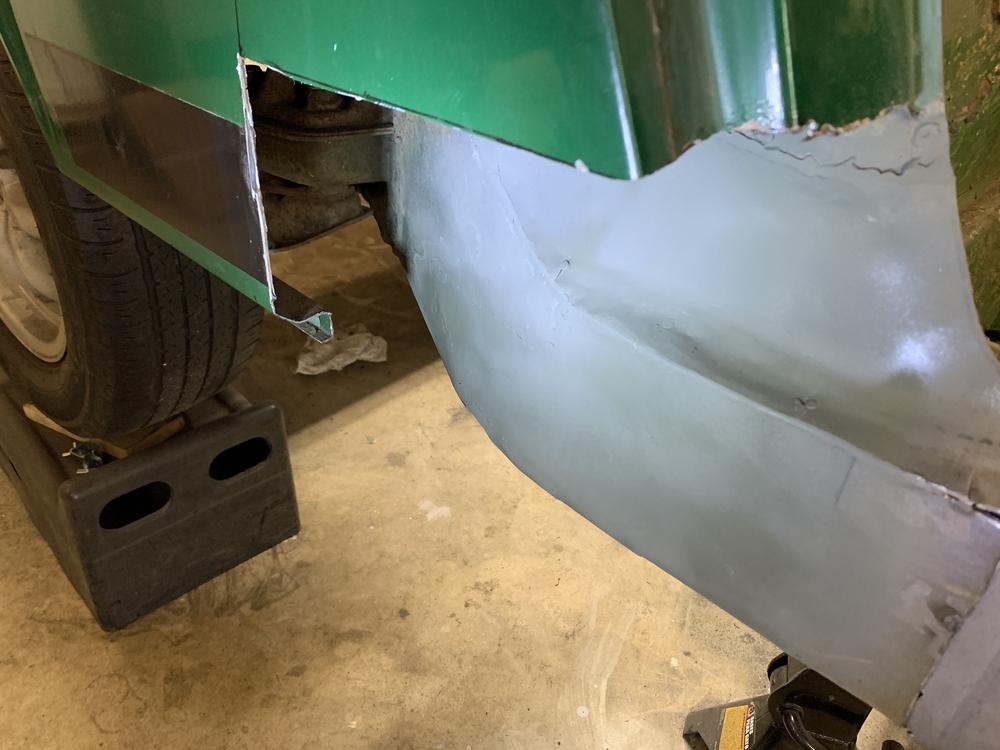
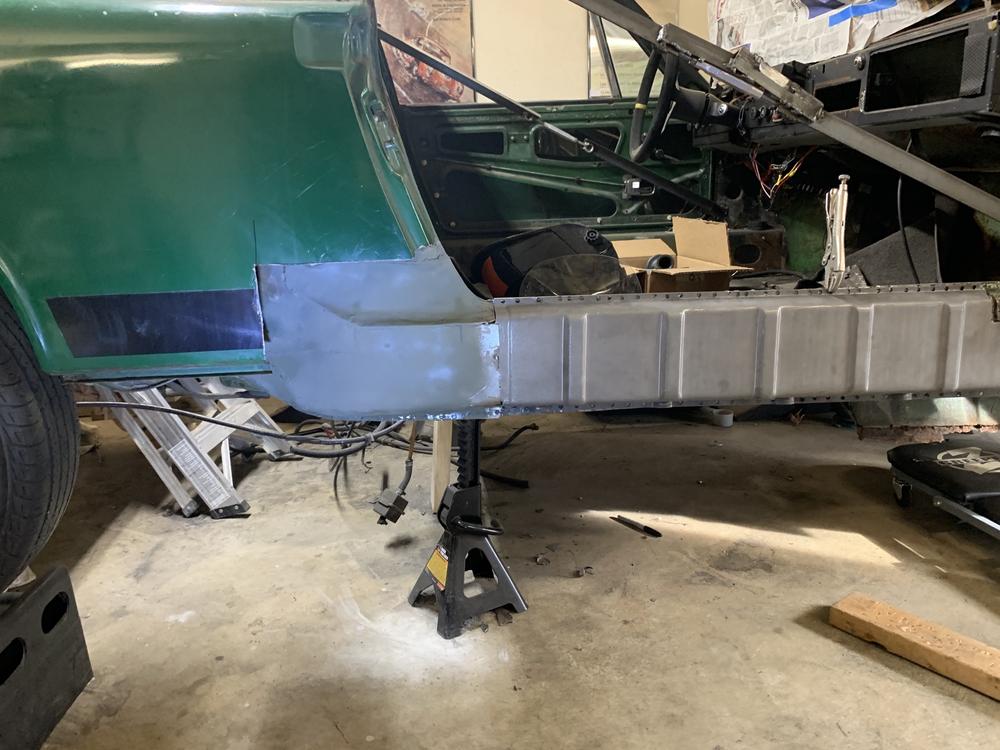
Fix as much rust as I can. (Hell hole, shelf, passenger long, floors)
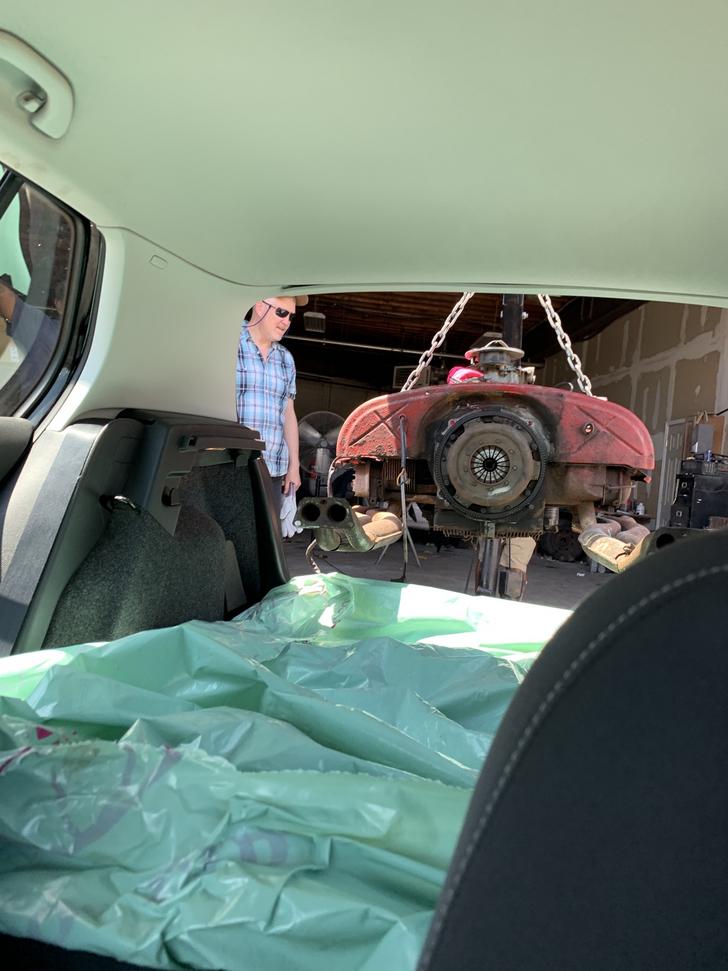
Drop in replacement motor
Run new brake and fuel lines
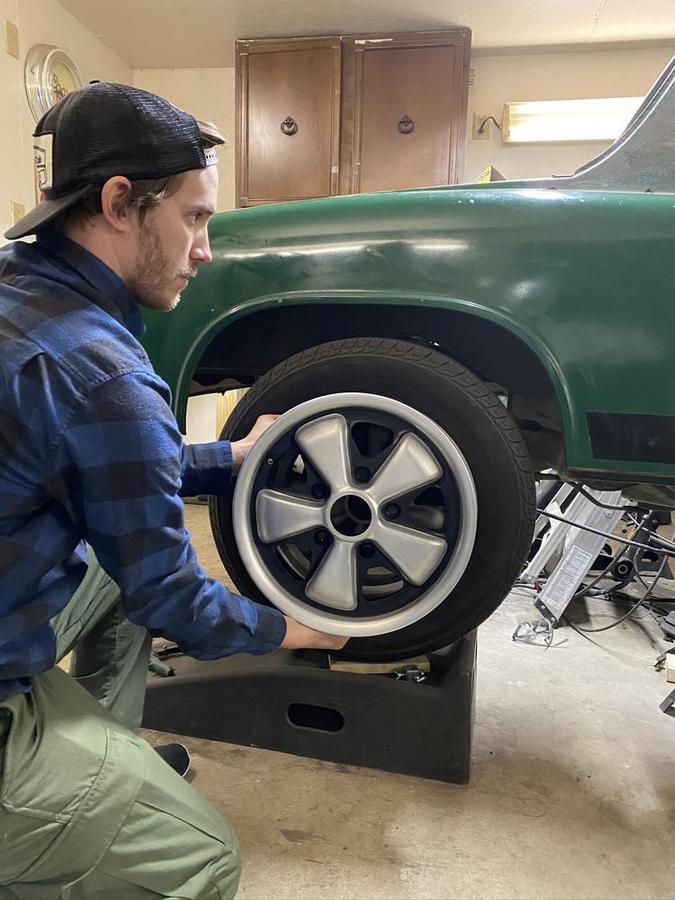
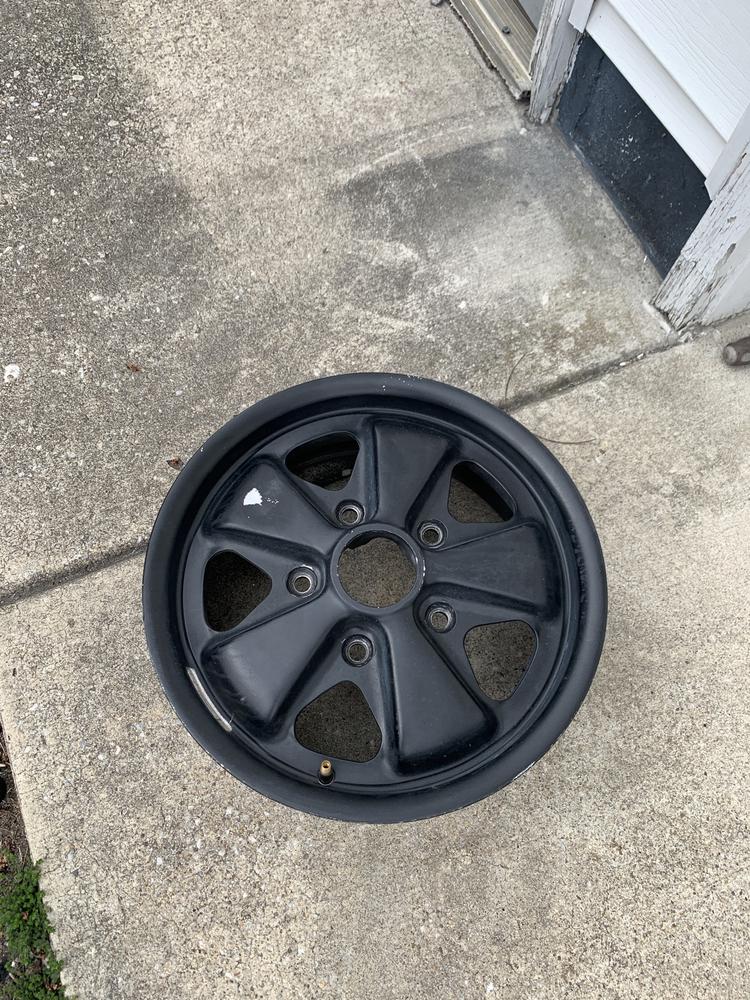
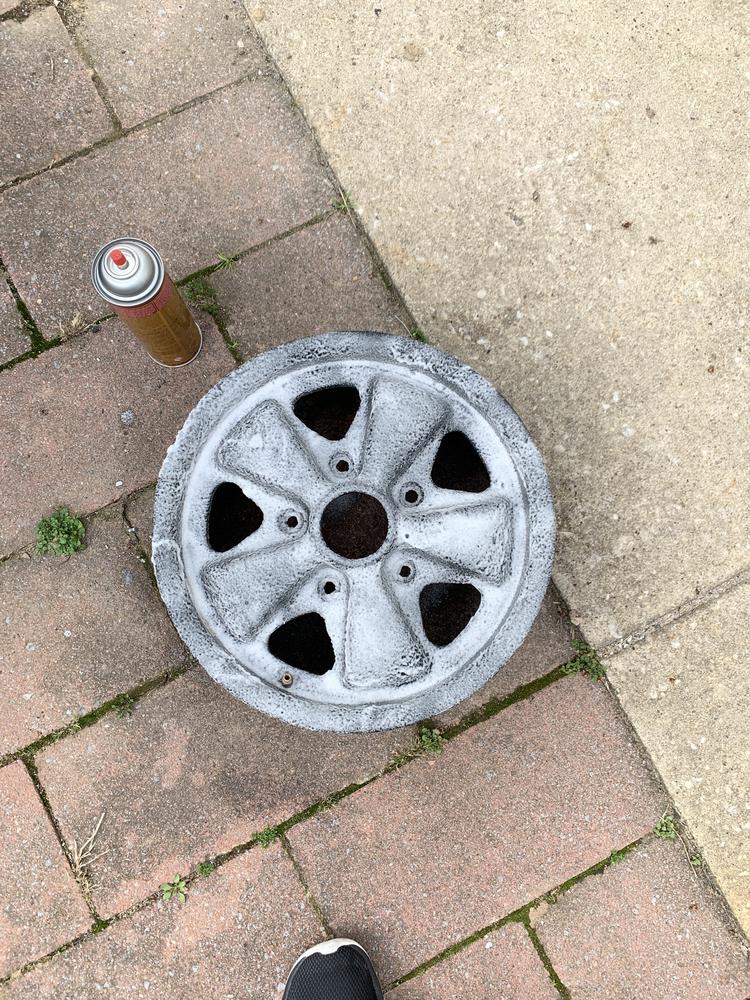
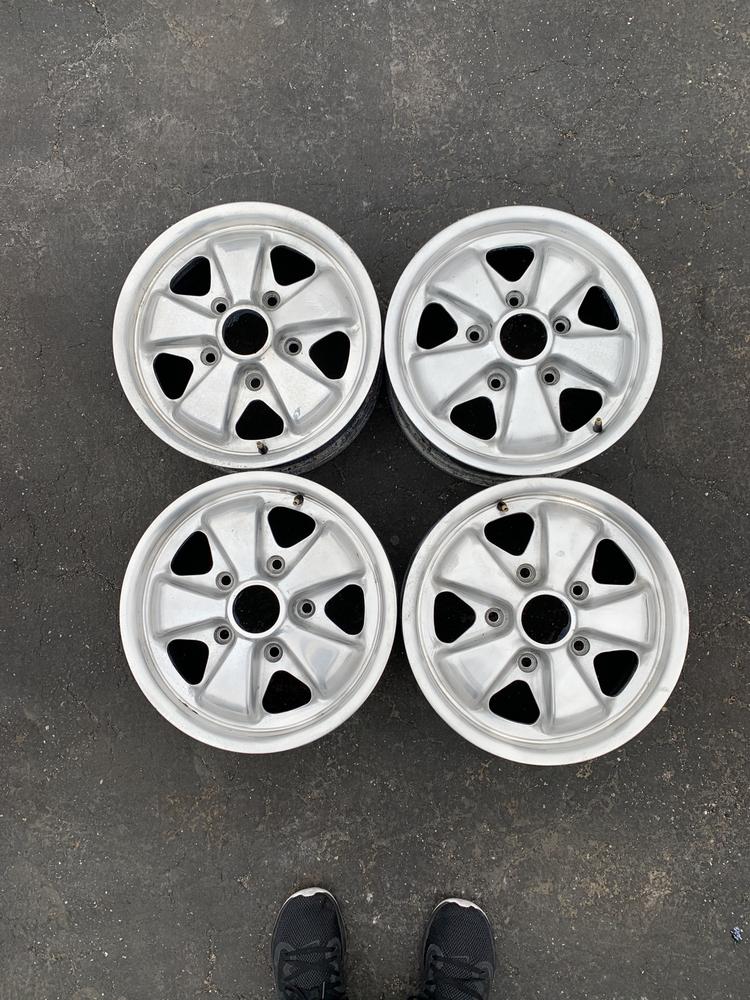
5lug swap.
2.0 down the road?
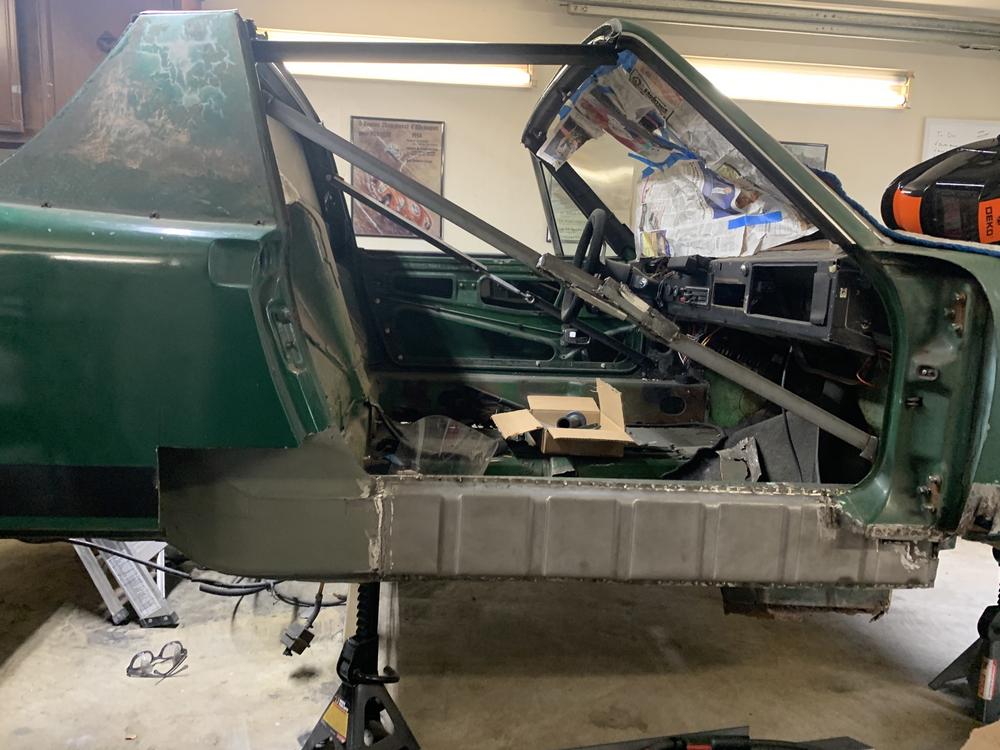
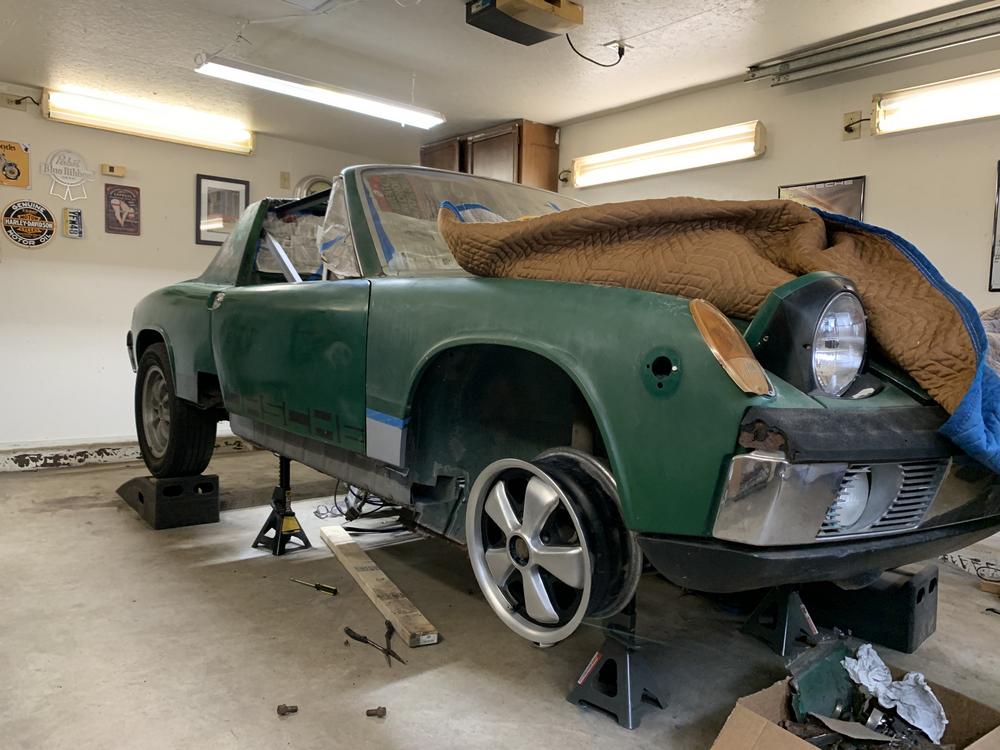
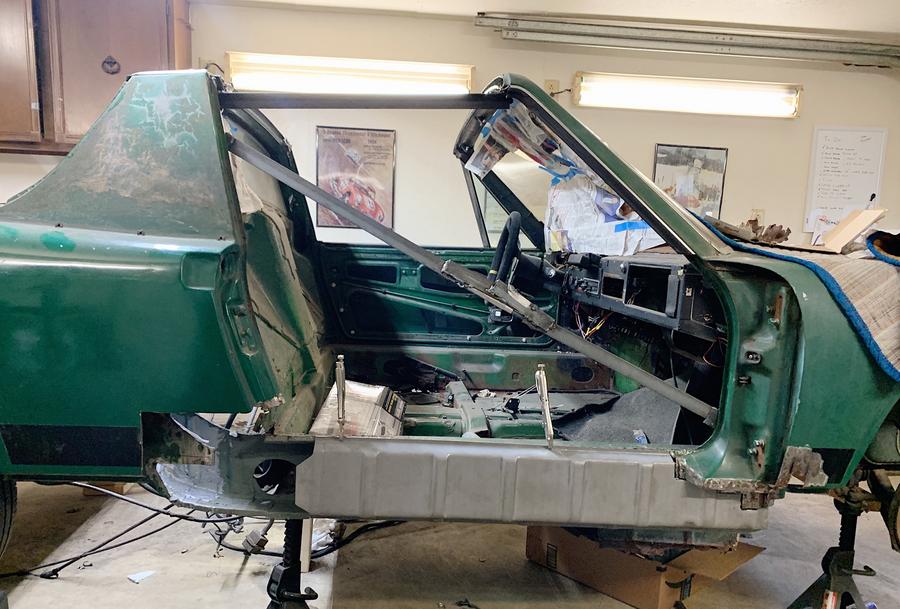
So what's been accomplished? As of July/2020
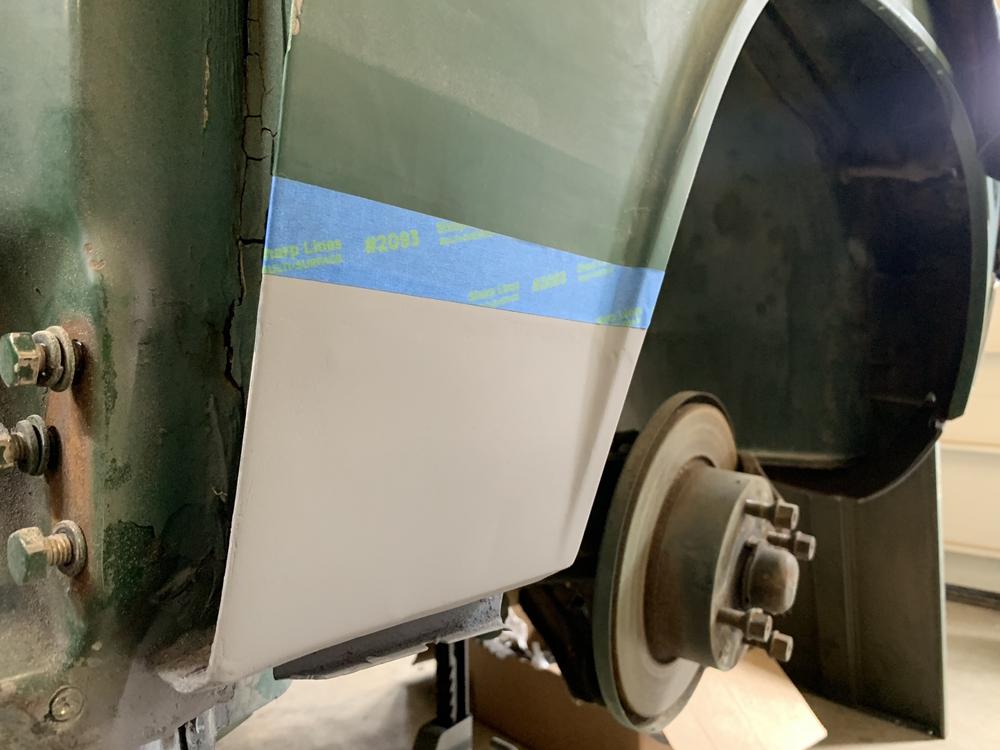
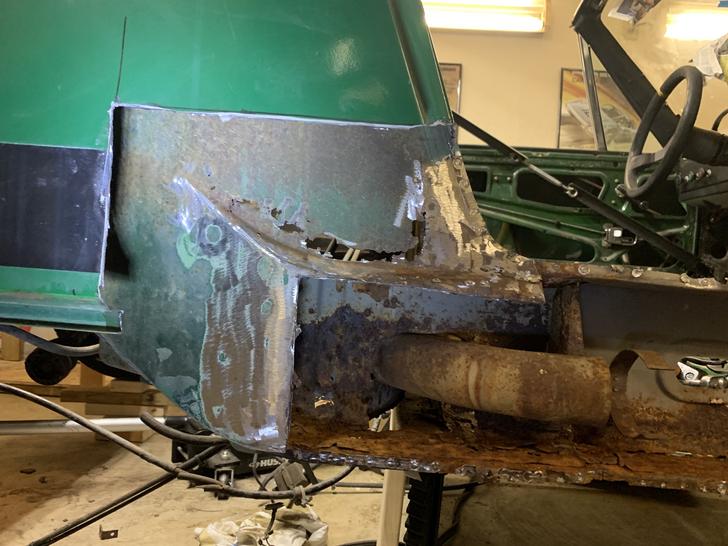
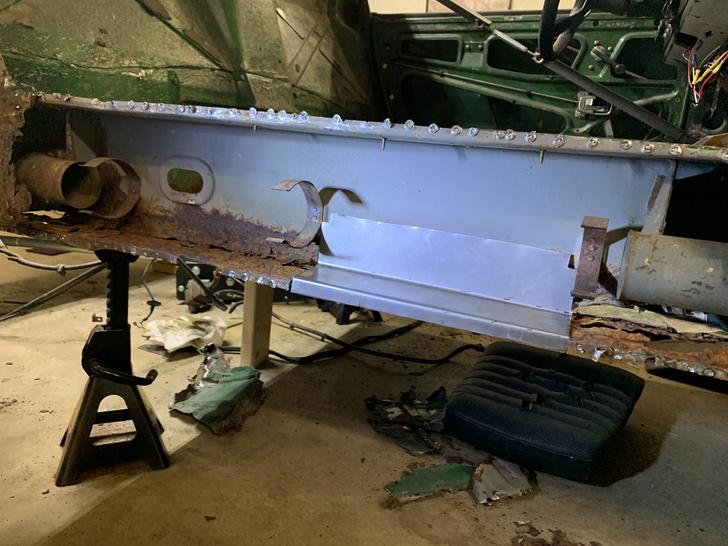
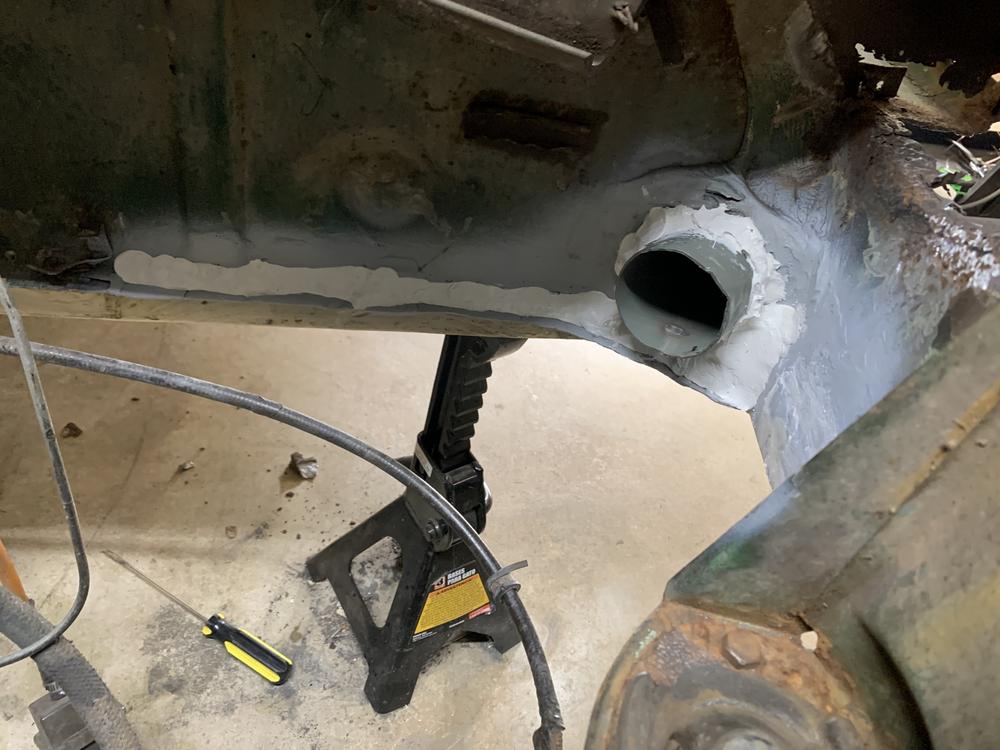
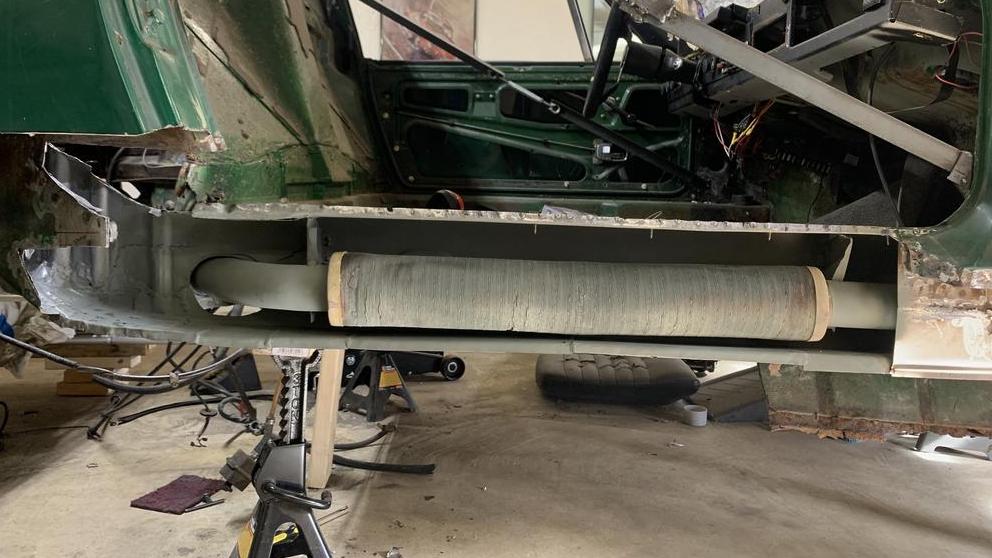
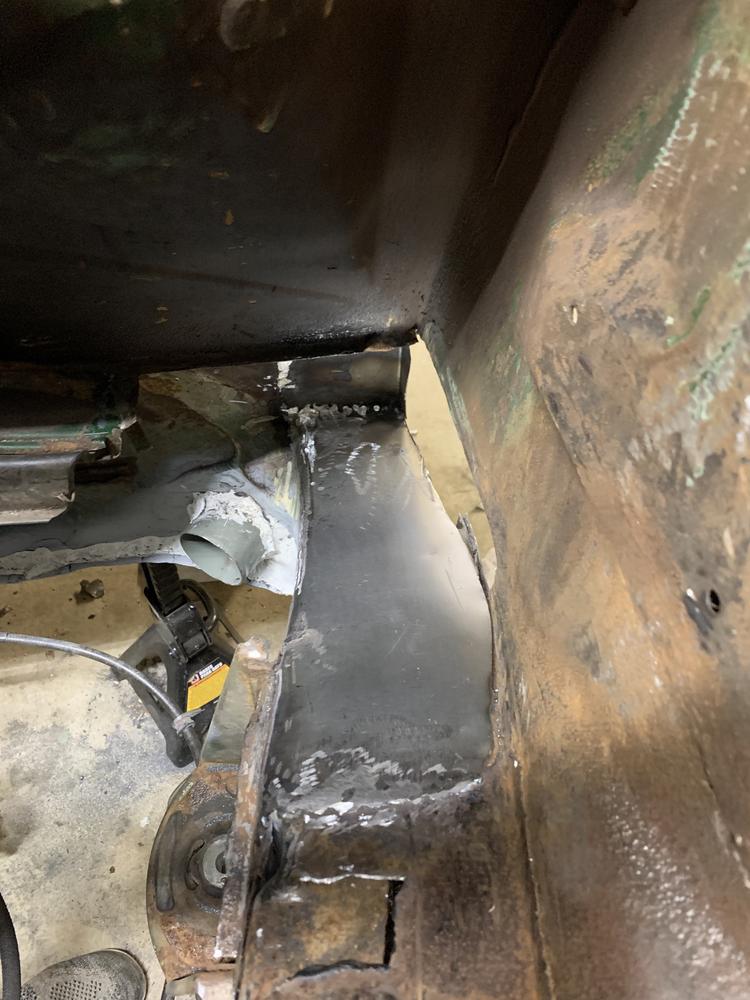
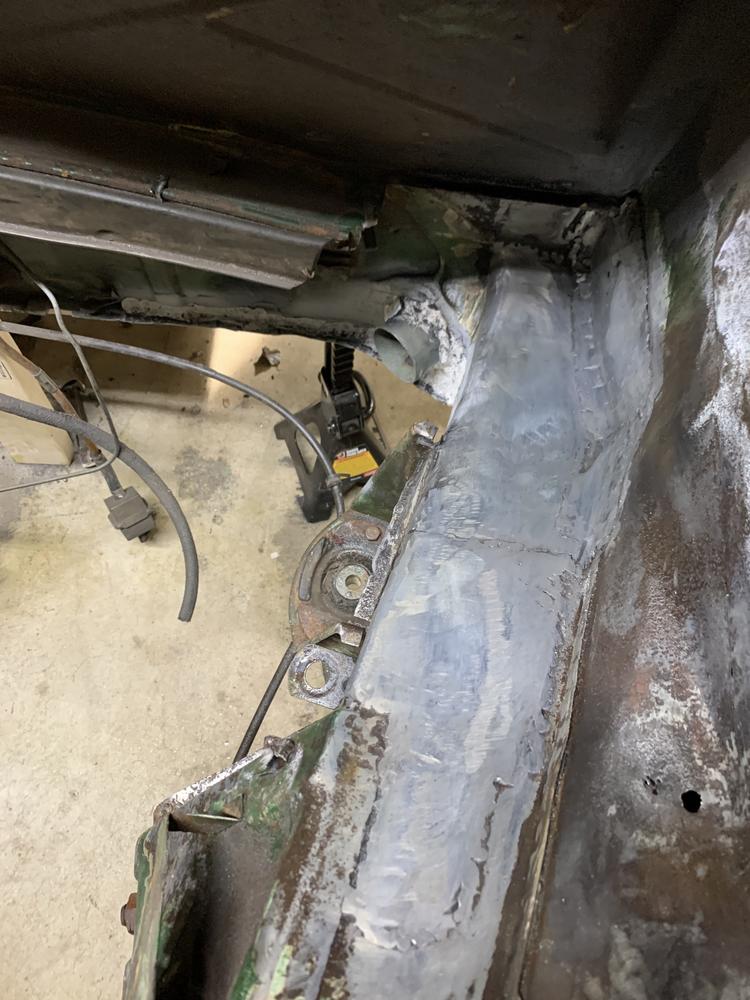
Structural rust fully repaired.
Top end of 1911cc is done, bottom end in the works.
5 Lug swap
Replaced all interior components.
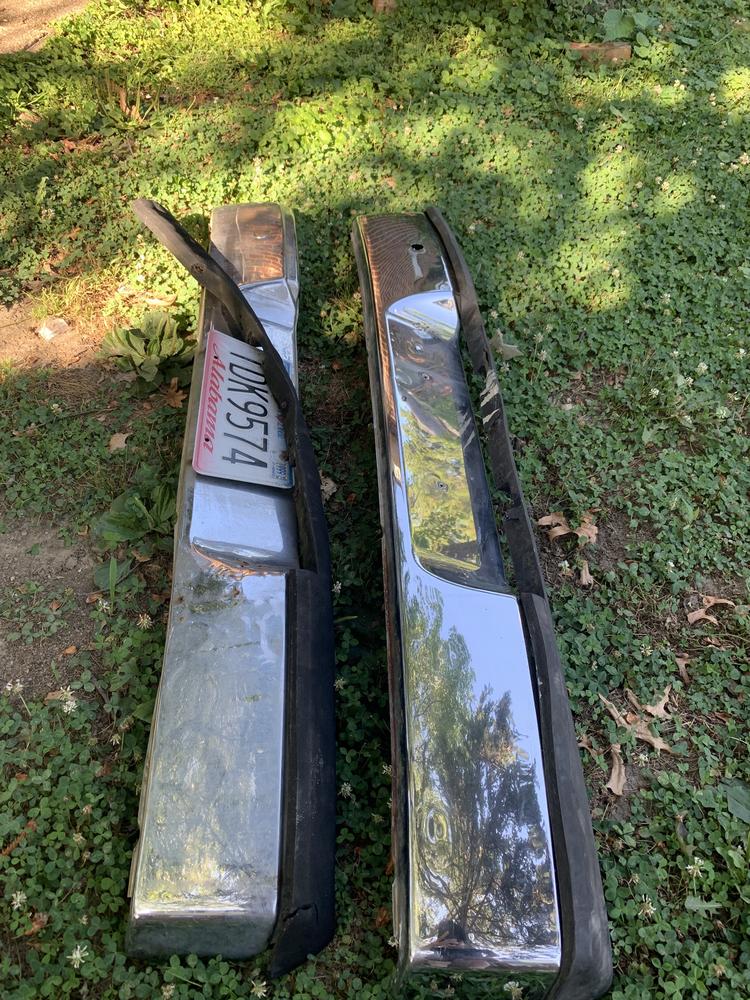
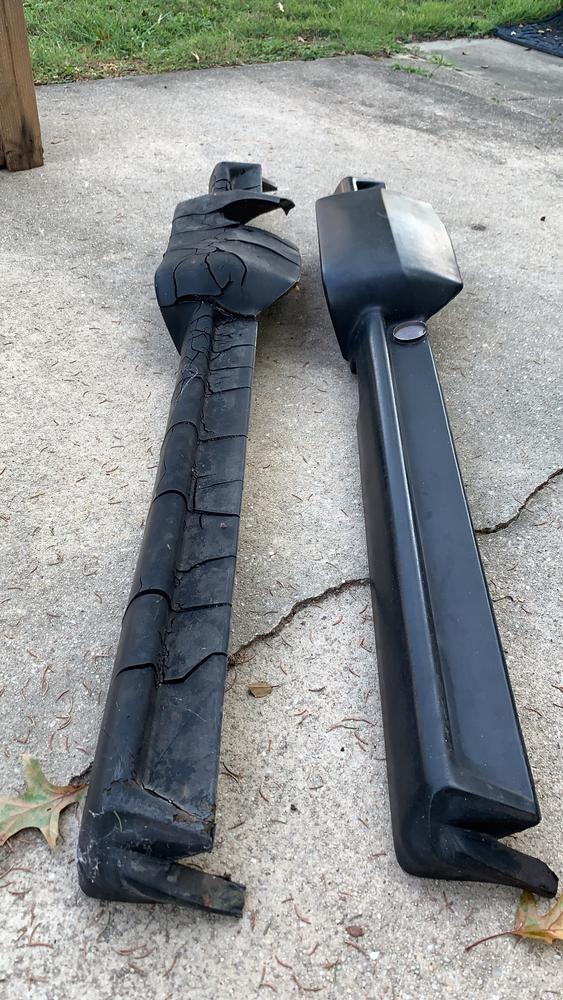
Tail and window rust, outer body rust
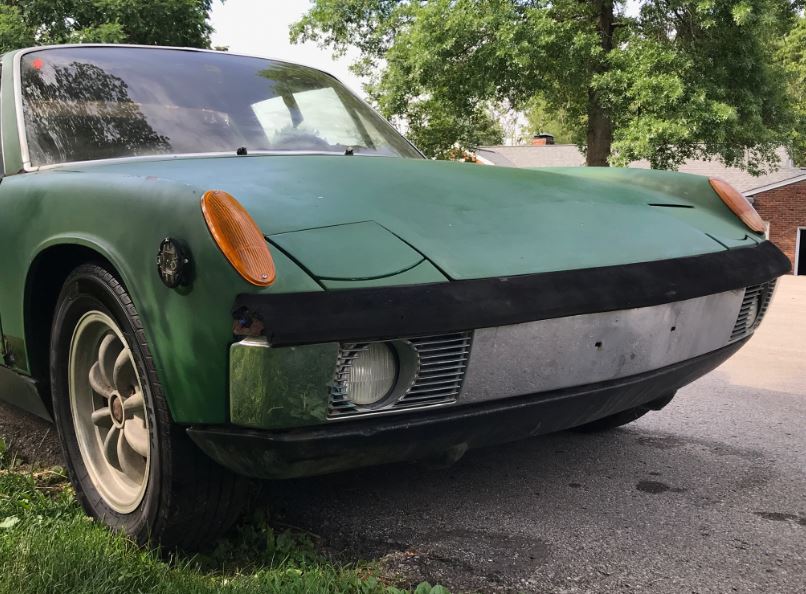
Side markers deleted.
924 Retractable seat belts.
Drank sh*tload of beer.
Spent a good deal of cash.
tons of other little things. So much stuff!
This will be a cars and coffee cruiser, not a concour restoration (sorry!)
I just want to drive MY 914!
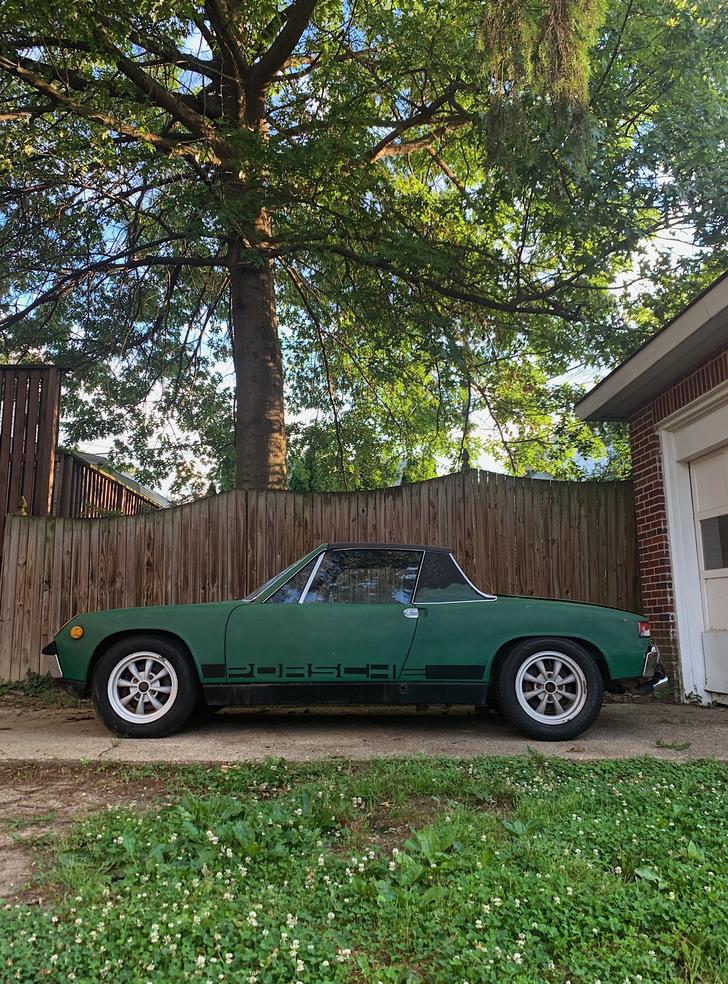
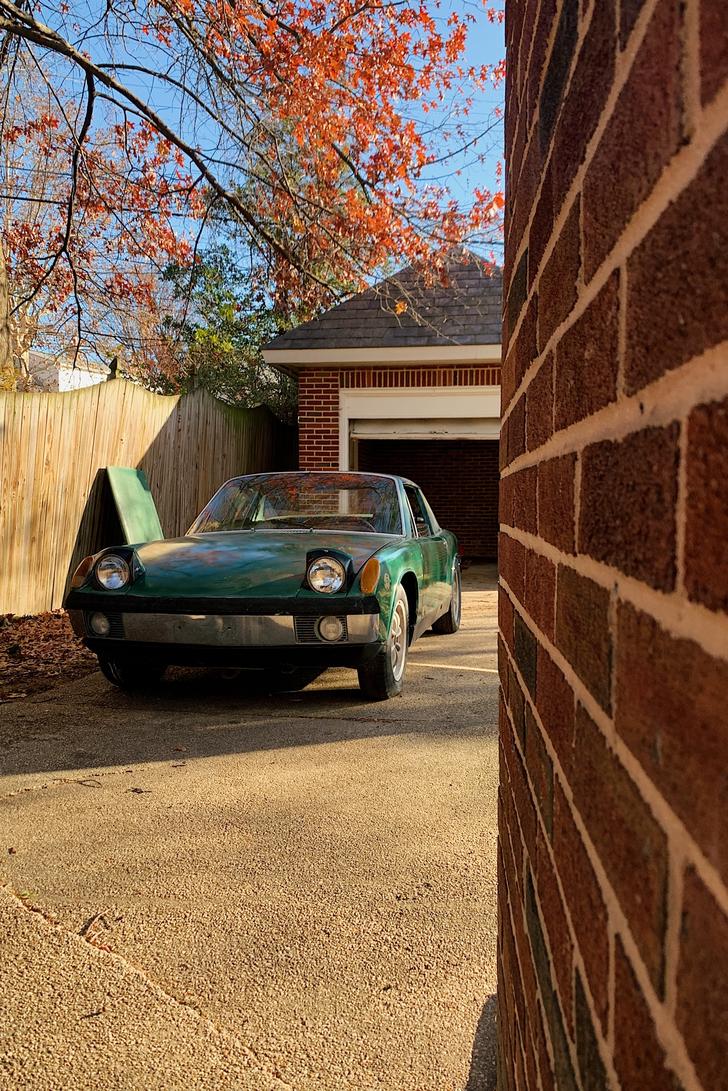
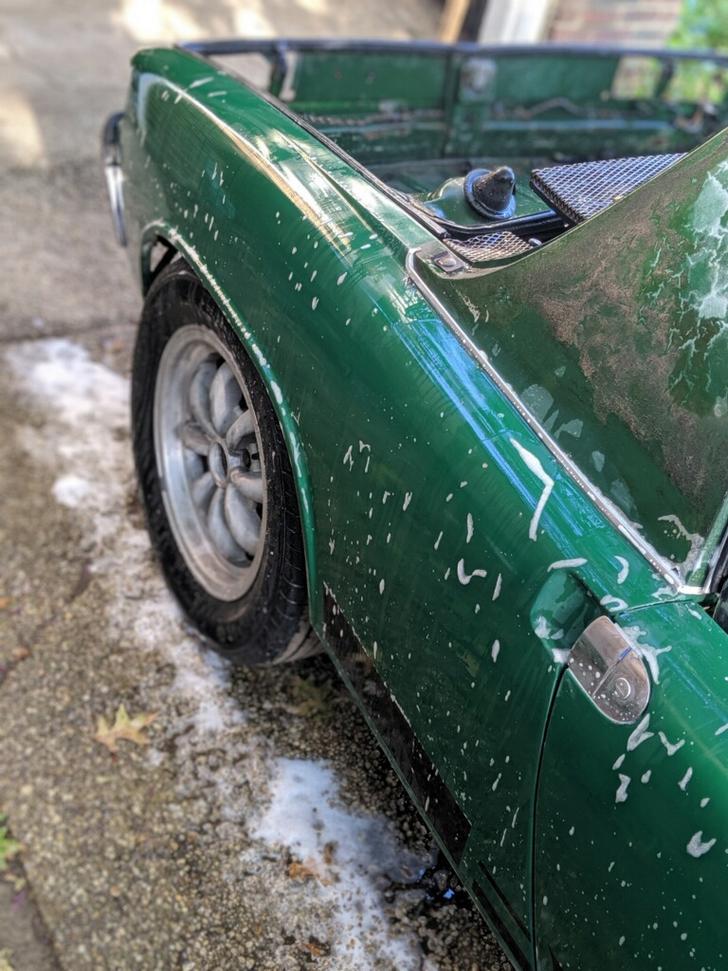
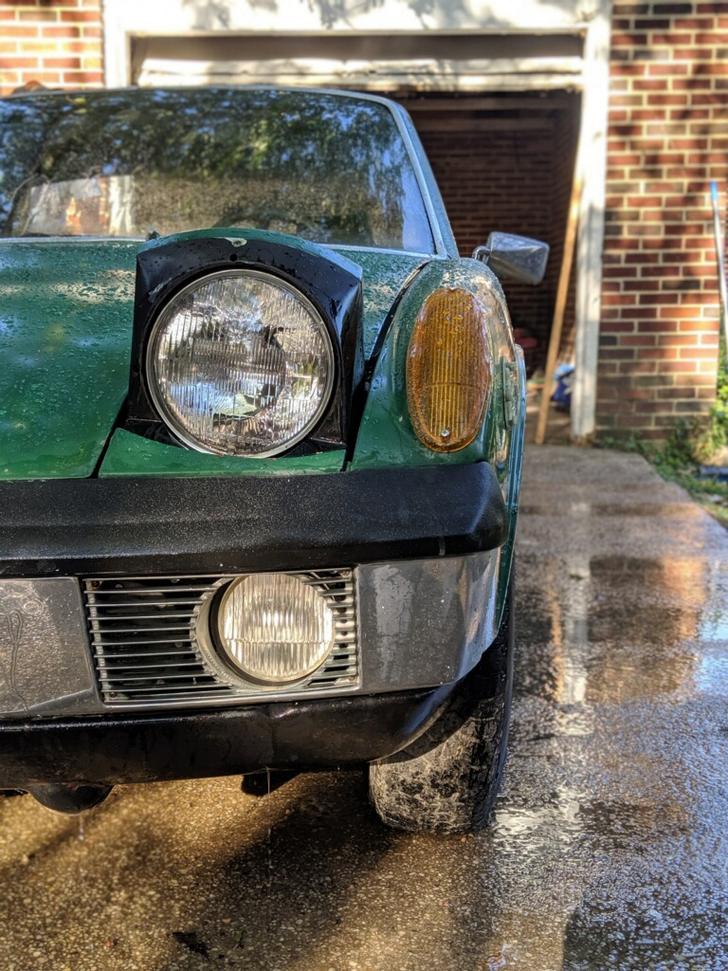
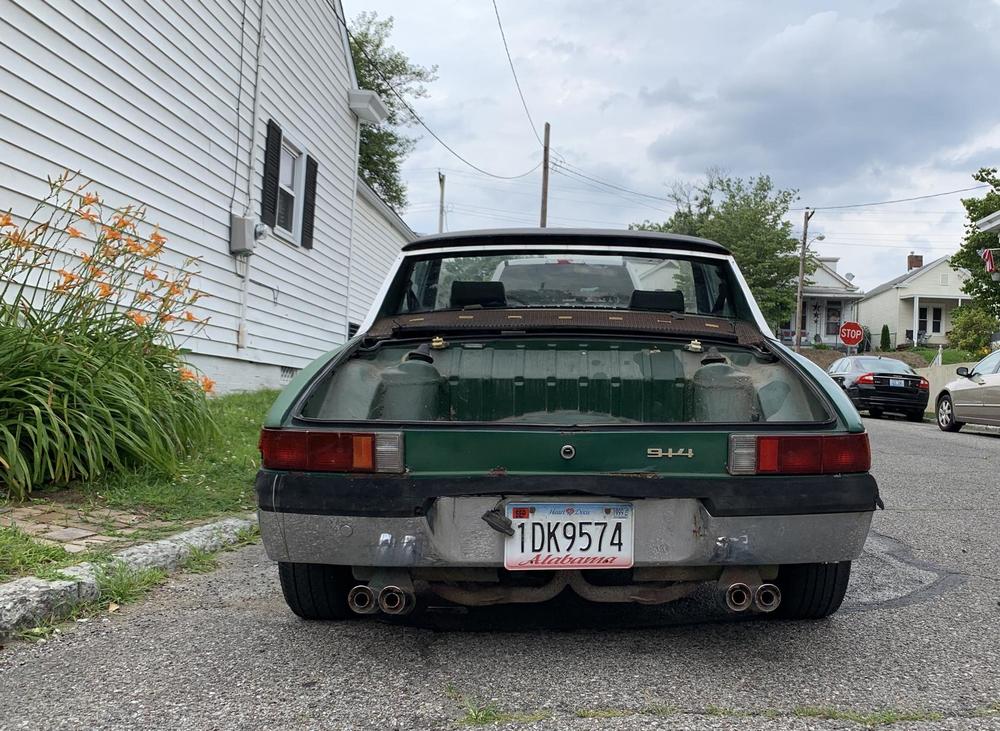
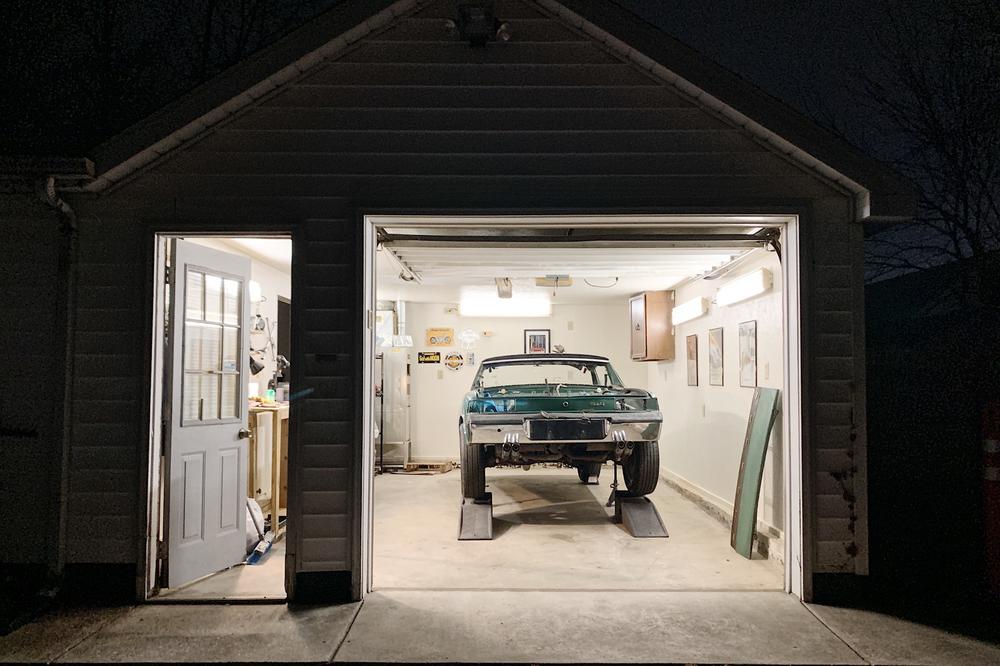
The car as I found it:

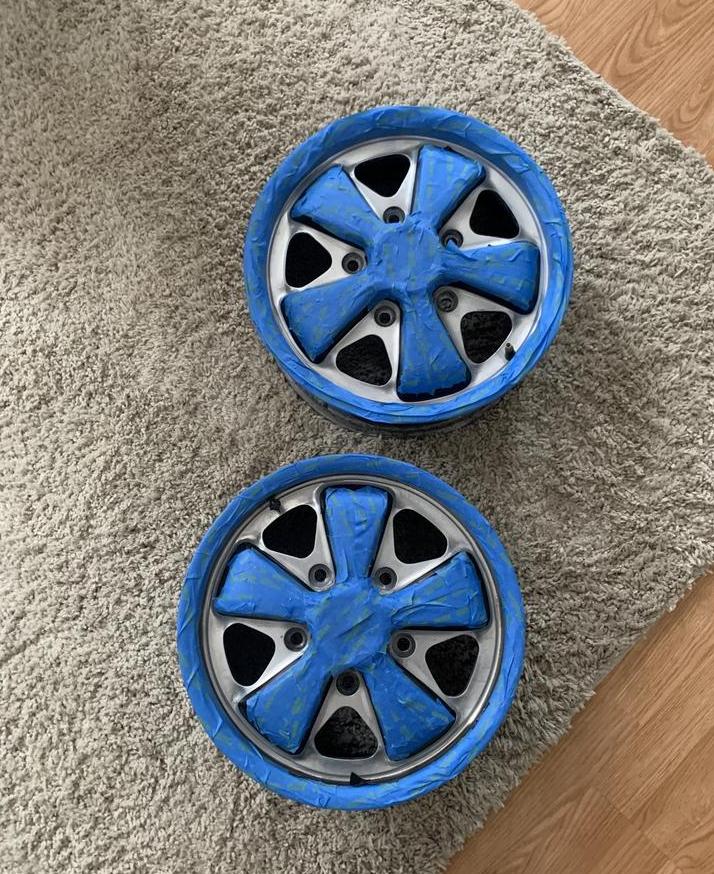
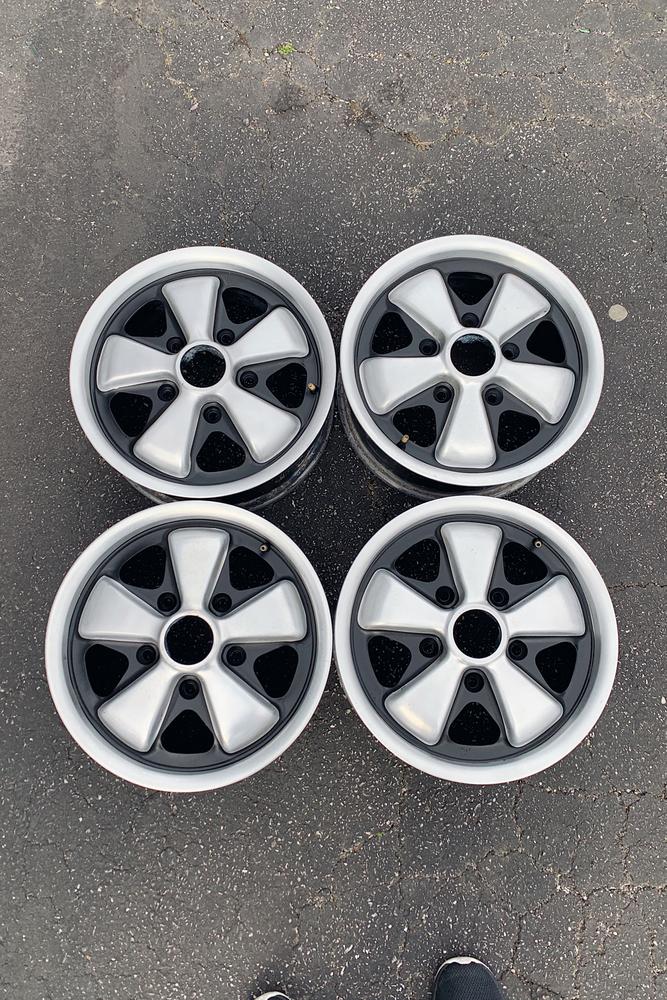
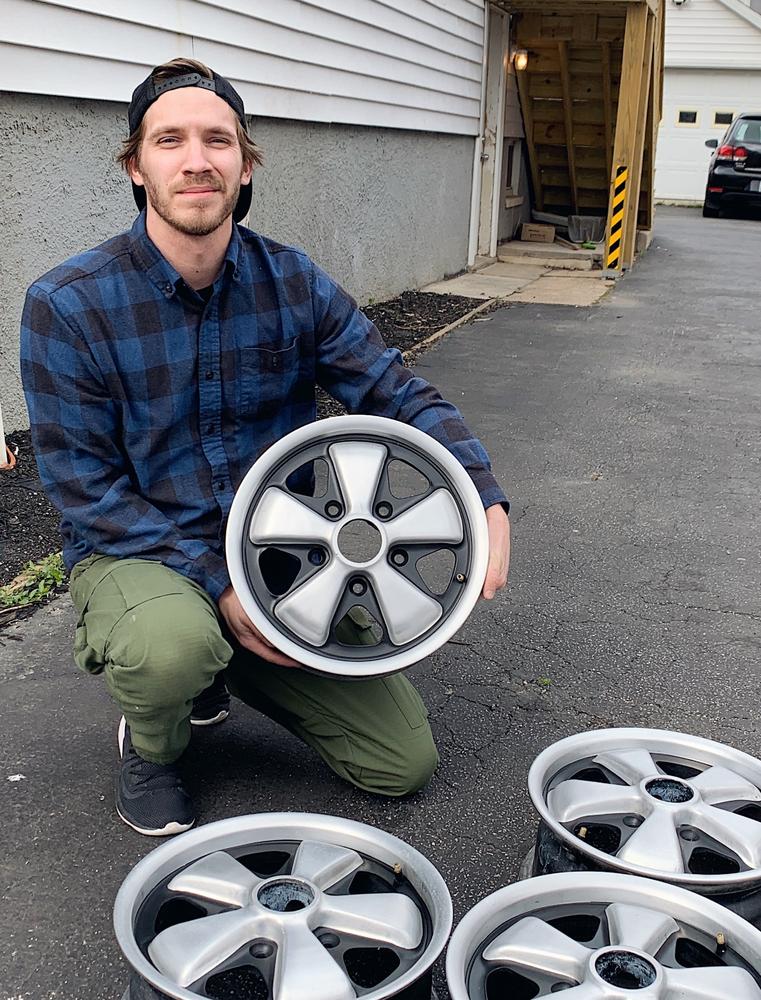
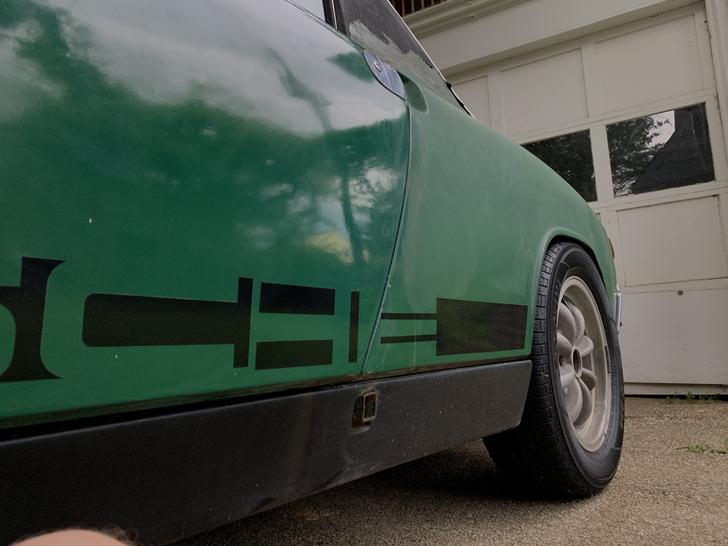
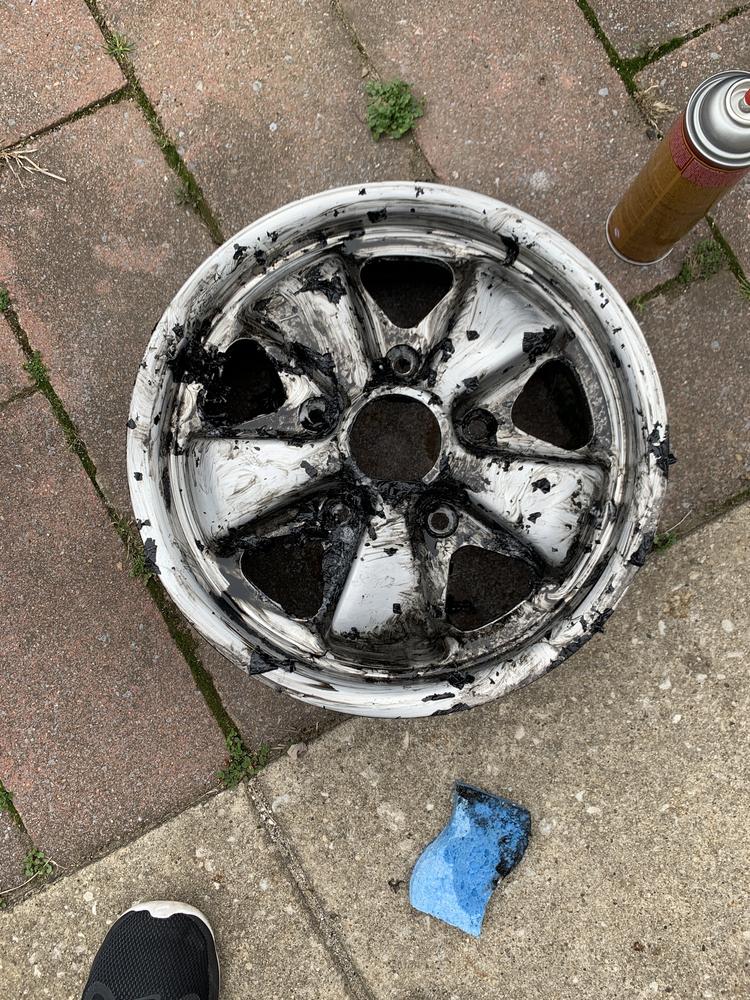
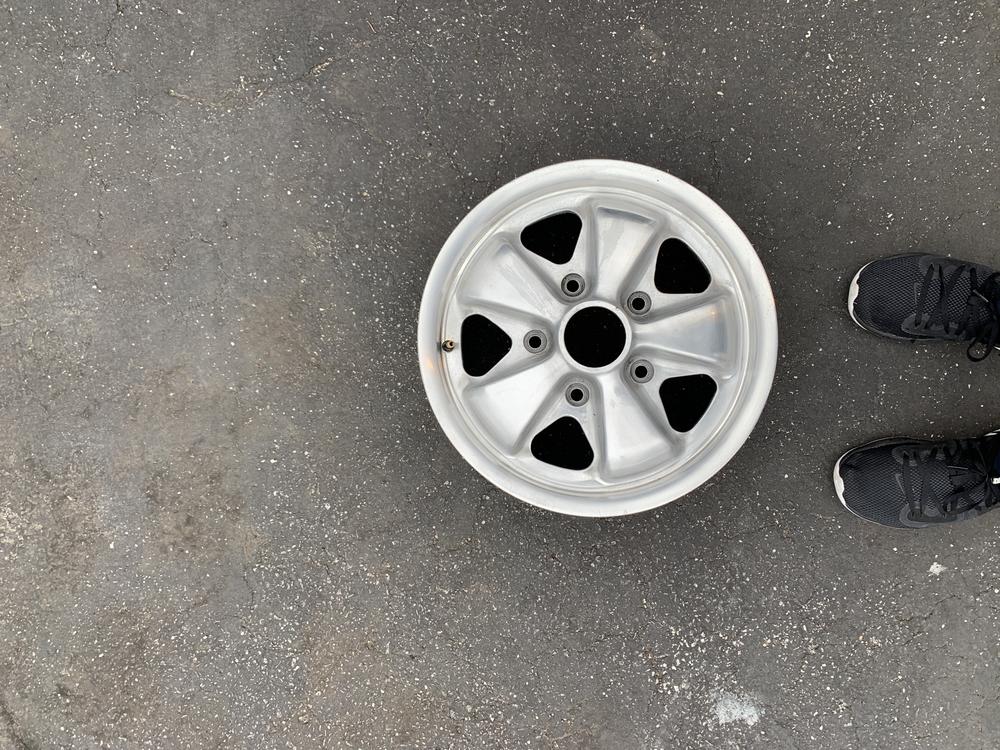
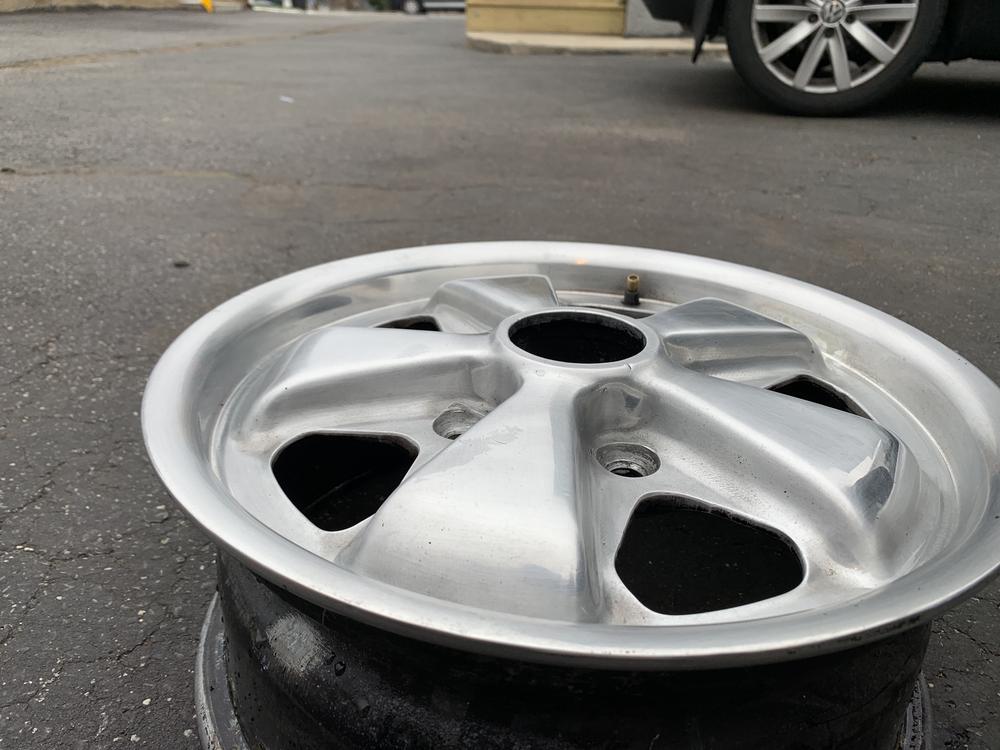
Quick Buff:
 Looking forward to seeing the progress on your project.


 Glad you have some some help.
![popcorn[1].gif](http://www.914world.com/bbs2/style_emoticons/default/popcorn[1].gif)
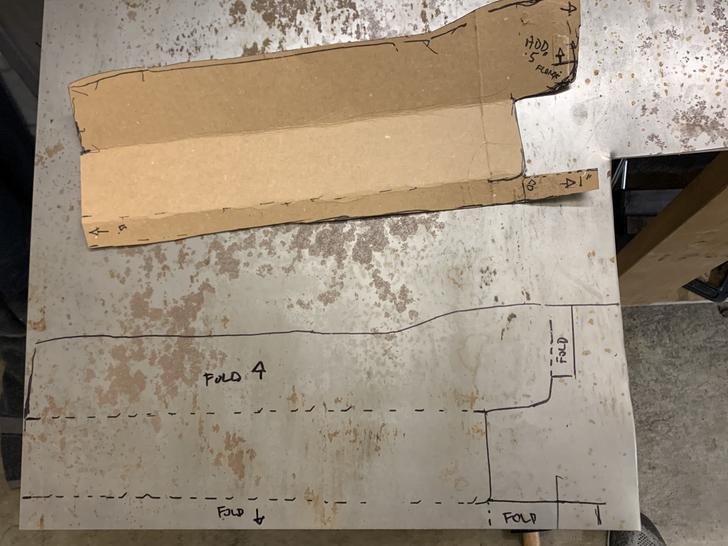
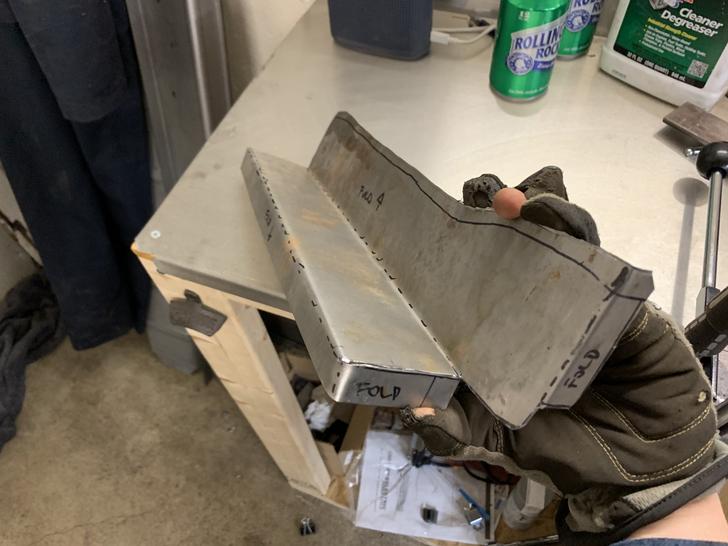
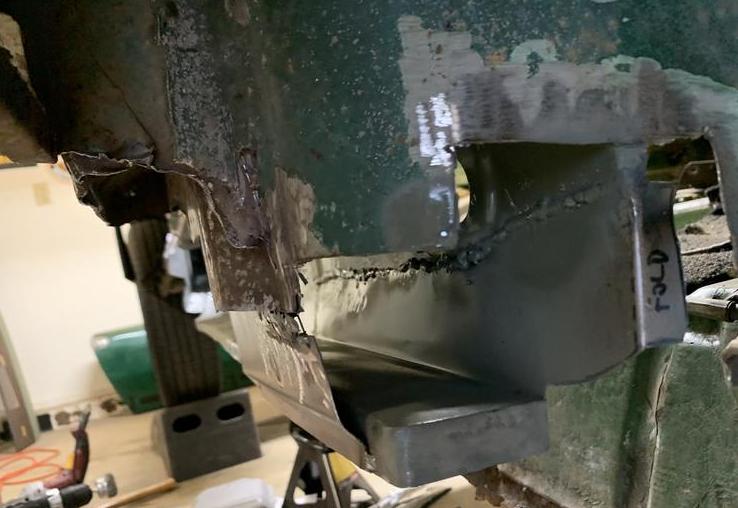
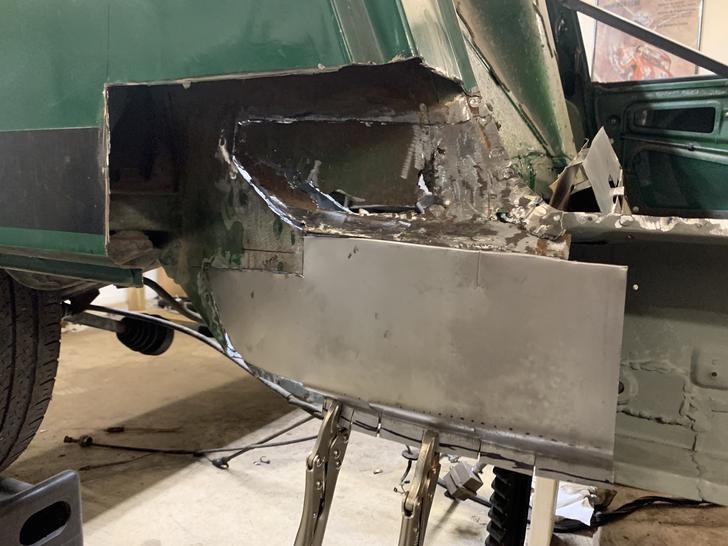
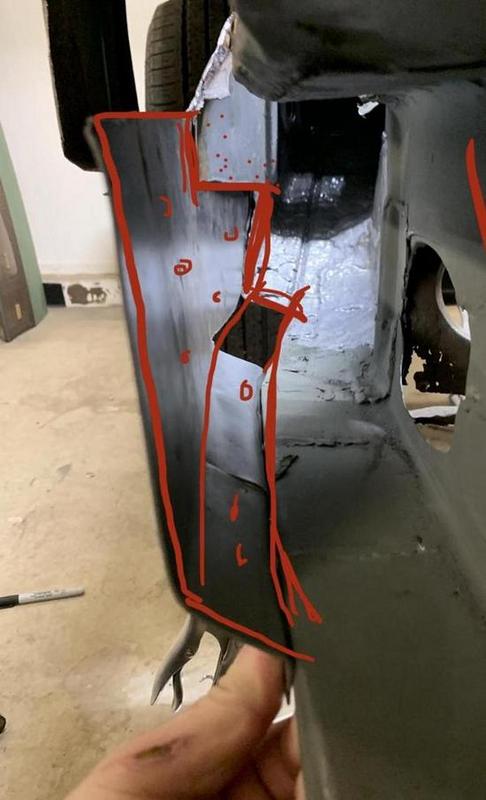


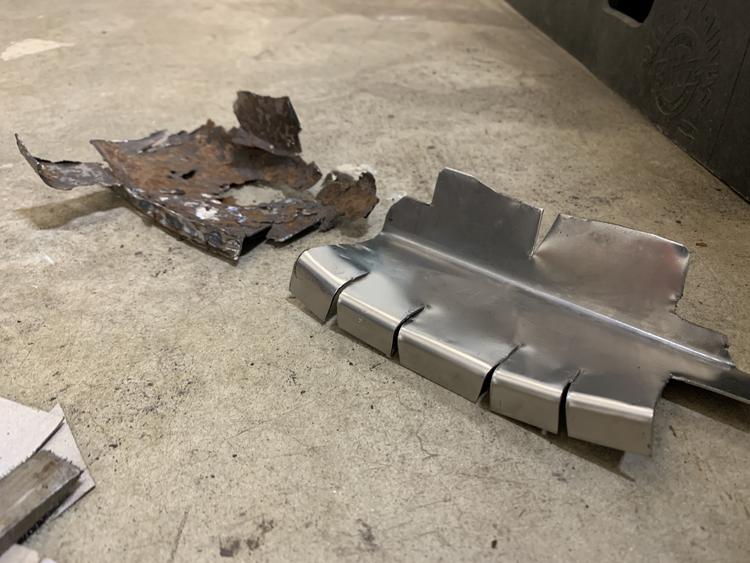
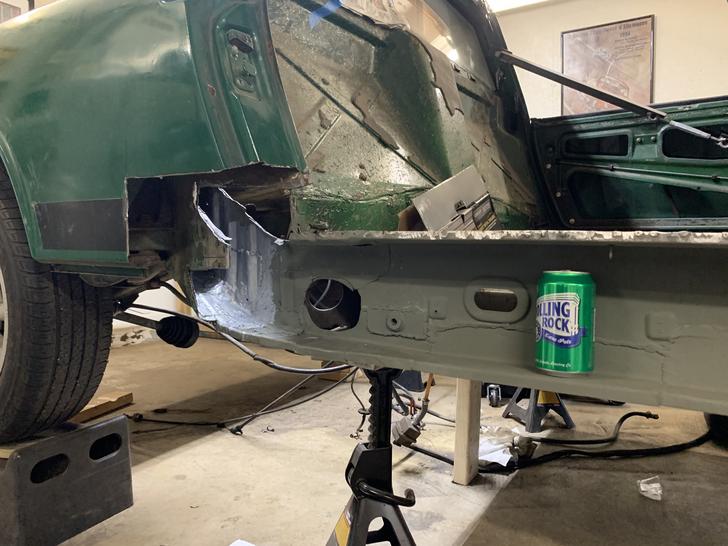
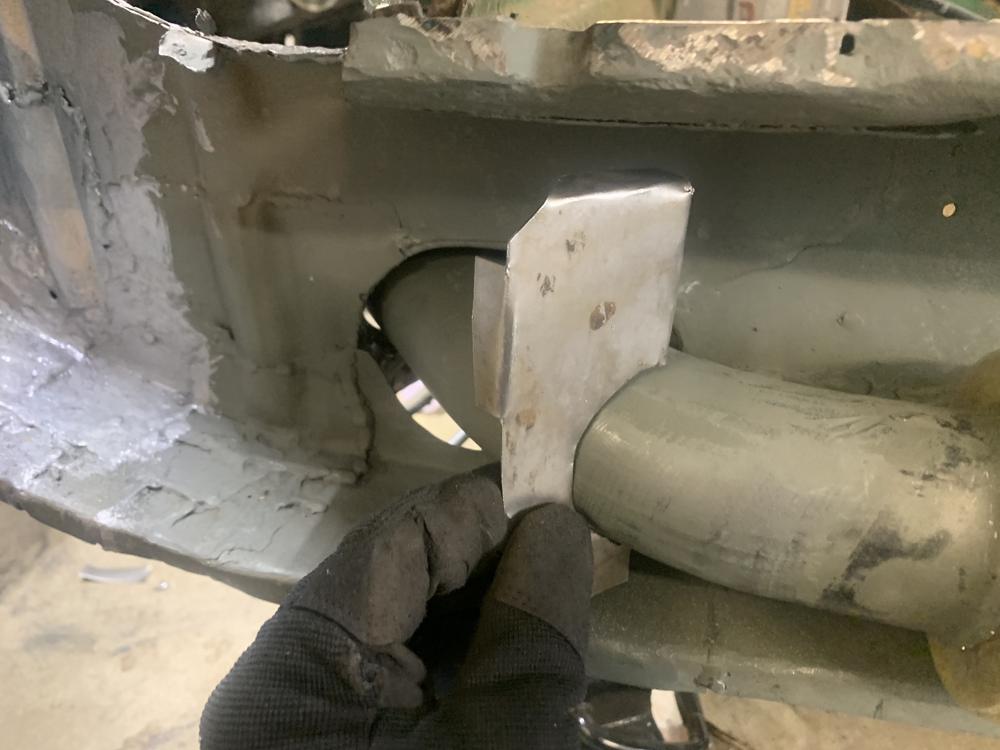
 I think that was probably the hardest patch I had to do on my whole car. Like you said, not an easy place to weld... And I did mine while my floor was off which eased the pain at least a little.

 ).
). 


 Certainly has been tough finding the balance. Thanks B!