Hey fellas!
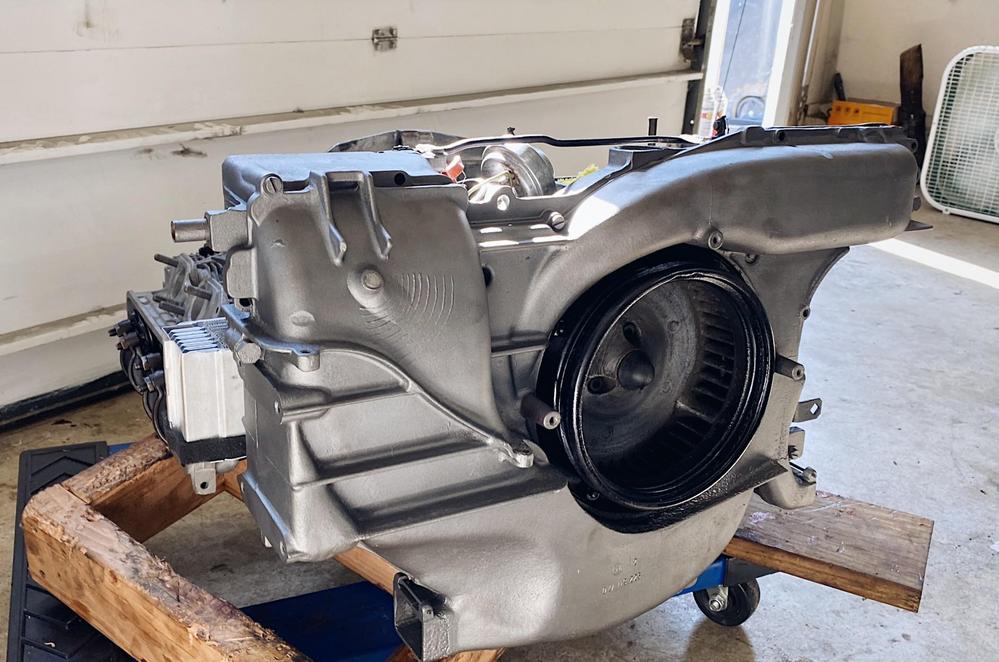
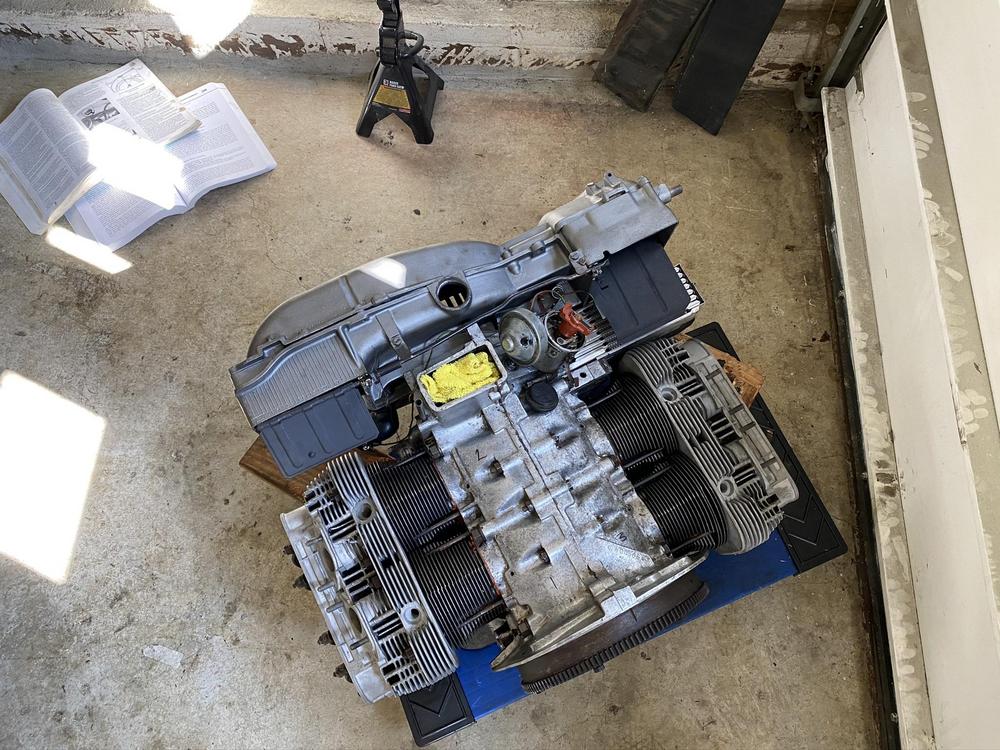
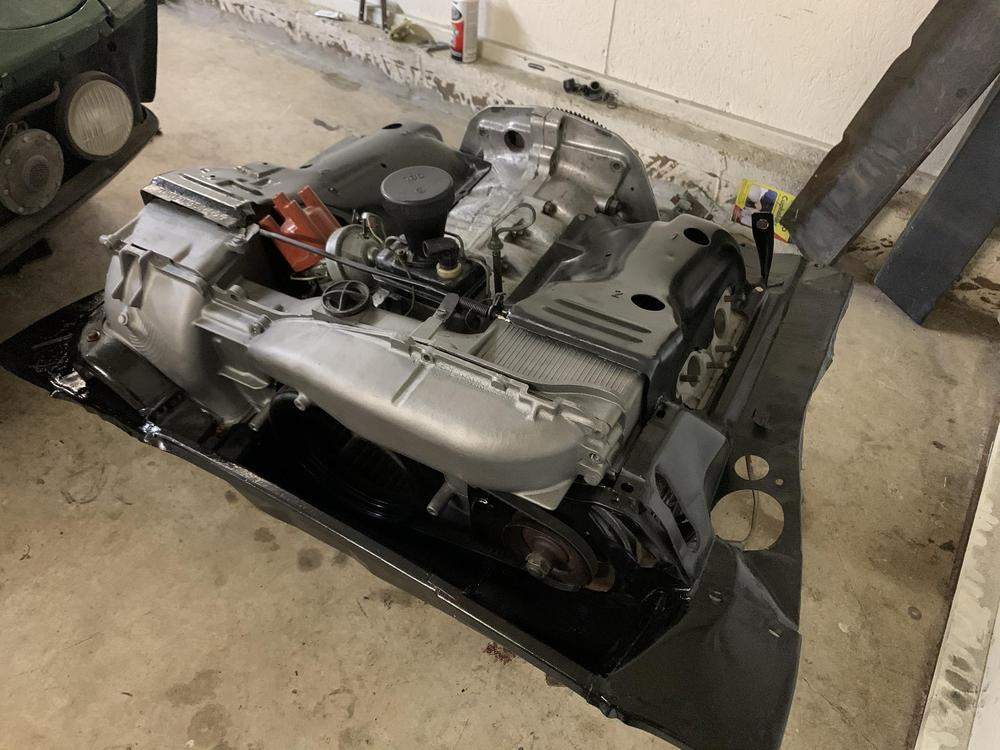
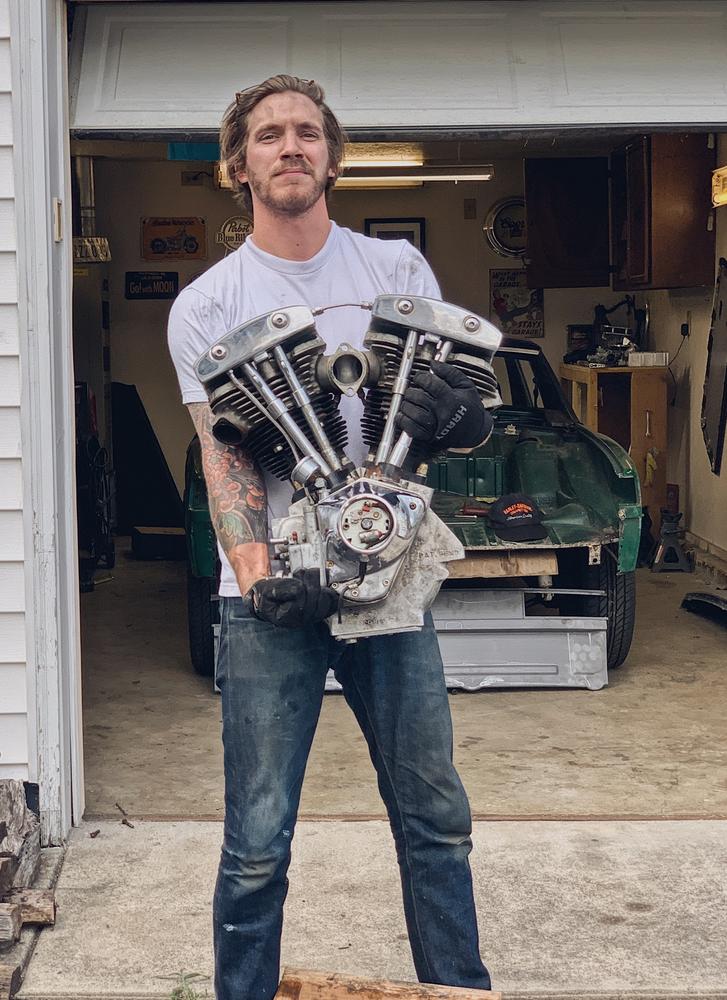
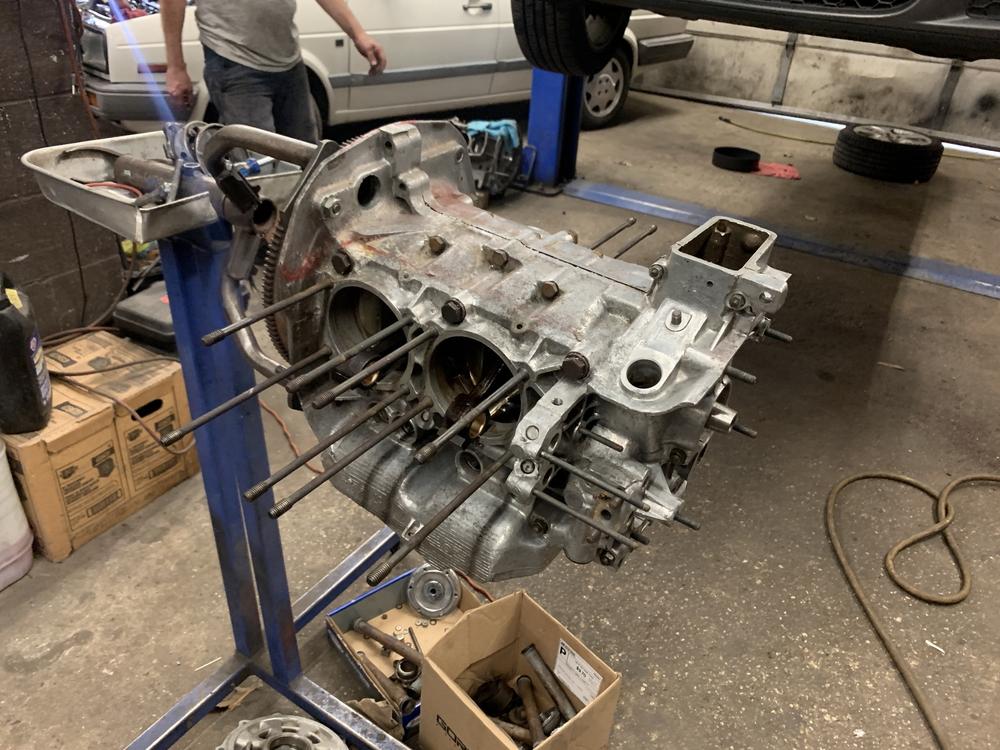
Happy 9/14 day!!! Today was my loose goal for getting the motor running (or driving the car)
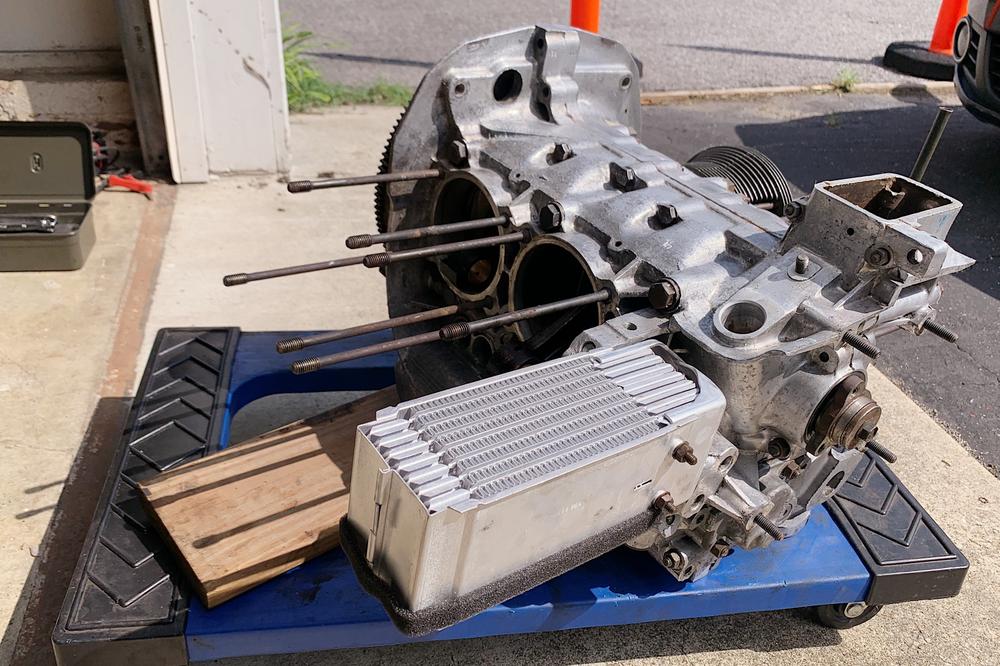
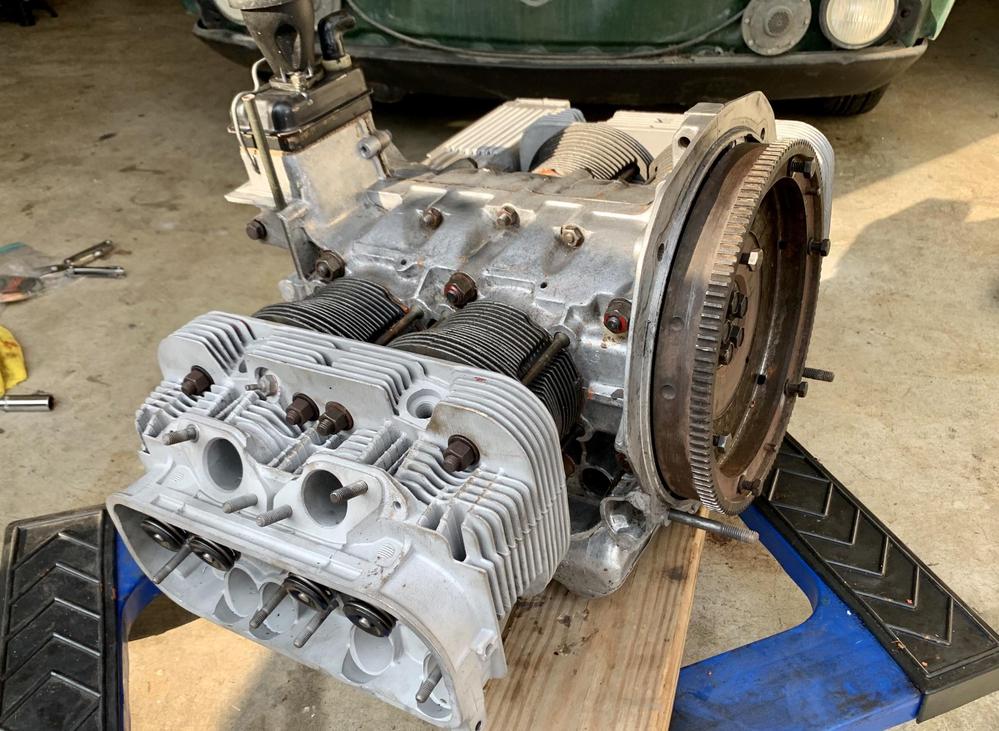
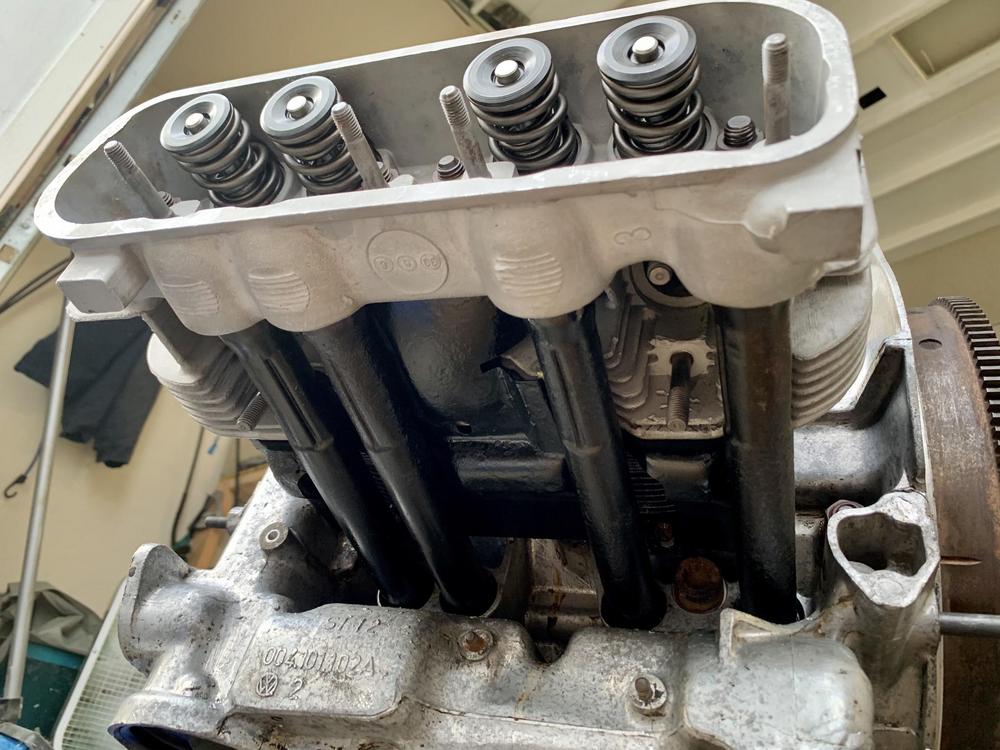
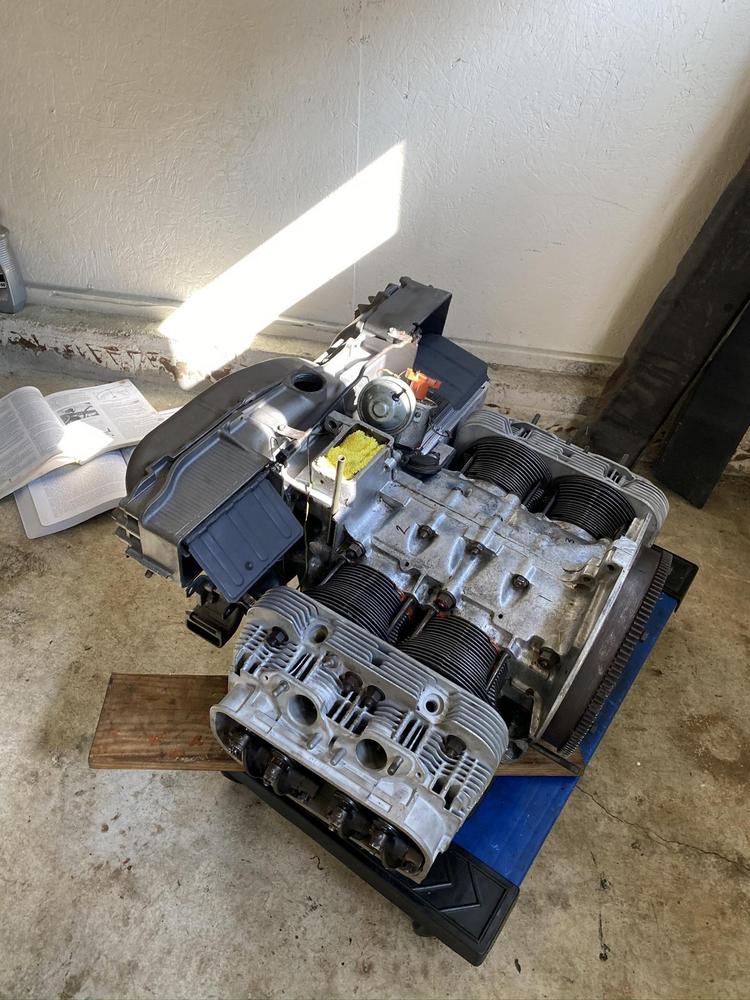
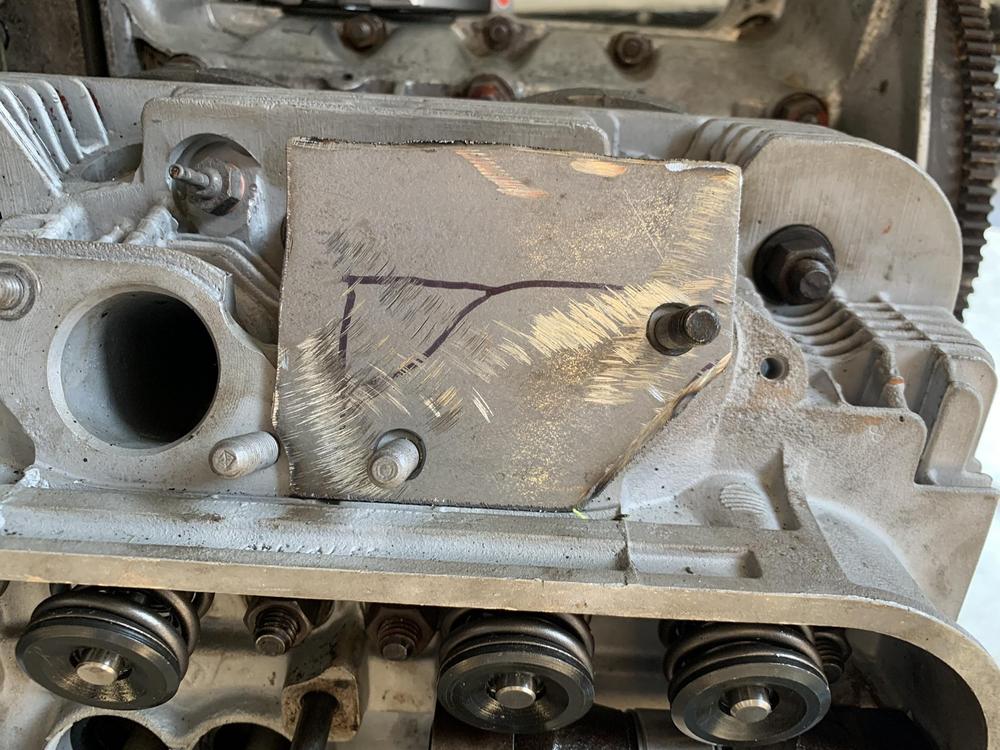
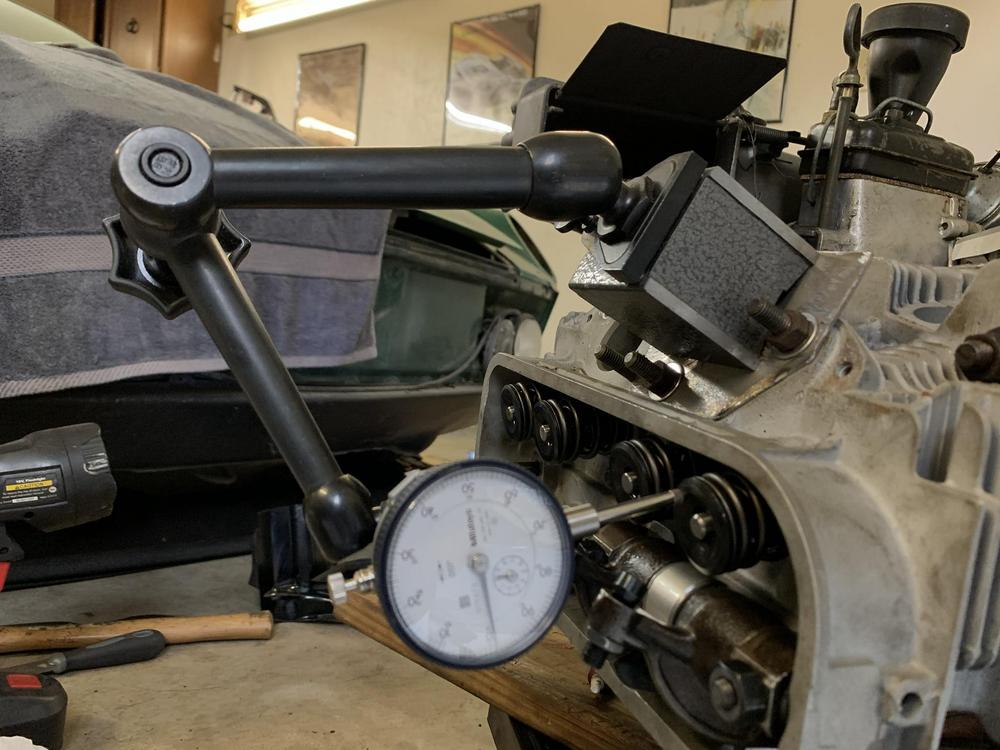
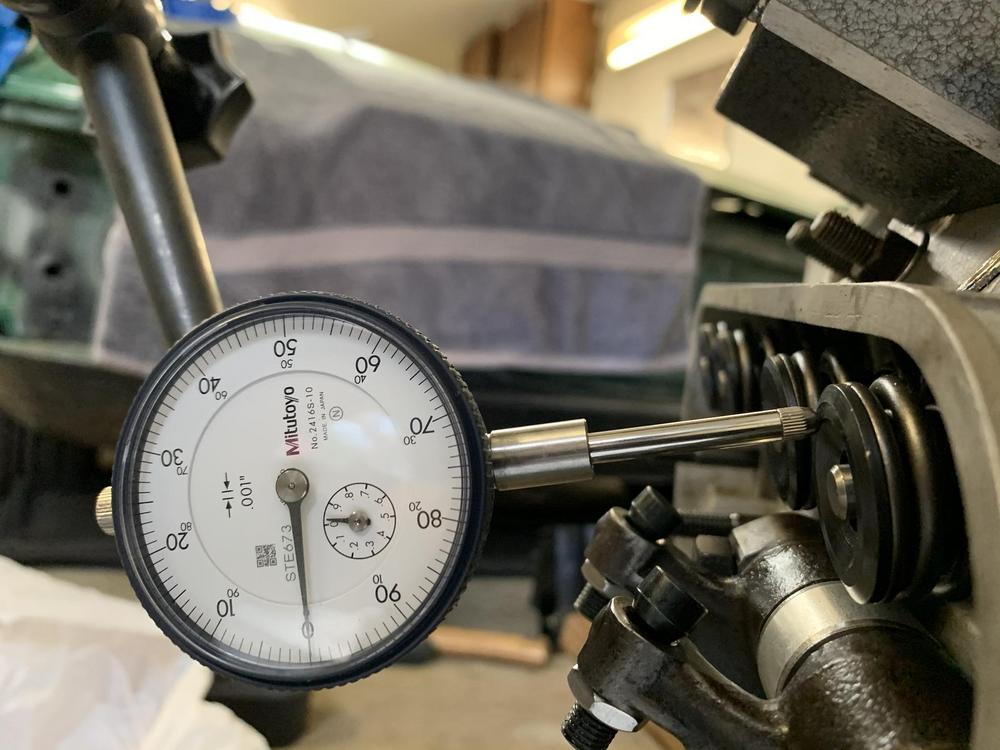
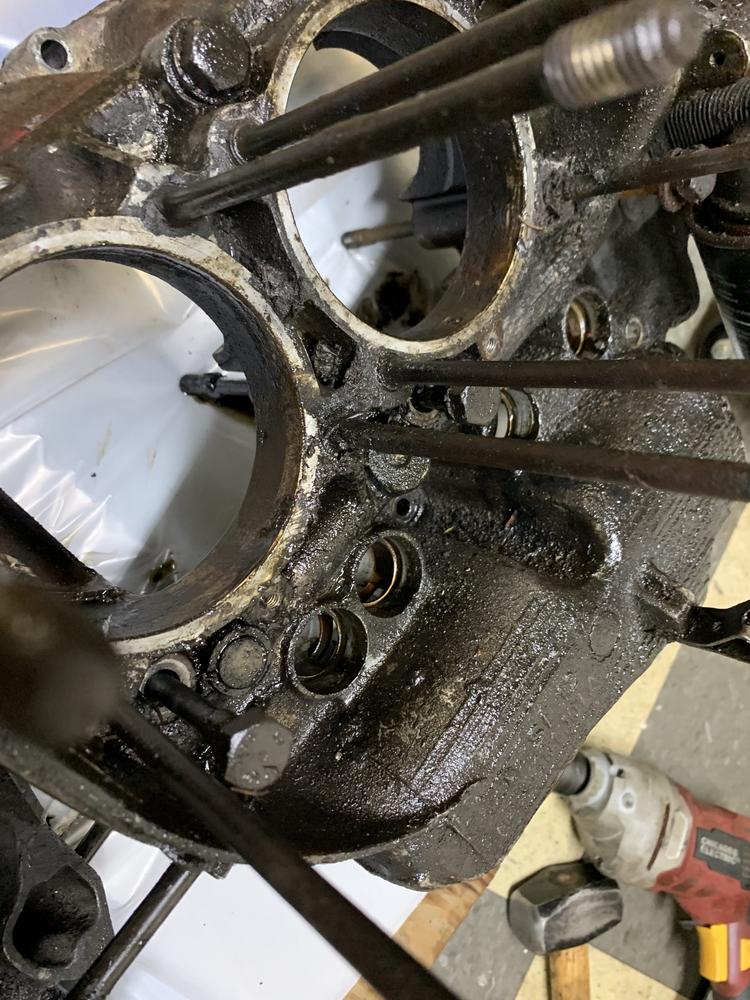
Didn't quite make it there. The valve train upgrades I
was recommended needed to do, put me off a few weeks.
We do it nice, because we do it twice.

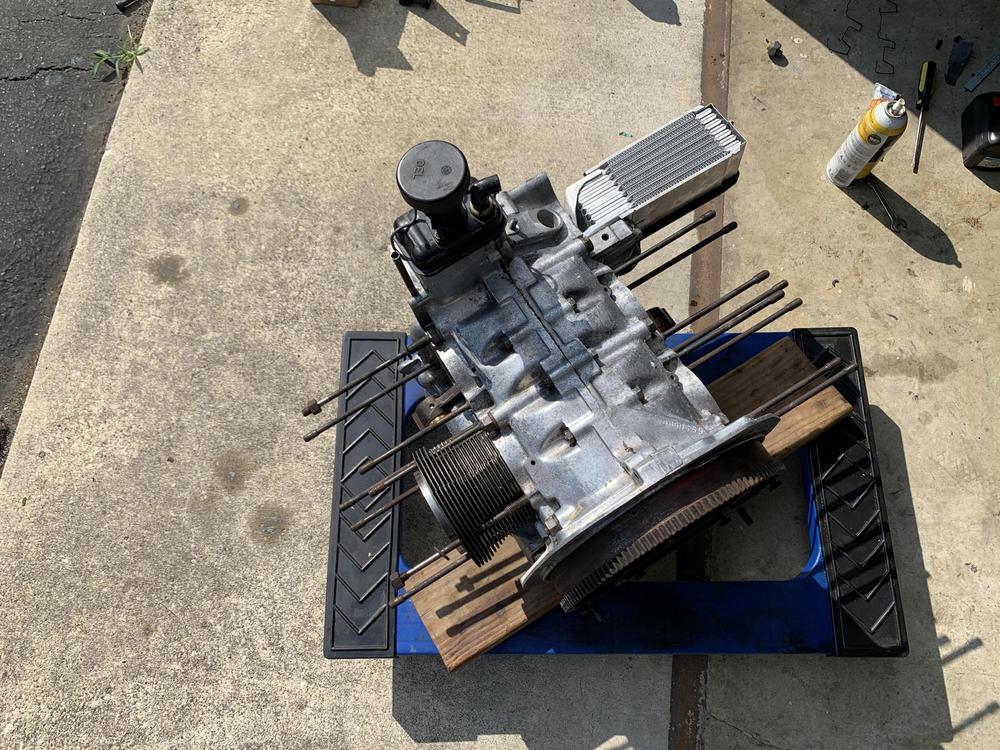
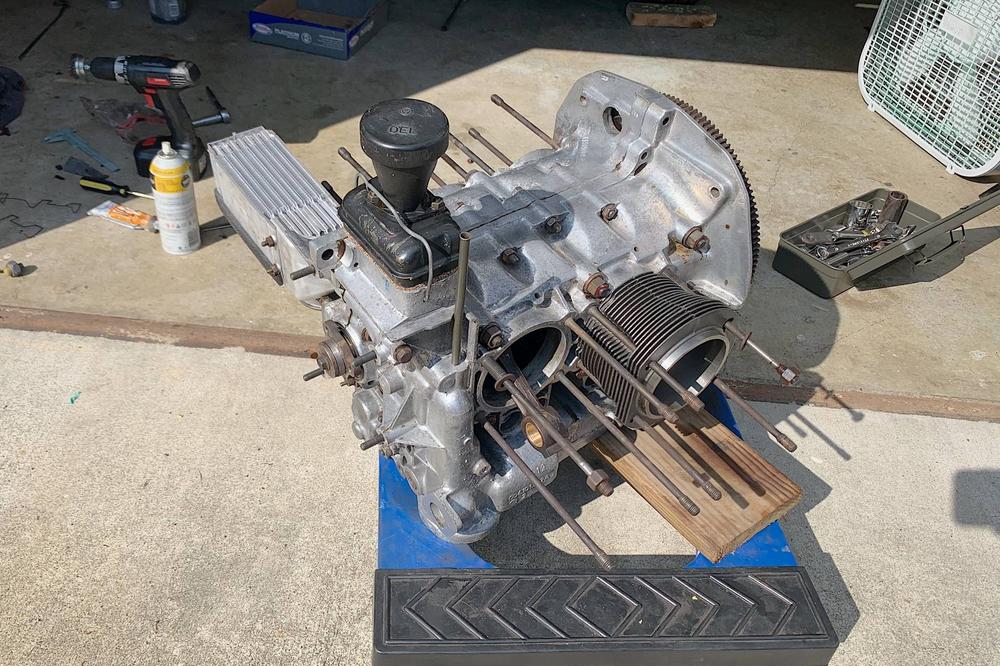
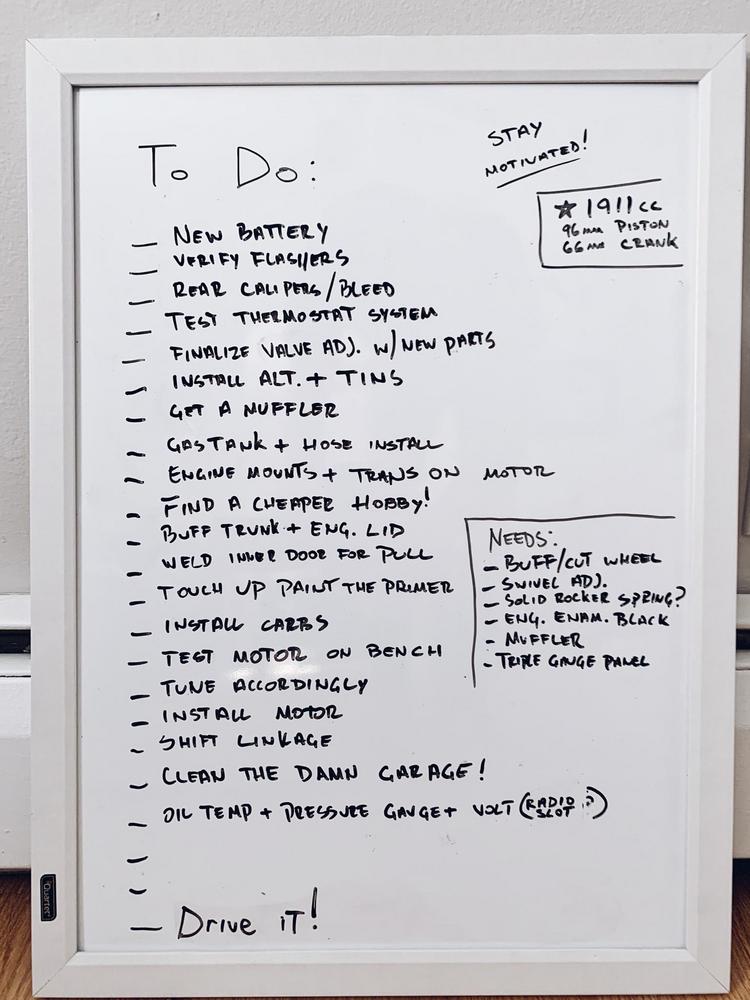
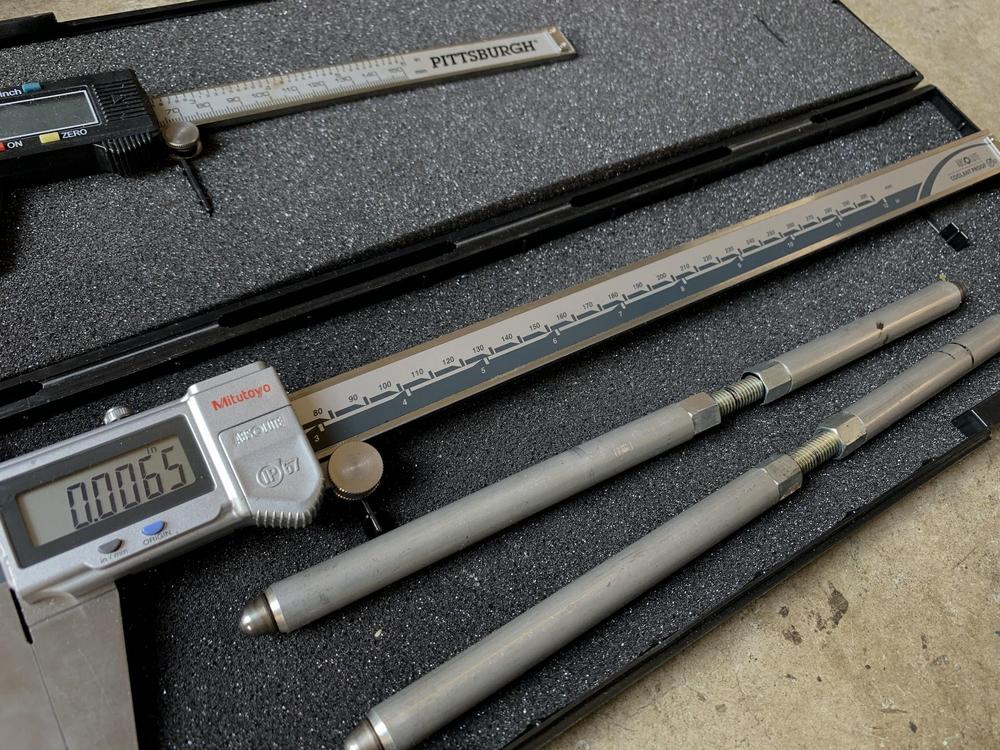
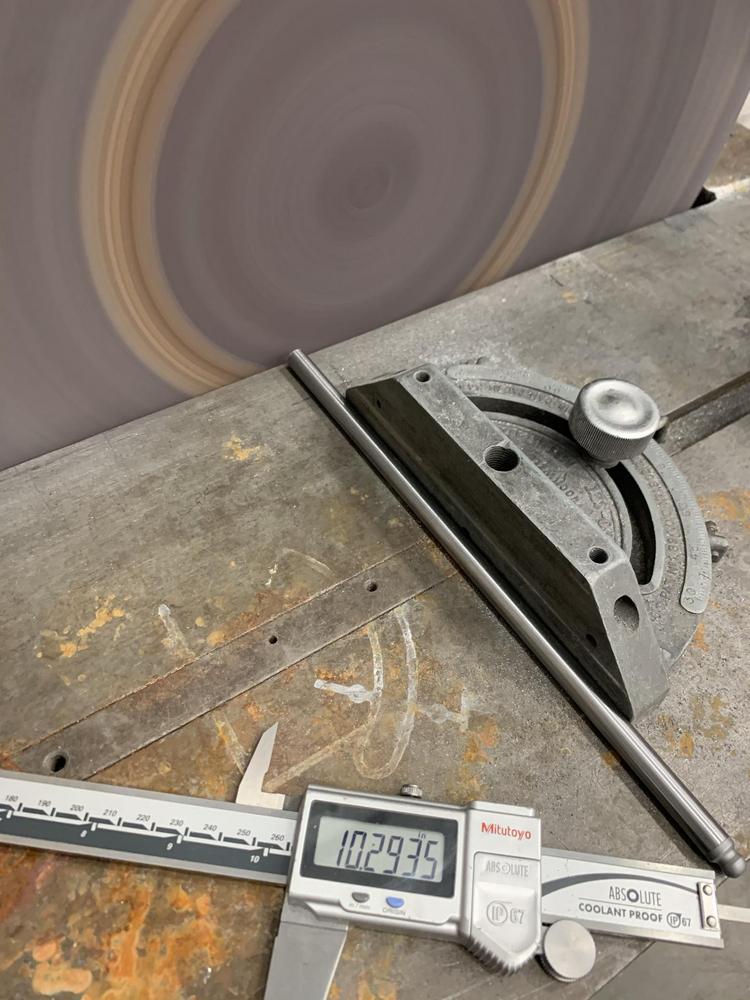
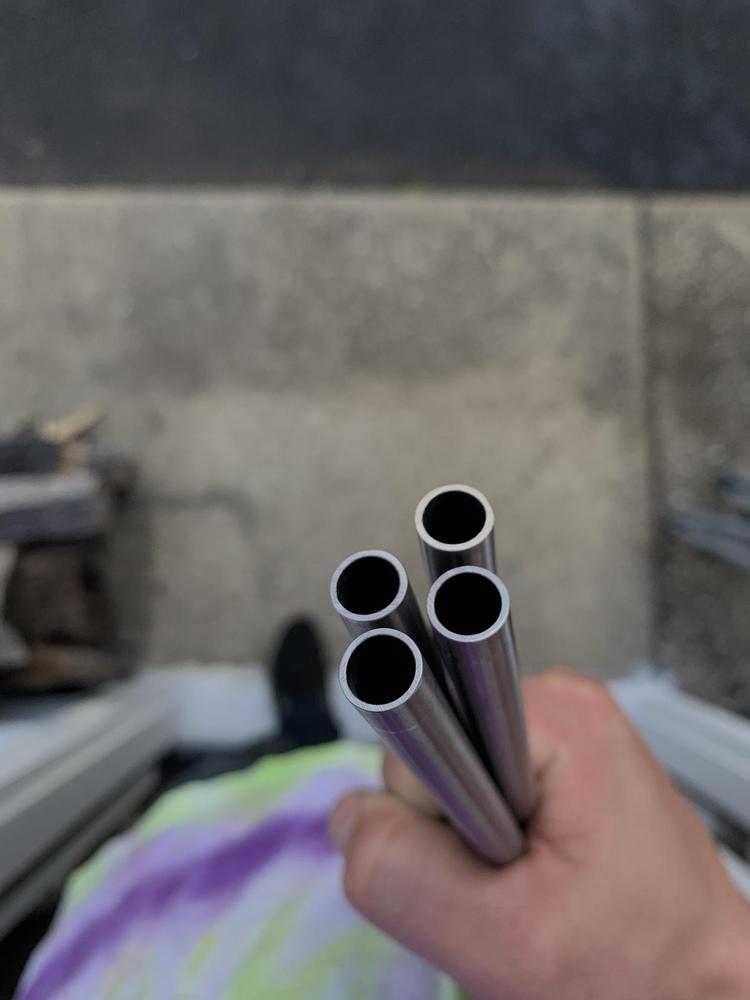
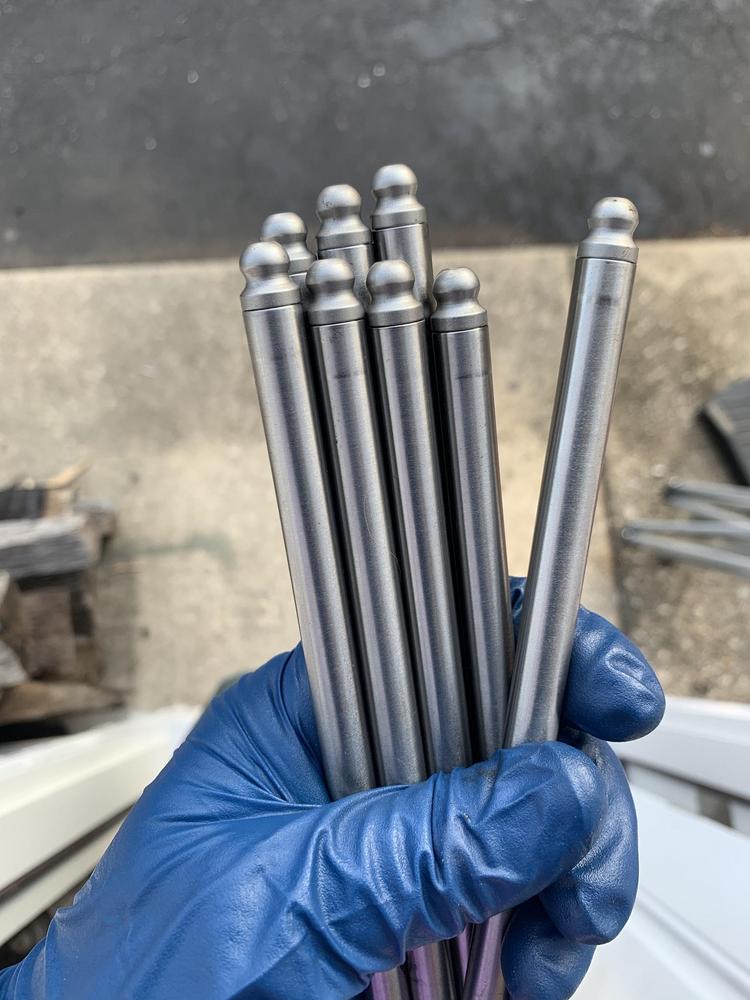
Incoming parts are:
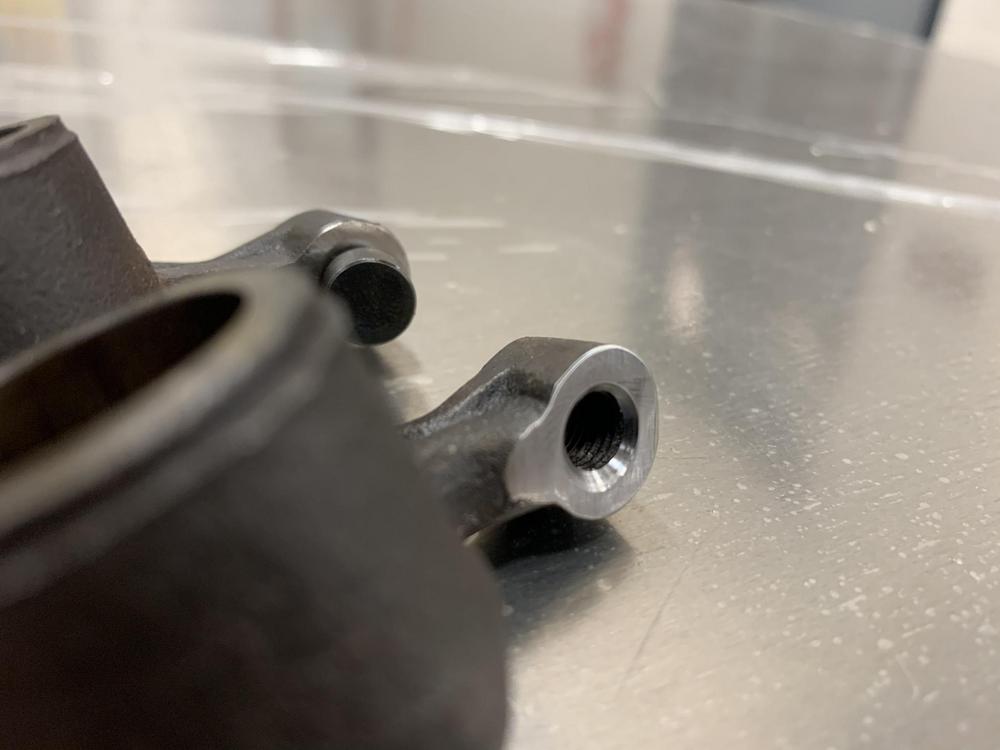
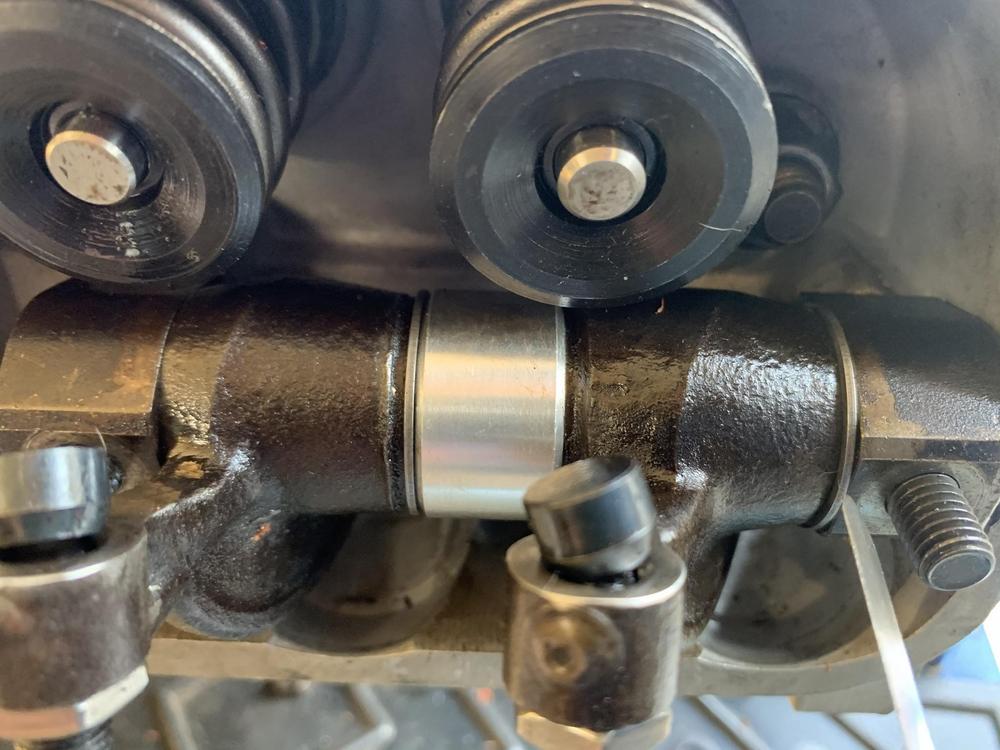
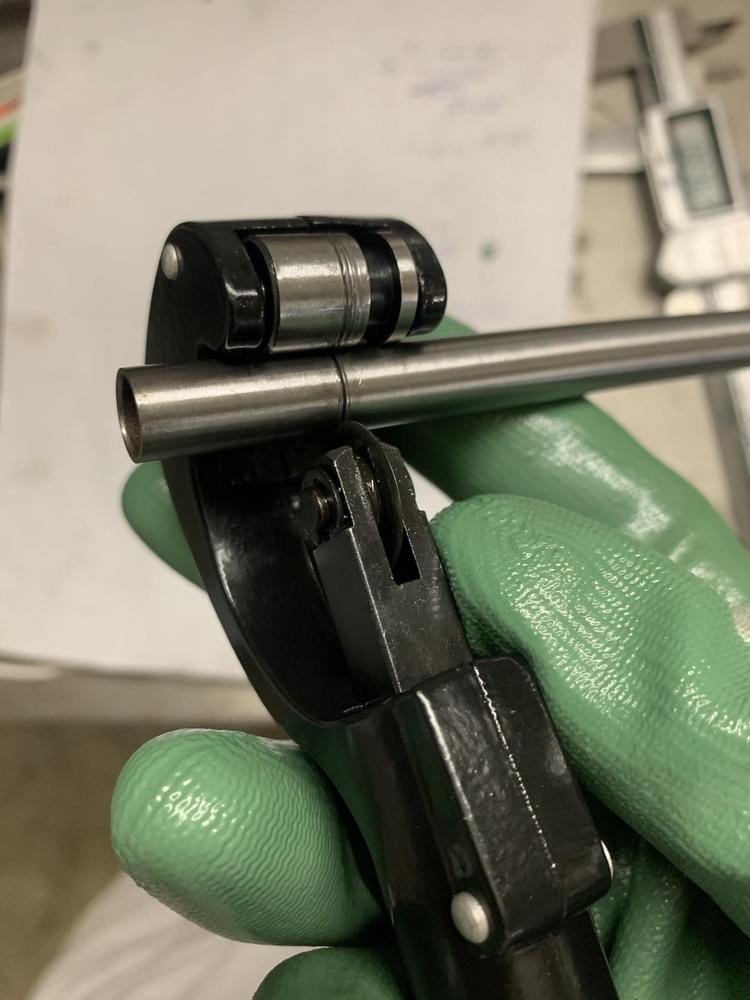
-911 Swivel Valve Adjusters
-Chromoly Pushrods
-HD Rocker Studs
-Solid Rocker spacers.
I got some great advice on how to proceed with this and have very intently studied Raby's Valve Train dissertation.
Other news.....My old lady was loosely looking for a 944. I've always wanted one - I used to daily an SLC Corrado and I miss it.
We found this car about an hour north from me. Has some bad ass options, so went to tire kick and take a look. It hasn't run in almost a year, and was full of leaves and cobwebs...
I shot a lowball of about 50% and he took it on the spot no questions asked.
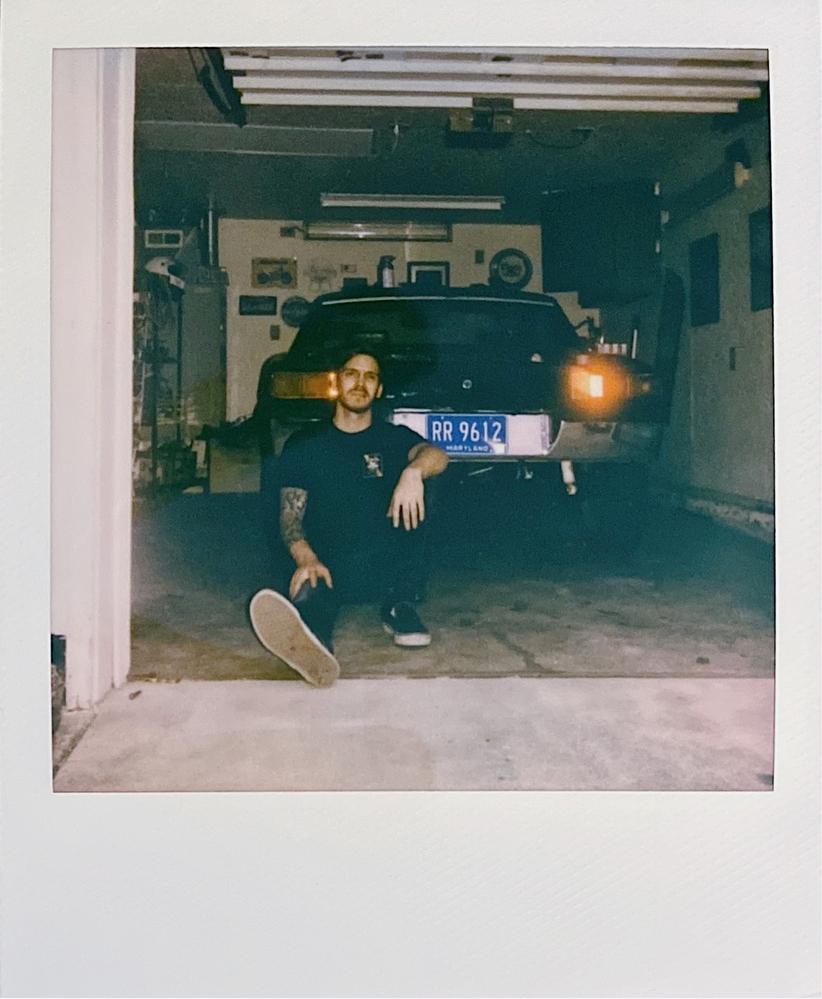
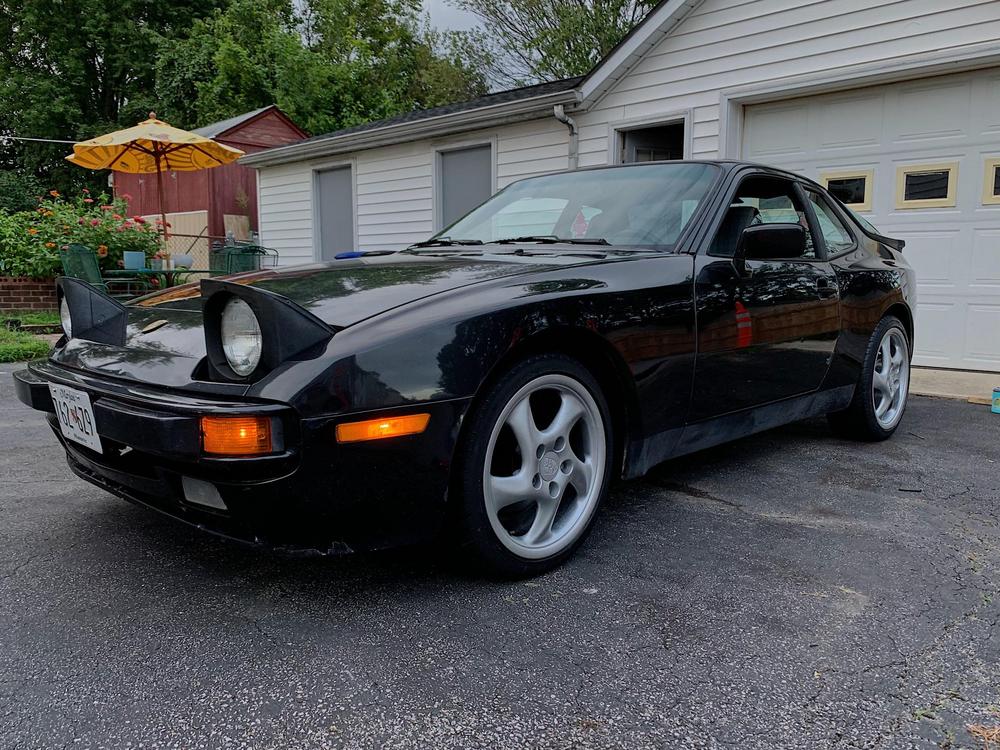
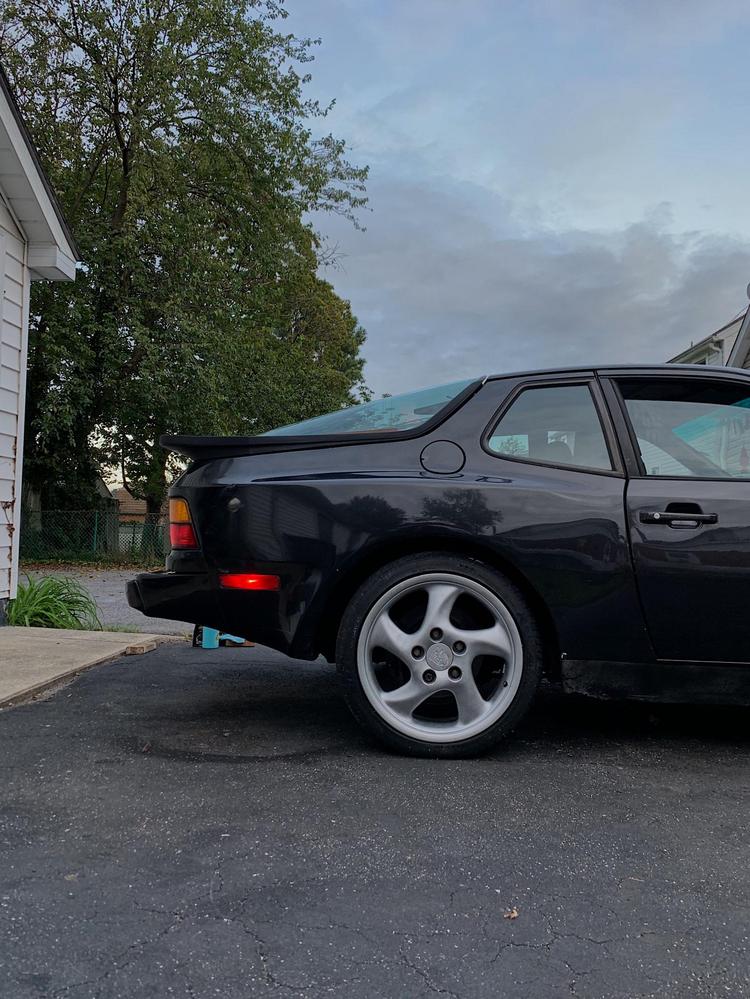
So unexpectedly, we now own an '88 944!
Here are the specs:
1988 Celebration Edition
1/250 - Studio Plaid - Satin Black Metallic
128,000 (we think)
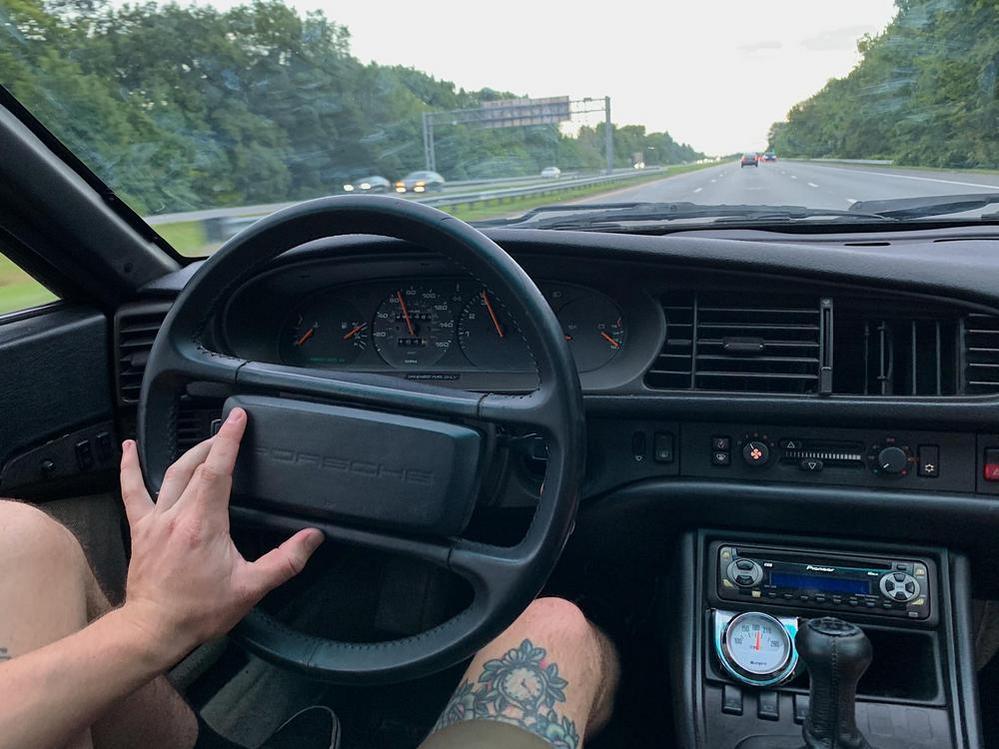
Runs and shifts nice, it fired right up with a jump and I drove it home.
For clarity - paid in the range of 2k. I think that's a steal.

Has a few boy racer "mods": Sparco tow straps, white painted wheels, a DEEP dish OMP....
Luckily I found the stock wheel under some junk in the trunk. I immediately stripped that crap off.
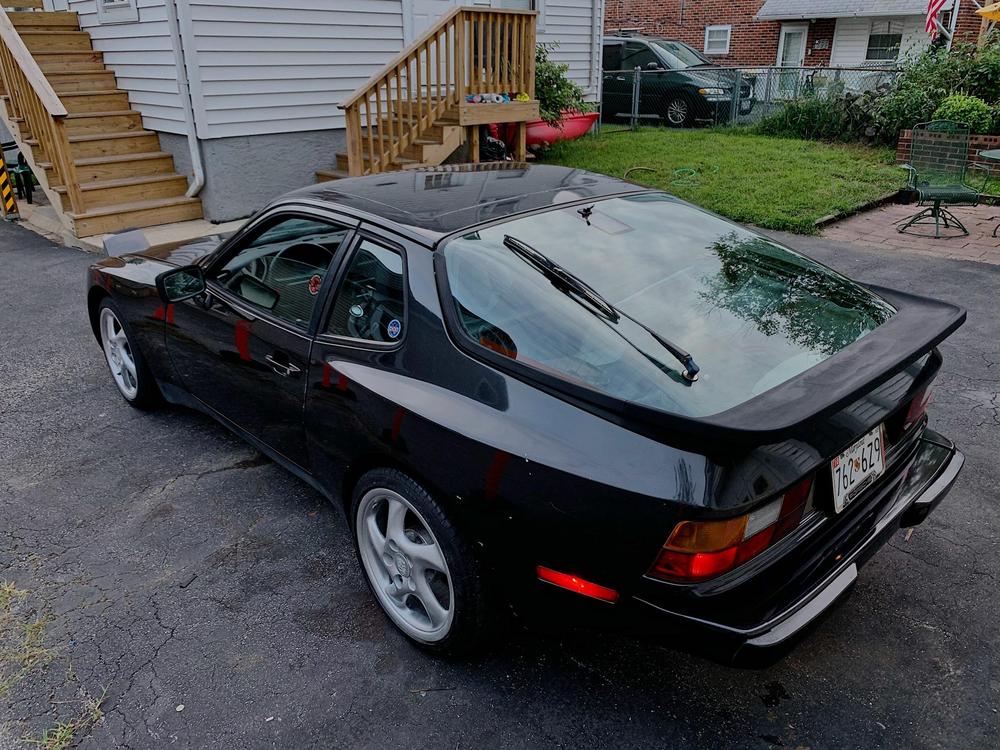
We deeeeep cleaned it for about 4 hours. I stripped the wheels with Jasco's, sanded a bit (they are rough) and sprayed with Duplicolor Wheel Silver. Temporary fix, but not embarrassing.
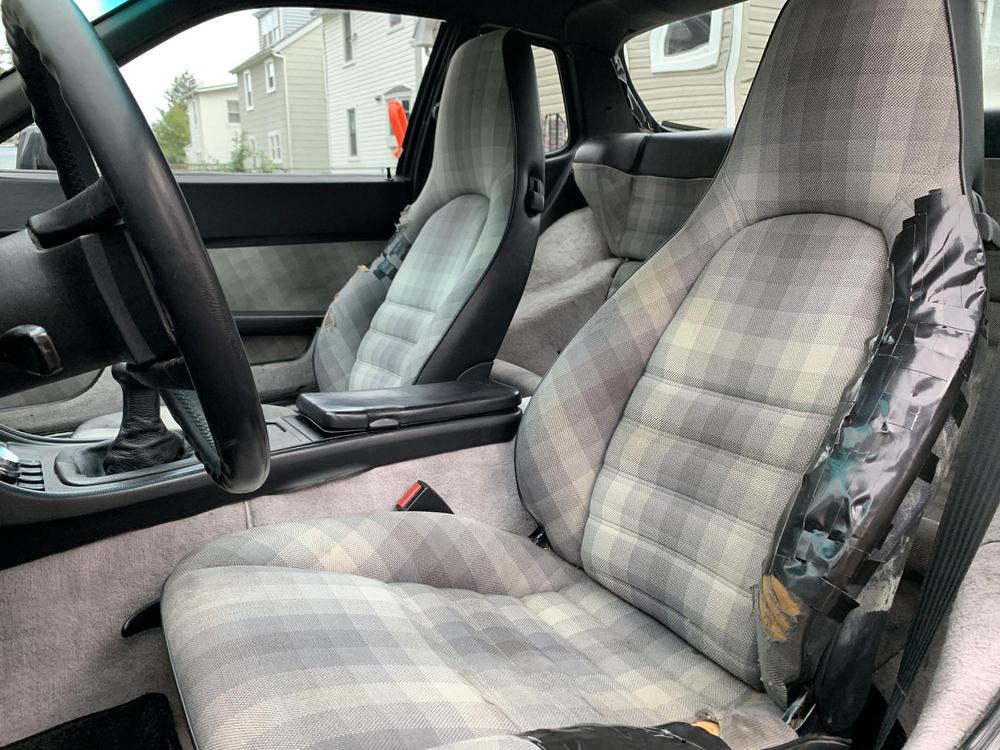
The Studio plaid is absolutely gorgeous, unfortunately, as they all are, it's heavily worn. The fabric is linen material and really thin.
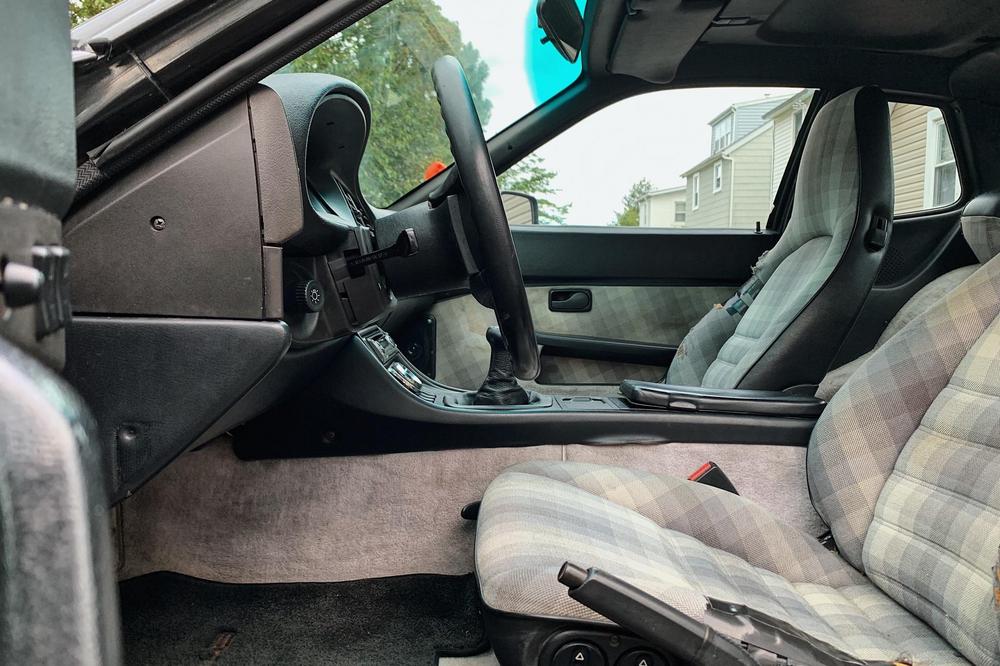
I gaff taped the bolsters, so there wouldn't be much exposed foam. We'll put seat covers on in for now, maybe replace the front seats. I found the fabric in Germany, but its and arm and a leg for a yard - maybe down the road.
Issues: (pretty sure all of these are typical)
-Lots of scattered records going back to the 90's, but none for a timing belt. So it needs that ASAP at least for piece of mind
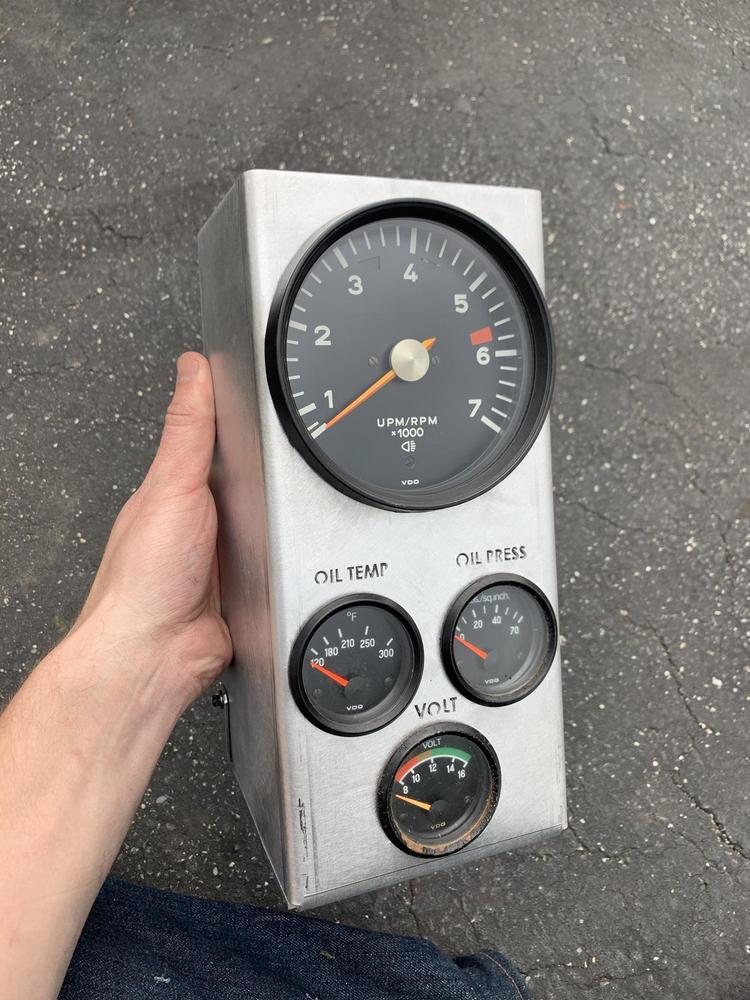
-Coolant gauge doesn't work, has a tacky SUNPRO water temp, which does work.
-Dome lights don't work
-carpet it not great
-Missing a center vent
-maybe small vacuum leak
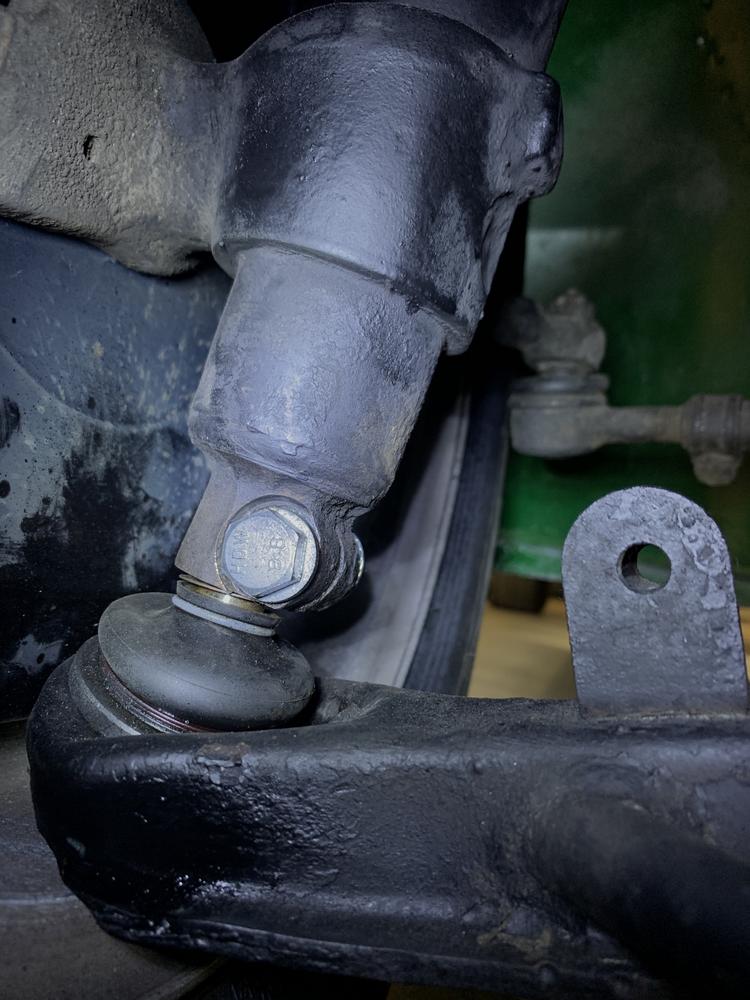
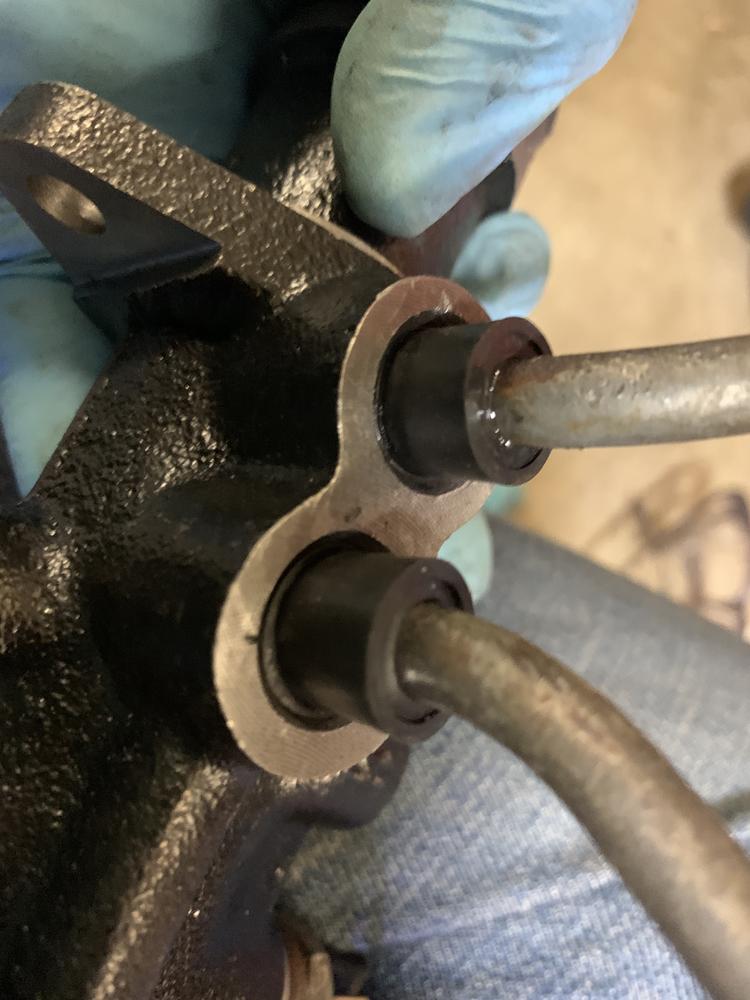
-Both front ball joints needs replaced. Wheels wiggle a bit when jacked up.
-D window regulator is touchy.
-generally a little loose feeling, (probably the ball joints)
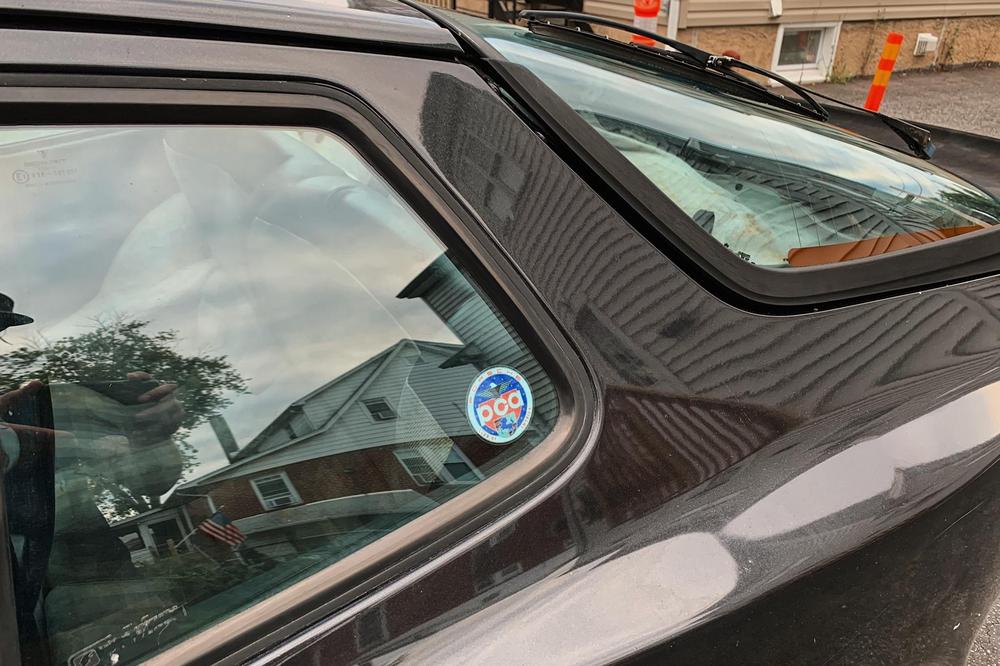
Had to don it with the PCA cling:
ALSO needs stockers, D90's or 16" teles.
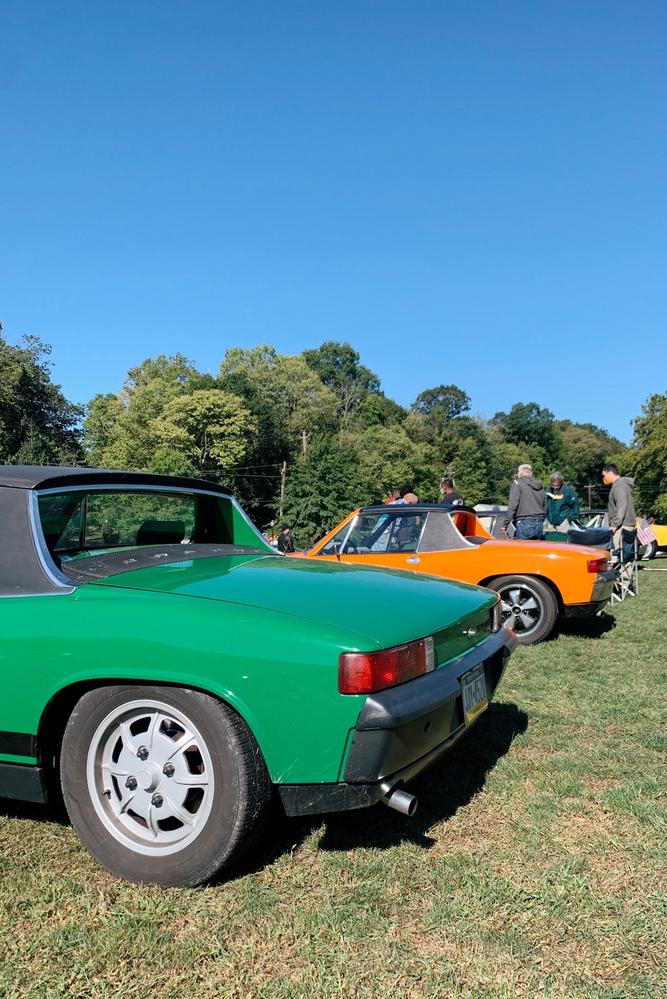
.... Sorry for the long side track... Back to your regularly scheduled 914 posts.
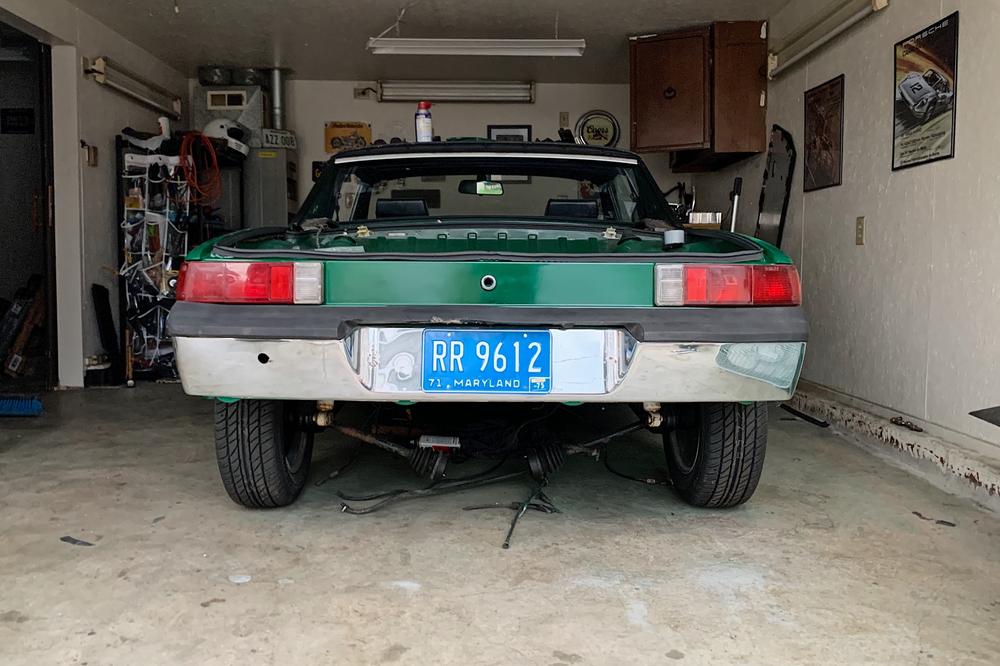
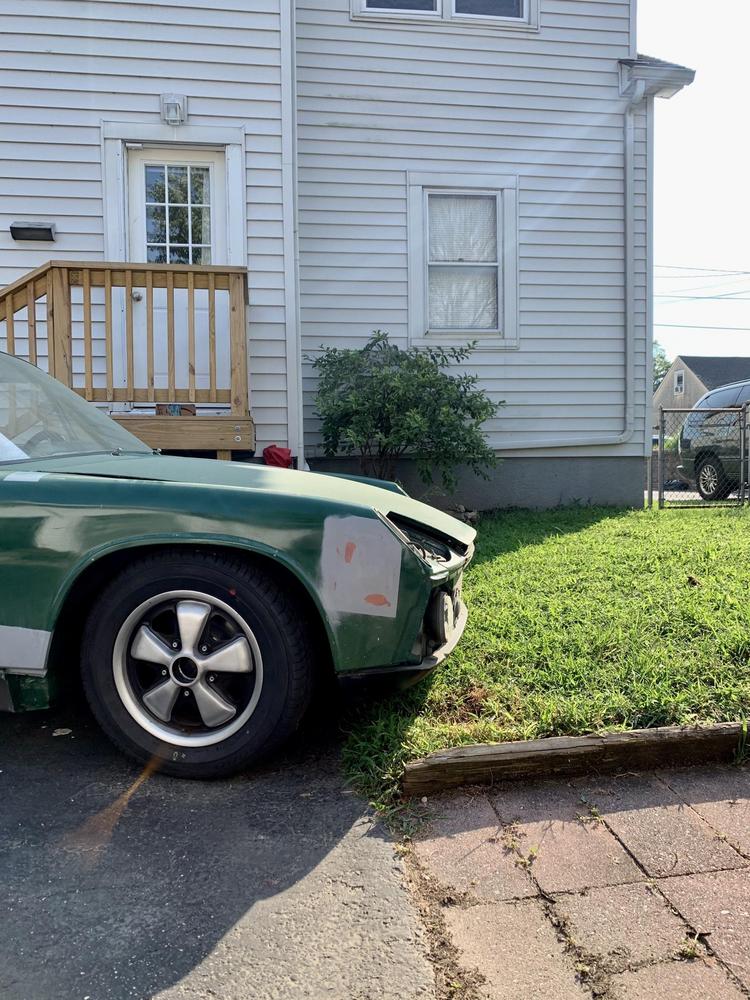
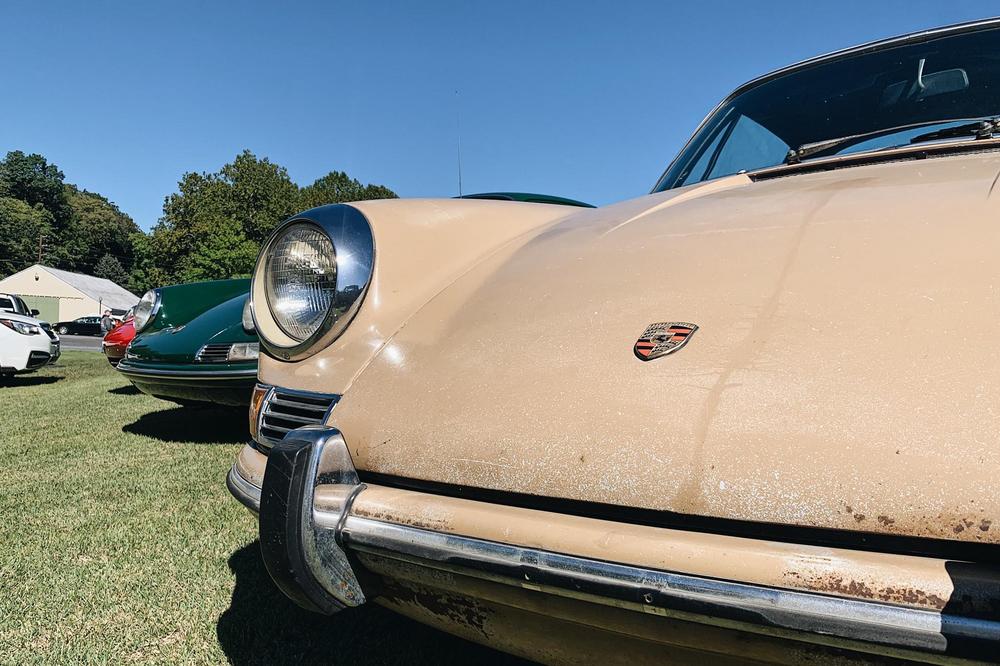
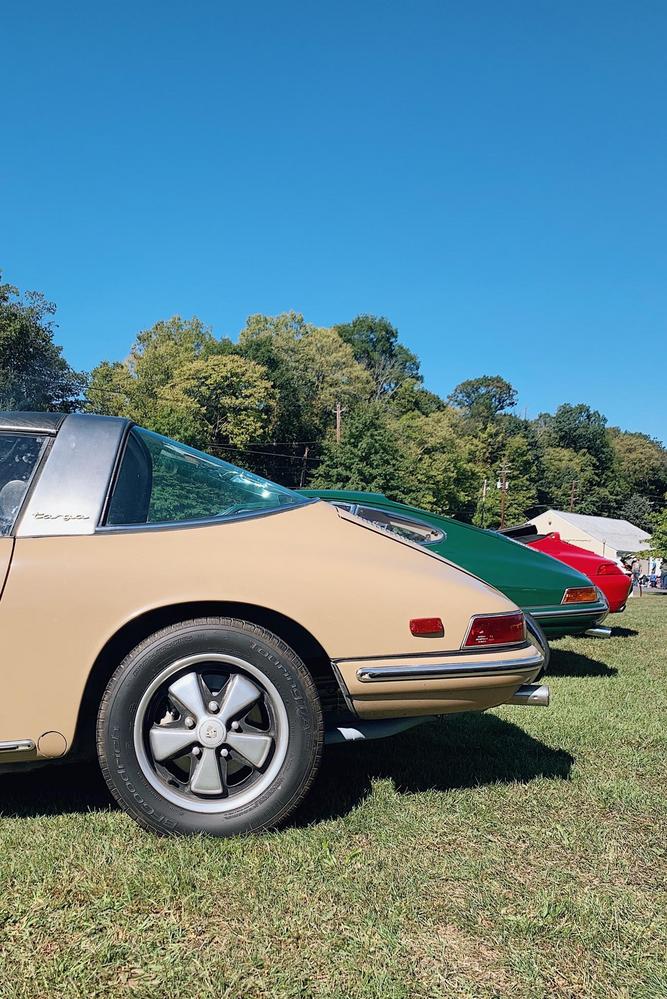
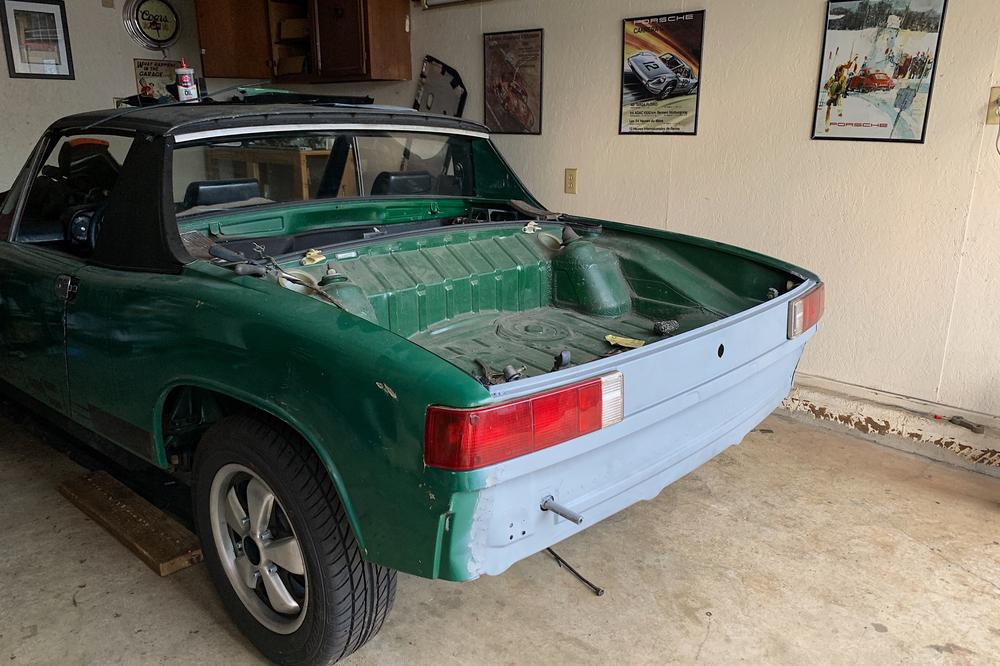
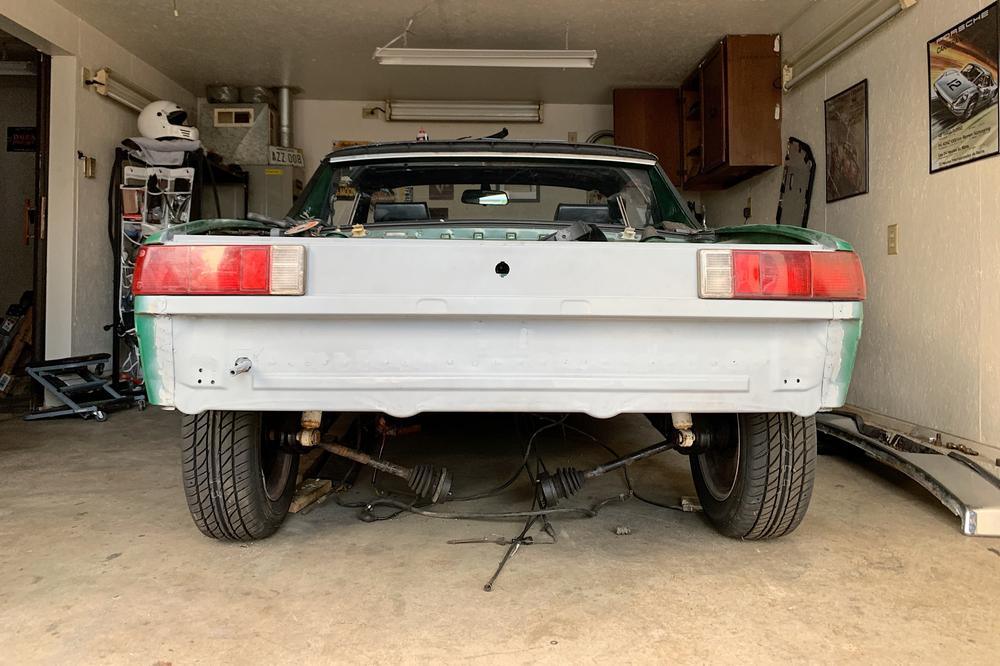
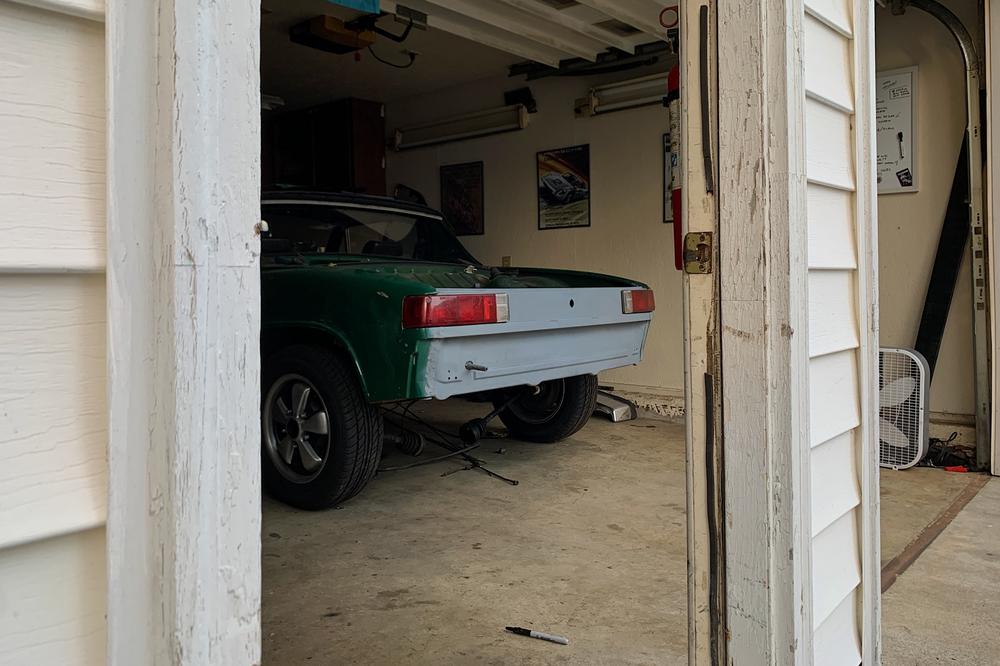
At least there's now 1 running Porsche at the house.

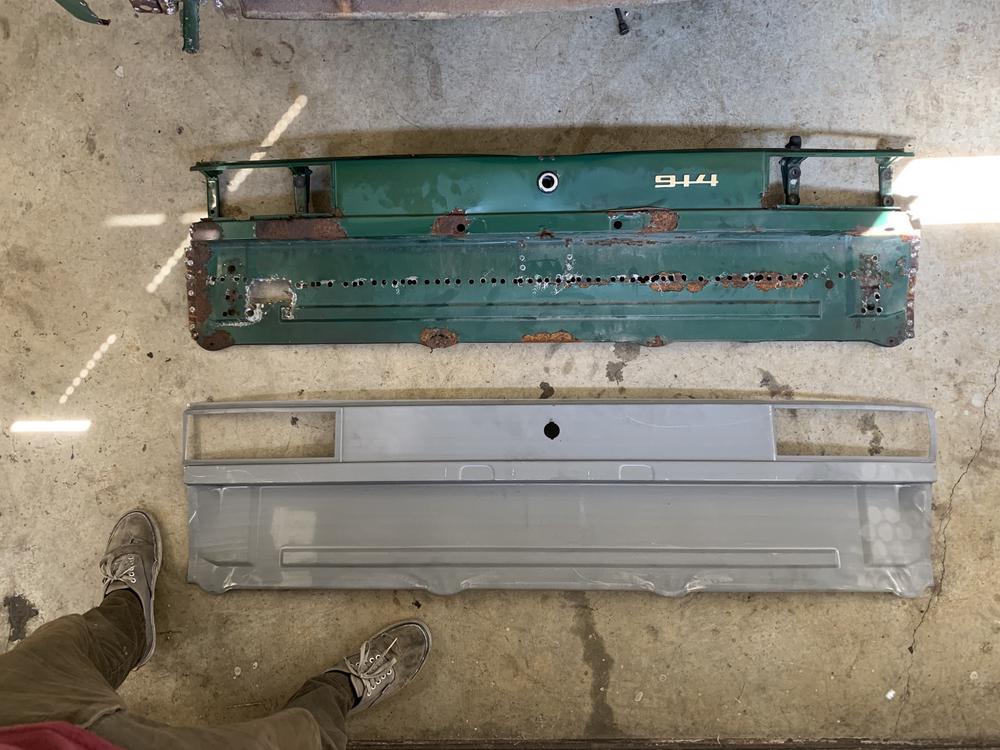

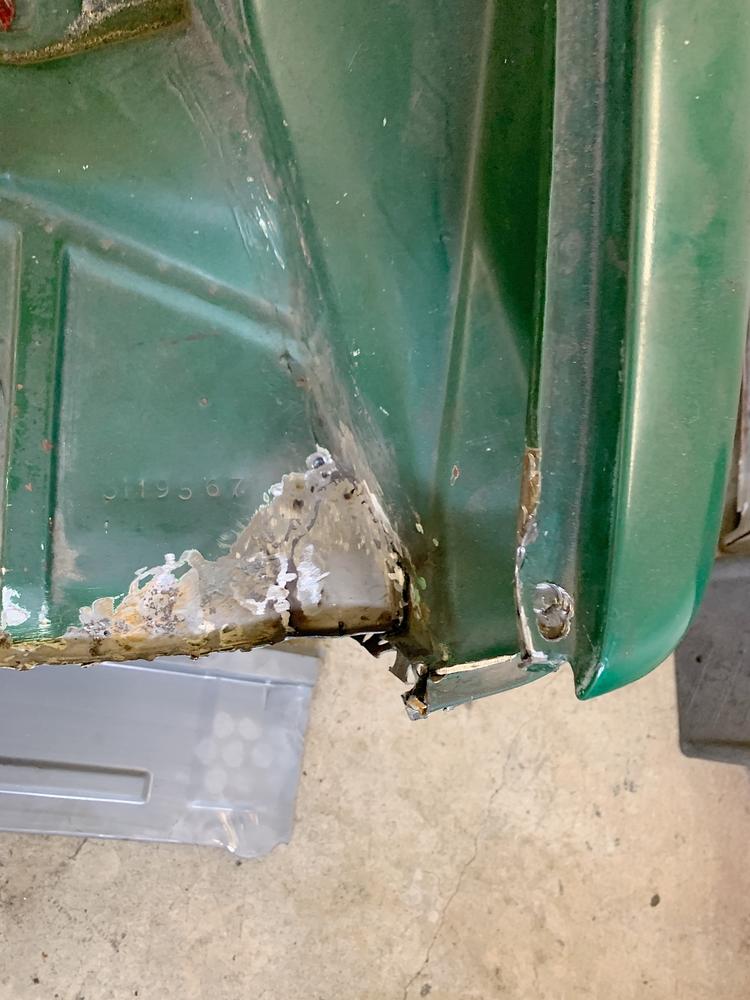
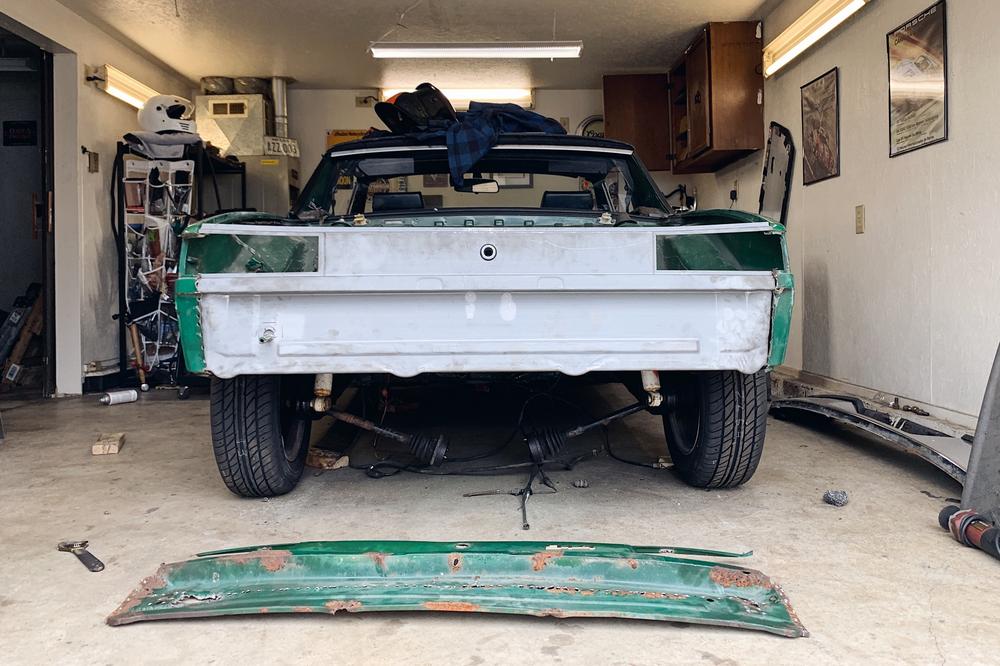

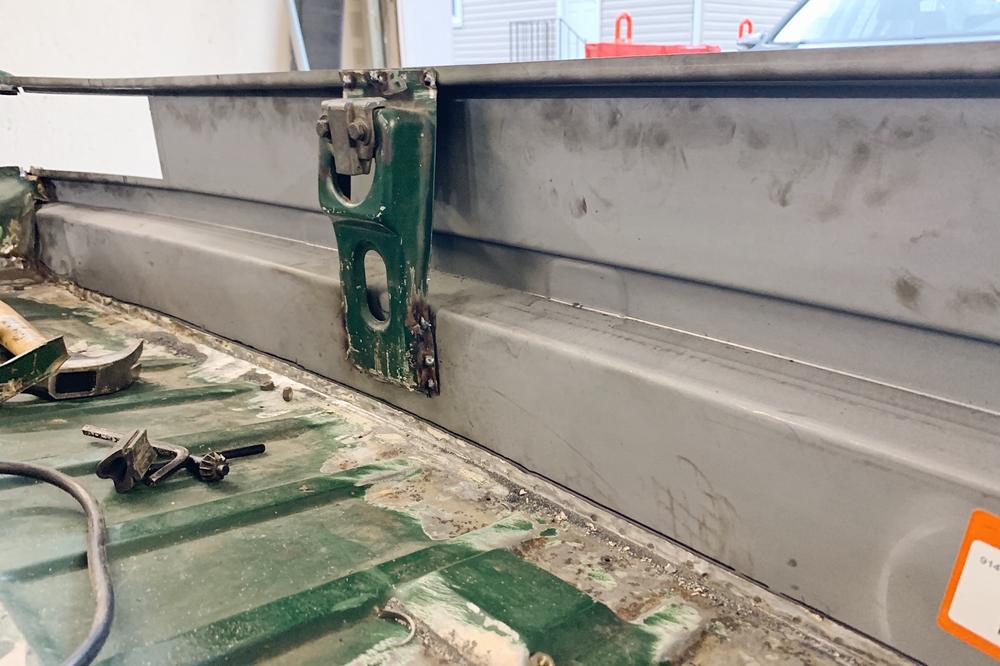
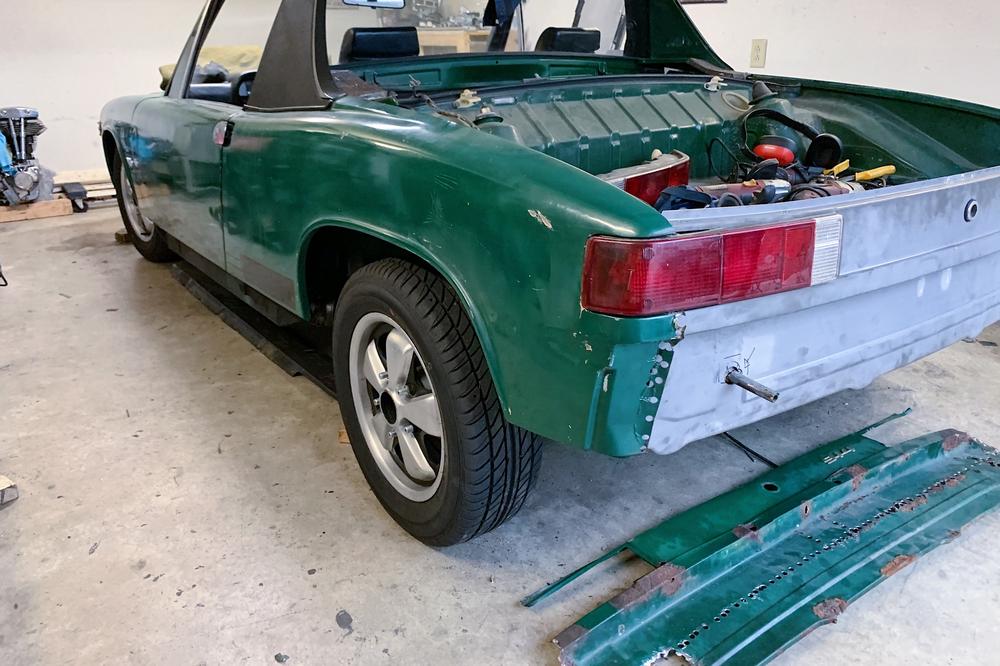
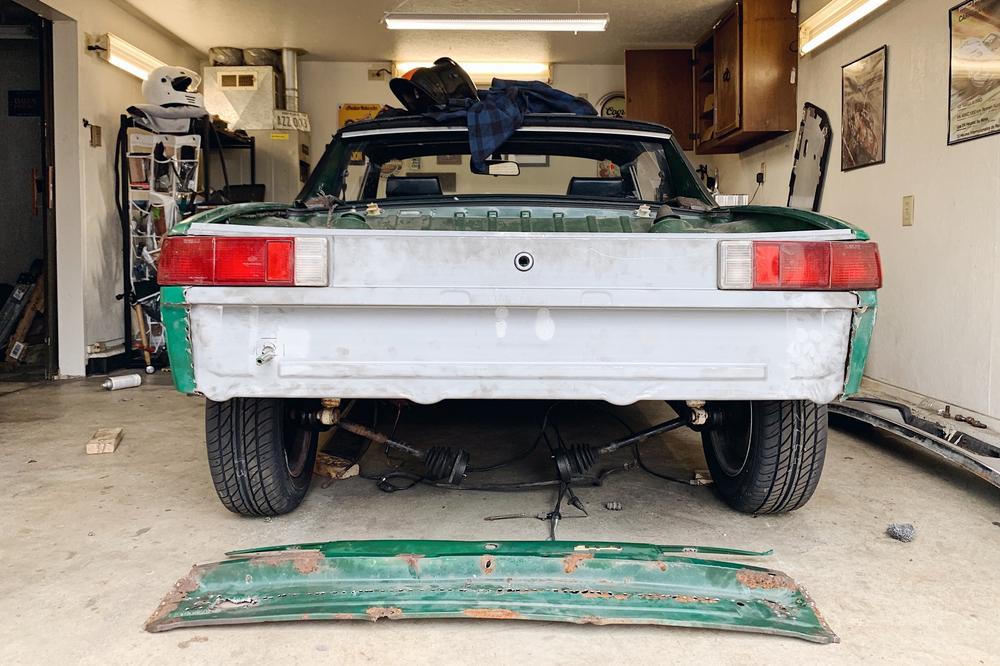
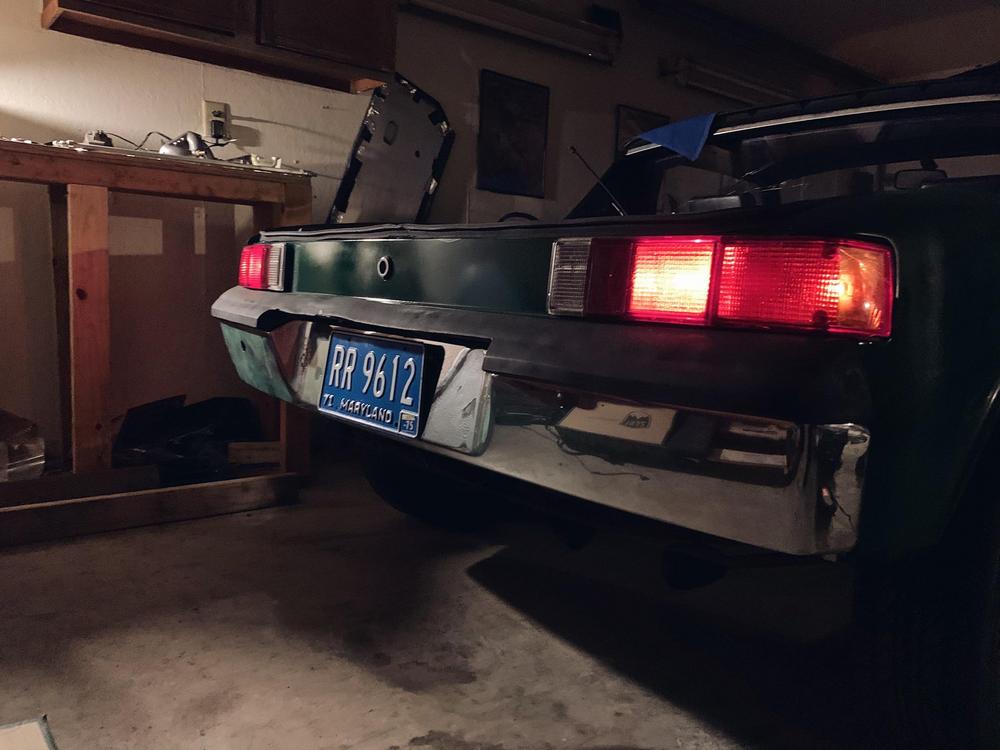
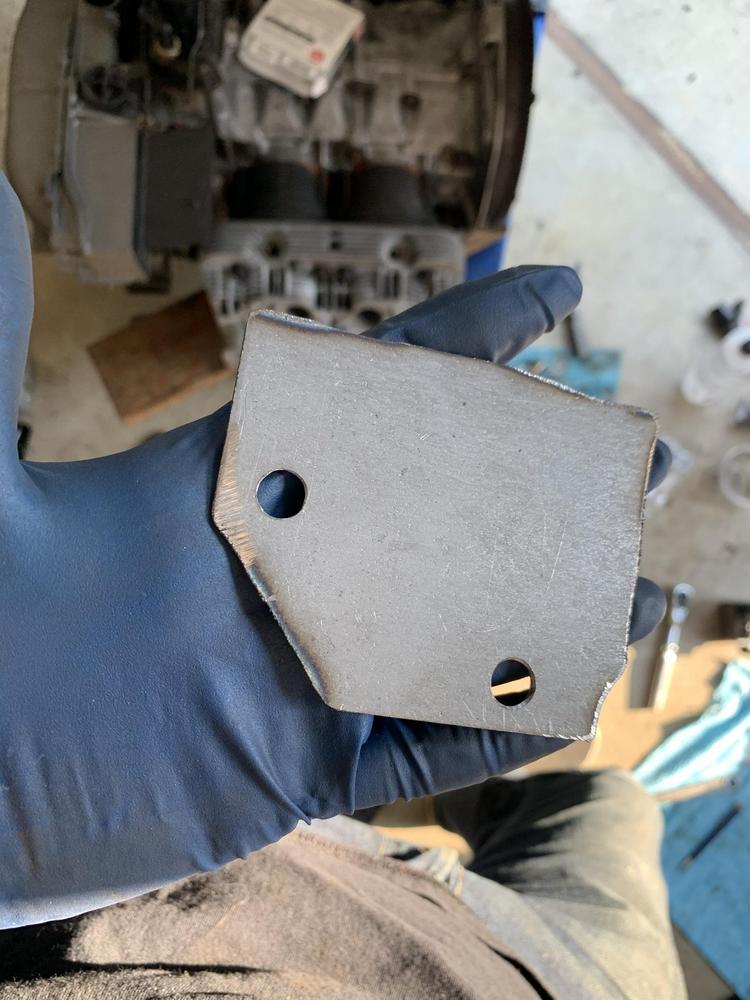
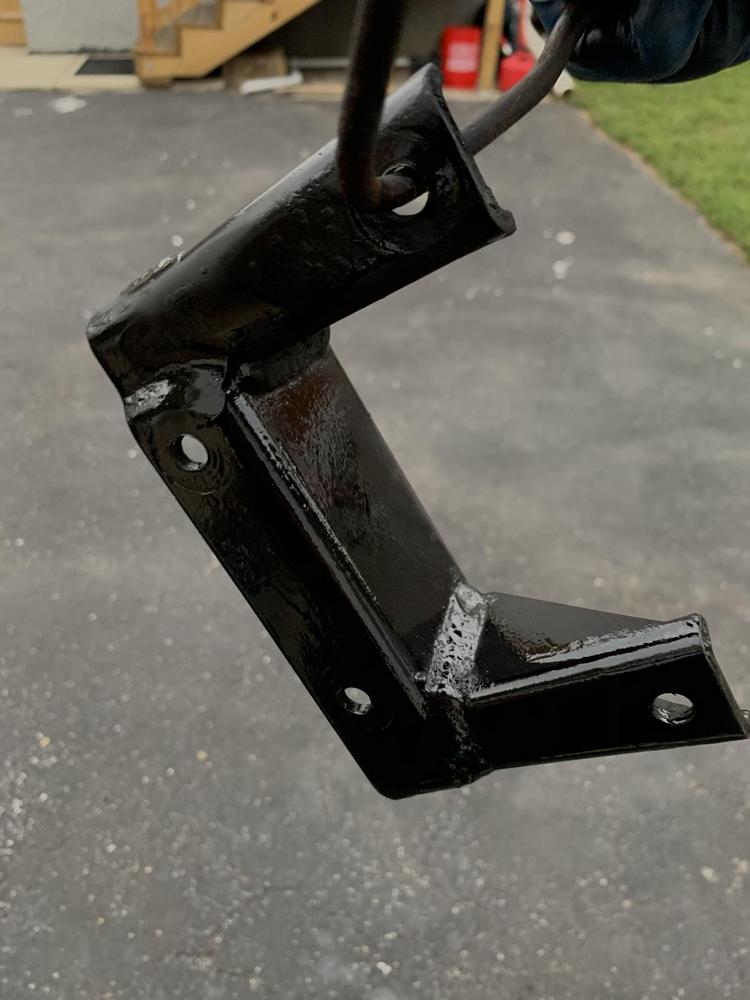
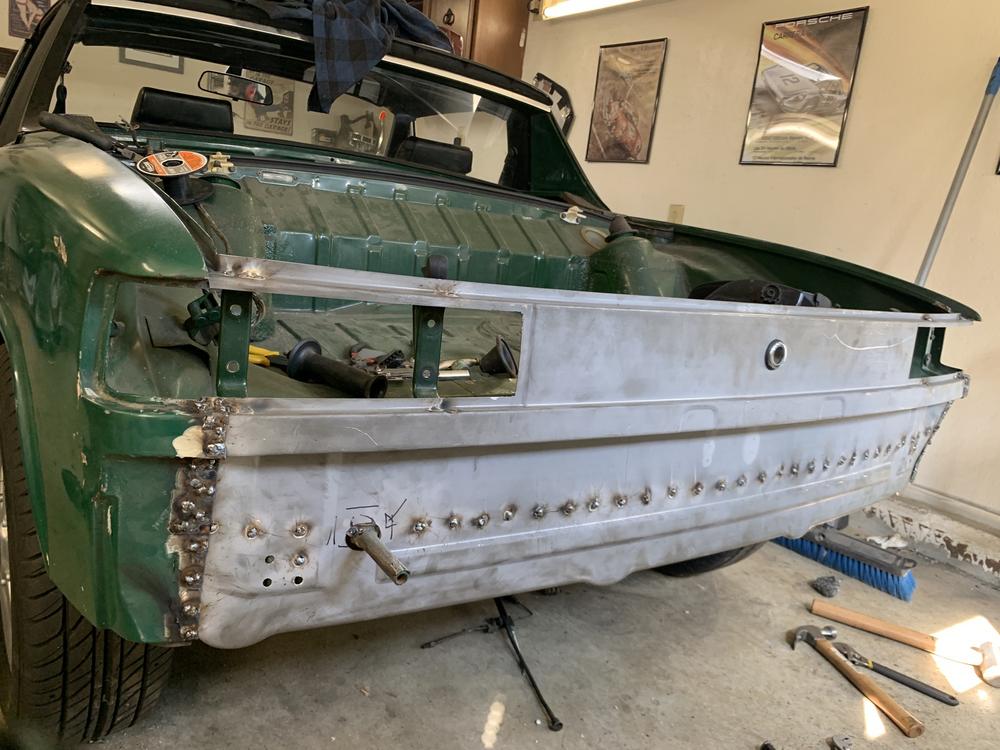
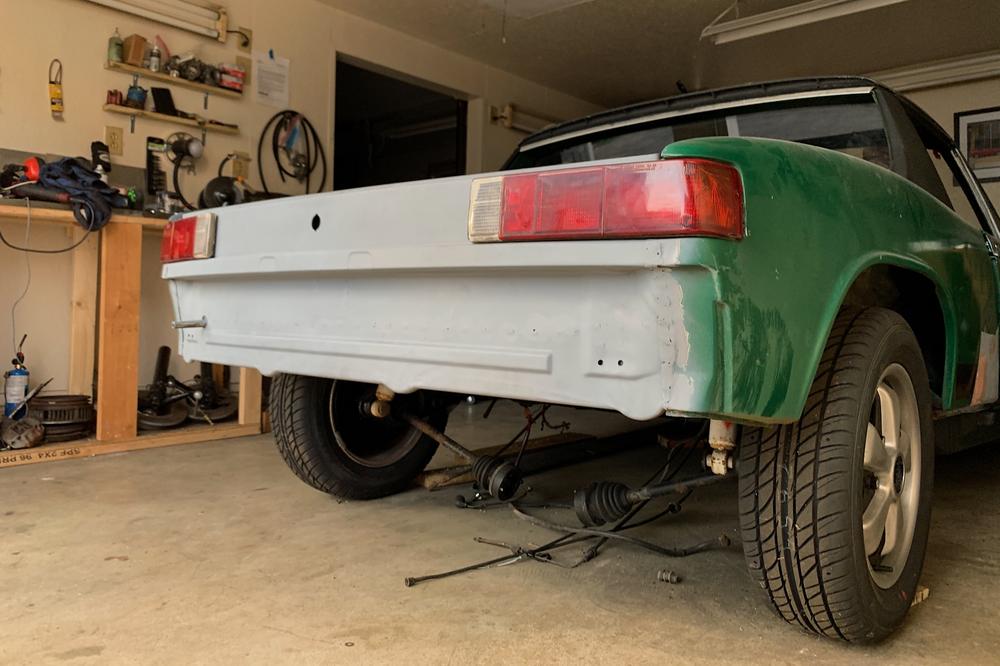
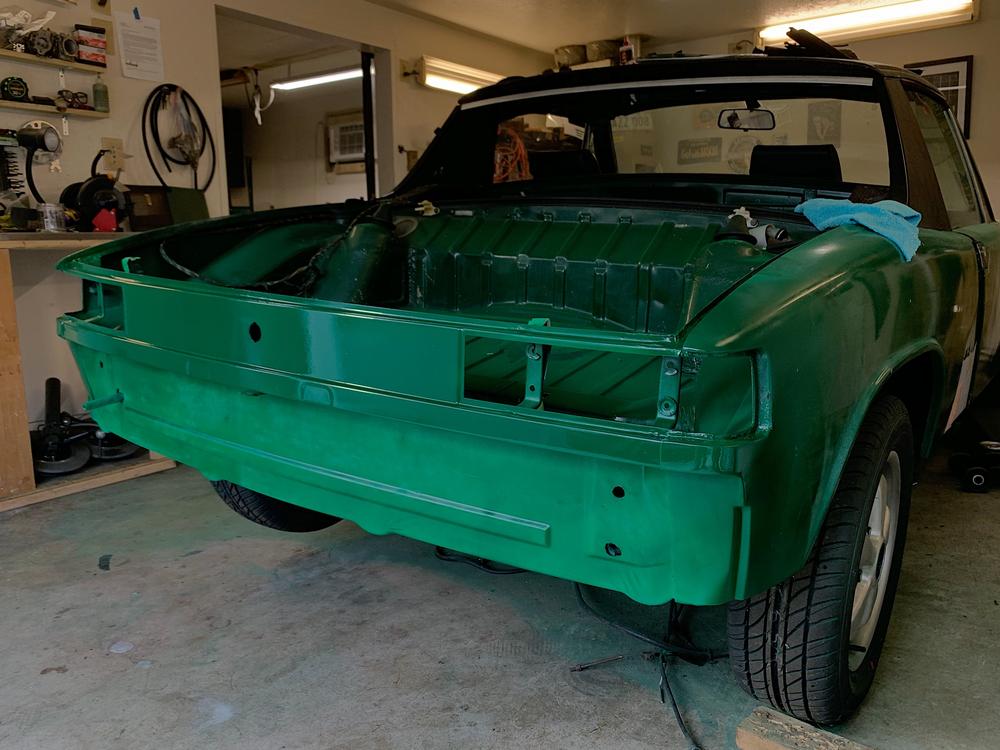
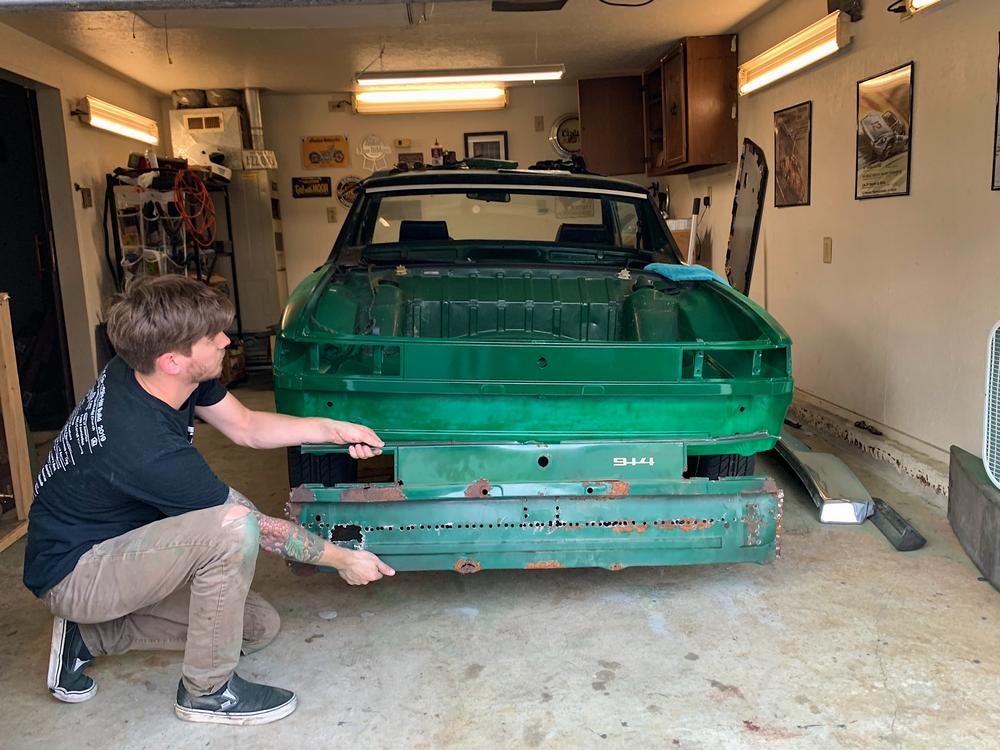
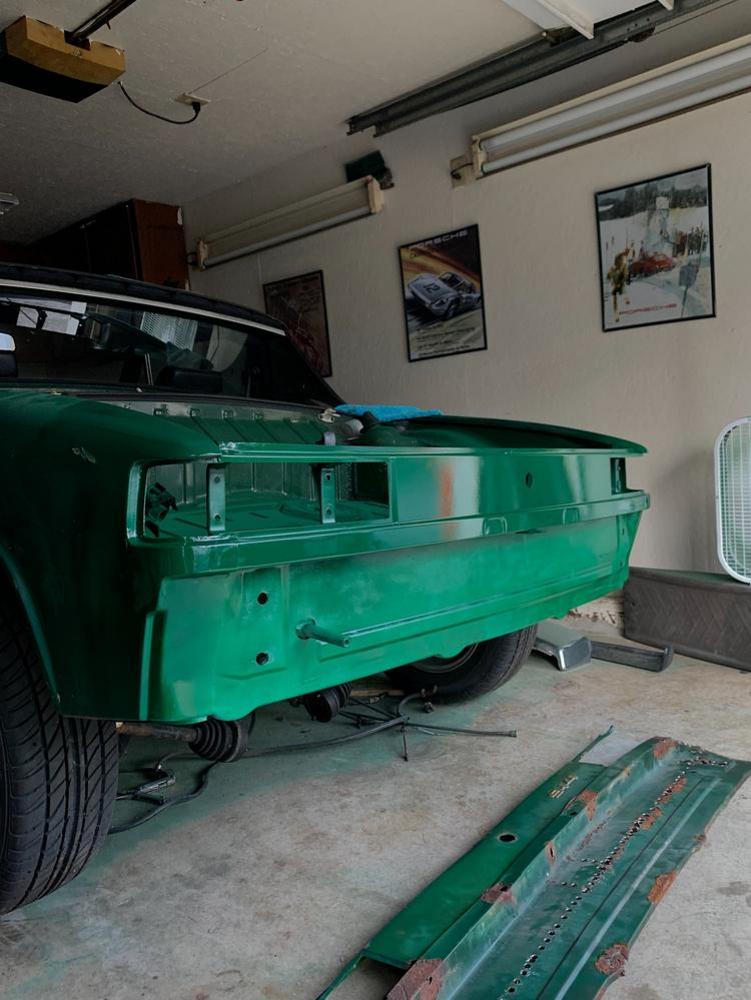
 , weld that mother in, Once aligned, weld the tail light brackets in. and finally, shape a new tow hook support of some kind.

![popcorn[1].gif](http://www.914world.com/bbs2/style_emoticons/default/popcorn[1].gif)


 Ugh.
Ugh.
 )
)