Spent a few hours in the garage the last few days.
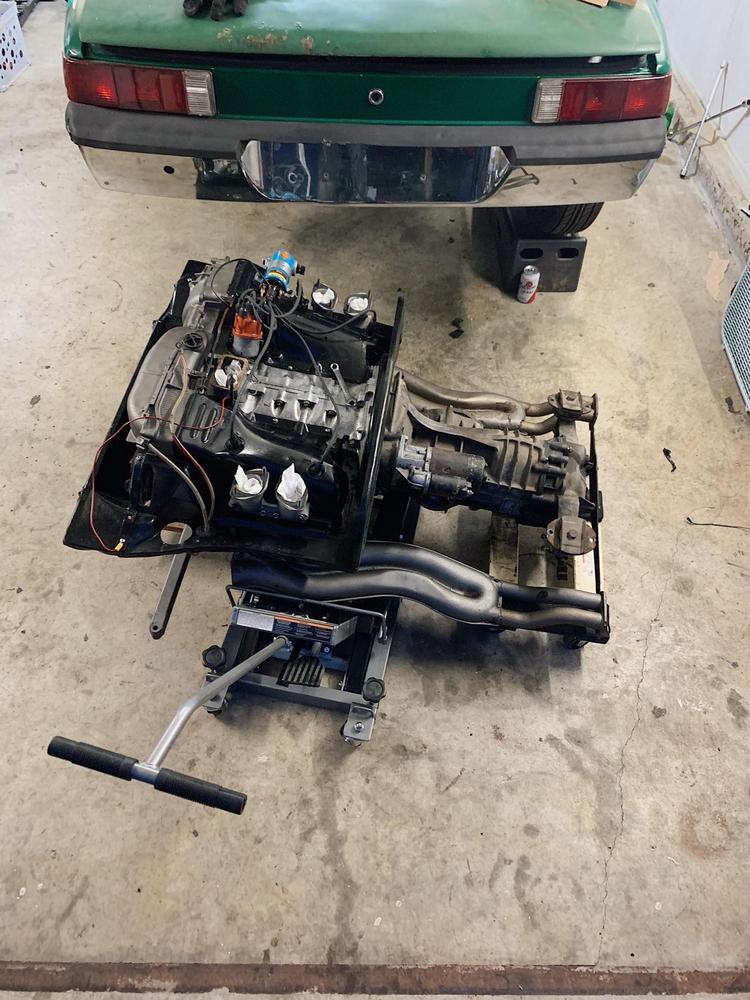
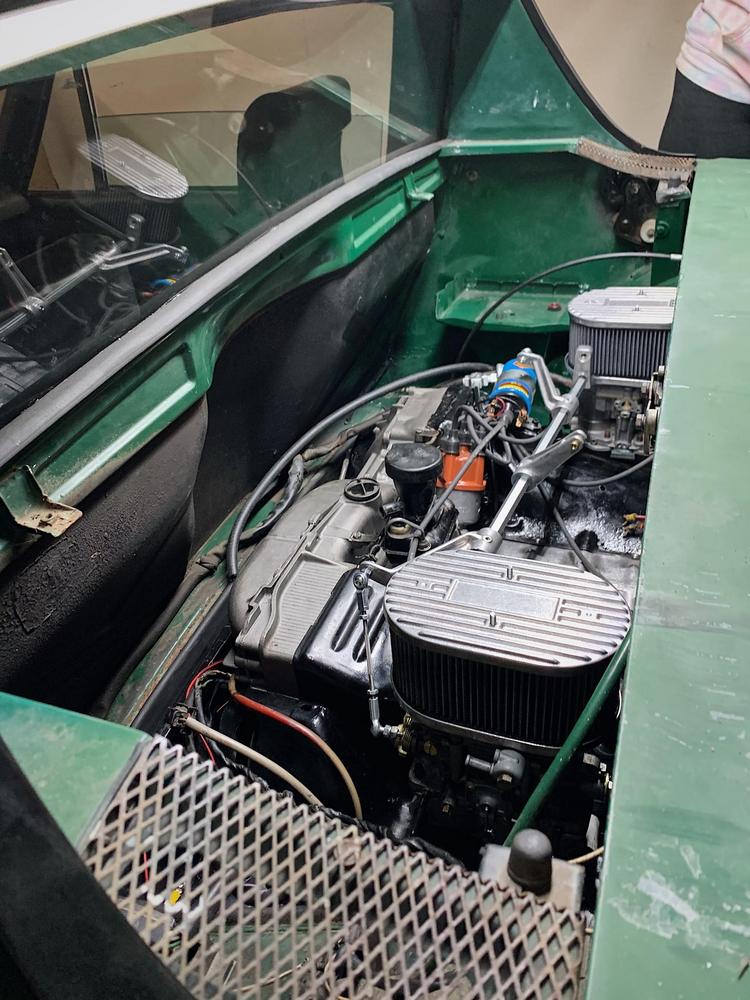
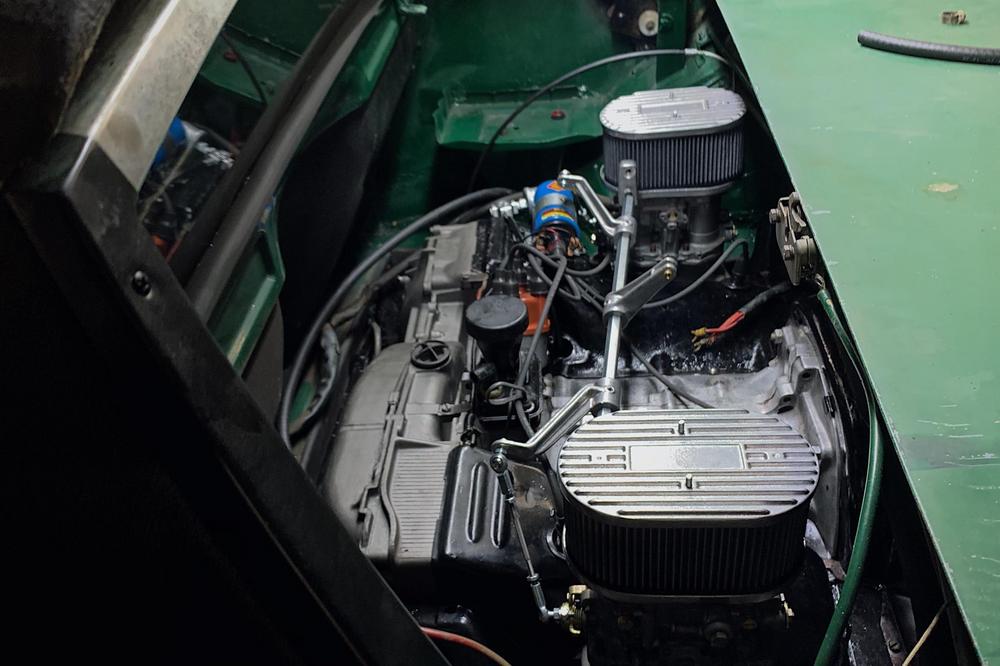
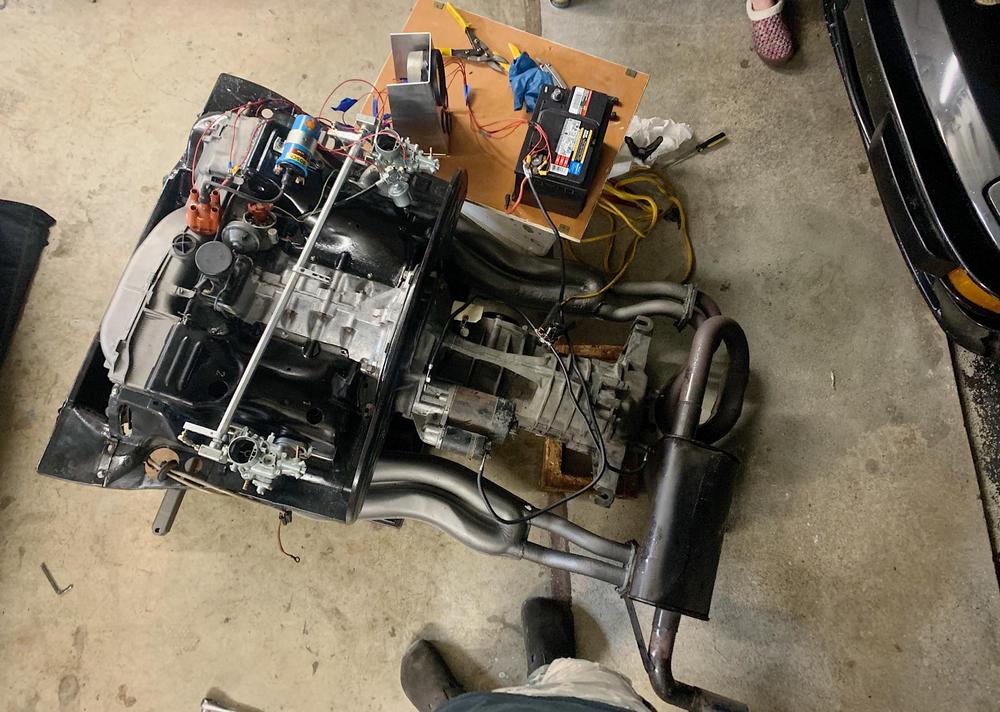
I made a wiring harness for my engine test gauge panel and tied up some loose ends with the motor. Pretty much ready to add the last bits, check for oil pressure, and see if she cranks!
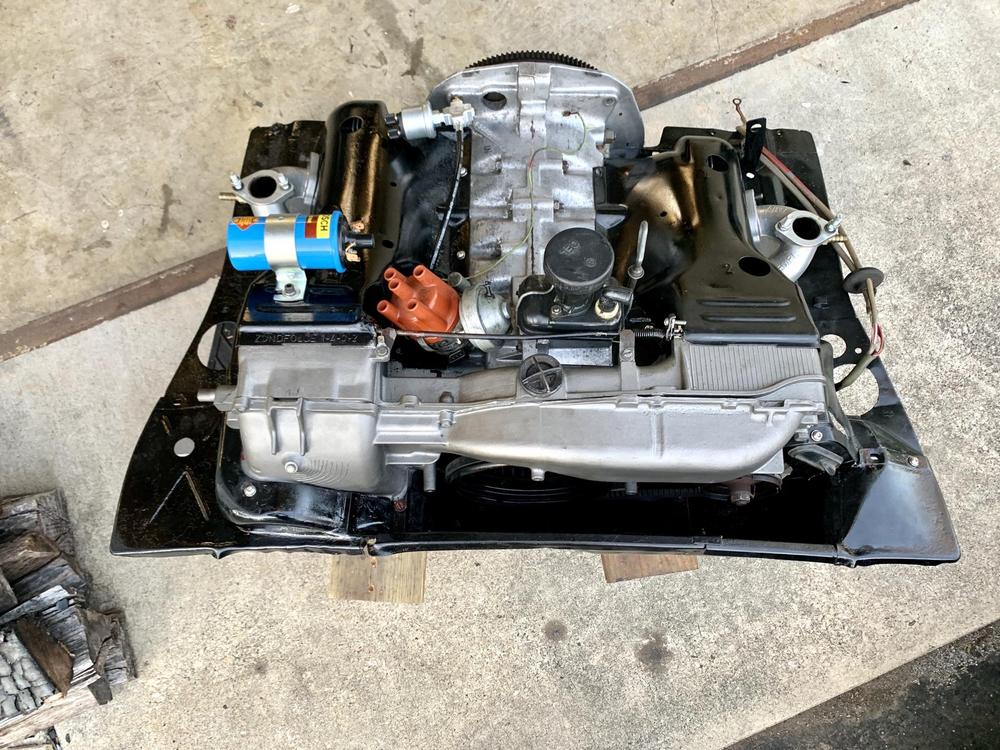
If you notice anything obvious missing, reach out. But I believe its all there.
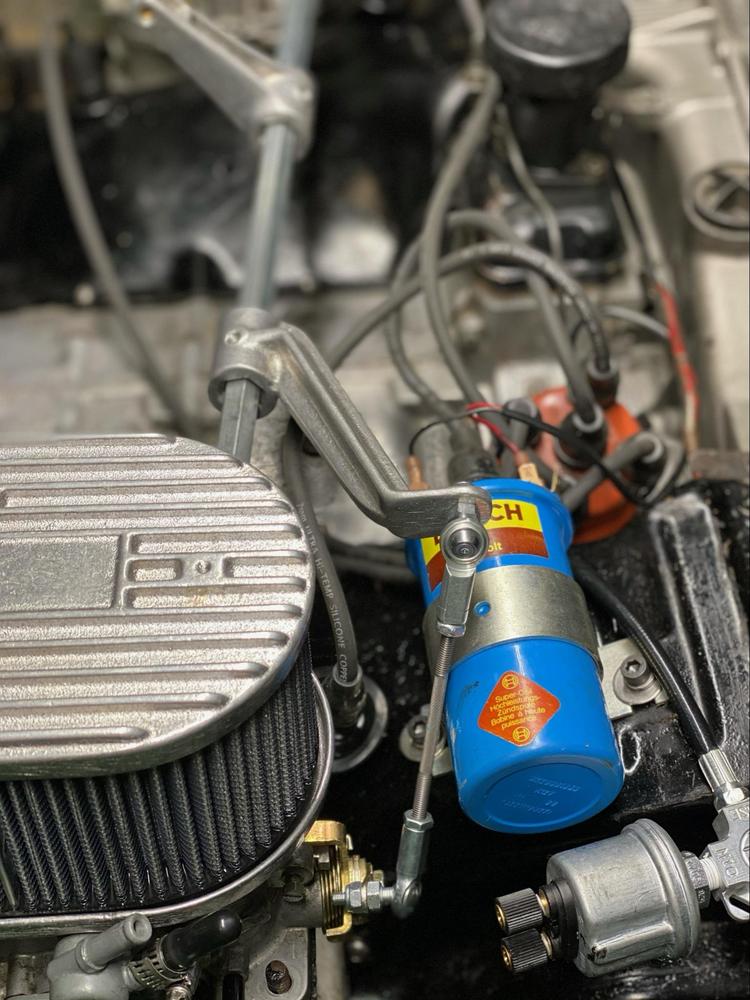
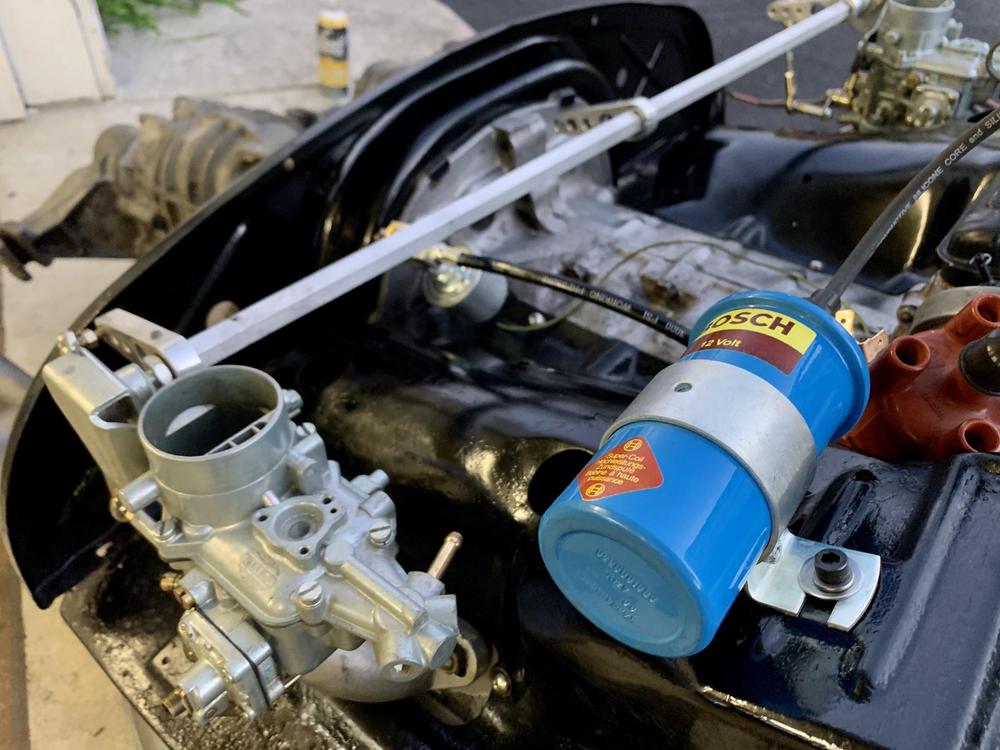
Had to get the Bosch blue coil.

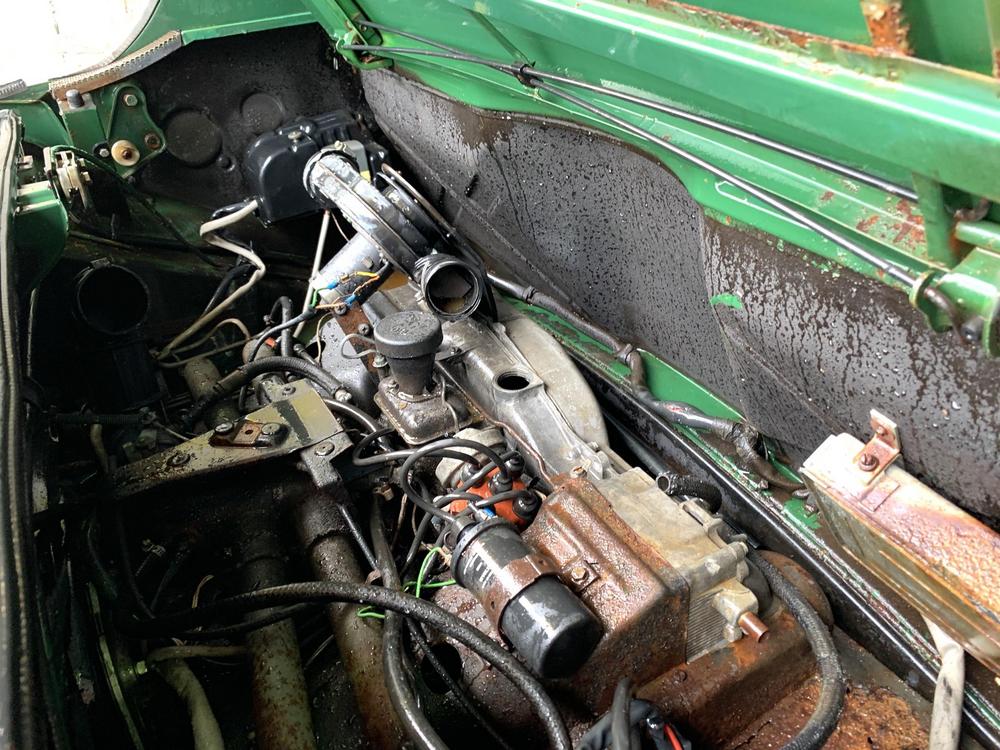
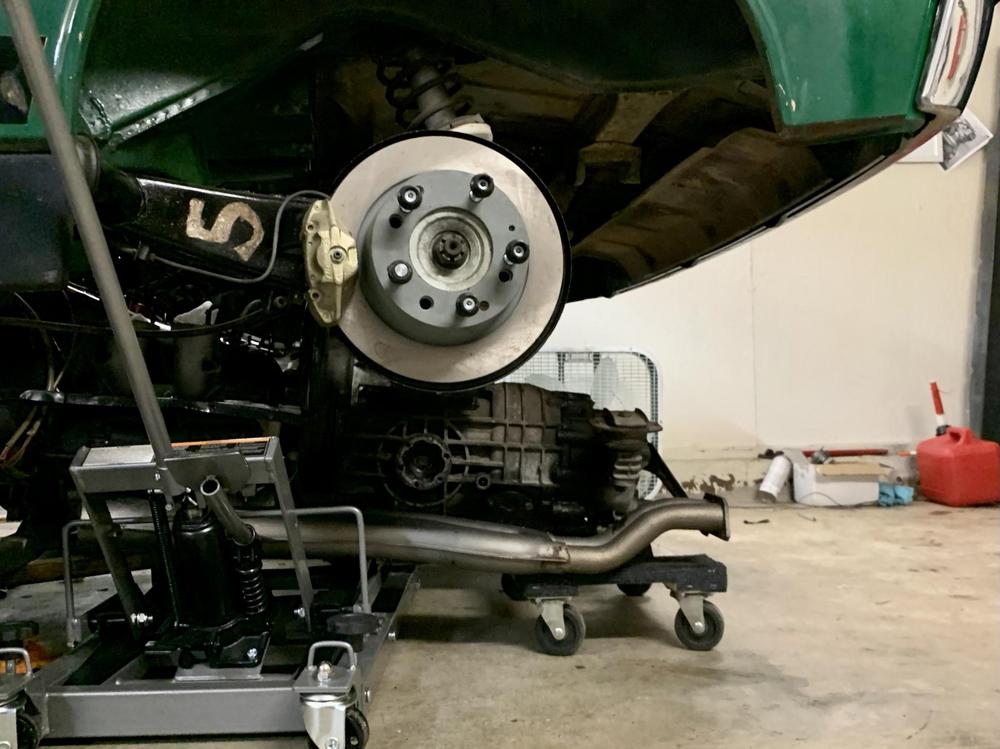
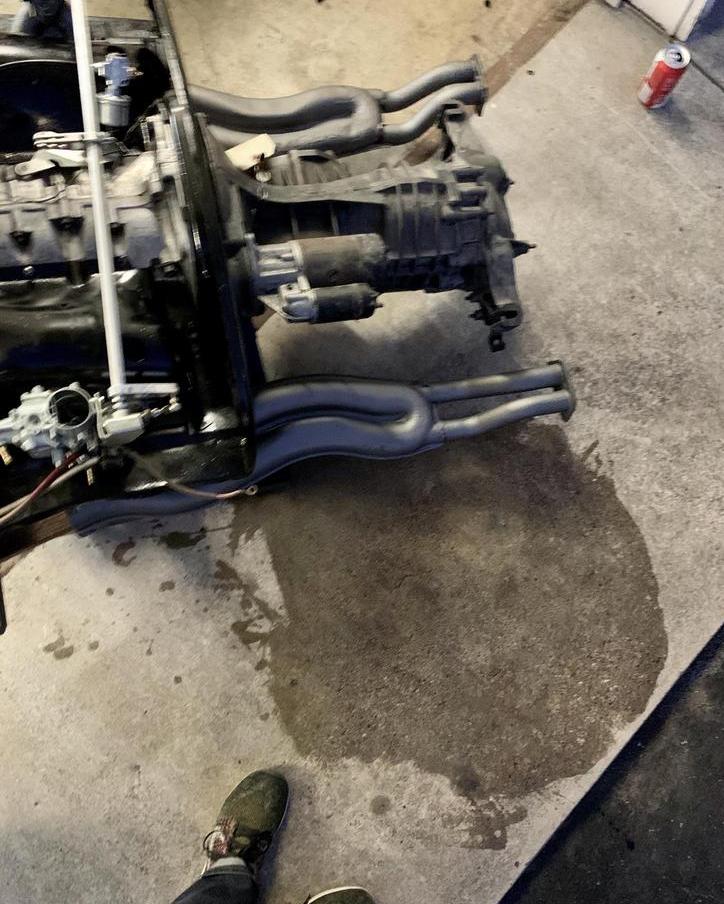
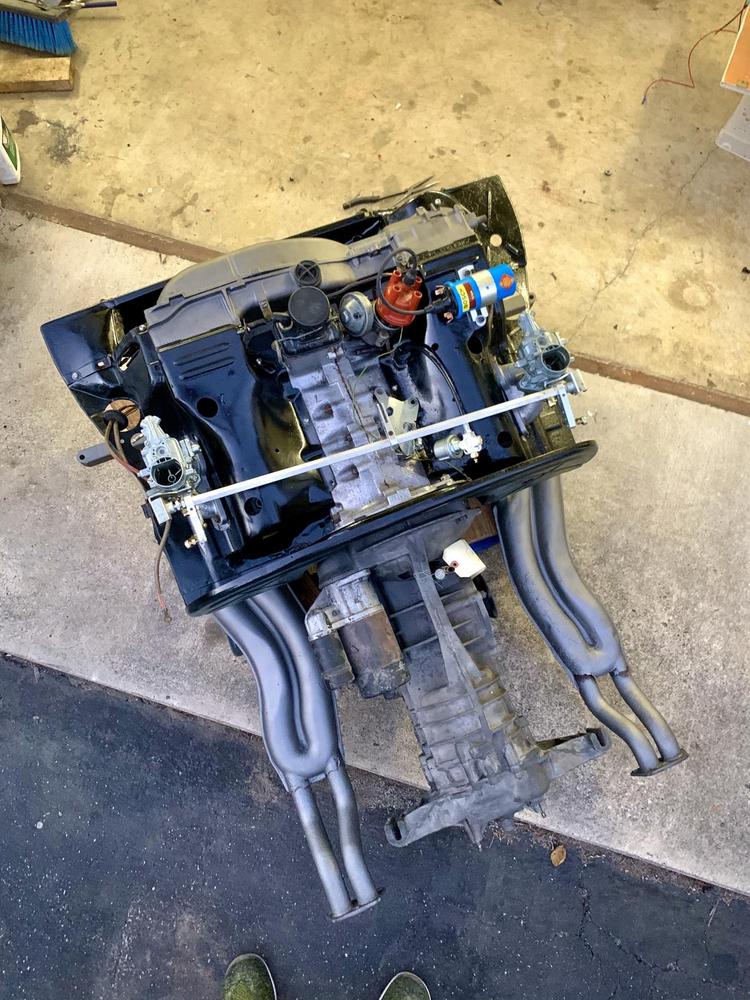
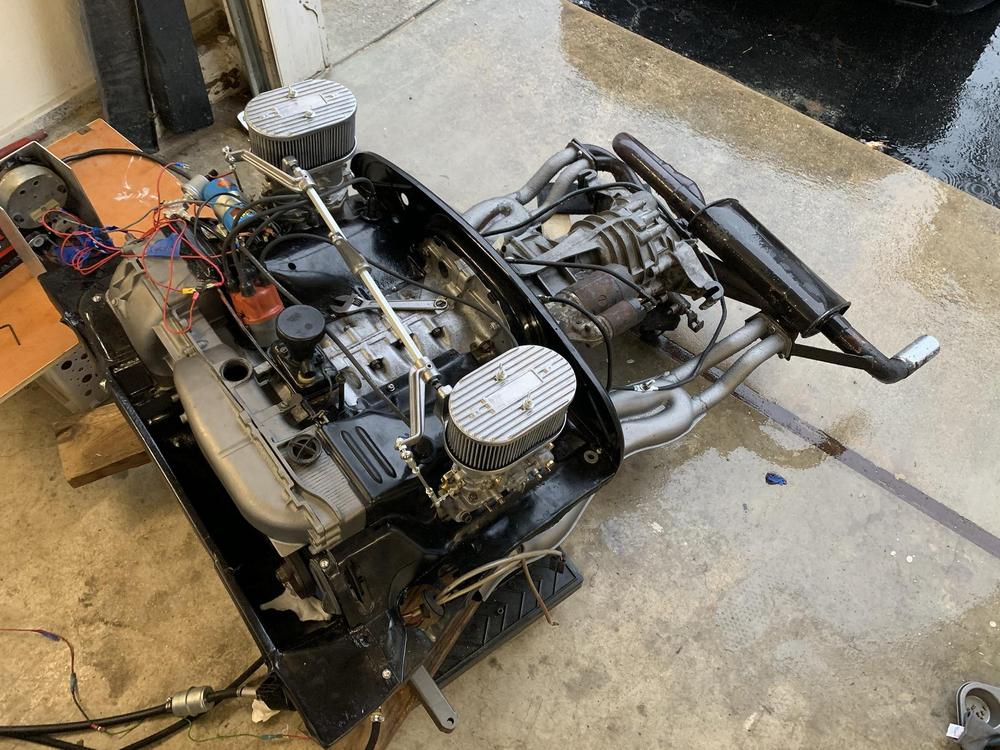
Painted (VHT 'Cast Iron") and installed the heat exchangers... Harder than you might think to mount by yourself.

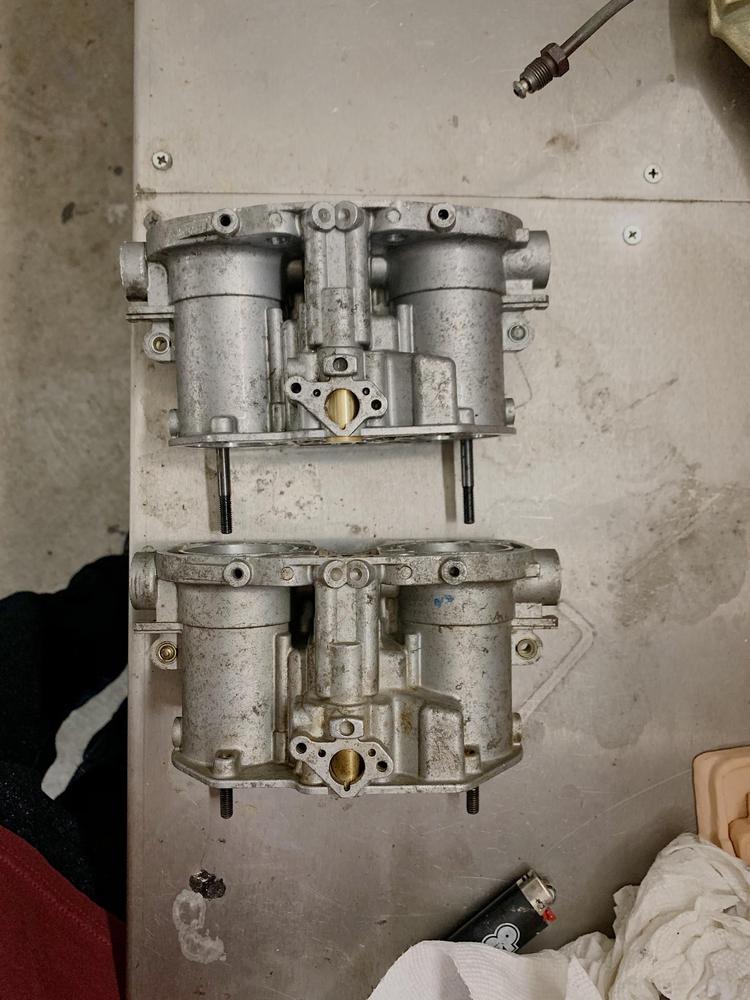
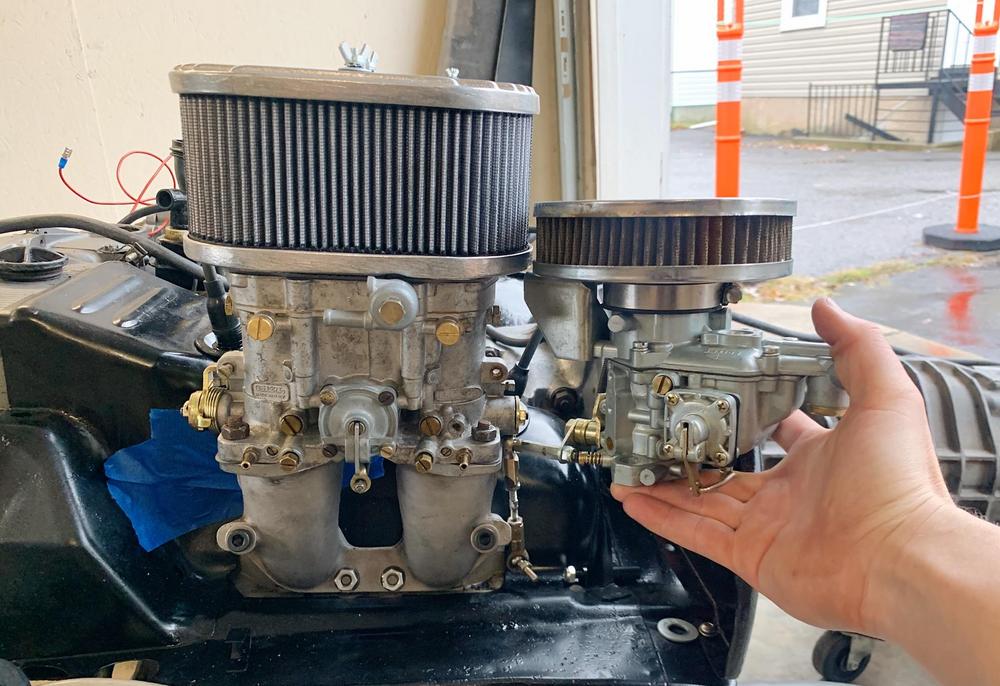
I added some single barrel Weber copies I got them for great price. These came off a 2 litre.
I partially expect them to be too small and am prepared to find a set of dual barrel 40's if it will hinder the performance notably. Time will tell.
Picked up this muffler locally, while I wait on a stainless muffler to be built. This will allow me to tune the motor and such now - go for looks later.

This being me.....
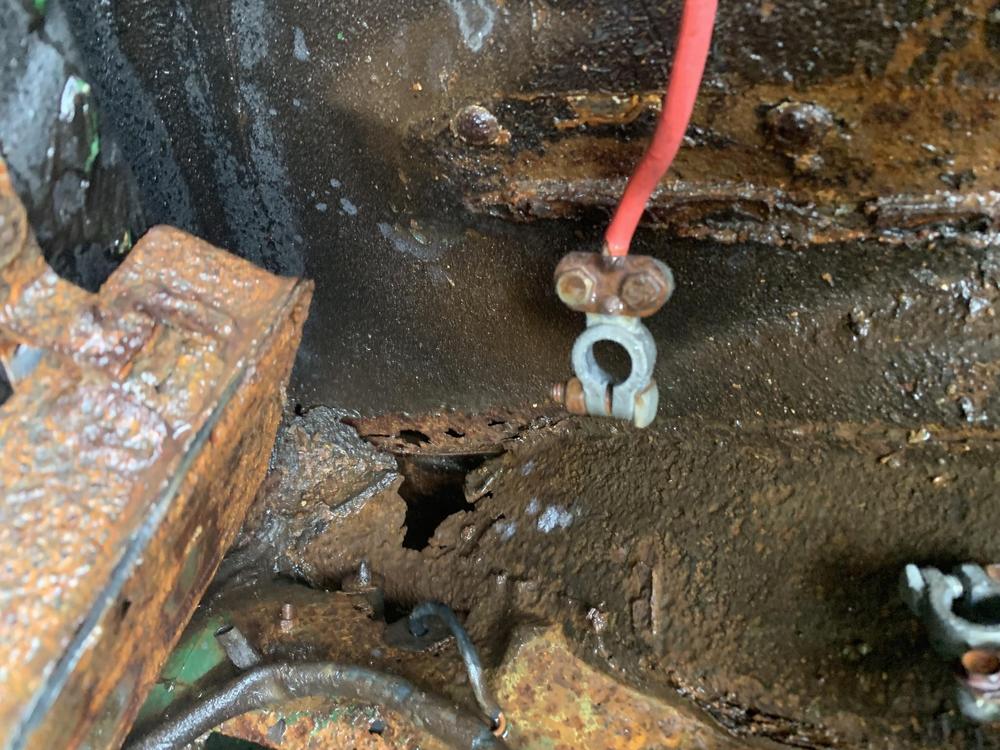
There has been a long running inside joke among my friends that I am bad at oil changes... something always happens. Its mostly a joke, but still.
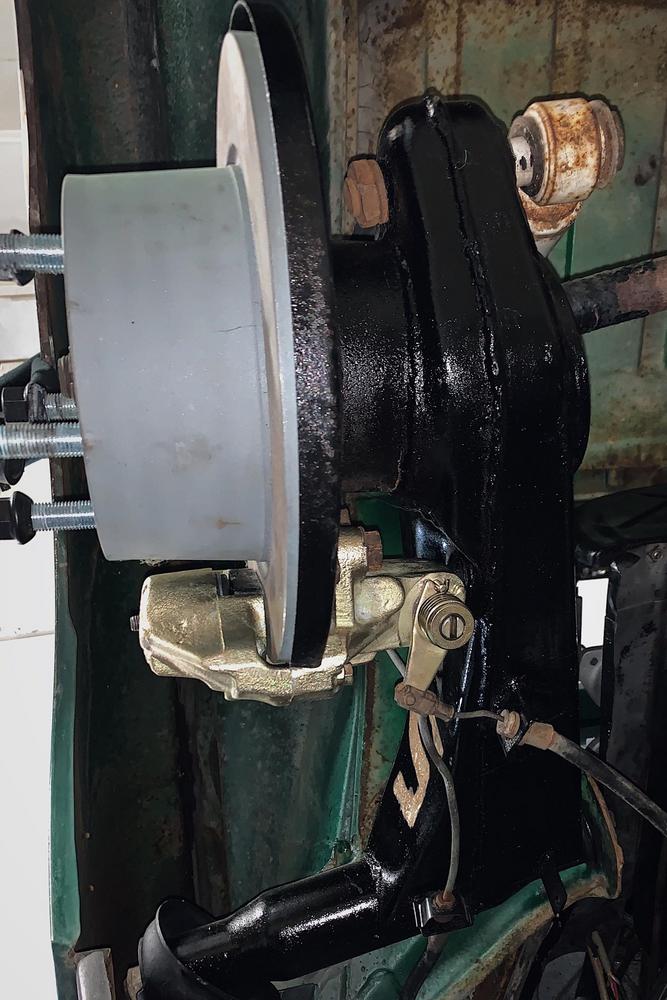
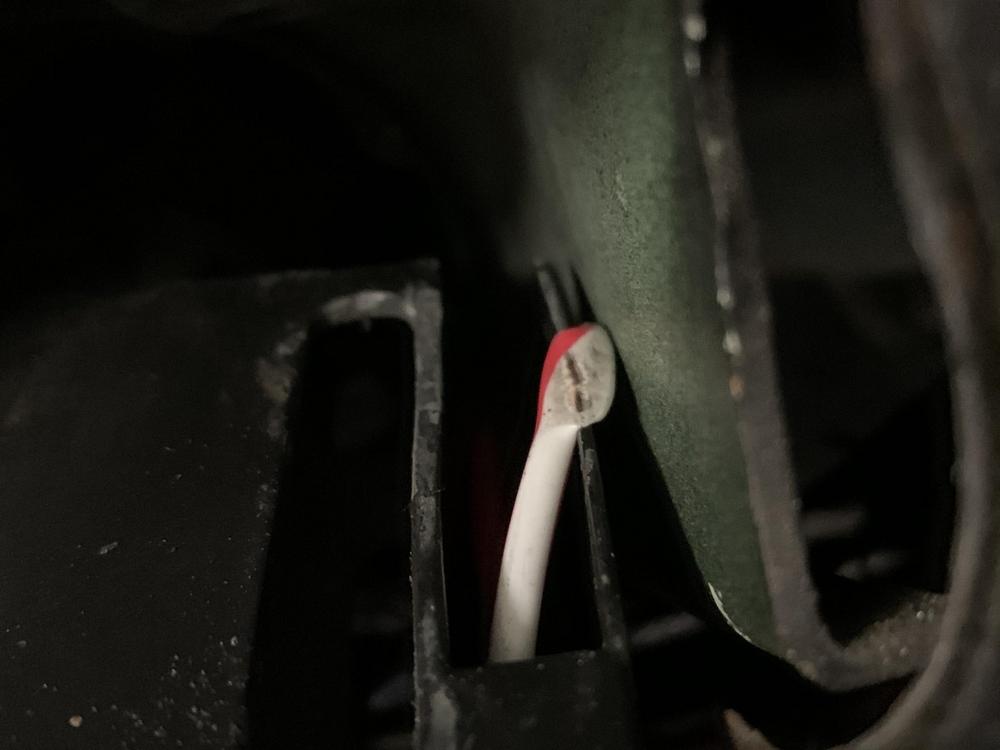
Only right that the first time I ever put oil in this motor the #^!$ing drain plug was out. I am 1000% certain I already put it in. But sure enough...
Glad I bent over "just to see if there was any leaks" ... cant even be mad.... a few towels and cat litter. Try again tomorrow.


I can make it 13 pages on a build thread with fabrication, engine work, upholstery and perseverance, but cannot pour oil down a hole.
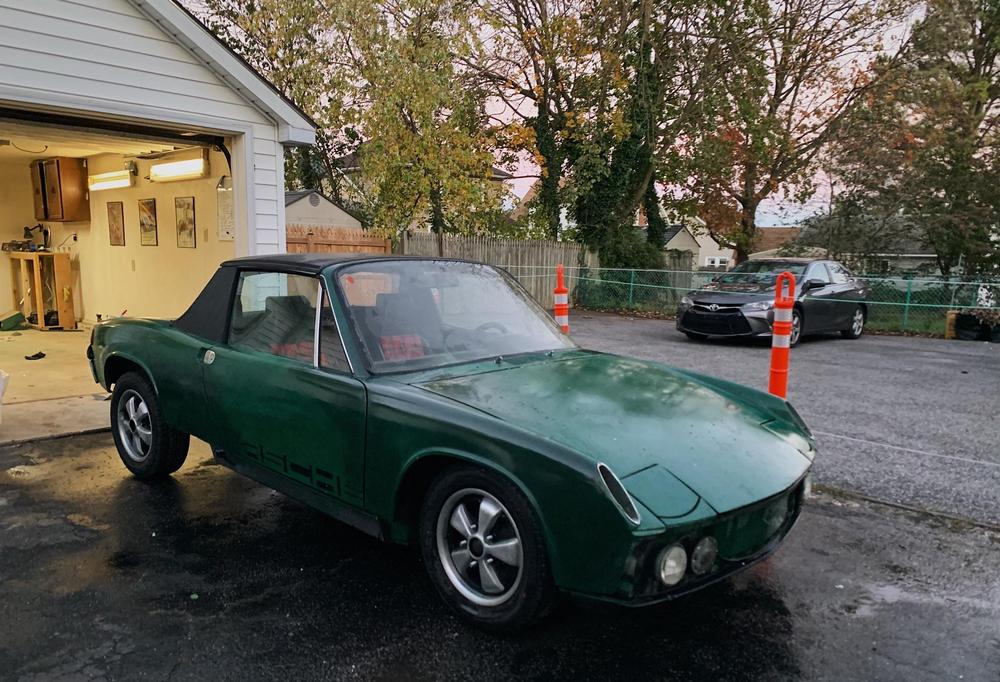
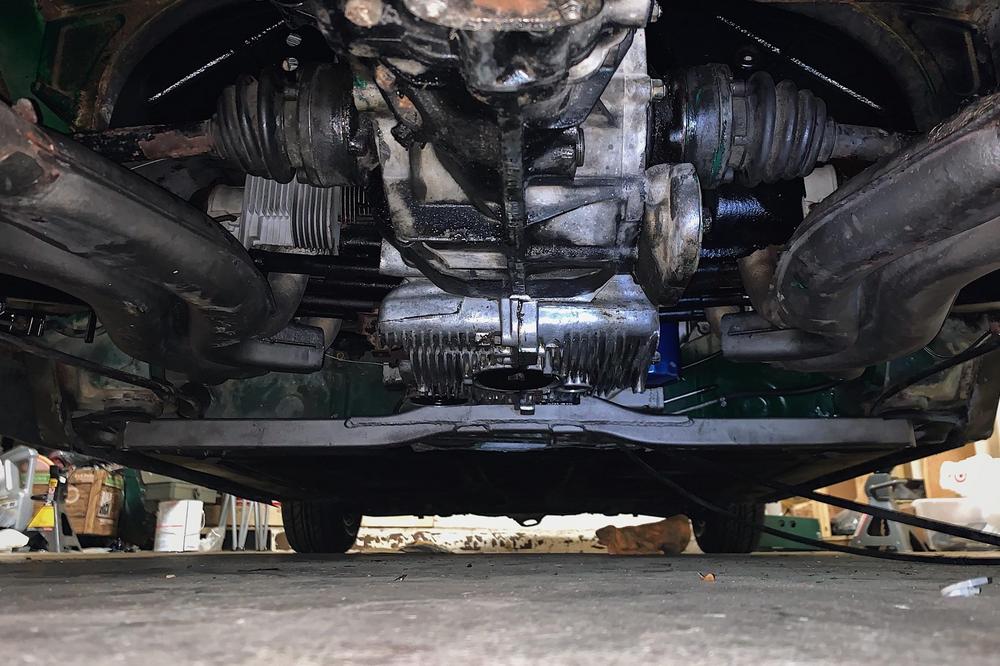
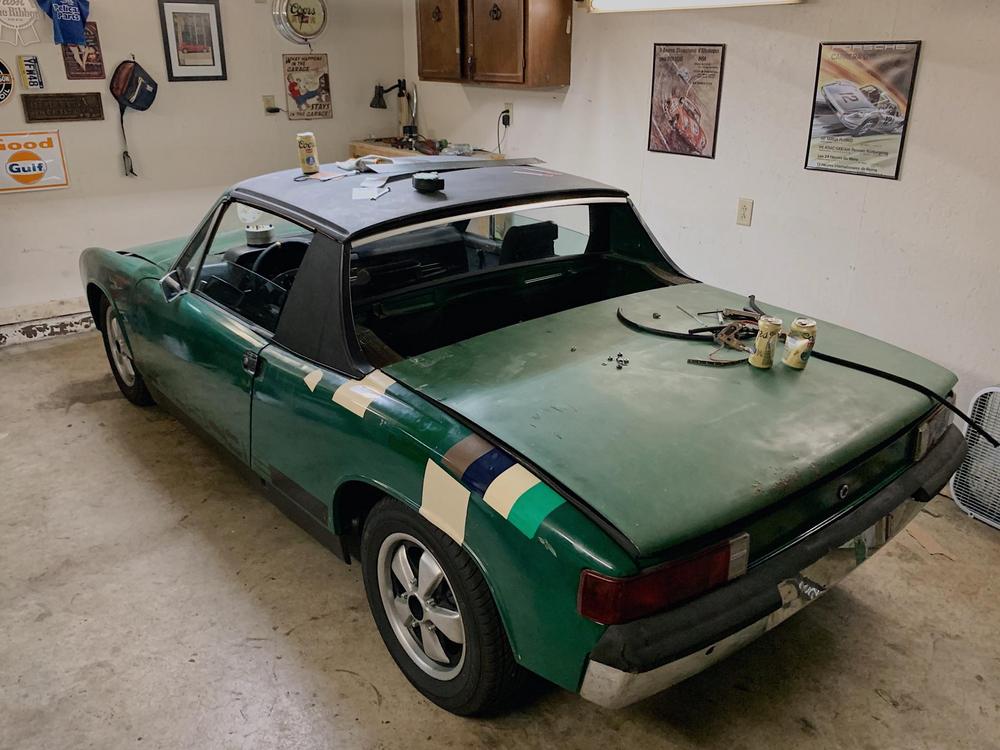
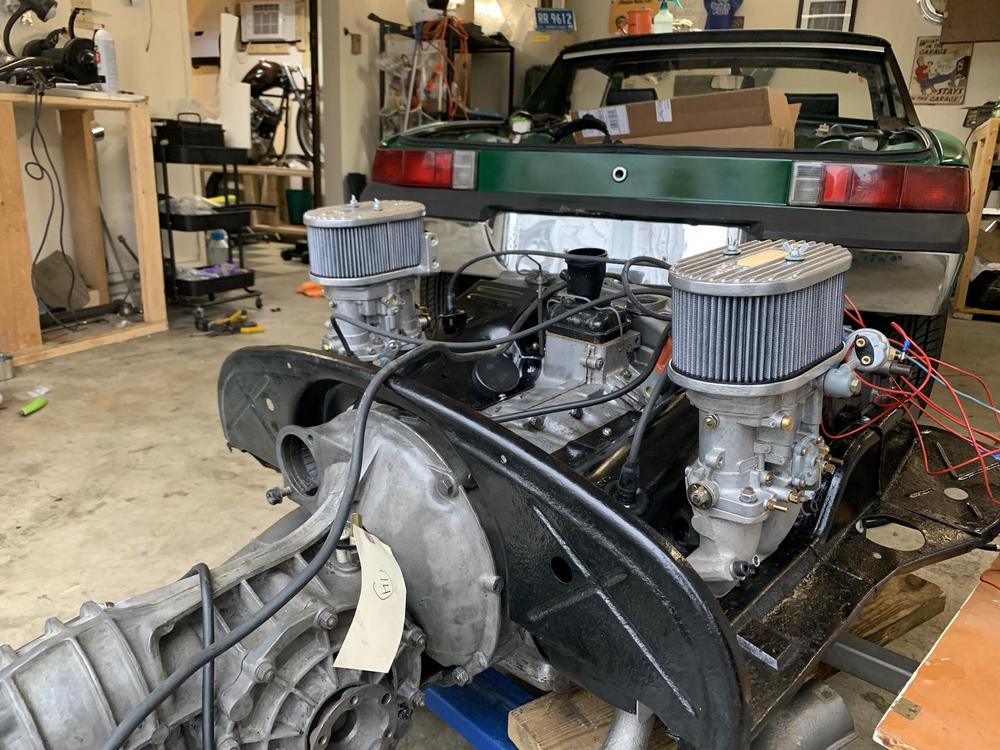
Besides the moist garage floor, this is where we stand.
Tomorrow, I will crank the motor and try to get oil pressure (of course after I go purchase more VR1).
If so, fully attach the carbs (I am aware they are backwards in this pic). Throw on my new starter and see if I cannot get this bad mother to turn over.
Cheers,
Jared


 On both points. Honestly I'm excited to see young people like you appreciating our automotive history to this degree. There is nothing wrong with anything happening here. Your making me read all of this thread!


![popcorn[1].gif](http://www.914world.com/bbs2/style_emoticons/default/popcorn[1].gif)


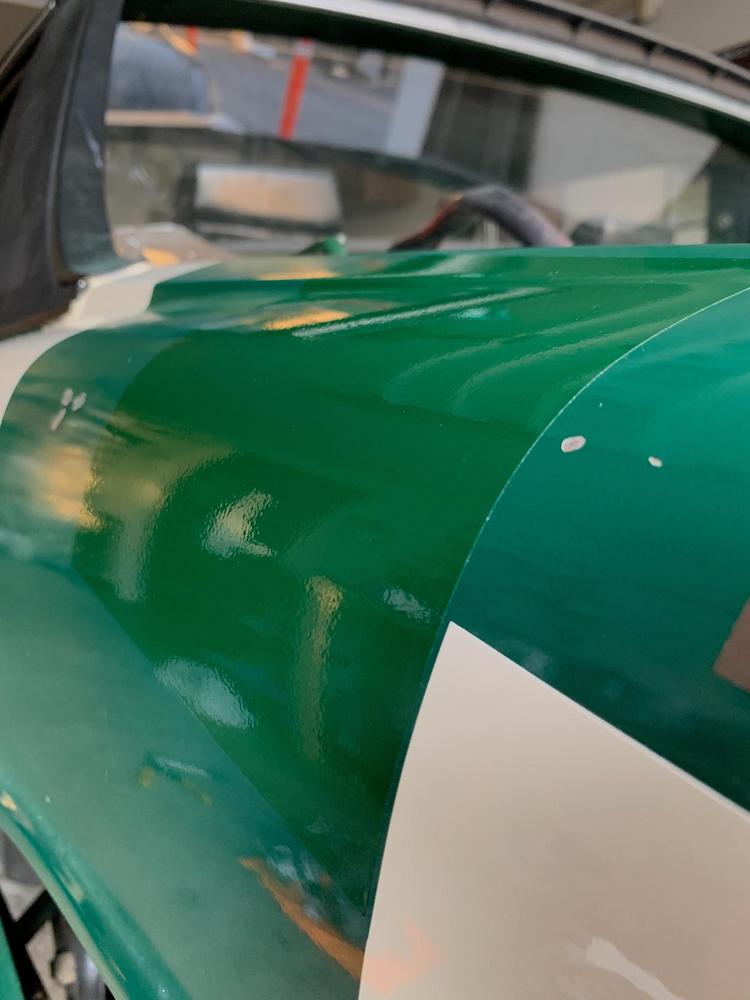
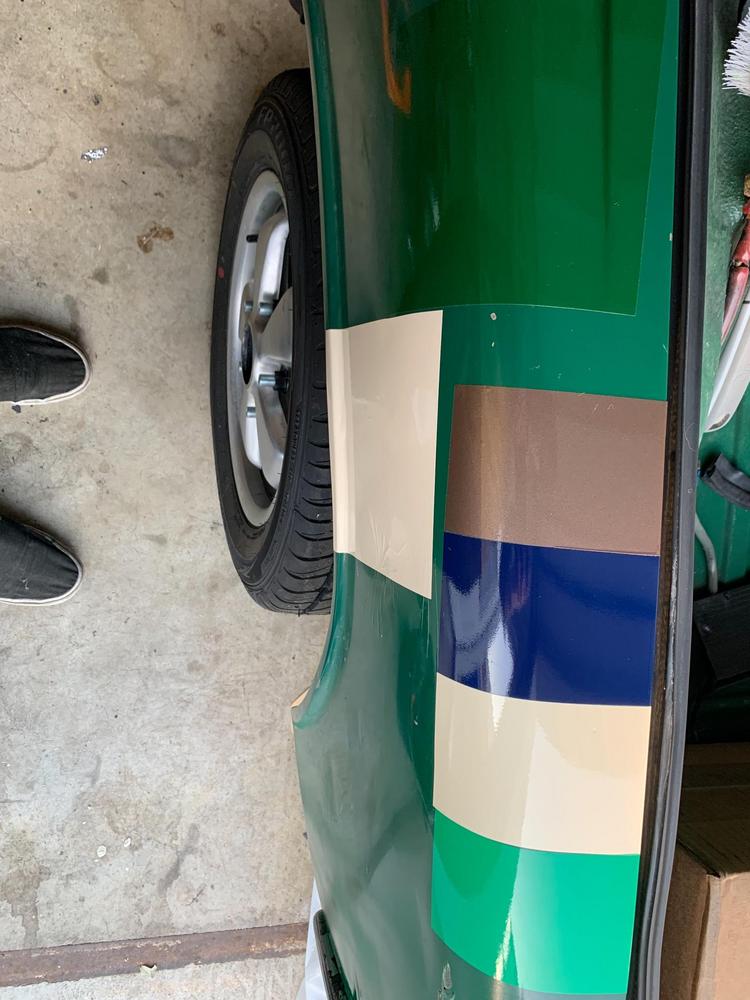
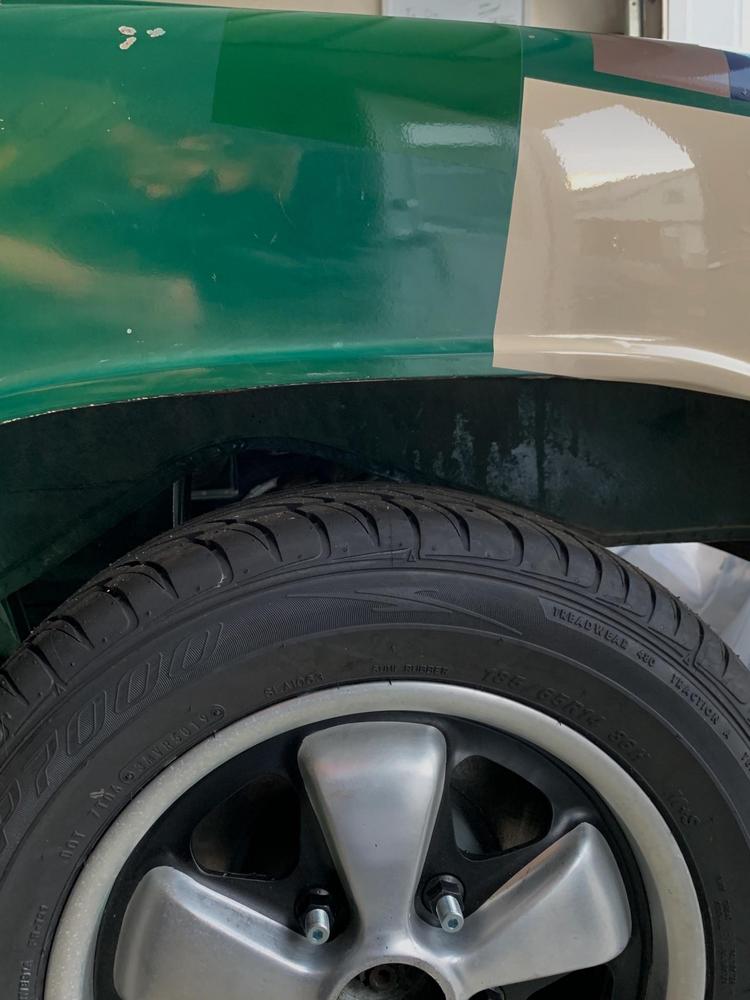
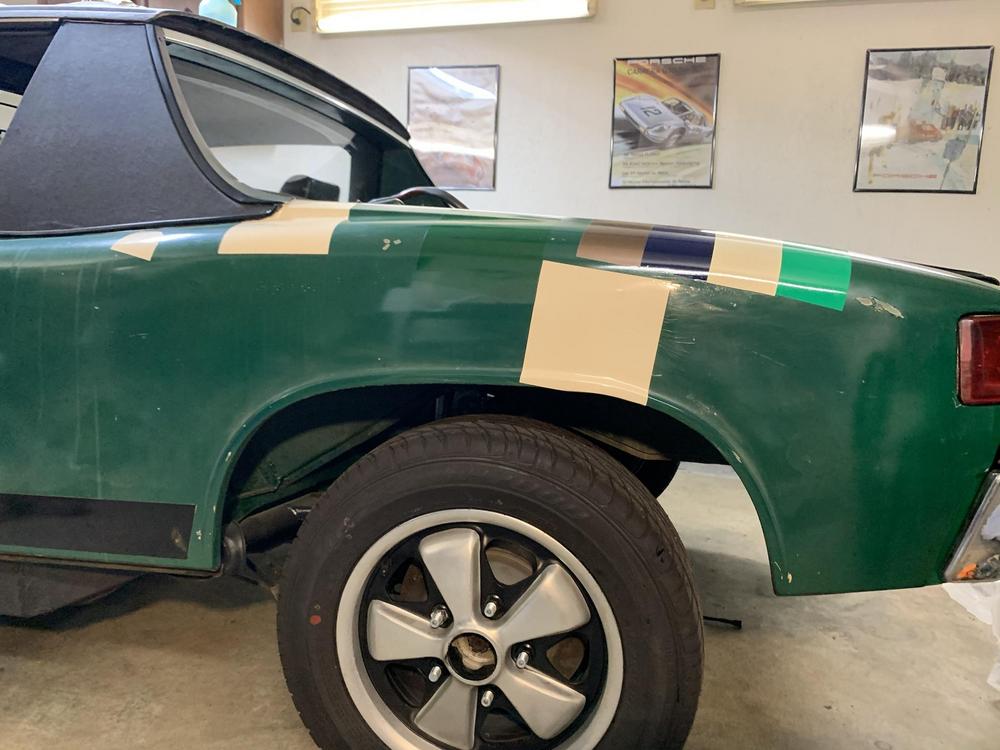
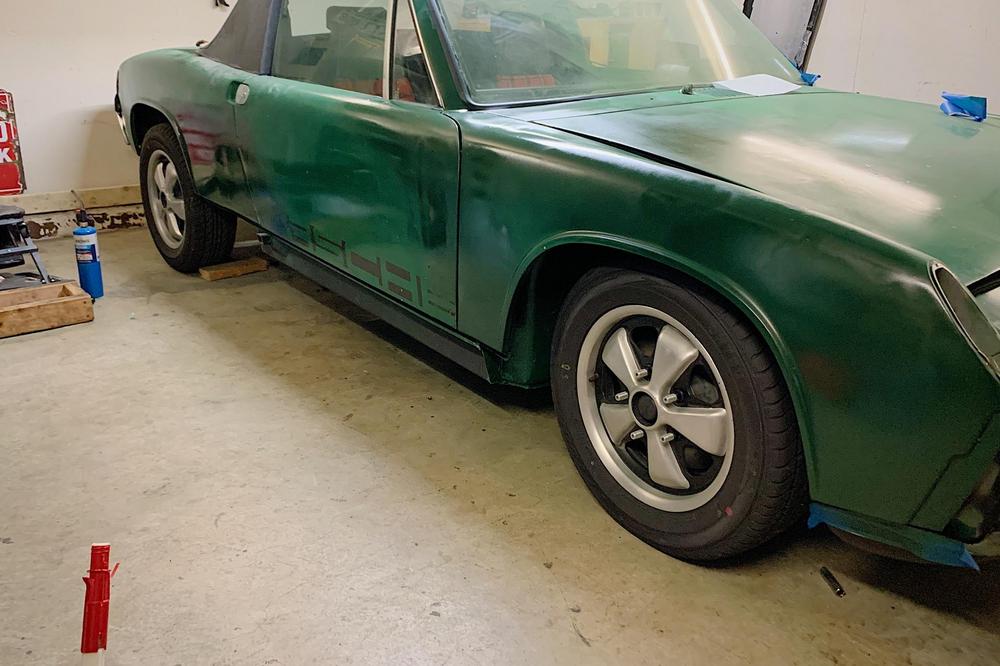
 At least I don't have massive primer spots - especially around the passenger rear fender, which I had to cut for the hell hole operation.
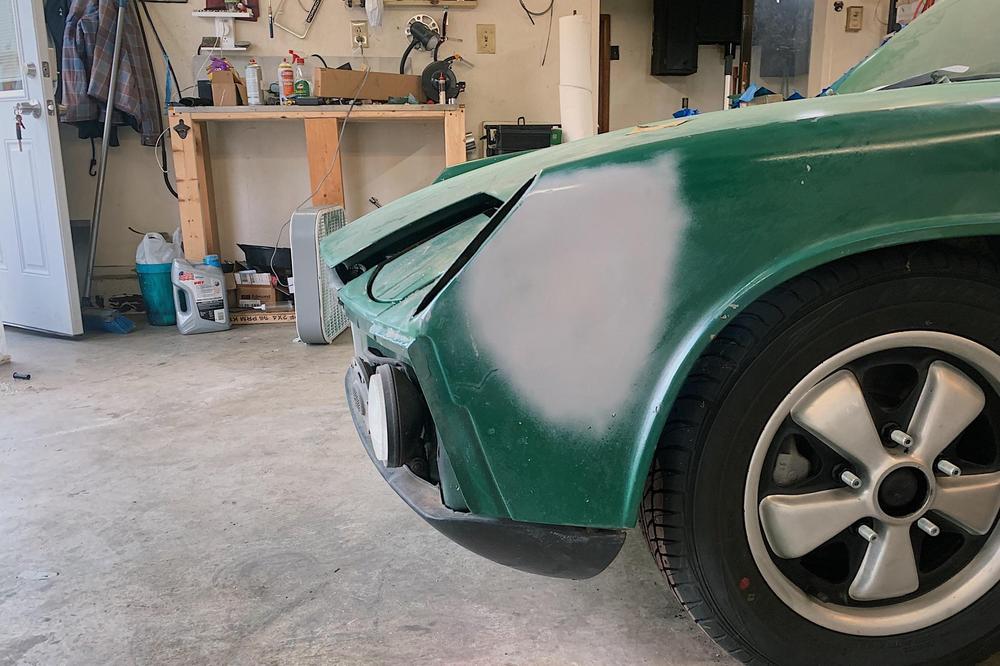


 ).
).