Help - Search - Members - Calendar
Full Version: How I restored my post 75 door panels
914World.com > The 914 Forums > 914World Garage
johannes
Now , its time to remove those ugly panels. I don't like speakers and WTF is this screw doing here ?

IPB Image

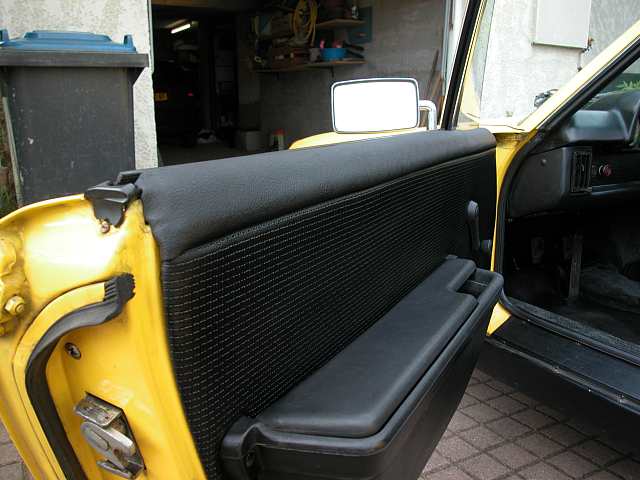
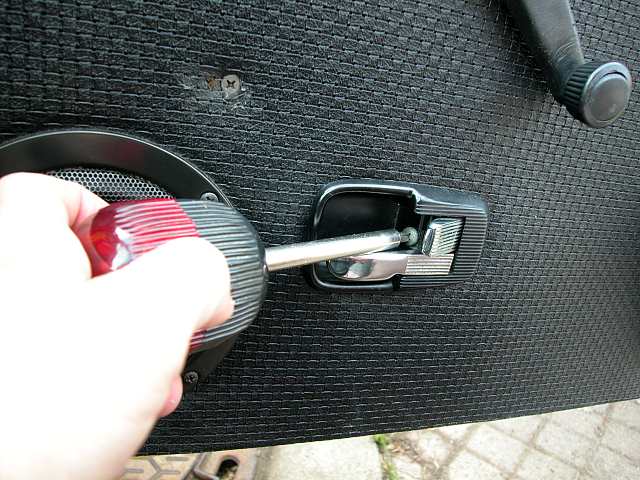
I assume you know how to remove panels ... I took pictures anyway ...

IPB Image

IPB Image

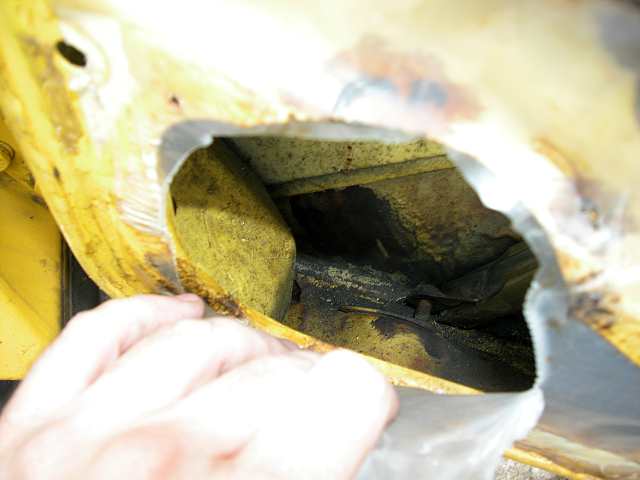
Look m'a ... no rust smile.gif

IPB Image

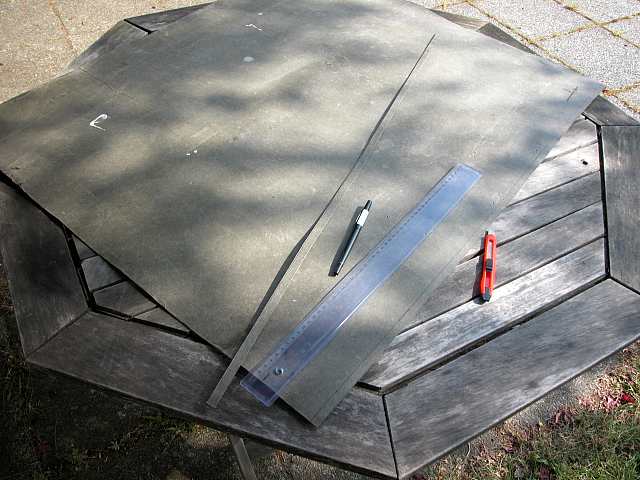
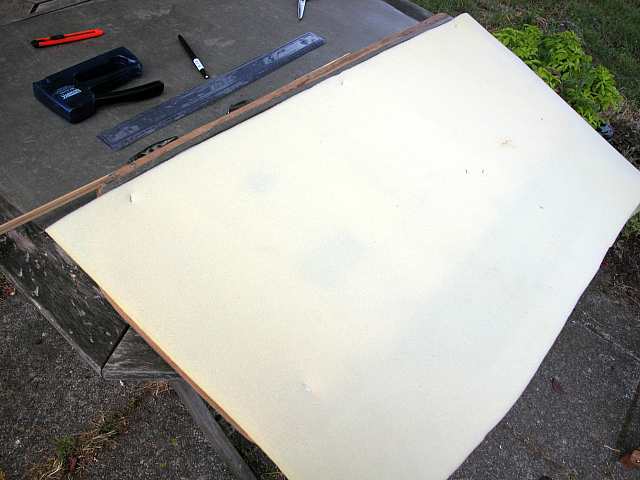
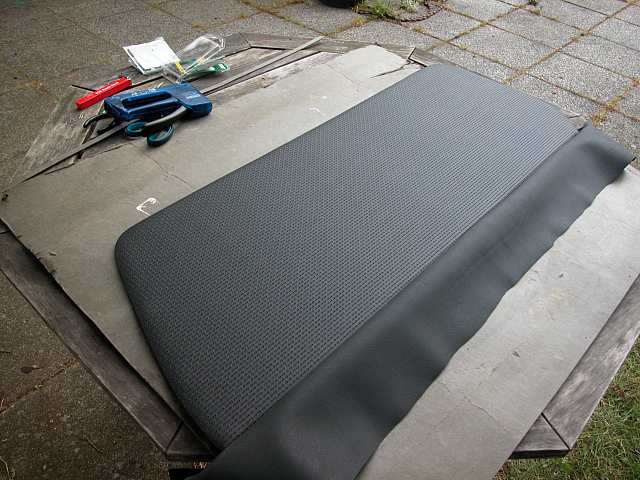
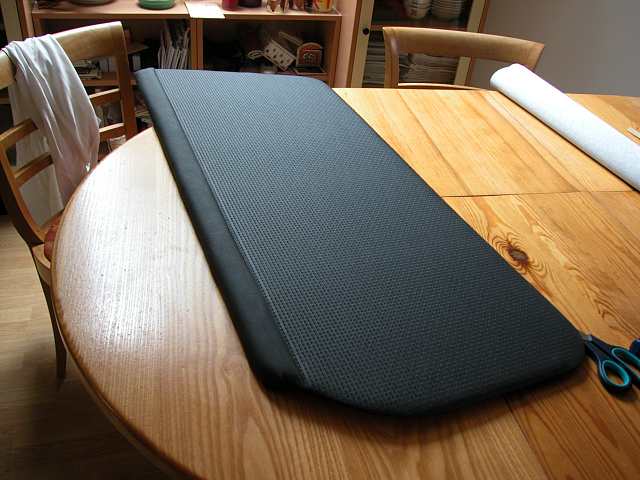
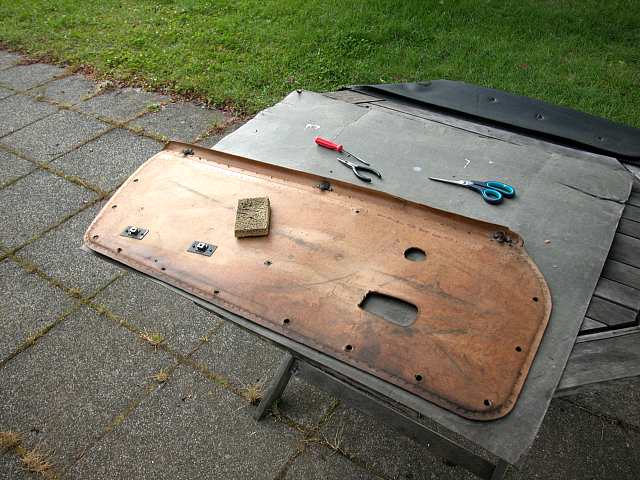
I found some panels with no holes ... The vinyl was in bad shape but the core panel was almost OK ... Tht's what I was looking for ...
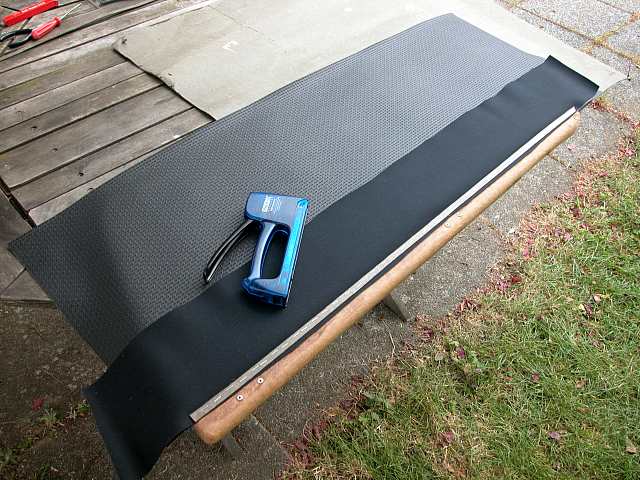
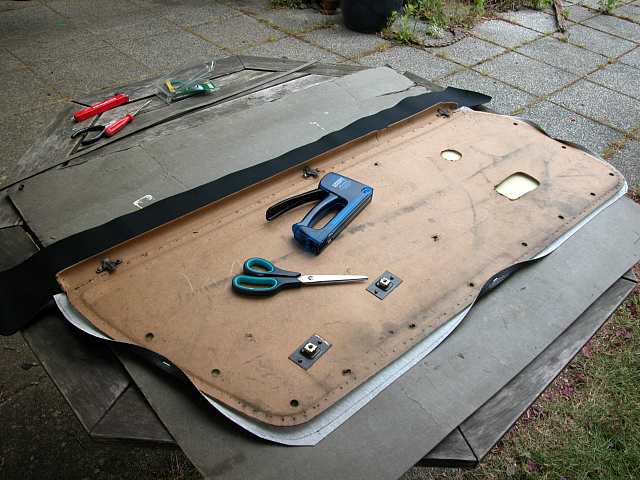
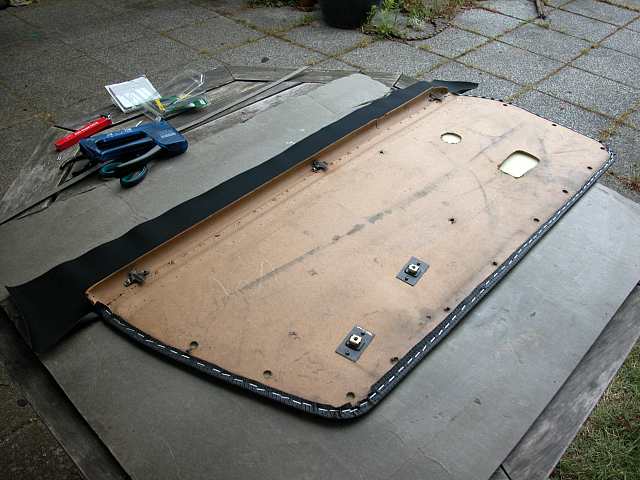
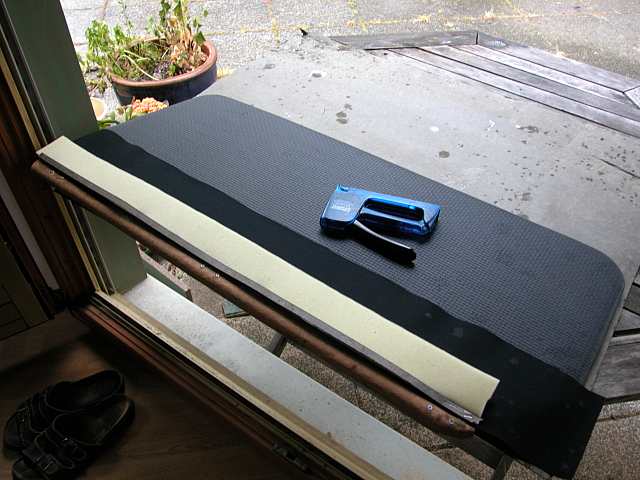
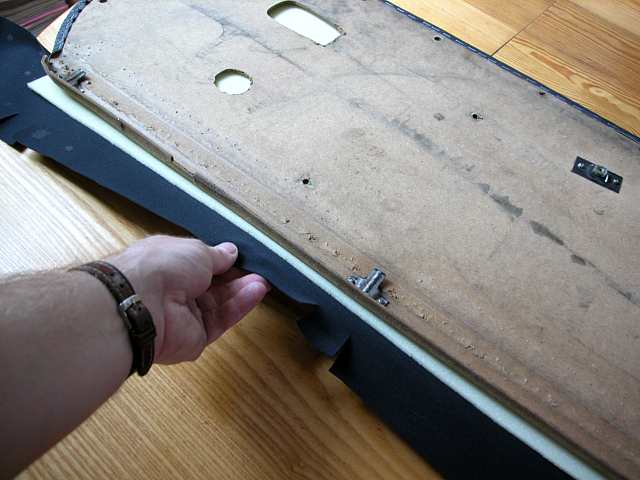
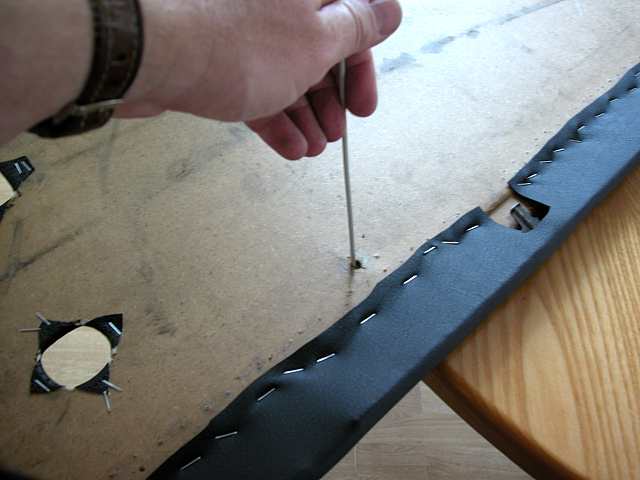
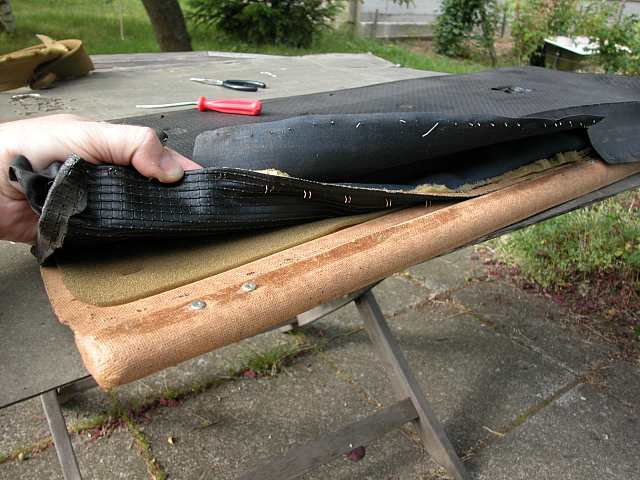
First of all, I removed the old vinyl.

IPB Image

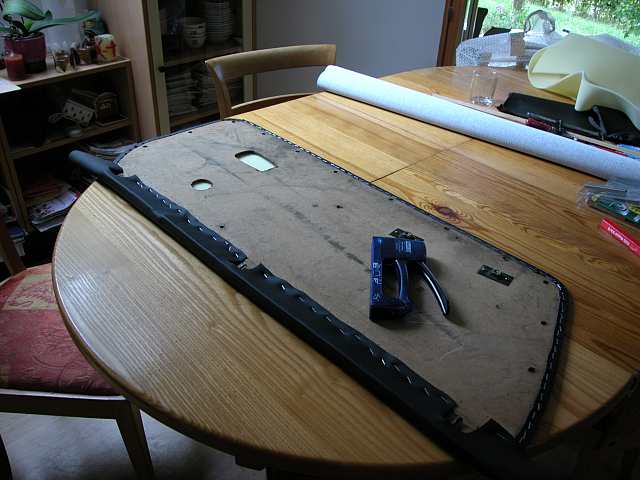
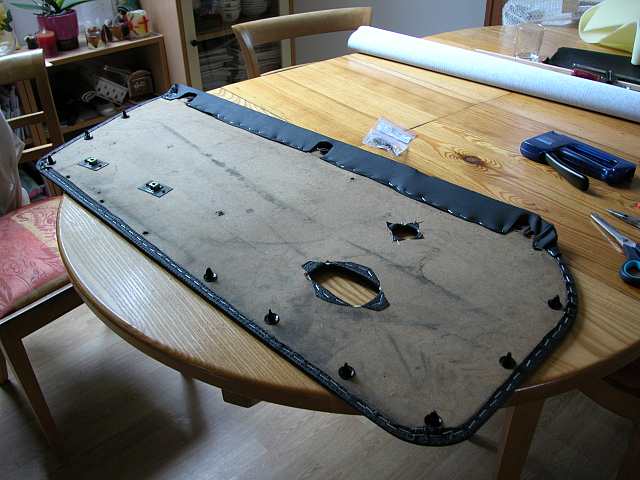
Now, let's clean this 30 years old dust

IPB Image

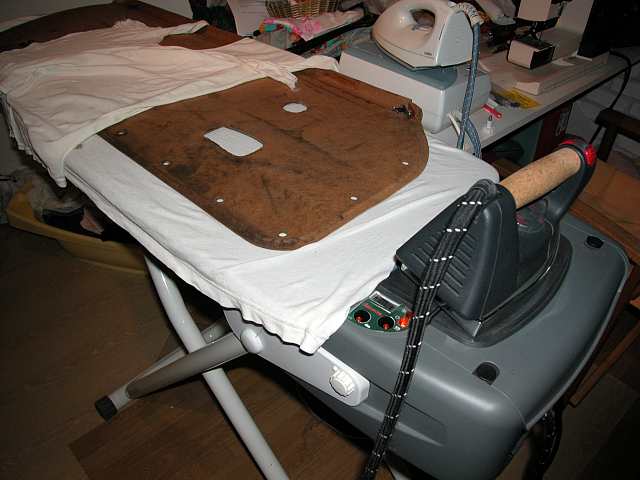
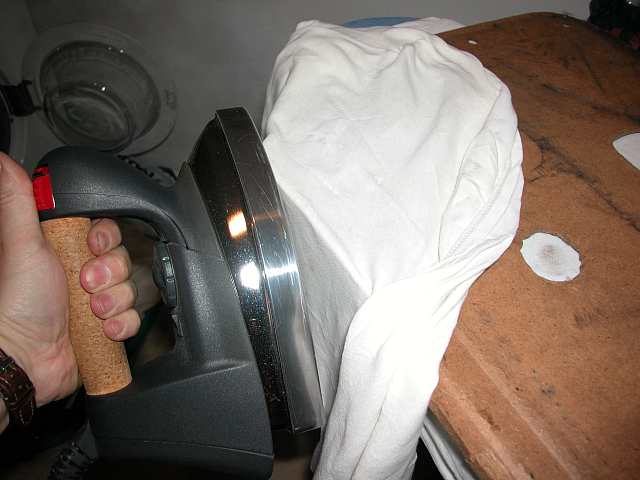
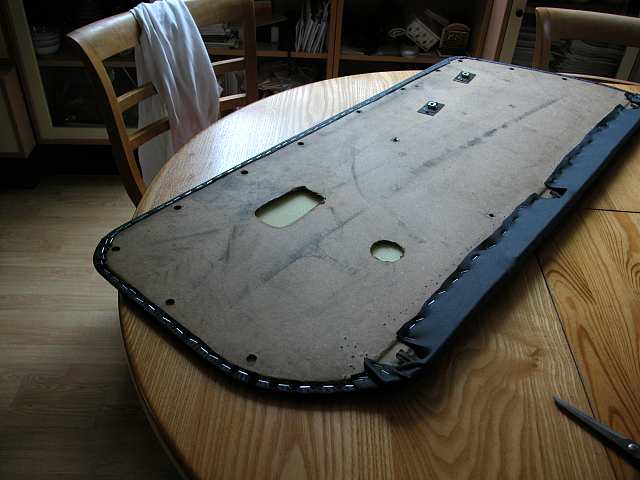
Not that straight, but steam will cure that

IPB Image

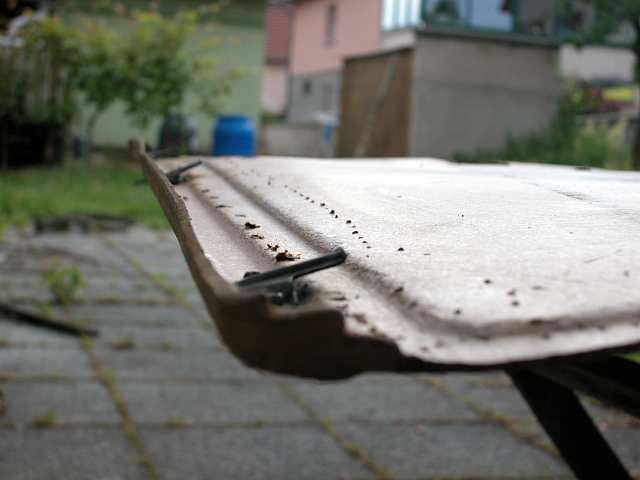
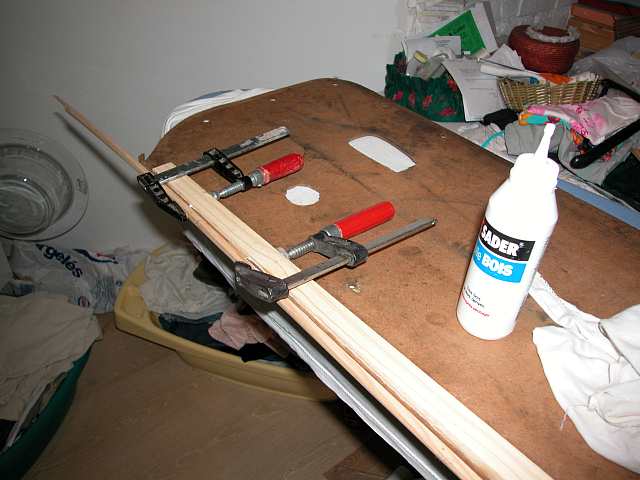
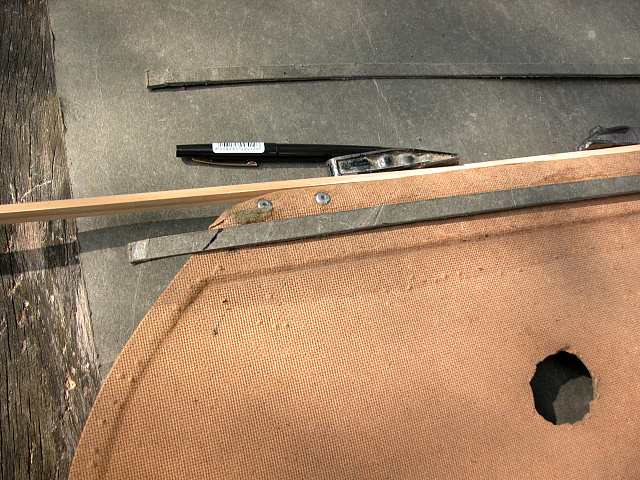
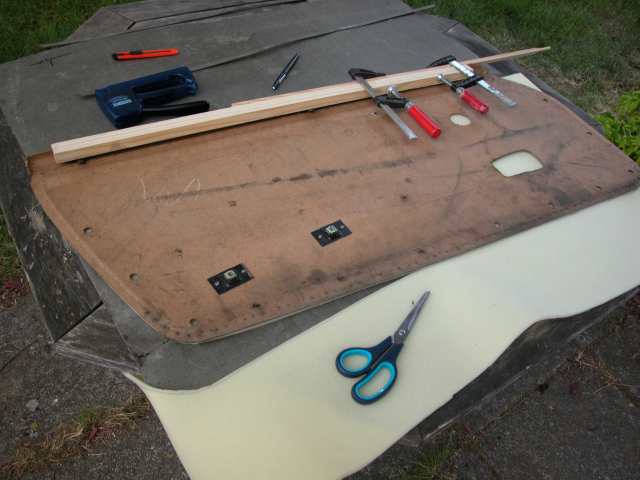
Some repairs will be needed too

IPB Image

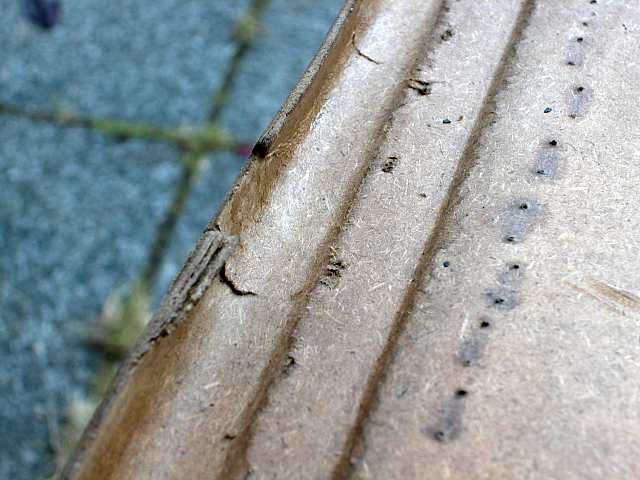
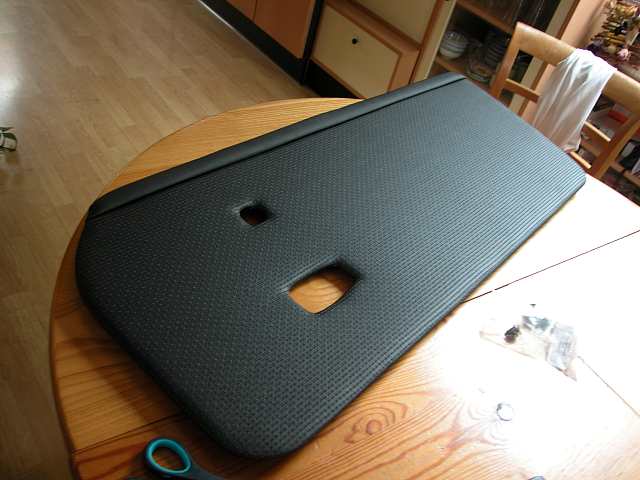
With a good steam iron I got the panel straight again
johannes
Ready for some steam ????

IPB Image

This gonna be straight again ... Done that while my wife was out. She better doesn't see that smile.gif

IPB Image

IPB Image

A bit of glue ... to repair what you have seen before

IPB Image

While the glue is drying let's cut two bands of heavy paperboard. This one is 2mm thick

IPB Image

Cut it to the right length

IPB Image

A few staples to maintain the foam at the right place

IPB Image
johannes
Cut the foam to fit

IPB Image

Put the large basketweave vinyl and the small smooth vinyl. Smooth vinyl must be reversed ... the first paperboard band and stapple ! Use long stapples this time. I used 6 mm this time

IPB Image

Cut the basketweave vinyl so it fits.

IPB Image

Stapple ... short stapples needed . I used 4mm

IPB Image

Nice ! no folds smile.gif

IPB Image
johannes
Then cut a 7cm band of foam

IPB Image
johannes
Stapple the foam with the second band of paperboard ... over the first band
I know, this is not the way it was done on the original door, but this way I avoid using glue ... I hate glue, it has to dry and it stinks !

IPB Image


IPB Image


IPB Image

Not bad for a beginner smile.gif

IPB Image
johannes
Now let's do the ends ... Not easy ... not easy because the vinyl I use is thiker than the original.

IPB Image


IPB Image
johannes
Make the holes

IPB Image

IPB Image

New attaches

IPB Image
johannes
Et voilĂ  ...

IPB Image

IPB Image
johannes
This is the other door ...
East coaster
Nice work!!
watsonrx13
Excellent work and documentation.....

Straight to the classics.... smilie_pokal.gif

-- Rob
blitZ
Excellent job, I didn't know you could use an iron to straighten the door panels.
johannes
Forgot to tell you that it takes about 3 to 4 hours to achieve one door.
type11969
Very nice . . . quick question, are early door panels different than late door panels?

-Chris
eric914
Yes.

Instead of the fiber panel forming the rolled edge at the top there is a metal piece that clips to the top of the panel. The metal piece is 2"-3" wide.
johannes
QUOTE(eric914 @ Jun 23 2006, 04:55 AM) *

Yes.

Instead of the fiber panel forming the rolled edge at the top there is a metal piece that clips to the top of the panel. The metal piece is 2"-3" wide.


Yes and the vinyl is also different, the basketweave has a different design on 75 and 76. I was told it is easier to find. I found it in France. This may be used in more other cars.

Someone posted another tread with early doors restoration, that's why I posted this tread with the late doors.

You can wtch this thread for the early doors panel ... not restored to original but you can see the difference with late panels.

EARLY DOORS BY AARON COX

And Also this page that shows detailed pictures on how to remove the panels.

HOW TO REMOVE THE PANELS
RON S.
Nice Job clap56.gif clap56.gif clap56.gif


I'redid the door panels on my -6r,and the tuck & roll kicked my a@*.

I ended up taking it to a local upholsterer,and paid him $100.00 to straighten my mess out.

Ron
Steve Thacker
Johannes,
That is excellent work. clap56.gif
Much easier than the method I used.

I bet your wife would have kicked your ass around your ears for using her nice iron and board. And then to top it off work on the kitchen table. If I tried that at home I would most likely get caught and beaten senseless....


I love it when shes rough.
Hummm maybe I should do something stoopid. happy11.gif

olav
QUOTE(eric914 @ Jun 23 2006, 05:55 AM) *

Yes.

Instead of the fiber panel forming the rolled edge at the top there is a metal piece that clips to the top of the panel. The metal piece is 2"-3" wide.


When was the switch?

Eric_Shea
Ya gonna put that screw back in there? confused24.gif w00t.gif

Excellent... Classics Vote smilie_pokal.gif
johannes
QUOTE(olav @ Jun 23 2006, 05:31 AM) *

QUOTE(eric914 @ Jun 23 2006, 05:55 AM) *

Yes.

Instead of the fiber panel forming the rolled edge at the top there is a metal piece that clips to the top of the panel. The metal piece is 2"-3" wide.


When was the switch?


I can't say ! Mine is 1975 and has the new one ... Maybe a 73 owner can answer ... 73 and 75 where the two years with major changes.
Lou W
They look great, very nice job. smilie_pokal.gif
Aaron Cox
very cool!!!

i really like your writeup better than mine!!!

AA
Jeroen
QUOTE(Eric_Shea @ Jun 23 2006, 04:44 PM) *

Excellent... Classics Vote smilie_pokal.gif


agree.gif
MecGen
WOW

QUOTE
QUOTE(Eric_Shea @ Jun 23 2006, 04:44 PM)

Excellent... Classics Vote


agree.gif

+Karma

beerchug.gif
This is a "lo-fi" version of our main content. To view the full version with more information, formatting and images, please click here.
Invision Power Board © 2001-2024 Invision Power Services, Inc.