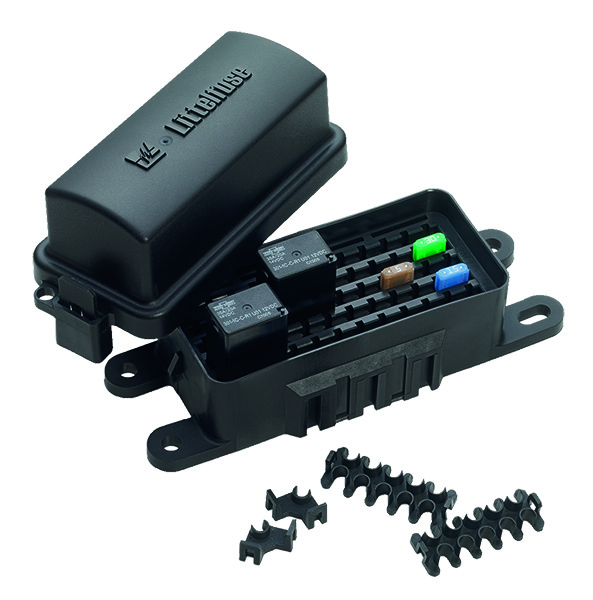
Just out or curiosity, why did you go the custom route rather than with a Bussman RFRM/RTMR or Littelfuse HWB combination fuse/relay block?


 maybe not to get it on a he road if you already have the 901 parts but in time, I think the suby trans is the logical upgrade.
 Stump, ball peen hammer, oxy acetylene torch and a cigar is all any good body man needs

![popcorn[1].gif](http://www.914world.com/bbs2/style_emoticons/default/popcorn[1].gif)
