|
|
|
|
|
|
The official first part has begun...  These heater controls are the early/european type without words. I like that. Here's what we had to start with: 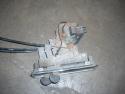 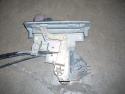 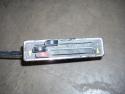 Pulled off the trim ring and hit it with some fine steel wool. Unfortunately the chrome is pitted, so it'll have to be replated. 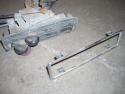 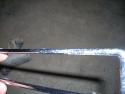 Nasty knobs pop right off. After a thorough cleaning with alcohol and a little polish, they look like new. 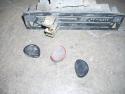 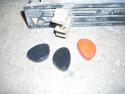 I cut the rivets holding everything together. Two are holding the cast front section to the rear plate. And two are holding the 'circuit board' to the plate. I also removed the control arms by undoing the circlip and pushing out the pivot pin. 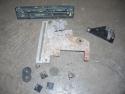 The 'circuit board' cleaned up really nicely with a Dremel using a wire wheel tip for the cleaning and a felt pad tip with Blue Magic metal polish for the shine.  The red and blue colored lenses and the aluminum 'grills' pop out with a little push from the back (through the light bulb hole). 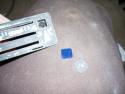 The white and blue accent pieces pop out using the corner and edge of a razor blade. You can see all the blue 'tick marks' and one of the arrows (with a broken tip). 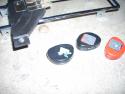 Now that the face was relieved of all the 'extra' pieces, I removed all the old paint and sprayed it with flat black enamel. 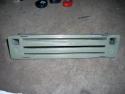 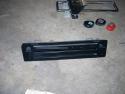 I cleaned each individual blue piece by rubbing it on some 1500 grit sandpaper taped to glass, then rubbing it in some Blue Magic polish. I then glued each one back in with gel type SuperGlue. Keeping track of and working with those little suckers is a major PITA! Then I glued in the lenses, and finally I sanded, painted and glued on the aluminum 'grills'.  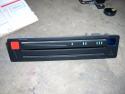 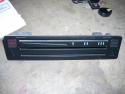 All of the arrows were either broken or missing, so I'll have to search for replacements. I wouldn't mind finding some reflective material to use instead of plain white arrows. The arms and plate will be sent out in a batch of yellow zinc plating. So until those come back from the platers, this episode is over. Time spent this episode: 2.5 hours Total time overall: 2.5 hours Total cost of this episode: $0 Total cost overall: $0
I was working on a customer project recently and occasionally, at the end of the day when I'm all done, I'll pick up a part and 'tweak on it' for awhile. On this particular day I was thoroughly polishing/cleaning/painting the clutch rod from a Bug pedal cluster. You know, the one you'll NEVER see once it's installed. But there is an overwhelming satisfaction for me to do work like this, but I will probably never get to build a car that thoroughly... except my own. So I decided it's time to start a piece by piece, part by part, Tweak Restoration® on my aubergine 914. Since I'll never have the time to block off a few months to complete the work, I've decided to take it one Saturday at a time. I also plan to THOROUGHLY document the project. Each part will get a before, during and after picture. All the details of the process will be included. I will be approaching each part as its own restoration project. I'm very excited about this revelation. I'm very excited to have a stack of pretty parts, ready to install once the body is painted. So, coming this saturday is the first installment of Tweak Restoration® (or is it Tweak-steration®?).
I picked up the 72 original Aubergine 914 in 2001. I towed it home and it has sat since then. Attached thumbnail(s) 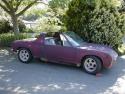 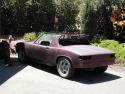 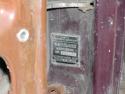   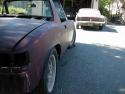 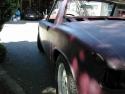    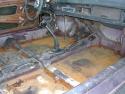 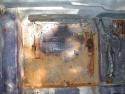 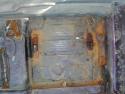 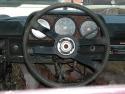 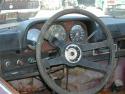    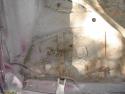 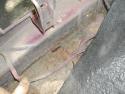 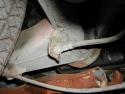 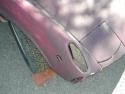 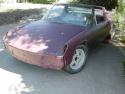 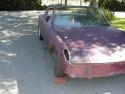 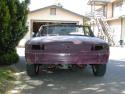 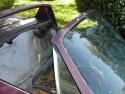 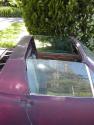 | Search My Blog
Categories
|


 Apr 2 2008, 12:09 AM