|
|
|
|
|
|
Windshield is finally in the car! I was going to try and put this in myself. Several people convinced me to let a pro do it. I'm glad I did. He did a good job. Apparently they don't use the old fashioned black sticky butyl tape anymore. He used hot urethane. According to the installer, this adds stiffness to the windshield frame and is more like what was used originally.
Anyway, the tinted glass with the new trim looks great. . Attached thumbnail(s) 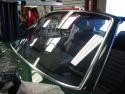 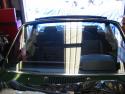 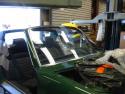
My new least favorite thing to do: installing the seal along the windshield frame. It's expensive and you have to be really careful the thing doesn't pull apart. I put both sides in first, then I tapped the top center seal in with a rubber mallet - working out from the center. The sides go in easier if you use an aerosol called Zep (IIRC) to lubricate the rubber and the channels it fits in. I've also heard that Armorall works for lube too. A blunt, wide, flat screwdriver is helpful to push the rubber into the side channels.
I then put in the bottom windshield seal. This seal seemed to be too long for the opening at first. I took it back off and reinstalled it, scrunching it together as I installed it. It turned out to fit perfectly after compressing it. This piece can shrink after long exposure to the sun so it's not advisable to trim it to fit the opening. Then I put in the interior pillar trim pieces and the speaker enclosures. I don't have a radio installed yet - I'm looking for an original period radio. (I've heard of a guy on the 356 Registry talk list who can modify an original radio to work with an MP3 player or an IPOD). Until I find a radio I've coiled up the speaker wires inside the enclosures. The interior is starting to look complete. Attached thumbnail(s) 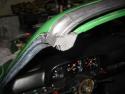 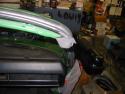 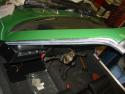 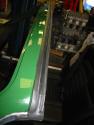  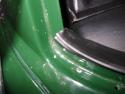 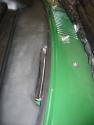 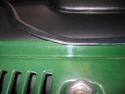 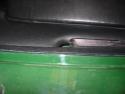 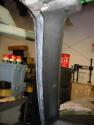 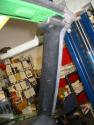 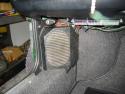 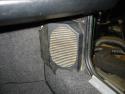 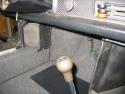 
After about a 2 week delay rewelding a broken driver's seat mount, I'm back on track getting the interior into the car. Before I could put the backpad into the car, I had to put the door seals in. Before I could put the door seals in, I had to put the aluminum sill plates in. I was going to replace the aluminum sill plates when I discovered Aluminum Jelly at the hardware store. I treated my grimy, oversprayed pieces with the jelly. It was very easy, and now they shine like new!
The seat backpad is held in place at the bottom by 4 machine screws in little aluminum sleeves. It's a PITA to find the holes in the firewall that they screw into. Four tabs on the top of the backpad fit into 4 catches on the firewall. Getting this all lined up is quite a chore. Luckily I had remembered to feed the interior light wires (3) through the hole in the backpad. After rewelding the seat mounting I installed the seat adjustment rack on the driver's side. It adjusts fore/aft and also for rake. I remembered to grease the rack before installing the seat. In 1970 the passenger seat wasn't adjustable. It's bolted straight to the floor. It's a challenge to install because there's not much room where it sits. Once the seat bottoms were in I had to take them back out because I had forgotten to put the seat belts in. Once that was done I replaced the seat bottoms. Just for fun I decided to fit the carpet pieces on the floor and tunnel. They will come back out again for shift linkage adjustment, brake and clutch adjustment, etc. I just wanted to see what the interior was going to look like. I'm pleased with it. My car didn't have the center storage cubbyhole when I bought it, but I put one in to see if I like it. I think I'll have this one recarpeted to match the color of the carpets on the floor. Attached thumbnail(s) 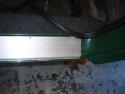 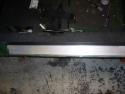 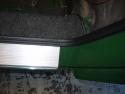 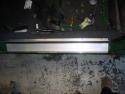 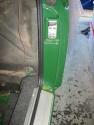  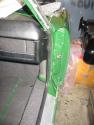 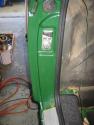 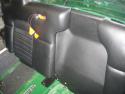 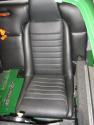 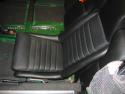 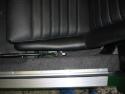 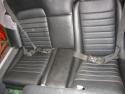 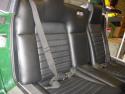 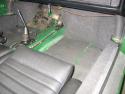  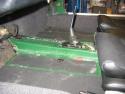 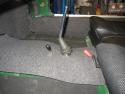 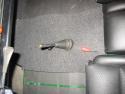 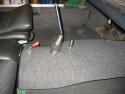 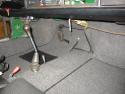   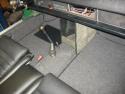
I decided to use a Dynamat type sound deadener instead of the tarpaper stuff that Porsche originally used. I then was ready to put in the carpet set and pedalboard. Here's a detail shot of the vinyl covering of the crossmember with the handbrake light switch installed. Also, the carpet set didn't have the holes for the handbrake lever rest or seatbelt bolts. So I took a leather punch and made them. Attached thumbnail(s) 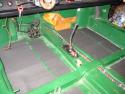 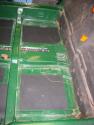 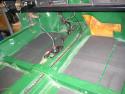 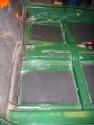 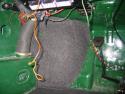 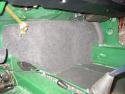  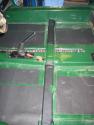 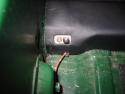  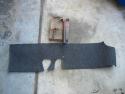 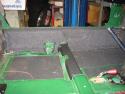 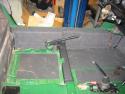 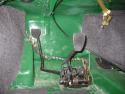 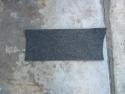 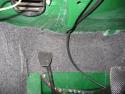 
Here's a couple of tips for putting an oil tank into a 914-6. I had the tank in and out of the car at least six times - forgetting something each time and having to take it back out. I consider myself an expert at this now.
I threaded the lower hose on the tank and tightened it before I put the tank into the car. Once the tank is inside the bodywork it's difficult to put the hose on and impossible to tighten the nut if you don't have a 37mm (IIRC) crow's foot wrench. I estimated the angle that the hose exited the tank before I tightened it and got it spot on. It's difficult getting the lower hose past the left rear suspension when it's tightened to the tank, but it is possible. Of course, if you have a set of crow's foot wrenches the hose can be installed later. It's still a PITA though because there's so little room to work. If I need to remove this hose later to fully drain the tank for some reason, I'll definitely order the crow's foot wrench from Stahlwille. Also, when you install the tank into the car, sometimes the frontmost stud doesn't protrude through the bulkhead into the engine compartment far enough to start the nut. If you're working alone, you can't fit one hand into the bodywork far enough to push the tank towards the center of the car and have the other hand inside the engine compartment to start the nut. I found that inflating an inner tube between the tank and the quarter panel will push the tank into position far enough to get the nut started onto the stud: Attached thumbnail(s) 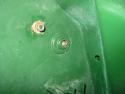 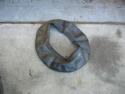 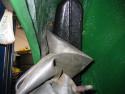 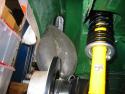 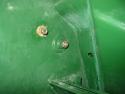 
After the shell was painted I brought it to Brad's shop in Redwood City for assembly. I had all the suspension pieces powder coated black. I installed a Tarrett front swaybar. I also had the transaxle rebuilt and converted to side-shift by Ron's Transaxle in San Pablo, CA. I also replaced the plastic fuel line in the tunnel with steel brake lines.
After Brad moved to San Diego I was able to get a workspace at High Performance House. I am continuing the assembly there. This covers the last 2 or so years and brings this blog pretty much up to date. I'll add text and pictures as I complete my restoration. Attached thumbnail(s) 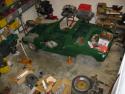 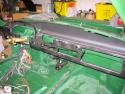 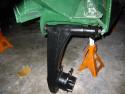 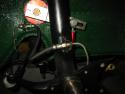  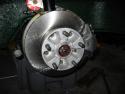 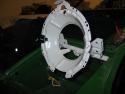 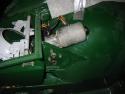 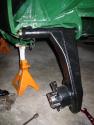 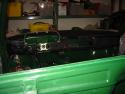 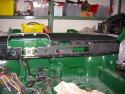 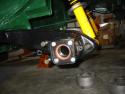 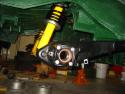 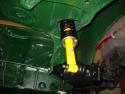 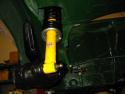 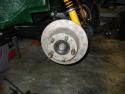  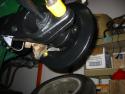 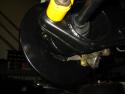 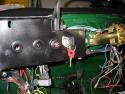 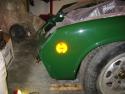  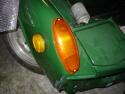 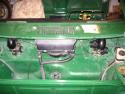 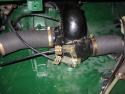 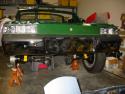 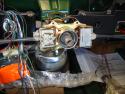 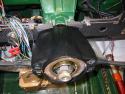 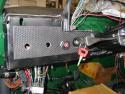  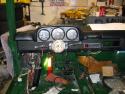 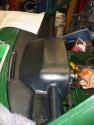 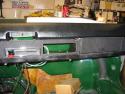 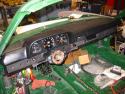 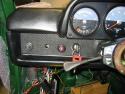 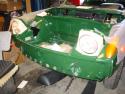   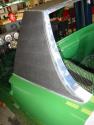 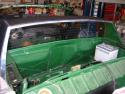 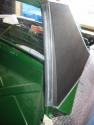 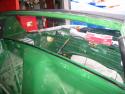 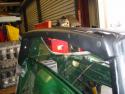  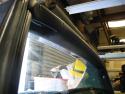 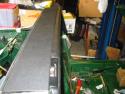 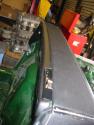 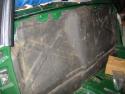 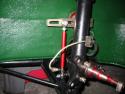 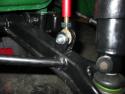  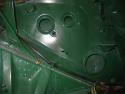 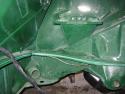 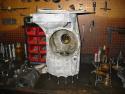 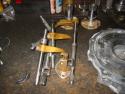 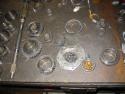 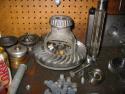 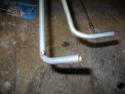
The completed shell was brought to Napa where Brandon Penserini and Mark De Bernardi painted it: Attached thumbnail(s) 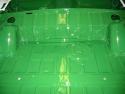 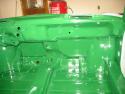 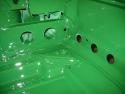 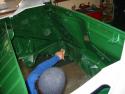 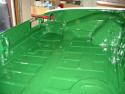  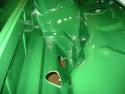 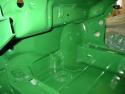  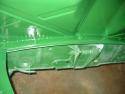 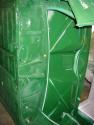 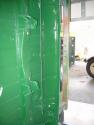 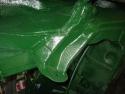 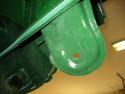 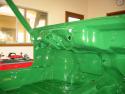 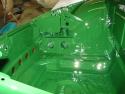 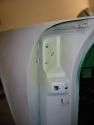 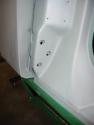 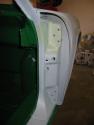 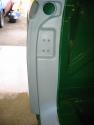 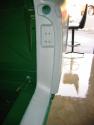 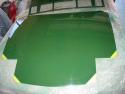 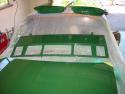 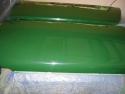 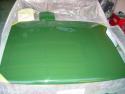 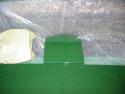 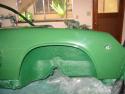 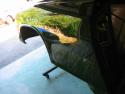 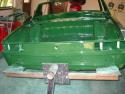 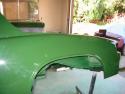 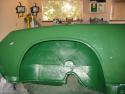 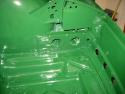
While the body was being worked on I started rebuilding the engine. The machine work was done by Ted Robinson at German Precision in Sunnyvale, CA, the assembly was done by me.
The engine is the original unit. It was disassembled when I bought it. It looked like it might have sucked a valve because one of the heads was chewed up and one piston was missing. I decided to build a 2.4 liter S for some extra power. Any higher displacement and I would have had to machine the case and I want to be able to put everything back to stock. Ted installed oil squirters in the case for better cooling. With the 2.4 pistons and cylinders I put in the heads with bigger valves. Cams were reground by Elgin Cams in Redwood City to "S" specs. I also swapped the non-counterweighted crankshaft out for a counterweighted one. It was magnafluxed, ground, nitrided and polished by Armando at Custom Crankshaft Repair in San Mateo. At this point the engine is still not completely together. I still have to decide on which induction system to use. I have modified the stock Zenith carburetors to match the larger displacement (bigger venturis and different jets), but I also have a complete Bosch mechanical fuel injection system. I might run the car with carbs at first and later install the MFI. Attached thumbnail(s) 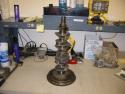 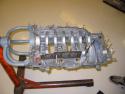 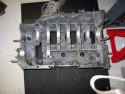 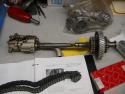 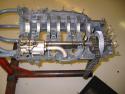 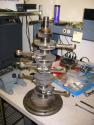 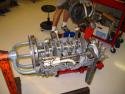 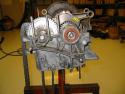 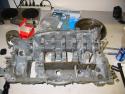 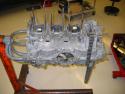 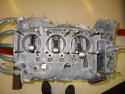 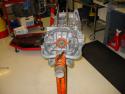 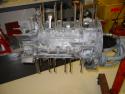 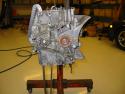 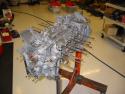 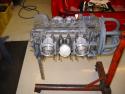 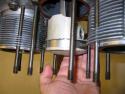 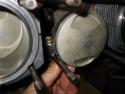 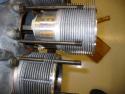 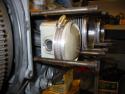 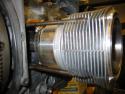 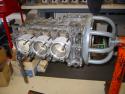 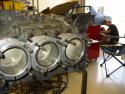 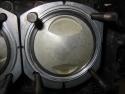 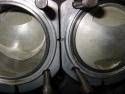 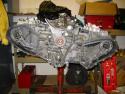 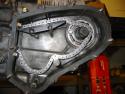 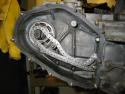 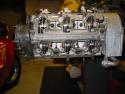 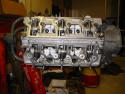 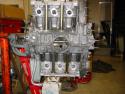 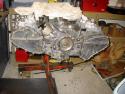
After the sandblasting I brought the shell to a body shop in Novato near where Brad's shop had moved. They started working on the car after months of delay. However their work turned out to be slow and substandard. I decided to take the car to a metal finisher in Fresno that I had used on my 356 Cabriolet (Yun Song Classic Auto Restoration - 559 255-8626). Yun's well known by hot-rod enthusiasts in the Central Valley. These pictures are from his body shop: Attached thumbnail(s)  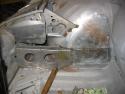 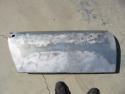  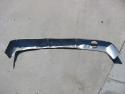 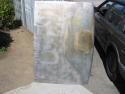 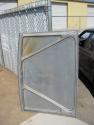 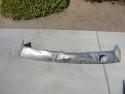     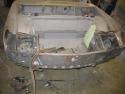 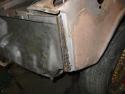 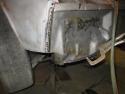 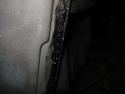 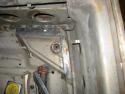 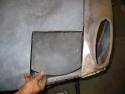 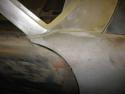 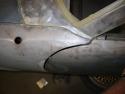 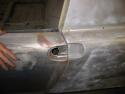 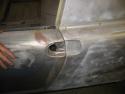 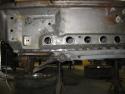 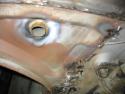 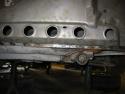 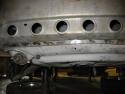  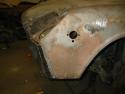 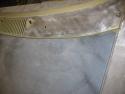 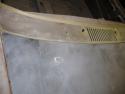 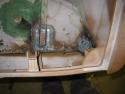 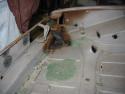 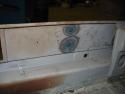 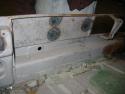  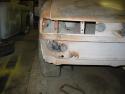
After the car was stripped to the bare shell, Brad brought it to a sandblaster he knew. When it was done Scott Yeaman and I went to pick it up. I could then see some of the problems that needed to be addressed. The car had been thwacked in the left front and was badly repaired. I bought a complete front piece from HPH and had it stripped. I wanted the original one replaced even though the damage was confined to a small spot on the left hand side. Overkill? Maybe, but I didn't want to have an obvious seam in the middle of the front piece. Also, the right rear suspension console had some crude rust repair done by a DAPO. Brad located another one and the entire mounting was cut out and replaced along with the battery stand. The floors weren't too rusty but they were kind of dinged up. So, what the hell, let's replace those too. Attached thumbnail(s) 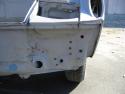 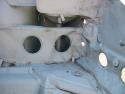 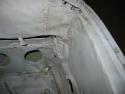  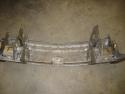 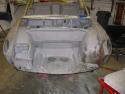  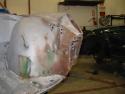  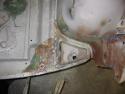 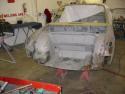 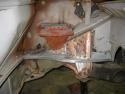 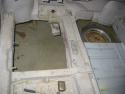 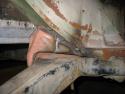 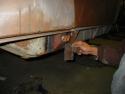 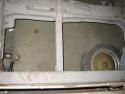 |


 Feb 24 2006, 12:19 PM