|
|
|
|
|
|
Here they are 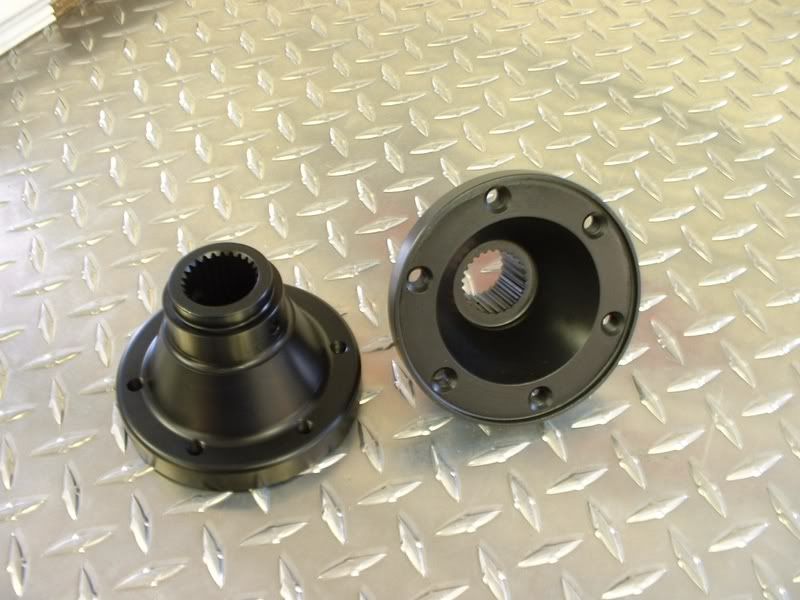
Progress! I made up one flange today - Thanks for the suby flange James!
I chopped up the Suby flange and a VW rabbit 100mm CV flange (probably a 16V Scirocco flange - rabbits had smaller CV's probably the same as a 914) Then I tack welded the two together. Looks pretty good in the car. The suspension is at ride height. I got another axle and flange today - I will make up another set soon. Busy with the tubing bender these days. Attached thumbnail(s) 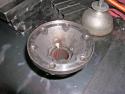 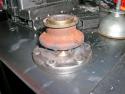 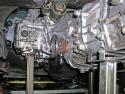 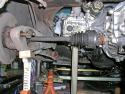 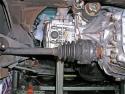
Time for a tubing bender. I have been looking for a good tubing bender for a long time. Now I need one to make the engine and transmission mounts. As usual I have spent more time than I should researching and thinking about it than just doing it like a "normal" person does.
I have decided to use my tools make more tools (tool sex!) so I am going to make my own tubing bender using plans I purchased at www.gottrikes.com - I am building the HD version (Go Big or Go Home!) Went out and bought $166.06 of steel - ouch that would have been $75 18 months ago. Chop it up into little pieces. 2 hours or so to lay out and cut. 
Deburr everything nice and smooth. Another hour or so. Here is a few pictures. This is big thick tubing. 2X2X1/4 the flat stock is 3/4X2-3/4 cold rolled. I don't think this is going to flex much. Did you know that the picture resizing tool mentioned in the FAQ works in "batch mode"? Just select the files you want to resize (ctrl + mouse click) and resize the whole lot at once - slick. Now I need to make a bunch of big holes in thick steel. Check back in a few days. I finally made some holes - I had to buy some tools. That's a magnetic drill press and an annular cutter. Took about 20 minutes to punch 24 7/8" diameter holes in the 1/4" steel tubing. Started welding it together. Forgot one of the pins for alignement. Just an hour of cutting and grinding to start again. Oops. One more time with more fixturing - Those are 12" long 7/8" bolts and some pipe for spacers along with the 7/8" hardened rod that will be used in the bender to hold the dies. This thing is pretty big and heavy - at least 100 pounds. Those u-bends hanging out are 2-1/4" diameter. I know my benches are a disaster area. I'll clean them up soon. I've almost got the bender finished and I find out they sent me the wrong dies! Arg. Attached thumbnail(s) 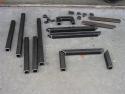 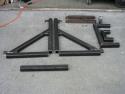  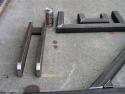 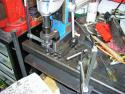 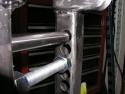 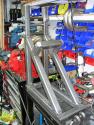 
A little more progress.
Picture #1 - Made a "tripod" to hold everything in place, the threads allow really precise adjustment. Picture #2 - Checking CV clearance. Picture #3 - The AWD to FWD conversion sleeve. Picture #4 - The sleeve goes here. Picture #5 - The parts removed from the transmission output shaft Picture #6 - The cover plate Picture #7 - In the car - nice ad. Picture #8 - Another view Picture #9 - Muffler shield clearence Attached thumbnail(s) 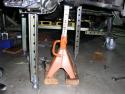 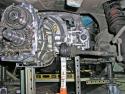 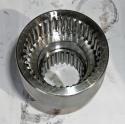 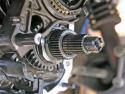 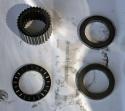 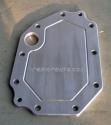 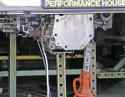 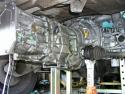 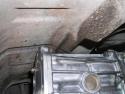
Second engine fitting. The AWD extension housing hits the muffler shield so it will be replaced by a much shorter FWD version. I hope it fits, if not the AWD housing will be cut and welded  to make it fit. The release arm (hydraulic version) hits the floor so it needs some work to fit. I will use a hydraulic release bearing or modify this one to fit, it's just more cutting and welding to make it fit. The release arm (hydraulic version) hits the floor so it needs some work to fit. I will use a hydraulic release bearing or modify this one to fit, it's just more cutting and welding
I need to look into the stock cable release hardware before doing any modifying. 1st picture shows the almost empty AWD extension housing before I removed it. 2nd shows an overall view of the engine and transmission with the AWD extension housing removed. 3rd shows just how long the AWD extension housing and the output housing really are. 4th picture is 5th gear and the splines that will be tied together with the coupler from Saker cars in Australia. The top splines are the end of the pinion shaft the lower splines are the output of the transmission. 5th picture shows the transmission back in the car in the correct position. 6th picture shows clearence above the bellhousing area. Last one is a side view of the trans in the correct position. Attached thumbnail(s) 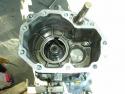 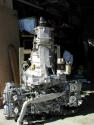 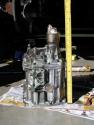 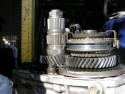 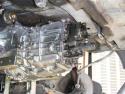 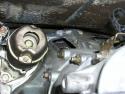 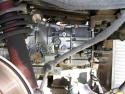
First engine fitting. The intake manifold needs to come off along with the oil filler and the dipstick.
Note that the AWD trans is a bit long. I will fix that later. See the ground strap just hanging in air - that explains the slow cranking of the original engine. In the last few pictures the engine is in the correct location front to back but it is 1-1/2" low because the back of the transaxle is hitting the muffler heat shield. There is a comfortable 12" between the engine and the firewall. Attached thumbnail(s) 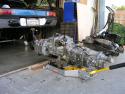 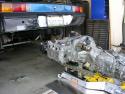 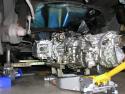 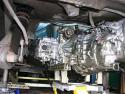 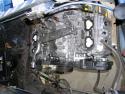 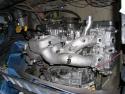 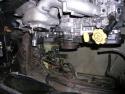 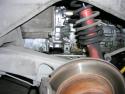 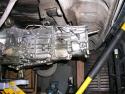 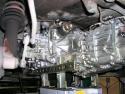
Getting ready to put the new engine in for the first time. Please excuse the crude temporary engine cradle - it works great.
Old vs. new - the engines are lined up so the back of the blocks are inline. That Suby trans is LONG. The intake manifold on this 2005 Suby is a work of art. The Suby trans is 110 pounds with the center diff removed. The 901 was 85 pounds. The Suby engine is 236 pounds plus 18 pounds for the fuel supply and injectors, alternator and bracket plus the throttle body. The Type 4 engine showed as 210 pounds on the scale but I think the scale may have jambed because I needed help getting this engine on the scale and I was able to weigh the Suby engine myself. The T4 is also harder to move around - I hope to get it on the scale again. Attached thumbnail(s) 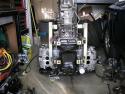 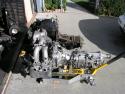 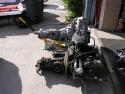 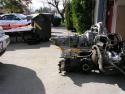 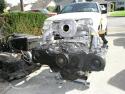 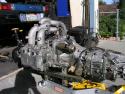
The Subaru engine and transmission project has officially begun. Car is on a dolly and the engine and transmission are out.  Attached thumbnail(s) 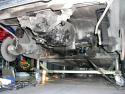 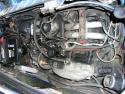 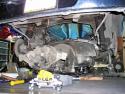 |


 Dec 12 2007, 01:44 PM