|
|
|
Porsche, and the Porsche crest are registered trademarks of Dr. Ing. h.c. F. Porsche AG.
This site is not affiliated with Porsche in any way. Its only purpose is to provide an online forum for car enthusiasts. All other trademarks are property of their respective owners. |
|
|

  |

| MrKona |
 Apr 18 2009, 01:25 PM Apr 18 2009, 01:25 PM
Post
#61
|
|
Senior Member  Group: Members Posts: 597 Joined: 25-July 05 From: Santa Rosa, CA Member No.: 4,469 Region Association: None |
QUOTE(charliew @ Apr 18 2009, 08:47 AM)  If it's not too late. I have had real good luck with Eastwoods Stainless Steel paint for exhaust. I have used it on blasted bug headers and a k5 blazer exhaust and a case tractor exhaust and it has been on the k5 and case for several years and except for the bolts on the clamps it looks great. It's supposed to be cured at 400 but I used a torch and was careful not to burn it while I used a lazer temp gun to monitor the temps to cure it. The last time I just let the bug exhaust do the cooking. I always let the paint cure though before heating it up. The only thing was the ss paint was really hard to clean out of the touchup gun and I ended up with some flake in a clear coat on a honda tank later on. I got it in a red pint can. I'm pretty sure it was from Eastwood but it might have been Restomotive or por 15 as most people say. Thanks Charlie. It's not too late. The steel exhaust pieces are at the metal cleaner now being cleaned. I'll do a search on the paint you're talking about. |
   |

 
|
| MrKona |
Apr 18 2009, 01:29 PM
Post
#62
|
|
Senior Member Group: Members Posts: 597 Joined: 25-July 05 From: Santa Rosa, CA Member No.: 4,469 Region Association: None |
I installed the hubs today using the same screw mechanism I used to pull the original bearings. Worked great.
Started out with nice clean hubs.. Taped up the powder coated surface to avoid scratches. Attached thumbnail(s) 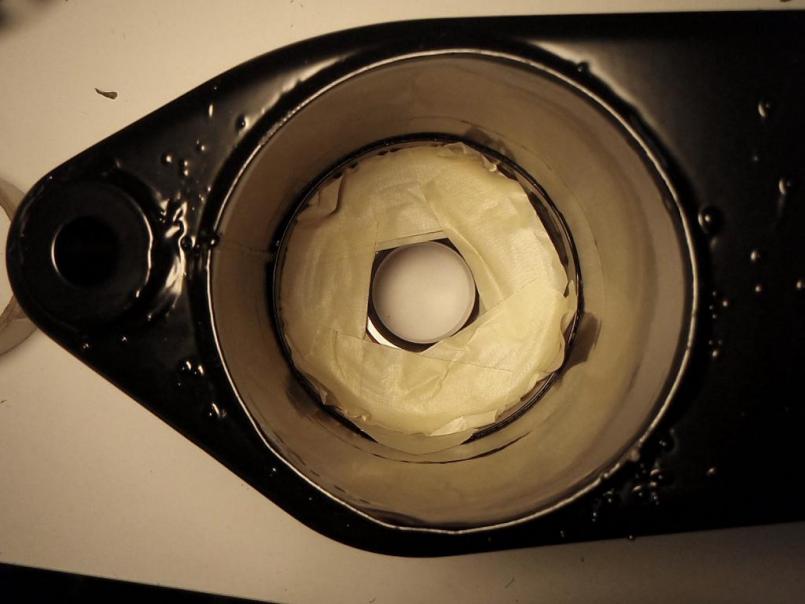 Attached image(s) 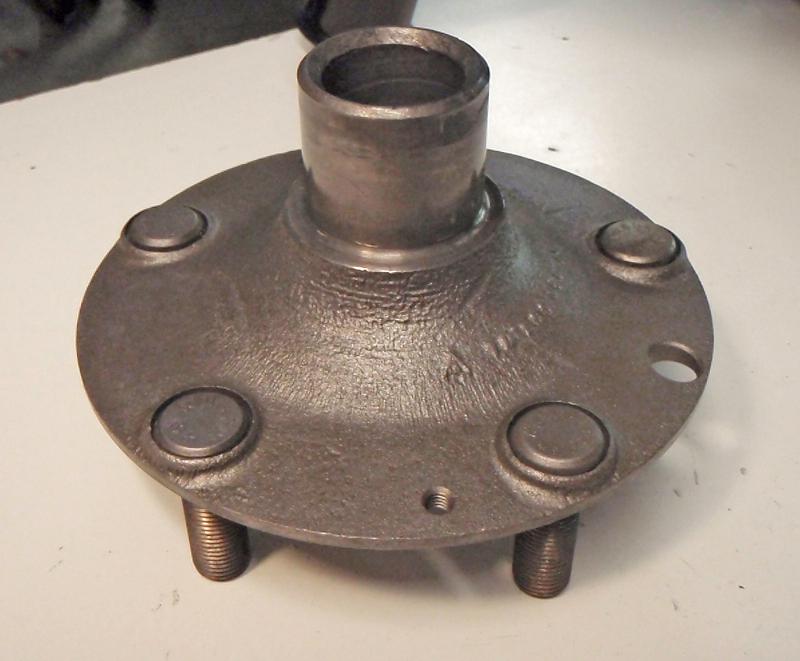
|
|
|
|
| MrKona |
Apr 18 2009, 01:30 PM
Post
#63
|
|
Senior Member Group: Members Posts: 597 Joined: 25-July 05 From: Santa Rosa, CA Member No.: 4,469 Region Association: None |
Laid a couple washers on the tape. The washer was large enough that it contacted the control arm surface and not the bearing.
Attached thumbnail(s) 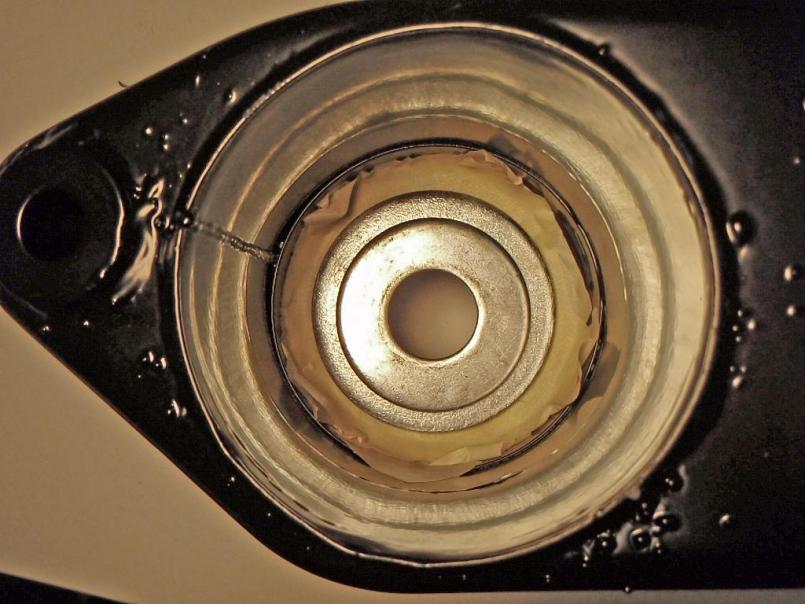
|
|
|
|
| MrKona |
Apr 18 2009, 01:31 PM
Post
#64
|
|
Senior Member Group: Members Posts: 597 Joined: 25-July 05 From: Santa Rosa, CA Member No.: 4,469 Region Association: None |
The "screw mechanism." Put a light coat of grease on the hub surface.
Attached thumbnail(s) 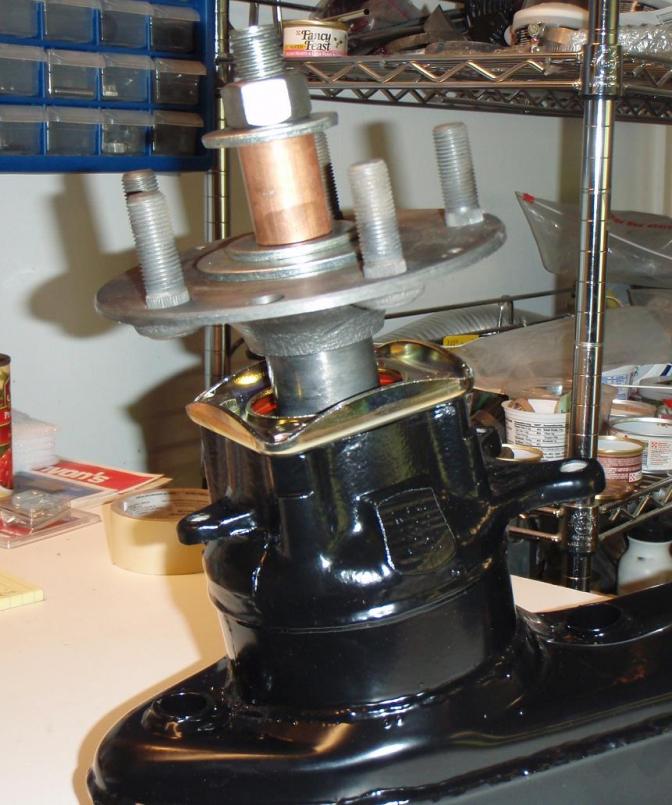
|
|
|
|
| MrKona |
Apr 18 2009, 01:33 PM
Post
#65
|
|
Senior Member Group: Members Posts: 597 Joined: 25-July 05 From: Santa Rosa, CA Member No.: 4,469 Region Association: None |
And the final result!
Attached thumbnail(s) 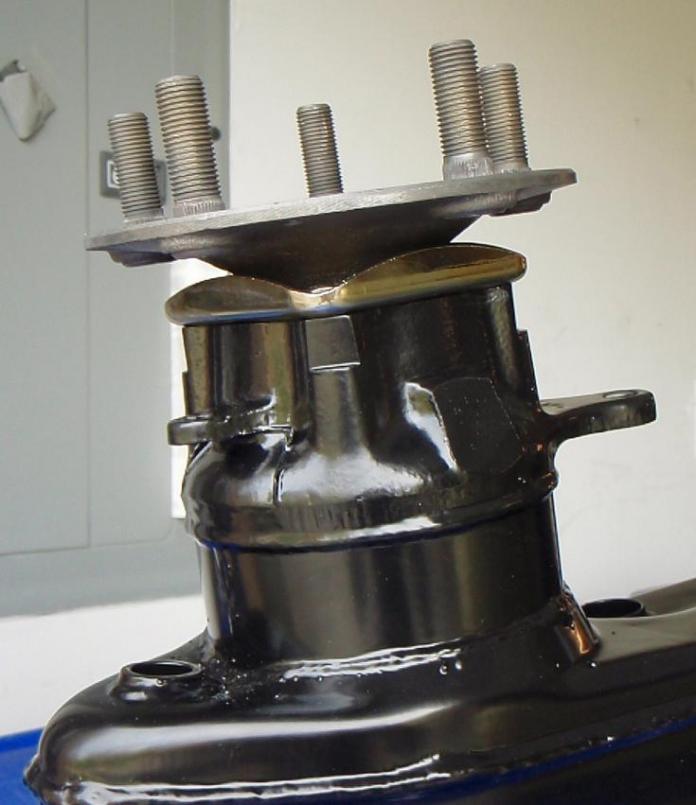 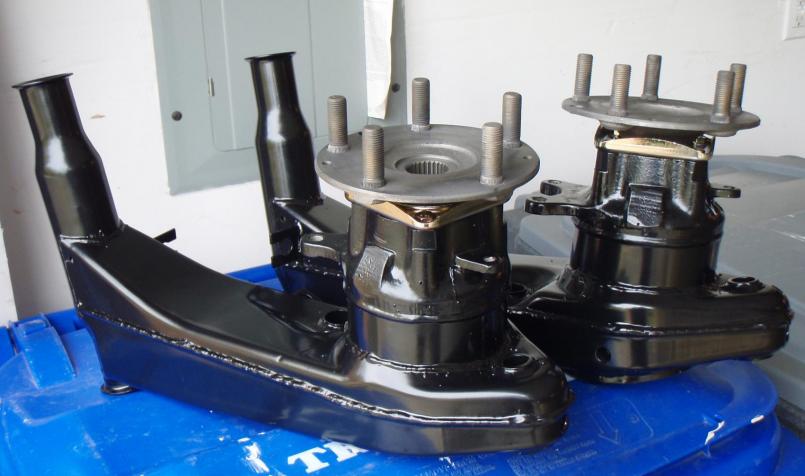
|
|
|
|
| MrKona |
Apr 30 2009, 10:35 PM
Post
#66
|
|
Senior Member Group: Members Posts: 597 Joined: 25-July 05 From: Santa Rosa, CA Member No.: 4,469 Region Association: None |
I pressed in the races from new bearings and adjusted the adjusting clamping nut on the strut housing spindle so that the washer just moves, as shown in the 911 Haynes manual. Can someone please confirm if the picture looks correct? It's the distance of the hub body and the distance ring. Is this correct? The reason I ask is that the caliper body does not appear 'perfectly' centered over the disk.
I installed the pads and they both clear the disk just fine... Although I believe that I pressed the inner race all the way into the hub, I'd like some more sets of eyes to look at this before I tap the dust cap on all the way. Thanks. Attached thumbnail(s) 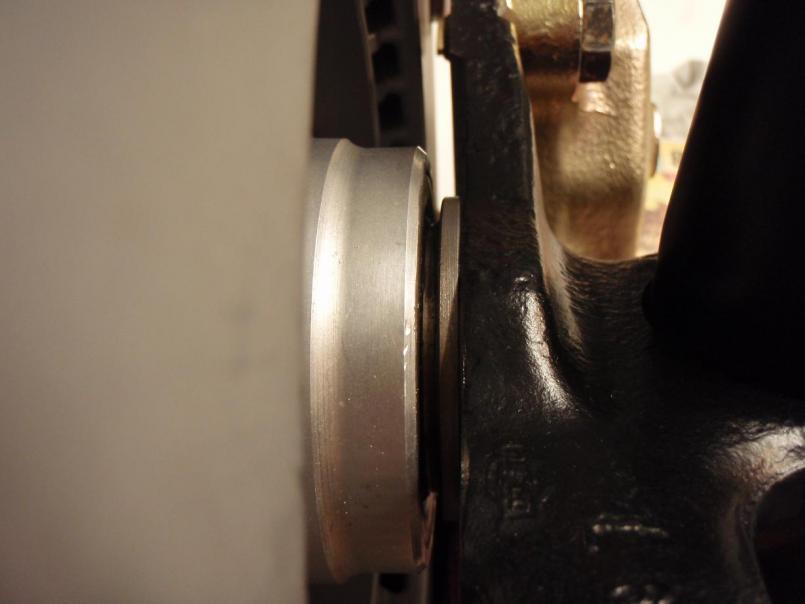 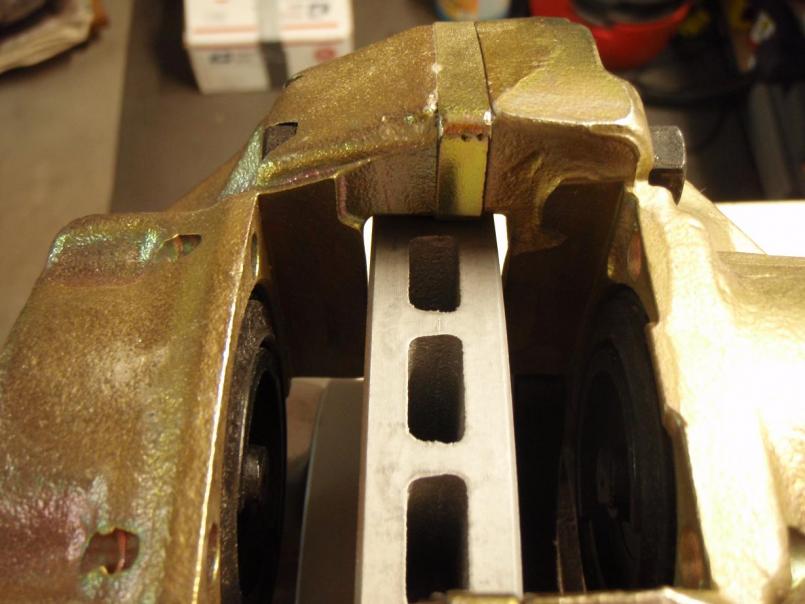
|
|
|
|
| MrKona |
Apr 30 2009, 10:36 PM
Post
#67
|
|
Senior Member Group: Members Posts: 597 Joined: 25-July 05 From: Santa Rosa, CA Member No.: 4,469 Region Association: None |
One more showing the assembly coming together. (IMG:style_emoticons/default/biggrin.gif)
Attached thumbnail(s) 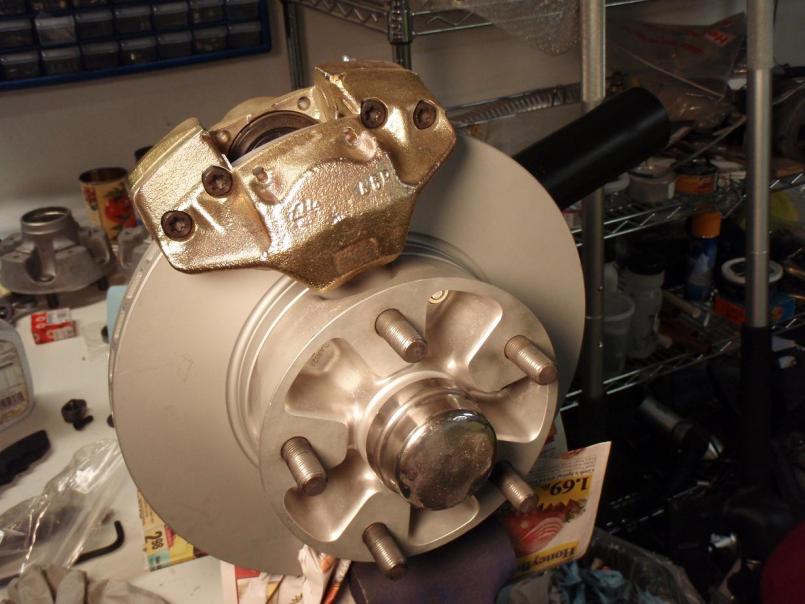
|
|
|
|
| jaxdream |
May 1 2009, 07:30 AM
Post
#68
|
|
Senior Member Group: Members Posts: 974 Joined: 8-July 08 From: North Central Tennessee Member No.: 9,270 Region Association: South East States |
QUOTE(MrKona @ Apr 18 2009, 11:33 AM) And the final result! They look great , what are you going to use for a park / emergency brake ?? Jaxdream Never mind , read the earlier post. Still all looks very good. (IMG:style_emoticons/default/aktion035.gif) |
|
|
|
| Jeffs9146 |
May 1 2009, 08:25 AM
Post
#69
|
|
Ski Bum Group: Members Posts: 4,062 Joined: 10-January 03 From: Discovery Bay, Ca Member No.: 128 |
QUOTE I'd like some more sets of eyes to look at this before I tap the dust cap on all the way. If it is not in all of the way the brakes would not line up! I think you are ok (IMG:style_emoticons/default/piratenanner.gif) |
|
|
|
| MrKona |
May 1 2009, 09:49 AM
Post
#70
|
|
Senior Member Group: Members Posts: 597 Joined: 25-July 05 From: Santa Rosa, CA Member No.: 4,469 Region Association: None |
QUOTE(Jeffs9146 @ May 1 2009, 07:25 AM) QUOTE I'd like some more sets of eyes to look at this before I tap the dust cap on all the way. If it is not in all of the way the brakes would not line up! I think you are ok (IMG:style_emoticons/default/piratenanner.gif) Thanks... would look even better had a remembered to install the dust plate first! Du-oh! (IMG:style_emoticons/default/biggrin.gif) |
|
|
|
| nocones |
May 1 2009, 12:56 PM
Post
#71
|
|
Sportscar lunatic Group: Members Posts: 428 Joined: 17-June 04 From: Santa Rosa, CA Member No.: 2,220 |
Great work, and really helpful thread!
I'm just about done putting my car back together, but for me it all went back together dirty. After a suitable shake-down I hope to take it apart again this winter and, like you, replace all bearings/bushings and totally clean/powdercoat the suspension parts. |
|
|
|
| MrKona |
May 1 2009, 11:23 PM
Post
#72
|
|
Senior Member Group: Members Posts: 597 Joined: 25-July 05 From: Santa Rosa, CA Member No.: 4,469 Region Association: None |
Assembly, part II tonight. Had to remove the hub and reinstall after attaching the brake dust shield. Once I put the dust shield on, I didn't have that strange space between the distance ring and hub like I did last night. Imagine that...
Per Haynes, torqued dust shield bolts to 18 ft/lbs. I used SS bolts and new wavy washers. Also did a final visual check to make sure the new races were pressed in all the way. They were... Prior to pressing in the races, I heated the hubs in a 275 degree oven. I used a hydraulic press to install them, along with a correct size socket and large washers to rig up a way to press them in. Attached thumbnail(s) 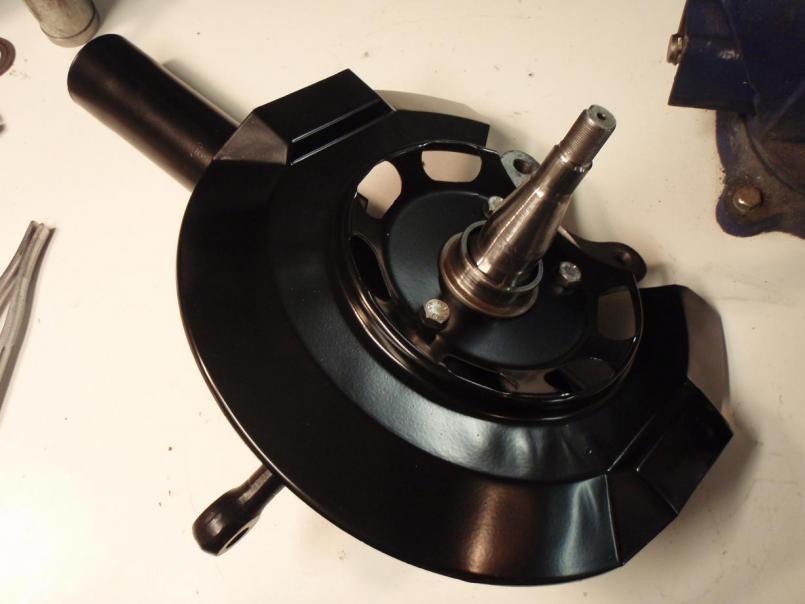 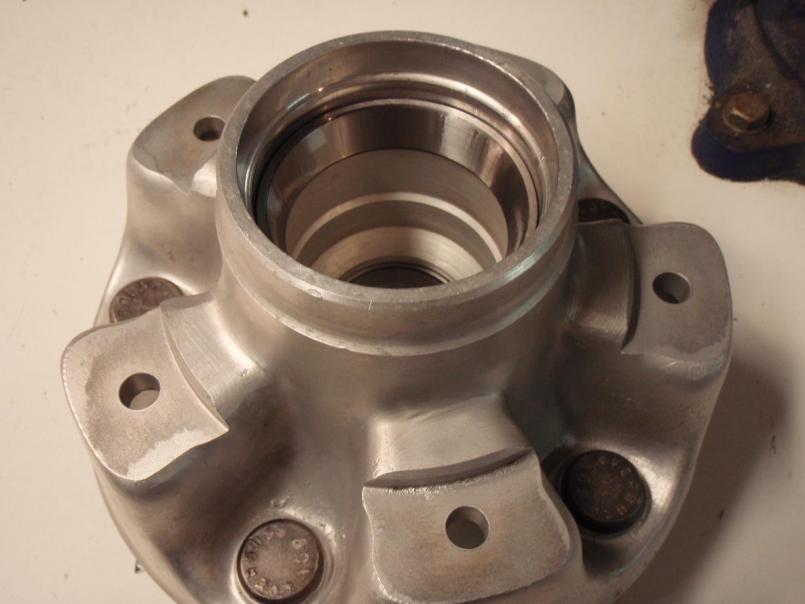 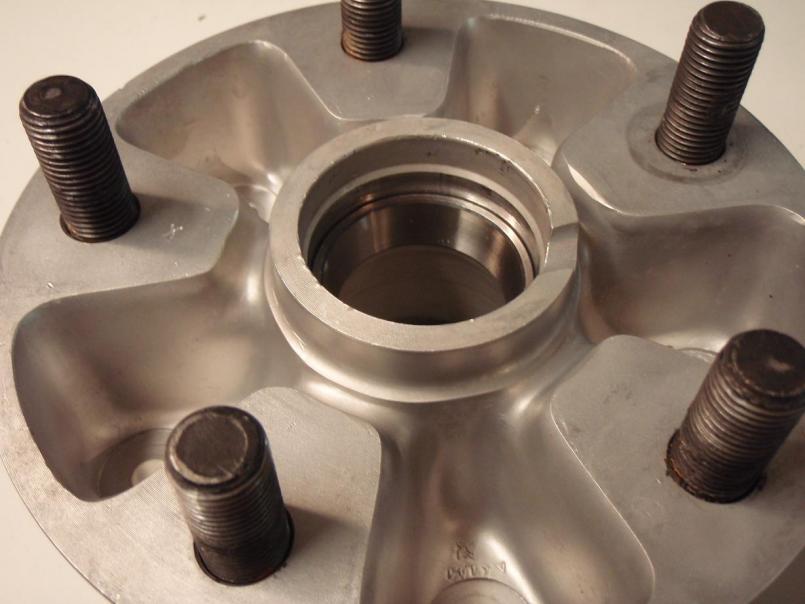
|
|
|
|
| MrKona |
May 1 2009, 11:29 PM
Post
#73
|
|
Senior Member Group: Members Posts: 597 Joined: 25-July 05 From: Santa Rosa, CA Member No.: 4,469 Region Association: None |
Inner bearing in, and dust shield on, tapped in with a rubber mallet.
Attached thumbnail(s) 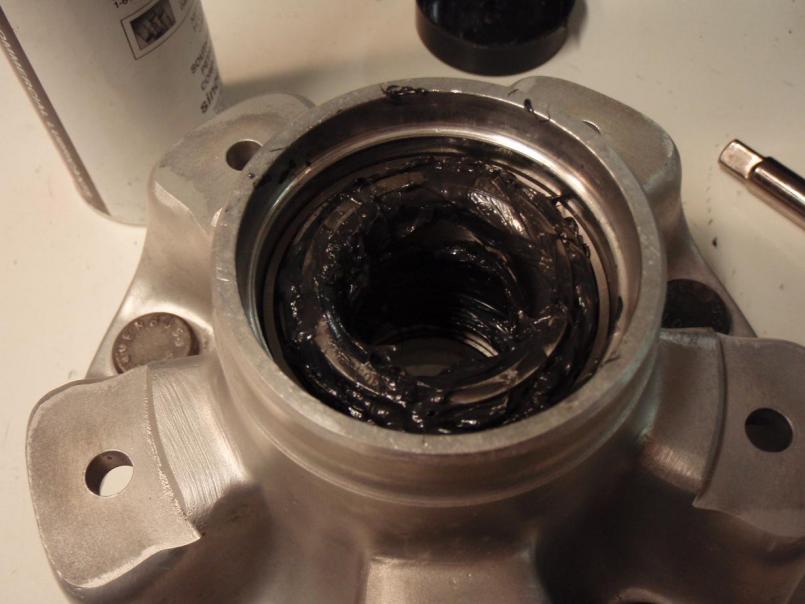 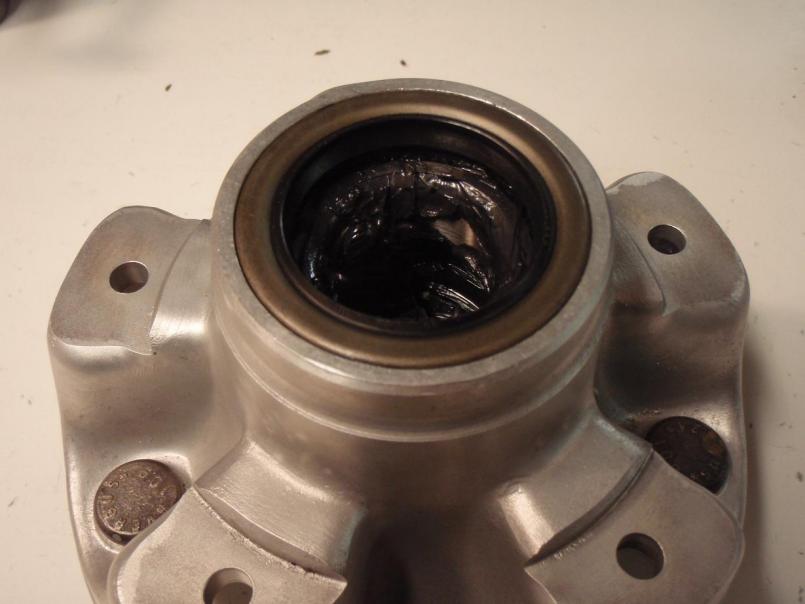
|
|
|
|
| MrKona |
May 1 2009, 11:32 PM
Post
#74
|
|
Senior Member Group: Members Posts: 597 Joined: 25-July 05 From: Santa Rosa, CA Member No.: 4,469 Region Association: None |
Disk ready for install of hub.
New yellow zinc plated hardware. Attached thumbnail(s) 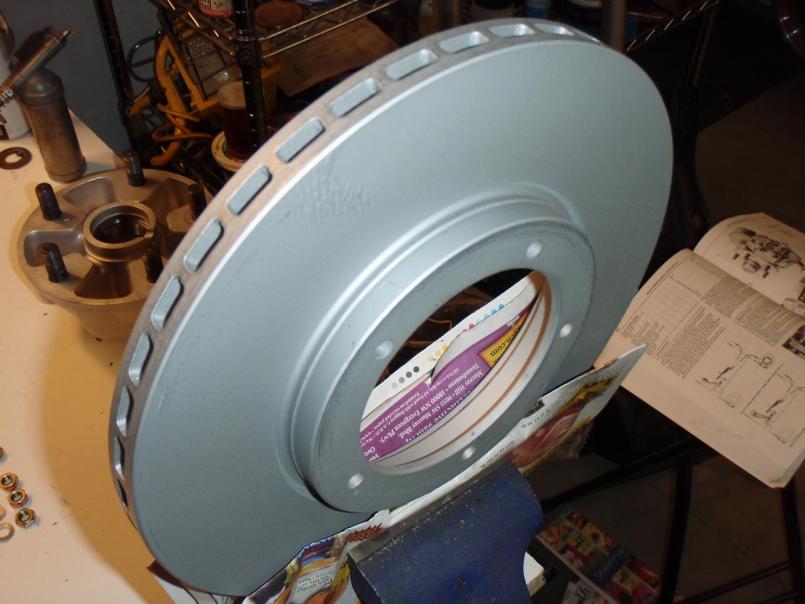 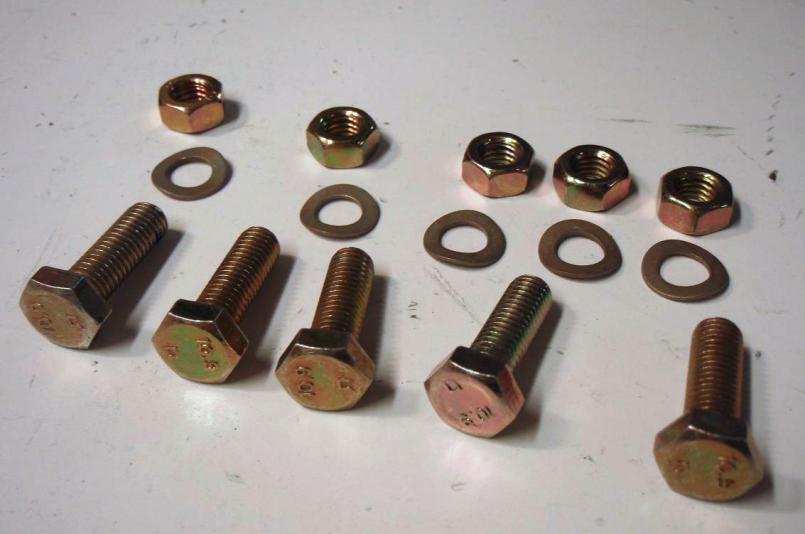
|
|
|
|
| MrKona |
May 1 2009, 11:34 PM
Post
#75
|
|
Senior Member Group: Members Posts: 597 Joined: 25-July 05 From: Santa Rosa, CA Member No.: 4,469 Region Association: None |
Attached thumbnail(s) 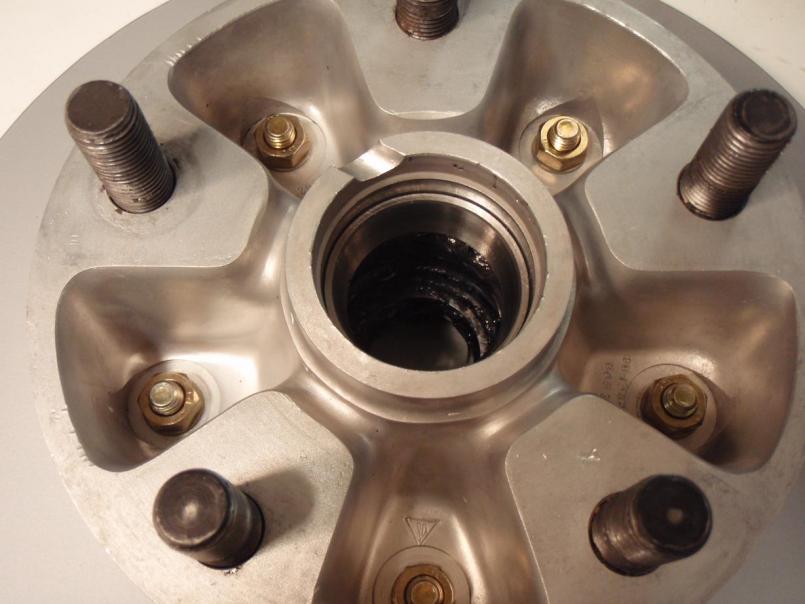 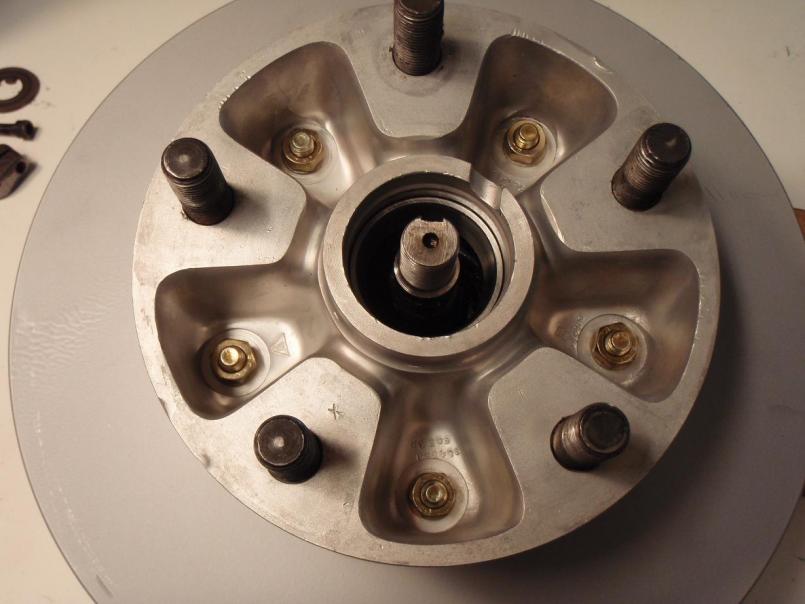
|
|
|
|
| MrKona |
May 1 2009, 11:38 PM
Post
#76
|
|
Senior Member Group: Members Posts: 597 Joined: 25-July 05 From: Santa Rosa, CA Member No.: 4,469 Region Association: None |
Ready for the dust cap. Per haynes, after installing the outer bearing, tighten the clamping nut to approximately 10 ft/lbs to seat the bearings. Than loosen it until the thrust washer can just be moved, tighten clamping nut screw.
Done, sitting on the shelf for eventual installation. Attached thumbnail(s) 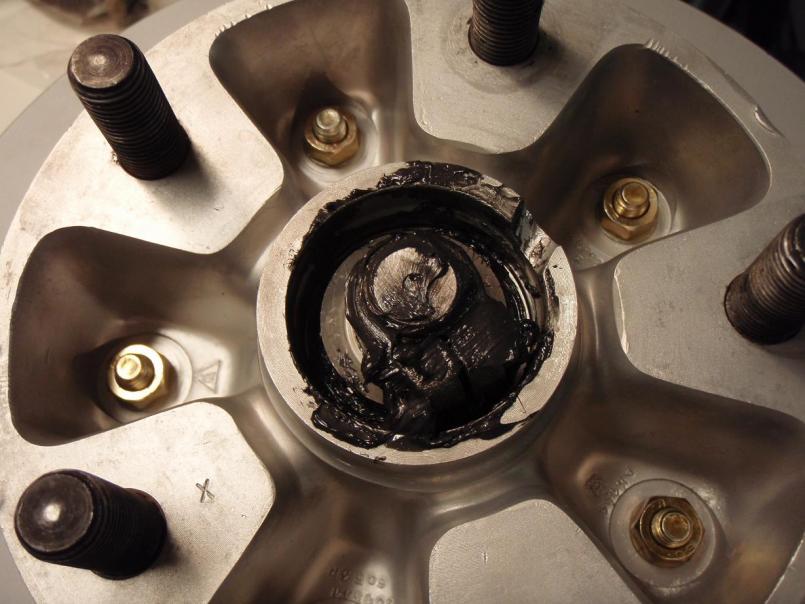 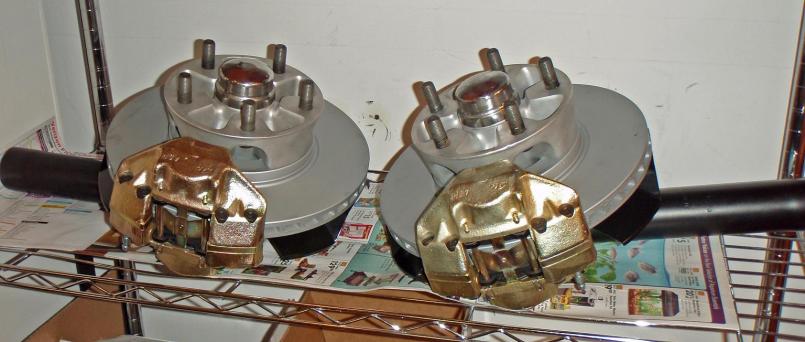
|
|
|
|
| MrKona |
Nov 22 2009, 01:39 PM
Post
#77
|
|
Senior Member Group: Members Posts: 597 Joined: 25-July 05 From: Santa Rosa, CA Member No.: 4,469 Region Association: None |
I'm half way there with the five lug installation. Yesterday, I installed the rear trailing arms. As you can see from the pictures, I installed the rear trailing arms bushings from PMB, and added zerks.
Also took the time to replace the SS braided brake lines the previous owner had installed with rubber lines. Attached thumbnail(s) 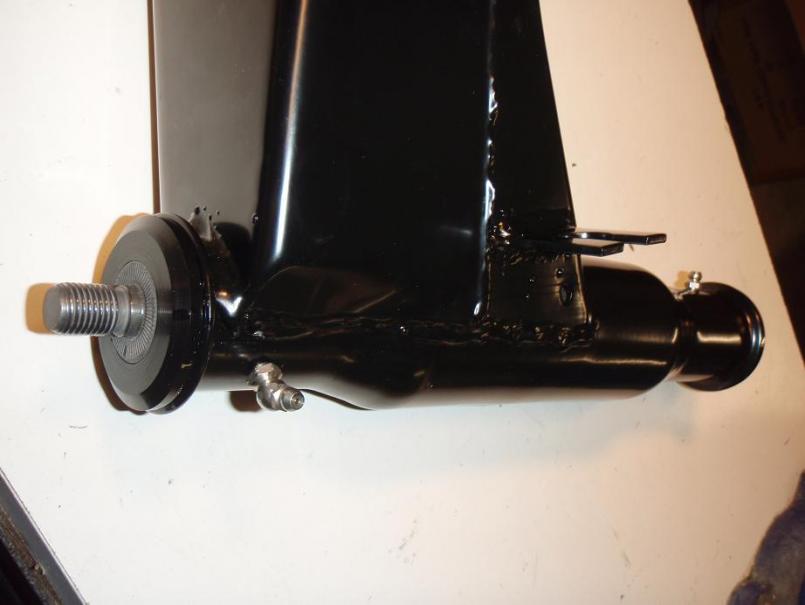 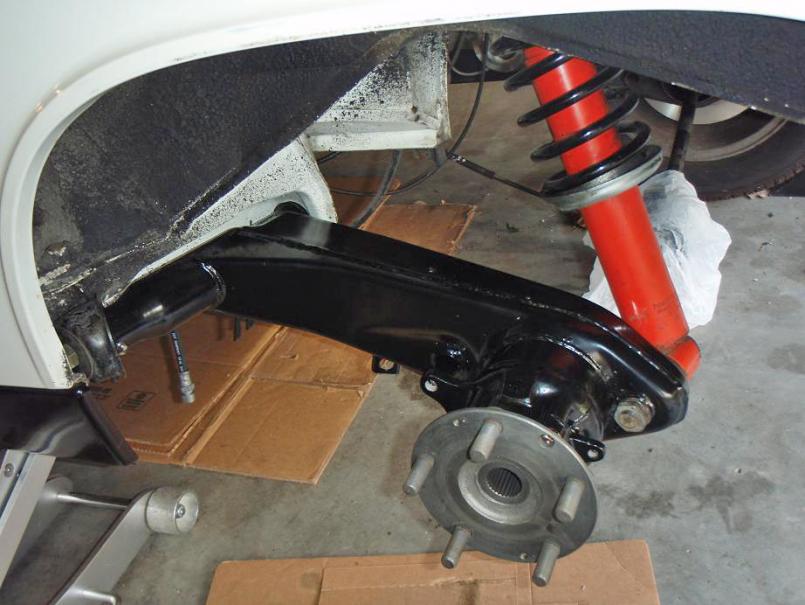
|
|
|
|
| MrKona |
Nov 22 2009, 01:42 PM
Post
#78
|
|
Senior Member Group: Members Posts: 597 Joined: 25-July 05 From: Santa Rosa, CA Member No.: 4,469 Region Association: None |
16x6 Fuchs. Two down, two to go.
Attached thumbnail(s) 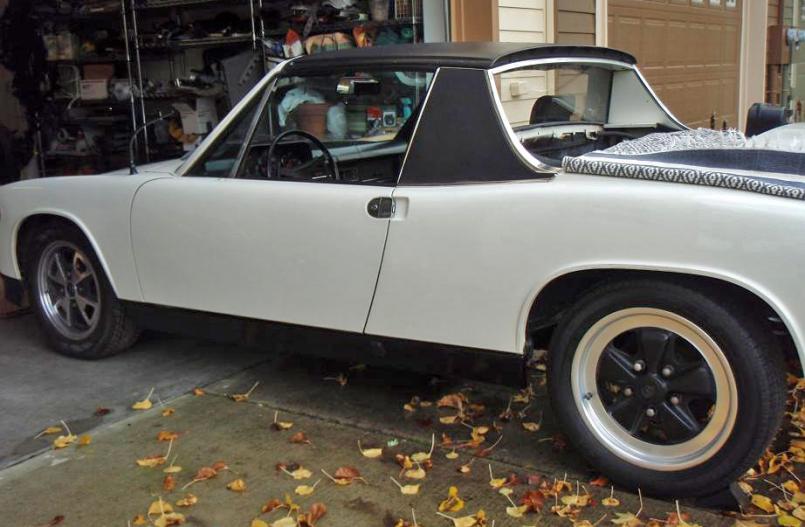 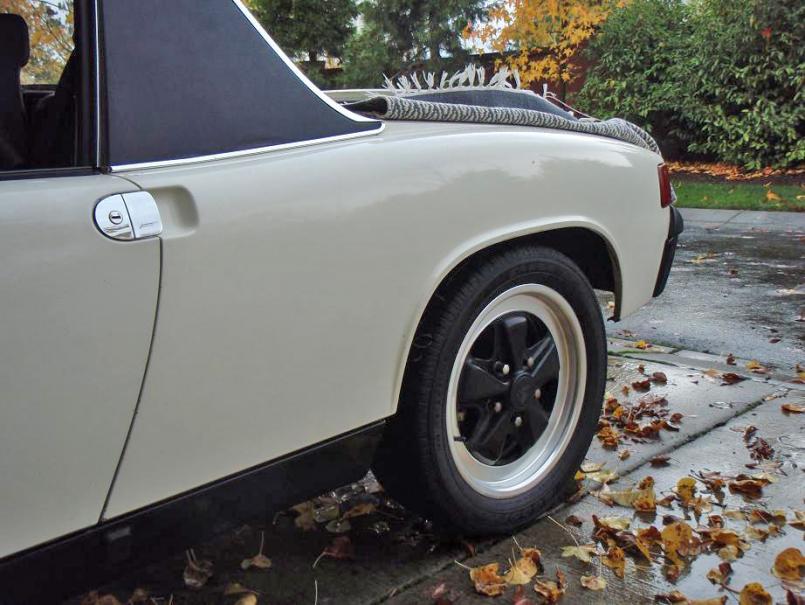 Attached image(s) 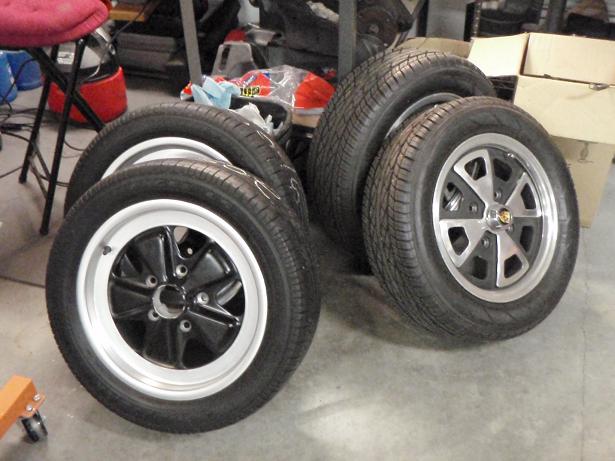
|
|
|
|
| Eric_Shea |
Nov 22 2009, 01:54 PM
Post
#79
|
|
PMB Performance Group: Admin Posts: 19,304 Joined: 3-September 03 From: Salt Lake City, UT Member No.: 1,110 Region Association: Rocky Mountains |
Nice work Bryan. (IMG:style_emoticons/default/smilie_pokal.gif)
|
|
|
|
| MrKona |
Nov 27 2009, 06:42 PM
Post
#80
|
|
Senior Member Group: Members Posts: 597 Joined: 25-July 05 From: Santa Rosa, CA Member No.: 4,469 Region Association: None |
Installed the fronts. Also installed new ball-joints and tie rod ends as well. The old tie rod boots were ripped and who-knows-how-old. Steel braided lines were replaced with new rubber lines.
It worked out well that the new suspension was the later 911 strut that uses the wedge pin like the 914. I was able to simply transfer the Bilstein inserts. The problem with putting new stuff on the car is that it makes the surrounding areas look that much dirtier. I have to scrub the inner wheel well this weekend. I previously had a cross member and A-arms powder coated, but opted to leave the existing pieces on the car and just replaced the struts. The power coated pieces will wait until I do a more extensive restoration on this car one day. Time to change my avatar! (IMG:style_emoticons/default/biggrin.gif) Attached thumbnail(s) 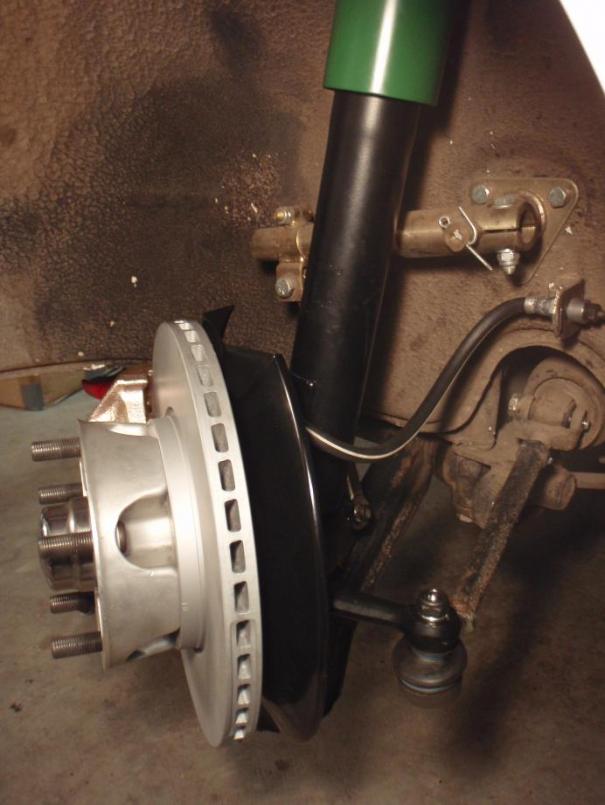 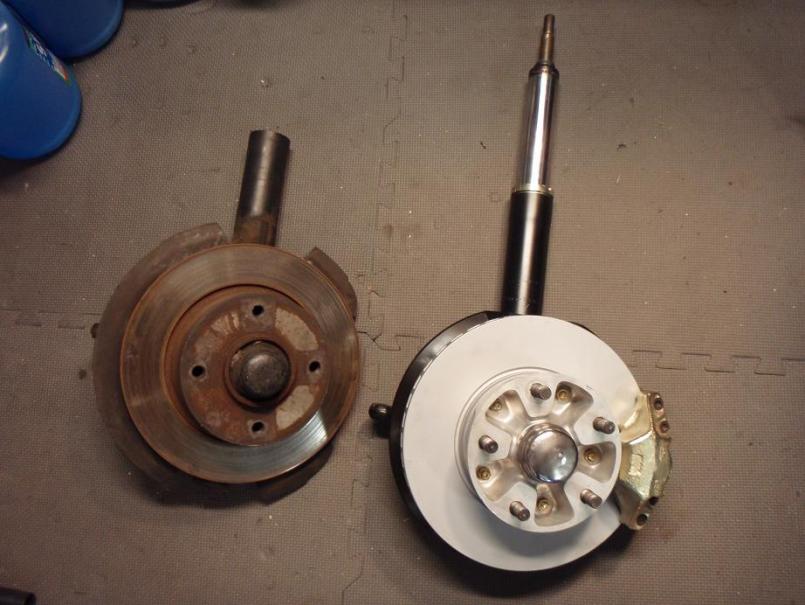 
|
|
|
|
|
2 User(s) are reading this topic (2 Guests and 0 Anonymous Users)
0 Members:

|
Lo-Fi Version | Time is now: 19th July 2025 - 06:21 AM |
Invision Power Board
v9.1.4 © 2025 IPS, Inc.