|
|
|
Porsche, and the Porsche crest are registered trademarks of Dr. Ing. h.c. F. Porsche AG.
This site is not affiliated with Porsche in any way. Its only purpose is to provide an online forum for car enthusiasts. All other trademarks are property of their respective owners. |
|
|

  |

| Loser_Cruiser |
 May 26 2011, 04:36 PM May 26 2011, 04:36 PM
Post
#561
|
|
Member  Group: Members Posts: 407 Joined: 4-April 05 From: Bellingham, WA Member No.: 3,873 Region Association: Pacific Northwest |
Lookin good, I'm excited to see your lighting solution.
|
   |

 
|
| enderw88 |
May 26 2011, 06:16 PM
Post
#562
|
|
Newbie Group: Members Posts: 35 Joined: 20-April 11 From: Tucson, AZ Member No.: 12,960 Region Association: Southwest Region |
QUOTE(Jeff Hail @ May 6 2011, 10:05 PM)  If Lamborghini could get away with using 92 Nissan 300ZX headlamps on the Diablo I can do this easily. (bet you never knew that) I had to see it to believe, wow! 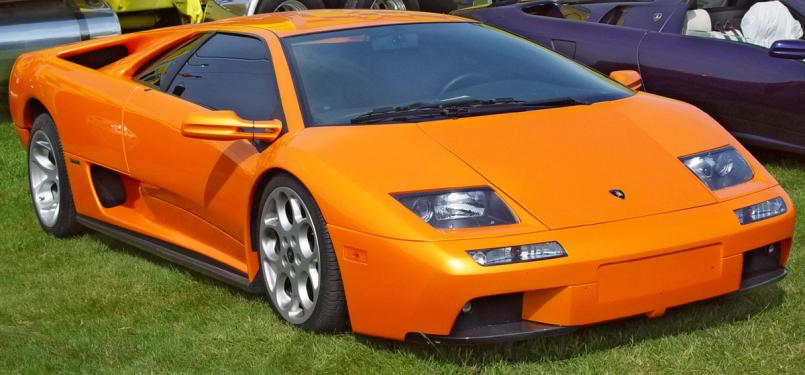 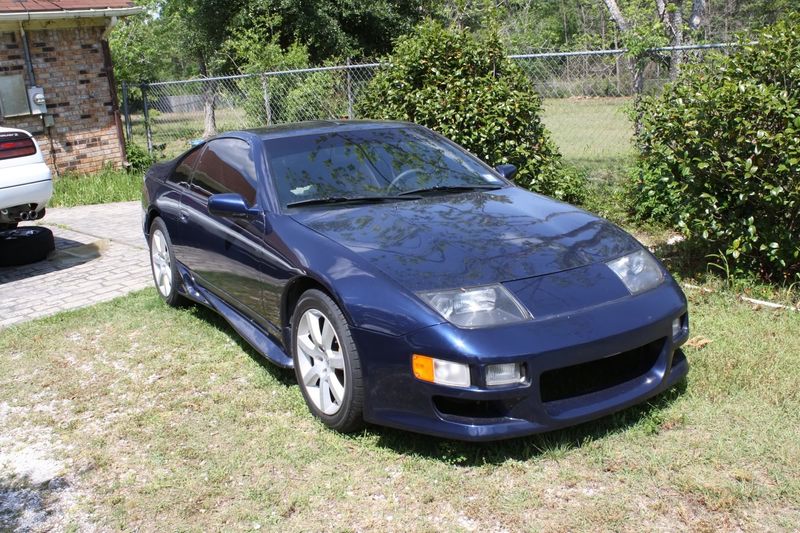 |
|
|
|
| Jeff Hail |
Jun 3 2011, 12:00 AM
Post
#563
|
|
Senior Member Group: Members Posts: 1,141 Joined: 3-May 07 From: LA/ CA Member No.: 7,712 |
My neck and left shoulder are killing me. Can't keep a good fabricator down.
The tunnel braces for the throttle and clutch tubes are fab'd and installed. Sorry no pics.. Ooops. Fab'd some other parts. I hate buying stuff that can be made and love making stuff that can't be bought. Access to a 50 ton press is helpful. Name those parts? Attached thumbnail(s) 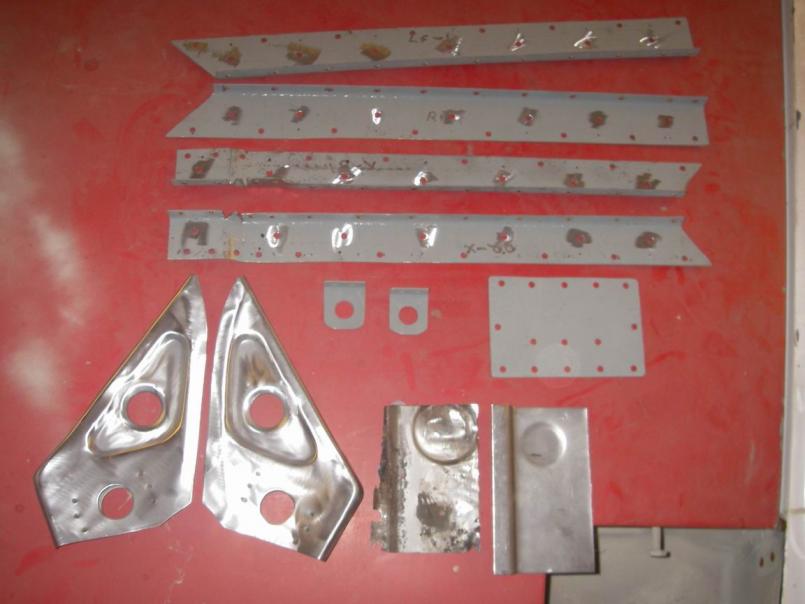
|
|
|
|
| majkos |
Jun 3 2011, 07:07 AM
Post
#564
|
|
Senior Member Group: Members Posts: 1,370 Joined: 29-February 04 From: Mile High 914 Member No.: 1,729 Region Association: Rocky Mountains |
I LOVE the near "donut holes" shelf
(Don't know what to call 'em) Better than original |
|
|
|
| Scott S |
Jun 3 2011, 03:43 PM
Post
#565
|
|
Small Member Group: Members Posts: 1,698 Joined: 30-April 03 From: Colorado Member No.: 633 |
QUOTE(Jeff Hail @ Mar 21 2011, 09:56 PM) Now thats a SHIFT knob !! Whatcha think? Is that a real pool ball? If so, bad bad bad bad bad bad bad bad idea - please do not use that. I did the same thing on a 1981 full size blazer - built the thing in shop class in high school around 1984. I can still see some of the scars from the 20+ stitches in my hand when it shattered 3 months later while driving. Find a fake/wood ball - dont use a glass/ceramic. Ugh. I remember having to call my parents from a pay phone to come get me in a parking lot and take me to the ER. Had a hand full of glass, a shifter covered in shards and blood all over the carpet and seats. |
|
|
|
| Jeff Hail |
Jun 11 2011, 11:02 PM
Post
#566
|
|
Senior Member Group: Members Posts: 1,141 Joined: 3-May 07 From: LA/ CA Member No.: 7,712 |
Actually the 8 Ball came with the car. I think it passed the test of time. Its a real shift knob not off a table.
|
|
|
|
| Jeff Hail |
Jun 11 2011, 11:03 PM
Post
#567
|
|
Senior Member Group: Members Posts: 1,141 Joined: 3-May 07 From: LA/ CA Member No.: 7,712 |
Guess that part? Hint: Qtr panel.
Attached image(s) 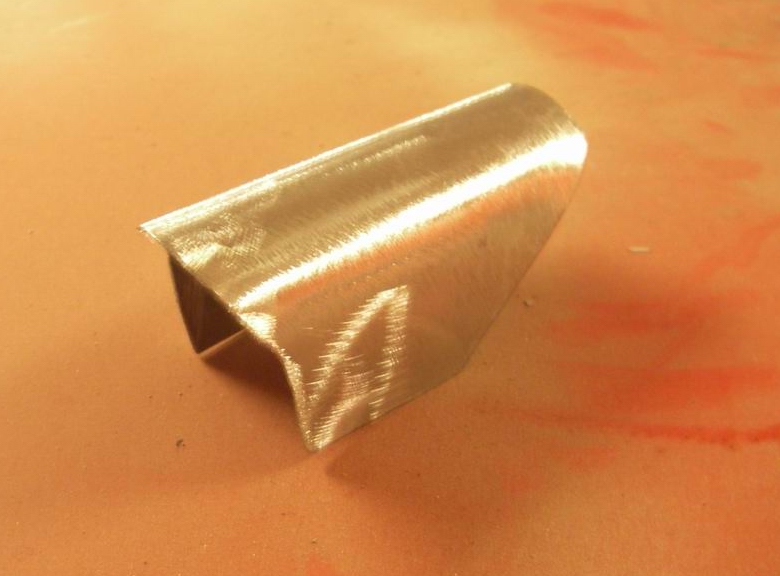
|
|
|
|
| Jeff Hail |
Jun 28 2011, 08:02 PM
Post
#568
|
|
Senior Member Group: Members Posts: 1,141 Joined: 3-May 07 From: LA/ CA Member No.: 7,712 |
I guess no takers on: "Guess that part".
The prior owner had the left quarter panel replaced at one time. I assume this was done probably when the car was fairly new judging by the grey filler and some brazing. Space age microspheres (Dynalite used red hardner and the filler ends up pink) so I know its old old work. Well the bodyman used an air chisel here and a Sawzall there. He cut right through the vent duct and never bothered to repair his fine error. That weld you see at the lower rt corner of the photo is where I removed some brass at the pinch weld. I didn't like the way it looked. Attached thumbnail(s) 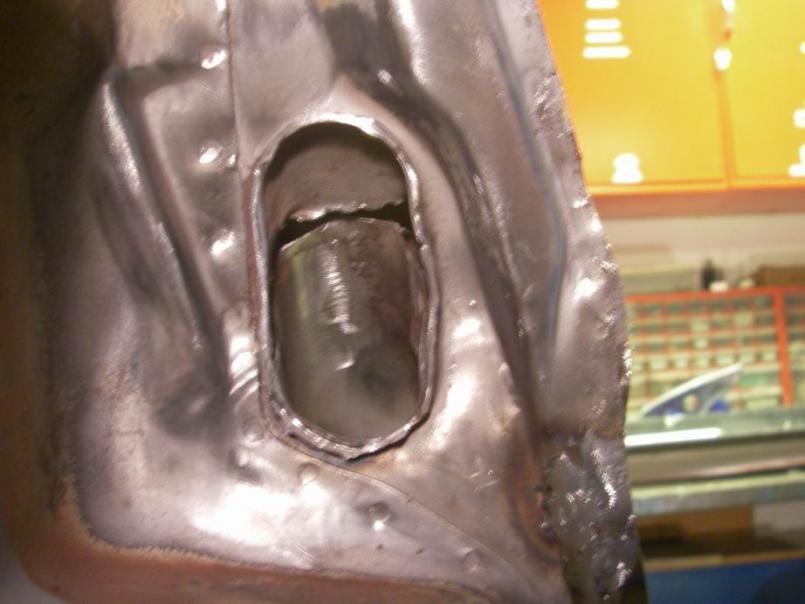
|
|
|
|
| Jeff Hail |
Jun 28 2011, 08:10 PM
Post
#569
|
|
Senior Member Group: Members Posts: 1,141 Joined: 3-May 07 From: LA/ CA Member No.: 7,712 |
My conundrum was how to repair or replace it with the quarter panel still on the car? No room for tools up there.
So grind out the gash flat and fabricate a piece. Used a drum sander on an extension to get in there. Sand blast it bare. Attached image(s) 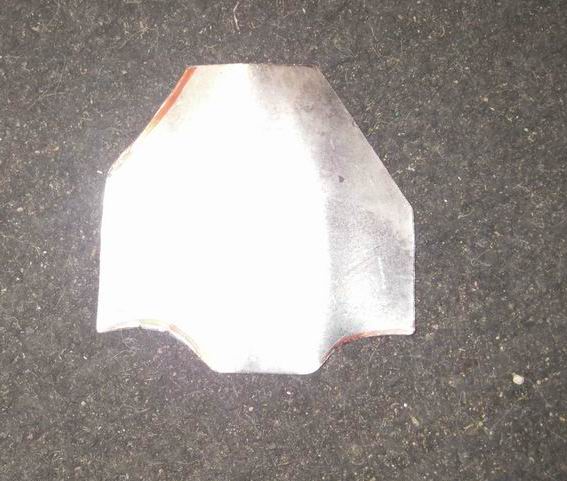 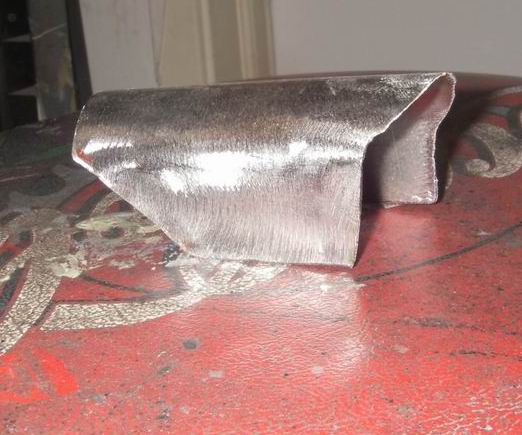 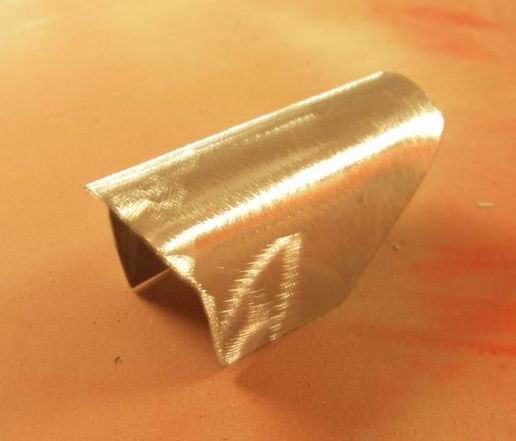
|
|
|
|
| Jeff Hail |
Jun 28 2011, 08:15 PM
Post
#570
|
|
Senior Member Group: Members Posts: 1,141 Joined: 3-May 07 From: LA/ CA Member No.: 7,712 |
The piece is then bonded with structural adhesive. First because I can't get a welder in there. Second I can't grind the welds down because its too confined. Third because the structural adhesive make sense for a repair of this type and it comes out clean.
Attached thumbnail(s) 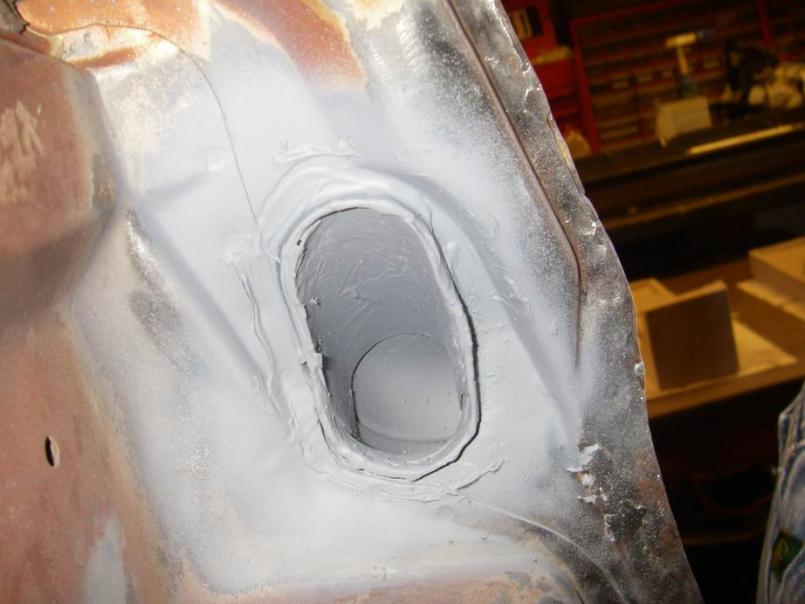 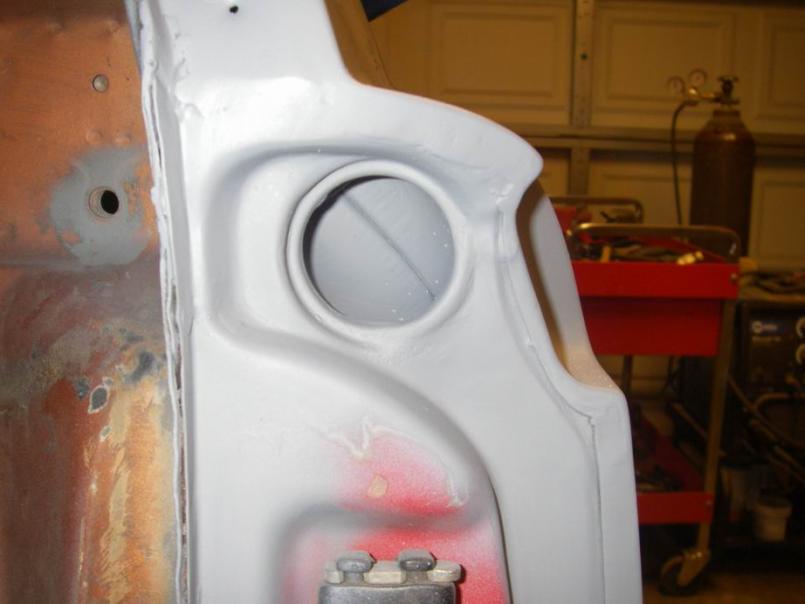
|
|
|
|
| Jeff Hail |
Jun 28 2011, 08:32 PM
Post
#571
|
|
Senior Member Group: Members Posts: 1,141 Joined: 3-May 07 From: LA/ CA Member No.: 7,712 |
Lets play "Guess that part" again.
Attached thumbnail(s) 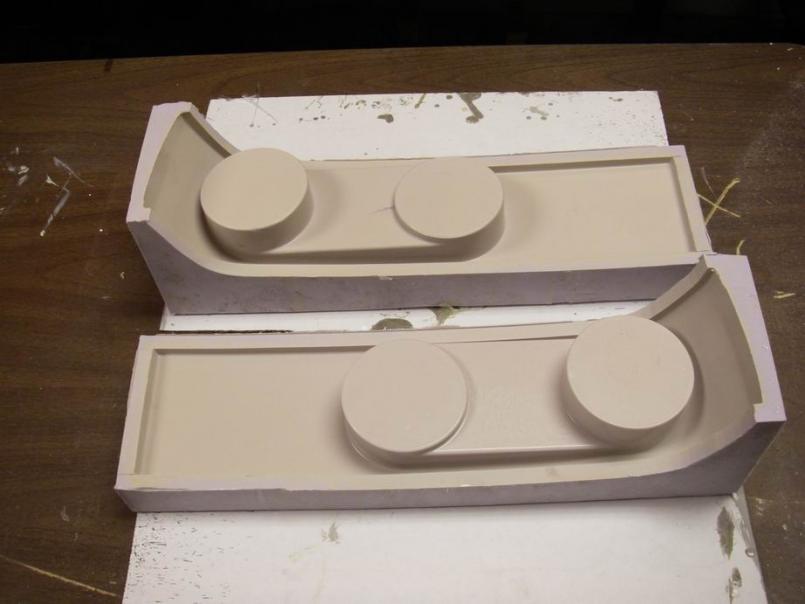
|
|
|
|
| Jeff Hail |
Jun 28 2011, 08:33 PM
Post
#572
|
|
Senior Member Group: Members Posts: 1,141 Joined: 3-May 07 From: LA/ CA Member No.: 7,712 |
Hint !
Attached thumbnail(s) 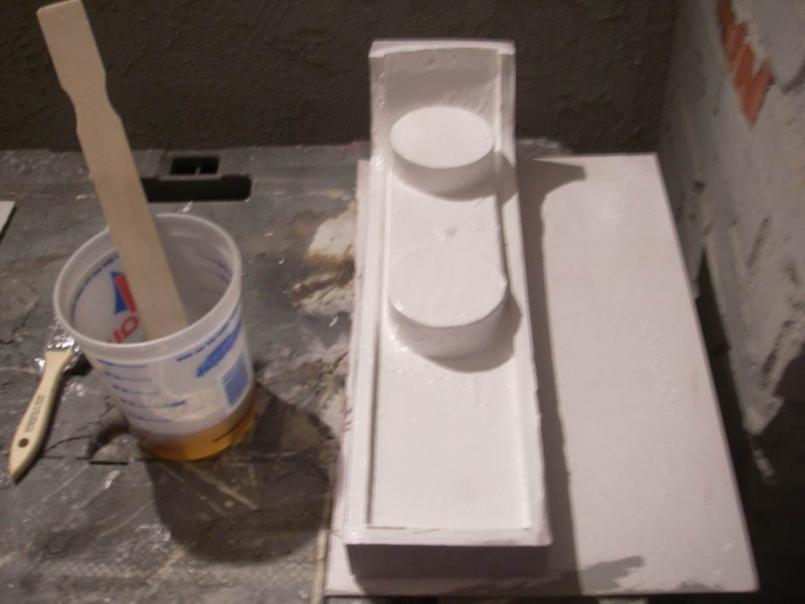 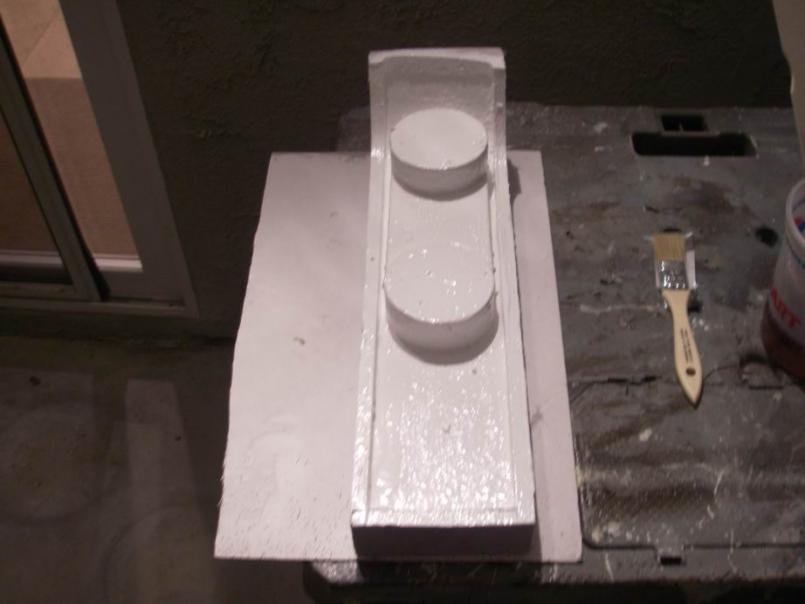 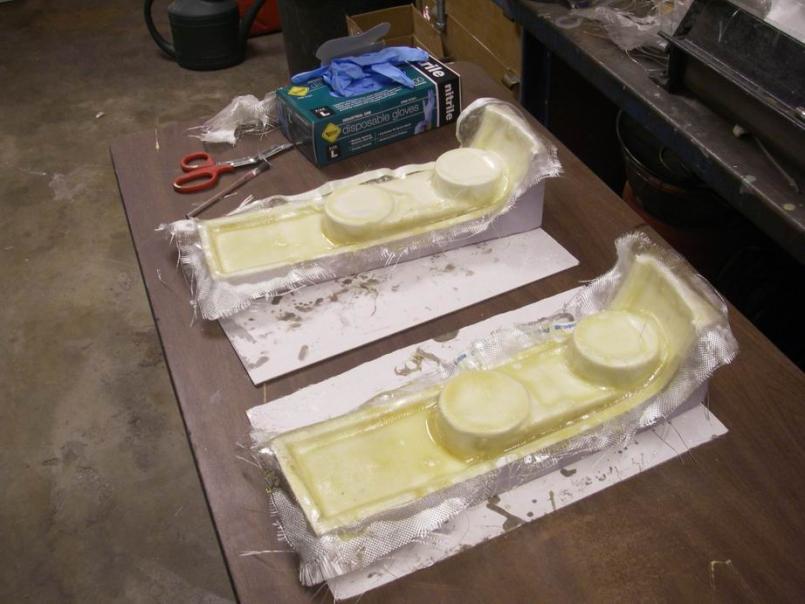
|
|
|
|
| Jeff Hail |
Jun 28 2011, 08:35 PM
Post
#573
|
|
Senior Member Group: Members Posts: 1,141 Joined: 3-May 07 From: LA/ CA Member No.: 7,712 |
No winners today.
Attached thumbnail(s) 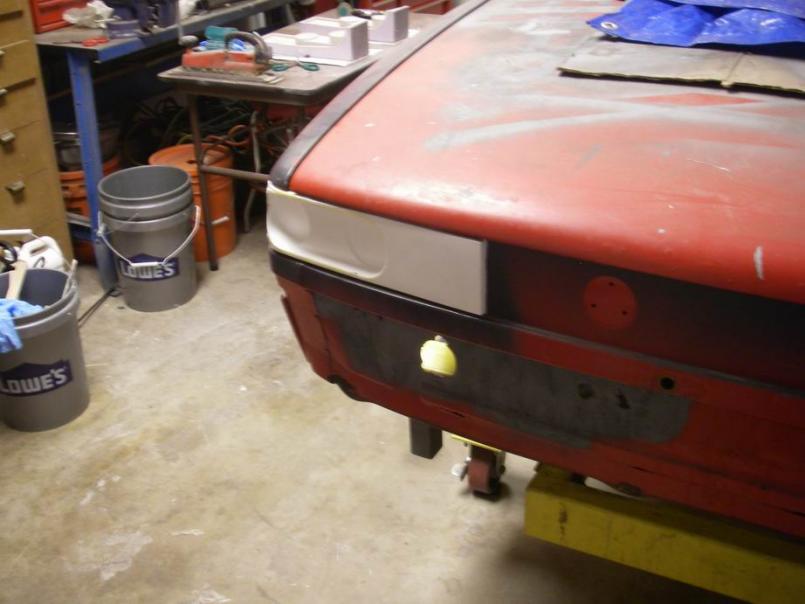 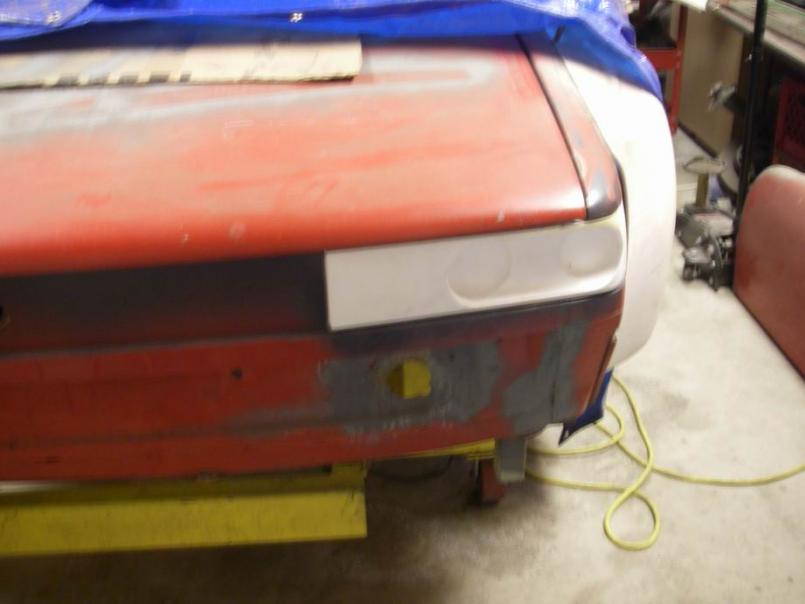
|
|
|
|
| Jeff Hail |
Jun 28 2011, 08:36 PM
Post
#574
|
|
Senior Member Group: Members Posts: 1,141 Joined: 3-May 07 From: LA/ CA Member No.: 7,712 |
Spare me the the mass PM's please. (IMG:style_emoticons/default/biggrin.gif)
These were a test run only for now. (IMG:style_emoticons/default/stirthepot.gif) I will let you know when they are ready. |
|
|
|
| Loser_Cruiser |
Jun 28 2011, 10:57 PM
Post
#575
|
|
Member Group: Members Posts: 407 Joined: 4-April 05 From: Bellingham, WA Member No.: 3,873 Region Association: Pacific Northwest |
I already emailed you the other day, haha. I was hoping you were the jeff he was refering too. Always great work.
|
|
|
|
| Jeff Hail |
Sep 17 2011, 11:34 PM
Post
#576
|
|
Senior Member Group: Members Posts: 1,141 Joined: 3-May 07 From: LA/ CA Member No.: 7,712 |
Sometimes life goes so fast.
Attached image(s) 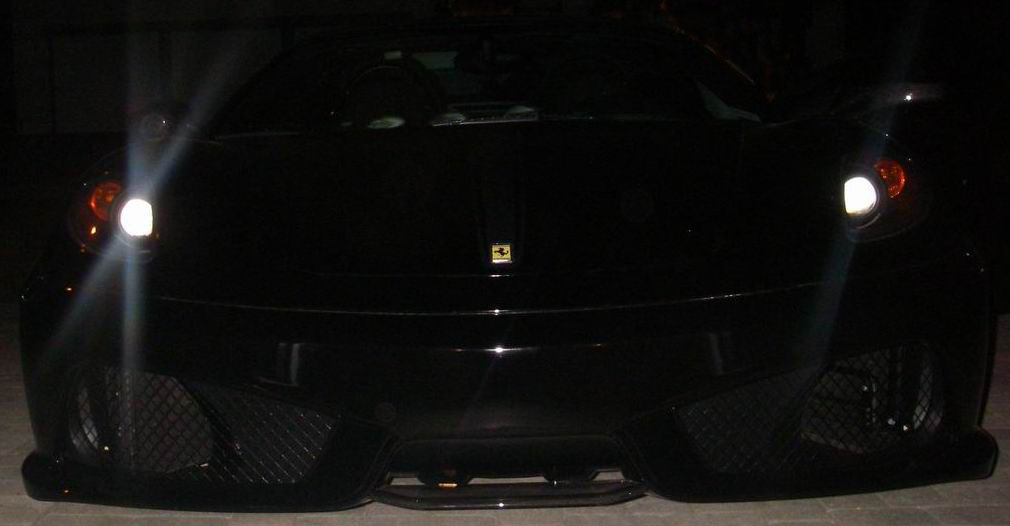   
|
|
|
|
| sixnotfour |
Sep 18 2011, 12:12 AM
Post
#577
|
|
914 Wizard Group: Members Posts: 11,274 Joined: 12-September 04 Member No.: 2,744 Region Association: NineFourteenerVille |
You know the movie quote "Italian trash"
Nice Ferrari. Attached image(s) 
|
|
|
|
| NS914 |
Jan 6 2012, 01:58 PM
Post
#578
|
|
Member Group: Members Posts: 198 Joined: 9-June 09 From: Dartmouth, Nova Scotia Member No.: 10,455 Region Association: Canada |
QUOTE(sixnotfour @ Sep 18 2011, 02:12 AM) You know the movie quote "Italian trash" Nice Ferrari. Aside from the Ferrari....which is sweet, how are you coming along with the 914. I just got back to this thread and my own car as well. Fantastic work and truly helpful is an understatement. Thanks so much for leading us through this. Quick Q? Do you have more details on your shifter set up. I likely need to go back in the thread and see if i missed it. Once again, thanks so much for what has to be one of the most informative threads in a very long time. Grant |
|
|
|
| Jeff Hail |
Jan 6 2012, 10:54 PM
Post
#579
|
|
Senior Member Group: Members Posts: 1,141 Joined: 3-May 07 From: LA/ CA Member No.: 7,712 |
QUOTE(NS914 @ Jan 6 2012, 11:58 AM) QUOTE(sixnotfour @ Sep 18 2011, 02:12 AM) You know the movie quote "Italian trash" Nice Ferrari. Aside from the Ferrari....which is sweet, how are you coming along with the 914. I just got back to this thread and my own car as well. Fantastic work and truly helpful is an understatement. Thanks so much for leading us through this. Quick Q? Do you have more details on your shifter set up. I likely need to go back in the thread and see if i missed it. Once again, thanks so much for what has to be one of the most informative threads in a very long time. Grant I'm still here just have not done any work on the 14 lately. Lot of stuff going on in life right now so the car is on the back burner. My shoulder is out and has been since May which really sucks. |
|
|
|
| NS914 |
Jan 9 2012, 10:17 AM
Post
#580
|
|
Member Group: Members Posts: 198 Joined: 9-June 09 From: Dartmouth, Nova Scotia Member No.: 10,455 Region Association: Canada |
QUOTE(Jeff Hail @ Jan 7 2012, 12:54 AM) QUOTE(NS914 @ Jan 6 2012, 11:58 AM) QUOTE(sixnotfour @ Sep 18 2011, 02:12 AM) You know the movie quote "Italian trash" Nice Ferrari. Aside from the Ferrari....which is sweet, how are you coming along with the 914. I just got back to this thread and my own car as well. Fantastic work and truly helpful is an understatement. Thanks so much for leading us through this. Quick Q? Do you have more details on your shifter set up. I likely need to go back in the thread and see if i missed it. Once again, thanks so much for what has to be one of the most informative threads in a very long time. Grant I'm still here just have not done any work on the 14 lately. Lot of stuff going on in life right now so the car is on the back burner. My shoulder is out and has been since May which really sucks. No worries and take care of your shoulder. I busted mine up playing hockey and that rotator cuff can be a real pain when it does not work like it should. Like the others, I have really learned alot through your work....sometimes as much abouty what I should tackle and what I should have a "Pro" do for me. Talk soon and hope you are back at it. Grant |
|
|
|
|
1 User(s) are reading this topic (1 Guests and 0 Anonymous Users)
0 Members:

|
Lo-Fi Version | Time is now: 24th June 2026 - 01:39 PM |
Invision Power Board
v9.1.4 © 2026 IPS, Inc.