|
|
|
Porsche, and the Porsche crest are registered trademarks of Dr. Ing. h.c. F. Porsche AG.
This site is not affiliated with Porsche in any way. Its only purpose is to provide an online forum for car enthusiasts. All other trademarks are property of their respective owners. |
|
|

  |

| tygaboy |
 May 25 2022, 09:41 AM May 25 2022, 09:41 AM
Post
#1
|
|
914 Guru  Group: Members Posts: 5,827 Joined: 6-October 15 From: Petaluma, CA Member No.: 19,241 Region Association: Northern California |
@buddyV Robert has the Getty GT replica hood and trunk lid. Lovely items, btw. HIGHLY recommended if you're looking for high quality and great fit. Anyway, he's been using a wooden dowel as a hood prop. We'd been talking about making him a proper prop ( (IMG:style_emoticons/default/lol-2.gif) ) since he installed the hood and we finally got around to it this week. Here's what we did:
I'm a fan of a prop system that "locks" in place and prevents the prop from falling out of place in the event of a wind gust, being bumped, etc. So the first thing I did is whip up a bracket that has a receiver for a pit pin. Next, I sourced some M6 studs that are specifically designed to be bonded on - note the oversized, perforated base. Then I mixed high density adhesive filler into epoxy resin, positioned the studs and let things cure. Attached thumbnail(s) 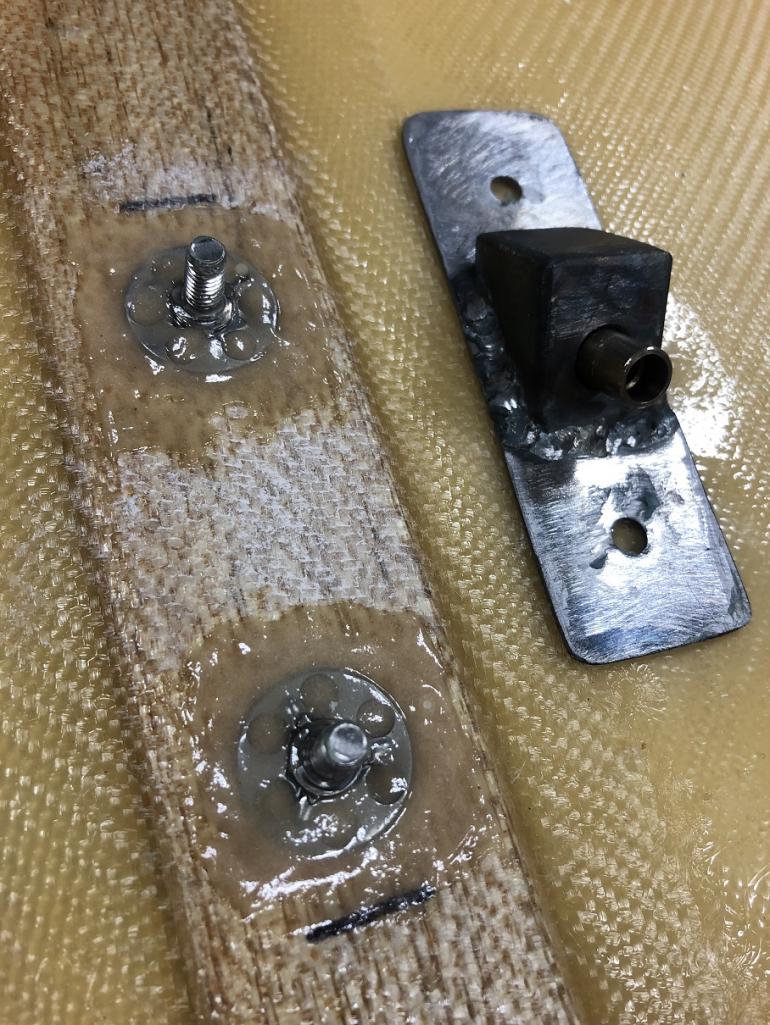 Attached image(s) 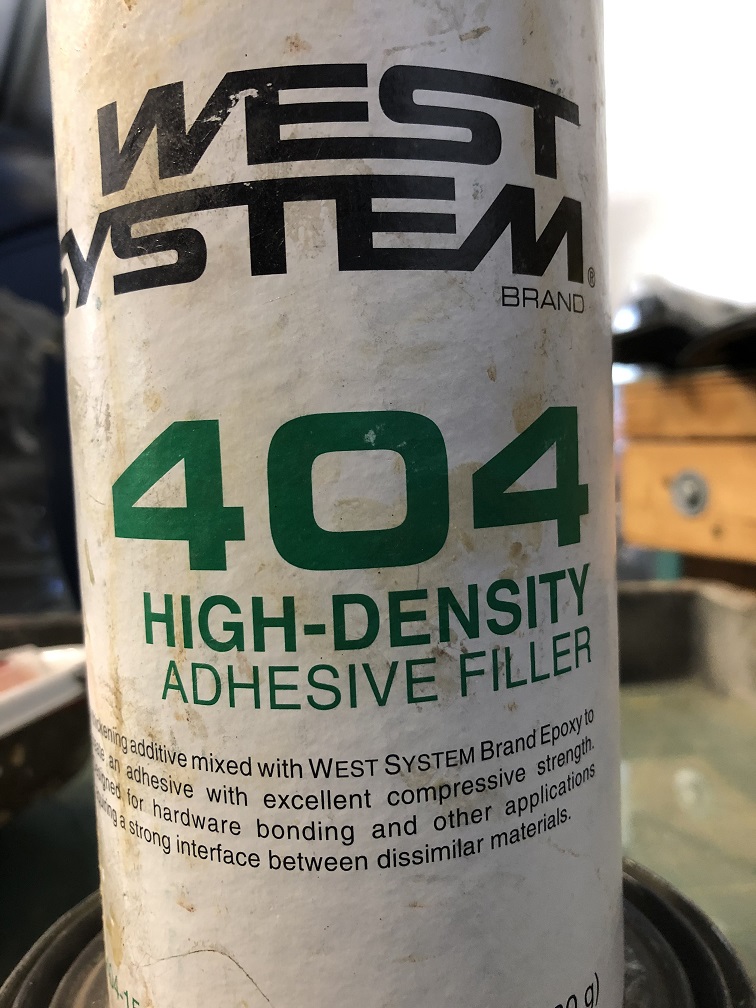
|
   |

 
|
| tygaboy |
May 25 2022, 09:45 AM
Post
#2
|
|
914 Guru Group: Members Posts: 5,827 Joined: 6-October 15 From: Petaluma, CA Member No.: 19,241 Region Association: Northern California |
Once that was cured, I added layers of fiberglass over everything to add additional strength and to build up the surface between the studs. Hard to tell from the pics but the studs have a slightly raised area at the base and I wanted the bracket to contact all along its base.
Attached thumbnail(s) 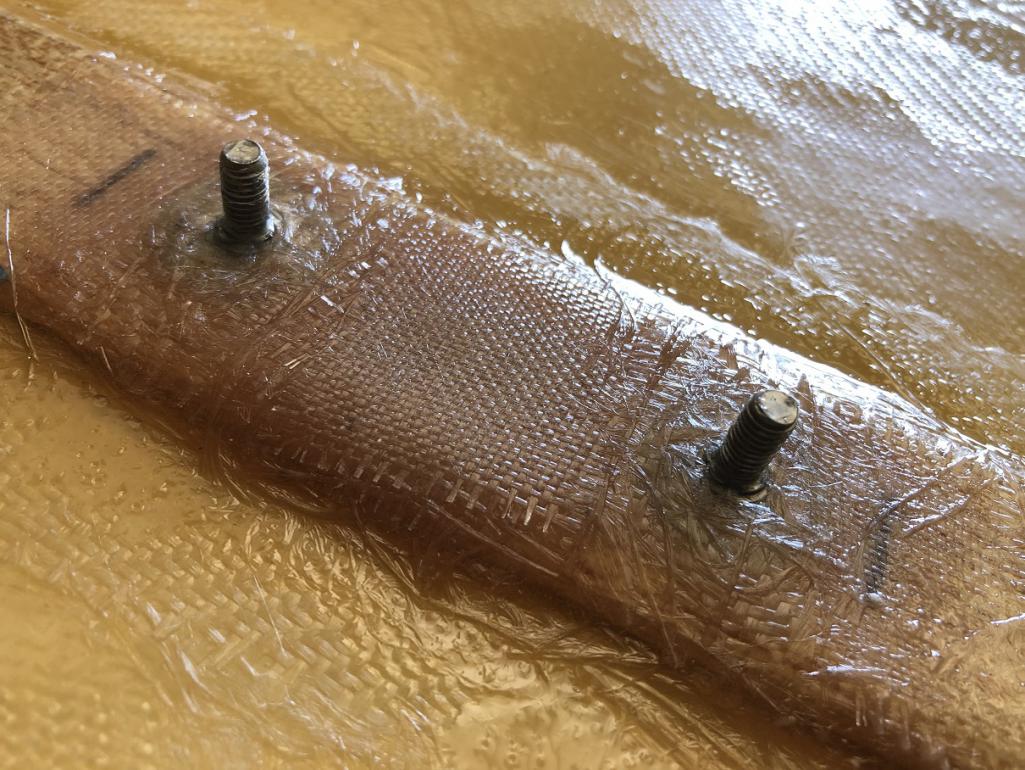
|
|
|
|
| tygaboy |
May 25 2022, 09:49 AM
Post
#3
|
|
914 Guru Group: Members Posts: 5,827 Joined: 6-October 15 From: Petaluma, CA Member No.: 19,241 Region Association: Northern California |
Sorry for the lack of in-progress pics but...
We didn't want to pull the tank and weld on the chassis so we added a Rivnut to the center of the firewall and bolted another pit pin receiver to the outer area on the right side. Then I welded up a prop rod out of stainless and used a left-hand threaded ball joint on one end and a rod end on the other. This allows the needed infinite adjustability so the overall length can be exactly what it needs to be and the rod can "pit pin lock" into the chassis receiver. Attached image(s) 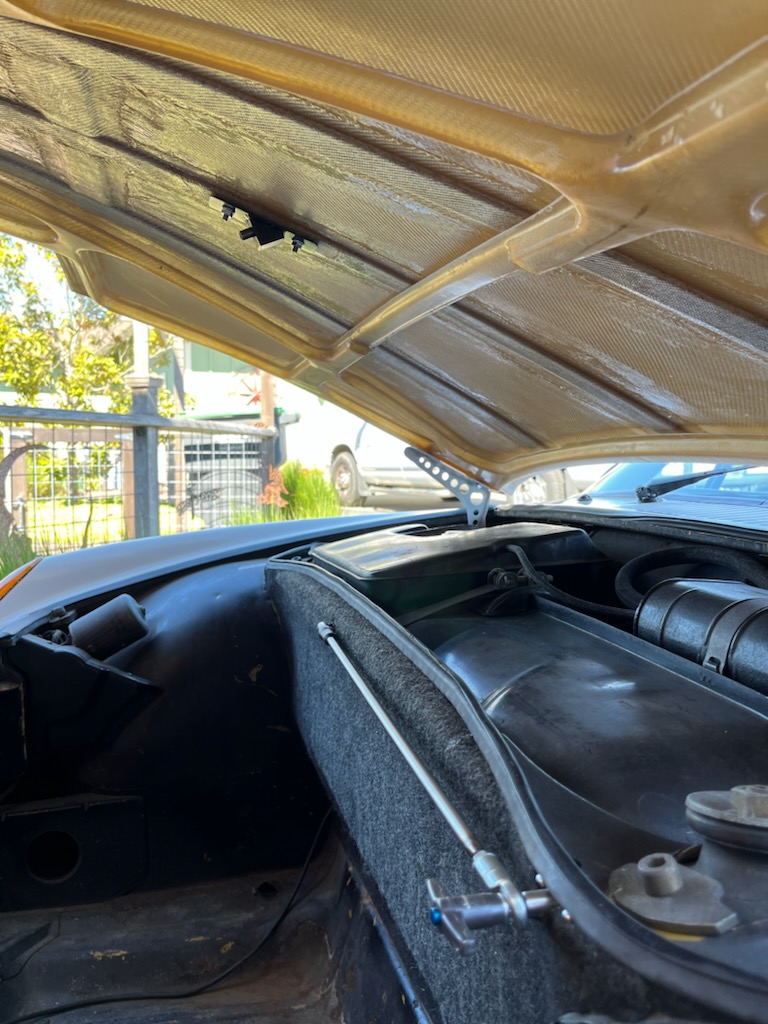
|
|
|
|
| tygaboy |
May 25 2022, 09:52 AM
Post
#4
|
|
914 Guru Group: Members Posts: 5,827 Joined: 6-October 15 From: Petaluma, CA Member No.: 19,241 Region Association: Northern California |
Done and done! I think it looks great and fits well with the vibe of his car. Most importantly, Robert is pleased with the result.
It was a fun little project and maybe helps give other hood prop junkies some ideas. Attached thumbnail(s) 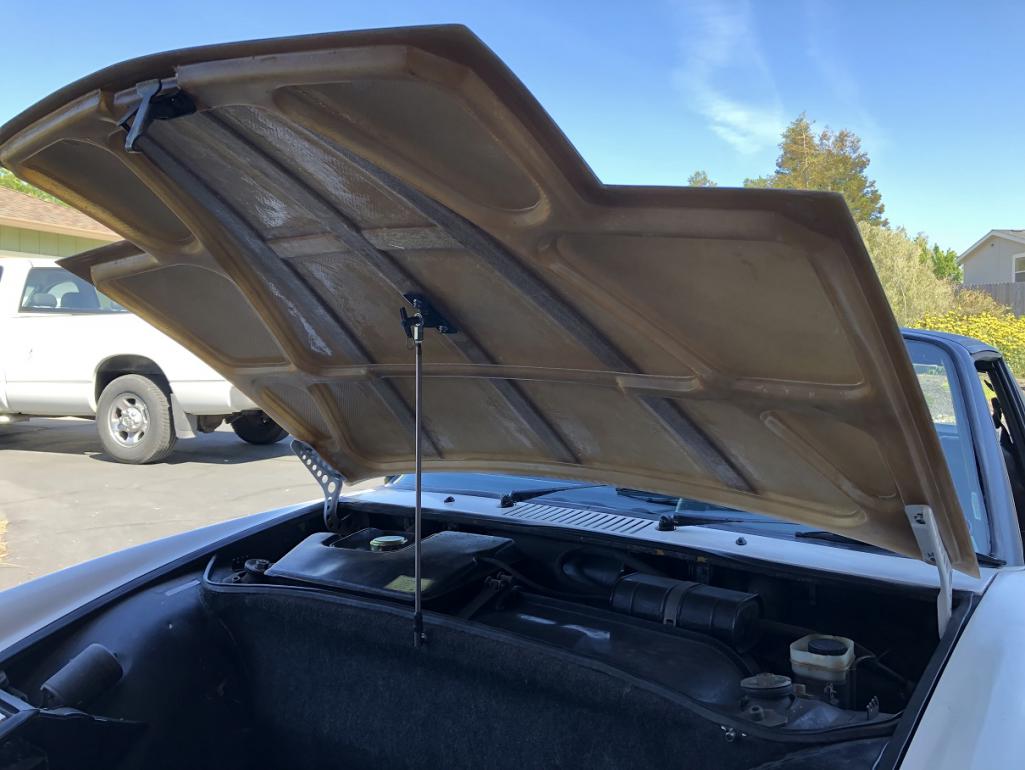 Attached image(s) 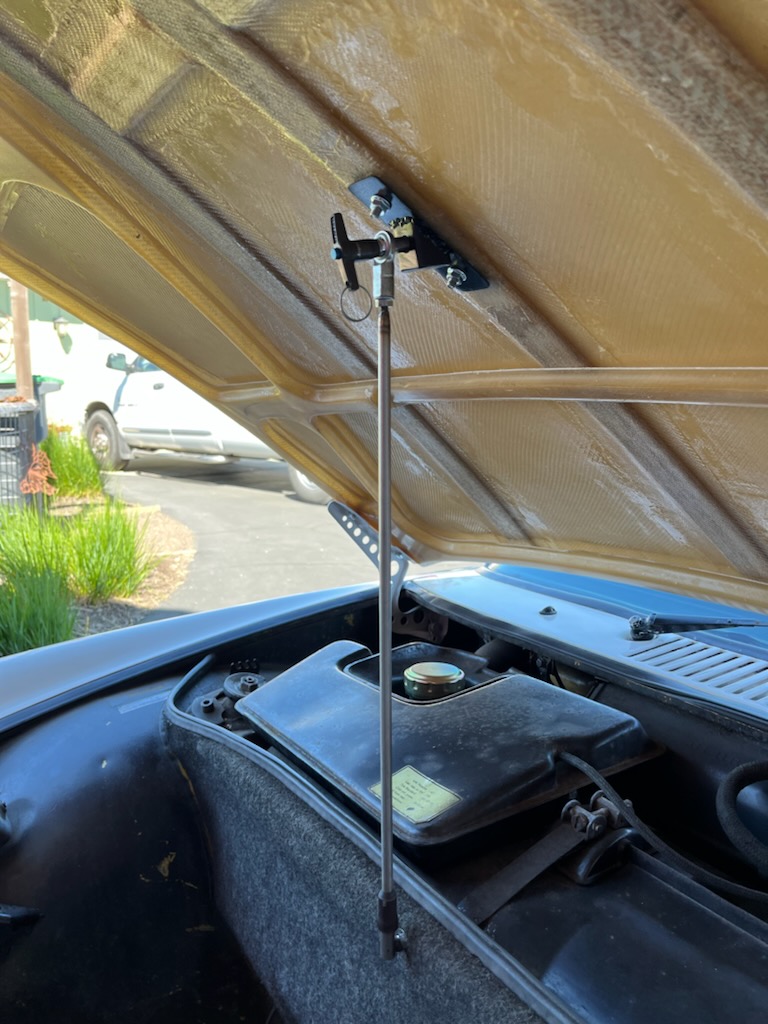
|
|
|
|
| SirAndy |
May 25 2022, 10:19 AM
Post
#5
|
|
Resident German Group: Admin Posts: 42,483 Joined: 21-January 03 From: Oakland, Kalifornia Member No.: 179 Region Association: Northern California |
|
 |
|
| Retroracer |
May 25 2022, 10:54 AM
Post
#6
|
|
Senior Member Group: Members Posts: 660 Joined: 7-July 13 From: Bend OR Member No.: 16,100 Region Association: Pacific Northwest |
Chris - those "designed to be bonded" studs are a good find - care to post the source pls?
Also, nice work on the strut! - Tony |
|
|
|
| mgarrison |
May 25 2022, 11:39 AM
Post
#7
|
|
Member Group: Members Posts: 416 Joined: 14-February 20 From: Chandler, AZ Member No.: 23,922 Region Association: Southwest Region |
Chris, awesome details and incredible end result...as usual! (IMG:style_emoticons/default/pray.gif)
Any details you can share on sources for the pit pins & studs would be greatly appreciated! |
|
|
|
| Shivers |
May 25 2022, 11:47 AM
Post
#8
|
|
Senior Member Group: Members Posts: 3,438 Joined: 19-October 20 From: La Quinta, CA Member No.: 24,781 Region Association: Southern California |
The hood won't be blown off of that by the wind. Nice job, has the "Store bought" look
|
|
|
|
| mlindner |
May 25 2022, 12:32 PM
Post
#9
|
|
Senior Member Group: Members Posts: 1,788 Joined: 11-November 11 From: Merrimac, WI Member No.: 13,770 Region Association: Upper MidWest |
Thanks tygaboy, that is a great solution. I install a carbon fiber rod, works good and the wind has not been a issue yet but it is with a steel hood also. Thanks for sharing. Mark
 |
|
|
|
| tygaboy |
May 25 2022, 12:34 PM
Post
#10
|
|
914 Guru Group: Members Posts: 5,827 Joined: 6-October 15 From: Petaluma, CA Member No.: 19,241 Region Association: Northern California |
@Retroracer @mgarrison
I'm sure there are other suppliers as well but I usually end up at McMaster-Carr for specialty items like these. Here's everything you'll need, aside from the right-hand threaded stud for the rod end that holds the pit pin. Just cut an M6 bolt... When sourcing the pit pin and the receiver(s) you need to work out how thick the rod end part is, and add that to the effective length of the pit pin then get the appropriate depth/length receiver. I was able to get it so the pit pin locks the rod end in place with zero slop. Adhesive mount studs: https://www.mcmaster.com/threaded-studs/ste...ve-mount-studs/ Pit pins: https://www.mcmaster.com/pip-pins/t-handle-...release-pins-9/ Pit Pin Receivers: https://www.mcmaster.com/pip-pins/surface-m...k-release-pins/ Rod ends: https://www.mcmaster.com/threaded-rod-ends/...ype~ball-joint/ Left-hand thread ball joints with stud: https://www.mcmaster.com/90-degree-ball-joi...joint-linkages/ Left-hand metric threaded rod: https://www.mcmaster.com/threaded-rods/syst...tion~left-hand/ Stainless rod: https://www.mcmaster.com/rods/multipurpose-...urement~metric/ (IMG:style_emoticons/default/sawzall-smiley.gif) (IMG:style_emoticons/default/smash.gif) (IMG:style_emoticons/default/welder.gif) |
|
|
|
| tygaboy |
May 25 2022, 12:42 PM
Post
#11
|
|
914 Guru Group: Members Posts: 5,827 Joined: 6-October 15 From: Petaluma, CA Member No.: 19,241 Region Association: Northern California |
One other minor detail. It's a bit of a hack but works great:
See the cover on the ball joint at the base? It's a bit of rubber hose that I put over a length of rod that I then put in the drill press. Spin it and use a 3" angle grinder to add a nice taper and... looks custom, no? (IMG:style_emoticons/default/shades.gif) Attached image(s) 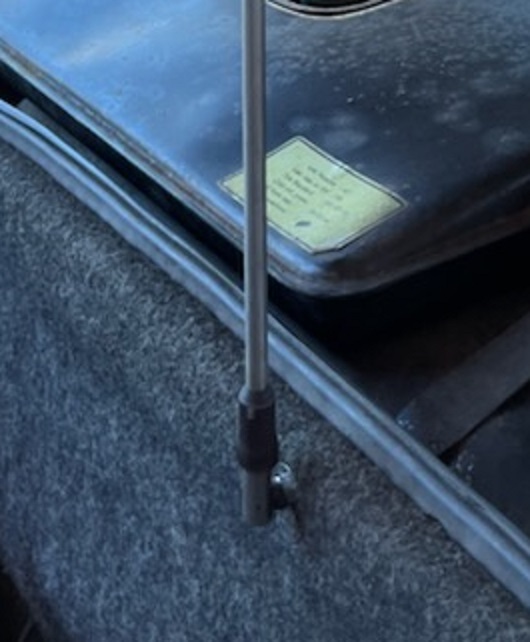
|
|
|
|
| mgarrison |
May 25 2022, 12:42 PM
Post
#12
|
|
Member Group: Members Posts: 416 Joined: 14-February 20 From: Chandler, AZ Member No.: 23,922 Region Association: Southwest Region |
Your just too cool Chris - THANKS! (IMG:style_emoticons/default/smilie_pokal.gif)
|
|
|
|
| echocanyons |
May 25 2022, 01:33 PM
Post
#13
|
|
Advanced Member Group: Benefactors Posts: 2,117 Joined: 24-December 02 From: Bay Area, CA Member No.: 7 Region Association: Central California |
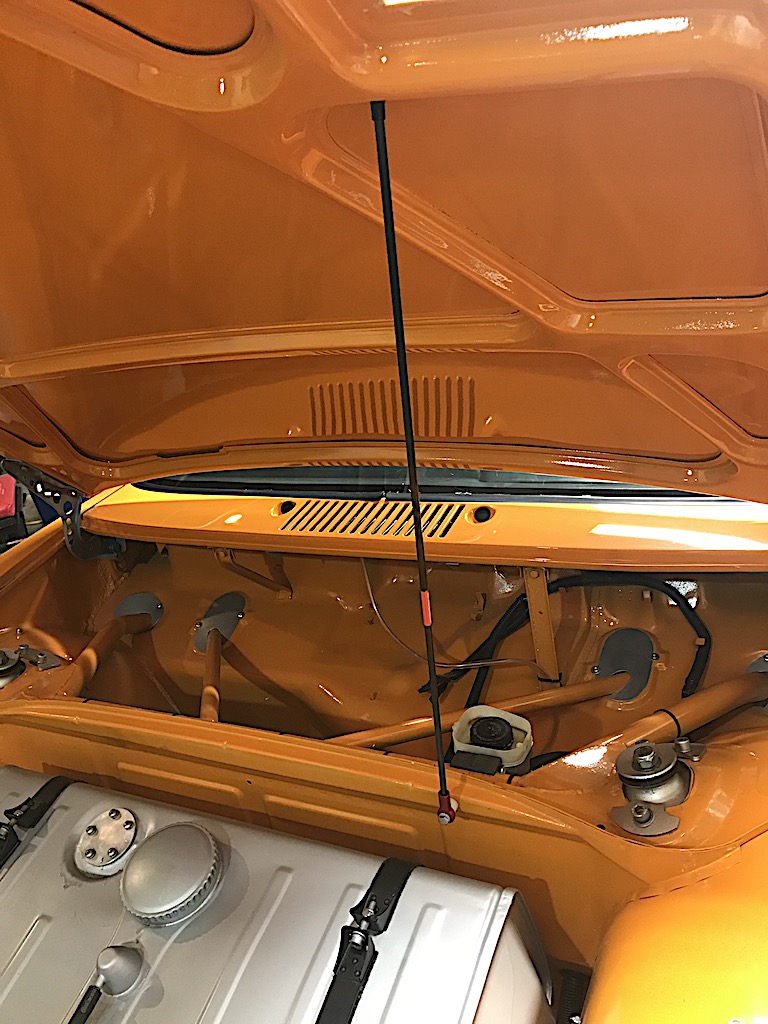
The more I drive this car, the more I like this simple but elegant solution. Spring loaded and auto retracts when you lift the hood.
Thanks to the PMB team! Attached thumbnail(s) 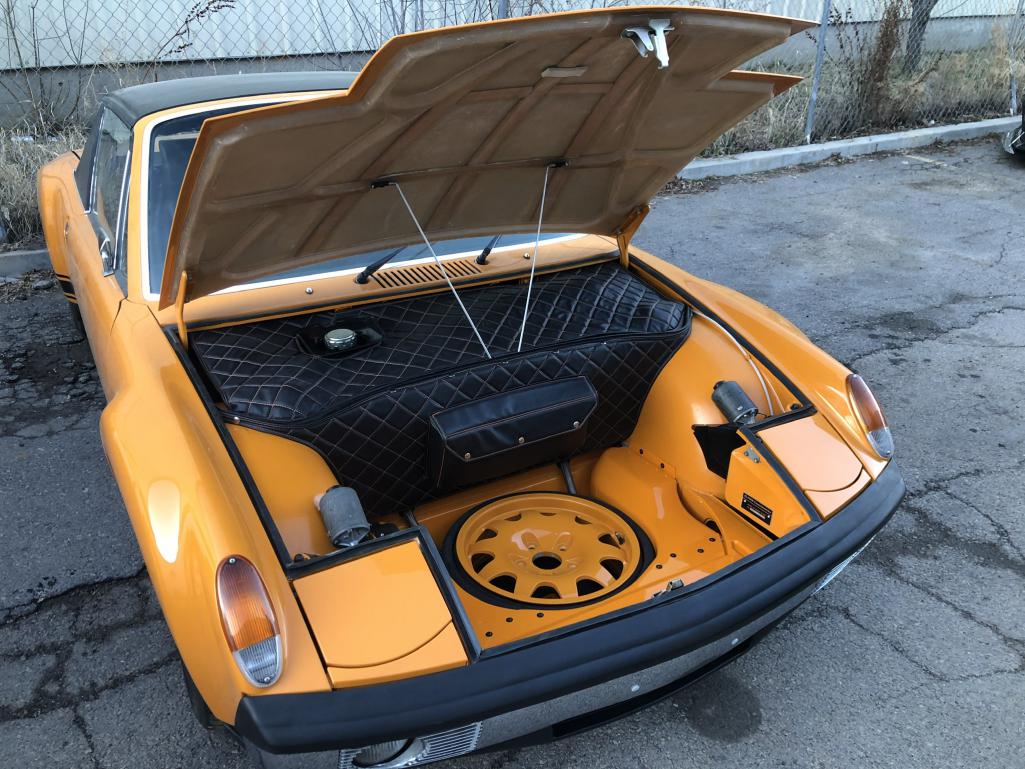
|
|
|
|
| TRS63 |
May 25 2022, 01:49 PM
Post
#14
|
|
Member Group: Members Posts: 326 Joined: 14-September 20 From: Germany - Stuttgart Member No.: 24,690 Region Association: Europe |
Really cool solution, thanks for sharing!
Antoine |
|
|
|
| roundtwo |
May 26 2022, 11:03 PM
Post
#15
|
|
Member Group: Members Posts: 353 Joined: 9-February 20 From: Petaluma, CA Member No.: 23,905 Region Association: Central California |
Strong work fellas. (IMG:style_emoticons/default/beerchug.gif) Good to see you finished up in a day.
|
|
|
|
|
1 User(s) are reading this topic (1 Guests and 0 Anonymous Users)
0 Members:

|
Lo-Fi Version | Time is now: 15th June 2026 - 07:56 AM |
Invision Power Board
v9.1.4 © 2026 IPS, Inc.