|
|
|
Porsche, and the Porsche crest are registered trademarks of Dr. Ing. h.c. F. Porsche AG.
This site is not affiliated with Porsche in any way. Its only purpose is to provide an online forum for car enthusiasts. All other trademarks are property of their respective owners. |
|
|


| morehills |
 Mar 29 2024, 06:13 AM Mar 29 2024, 06:13 AM
Post
#1
|
|
Member  Group: Members Posts: 110 Joined: 2-March 23 From: Great Barrington, MA Member No.: 27,202 Region Association: North East States |
With help from many of you and the expert fabrication of Chris Foley from Tangerine Racing, the conversion of my 1971-6 GT clone interior is well underway. Next up is the wiring cut over, which won't be easy but I'll post later on that rat nest of issues.
Chris built the roll bar, and harness mounts, fabricated the fuel gauge mount and battery cut off mount and welded in the column (thanks to Mark Epstien for bracket and Tom Bulter for help) Attached image(s) 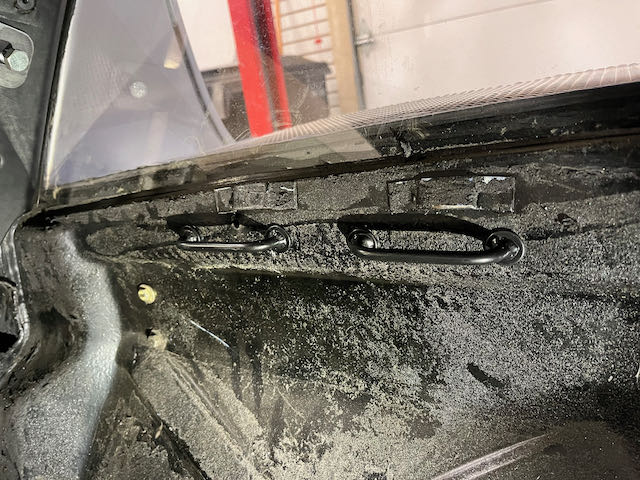 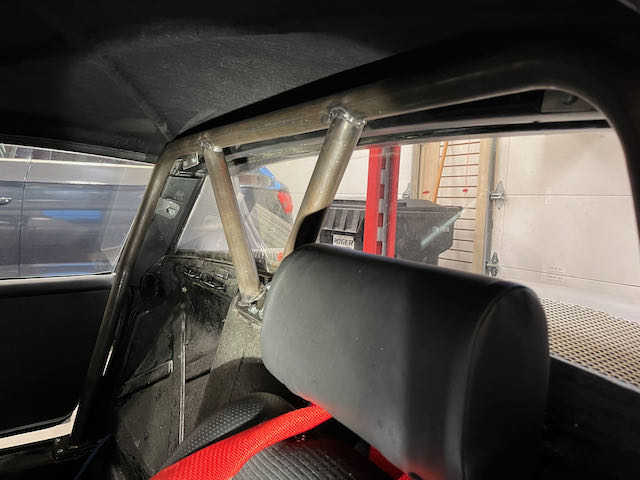 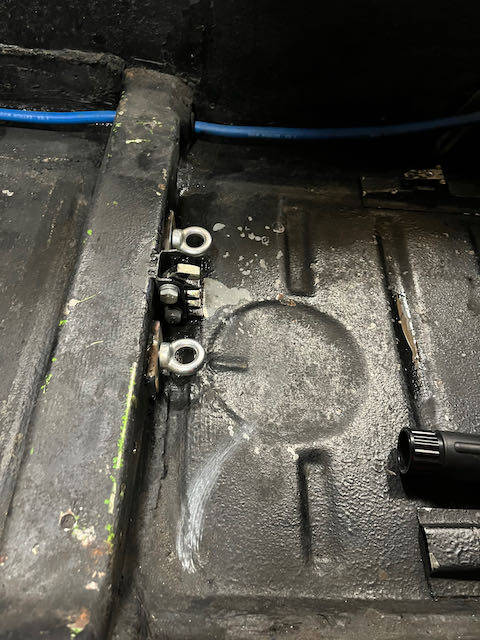 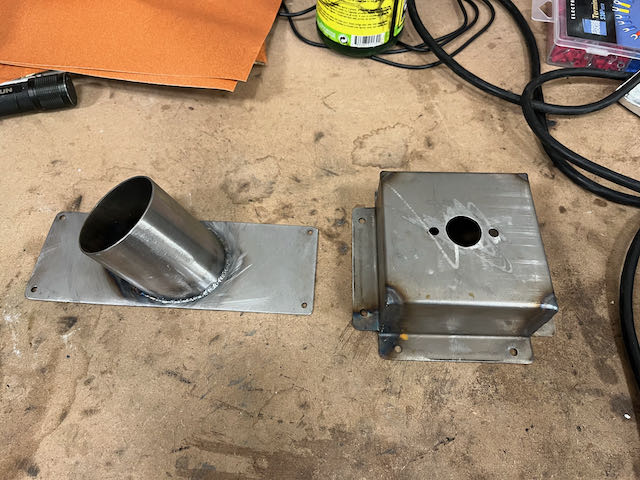 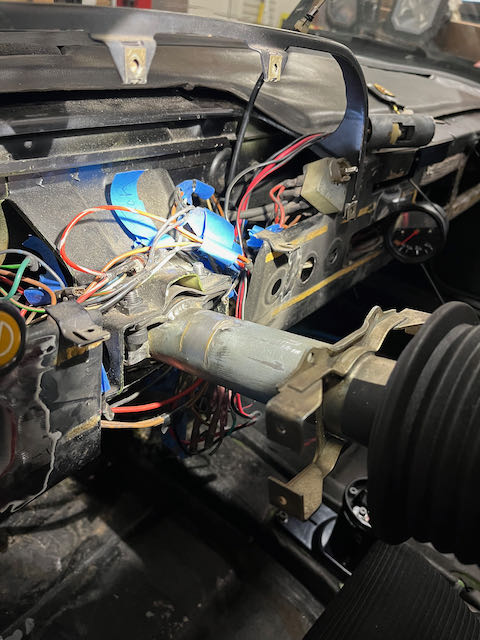 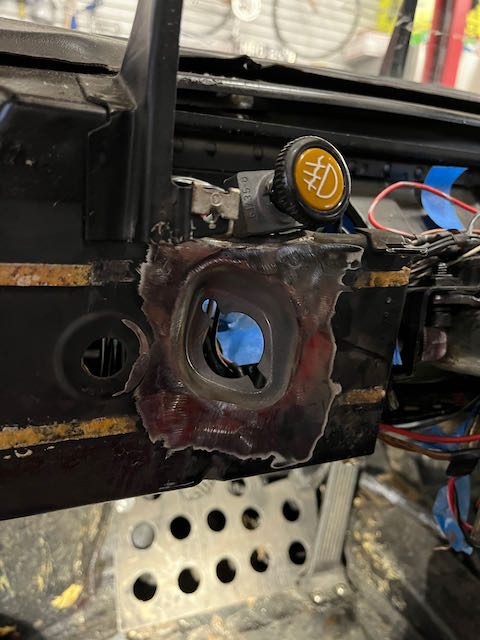
|
   |

 
|
  |
Replies(1 - 19)
| morehills |
Mar 29 2024, 06:27 AM
Post
#2
|
|
Member Group: Members Posts: 110 Joined: 2-March 23 From: Great Barrington, MA Member No.: 27,202 Region Association: North East States |
Also, Greg Crotvik (?) for fabricating the unique column mount to install the 911 column in an early car.
|
|
|
|
| morehills |
May 1 2024, 06:41 AM
Post
#3
|
|
Member Group: Members Posts: 110 Joined: 2-March 23 From: Great Barrington, MA Member No.: 27,202 Region Association: North East States |
I've nearly got the dash together and it's ready for install.
After fitting the 911 ignition and lock (it works), I pulled the dash to get better access to the wiring. It's nearly impossible to get the light switch down without removing the dash. When all the dash wiring was free I nearly cried. What have I got myself into? Good to pause, drink a beer or two and consider what comes next. I do have a plan thanks to the excellent wiring assistance from Ken Salvail and Tom Butler: http://www.914world.com/bbs2/index.php?showtopic=369800 I'm not sure if I have the sequence right, but I decided to finish the dash refresh first and then reinstall the dash so I could move through each switch and have a finished dash before lighting the fuse, so to speak. Hopefully no sparks. Onward! Attached image(s)  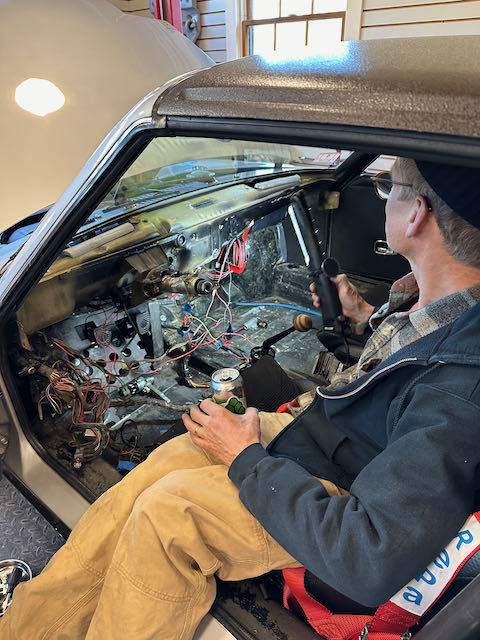 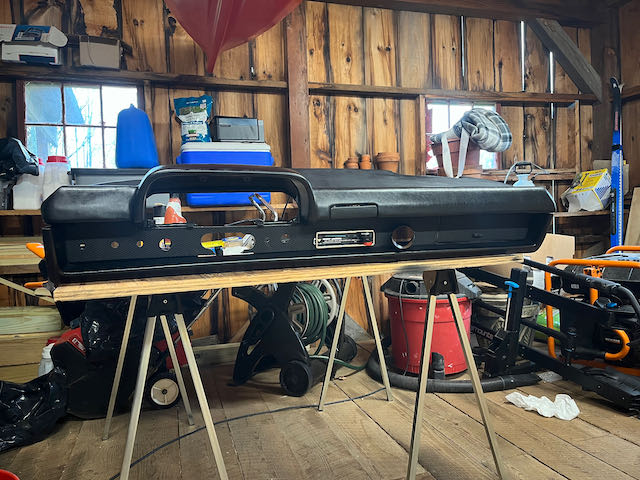
|
|
|
|
| Tom1394racing |
May 1 2024, 07:51 AM
Post
#4
|
|
Member Group: Members Posts: 455 Joined: 25-August 07 From: CT Member No.: 8,039 Region Association: North East States |
Looks good John!
On my build, I installed the metal dash without the top to make it easier to connect the switches and gauges. Once I had everything working, I removed the switches with the wiring in place, grouped and photographed the gauge wiring, removed the metal dash, installed the dash top and then reinstalled the dash, switches and gauges. I found much easier access to the wiring that way. |
|
|
|
| morehills |
May 1 2024, 03:24 PM
Post
#5
|
|
Member Group: Members Posts: 110 Joined: 2-March 23 From: Great Barrington, MA Member No.: 27,202 Region Association: North East States |
QUOTE(Tom1394racing @ May 1 2024, 07:51 AM)  Looks good John! On my build, I installed the metal dash without the top to make it easier to connect the switches and gauges. Once I had everything working, I removed the switches with the wiring in place, grouped and photographed the gauge wiring, removed the metal dash, installed the dash top and then reinstalled the dash, switches and gauges. I found much easier access to the wiring that way. Thanks Tom. |
|
|
|
| TRS63 |
May 3 2024, 02:28 AM
Post
#6
|
|
Member Group: Members Posts: 326 Joined: 14-September 20 From: Germany - Stuttgart Member No.: 24,690 Region Association: Europe |
Looking forward to the finish, Progress are looking good!
Antoine |
|
|
|
| morehills |
May 17 2024, 05:21 AM
Post
#7
|
|
Member Group: Members Posts: 110 Joined: 2-March 23 From: Great Barrington, MA Member No.: 27,202 Region Association: North East States |
All systems are now nearly ready to go.
Yesterday I wired in the battery cut off. The PO located it in the frunk, which was awkward to access with hood pins. He also ran the battery cable down the right side of the passenger seat and it interfered with the seat lever. I moved it next to the tunnel harness, along with the wires for the seat heaters. Now I have an easily reached cut off, and an added security key! I struggled with the wiring but found my way through with some great help from 914World members and a handful of blown fuses. I know it looks horrible, but everything works properly and I'll sort it nicely before returning the harness to the dash. I'm waiting on a new turn signal switch (I discovered this one was broken after a lot of work to plumb it into my harness X!!!!) Then a little painting, insulation and carpets. It should all be buttoned up in a week or so for some spring drives. Extra credit if you can identify the original car's color. Attached thumbnail(s) 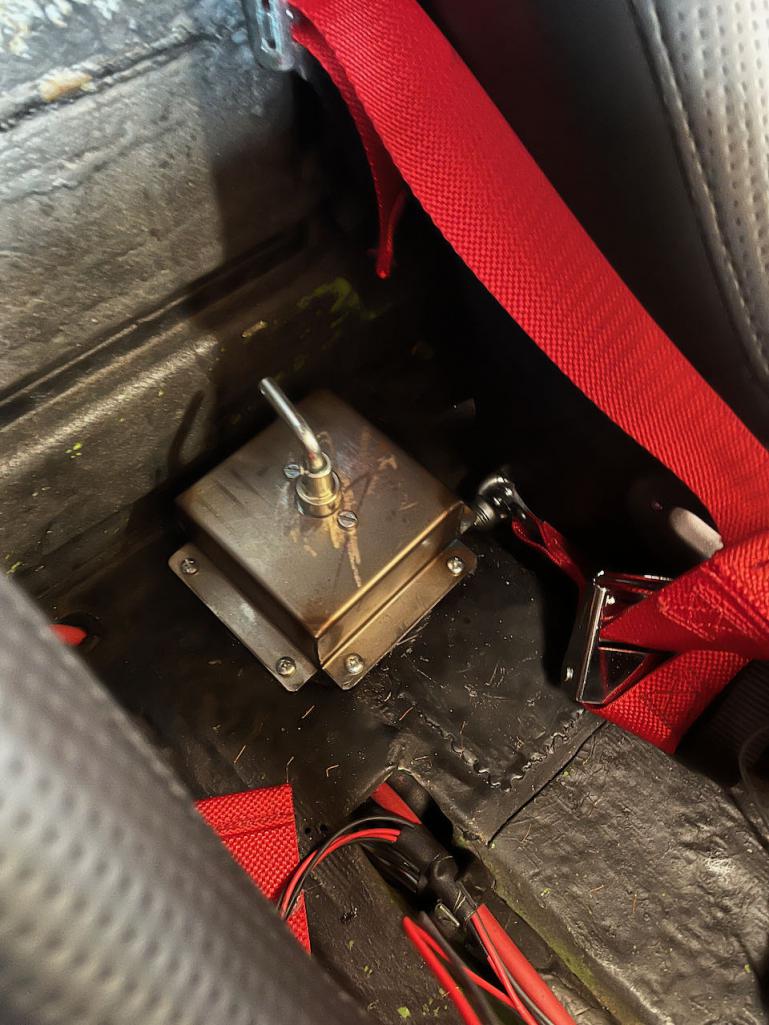 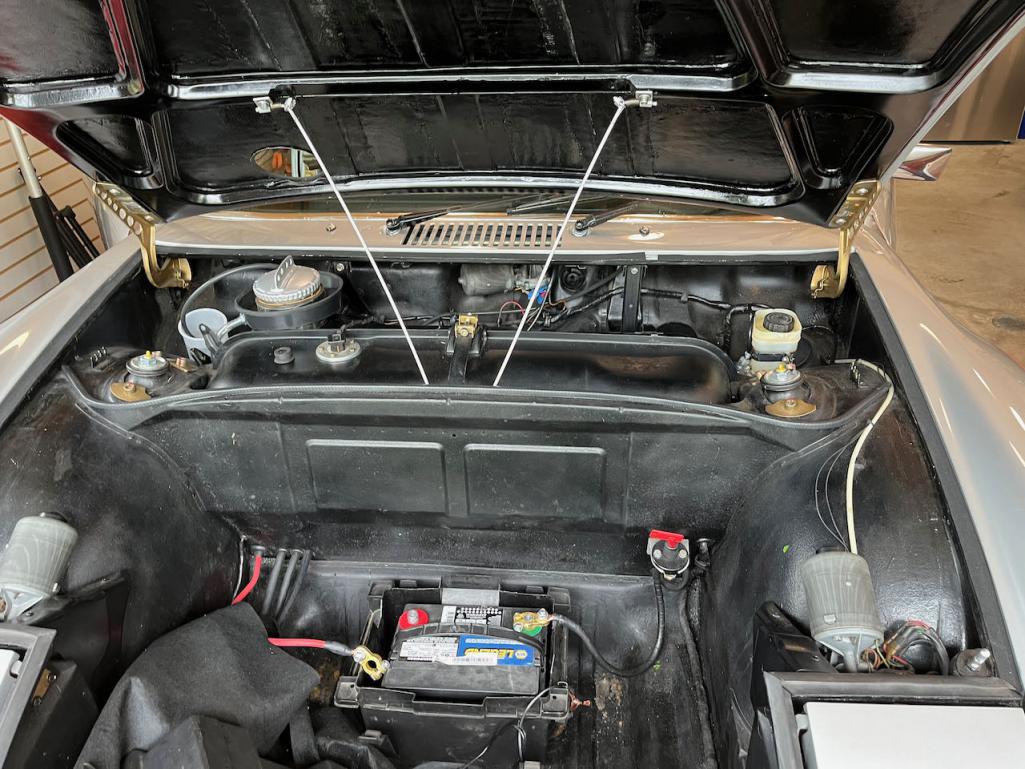 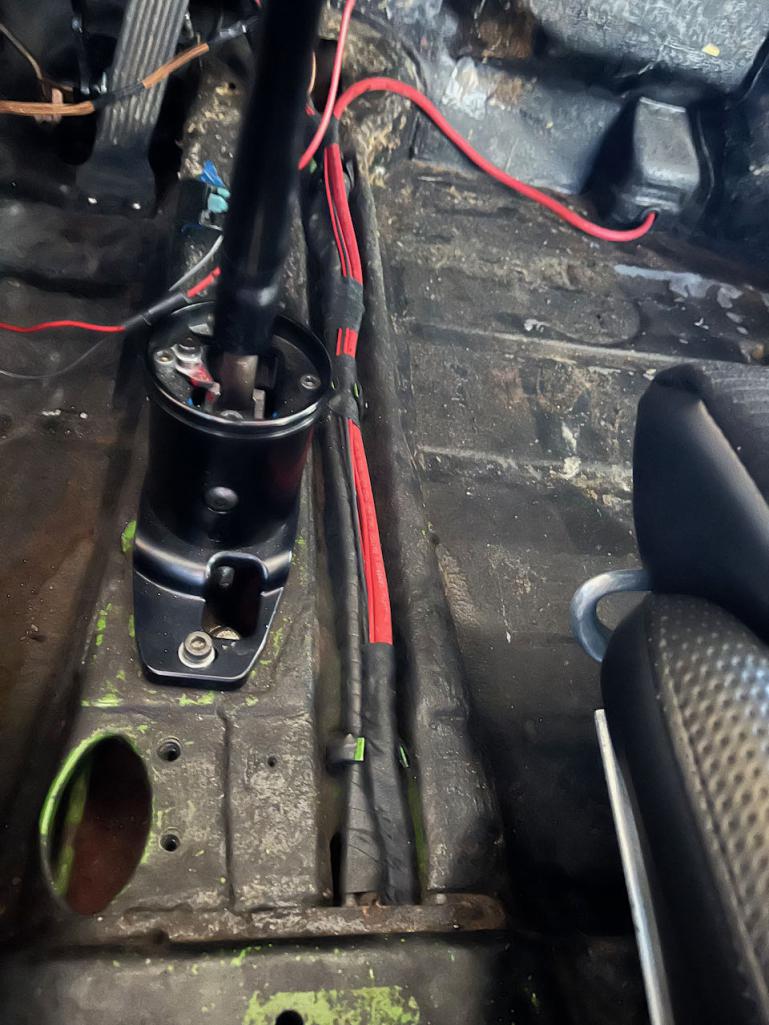 
|
|
|
|
| Beach914 |
May 17 2024, 12:42 PM
Post
#8
|
|
Senior Member Group: Members Posts: 992 Joined: 28-March 10 From: Aliso Viejo Member No.: 11,519 Region Association: Southern California |
delphi ?
|
|
|
|
| morehills |
May 17 2024, 03:54 PM
Post
#9
|
|
Member Group: Members Posts: 110 Joined: 2-March 23 From: Great Barrington, MA Member No.: 27,202 Region Association: North East States |
QUOTE(Beach914 @ May 17 2024, 12:42 PM) delphi ? No but definitely a green. |
|
|
|
| gereed75 |
May 18 2024, 08:08 AM
Post
#10
|
|
Senior Member Group: Members Posts: 1,366 Joined: 19-March 13 From: Pittsburgh PA Member No.: 15,674 Region Association: North East States |
What seat are you using. I see some glimpses of what looks like Scheel corduroy??
|
|
|
|
| technicalninja |
May 18 2024, 03:27 PM
Post
#11
|
|
Advanced Member Group: Members Posts: 2,531 Joined: 31-January 23 From: Granbury Texas Member No.: 27,135 Region Association: Southwest Region |
Willow?
Looks like Ravenna to me but wrong year... |
|
|
|
| Jack Standz |
May 18 2024, 04:15 PM
Post
#12
|
|
Senior Member Group: Members Posts: 505 Joined: 15-November 19 From: Happy Place (& surrounding area) Member No.: 23,644 Region Association: None |
Willow green, only available in '71 & '72.
|
|
|
|
| morehills |
May 19 2024, 05:20 AM
Post
#13
|
|
Member Group: Members Posts: 110 Joined: 2-March 23 From: Great Barrington, MA Member No.: 27,202 Region Association: North East States |
QUOTE(Jack Standz @ May 18 2024, 04:15 PM) Willow green, only available in '71 & '72. Yes, Willow Green. The seats were made by Steffan @ GTClassics. They are super nice. I added seat heaters for cool days because the car has headers and no heat exchangers. SpaFrancorchamps perforated leatherette w Scheel type corduroy centers- 914 mounts |
|
|
|
| morehills |
May 24 2024, 05:11 AM
Post
#14
|
|
Member Group: Members Posts: 110 Joined: 2-March 23 From: Great Barrington, MA Member No.: 27,202 Region Association: North East States |
I tied up the wiring and reinstalled the gauges and dash knee pad. Took a good long test drive with the fire extinguisher close at hand. My son took a good turn at the wheel and gave his approval. Everything worked great. Waiting on a new fog light switch (my one wiring casualty).
One nit. The dash facia material does not quite run low enough on the drivers side to close the gap to the knee pad. Everything is snugged up. It was a new piece from 914Rubber that I installed according to Ian Karr's video. Anyone know why? I suppose I can build up the knee pad with some material to hide this gap. Not a huge deal but given the time I've put into this conversion I'd like to address it. Also, I need a sticker for my windshield wiper. The set is crazy expensive. Is there a good source for picking this up? Last step to treat the floor. I'll paint the roll bar when I have the seats out as well as the battery cut off box. Then insulation and carpets. BTW, this was my first drive with the top in the trunk. The sound of the exhaust and the bird calls mixing was super on a nice warm evening. And the car felt very solid. Loving the Targa! Attached image(s) 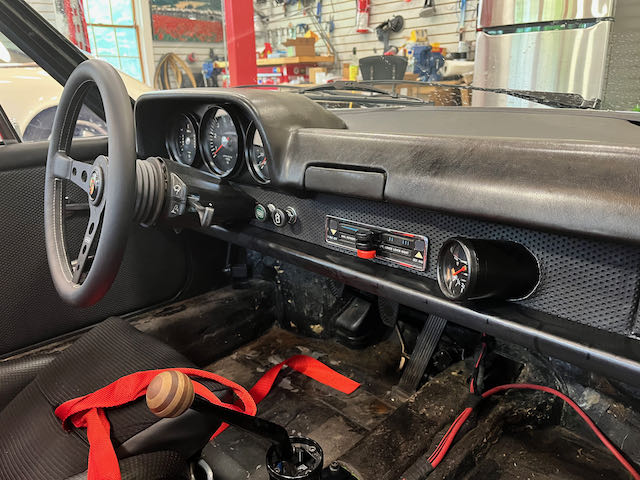 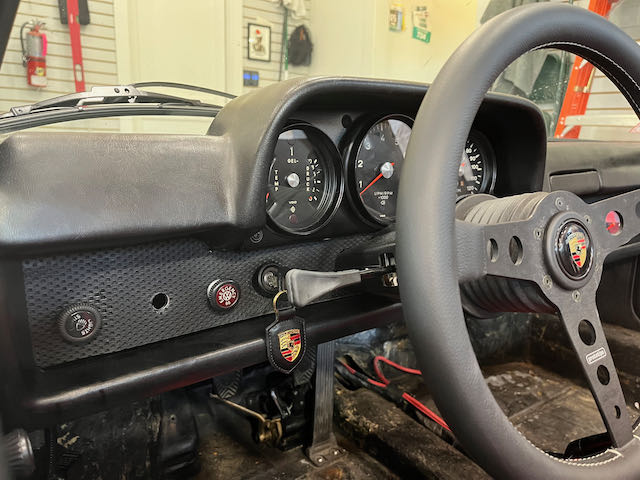 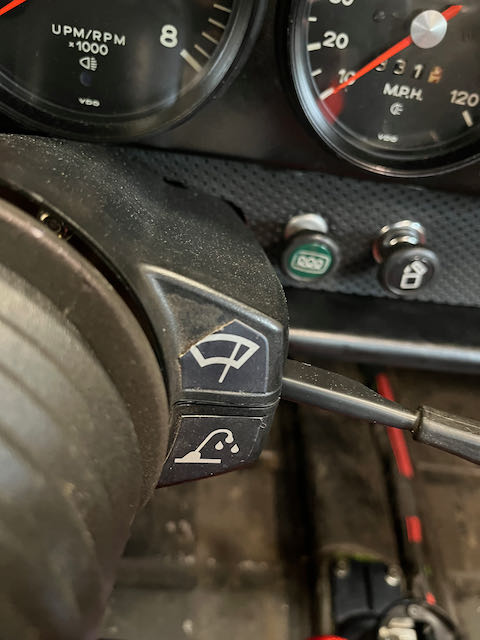 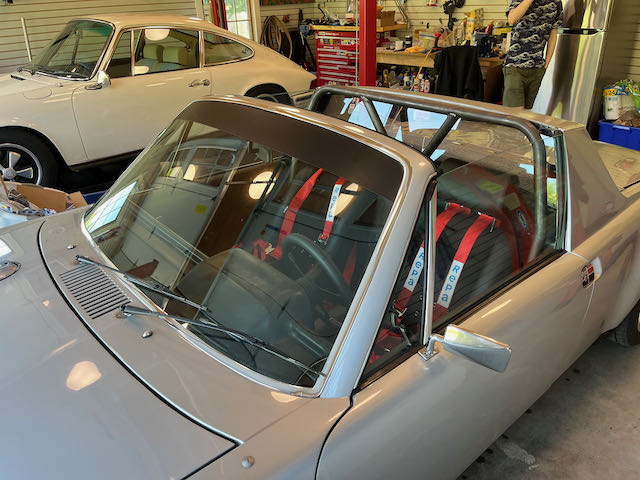
|
|
|
|
| Cairo94507 |
May 24 2024, 07:07 AM
Post
#15
|
|
Michael Group: Members Posts: 10,373 Joined: 1-November 08 From: Auburn, CA Member No.: 9,712 Region Association: Northern California |
Very nice. (IMG:style_emoticons/default/beerchug.gif)
|
|
|
|
| burton73 |
May 24 2024, 01:19 PM
Post
#16
|
|
Senior member, and old dude Group: Members Posts: 3,848 Joined: 2-January 07 From: Los Angeles Member No.: 7,414 Region Association: Southern California |
-----One nit. The dash facia material does not quite run low enough on the drivers side to close the gap to the knee pad. Everything is snugged up. It was a new piece from 914Rubber that I installed according to Ian Karr's video. Anyone know why? I suppose I can build up the knee pad with some material to hide this gap. Not a huge deal but given the time I've put into this conversion I'd like to address it.-----
I do not know what to say but, my 6 has a small chrome trim that is attached to the bottom bolster. Just so you can have a look see Best Bob B 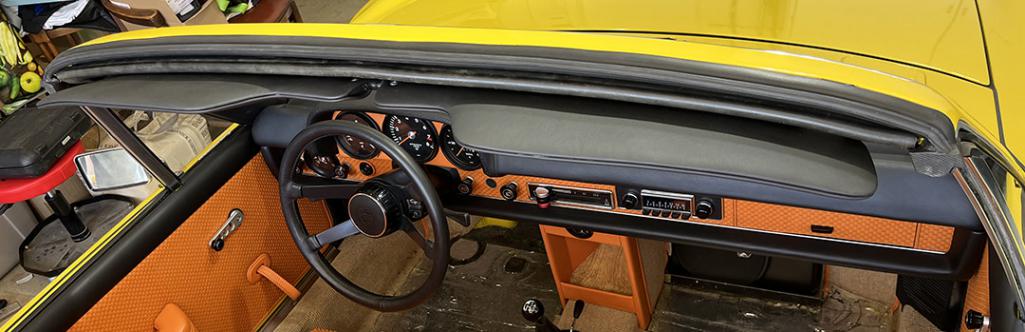  |
|
|
|
| morehills |
May 24 2024, 03:25 PM
Post
#17
|
|
Member Group: Members Posts: 110 Joined: 2-March 23 From: Great Barrington, MA Member No.: 27,202 Region Association: North East States |
That's it Bob. I'm missing that small piece of trim. I wonder if it's separate or if I will need to locate a different bolster.
|
|
|
|
| mepstein |
May 24 2024, 05:28 PM
Post
#18
|
|
914-6 GT in waiting Group: Members Posts: 19,954 Joined: 19-September 09 From: Landenberg, PA/Wilmington, DE Member No.: 10,825 Region Association: MidAtlantic Region |
QUOTE(morehills @ May 24 2024, 05:25 PM) That's it Bob. I'm missing that small piece of trim. I wonder if it's separate or if I will need to locate a different bolster. It’s actually two pieces of trim, glued on the lower bolster. I had a spare booster with the trim. The vinyl isn’t in great shape so I pulled off the trim so you can use it on yours. PM me your address, pay for shipping and it’s yours. Unlike the bolster, the longest piece of trim is only 3 feet long so shipping will probably be $15-20 to you. You will have to clean off the old glue from the trim before you install but I bet that’s not too hard. *sorry about the pics. My camera don’t like the background. Attached thumbnail(s) 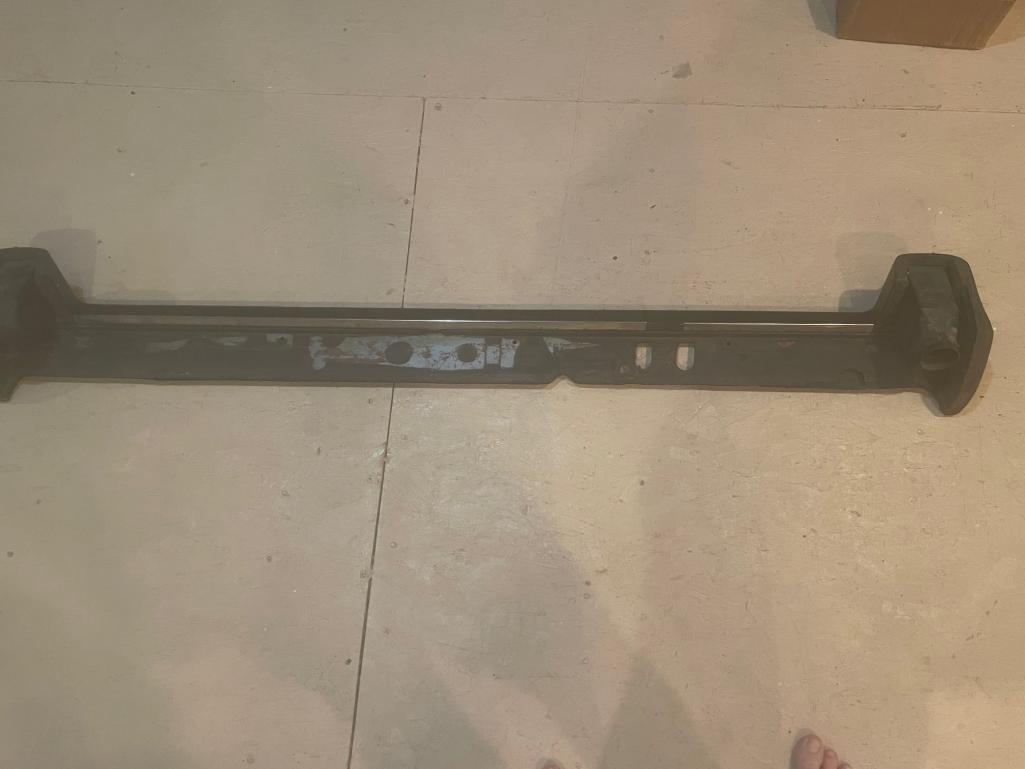 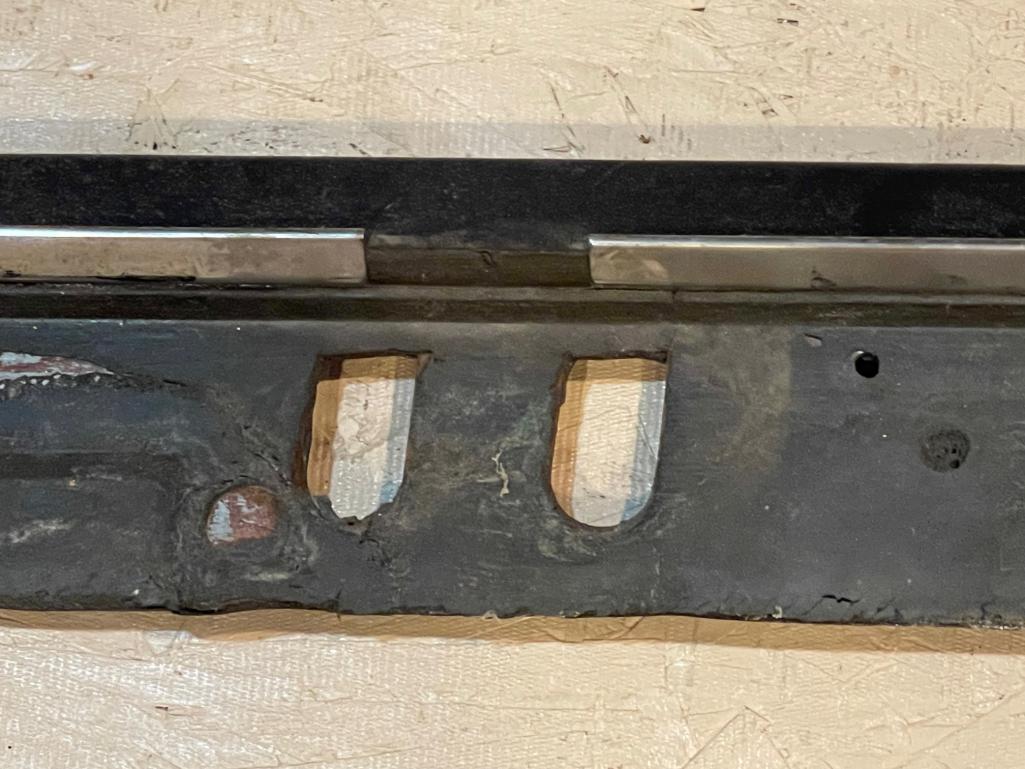 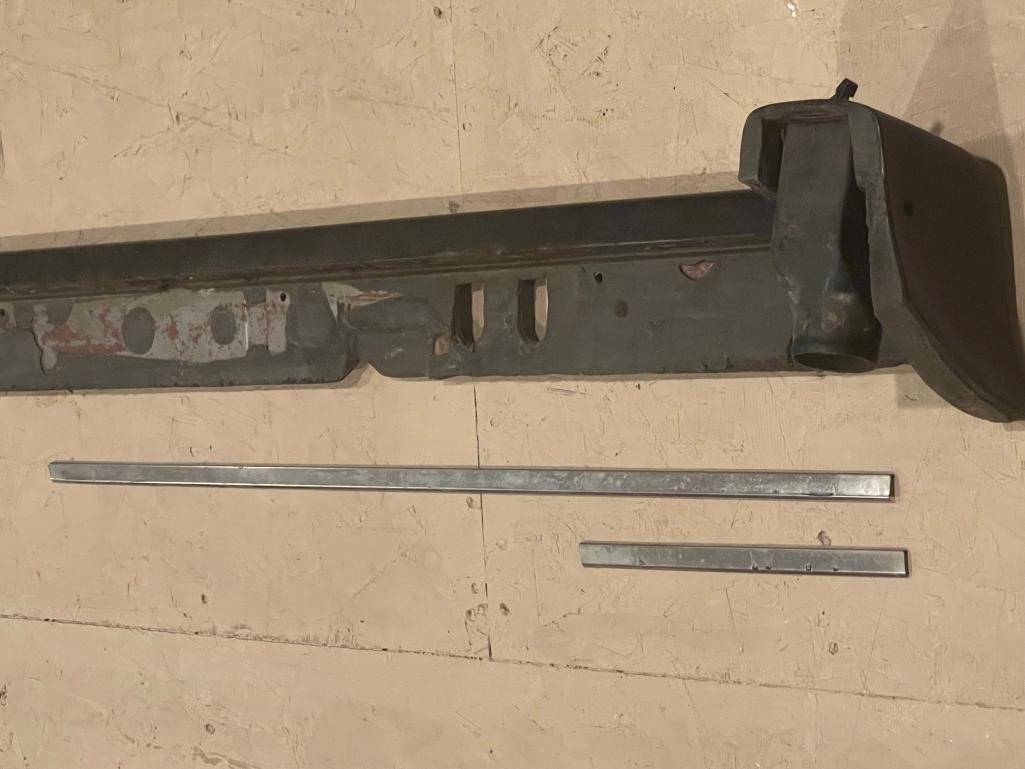
|
|
|
|
| mepstein |
May 24 2024, 05:37 PM
Post
#19
|
|
914-6 GT in waiting Group: Members Posts: 19,954 Joined: 19-September 09 From: Landenberg, PA/Wilmington, DE Member No.: 10,825 Region Association: MidAtlantic Region |
No, I’m sorry, I’m wrong. The early pad ( no vents) has a single piece of trim that’s longer than the later trim. I don’t think my offer will work for you and I only have one early pad that’s set aside for my car.
|
|
|
|
| morehills |
May 24 2024, 07:03 PM
Post
#20
|
|
Member Group: Members Posts: 110 Joined: 2-March 23 From: Great Barrington, MA Member No.: 27,202 Region Association: North East States |
QUOTE(mepstein @ May 24 2024, 05:37 PM) No, I’m sorry, I’m wrong. The early pad ( no vents) has a single piece of trim that’s longer than the later trim. I don’t think my offer will work for you and I only have one early pad that’s set aside for my car. Thanks Mark |
|
|
|
|
1 User(s) are reading this topic (1 Guests and 0 Anonymous Users)
0 Members:

|
Lo-Fi Version | Time is now: 4th July 2025 - 12:39 AM |
Invision Power Board
v9.1.4 © 2025 IPS, Inc.