|
|
|
Porsche, and the Porsche crest are registered trademarks of Dr. Ing. h.c. F. Porsche AG.
This site is not affiliated with Porsche in any way. Its only purpose is to provide an online forum for car enthusiasts. All other trademarks are property of their respective owners. |
|
|


| sdoolin |
 Jan 21 2015, 12:41 PM Jan 21 2015, 12:41 PM
Post
#1
|
|
Member  Group: Members Posts: 418 Joined: 1-May 14 From: LouKY Member No.: 17,299 Region Association: None |
I have searched and read quite a bit on this topic, lots of good stuff. But I still have a couple of questions. I have a '73, with early top (as identified by a thread here). Very (very) rattly so I have a new rear seal (from 914rubber.com) that I will install.
Not trying to beat a dead horse... My question(s): What have others done with the side pieces that are too long (I assume just trim down and "bevel" to fit up with top window seal (on side)), and What have others done with respect to the side metal trim pieces that are "under" the seal on the side, and that curve around the "bulb" of the seal? It seems like trimming the "curved" bit of the metal (without the screw holes) will jst lead to possible rattles from this area and that is exactly what I am trying to avoid. 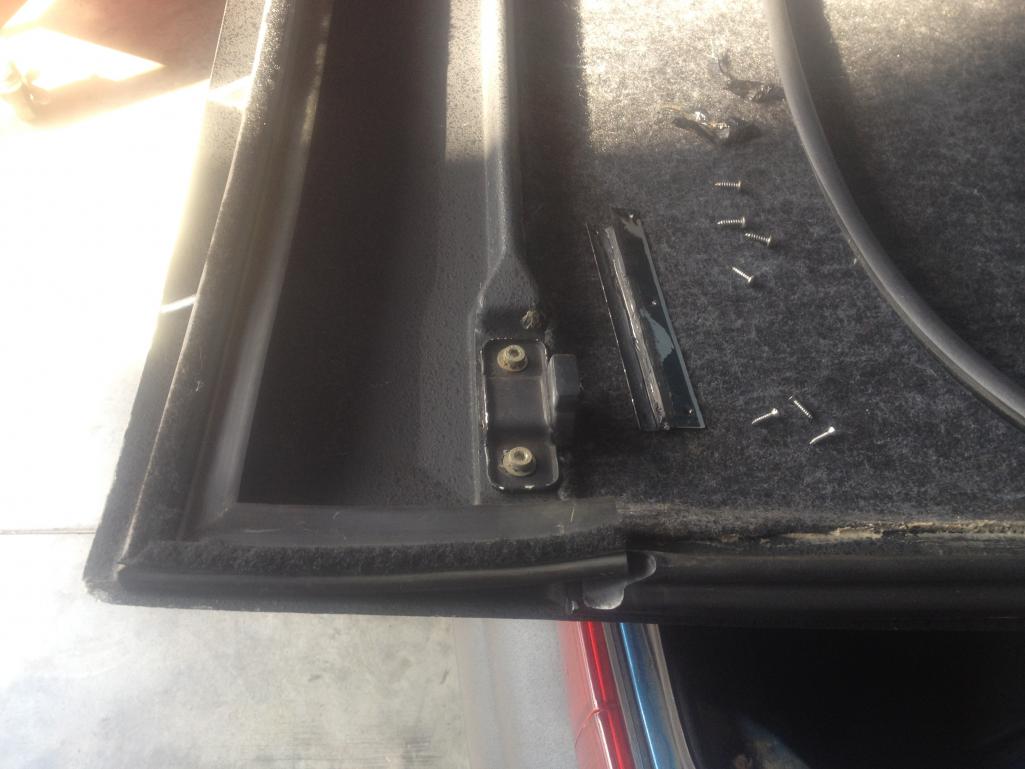 |
   |

 
|
  |
Replies
| Mikey914 |
Jan 23 2015, 09:27 AM
Post
#2
|
|
The rubber man Group: Members Posts: 12,775 Joined: 27-December 04 From: Hillsboro, OR Member No.: 3,348 Region Association: None |
The metal will mount on top of the seal just like the OEM. Do the corners 1st. The metal is a good guide for the holes as they will not move. As far as trimming the seal. It needs to be fitted to the roof. The vertical targa seal should touch the corner of the other seal (targa to window seal), and the rear seal you have should but right up against it. Assuming that your targa to window seals are sealed correctly on the outside corner, the rear seal should end right at that joint. One of the reasons I make these longer is for a perfect fit. You will have to check before you cut as you may want to adjust the targa to window seals.
A piece of trivia for those that don't know NEVER pull the targa to window seal through the track. You may think you have compressed it back, bt rubber has memory, and if there is ANY tension, it will be relieved over time and allow the seal to "shrink" back to the manufactured length. The correct way to install is the outside edge 1st, then pop in the inner track. Also, if you need to trim a new carpet knife and some warm soapy water and you can cut it like butter. You can actually get it to seal very nicely, just shaving off a little at a time until it compresses when the latch is engaged. It makes a wonderfully tight seal at the corner. |
|
|
|
| JimN73 |
Jan 23 2015, 03:19 PM
Post
#3
|
|
Senior Member Group: Members Posts: 535 Joined: 6-October 07 From: Gig Harbor Member No.: 8,192 Region Association: Pacific Northwest |
Mark, can you define/describe the "pop in the inner track" part? Not working so well for me.
Thanks, QUOTE(Mikey914 @ Jan 23 2015, 07:27 AM)  The metal will mount on top of the seal just like the OEM. Do the corners 1st. The metal is a good guide for the holes as they will not move. As far as trimming the seal. It needs to be fitted to the roof. The vertical targa seal should touch the corner of the other seal (targa to window seal), and the rear seal you have should but right up against it. Assuming that your targa to window seals are sealed correctly on the outside corner, the rear seal should end right at that joint. One of the reasons I make these longer is for a perfect fit. You will have to check before you cut as you may want to adjust the targa to window seals. A piece of trivia for those that don't know NEVER pull the targa to window seal through the track. You may think you have compressed it back, bt rubber has memory, and if there is ANY tension, it will be relieved over time and allow the seal to "shrink" back to the manufactured length. The correct way to install is the outside edge 1st, then pop in the inner track. Also, if you need to trim a new carpet knife and some warm soapy water and you can cut it like butter. You can actually get it to seal very nicely, just shaving off a little at a time until it compresses when the latch is engaged. It makes a wonderfully tight seal at the corner. |
|
|
|
Posts in this topic
 sdoolin Targa Top Rear Seal Jan 21 2015, 12:41 PM
 Markl I'm not sure I understand the second part of y... Jan 21 2015, 10:21 PM CptTripps I think he's asking at what point does he cut ... Jan 22 2015, 08:24 AM sdoolin I'm asking more about the side metal piece(s).... Jan 22 2015, 08:43 AM
 Mikey914 By the way those are the old seals superseded by t... Jan 23 2015, 09:36 AM Mikey914 The last picture is the targa to window seal insta... Jan 23 2015, 09:37 AM Mikey914 And I just noticed the short piece of metal in the... Jan 23 2015, 09:41 AM RobW I just installed mine as well. I did the sides fir... Jan 23 2015, 01:50 PM sdoolin Mikey - thanks for info. I will be fitting the rea... Jan 23 2015, 03:35 PM
 Mikey914 "POP" the inner track in, I'm referr... Jan 24 2015, 01:33 AM
 |
1 User(s) are reading this topic (1 Guests and 0 Anonymous Users)
0 Members:

|
Lo-Fi Version | Time is now: 14th April 2026 - 06:30 AM |
Invision Power Board
v9.1.4 © 2026 IPS, Inc.