|
|
|
Porsche, and the Porsche crest are registered trademarks of Dr. Ing. h.c. F. Porsche AG.
This site is not affiliated with Porsche in any way. Its only purpose is to provide an online forum for car enthusiasts. All other trademarks are property of their respective owners. |
|
|


| 914forme |
 Feb 9 2015, 10:08 AM Feb 9 2015, 10:08 AM
Post
#1
|
|
Times a wastin', get wrenchin'!  Group: Members Posts: 3,896 Joined: 24-July 04 From: Dayton, Ohio Member No.: 2,388 Region Association: None |
I have been working on mocking up pieces for my Conversion. I tack weld stuff up, and then bribe my buddy who is a pro welder to come over and do the good stuff. He's a sucker for Brisket, I can smoke a mean Brisket (IMG:style_emoticons/default/beerchug.gif)
But this is where I ran into issues. I can cope tube to tube joints all day long. Find the angle run it through my machine make it a little long and grind / file it for a perfect fit. Easy enough. Well the transmission mount, I am going with 2 plates one up top, one below. They mount into a poly mount at the top much like the stock transmission mounts. multiple angles are involved. After several weekends of playing with the idea, I got me one of these. 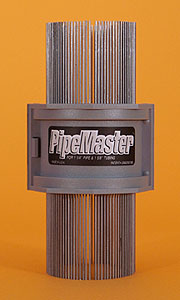 It did make to process closer but still not accurate enough for me to say I am done. So what are the tricks? I could build it out of flat pieces and make a box. 16a sheet metal would work. I just like tube. I could take a piece of rod or wire and cut it to fit, then tack in place and figure out my angles and then transfer that to tube. Just looking for a good trick to get this done, and learn something new. Here is what I came up with so far, my welding buddy will reject it as the gaps are to big, and I agree. (IMG:style_emoticons/default/headbang.gif) 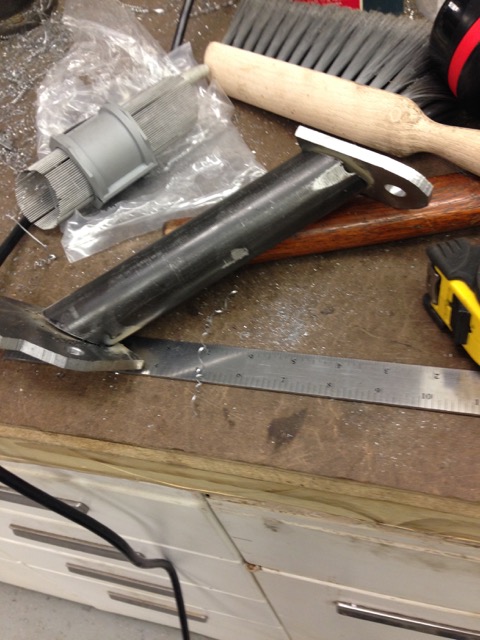 |
   |

 
|
  |
Replies
| 914forme |
Feb 9 2015, 01:49 PM
Post
#2
|
|
Times a wastin', get wrenchin'! Group: Members Posts: 3,896 Joined: 24-July 04 From: Dayton, Ohio Member No.: 2,388 Region Association: None |
Okay Im and idiot, what I need is lying right there on the bench. Since its tacked, I can just measure the proper angles. (IMG:style_emoticons/default/headbang.gif) (IMG:style_emoticons/default/headbang.gif) (IMG:style_emoticons/default/headbang.gif) (IMG:style_emoticons/default/headbang.gif)
Am I wrong in this idea. I would still love how to mock this up easier, always willing to learn a new trick. Mike, nice, I normally do them with a chop saw and a lot of filing. That could get it closer, maybe. I have a chart I keep in the shop I grabbed of Pirate for this. "Here is one from Marc Googer on www.Offroadfabnet.com : The chop saw method, if understood, is a science. With known tube size and joint angle, tube can be notched with great accuracy. The notch is achieved by cutting two opposing angles on one end of a piece of tube, to form a point. The cross-section of this cut will be an elliptical cut due to the shape of the tube. Changes in both of the two angled cuts must be made for the intersection angle and the size of the two tubes being joined. The only real limitation is the max angle of the chop saw. You start with what I call the base angle. This is the angle of both cuts if the joint was 90*. For an example, I am fitting Two tubes together that are both 1.75", at an 90* joint. The base angle, or the angle of both cuts is 28*. These two cuts must meet at a point, and the point must also be centered on the tube. Remember your base angle will change with the tube being cut and the tube that you are fitting to. Here are a few examples of base angles... 2.0" to 2.0" tube, base angle of 30* 1.75" to 1.75" tube, base angle of 28* 1.5" to 1.5" tube, base angle of 26* 1.25" to 1.25" tube, base angle of 22.5* 1" to 1" tube, Base angle of 20* Now to fit different size tubes together 1.75" to 2" tube, base angle of 25* 1.75" to 1.25" tube, base angle of 45* 1.25" to 1.75 tube, base angle of 20* 1" to 2" tube, base angle of 12* What if instead of a "T" joint, I want the notched tube at a 15* angle with my first 1.75" tube???? You must start with your base angle, which was 28* for 1.75"(remember above), and subtract 15* from one cut, and add 15* to the other cut to form a perfect notch. So now I must make a 13* cut and an 43* cut with the point centered on the tube. Perfect coped joint, with no grinding. Written by Marc Googer [Edited slightly for clarity by TNToy]" Its simple enough and gets you close. He claims no grinding, his chop saw must be more accurate than mine. |
|
|
|
Posts in this topic
 914forme Tube fitting, making a transmission mount ends in frustration Feb 9 2015, 10:08 AM
 bulitt That pipe master thingy looks nice but I usually j... Feb 9 2015, 11:12 AM
 andys
That pipe master thingy looks nice but I usually ... Feb 9 2015, 11:52 AM Mueller http://www.blocklayer.com/Pipe-Notching.aspx
^Gi... Feb 9 2015, 12:13 PM Jeff Hail
Okay Im and idiot, what I need is lying right the... Feb 9 2015, 07:06 PM
andys
That pipe master thingy looks nice but I usually ... Feb 9 2015, 11:52 AM Mueller http://www.blocklayer.com/Pipe-Notching.aspx
^Gi... Feb 9 2015, 12:13 PM Jeff Hail
Okay Im and idiot, what I need is lying right the... Feb 9 2015, 07:06 PM |
1 User(s) are reading this topic (1 Guests and 0 Anonymous Users)
0 Members:

|
Lo-Fi Version | Time is now: 2nd June 2024 - 12:29 AM |
Invision Power Board
v9.1.4 © 2024 IPS, Inc.