|
|
|
Porsche, and the Porsche crest are registered trademarks of Dr. Ing. h.c. F. Porsche AG.
This site is not affiliated with Porsche in any way. Its only purpose is to provide an online forum for car enthusiasts. All other trademarks are property of their respective owners. |
|
|


| Wew |
 Mar 15 2021, 03:14 PM Mar 15 2021, 03:14 PM
Post
#1
|
|
Member  Group: Members Posts: 236 Joined: 17-January 15 From: Novato, ca Member No.: 18,335 Region Association: None |
Hi all,
I should have taken more detailed pictures of my engine and tins upon disassembly. I did, not but enough of them and of course the pictures I don't have of certain tins are exactly the ones I am not sure where and in what order they go. 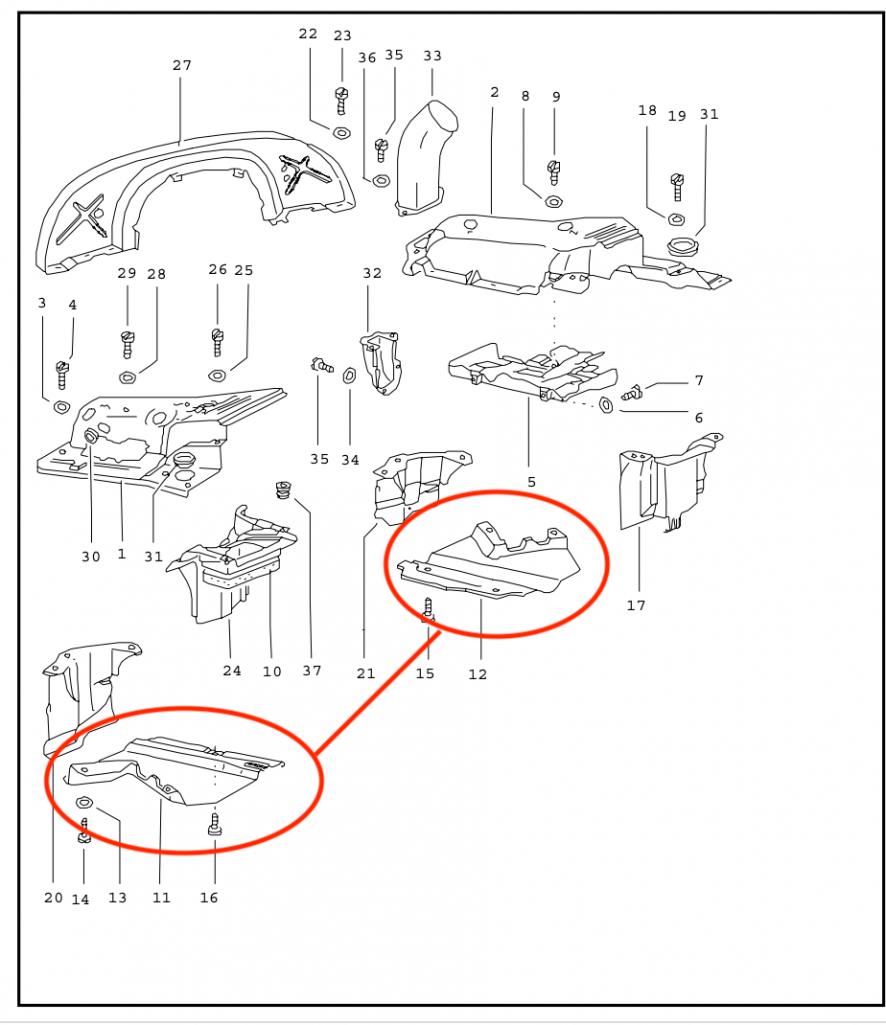 I also just opened a set of heat exchangers I purchased over 6 months ago. Kinda tells you the rocket fast pace I am moving. I think I have spent more time in front of the motor and transmission with friends talking shop and drinking beers. I noticed a tiny hole and a couple of little cracks on the edges of one of the exchangers. Is this cosmetic or something that needs attention? And of course the Tins, do they go on before or after the exchangers? I have found a spot for most of the other tins, and these are the last two. Please don't tell me I have to remove everything to get them on... ha. As always, much appreciated for any feedback and guidance. Pictures attached. 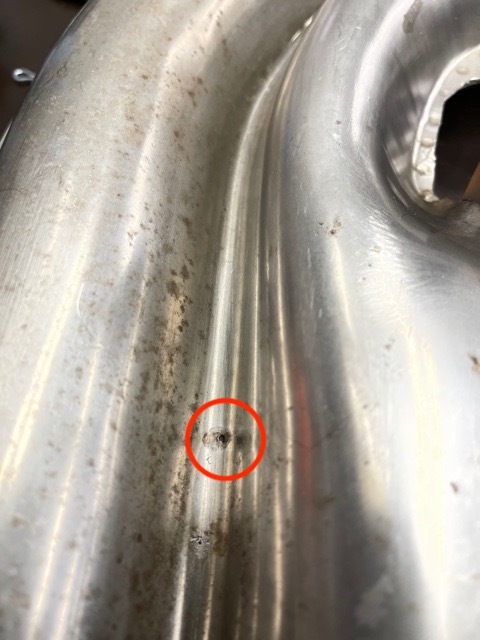 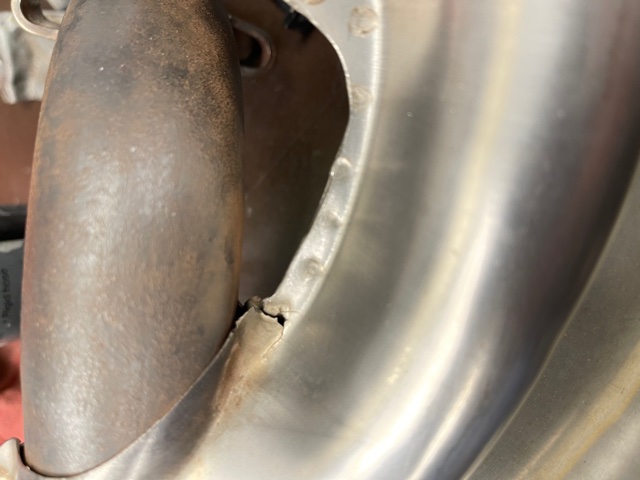 |
   |

 
|
  |
Replies
| Wew |
Mar 16 2021, 09:52 PM
Post
#2
|
|
Member Group: Members Posts: 236 Joined: 17-January 15 From: Novato, ca Member No.: 18,335 Region Association: None |
Oh man,
So glad we both got lucky. I got rear ended hard by a truck which took off after it hit me. C6/c7 fused in 2001 C5/c6 quit in 2017. Artificial disc implanted on that one. Fingers crossed no more. Speaking of close calls on a much lighter note my ssi install averted a catastrophe by going light on the torque and checking the copper washers positioning. Had to take the right side heat exchanger off. 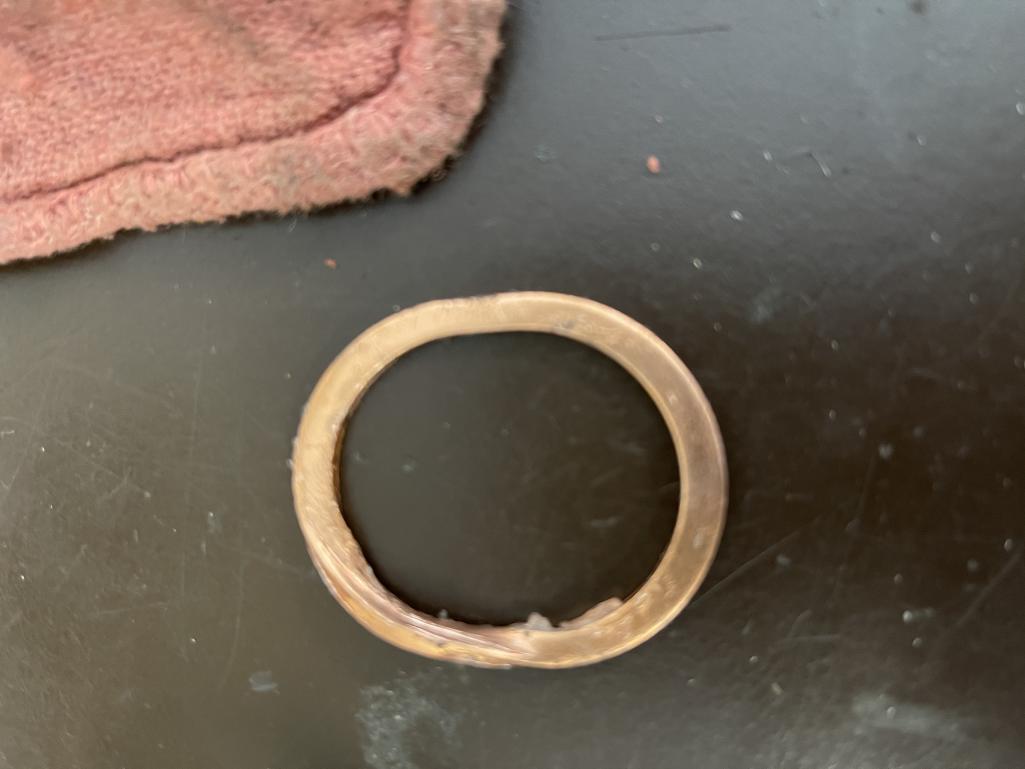 And there you have a washer that wasn’t on correctly. Luck would have it I was able to pull it out without damaging the head. Sorry for the blurry pic. Double checked ssi level and put in a new copper washer (I used Vaseline to make it stick) and guided the ssi back into place and torqued everything down. Left the torque at 12ft lbs. everything looks good now. Getting closer to getting this done. |
|
|
|
Posts in this topic
Wew Engine tins and SSI heat exchangers Mar 15 2021, 03:14 PM rjames Pinholes or cracks in the outer shells of the exch... Mar 15 2021, 03:26 PM
 Wew
Pinholes or cracks in the outer shells of the exc... Mar 15 2021, 03:33 PM rjames
Pinholes or cracks in the outer shells of the ex... Mar 16 2021, 10:08 AM rjames Nice catch on the copper gasket.
Sorry to hear a... Mar 17 2021, 01:19 AM Wew Kinda sad, I can't remember. I believe it was... Mar 17 2021, 12:20 PM JamesM
Now I am wrestling with whether I should relocat... Mar 18 2021, 06:05 PM Root_Werks So nice and clean! Looking good! Mar 18 2021, 03:24 PM Mark Henry
Hi all,
I should have taken more detailed pictur... Mar 18 2021, 06:14 PM rhodyguy The DR side WAG in the illustration is for a tails... Mar 19 2021, 01:06 PM
Wew
Pinholes or cracks in the outer shells of the exc... Mar 15 2021, 03:33 PM rjames
Pinholes or cracks in the outer shells of the ex... Mar 16 2021, 10:08 AM rjames Nice catch on the copper gasket.
Sorry to hear a... Mar 17 2021, 01:19 AM Wew Kinda sad, I can't remember. I believe it was... Mar 17 2021, 12:20 PM JamesM
Now I am wrestling with whether I should relocat... Mar 18 2021, 06:05 PM Root_Werks So nice and clean! Looking good! Mar 18 2021, 03:24 PM Mark Henry
Hi all,
I should have taken more detailed pictur... Mar 18 2021, 06:14 PM rhodyguy The DR side WAG in the illustration is for a tails... Mar 19 2021, 01:06 PM |
1 User(s) are reading this topic (1 Guests and 0 Anonymous Users)
0 Members:

|
Lo-Fi Version | Time is now: 2nd April 2026 - 01:47 PM |
Invision Power Board
v9.1.4 © 2026 IPS, Inc.