|
|
|
Porsche, and the Porsche crest are registered trademarks of Dr. Ing. h.c. F. Porsche AG.
This site is not affiliated with Porsche in any way. Its only purpose is to provide an online forum for car enthusiasts. All other trademarks are property of their respective owners. |
|
|


| dangrouche |
 May 2 2014, 12:25 AM May 2 2014, 12:25 AM
Post
#1
|
|
dangrouche  Group: Members Posts: 550 Joined: 1-May 04 From: San Francisco Bay Area Member No.: 2,012 Region Association: None |
Safety first, since I tried to artfully get a cutting tool under the sealant, the glass broke and had to purposely fracture and pull foot sized planks of glass with channel locks and needle nose pliers. Safety glasses, heavy leather gloves, and the wet dry vac were constantly at my side. Those fragments and shards of crystal fly all over the place when they are tugged out. I also removed the entire carpets, seats, and all targa rubber seeing how the glass like to fracture and pop bits everywhere. Prior to starting, I documented the position of the rear view mirror mount.
all told, it took me a little less than 30 days to change a windshield, but that was my plan, to be methodical. And this was a one-man installation, designed to be completed by one person, besides, so we can say we did it all solo. Phase 1. Get some tools, remove the trim and take the glass out. In this thread, most if not all the tools came from Harbor Freight (HF). First I bought that "L" shaped tool, the one that comes with two cylindrical aluminum bars and the "L" shaped blade. I also got and the HF pack of metal trim removal tools to remove the trim. After I removed the trim, I used a 16" channel lock to bend the clipping points back to be nice and square. I artfully tried taking the glass out for resale, but not luck there. So you see I broke a corner to try to get the "L" tool in there. No luck. I learned that the glass was previously installed with urethane and hence it was caulked in very tight. I did not want to spend $20 for the windshield wire cutting kit from HF, so I bought six feet of 1/32" stainless wire from Orchard supply for less than $3. All six feet of that wire was consumed. Add a pair of vise grips and using the pull technique, I was able to cut the urethane and free the glass in one or two foot squares, if you could call it that. That process of glass removal took about three or four sessions lasting about an hour each. After cutting the urethane, I leveraged out the glass to free. The old bed of urethane was not slicing out easily with a utility or Xacto knife, so I got a HF kit of sanding disks and attached those tiny grinding discs and power drill to grind off the urethane to bare metal. All the old plastic clips were replaced. LEARNING POINT: Trim tool unnecessary, CUT the clips off using utility blade. . Phase 2. I picked up the new glass from ProSource Glass International for the out the door price of $195. I bought a pair of the orange suction cups from HF and used these to aid me in the dry fitting of the glass. I weighed the glass on a postal scale and it weighs 328 ounces, i.e. 20.5 pounds. The circumference of the glass is 145 inches. (The box of 3M butyl tape is 180 inches) Prior to dry fitting the glass, I made stacked decks of plastic cards as spacers, two on the bottom and a pair of spacers two thirds of the way up on the sides. These were taped in place. There is basically no play, so the glass can not be positioned incorrectly on final fitment as long as the spaces stay firmly in place, not in the way of the butyl. Whenever I carried the glass to the frame, I always carried it by the glass edges, even though the suction cups were locked on. The caveat is that these $4 suction cups are only trustworthy for positioning, NOT CARRYING. Admittedly, I did suspend the glass over the workbench solely to see if they could do the job; they can. So in a pinch, you really could trust them, but I did not want to gamble with the $200 new glass. Also, I learned that when you use the suction cups, you must be certain the two handles are tightly clamped against one another with NO space between the handles in the carry position. By using the four engineered plastic spaces on the periphery of the pinchweld frame, the new glass is forced to fall into place, centered top to bottom and left to right. After being satisfied with fitment using the four spacers, I removed the glass and laid it on the workbench on two chunks of foam. Phase 3. I taped off the pinchweld with regular masking tape and used a "dauber" to paint on the pinchweld primer. After masking the pinchweld off, it takes about 3 minutes to daub the entire pinchweld with the primer. After the primer dried, I installed the 19 new trim clips. I took a socket and used the female end of a 1/4" extension to bed the clip flush to the pinchweld frame. I then used a plastic drift and drove in the the retaining pin on each of the 19 clips. In the pics, you will see the tape with arrows, and these are redundant since the four plastic spacers already guides the glass into the correct position. Phase 4. I laid the 3M brand 5/16" butyl bead down. The front dash to window seal is installed prior to the butyl. I snipped off the first inch or so of the butyl to get a consistent round bead of butyl. I got the butyl from Rich Bontempi at HPH and he said to start the bead at top center. I unfurled the bead in a counterclockwise direction. When I made a turn, I cut the paper, then continued on. I tried to lay the slightly flattened surface of the butyl and make turns, but found that it was best just to let to unfurl and follow the pinchweld contour however the rope unfurled, hence, avoiding to have to lift up and repositioning, risking a thinning of the bead. I then used strips of the paper liner to make an modify some wedging tools. After the bead was completely laid, I used some of the butyl paper liner as an insulator for the lower spacer blocks. I introduced the lower blocks using a bit of the paper to prevent the butyl from touching the spacer block surfaces. Phase 5. Glass mounted. I presented the glass onto the butyl from a standing position inside the compartment. The plastic spacers did their job, but the paper on the bottom spacers kind of almost got inbedded on the mating surface. I got a pair of plastic tweezers and pulled out the slips of liner paper, then I gently pressed all around the edges of the new glass using the my open palm hands initially, then using the suction cups as "press pads" all around. There was a 100 % "contact bead" all around, but in some places the bead seemed to be only about 1/4" wide. In those places, I coated the chisel edges of the HF upholstery/body tools I had and used them as a spudgers. On the outside, I would keep the spudger in place and from the inside I would push on the butyl bead to smush the butyl, pushing on the bead from both sides at once. I was able to make the butyl squish up and make a wider contact patch by this technique. Phase 6. Aluminum trim installed. No secret here. I marked the locations of the clips on the body with painter tape so I knew where to apply pressure to hear the reassuring clicks. Sorry, I could not post a pic of the completed installation, ran out of image space on this single post. Sorry, I don't understand why the pics re-sequence from my narrative. Learning point. Had I known that it was urethane and hard to cut out with the "L" bladed too, I should have had the $20 HF kit sold with the cable, handles. and urethane starter hole tool. Take your time and pace yourself. Just doing the job incrementally took the time pressure off and gave me time to devise engineering controls. The other MAJOR error made was the fact that I used urethane primer and you are supposed to use butyl primer by the name of CRL Industries. I'm hoping it wont make that much of a difference. If you don't want to spend money on the HF $20 windshield removal tool kit, and the glass is broken already, then use a Craftsman cotter pin removal tool to make a hole in at the base of the windshield butyl bead, thread 6 inches of 1/32" stainless wire from OSH, and use two two vise grips and proceed to saw out the glass. comments welcome Attached thumbnail(s) 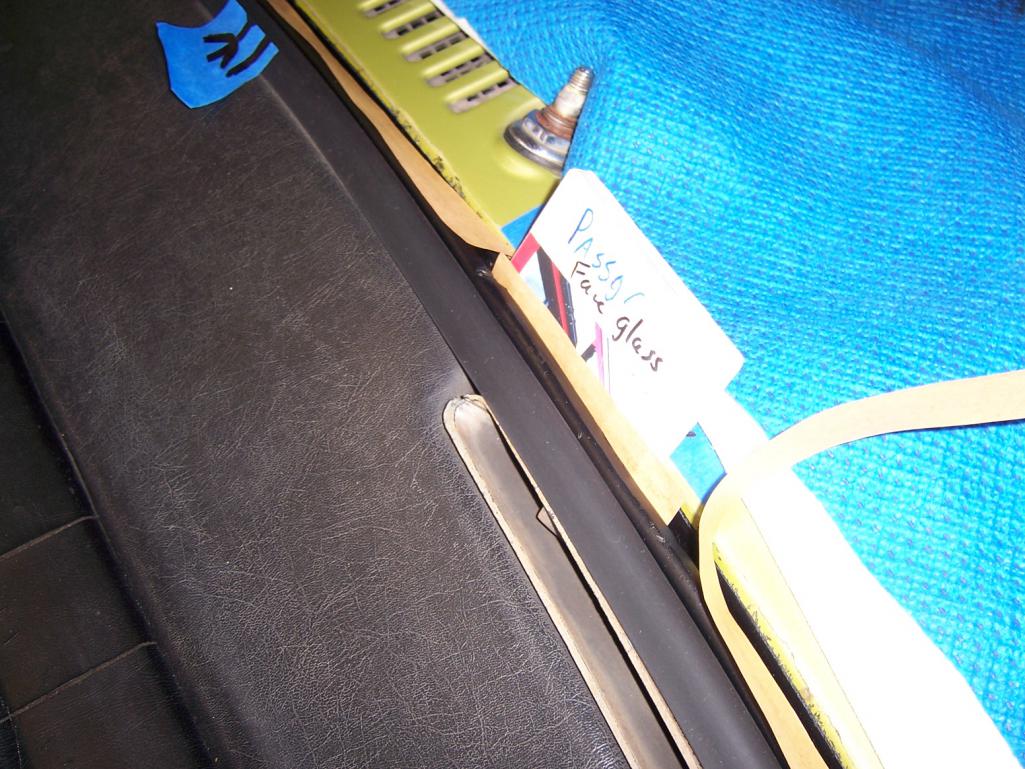 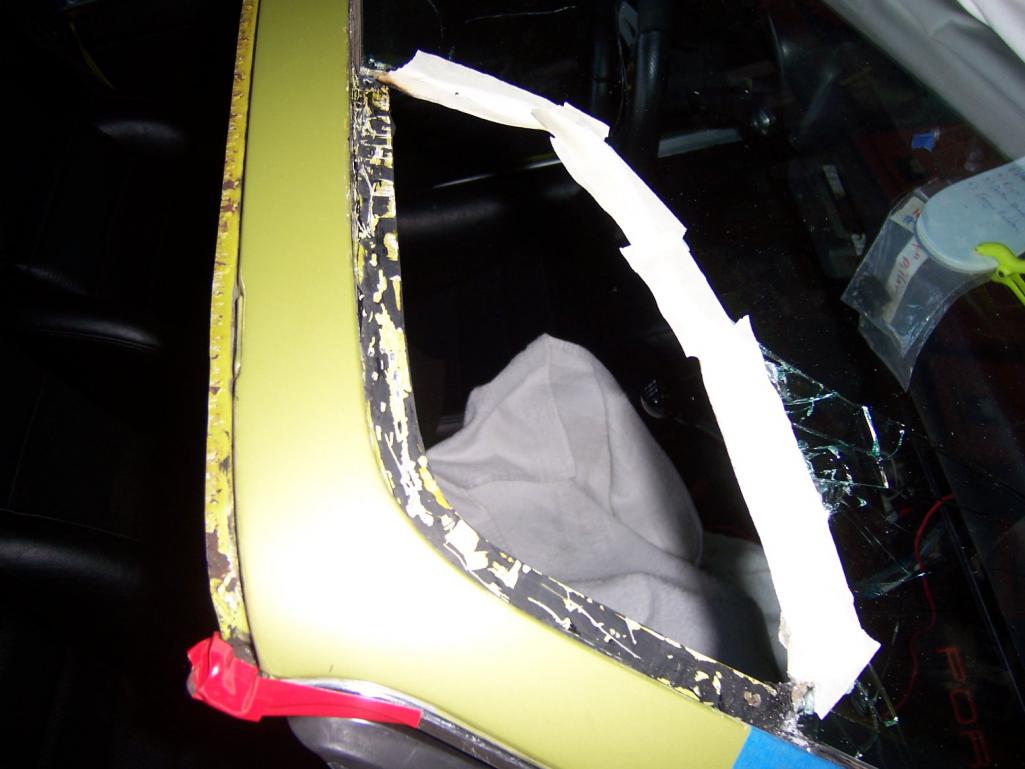 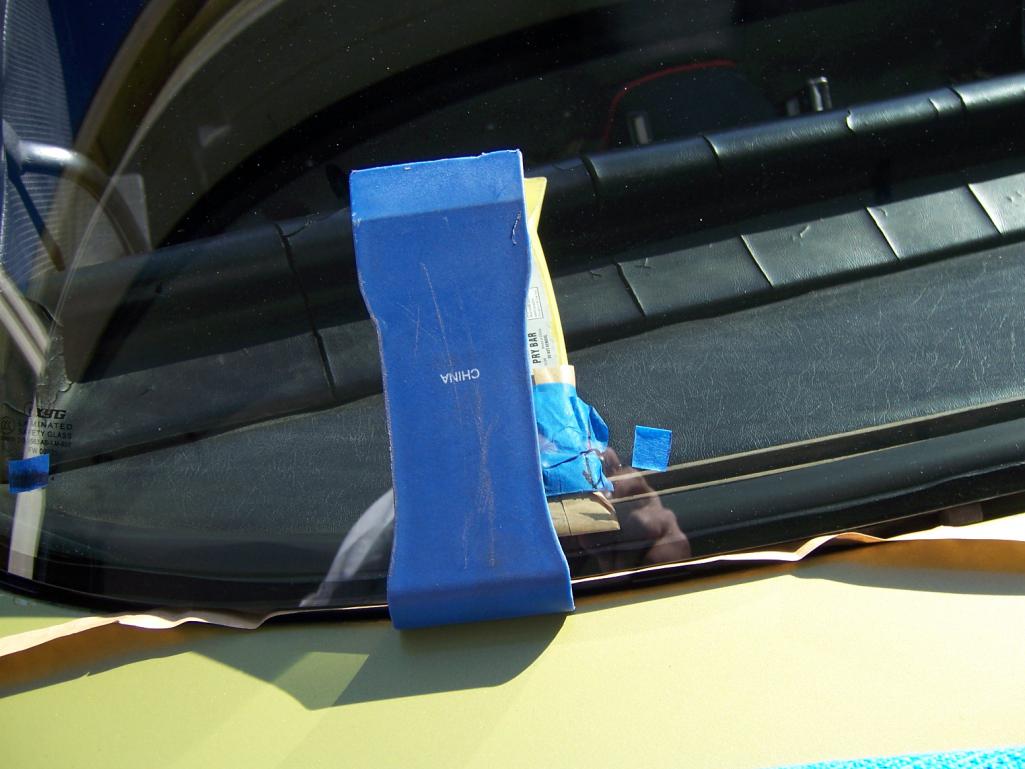 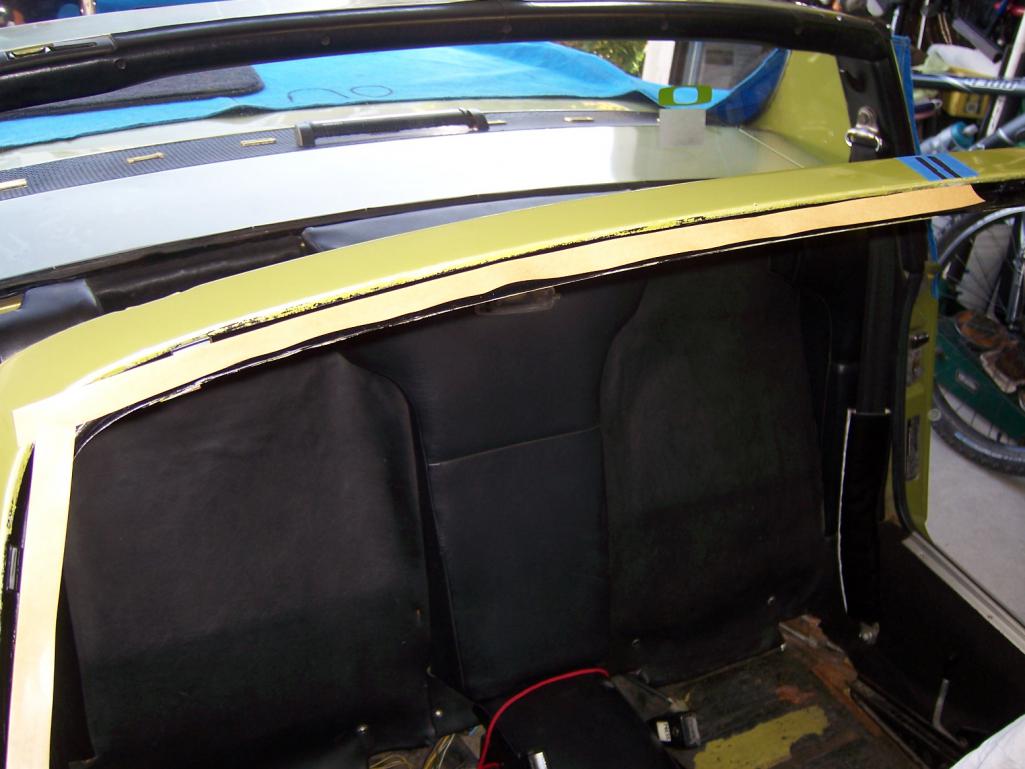 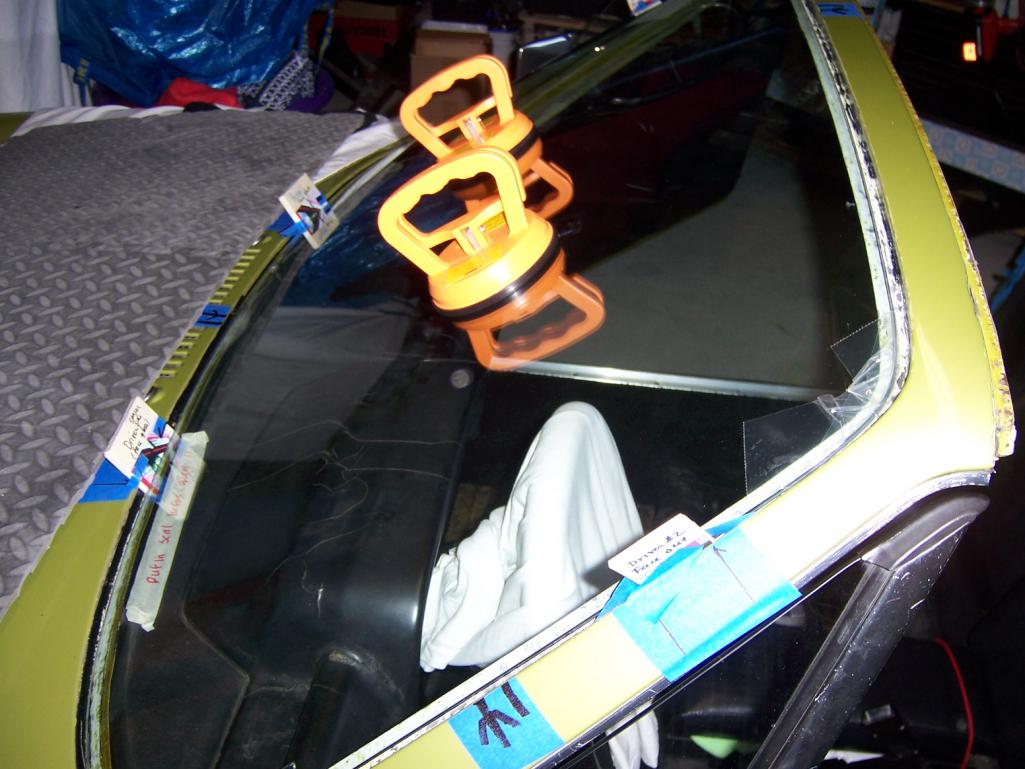 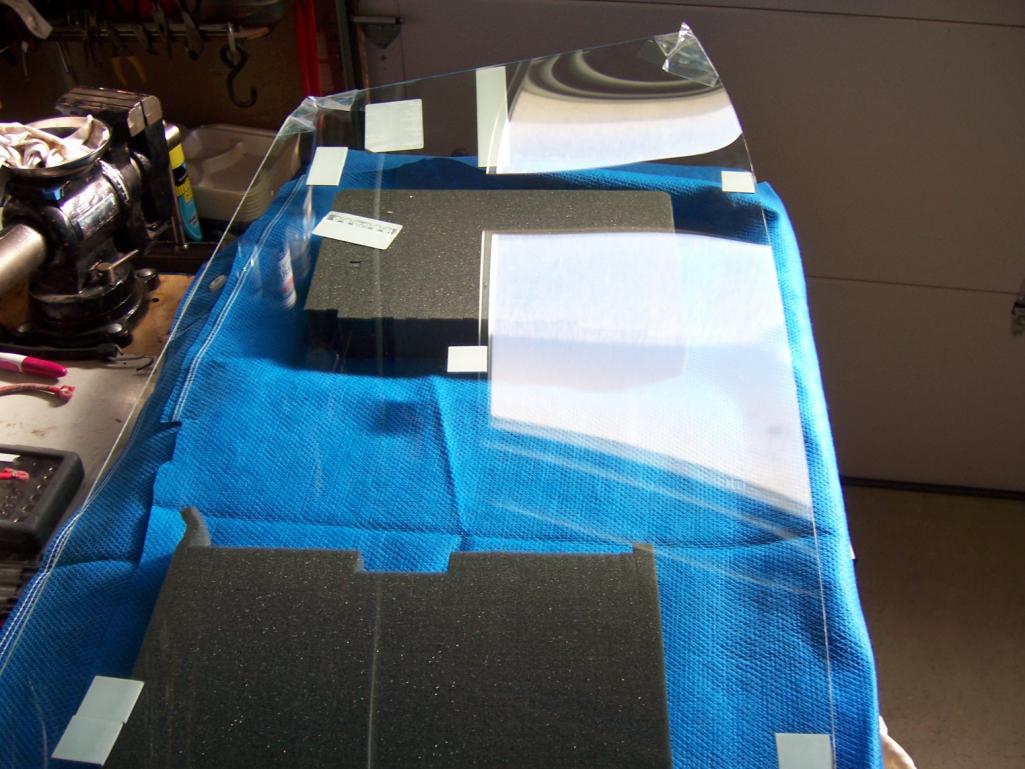 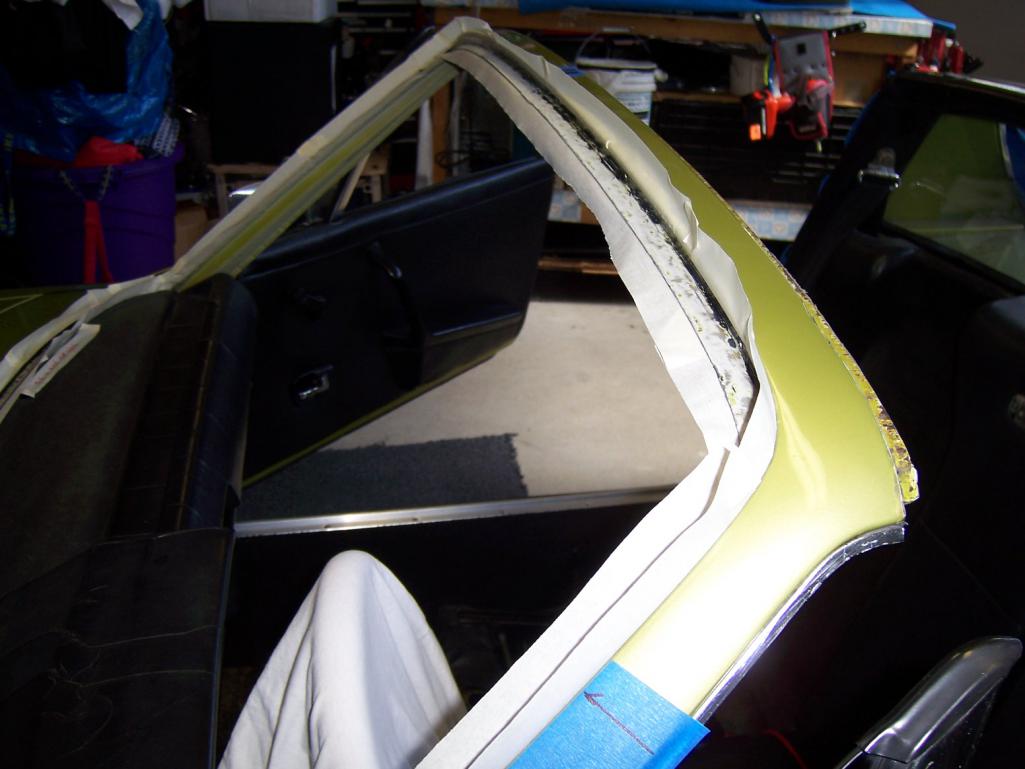 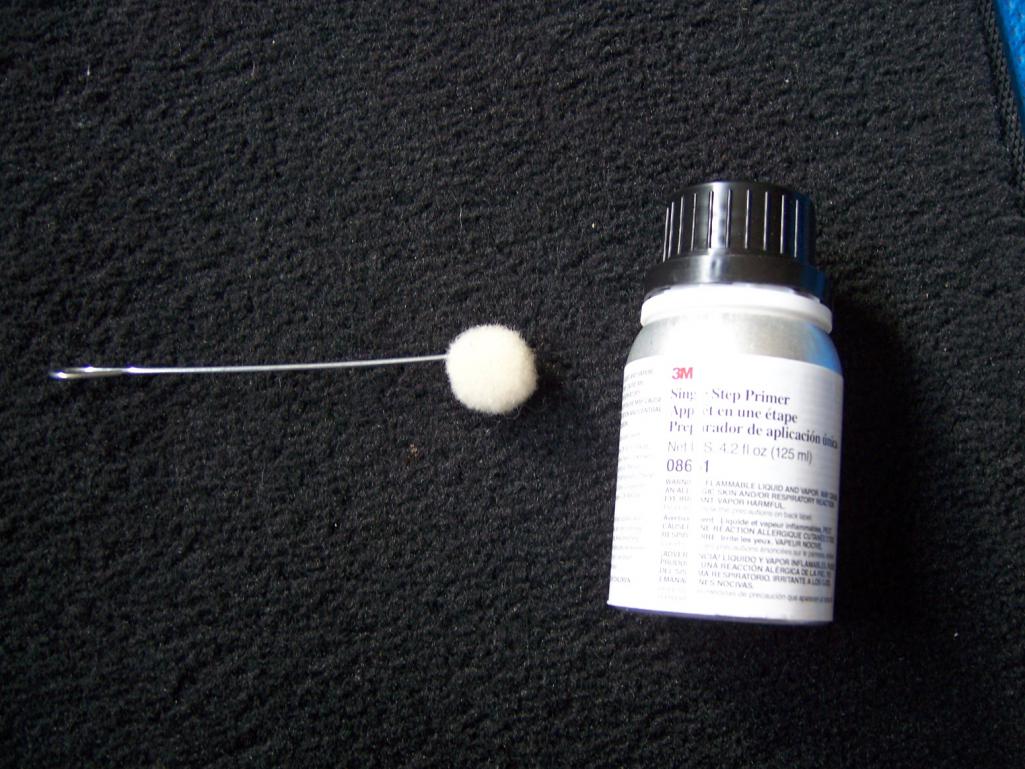 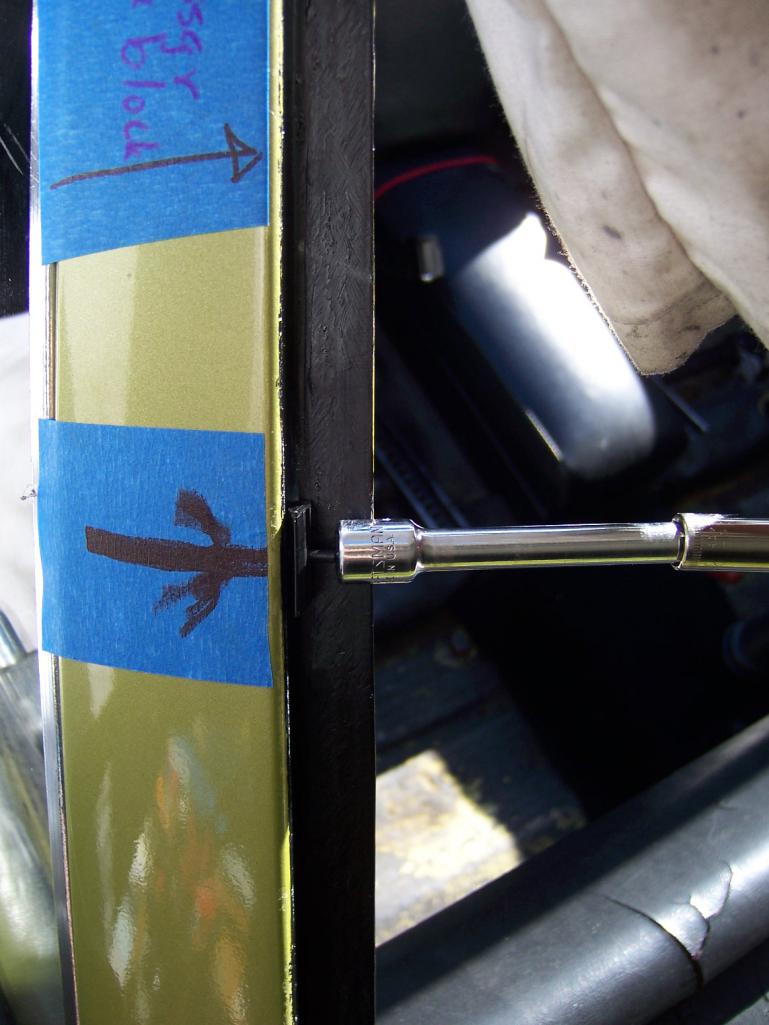
|
   |

 
|
Posts in this topic
dangrouche windshield installation May 2 2014, 12:25 AM jacksun would you please describe how you used the metal t... May 2 2014, 05:14 AM bulitt I'm glad it worked out for you, but I don... May 2 2014, 05:27 AM
 Bartlett 914
I'm glad it worked out for you, but I don... May 2 2014, 07:44 AM dangrouche
[quote name='bulitt' post='2032304' date='May 2 2... May 2 2014, 08:23 AM dangrouche
[quote name='bulitt' post='2032304' date='May 2 2... May 2 2014, 08:33 AM jacksun thank you May 2 2014, 07:39 AM mwyatt Thanks for taking the time to do this write up... May 2 2014, 11:40 AM 76-914 Dan, if you had to break the windshield up to get ... May 2 2014, 03:56 PM Jeffs9146
Dan, if you had to break the windshield up to get... Aug 22 2015, 10:37 PM 930cabman
Dan, if you had to break the windshield up to get... May 19 2021, 04:40 PM Mikey914 Very nice write up. Also to note it's a great ... Aug 22 2015, 11:58 PM euro911 Here we are exactly one year later and I'm jus... Aug 22 2016, 01:56 AM dangrouche I used the cheapie HF suction cups 7 years ago; he... May 19 2021, 10:05 AM
Bartlett 914
I'm glad it worked out for you, but I don... May 2 2014, 07:44 AM dangrouche
[quote name='bulitt' post='2032304' date='May 2 2... May 2 2014, 08:23 AM dangrouche
[quote name='bulitt' post='2032304' date='May 2 2... May 2 2014, 08:33 AM jacksun thank you May 2 2014, 07:39 AM mwyatt Thanks for taking the time to do this write up... May 2 2014, 11:40 AM 76-914 Dan, if you had to break the windshield up to get ... May 2 2014, 03:56 PM Jeffs9146
Dan, if you had to break the windshield up to get... Aug 22 2015, 10:37 PM 930cabman
Dan, if you had to break the windshield up to get... May 19 2021, 04:40 PM Mikey914 Very nice write up. Also to note it's a great ... Aug 22 2015, 11:58 PM euro911 Here we are exactly one year later and I'm jus... Aug 22 2016, 01:56 AM dangrouche I used the cheapie HF suction cups 7 years ago; he... May 19 2021, 10:05 AM  |
1 User(s) are reading this topic (1 Guests and 0 Anonymous Users)
0 Members:

|
Lo-Fi Version | Time is now: 7th December 2025 - 08:47 PM |
Invision Power Board
v9.1.4 © 2025 IPS, Inc.