|
|
|
Porsche, and the Porsche crest are registered trademarks of Dr. Ing. h.c. F. Porsche AG.
This site is not affiliated with Porsche in any way. Its only purpose is to provide an online forum for car enthusiasts. All other trademarks are property of their respective owners. |
|
|


| 76-914 |
 Sep 20 2023, 06:48 PM Sep 20 2023, 06:48 PM
Post
#1
|
|
Repeat Offender & Resident Subaru Antagonist  Group: Members Posts: 13,700 Joined: 23-January 09 From: Temecula, CA Member No.: 9,964 Region Association: Southern California |
First off, I think anyone that has installed one of these should get a Medal or at least a Merit Badge. I watched the only 2 videos I could find and the 914rubber video clued me in on the trim tool and liquid soap. I tried doing it like Matt suggested but was only able to get about 2-3 inches installed. Even that little bit of success was a eureka moment. After this I thought my arms were going to fall off so I adjourned for the evening. I was convinced that I needed to maintain constant pressure on the seal when installing so this is what I used and DAMN it made my install easy. As in 20 minutes per side.
Good old Zip Ties 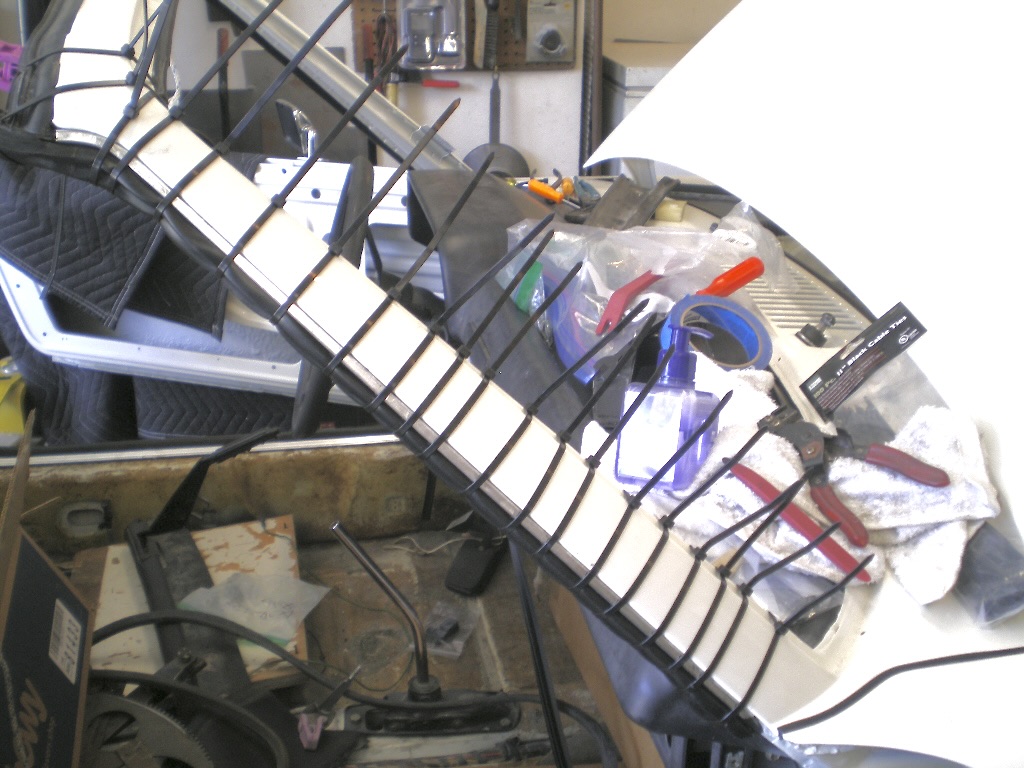 And Bob's you uncle 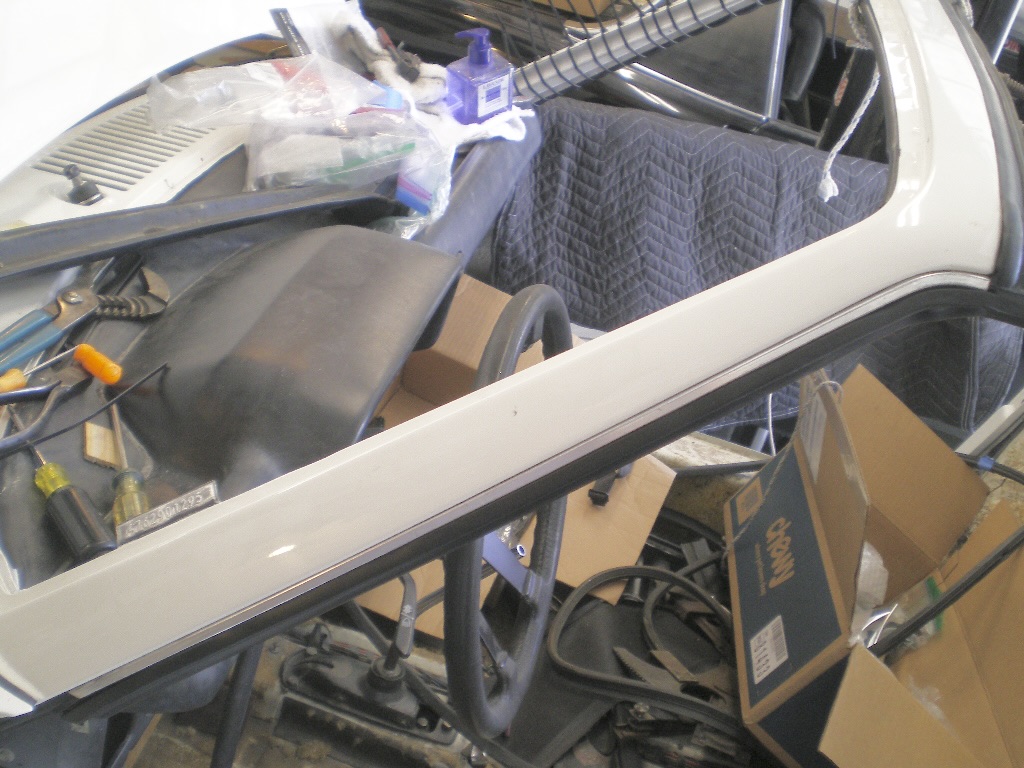 But you'll need a tool to pull the ties tight enough to work. I broke a few but soon figured out how much force to use. Start at the top and work your way down. As you get the seal in partly re-tighten the ties, rinse and repeat until seated. Work a 2-3 inch section at a time. Trim tool - use a rag on the end so it doesn't dig into your hand; liquid soap and Zip Tie tool. 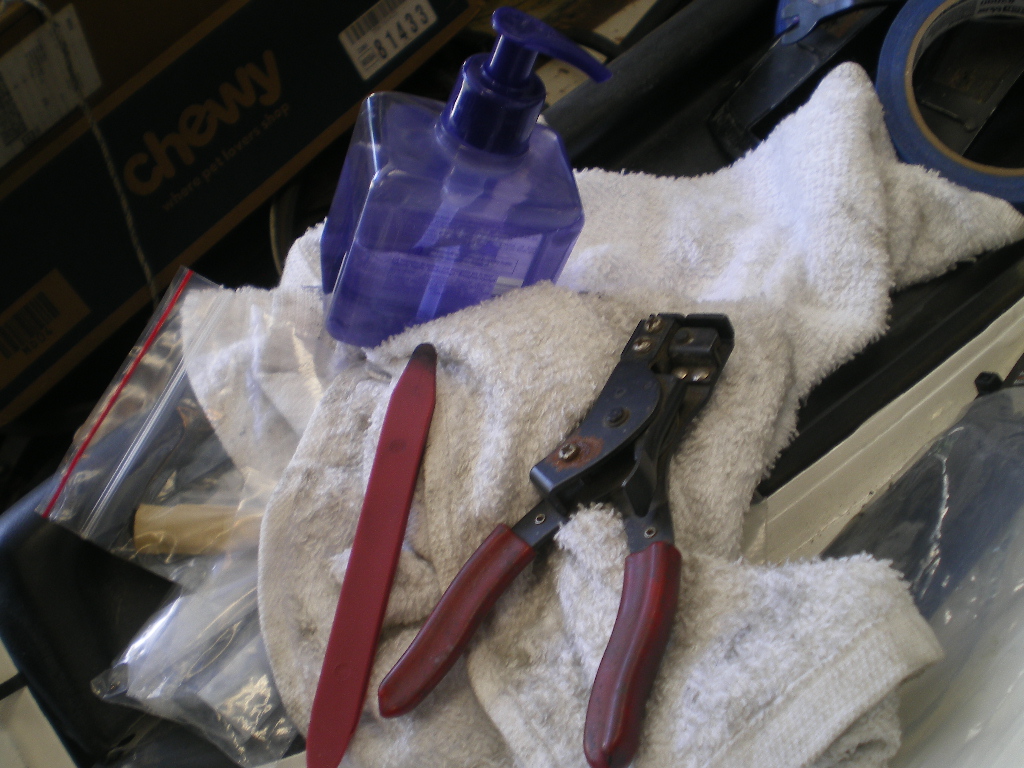 |
   |

 
|
Posts in this topic
 76-914 Installing the Main Targa Seal Sep 20 2023, 06:48 PM
 technicalninja So,
How do you do it if the windshield is install... Sep 20 2023, 07:34 PM
technicalninja So,
How do you do it if the windshield is install... Sep 20 2023, 07:34 PM
 76-914
So,
How do you do it if the windshield is instal... Sep 21 2023, 07:49 AM Root_Werks Neat trick!
I did the slower method of tuckin... Sep 21 2023, 08:47 AM
76-914
So,
How do you do it if the windshield is instal... Sep 21 2023, 07:49 AM Root_Werks Neat trick!
I did the slower method of tuckin... Sep 21 2023, 08:47 AM  |
1 User(s) are reading this topic (1 Guests and 0 Anonymous Users)
0 Members:

|
Lo-Fi Version | Time is now: 9th May 2025 - 04:24 PM |
Invision Power Board
v9.1.4 © 2025 IPS, Inc.