|
|
|
Porsche, and the Porsche crest are registered trademarks of Dr. Ing. h.c. F. Porsche AG.
This site is not affiliated with Porsche in any way. Its only purpose is to provide an online forum for car enthusiasts. All other trademarks are property of their respective owners. |
|
|


| SirAndy |
 Feb 8 2008, 12:14 AM Feb 8 2008, 12:14 AM
Post
#1
|
|
Resident German  Group: Admin Posts: 41,854 Joined: 21-January 03 From: Oakland, Kalifornia Member No.: 179 Region Association: Northern California |
I started to tackle my Alternator replacement on the 3.6L with the engine still in the car.
Step 1: remove the engine lid and battery for better access ... Step 2: disconnect all wires to the intake. disconnect the throttle cable. disconnect the oil breather hose. then remove the upper intake and airfilter. put some rags in the intake manifolds ... Step 3: remove the coils and cap on top of the shroud to expose the alternator ... Step 4: remove the fan belt and fan clamp. this was actually the trickiest part as there's barely room to get that allen wrench in there ... Step 5: you can now rotate the fan/alternator to get to all 4 bolts that secure the endcap. there's enough slack in the wire loom. be careful not to drop any of the bolts/washers ... Step 6: with the cap removed, undo the alternator wires. be careful not to drop any of the bolts/washers ... Step 7: slide the fan and alternator out the top ... Once the fan and alternator are out, the fan housing just slides off and you can now remove the fan as well as the small alternator cooling fan in the back. It was surprisingly easy! also discovered that one of the alternator wires is very brittle and the insulation has broken off. that was probably part of my problem ... oh well, i was thinking about adding a quick disconnect for the wires anyways, and now i have a good reason to cut the loom ... (IMG:style_emoticons/default/piratenanner.gif) Andy PS: the new alternator will be here tomorrow and i'll post another thread when putting it all back together ... Step 1: 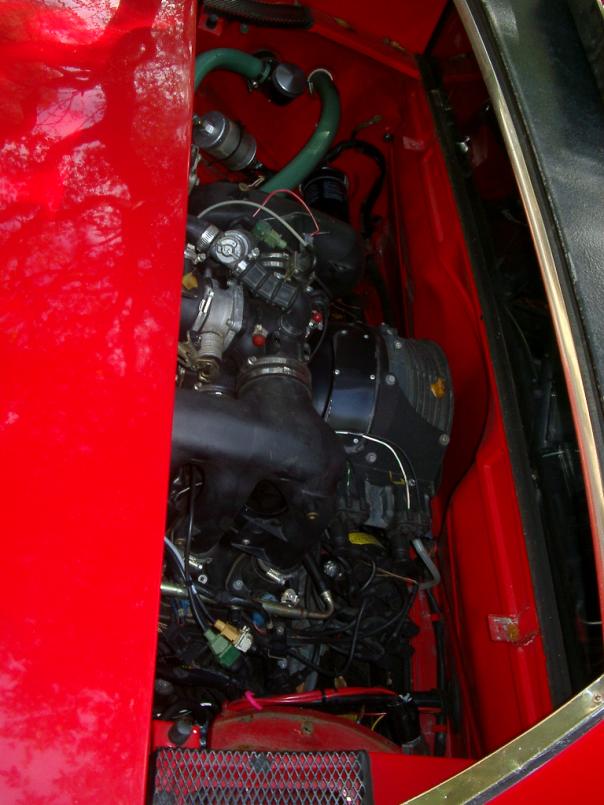 Step 2: 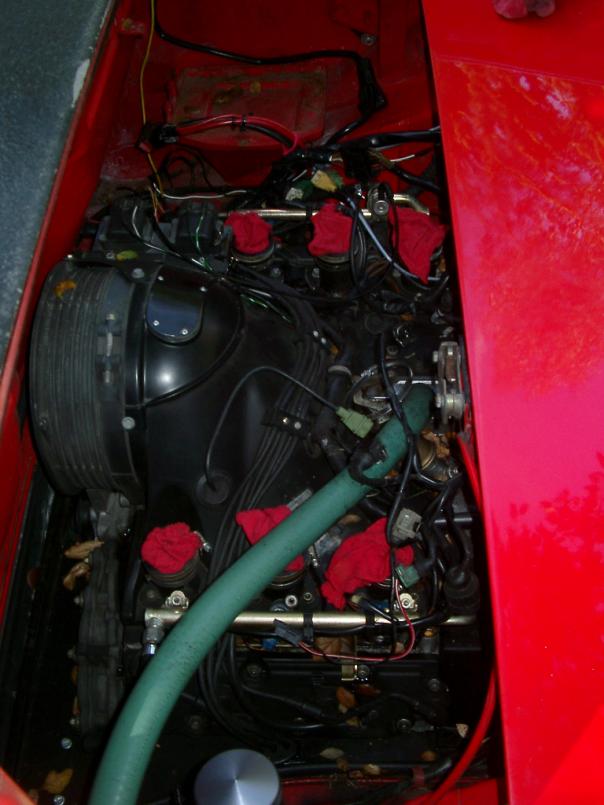 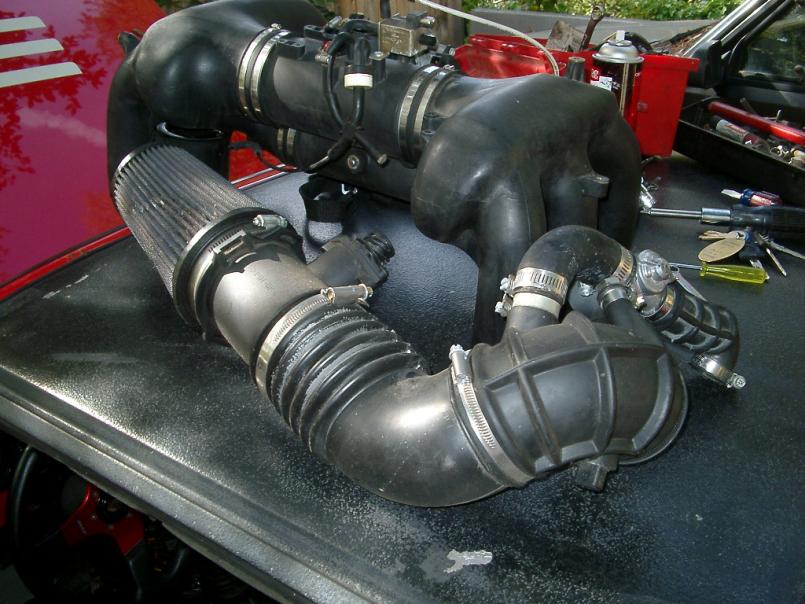 Step 3:  Step 4 & 5: 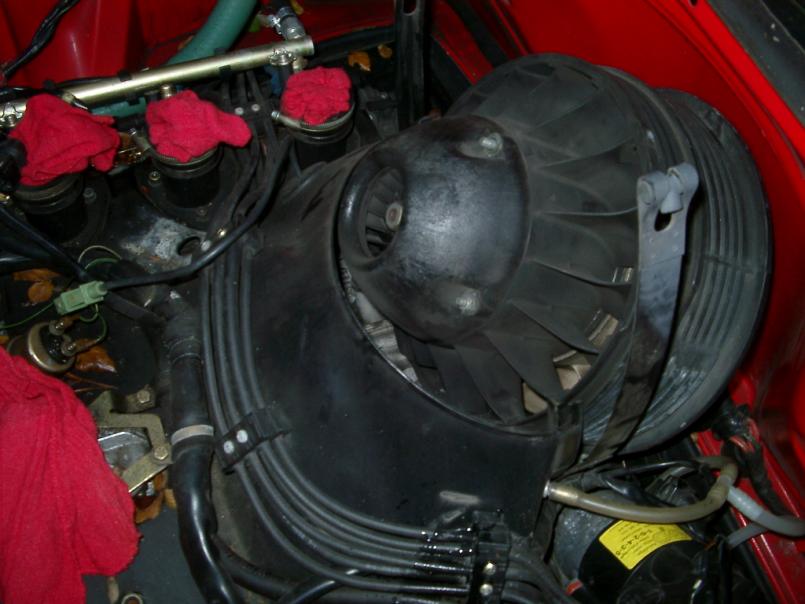 Step 6: 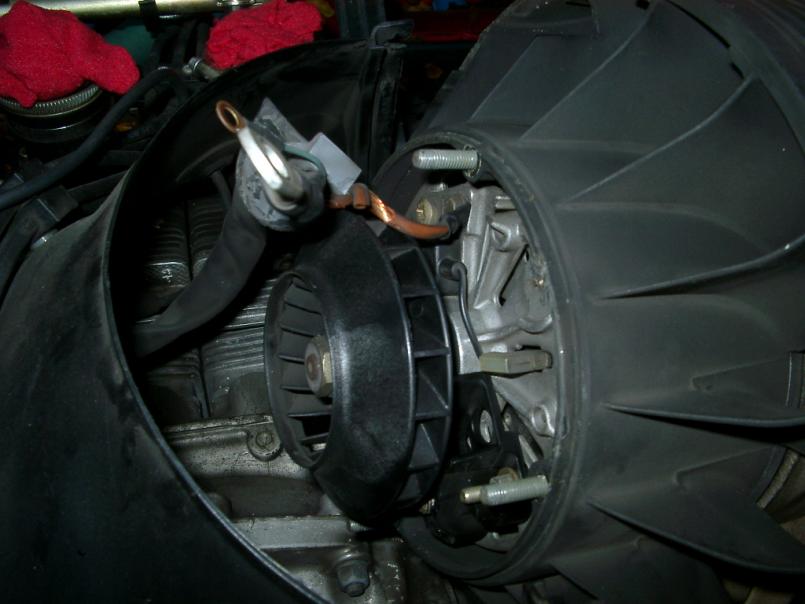 Step 7: 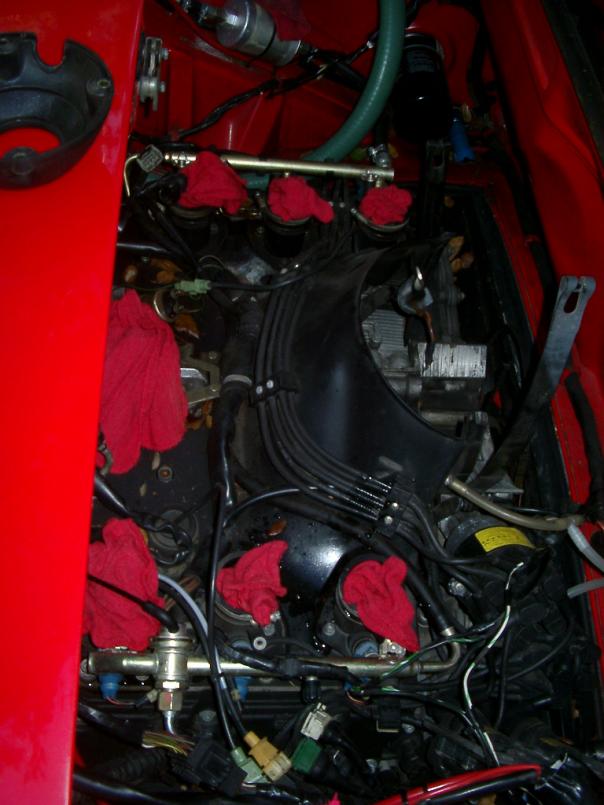 Done ... 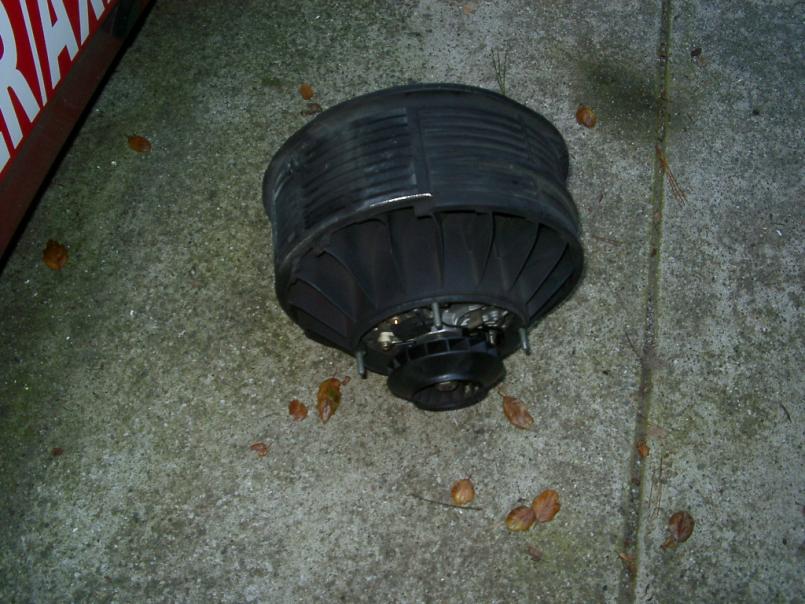 |
   |

 
|
Posts in this topic
 SirAndy Replacing the Alternator on my 3.6L, Part 1 Feb 8 2008, 12:14 AM
 biosurfer1 so if you get this changed out and the oil sludge ... Feb 8 2008, 08:51 AM SirAndy
you gunna make it to EuroSunday?
that would be a... Feb 8 2008, 11:43 AM
biosurfer1 so if you get this changed out and the oil sludge ... Feb 8 2008, 08:51 AM SirAndy
you gunna make it to EuroSunday?
that would be a... Feb 8 2008, 11:43 AM  |
1 User(s) are reading this topic (1 Guests and 0 Anonymous Users)
0 Members:

|
Lo-Fi Version | Time is now: 31st October 2024 - 05:57 PM |
Invision Power Board
v9.1.4 © 2024 IPS, Inc.