|
|
|
Porsche, and the Porsche crest are registered trademarks of Dr. Ing. h.c. F. Porsche AG.
This site is not affiliated with Porsche in any way. Its only purpose is to provide an online forum for car enthusiasts. All other trademarks are property of their respective owners. |
|
|

  |

| proto31 |
 Oct 22 2009, 11:39 PM Oct 22 2009, 11:39 PM
Post
#61
|
|
Member  Group: Members Posts: 413 Joined: 2-February 06 From: Costa Mesa, CA. Member No.: 5,515 Region Association: None |
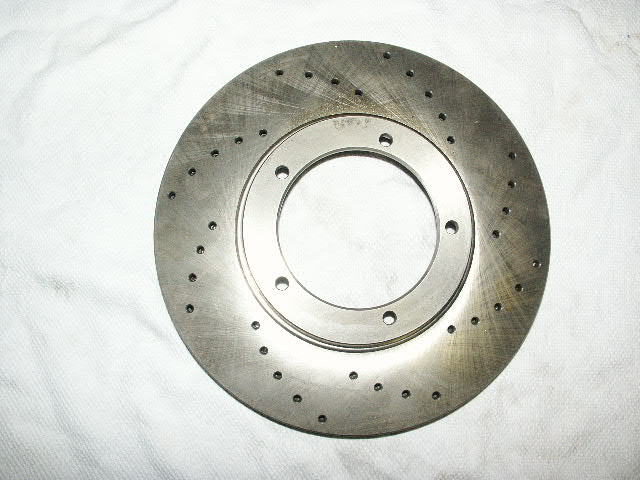
Front rotor (picture of just one)-
 Misc. Cool find at the Pamona swap meet last weekend, NOS front trunk pull with key, I've never seen a new one of these before- 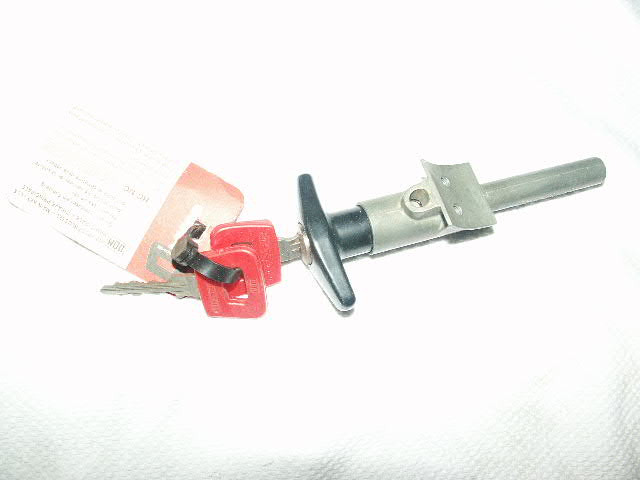 |
   |

 
|
| cwpeden |
Oct 23 2009, 03:11 AM
Post
#62
|
|
Great White North, huh? Group: Members Posts: 916 Joined: 20-August 06 From: Victoria BC Member No.: 6,693 Region Association: Canada |
It may have already been mentioned, but I think your rear sway bar is upside down. Had mine the same and it hit the cross member right where it takes the bend down.
|
|
|
|
| bcheney |
Oct 23 2009, 05:50 AM
Post
#63
|
|
Senior Member Group: Members Posts: 1,341 Joined: 16-November 03 From: Orlando, FL Member No.: 1,348 Region Association: South East States |
You are doing a VERY nice job with all your work. I am converting my 75 to a six and fully appreciate the time and dedication that it takes to jump into a project like this. You will have one helluva a ride! Keep the pics coming!!
|
|
|
|
| TravisNeff |
Nov 26 2009, 10:40 PM
Post
#64
|
|
914 Guru Group: Members Posts: 5,082 Joined: 20-March 03 From: Mesa, AZ Member No.: 447 Region Association: Southwest Region |
Bada-bump!
|
|
|
|
| Dr Evil |
Nov 26 2009, 10:47 PM
Post
#65
|
|
Send me your transmission! Group: Members Posts: 23,041 Joined: 21-November 03 From: Loveland, OH 45140 Member No.: 1,372 Region Association: MidAtlantic Region |
Thanks for the oil hose info. Great build (IMG:style_emoticons/default/smile.gif)
|
|
|
|
| ajserrano |
Jan 16 2010, 12:10 PM
Post
#66
|
|
914-6 GT Group: Members Posts: 34 Joined: 7-February 03 From: Southern California Member No.: 264 Region Association: Southern California |
QUOTE(proto31 @ Oct 5 2008, 08:29 PM)  Here are some photos from Armando Serano's website, this is supposedly an exact replica of how the factory did it. I've seen pictures of GT front trunks with the same cover over the area where I've welded in the bar, but unfortunatly you cannot see what's underneath the cover. ...precisely the idea... CLARIFICATION... The Porsche factory never implemented this front-end modification on any 914-6 GT and I can't take credit for it either. This modification was initially fabricated and implemented in a very early IMSA 914-6 by the very talented Don Araki. I was told Araki built a winning GTU 914-6 race car for Wayne Baker many years ago. To see additional photos of the 914-6 to GT conversion that Mr. Don Araki created along with the owner, Dr. Bob Gagnon, please follow these links; http://www.pbase.com/9146gt/other_porsche_...9_dr_bob_gagnon http://www.pbase.com/9146gt/image/22288815 http://www.pbase.com/9146gt/image/22288814 We kicked-it up a notch... Because this was NOT a Porsche factory GT modification, we simply decided to cover the modification work in a way that could not be seen and later scrutinized as a "non-factory 914-6 GT" mod. Frankly, it was a brilliant modification and IMHO, certainly worth the effort when considering its benefits while cutting out those two large gaping holes at the front trunk of the 914-6 to accomodate the large BEHR front oil-cooler. To see our entire fabrication sequence, follow the link below; http://www.pbase.com/9146gt/the9146gt_fron..._reinforcements (IMG:style_emoticons/default/blink.gif) |
|
|
|
| geniusanthony |
Jan 17 2010, 12:09 AM
Post
#67
|
|
Its a brand new "Chrome-sicle" Group: Members Posts: 517 Joined: 12-December 05 From: Alexandria,VA Member No.: 5,266 Region Association: MidAtlantic Region |
I just went through your thread and I am impressed with the job you've done. Makes me want to take mine apart and redo everything.
That front end support looks great and def. beats just putting a fiberglass cover on the floor next to the giant hole for a cooler. |
|
|
|
| proto31 |
Apr 5 2010, 04:05 PM
Post
#68
|
|
Member Group: Members Posts: 413 Joined: 2-February 06 From: Costa Mesa, CA. Member No.: 5,515 Region Association: None |
So, a lot of progress has been made since my last post. I got a bit lazy posting stuff, I enjoy reading other peoples posts more than creating my own (IMG:style_emoticons/default/biggrin.gif) . Thomas, Alberto and I got the engine in a few months ago, all the suspension is on, electrical is working great and the paint is complete! Andy stopped by this Saturday and helped (did all the work) buff, polish and pink out the paint after I had color sanded it. It looks AMAZING!!! Thanks Andy!
Here some pics, in no particular order: 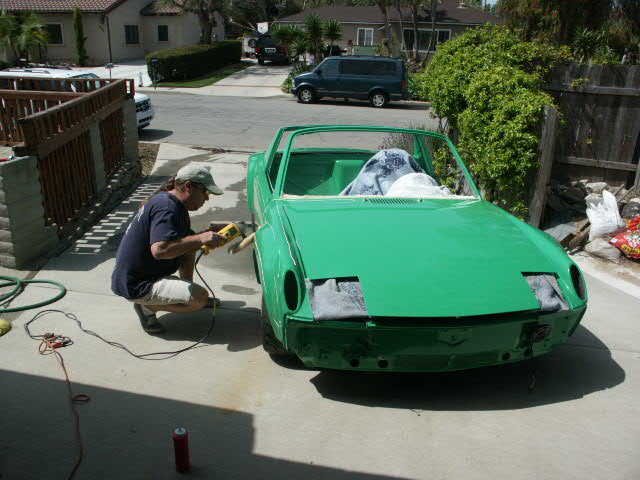 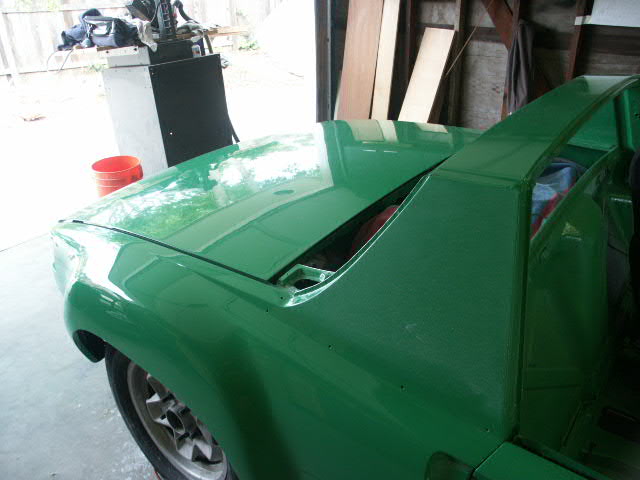 Color Sanded: 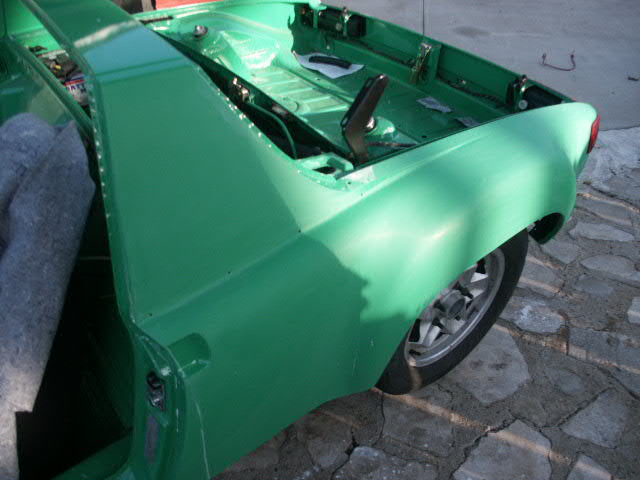 |
|
|
|
| proto31 |
Apr 5 2010, 04:12 PM
Post
#69
|
|
Member Group: Members Posts: 413 Joined: 2-February 06 From: Costa Mesa, CA. Member No.: 5,515 Region Association: None |
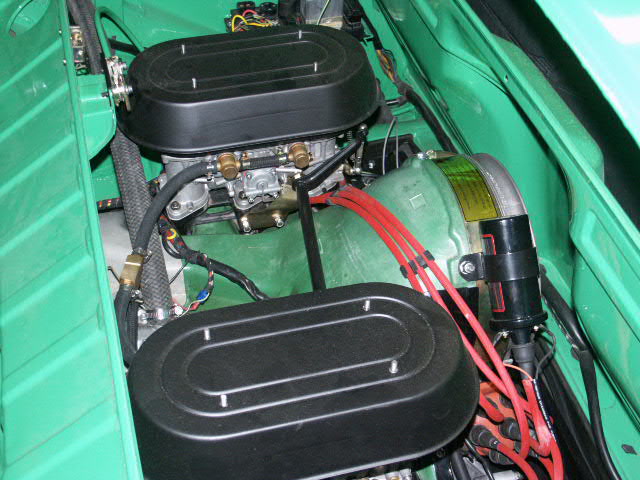
Engine installed:
 Front S Calipers, Thomas and I each had a set polished and re-anodized, new SS pistons and SS cross-over tubes: 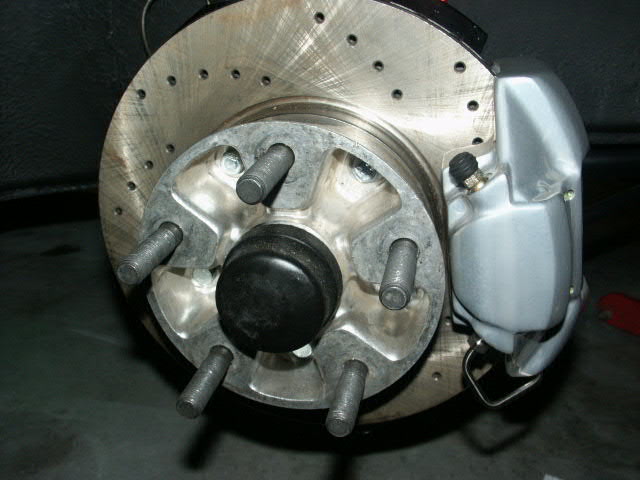 Shot with Thomas created sway bar arm (red anodized): 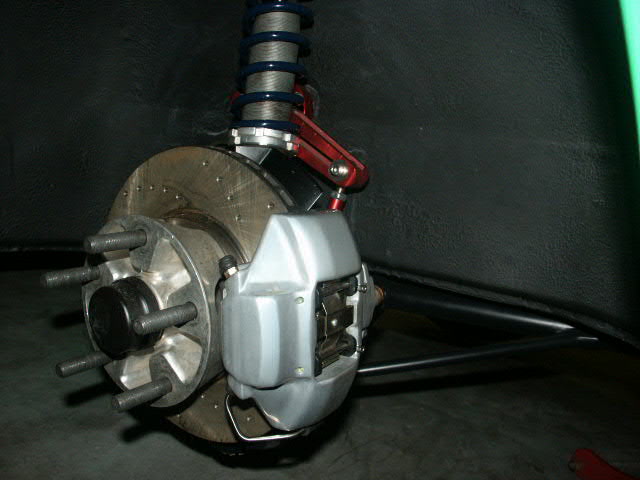 Rebuilt CV drive shafts: 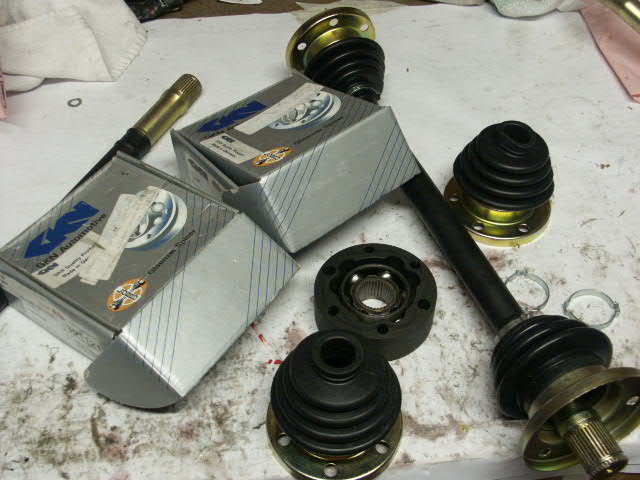 |
|
|
|
| proto31 |
Apr 5 2010, 04:28 PM
Post
#70
|
|
Member Group: Members Posts: 413 Joined: 2-February 06 From: Costa Mesa, CA. Member No.: 5,515 Region Association: None |
Thomas' sway bar arms, pre-annodizing. These mount onto a hollow 23mm Tarret bar:
 Underside, new 19 mm MC, rebuilt steering rack and aluminum cross member: 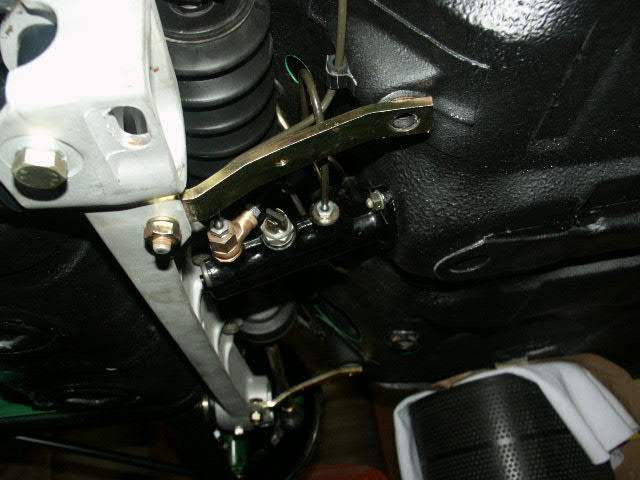 I'll be running 15 x 8 inch Fuchs all around, I had these stripped, then put them on a lathe to polish them and then had them anodized with a clear finish in a way that replicates the RSR finish pretty closely. I will paint the centers, you'll have to wait until the 25th to see what color. My plan is to drive this thing up to Ron's swap meet on the 25. Here's a pic after the anodizing: 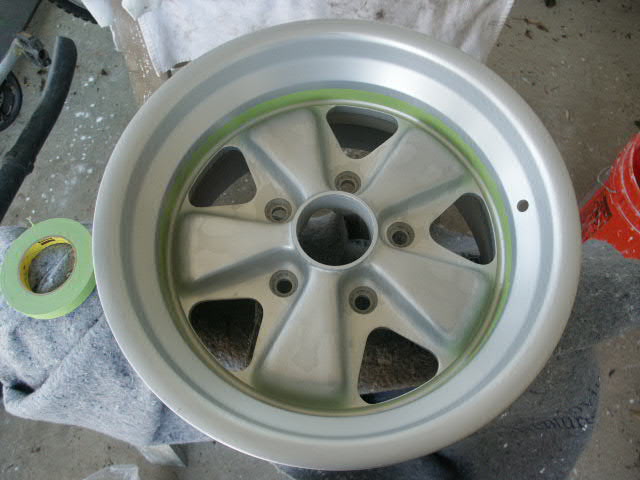 |
|
|
|
| AgPete139 |
Nov 9 2010, 03:20 PM
Post
#71
|
|
AgPete139 Group: Members Posts: 92 Joined: 12-February 08 From: Houston, TX Member No.: 8,701 Region Association: South East States |
Any updates?
|
|
|
|
| proto31 |
Feb 27 2011, 11:51 PM
Post
#72
|
|
Member Group: Members Posts: 413 Joined: 2-February 06 From: Costa Mesa, CA. Member No.: 5,515 Region Association: None |
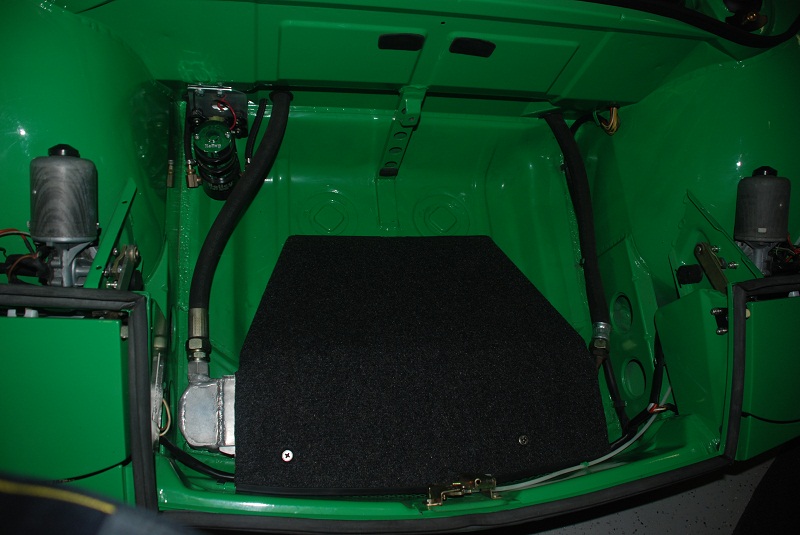
QUOTE(AgPete139 @ Nov 9 2010, 01:20 PM) Any updates? A few updates, I've already put 2,400 miles on the car, it's a blast to drive. I recently picked up a factory NOS brown carpet set that I will be installing in the car, the original carpet was brown, I'm going to change the door panels and re-do the seats. I also decided to put some of the factory style sound deadening tar on the floor boards, really cool stuff. You cut out a template, and form it into place with a heat gun. Here's some pics: Attached image(s) 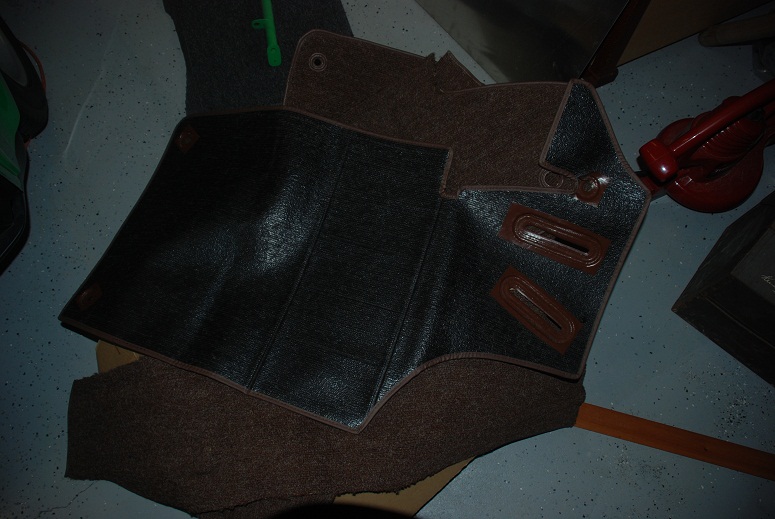 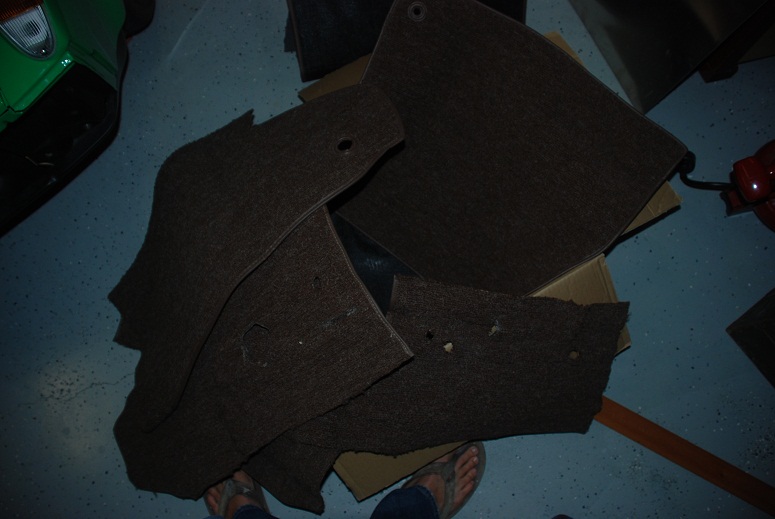
|
|
|
|
| proto31 |
Feb 27 2011, 11:54 PM
Post
#73
|
|
Member Group: Members Posts: 413 Joined: 2-February 06 From: Costa Mesa, CA. Member No.: 5,515 Region Association: None |
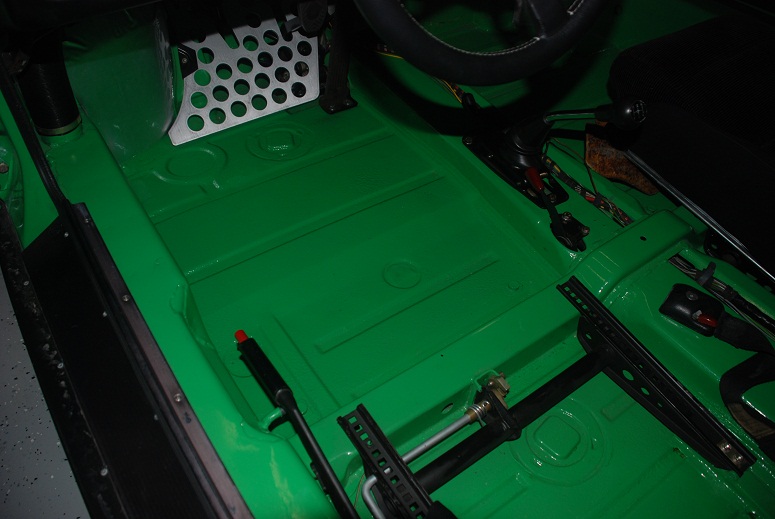
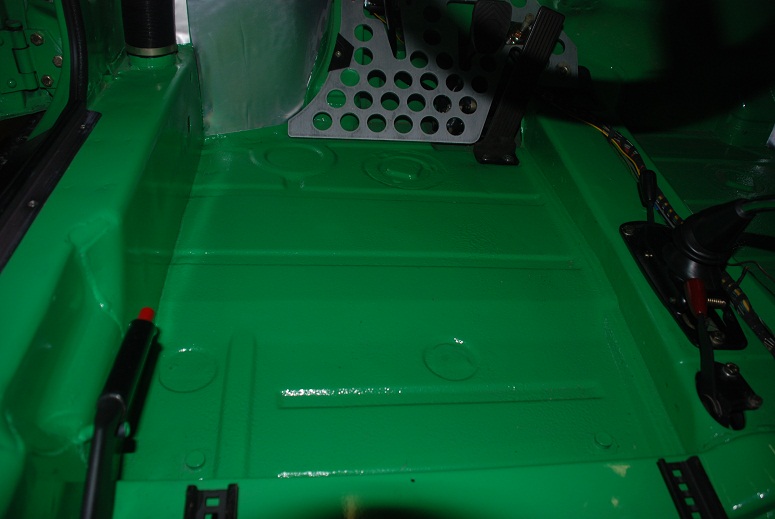
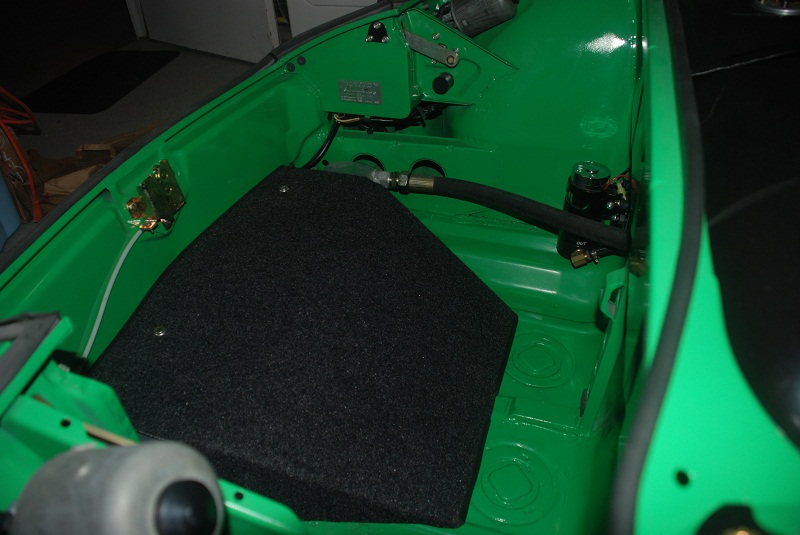
The floorboards:
   |
|
|
|
| proto31 |
Feb 27 2011, 11:56 PM
Post
#74
|
|
Member Group: Members Posts: 413 Joined: 2-February 06 From: Costa Mesa, CA. Member No.: 5,515 Region Association: None |
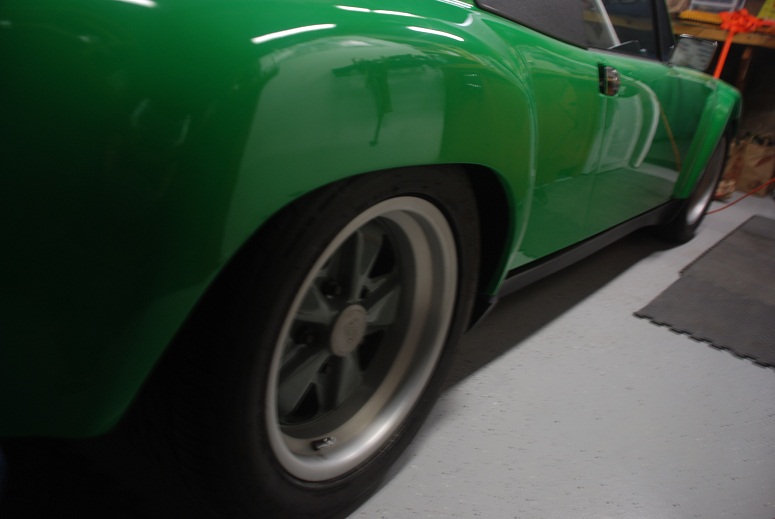
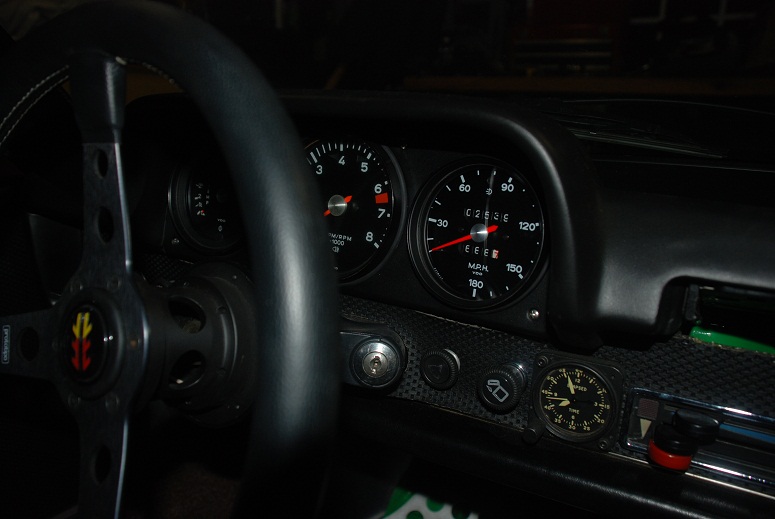
wheels and gauges...
  |
|
|
|
| AZ914 |
Feb 28 2011, 07:53 AM
Post
#75
|
|
914 Dumbass Group: Members Posts: 1,469 Joined: 6-January 03 From: Sunny Tucson Member No.: 98 Region Association: Southwest Region |
|
 |
|
| Root_Werks |
Feb 28 2011, 12:04 PM
Post
#76
|
|
Village Idiot Group: Members Posts: 8,929 Joined: 25-May 04 From: About 5NM from Canada Member No.: 2,105 Region Association: Pacific Northwest |
Man that looks great!
|
|
|
|
| proto31 |
Feb 28 2011, 04:53 PM
Post
#77
|
|
Member Group: Members Posts: 413 Joined: 2-February 06 From: Costa Mesa, CA. Member No.: 5,515 Region Association: None |
Thanks! It's been a lot of fun so far. Any ideas on door panel and seat colors/fabric? I've got that NOS brown carpet set and am going to have the door panels and Scheel seats re-upholstered. Before the brown, I was going to do the Scheel seats in black german vinyl sides with houndstooth centers. Now I need to do the door panels brown and think I'll probably have to go brown with the seats as well, any thoughts? Anyone have any pics of nice brown interiors?
Thanks, Dan |
|
|
|
| Ferg |
Feb 28 2011, 05:23 PM
Post
#78
|
|
914 Guru Group: Members Posts: 5,948 Joined: 8-January 03 From: Boulder CO Member No.: 116 Region Association: None |
I vote for brown/brown hounds tooth, or brown with a tartan center.
Check out www.autobahninteriors.com for a bunch of pics... Ferg |
|
|
|
| MDG |
Feb 28 2011, 05:47 PM
Post
#79
|
|
Wolf in wolf's clothing. Group: Members Posts: 8,653 Joined: 3-February 09 From: Toronto Member No.: 10,018 Region Association: None |
QUOTE(Ferg @ Feb 28 2011, 06:23 PM) I vote for brown/brown hounds tooth Ferg +1 Would look amazing with the green and give it a major period feel. I believe T.C. is doing the black houndstooth in his and the seats he had done are beautiful. |
|
|
|
| proto31 |
Mar 4 2011, 11:22 PM
Post
#80
|
|
Member Group: Members Posts: 413 Joined: 2-February 06 From: Costa Mesa, CA. Member No.: 5,515 Region Association: None |
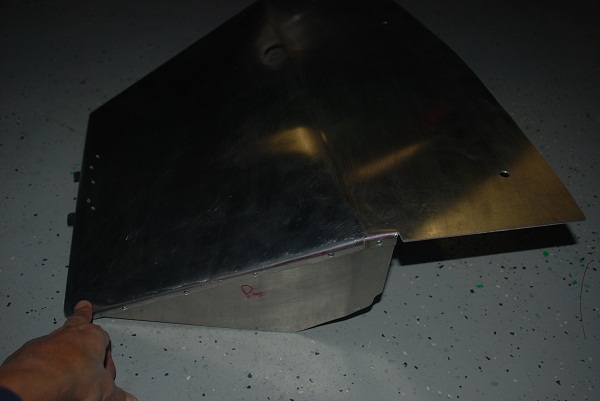
I made a shroud for the front oil cooler, I've been meaning to do this for some time. I took some 1/16 aluminum and formed it, riveting the side panels on. Then covered it in perloin. Also removed both seats, they'll be on their way to the upholstery shop on Monday. Last thing I completed this week was the harness bar, I ended up welding some 1/8 steel tabs on so that I can connect the harness to the bar without having to drill holes in the firewall.
   |
|
|
|
|
1 User(s) are reading this topic (1 Guests and 0 Anonymous Users)
0 Members:

|
Lo-Fi Version | Time is now: 2nd April 2026 - 08:32 AM |
Invision Power Board
v9.1.4 © 2026 IPS, Inc.