|
|
|
Porsche, and the Porsche crest are registered trademarks of Dr. Ing. h.c. F. Porsche AG.
This site is not affiliated with Porsche in any way. Its only purpose is to provide an online forum for car enthusiasts. All other trademarks are property of their respective owners. |
|
|

  |

| Cire |
 Nov 20 2009, 05:12 PM Nov 20 2009, 05:12 PM
Post
#41
|
|
Member  Group: Members Posts: 279 Joined: 12-March 09 From: Tucson, Arizona Member No.: 10,155 Region Association: None |
     |
   |

 
|
| Lou W |
Nov 21 2009, 04:19 AM
Post
#42
|
|
"Here Kitty Kitty" my ass...... Group: Members Posts: 4,109 Joined: 9-May 04 From: Roseburg, OR. Member No.: 2,039 Region Association: Spain |
Looking great, keep up the good work. (IMG:style_emoticons/default/beerchug.gif)
|
|
|
|
| VaccaRabite |
Nov 21 2009, 11:43 AM
Post
#43
|
|
En Garde! Group: Admin Posts: 13,754 Joined: 15-December 03 From: Dallastown, PA Member No.: 1,435 Region Association: MidAtlantic Region |
QUOTE(bigkensteele @ Nov 20 2009, 01:39 PM)  I was at HF this morning looking at engine stand for this various purpose. I was wondering how to to solve the problem with the slight upward angle of the pivot, and then I come home to see this! Fortuitous. Would a 110v mig welder be sufficient to build a rotis, or would I need to hire a local welder to come out and put some heavy beads on it? YES! I used a 110 on mine, and it worked like a champ. I used the hottest heat setting and a wire speed of ~3. You have to do a little geometry to correct the stupid HF engine stand angle. And I put a big cutting disk on my electric mitre saw to cut the stock perfectly. it is SO much easier to weld up 1/8inch wall clean steel then sheet. The whole thing went together like a dream. AND, when I sold it I made ~ $100 profit too (over the cost of parts). Zach |
|
|
|
| Cire |
Nov 30 2009, 07:38 AM
Post
#44
|
|
Member Group: Members Posts: 279 Joined: 12-March 09 From: Tucson, Arizona Member No.: 10,155 Region Association: None |
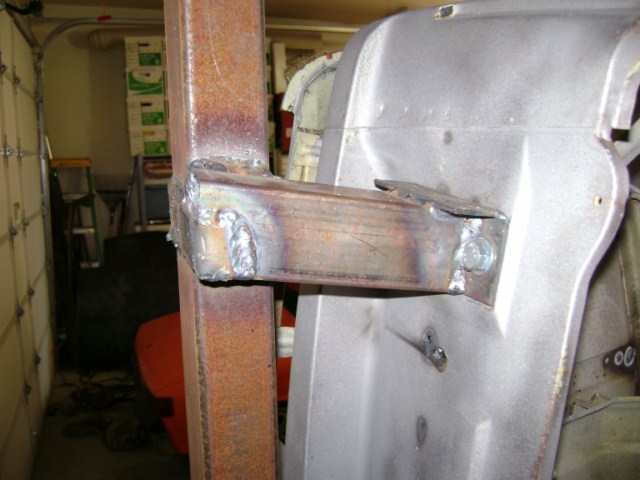
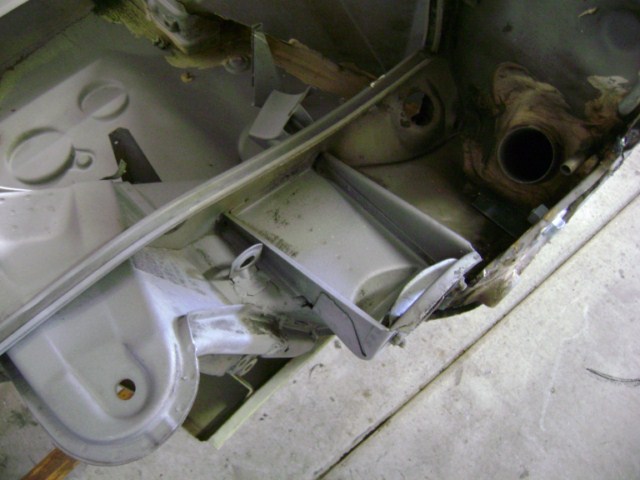
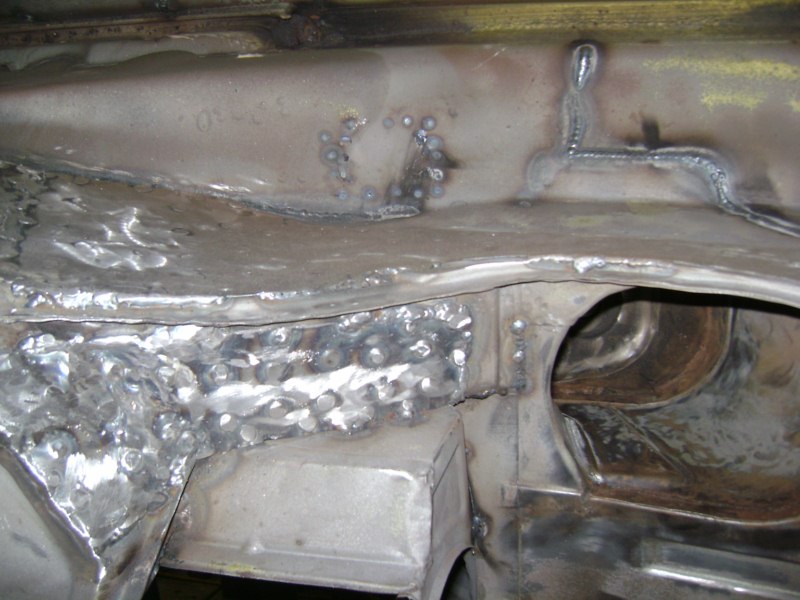
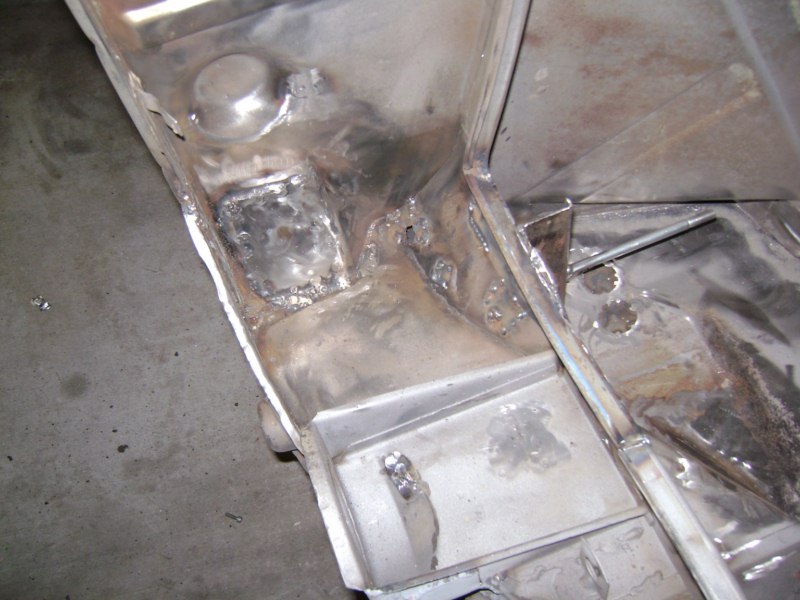
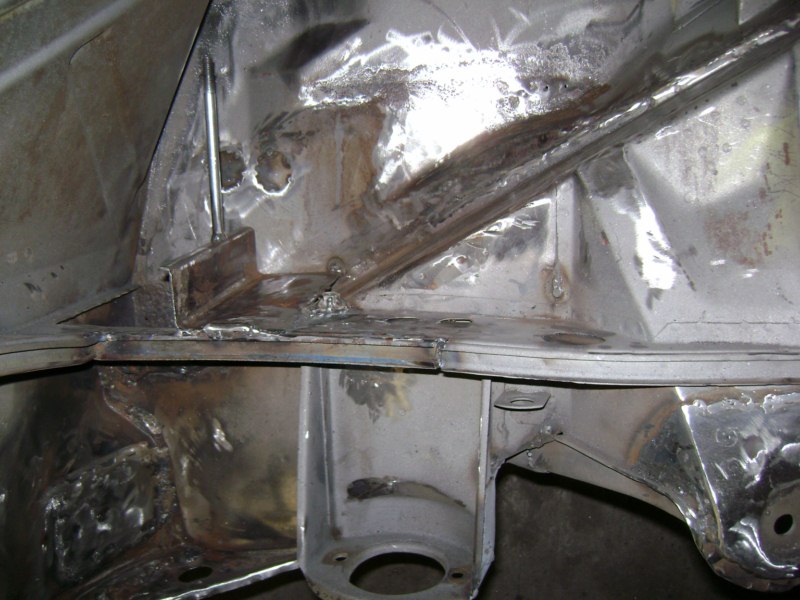
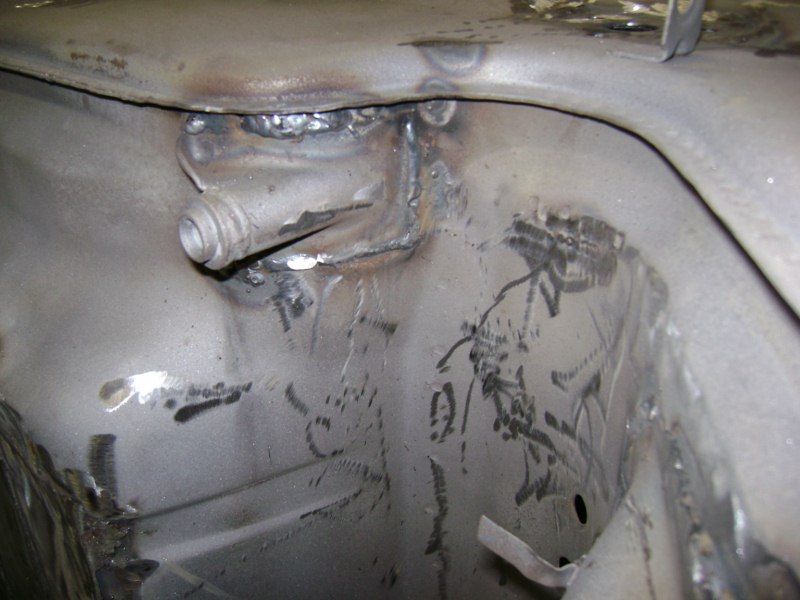
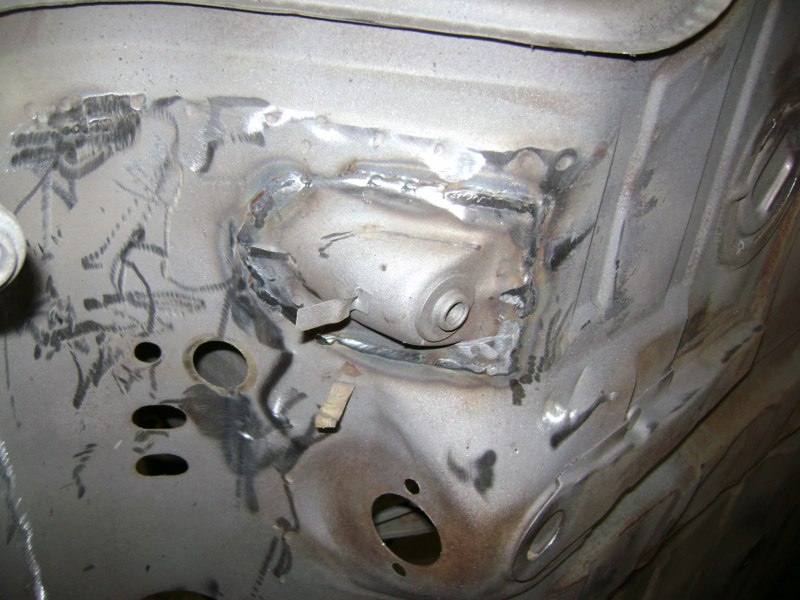
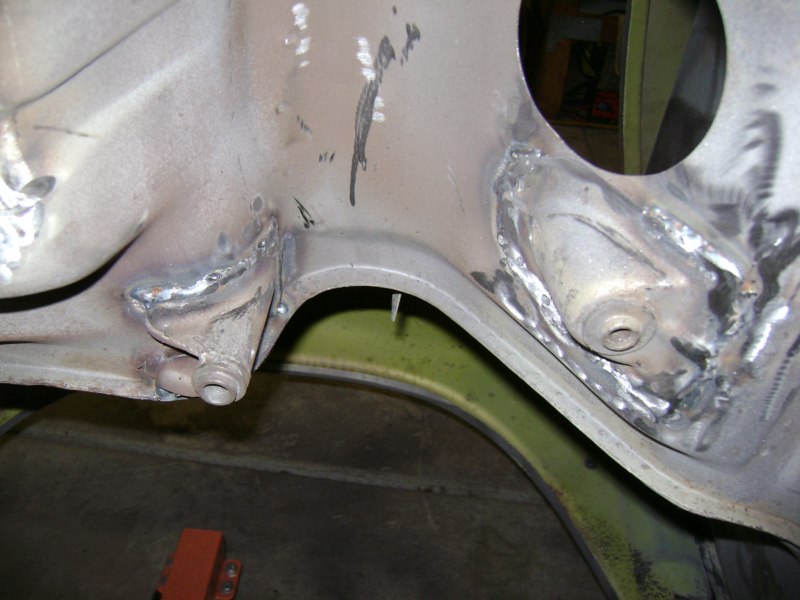
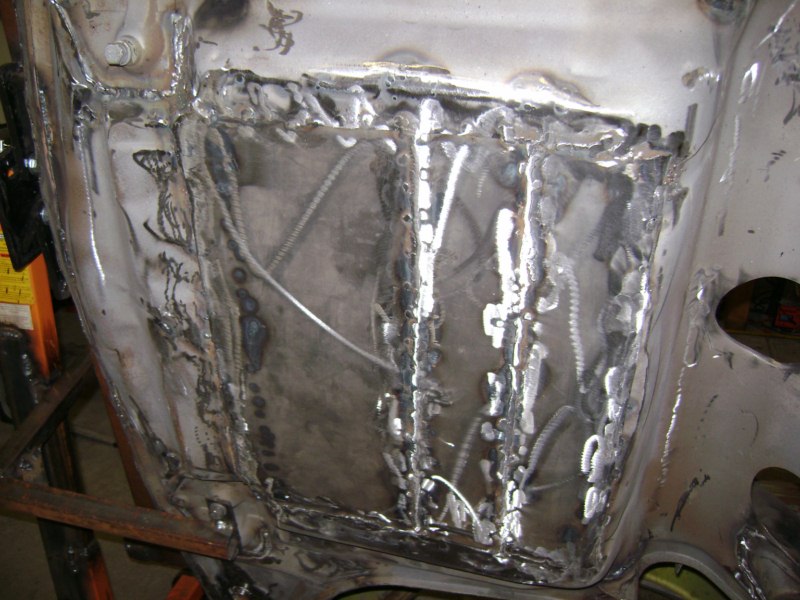
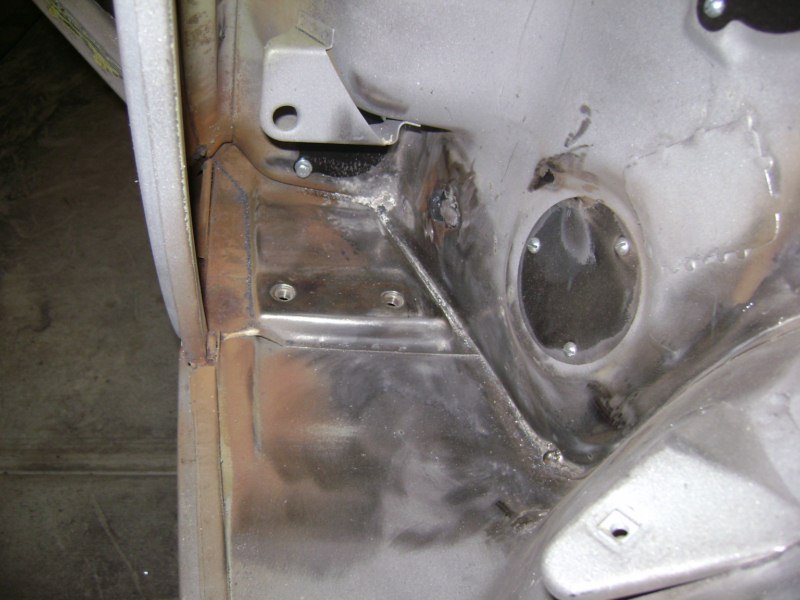
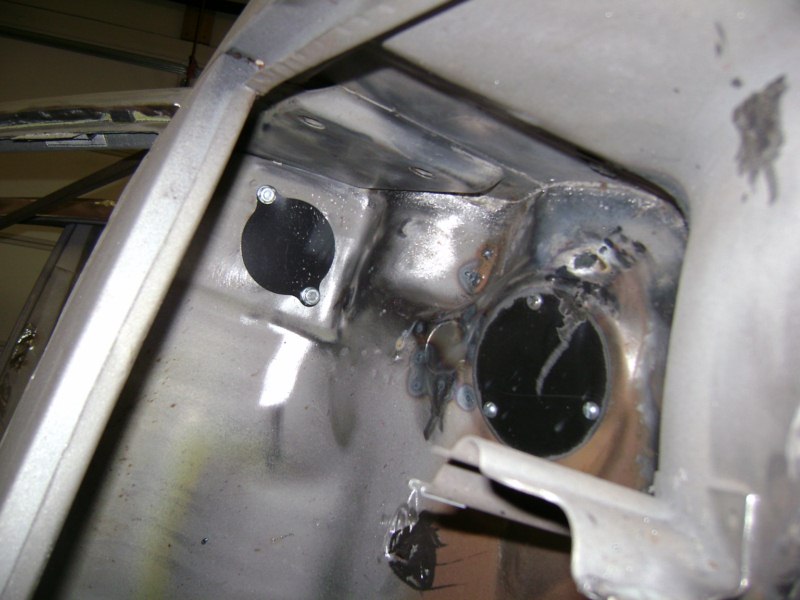
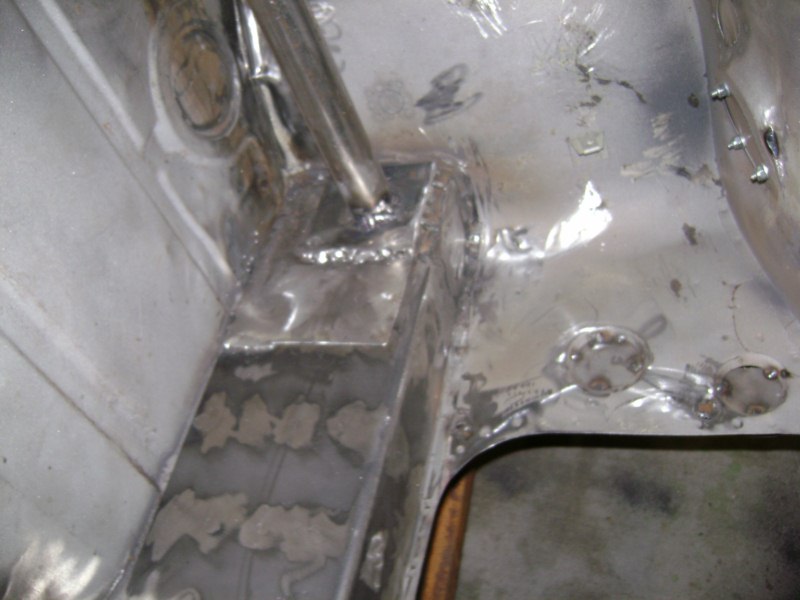
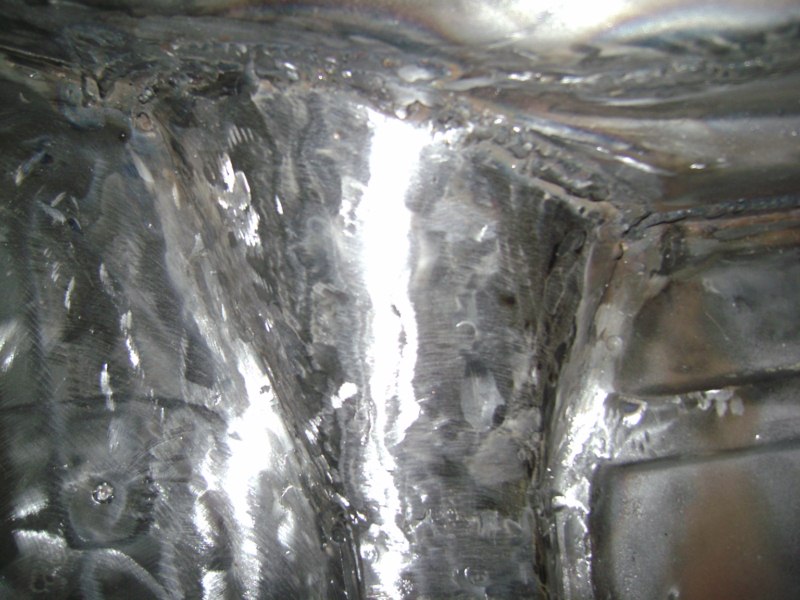
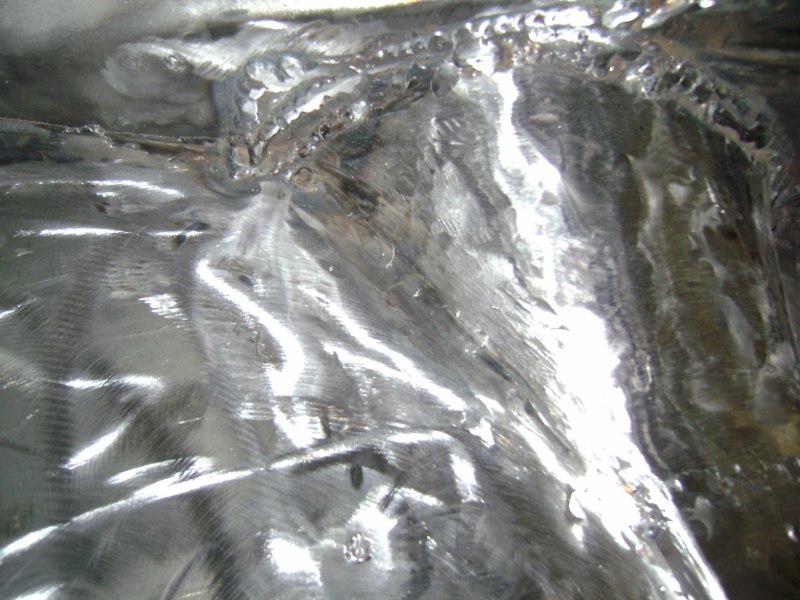
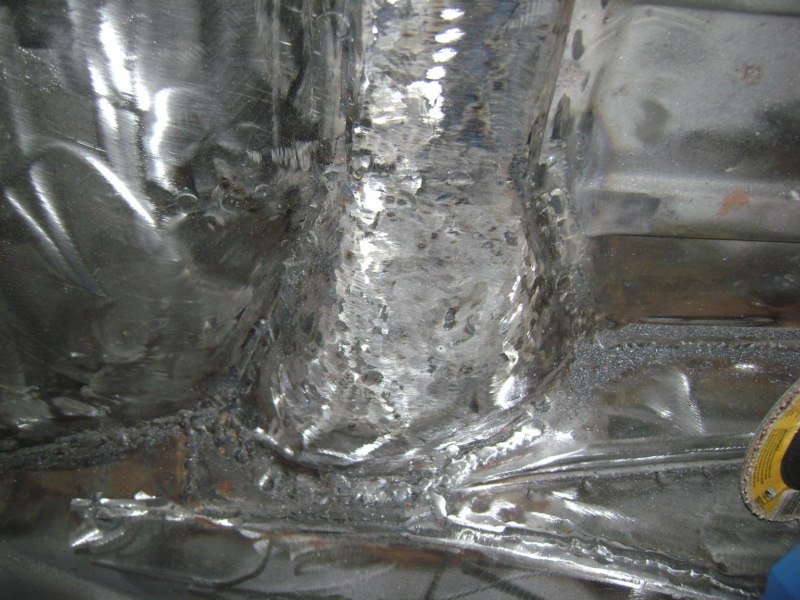
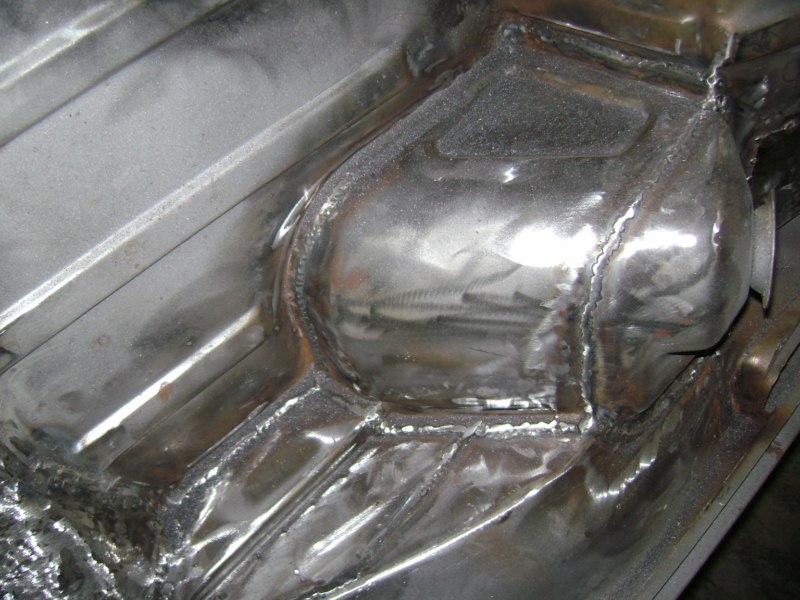
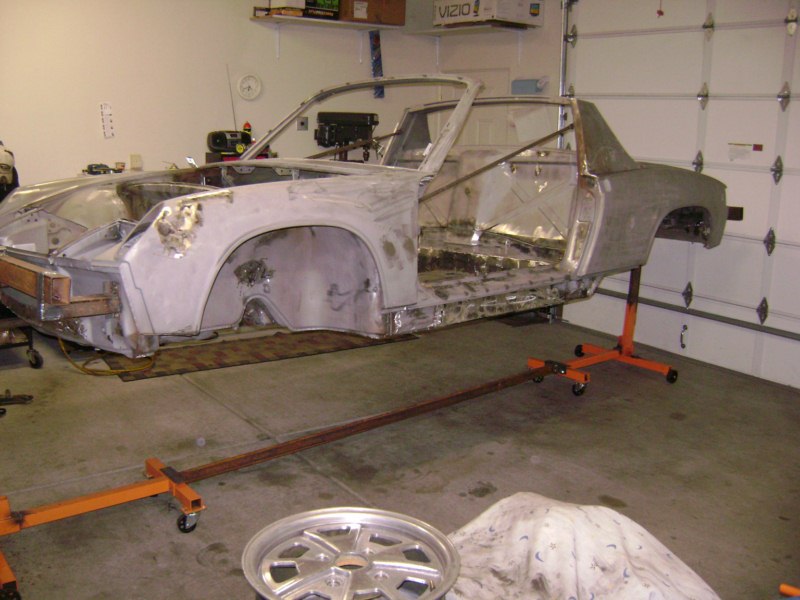
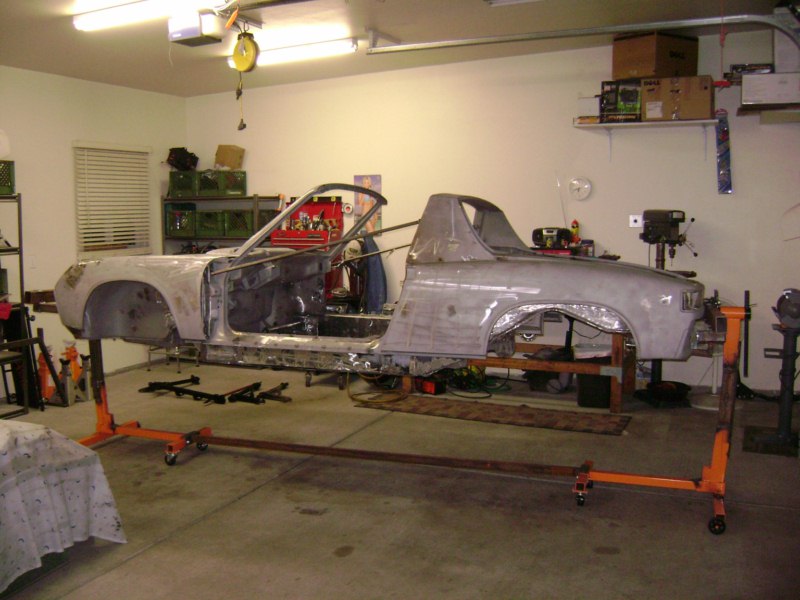
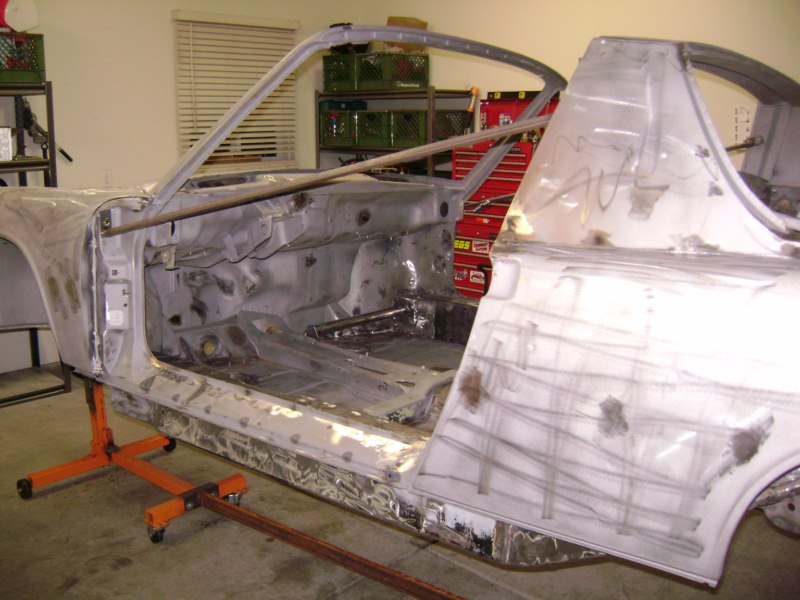
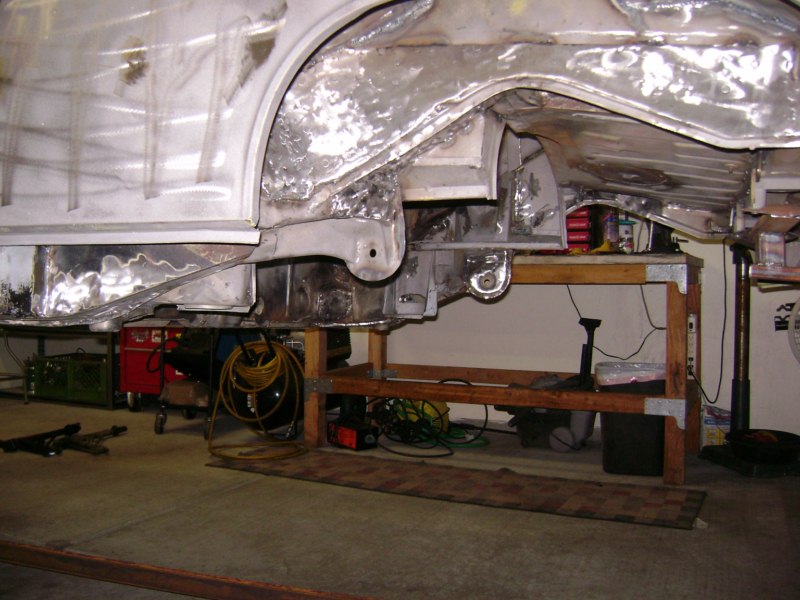
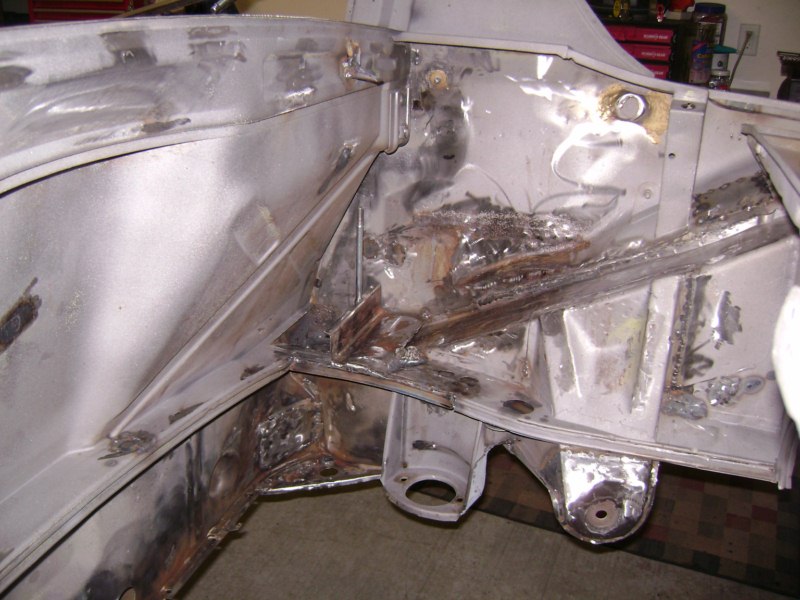
I got 90% of my welding done. Most of the holes are filled. All the rust has been removed except the small corner on the flag that I will tackle this week. My next challenge is the tunnel from the under side... do I need to fix it? The car worked great driving it but I dont want to have to open it up again later...
Here are some pictures. = ) Eric It looks as though they hit a rock and the car bounced on it down the tunnel area... So there are really 2 maybe 3 areas that need to be pulled out if thats what needs to be done... 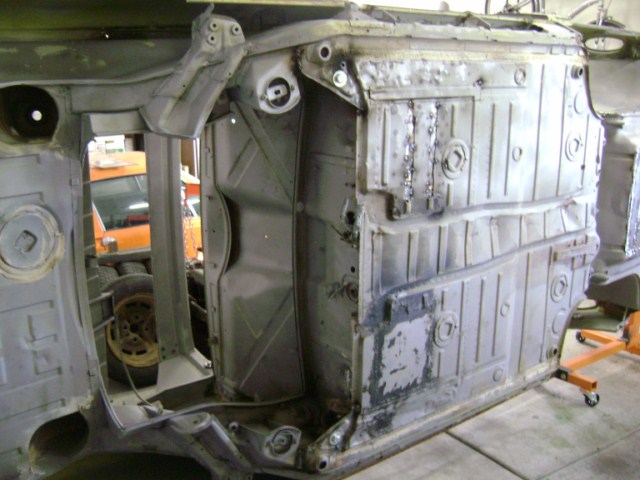 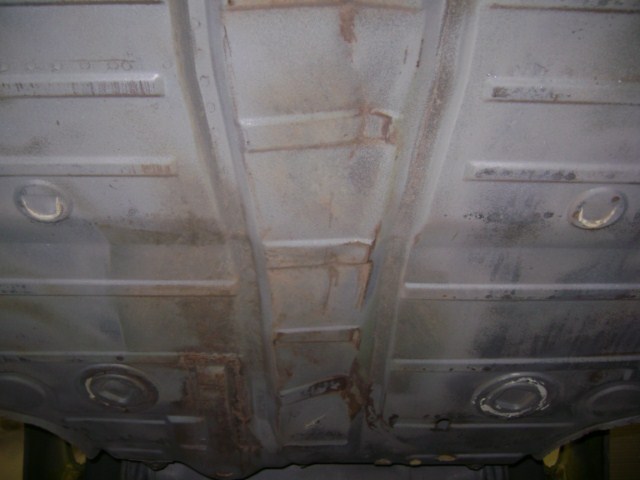 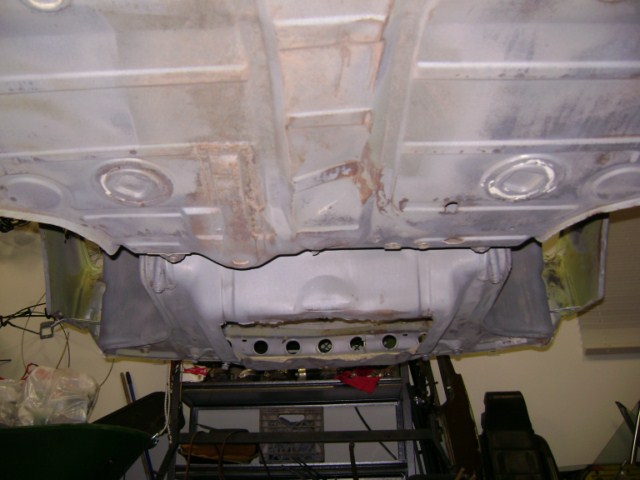 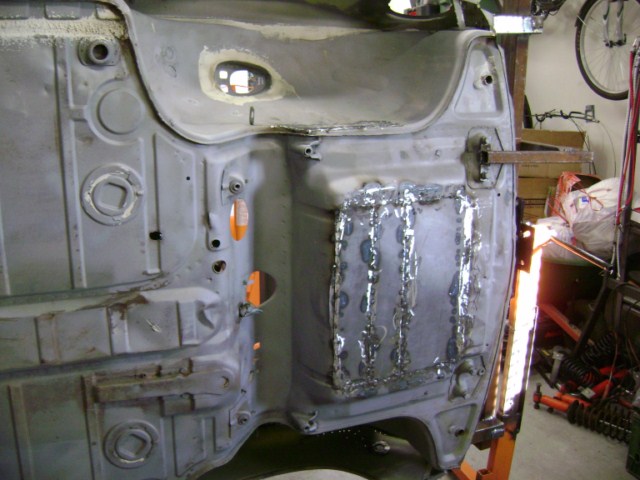 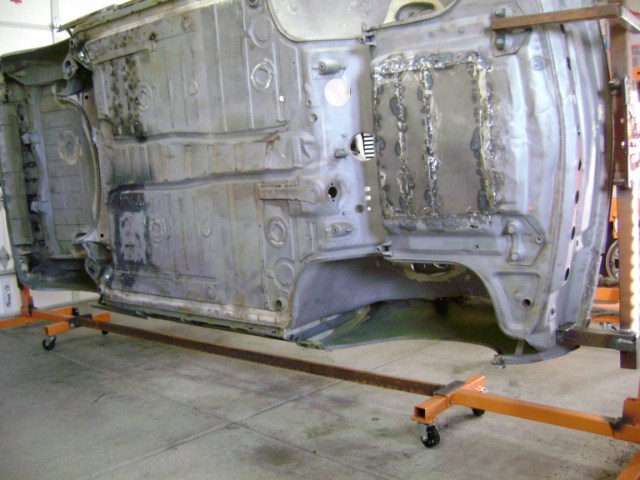 |
|
|
|
| Cire |
Jan 31 2010, 07:54 PM
Post
#45
|
|
Member Group: Members Posts: 279 Joined: 12-March 09 From: Tucson, Arizona Member No.: 10,155 Region Association: None |
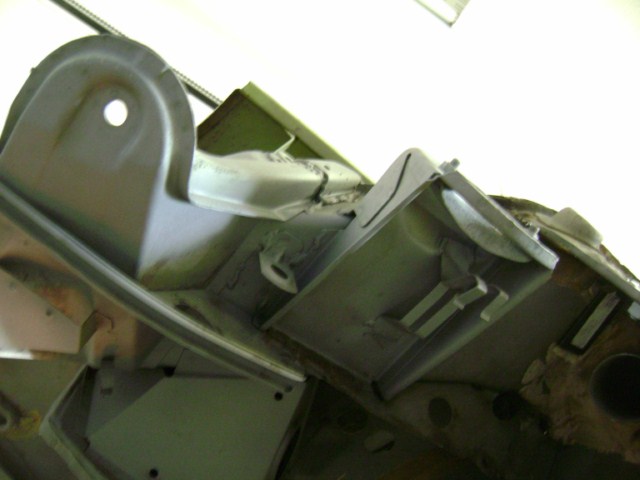
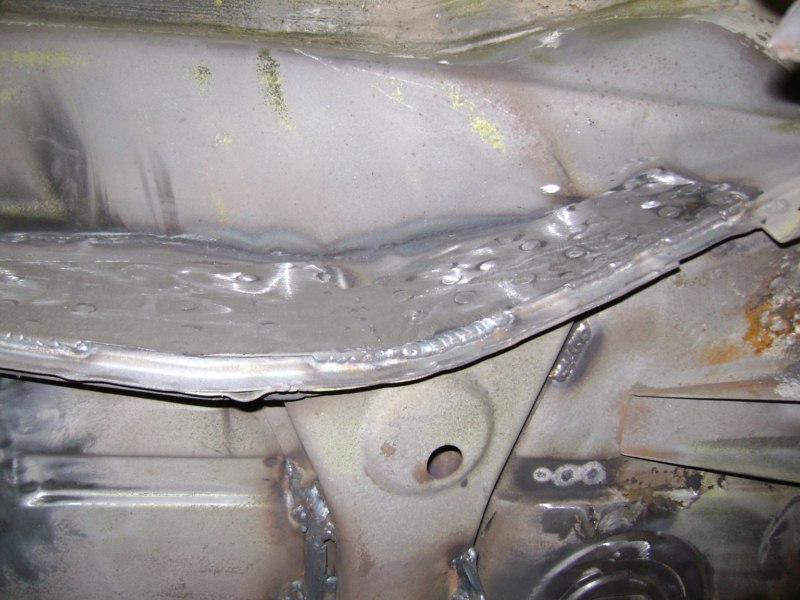
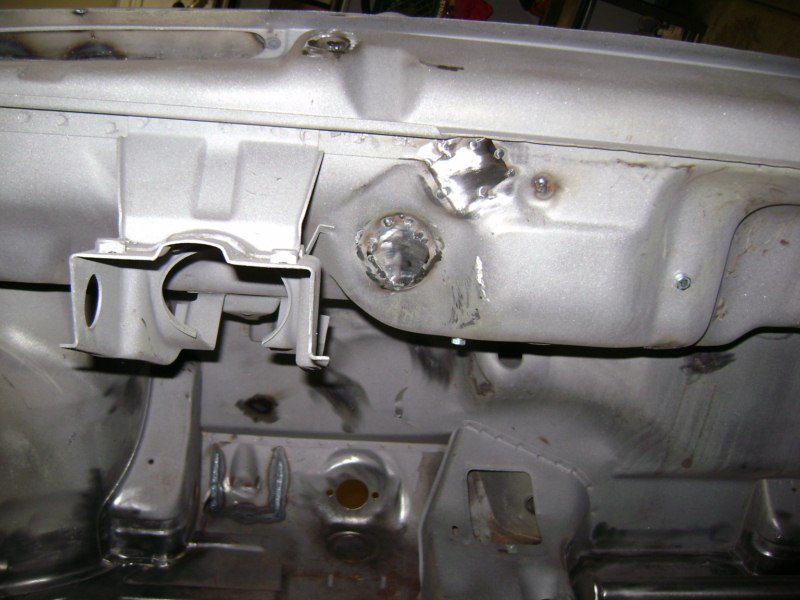
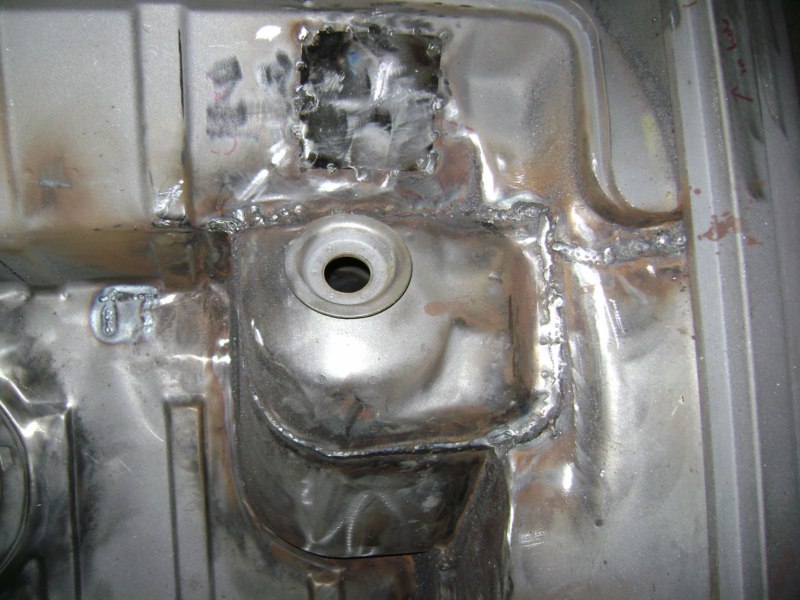
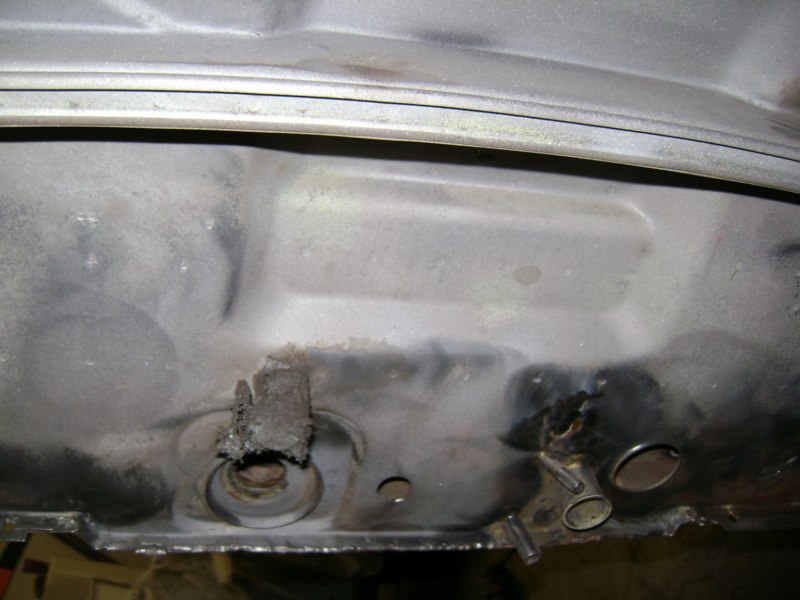
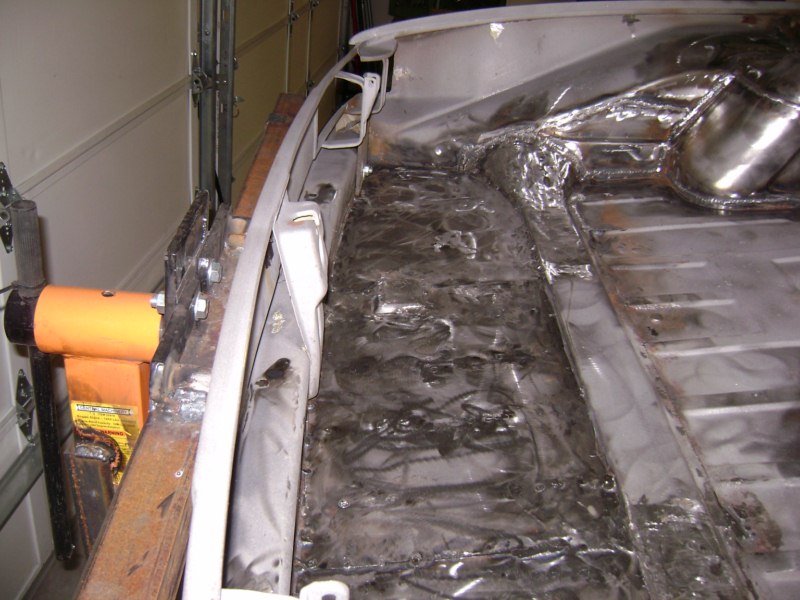
More pictures....
    |
|
|
|
| Cire |
Jan 31 2010, 07:56 PM
Post
#46
|
|
Member Group: Members Posts: 279 Joined: 12-March 09 From: Tucson, Arizona Member No.: 10,155 Region Association: None |
     |
|
|
|
| Cire |
Jan 31 2010, 08:05 PM
Post
#47
|
|
Member Group: Members Posts: 279 Joined: 12-March 09 From: Tucson, Arizona Member No.: 10,155 Region Association: None |
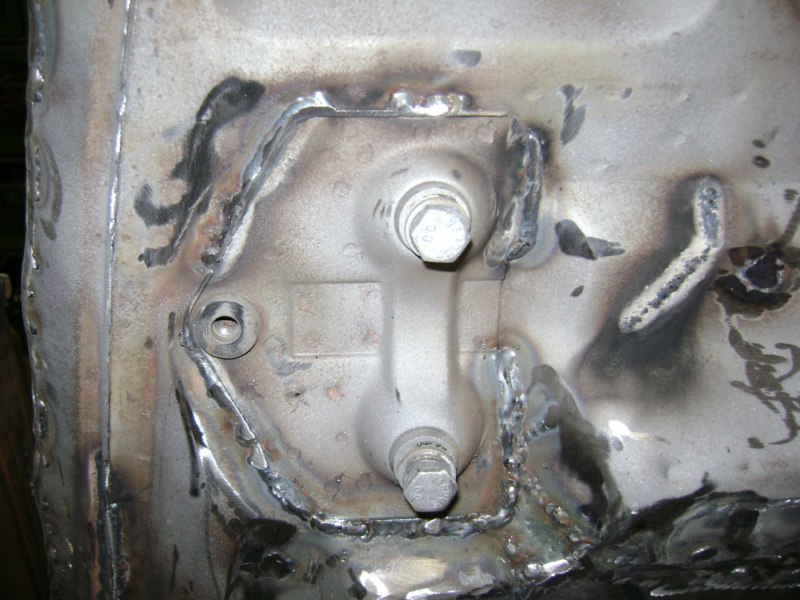
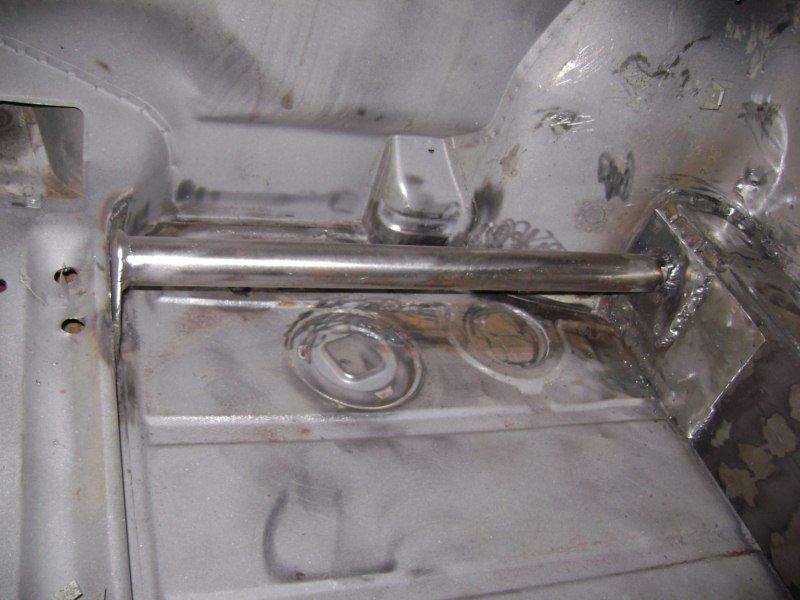
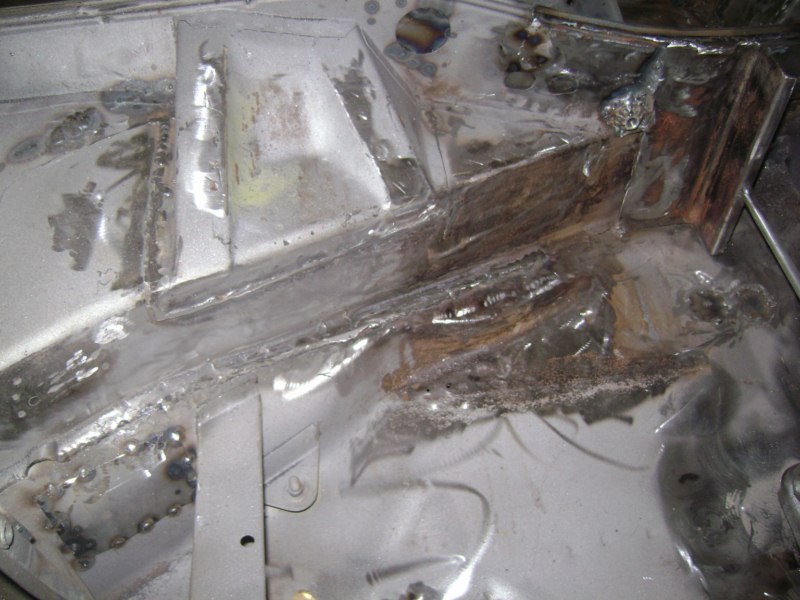
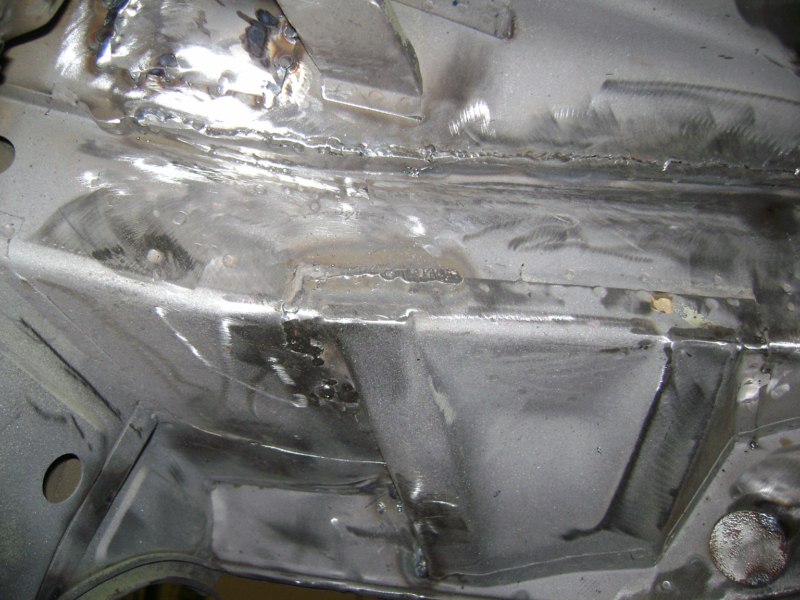
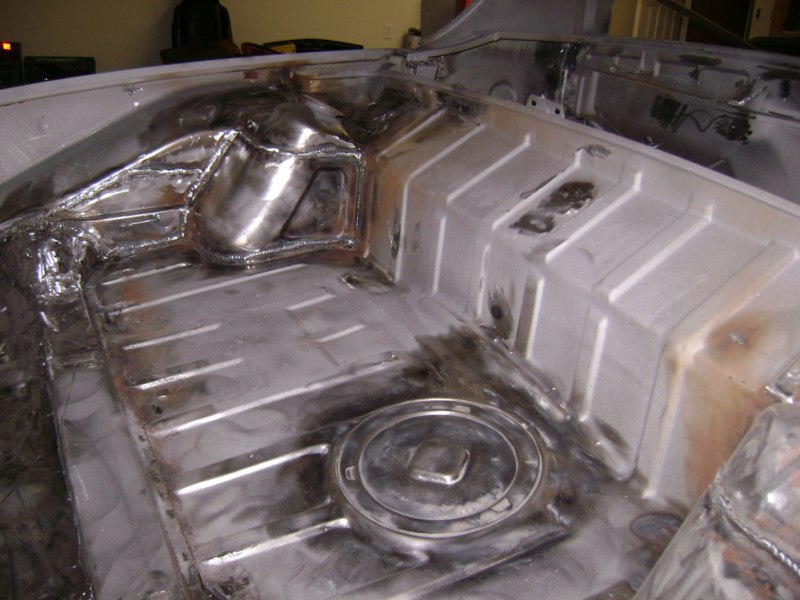
On the third picture... Where it shows the rear stiffening kit installed... I added an extra piece to extend the kit all the way down past the support. Figured it would just help make things a bit stronger.
I talked to Brad and got his Chassis stiffening kit. I cut the jack tube out in preperation for the kit thats coming in the mail. = ) Engman Internal Long Kit Rear Stiffening Kit Brad Mayer External Chassis Kit Tangerine's Ear stuffening kit Tangerine's Front sway bar support 19 MM Front Sway Bar Bilstien Gas Charged Struts 140 LBS springs in the rear Koni rebuilt adjustable shocks in the rear .... Hope its strong enough to handle the stock 1.7 with baby webers I am installing in her.... LOL Eric 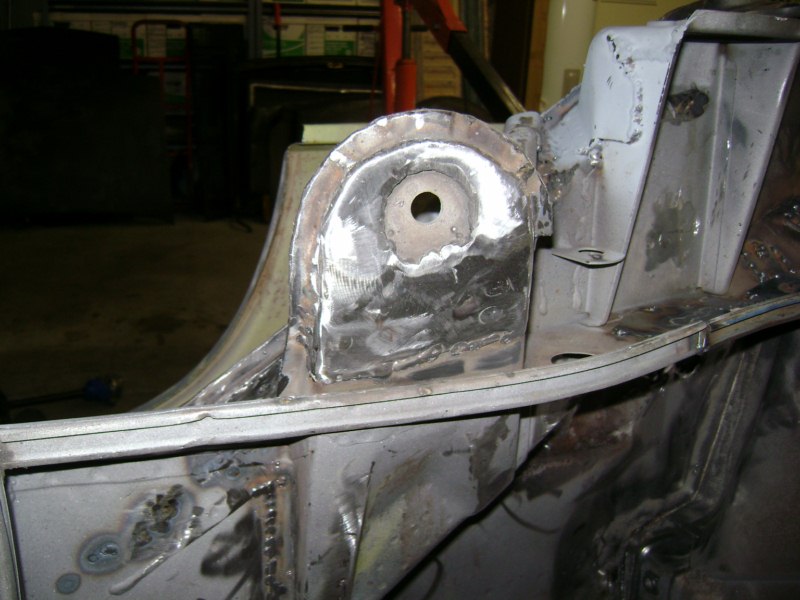 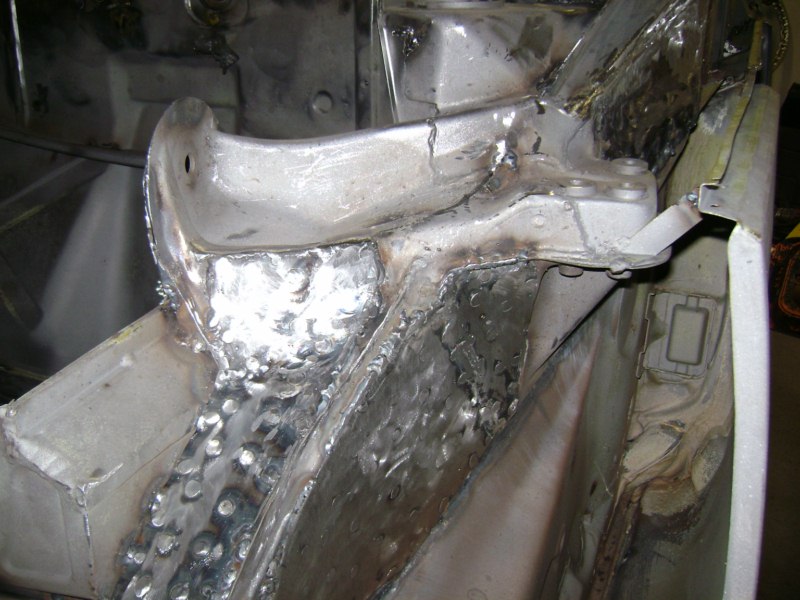 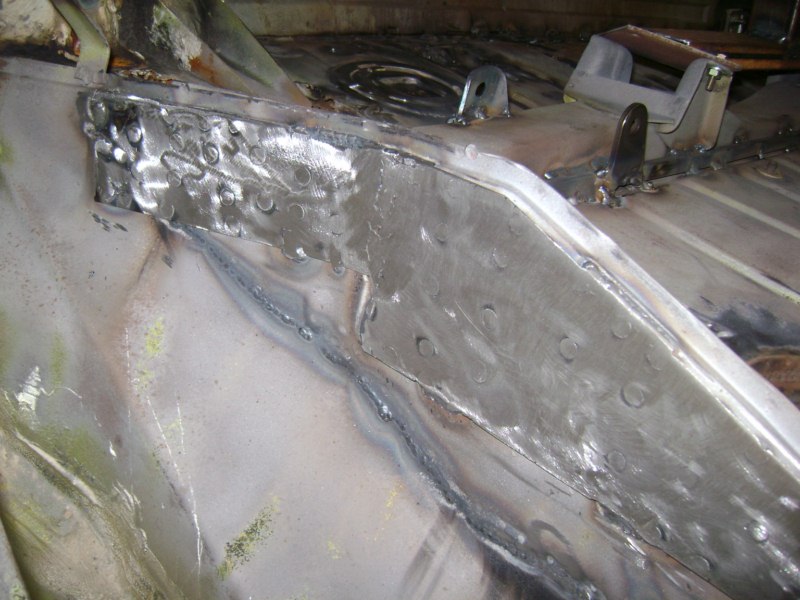 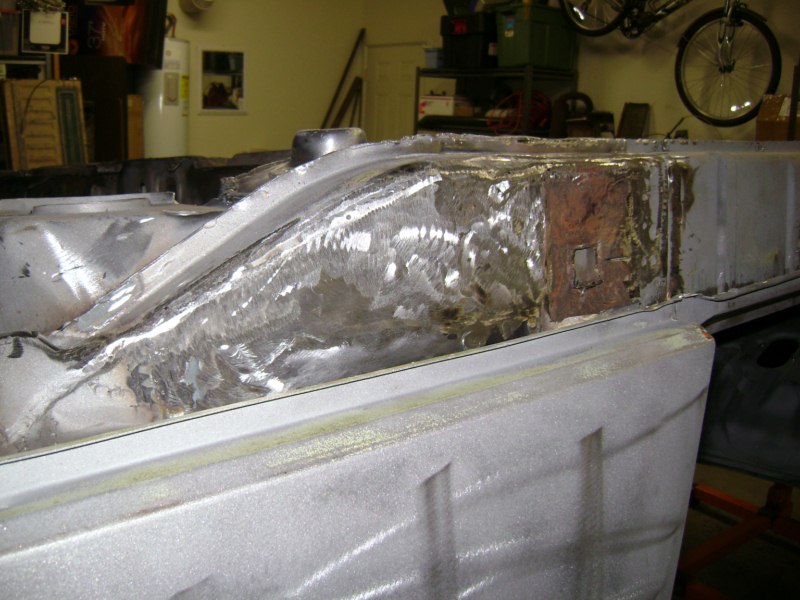 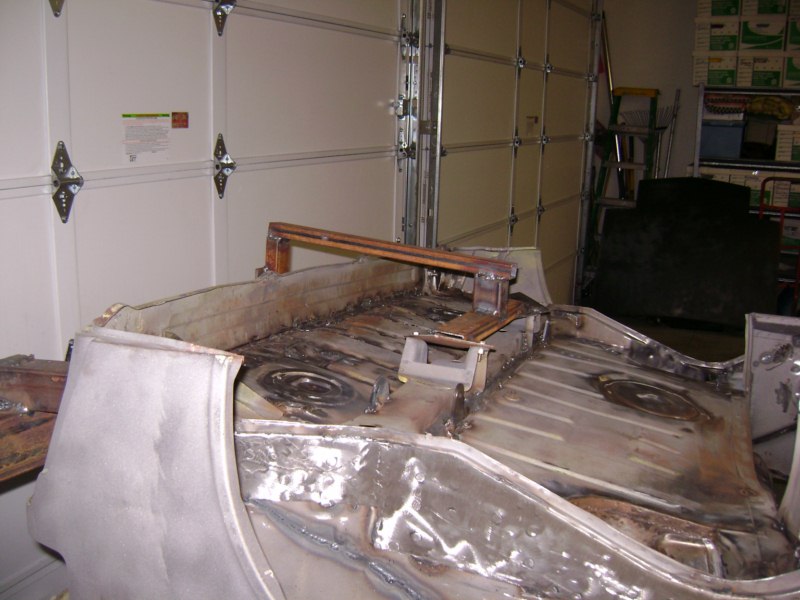 |
|
|
|
| Cire |
Jan 31 2010, 08:07 PM
Post
#48
|
|
Member Group: Members Posts: 279 Joined: 12-March 09 From: Tucson, Arizona Member No.: 10,155 Region Association: None |
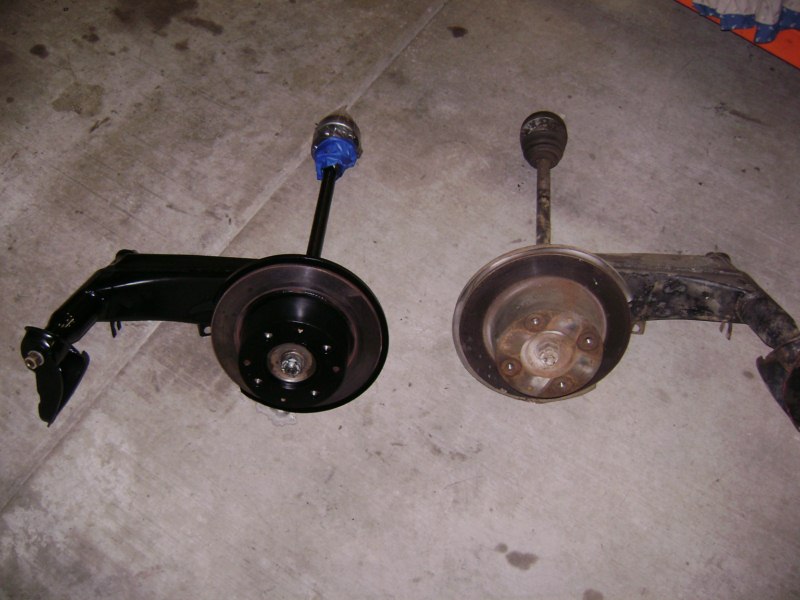
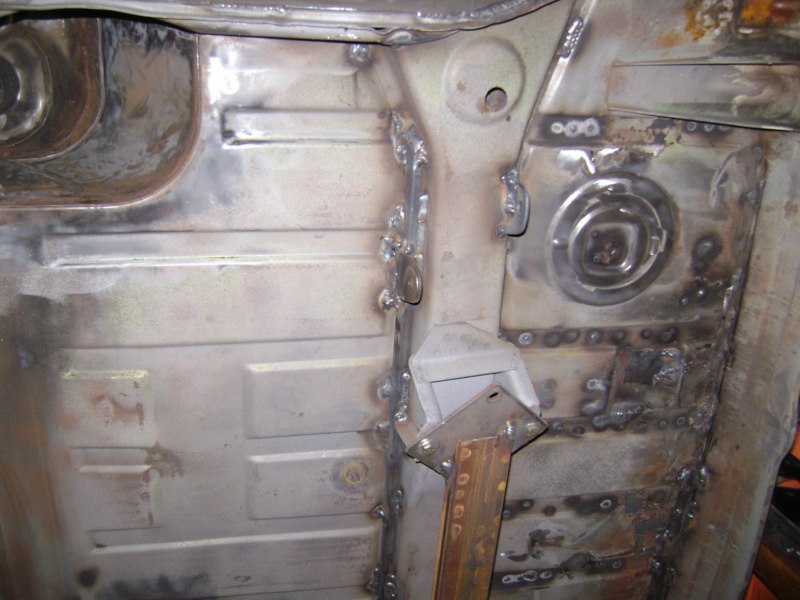
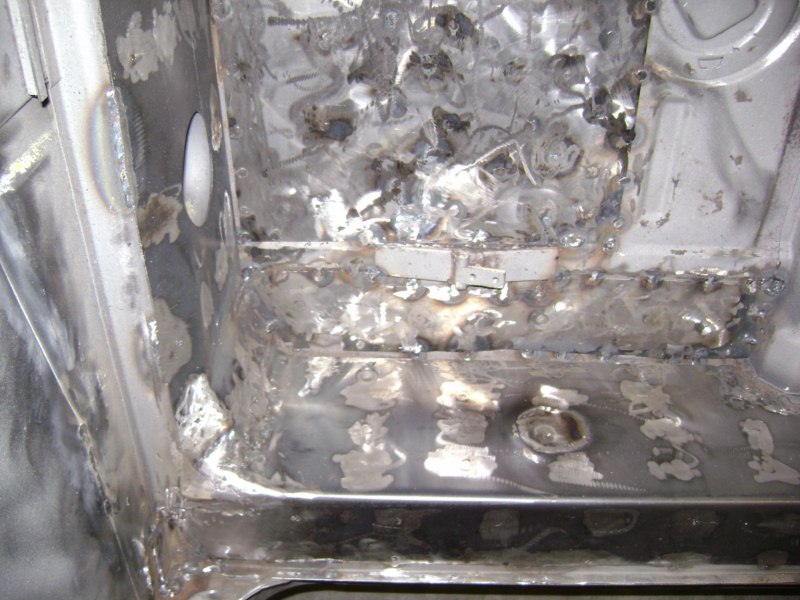
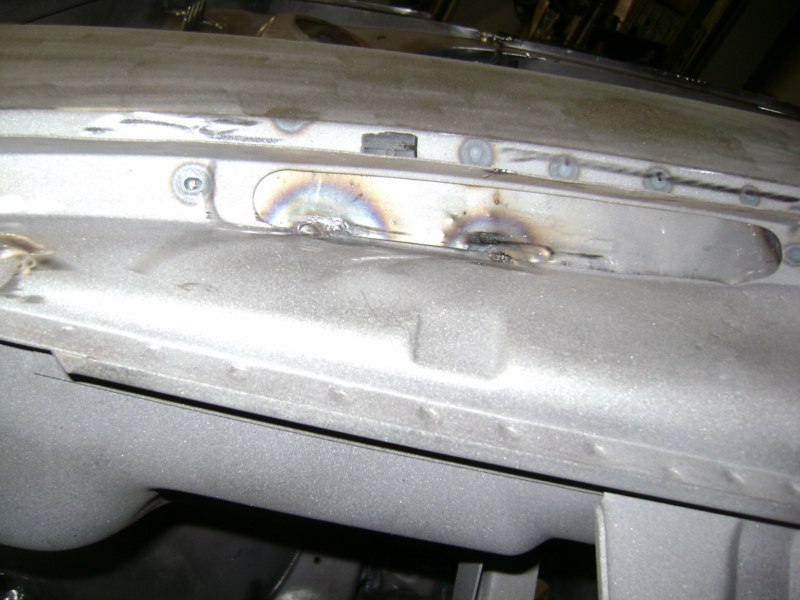
Where we started....
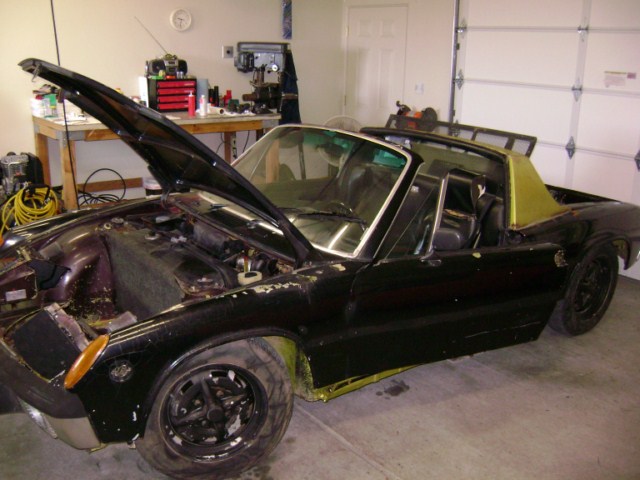 Where we are.... 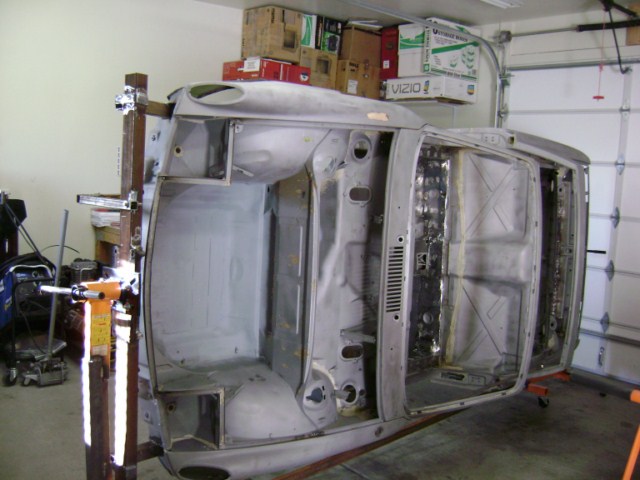 |
|
|
|
| bcaschera |
Jan 31 2010, 11:40 PM
Post
#49
|
|
Member Group: Members Posts: 73 Joined: 1-October 09 From: san jose Member No.: 10,873 Region Association: None |
Good work!! If i were to post a where it was ... where it is photo you would be hard pressed to find what i have done (IMG:style_emoticons/default/dry.gif) damn El Nino
|
|
|
|
| Cire |
Feb 16 2010, 07:41 AM
Post
#50
|
|
Member Group: Members Posts: 279 Joined: 12-March 09 From: Tucson, Arizona Member No.: 10,155 Region Association: None |
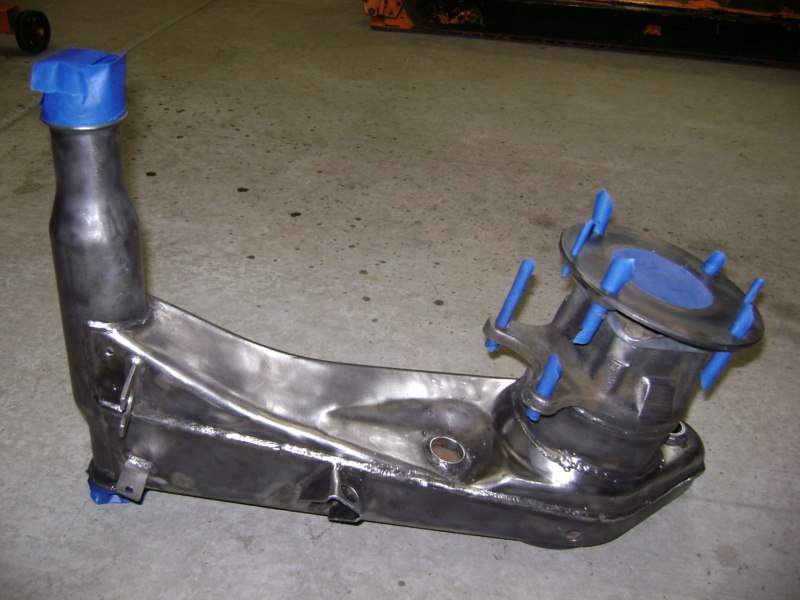
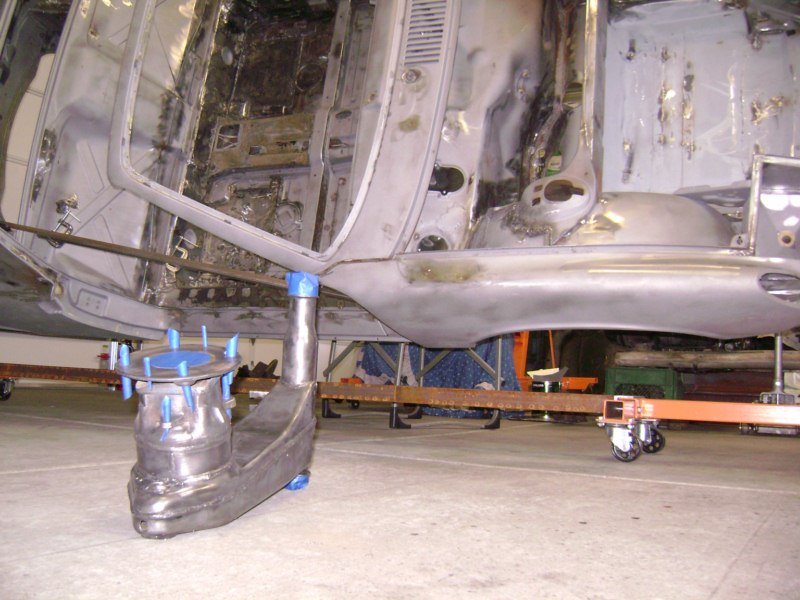
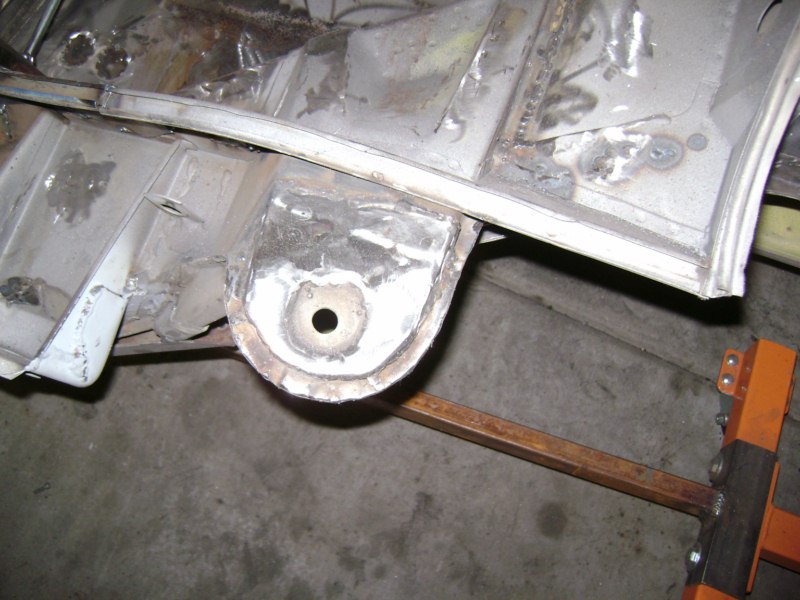
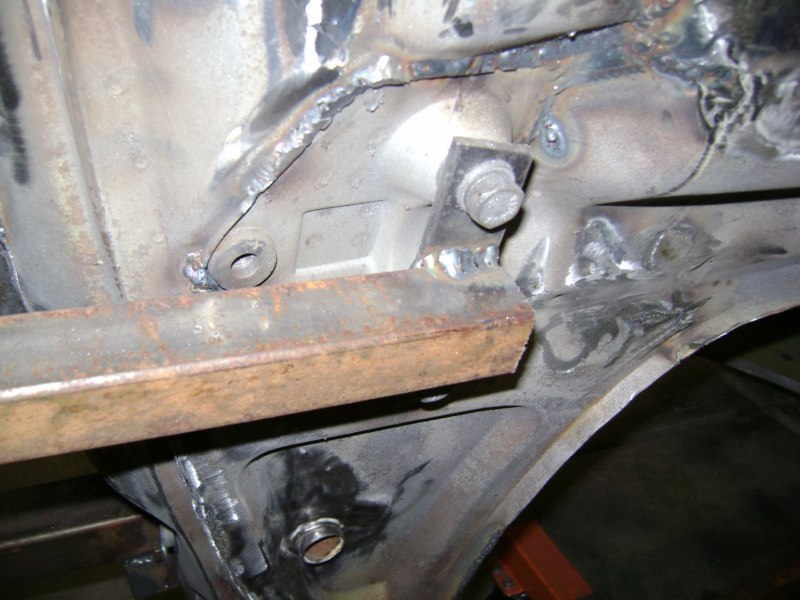
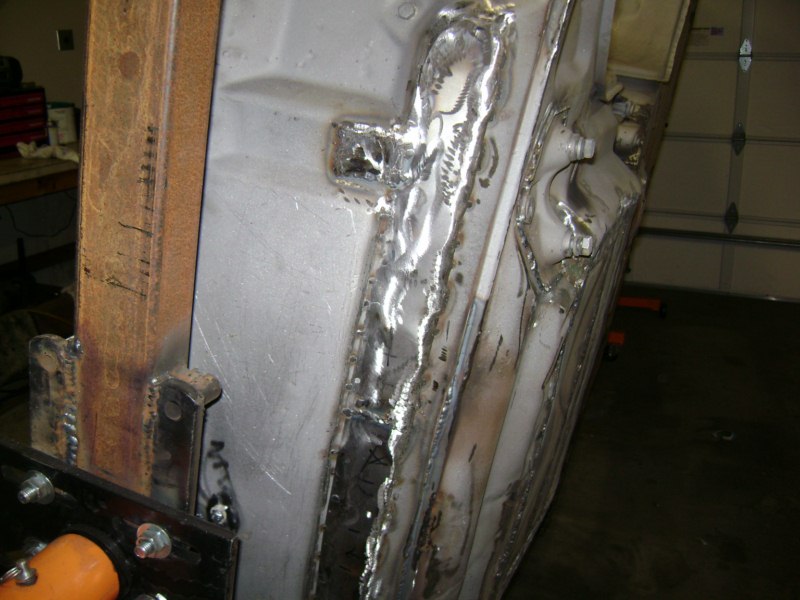
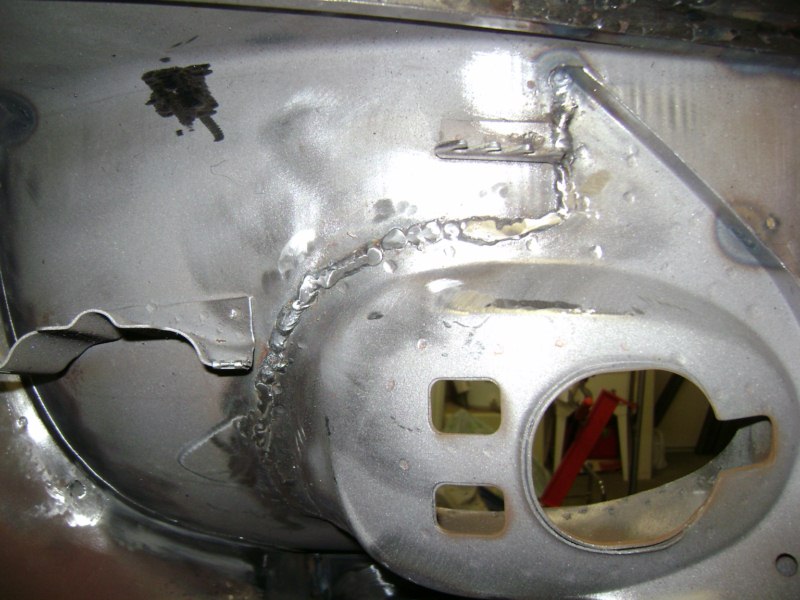
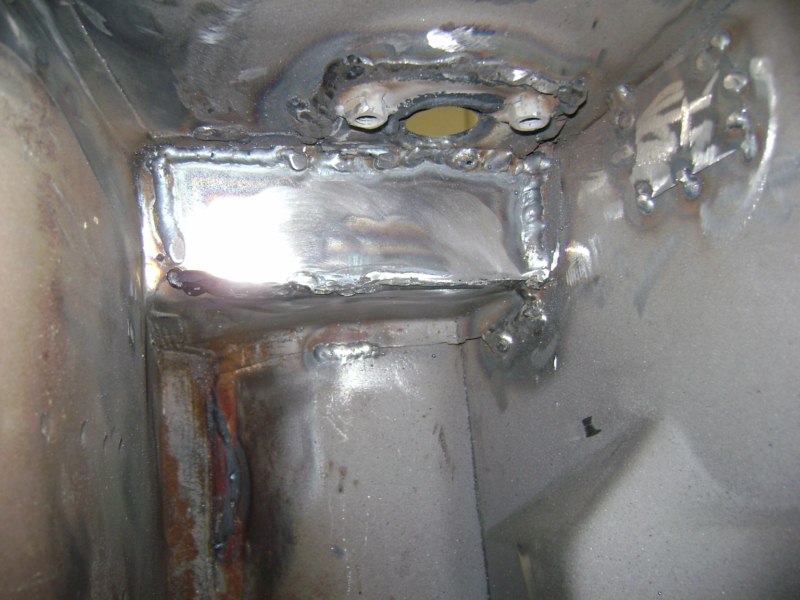
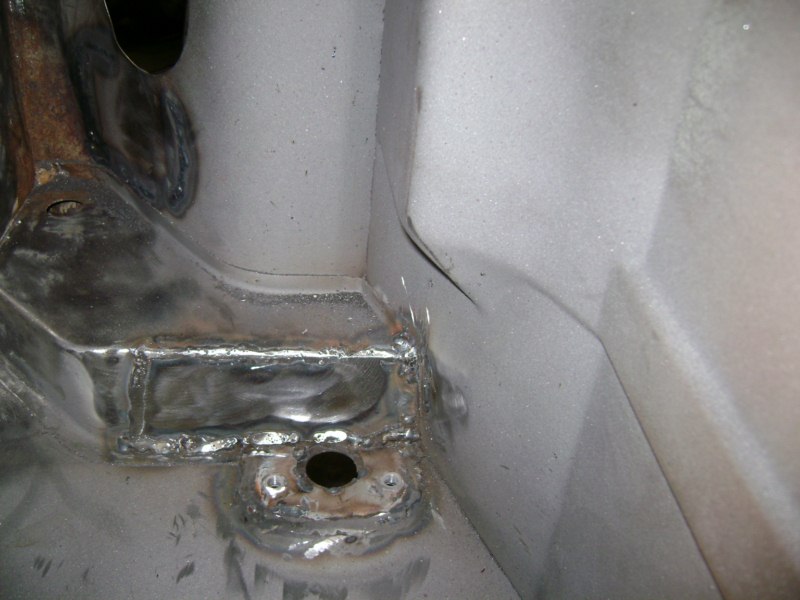
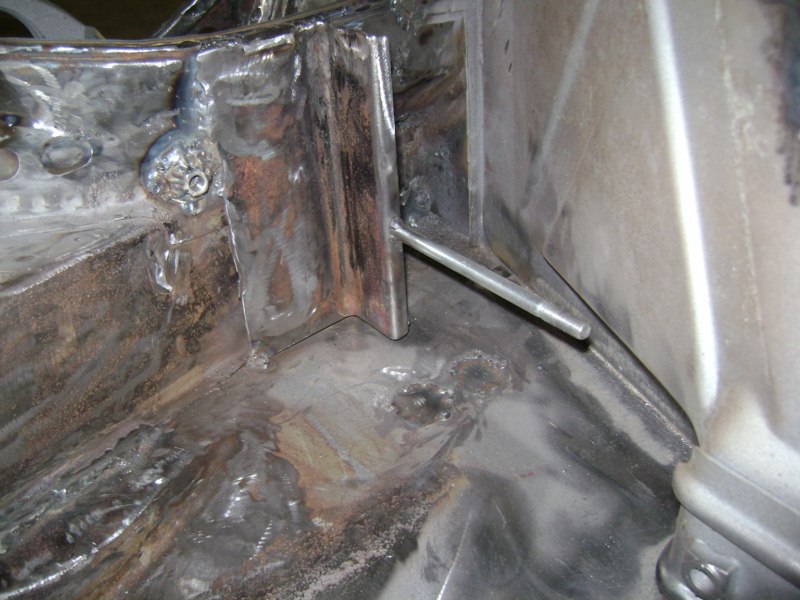
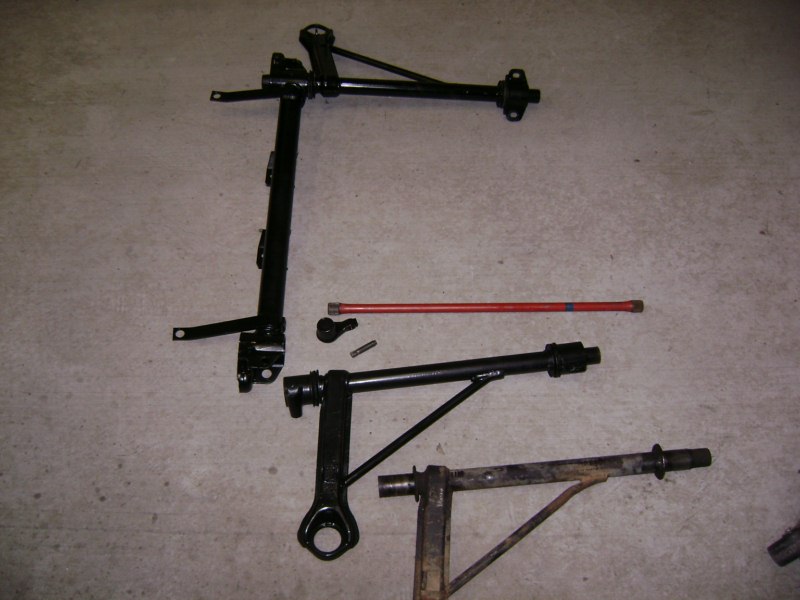
More Pictures. I got the Rob Mayeur Long Kit installed. Nice easy job and it comes out really clean. So the rear end now has the Rob Mayeur long kit connected to a Rear end stiffening kit. The upper arm that has all that extra steel isnt going to budge... I decided not to box my rear trailing arms... I figure I want the car to be more solid than I can stand and the arms be weak. That way if I slide into a curb, it might only be changing a rear trailing arm not bending the frame. Good stuff.
Eric 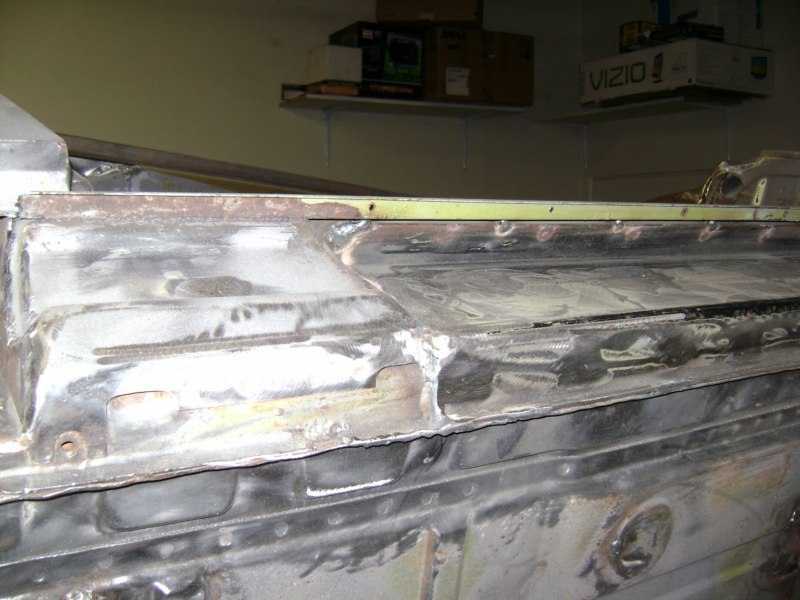 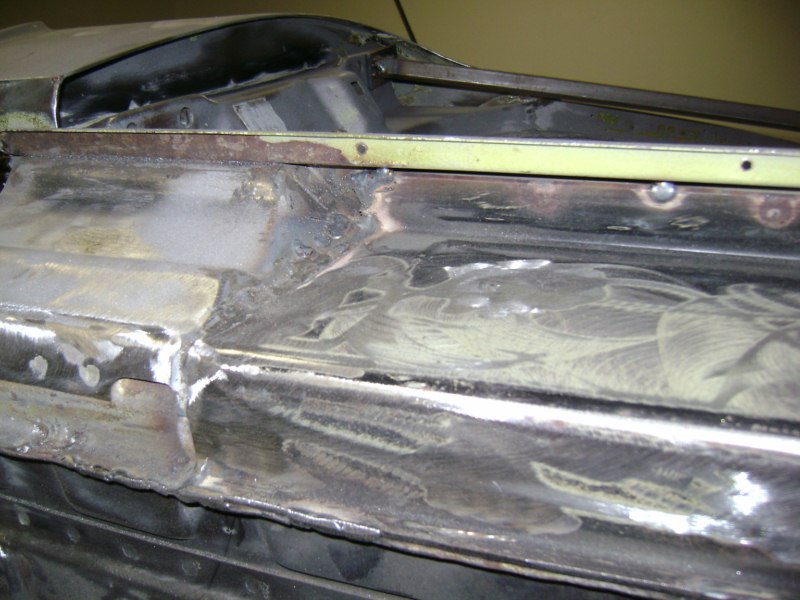 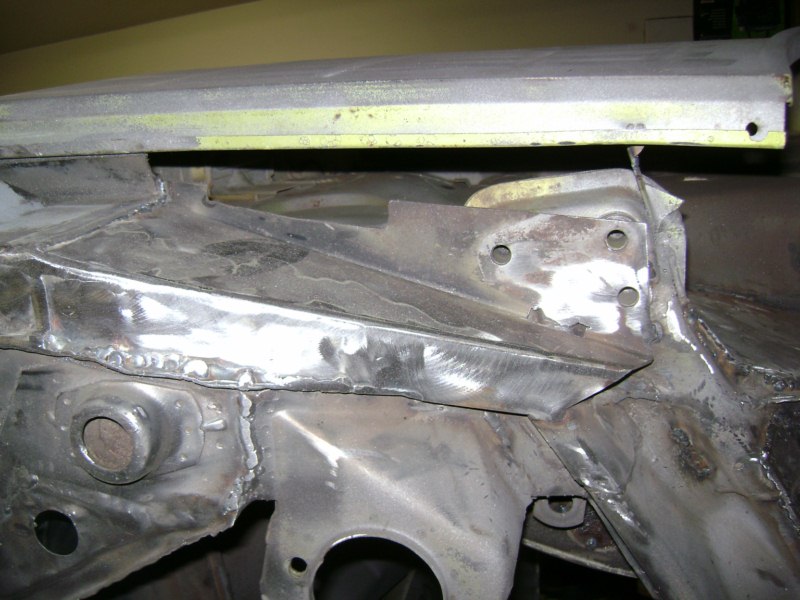  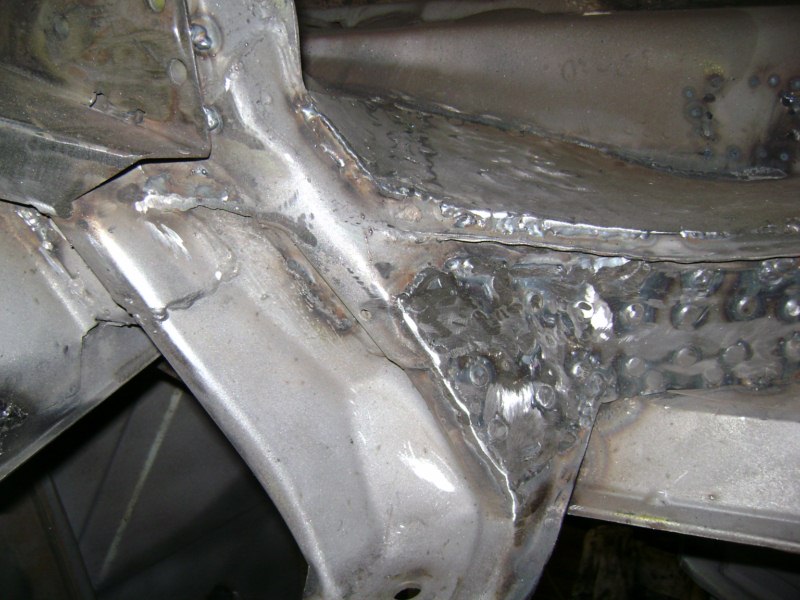 |
|
|
|
| Cire |
Feb 16 2010, 07:43 AM
Post
#51
|
|
Member Group: Members Posts: 279 Joined: 12-March 09 From: Tucson, Arizona Member No.: 10,155 Region Association: None |
     |
|
|
|
| Cire |
Feb 16 2010, 07:45 AM
Post
#52
|
|
Member Group: Members Posts: 279 Joined: 12-March 09 From: Tucson, Arizona Member No.: 10,155 Region Association: None |
     |
|
|
|
| Cire |
Feb 16 2010, 07:46 AM
Post
#53
|
|
Member Group: Members Posts: 279 Joined: 12-March 09 From: Tucson, Arizona Member No.: 10,155 Region Association: None |
     |
|
|
|
| Cire |
Feb 16 2010, 07:48 AM
Post
#54
|
|
Member Group: Members Posts: 279 Joined: 12-March 09 From: Tucson, Arizona Member No.: 10,155 Region Association: None |
     |
|
|
|
| Cire |
Feb 16 2010, 07:49 AM
Post
#55
|
|
Member Group: Members Posts: 279 Joined: 12-March 09 From: Tucson, Arizona Member No.: 10,155 Region Association: None |
     |
|
|
|
| Cire |
Feb 16 2010, 07:51 AM
Post
#56
|
|
Member Group: Members Posts: 279 Joined: 12-March 09 From: Tucson, Arizona Member No.: 10,155 Region Association: None |
     |
|
|
|
| Cire |
Feb 16 2010, 07:53 AM
Post
#57
|
|
Member Group: Members Posts: 279 Joined: 12-March 09 From: Tucson, Arizona Member No.: 10,155 Region Association: None |
     |
|
|
|
| Cire |
Feb 16 2010, 07:54 AM
Post
#58
|
|
Member Group: Members Posts: 279 Joined: 12-March 09 From: Tucson, Arizona Member No.: 10,155 Region Association: None |
     |
|
|
|
| Cire |
Feb 16 2010, 07:56 AM
Post
#59
|
|
Member Group: Members Posts: 279 Joined: 12-March 09 From: Tucson, Arizona Member No.: 10,155 Region Association: None |
     |
|
|
|
| Cire |
Feb 16 2010, 07:58 AM
Post
#60
|
|
Member Group: Members Posts: 279 Joined: 12-March 09 From: Tucson, Arizona Member No.: 10,155 Region Association: None |
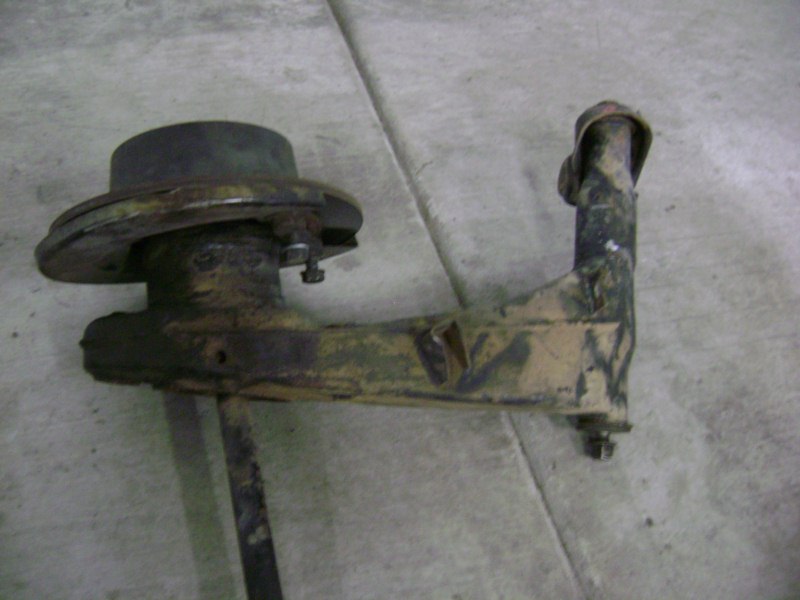
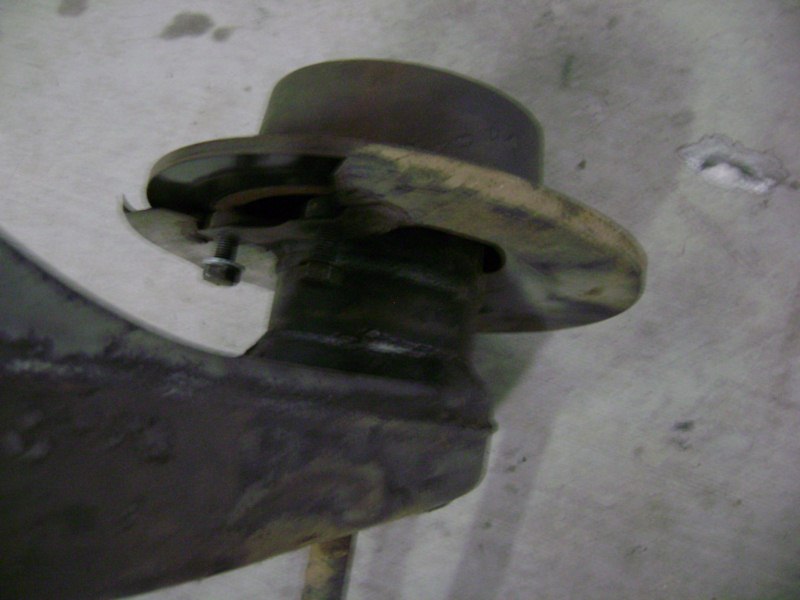
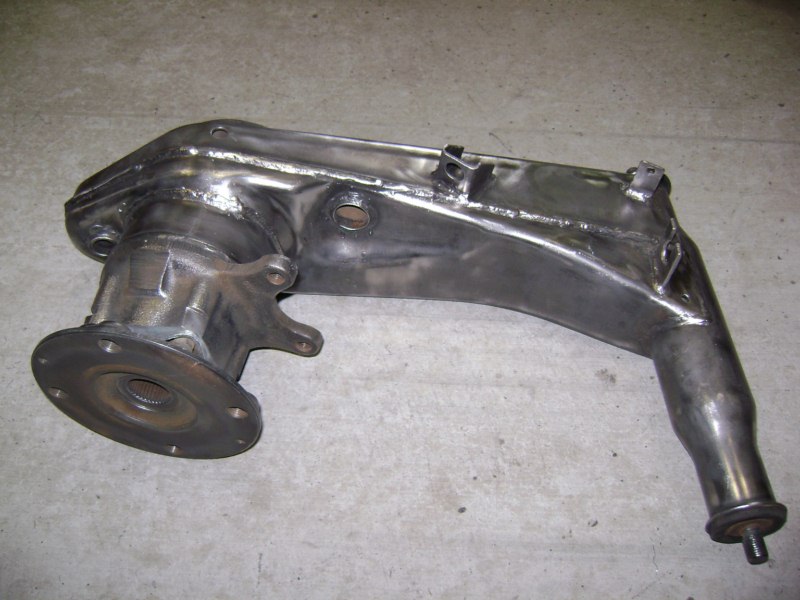
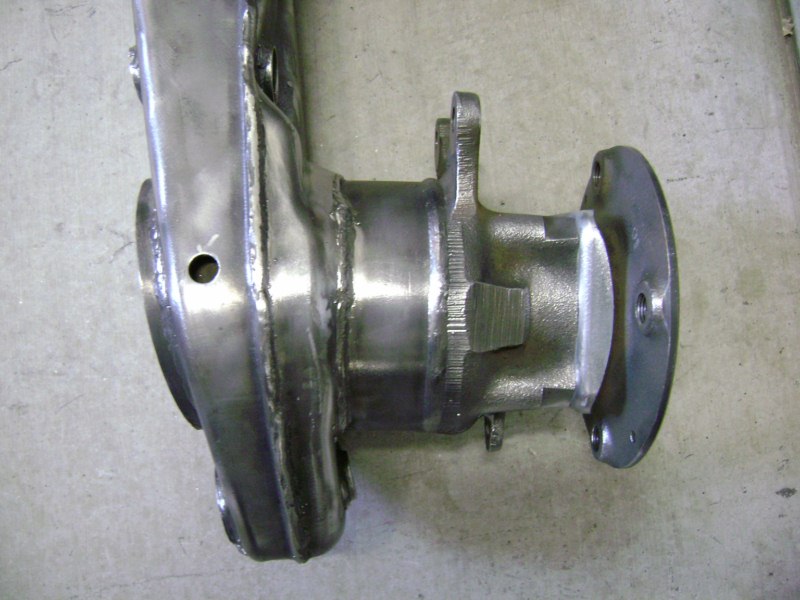
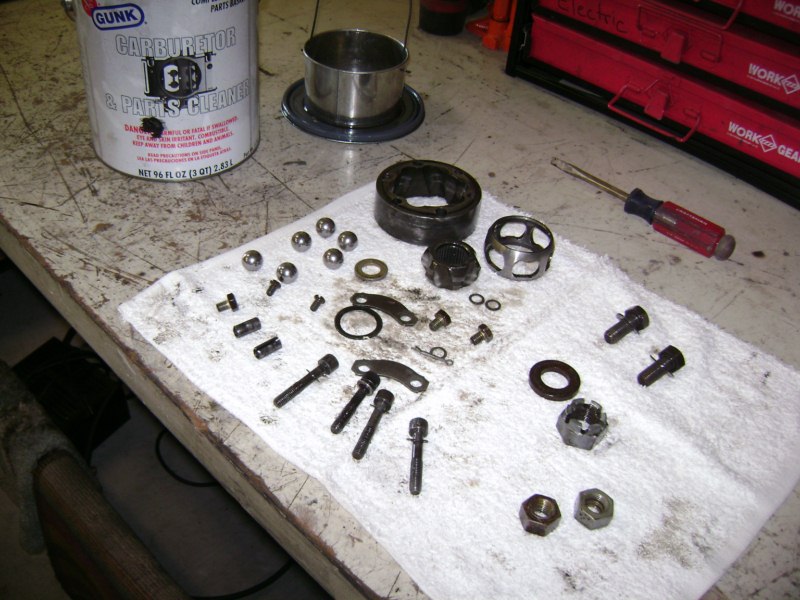
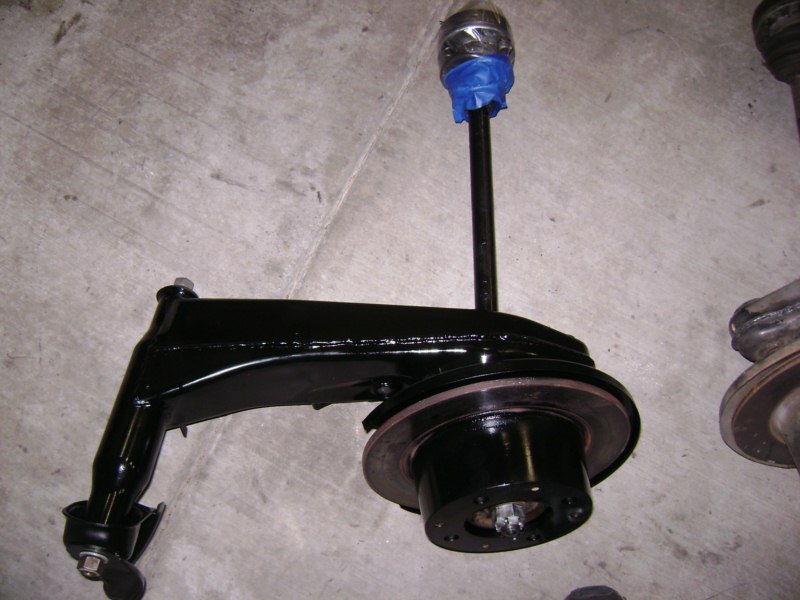
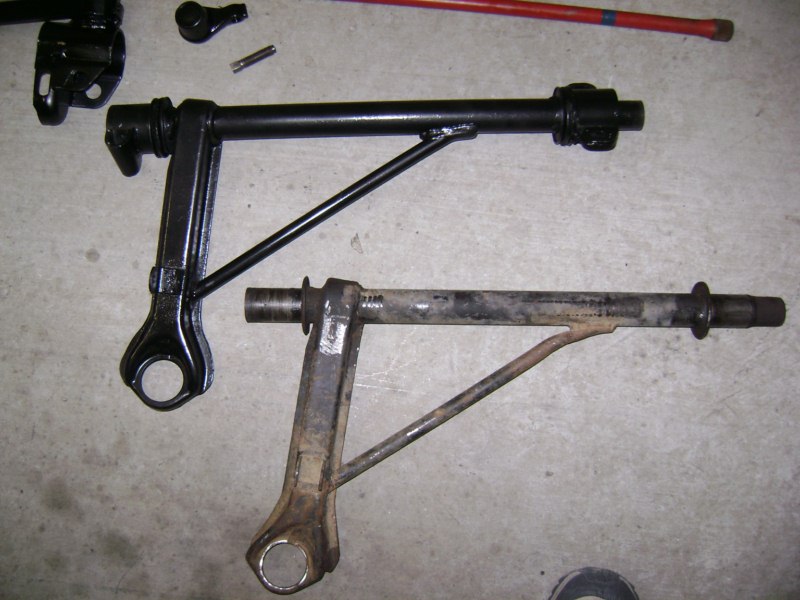
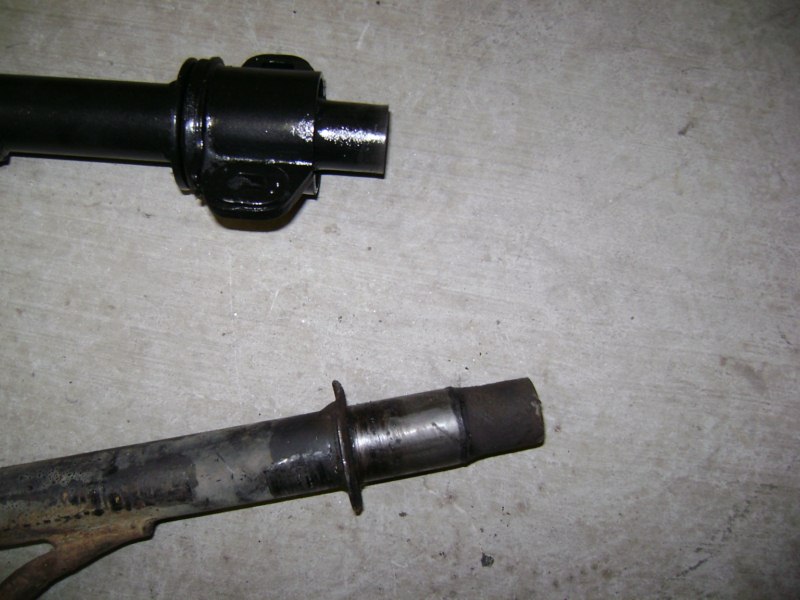
Argggg I got a 911 a arm verses a 914... Spent hours cleaning, pulling out the bushings, painting putting it all back together to find out.... (IMG:style_emoticons/default/headbang.gif) IT WASNT RIGHT!!! = ) And so it goes....
   |
|
|
|
|
1 User(s) are reading this topic (1 Guests and 0 Anonymous Users)
0 Members:

|
Lo-Fi Version | Time is now: 4th July 2025 - 01:43 PM |
Invision Power Board
v9.1.4 © 2025 IPS, Inc.