|
|
|
Porsche, and the Porsche crest are registered trademarks of Dr. Ing. h.c. F. Porsche AG.
This site is not affiliated with Porsche in any way. Its only purpose is to provide an online forum for car enthusiasts. All other trademarks are property of their respective owners. |
|
|

  |

| EdwardBlume |
 May 26 2010, 09:39 PM May 26 2010, 09:39 PM
Post
#1
|
|
914 Wizard  Group: Members Posts: 12,338 Joined: 2-January 03 From: SLO Member No.: 81 Region Association: Central California |
Tonight I reassembled my engine lid. It was painted along with the car by Steve Willie both in the Olympic blue and a gloss black on the lower side... I had to spray the grills, install new welting (thanks Mikey914 - awesome replacement), and install chrome lettering (why not?)..
Here is my paint booth for the grills. I used a rust inhibitor gloss black mainly because I like shiny black vs flat black.. and hate rust... Attached image(s) 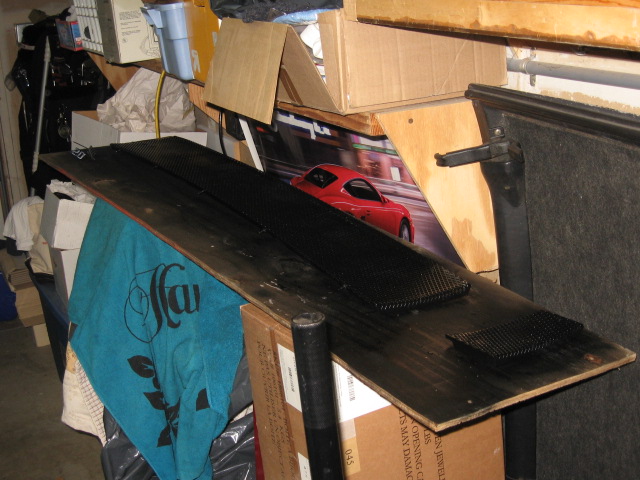
|
   |

 
|
| DanT |
May 26 2010, 09:41 PM
Post
#2
|
|
Going back to the Dark Side! Group: Members Posts: 4,300 Joined: 4-October 04 From: Auburn, CA Member No.: 2,880 Region Association: None |
Nice Rob....I am with you on the gloss black.
All the valences and rockers and engine lid screens on my '75 will be gloss black...only satin will be on the top. |
|
|
|
| EdwardBlume |
May 26 2010, 09:43 PM
Post
#3
|
|
914 Wizard Group: Members Posts: 12,338 Joined: 2-January 03 From: SLO Member No.: 81 Region Association: Central California |
Next is preparing and installing the welting...
The old stuff is hard and not pliable, the new stuff is soft... ahhh.... Using the old one as a template, I used a hole punch, scissors, and a blade to cut out the holes for mounting... do not make the gaps any larger than you need to, but the hole punch helped from getting the lip distorted... The ends get cut straight too... To mount just feed the hook end of the welting onto the grill... take care not to pinch or smash the lip but secure it firmly.. Attached image(s) 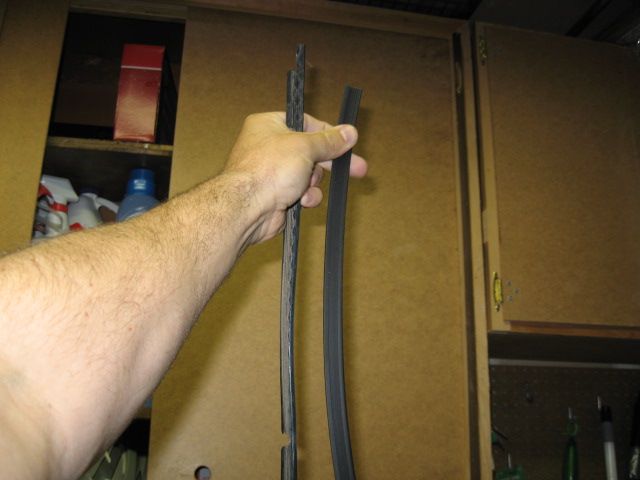 
|
|
|
|
| EdwardBlume |
May 26 2010, 09:46 PM
Post
#4
|
|
914 Wizard Group: Members Posts: 12,338 Joined: 2-January 03 From: SLO Member No.: 81 Region Association: Central California |
Here are some better shots...
the fit and finish of the new welting is excellent. I just touched it up on the top side only with protectant... Attached image(s)  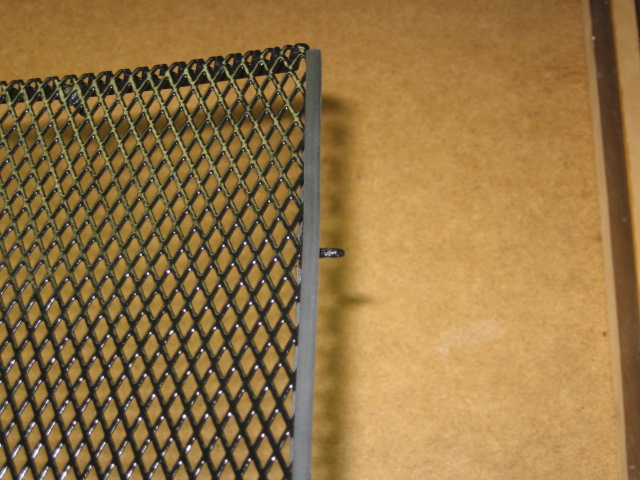 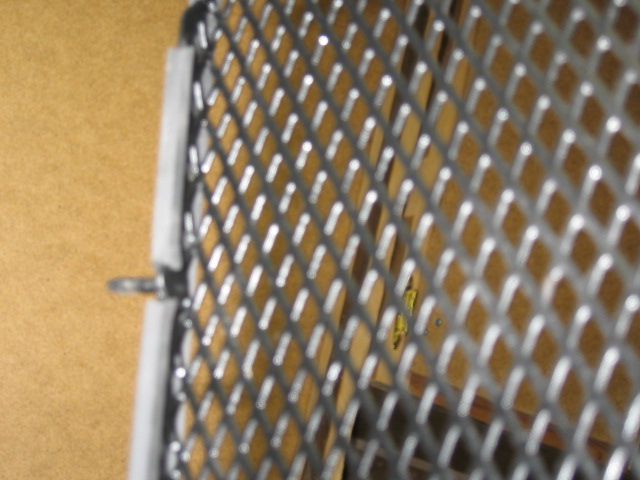
|
|
|
|
| EdwardBlume |
May 26 2010, 09:51 PM
Post
#5
|
|
914 Wizard Group: Members Posts: 12,338 Joined: 2-January 03 From: SLO Member No.: 81 Region Association: Central California |
Installing the grill is easy if the grill isnt too bent...
On adding the letters, I was able to find the center because some glue was there from 25 years ago... from the center working outwards, I was able to set the letters up equal distant apart PORSCHE... At first, I preferred seeing them closer together or 6 diamonds apart, but after looking at it with the tray on... it looked better properly spaced.. I believe each letter is now 8 diamonds apart.. I attached the letters with the screw type fasthers.. the ones I used were old and I had to shave some of the buffer material off to make them attach on a couple letters... NOTE: If I could go back, I would paint the INSIDE of the screw fastners black too so they "disappear" but they are not too terribly noticeable. |
|
|
|
| EdwardBlume |
May 26 2010, 09:54 PM
Post
#6
|
|
914 Wizard Group: Members Posts: 12,338 Joined: 2-January 03 From: SLO Member No.: 81 Region Association: Central California |
Here is the final product:
I still need to tap a couple bolts in the rain tray (and the rain tray of course doesn't fit very well), attach the torsion bars, and I have the rubber trunk protector around here somewhere..... but I should be good to go.... Not tough at all.... Attached image(s) 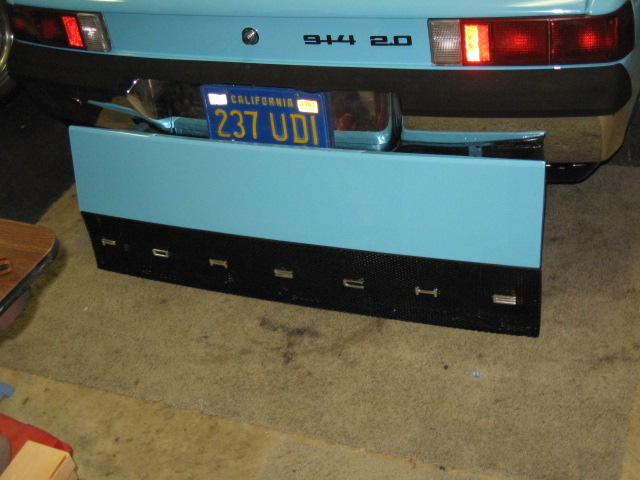
|
|
|
|
|
1 User(s) are reading this topic (1 Guests and 0 Anonymous Users)
0 Members:

|
Lo-Fi Version | Time is now: 17th May 2024 - 07:25 PM |
Invision Power Board
v9.1.4 © 2024 IPS, Inc.