|
|
|
Porsche, and the Porsche crest are registered trademarks of Dr. Ing. h.c. F. Porsche AG.
This site is not affiliated with Porsche in any way. Its only purpose is to provide an online forum for car enthusiasts. All other trademarks are property of their respective owners. |
|
|

  |

| Zaney |
 Jun 13 2010, 10:12 PM Jun 13 2010, 10:12 PM
Post
#1
|
|
Deuchland en der Haus  Group: Members Posts: 461 Joined: 1-March 04 From: Engine 11 Redmond, WA Member No.: 1,738 Region Association: Pacific Northwest |
Could someone who has already purchased the Bremar aluminum plate please measure the thickness of the plate and, post the thickness.
Thanks! |
   |

 
|
| rickthejetman |
Jun 13 2010, 10:28 PM
Post
#2
|
|
Member Group: Members Posts: 90 Joined: 5-May 09 From: victorville ,ca Member No.: 10,335 Region Association: None |
QUOTE(Zaney @ Jun 13 2010, 09:12 PM)  Could someone who has already purchased the Bremar aluminum plate please measure the thickness of the plate and, post the thickness. Thanks! i made my own out of 1/8" plate from the pics i saw of theres it looked to be around 1/4" but i figured they made it that thick because of the machined in logo. |
|
|
|
| Zaney |
Jun 13 2010, 11:01 PM
Post
#3
|
|
Deuchland en der Haus Group: Members Posts: 461 Joined: 1-March 04 From: Engine 11 Redmond, WA Member No.: 1,738 Region Association: Pacific Northwest |
QUOTE(rickthejetman @ Jun 13 2010, 09:28 PM) QUOTE(Zaney @ Jun 13 2010, 09:12 PM) Could someone who has already purchased the Bremar aluminum plate please measure the thickness of the plate and, post the thickness. Thanks! i made my own out of 1/8" plate from the pics i saw of theres it looked to be around 1/4" but i figured they made it that thick because of the machined in logo. Would you mind posting pics of your finished plate? Thanks for the info! |
|
|
|
| BIGKAT_83 |
Jun 14 2010, 07:19 AM
Post
#4
|
|
Senior Member Group: Members Posts: 1,800 Joined: 25-January 03 From: Way down south Bogart,GA Member No.: 194 Region Association: South East States |
Here you go....
 Bob |
|
|
|
| rickthejetman |
Jun 14 2010, 07:33 AM
Post
#5
|
|
Member Group: Members Posts: 90 Joined: 5-May 09 From: victorville ,ca Member No.: 10,335 Region Association: None |
QUOTE(Zaney @ Jun 13 2010, 10:01 PM) QUOTE(rickthejetman @ Jun 13 2010, 09:28 PM) QUOTE(Zaney @ Jun 13 2010, 09:12 PM) Could someone who has already purchased the Bremar aluminum plate please measure the thickness of the plate and, post the thickness. Thanks! i made my own out of 1/8" plate from the pics i saw of theres it looked to be around 1/4" but i figured they made it that thick because of the machined in logo. Would you mind posting pics of your finished plate? Thanks for the info! sure i'll take a pic when i get home from work. |
|
|
|
| strawman |
Jun 15 2010, 02:08 AM
Post
#6
|
|
Senior Member Group: Members Posts: 891 Joined: 25-January 08 From: Los Osos, CA Member No.: 8,624 Region Association: Central California |
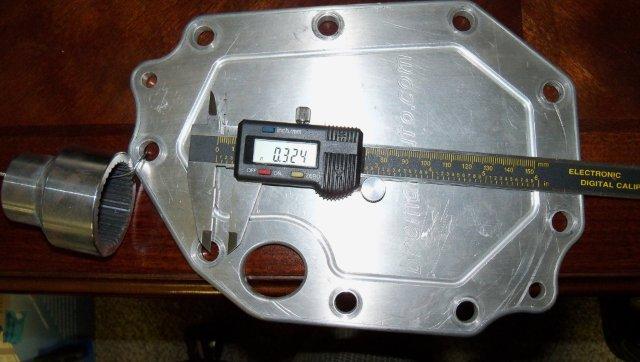
QUOTE(Zaney @ Jun 13 2010, 09:12 PM) Could someone who has already purchased the Bremar aluminum plate please measure the thickness of the plate and, post the thickness. Thanks! I just measured mine, and it is 0.32". But I don't think the thickness is critical, since it only appears to be keeping the gear oil in. Post pics when your plate is done! |
|
|
|
| charliew |
Jun 15 2010, 01:58 PM
Post
#7
|
|
Advanced Member Group: Members Posts: 2,363 Joined: 31-July 07 From: Crawford, TX. Member No.: 7,958 |
I agree it's just a cover plate but I would make it at least 1/4 thick just so it will seal good at the flange. It is probably 8mm or .3144 from bremar.
|
|
|
|
| Zaney |
Jun 17 2010, 01:53 PM
Post
#8
|
|
Deuchland en der Haus Group: Members Posts: 461 Joined: 1-March 04 From: Engine 11 Redmond, WA Member No.: 1,738 Region Association: Pacific Northwest |
So, I took the pictures and advice from the members here and went to Everett Steel to see if they had a piece of aluminum in their remnant pile. Luckily, they had a 9 x 11 inch piece of 1/8 inch thick aluminum with someone's sign of "W.W.J.D". I think he would DIY! (IMG:style_emoticons/default/biggrin.gif)
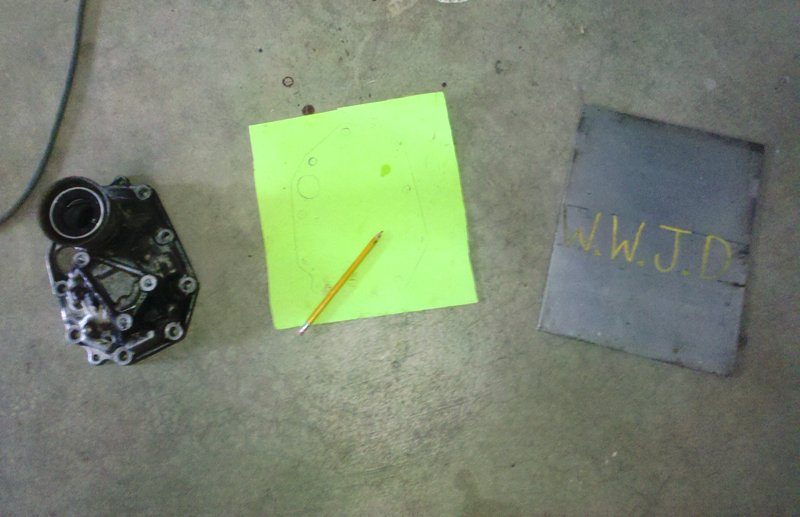 Then, instead of using the poster board I cleaned up the nose cone and traced it directly to the cleaned up piece of aluminum. 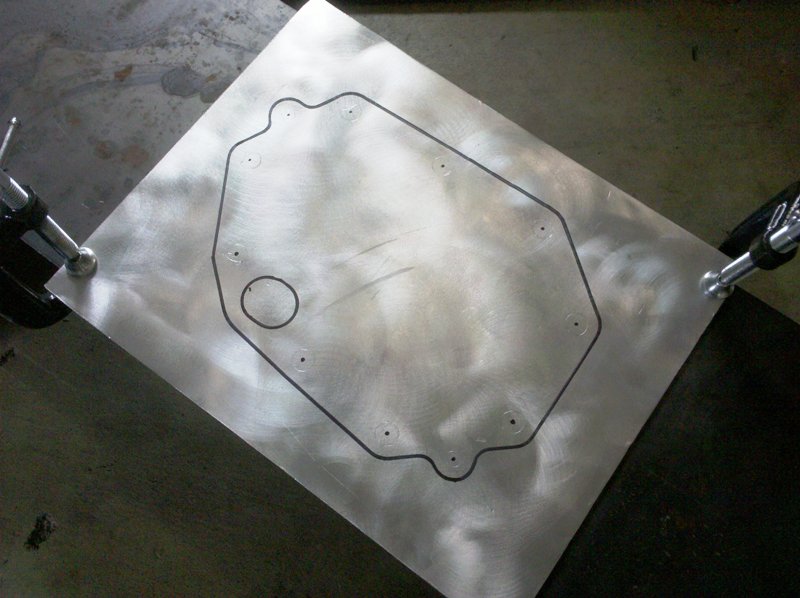 I used these tools to make the plate from a $4.68 piece of aluminum (IMG:style_emoticons/default/piratenanner.gif) 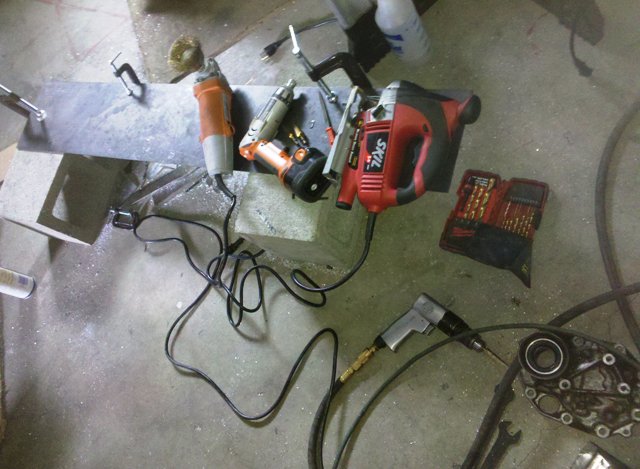 |
|
|
|
| Zaney |
Jun 17 2010, 02:01 PM
Post
#9
|
|
Deuchland en der Haus Group: Members Posts: 461 Joined: 1-March 04 From: Engine 11 Redmond, WA Member No.: 1,738 Region Association: Pacific Northwest |
Next, i carefully drilled pilot holes in the plate and then chased them with the step drill bits to get the holes close.
I used a bolt to gauge how big the holes would be in the plate so I did not drill too big! For the shifter arm, drilled a hole in the plate then used a carbide drill bit to open up the hole to the traced dimensions. (IMG:style_emoticons/default/sawzall-smiley.gif) Then, after all the holes (including the drift pin holes) were finished I used various metal cutting blades in my jigsaw to cut out the plate. 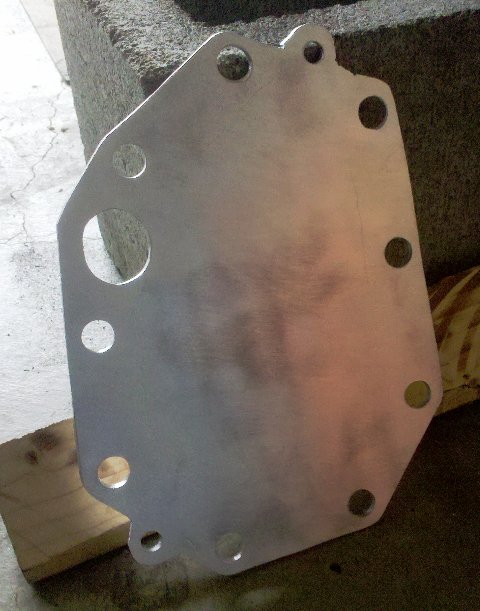 After I was close to the traced out lines I test fit the plate on the end of the trans. 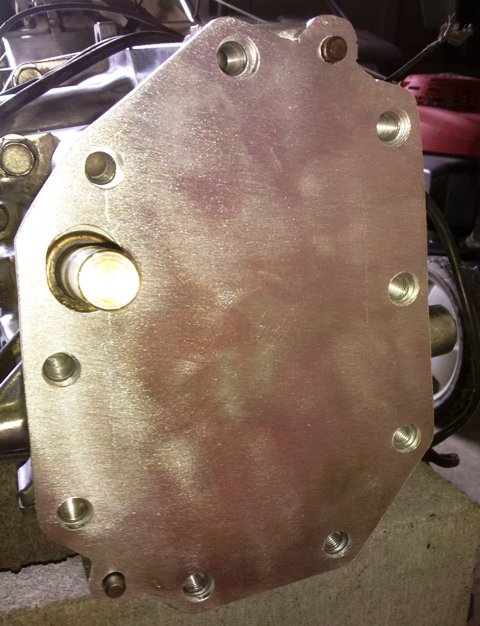 It took a bit of feathering with the step drill bits and emery cloth to get every hole aligned properly. But it worked out great! 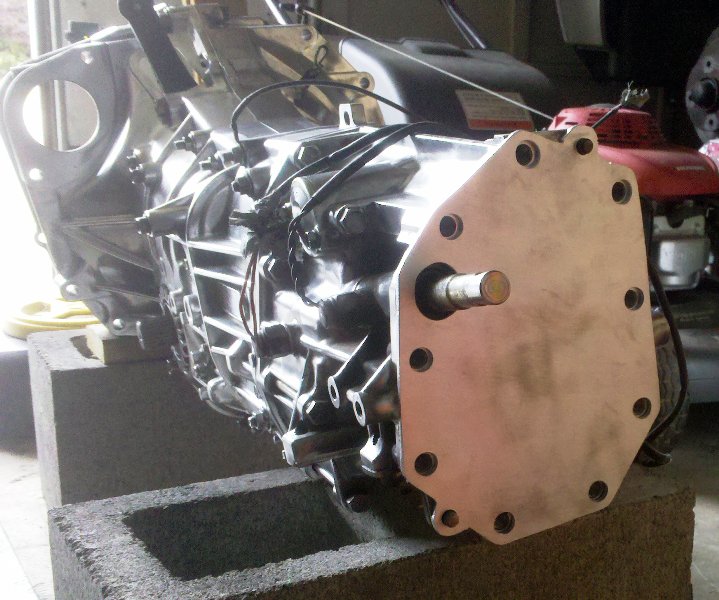 |
|
|
|
| Zaney |
Jun 17 2010, 02:06 PM
Post
#10
|
|
Deuchland en der Haus Group: Members Posts: 461 Joined: 1-March 04 From: Engine 11 Redmond, WA Member No.: 1,738 Region Association: Pacific Northwest |
I am very pleased with the outcome of this DIY plate! (IMG:style_emoticons/default/smilie_pokal.gif)
I had to go out and buy new bolts and hardware for the plate (20mm bolts instead of original 40mm in length) that came to $6.50. So, instead of forking out $350 or so for the Bremar Kit I spent $11.00 and used 3 cutting wheels for the DIY Coupling. So, here are the results! 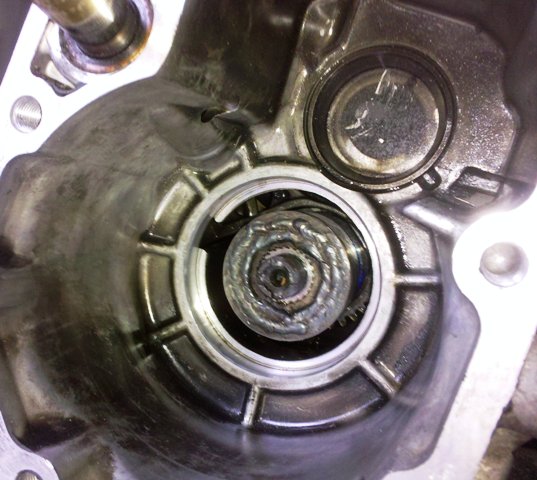 And the final plate pic with silicone sealant on the trans to make it tight!!! 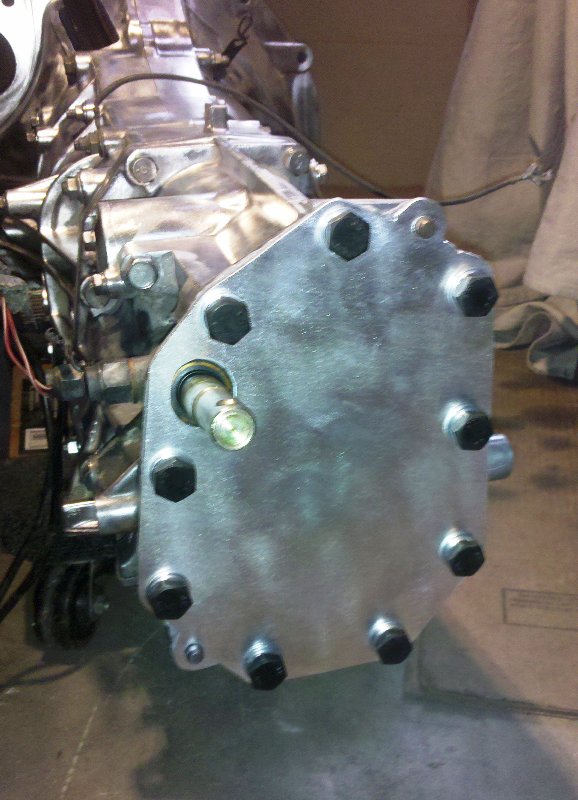 I recommend this method to anyone who wants to save $350 for the rest of their Suby project! Especially, coming from a novice like myself! Cheers, Nate |
|
|
|
| strawman |
Jun 17 2010, 02:10 PM
Post
#11
|
|
Senior Member Group: Members Posts: 891 Joined: 25-January 08 From: Los Osos, CA Member No.: 8,624 Region Association: Central California |
Atta boy!!!
|
|
|
|
| jpnovak |
Jun 17 2010, 08:47 PM
Post
#12
|
|
They call me "Nanoman" Group: Members Posts: 231 Joined: 26-August 09 From: Austin TX Member No.: 10,736 Region Association: Southwest Region |
Glad to see my method of cutting the diff works.
I made the same aluminum plate from a 3/16" scrap I found in the garbage behind an industrial strip center. If you don't mind a little smell and dirt you can find things as good as gold. |
|
|
|
|
1 User(s) are reading this topic (1 Guests and 0 Anonymous Users)
0 Members:

|
Lo-Fi Version | Time is now: 15th June 2026 - 09:42 AM |
Invision Power Board
v9.1.4 © 2026 IPS, Inc.