|
|
|
Porsche, and the Porsche crest are registered trademarks of Dr. Ing. h.c. F. Porsche AG.
This site is not affiliated with Porsche in any way. Its only purpose is to provide an online forum for car enthusiasts. All other trademarks are property of their respective owners. |
|
|

  |

| PanelBilly |
 Dec 6 2014, 06:08 PM Dec 6 2014, 06:08 PM
Post
#181
|
|
914 Guru  Group: Members Posts: 5,799 Joined: 23-July 06 From: Kent, Wa Member No.: 6,488 Region Association: Pacific Northwest |
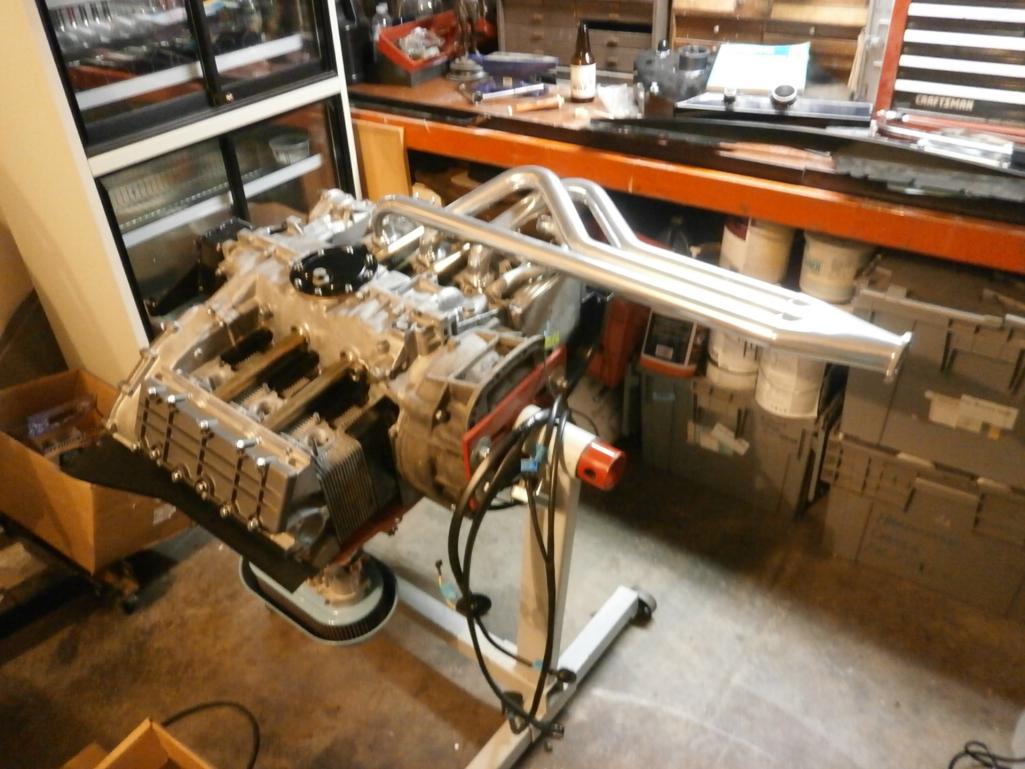
Headers were installed today, but i quickly learned that you can't Install both of them and turn the engine back over. So the second one goes on while you sit on the floor and try to hold the gaskets in place
  |
   |

 
|
| PanelBilly |
Dec 6 2014, 06:10 PM
Post
#182
|
|
914 Guru Group: Members Posts: 5,799 Joined: 23-July 06 From: Kent, Wa Member No.: 6,488 Region Association: Pacific Northwest |
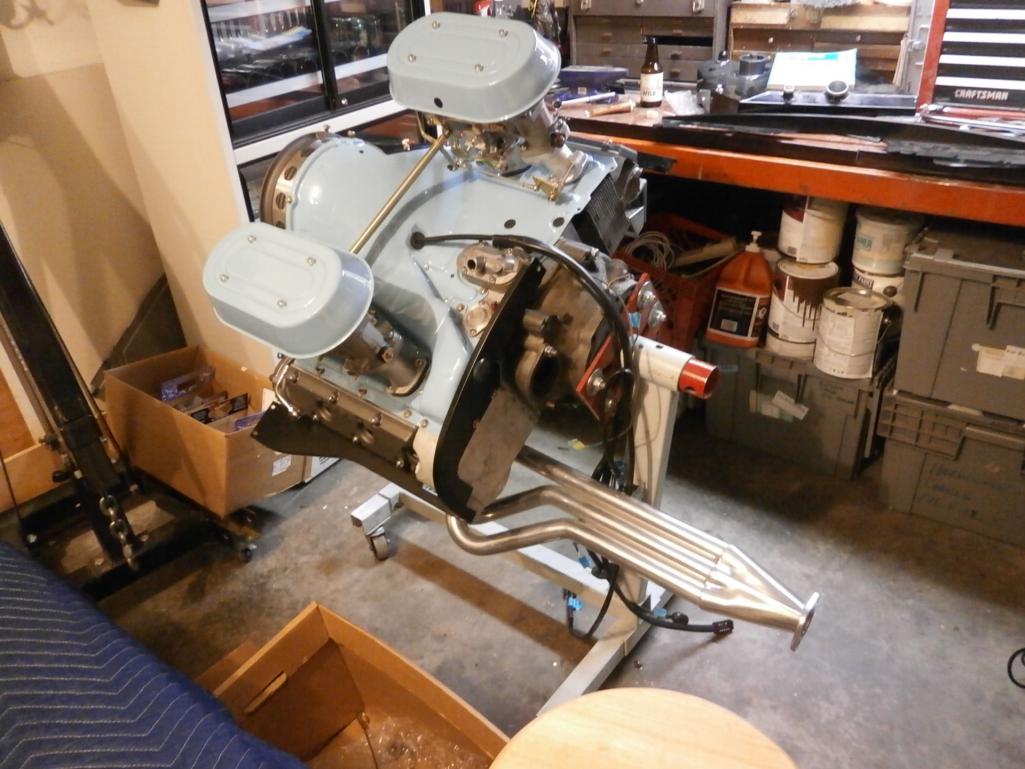
Here's the bottom view
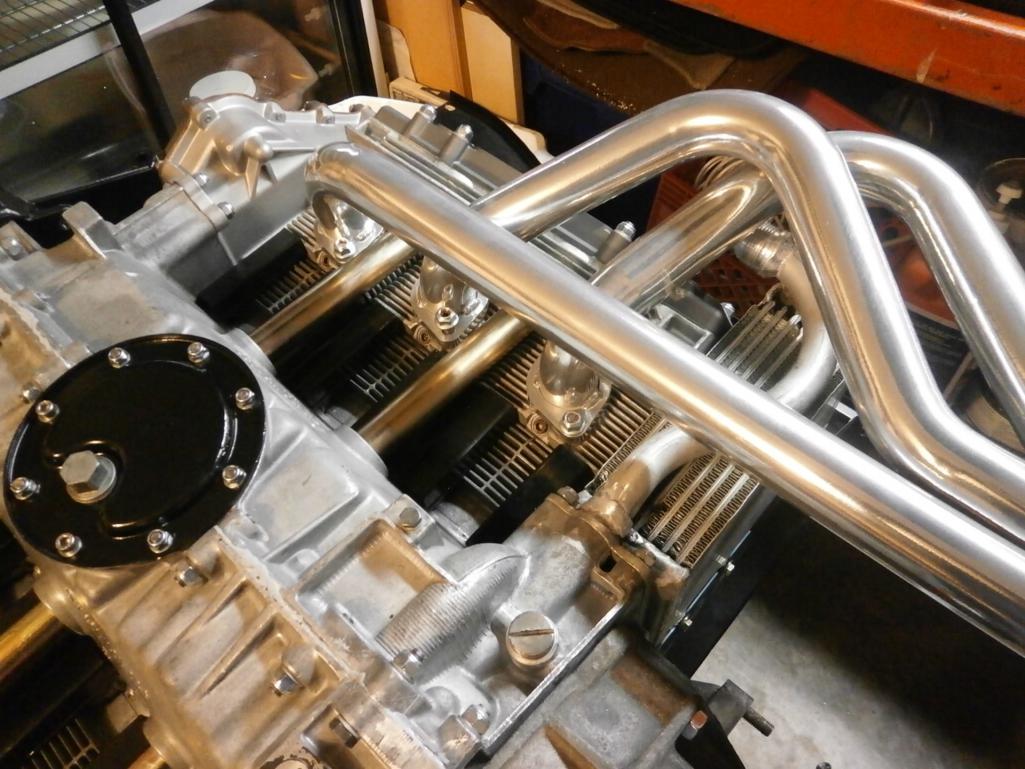 And from the top 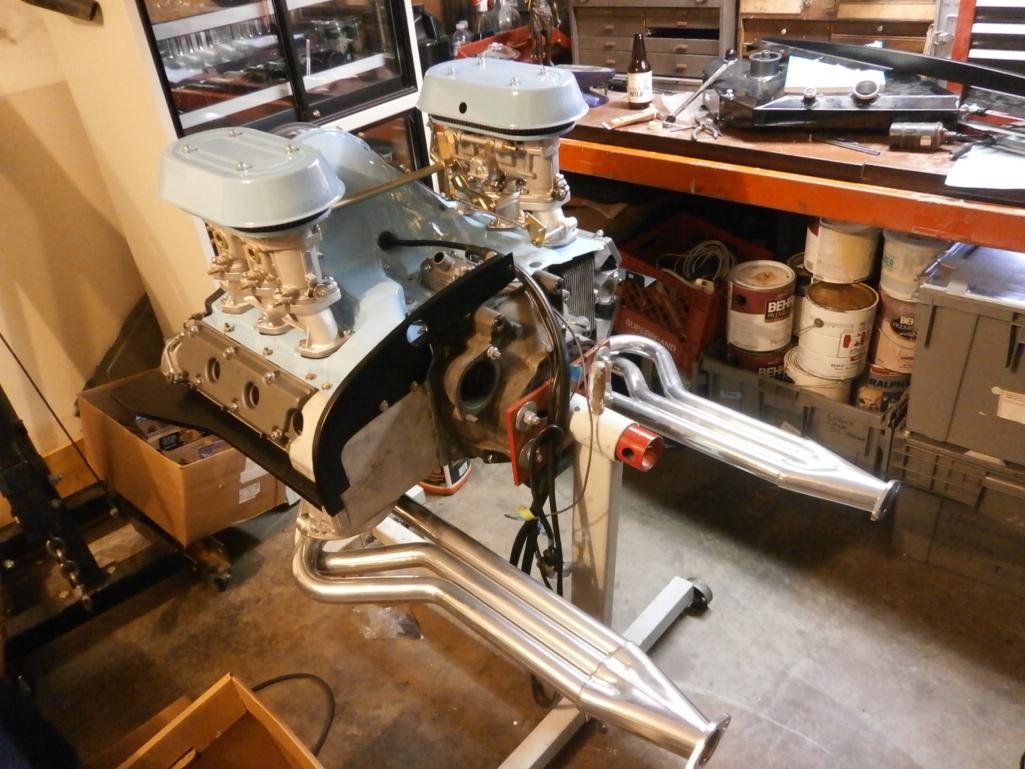 |
|
|
|
| PanelBilly |
Dec 6 2014, 06:28 PM
Post
#183
|
|
914 Guru Group: Members Posts: 5,799 Joined: 23-July 06 From: Kent, Wa Member No.: 6,488 Region Association: Pacific Northwest |
And then the exhaust
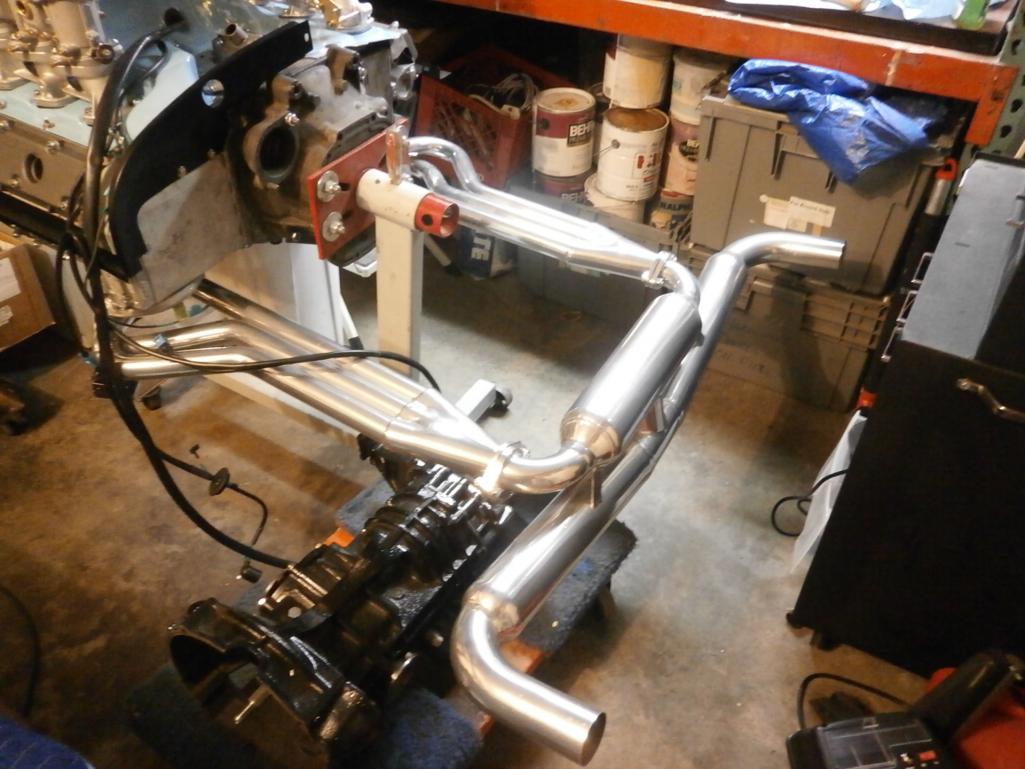 But I assembled it without the gasket. I thought I had one. I'm going to look a little more before I order a set 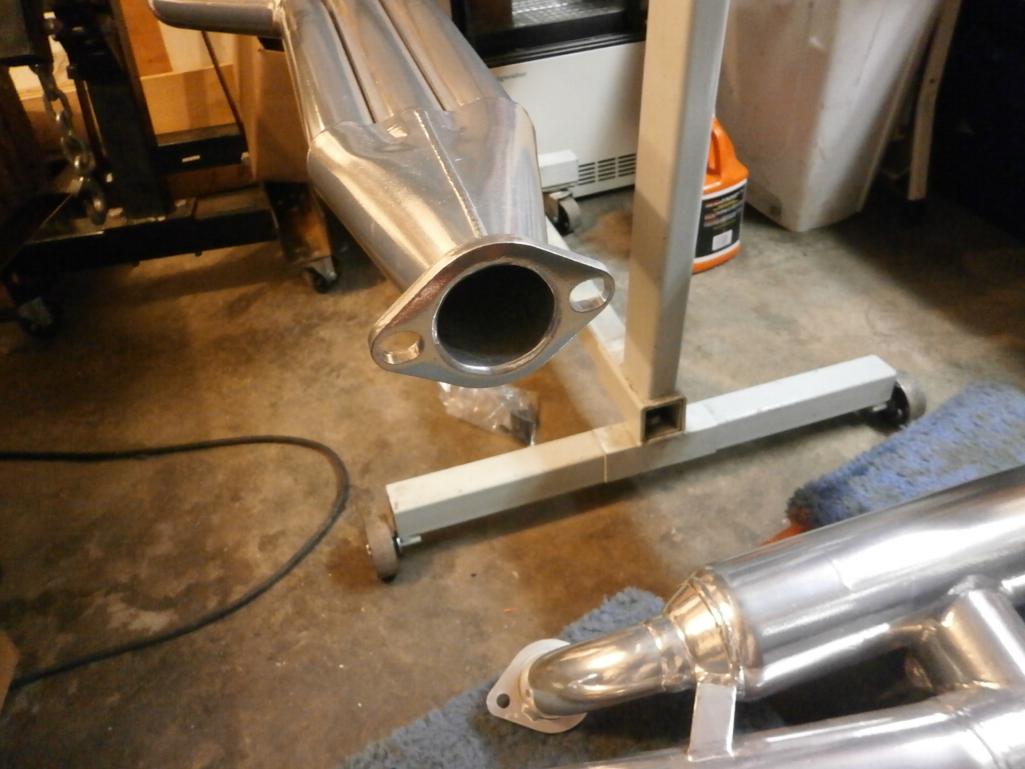 The engine is looking closer to ready 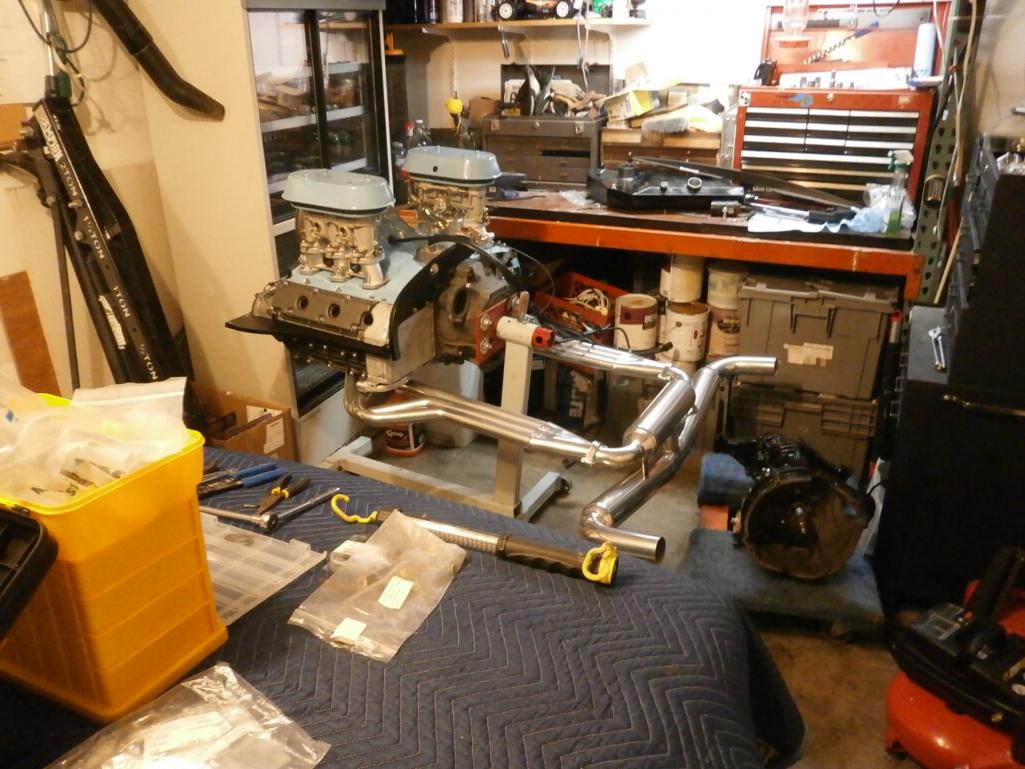 |
|
|
|
| bigkensteele |
Dec 6 2014, 06:31 PM
Post
#184
|
|
Major Member Group: Members Posts: 2,197 Joined: 30-August 04 From: Cincinnati, OH Member No.: 2,660 Region Association: South East States |
Looks fantastic! Can't wait to see it in the car.
Just wondering if it might not be easier to put the headers on after the motor is in the car? You will definitely want them loose at the heads when you go to mount the muffler and bracket to the back of the transmission. I learned that the hard way on my 4. Keep it up - I have been watching this thread for a loooonnnngggg time! |
|
|
|
| Cairo94507 |
Dec 7 2014, 09:02 AM
Post
#185
|
|
Michael Group: Members Posts: 9,719 Joined: 1-November 08 From: Auburn, CA Member No.: 9,712 Region Association: Northern California |
Seriously - get that baby in the car already!
|
 |
|
| EdwardBlume |
Dec 7 2014, 09:06 AM
Post
#186
|
|
914 Wizard Group: Members Posts: 12,338 Joined: 2-January 03 From: SLO Member No.: 81 Region Association: Central California |
QUOTE(Cairo94507 @ Dec 7 2014, 07:02 AM)  Seriously - get that baby in the car already! Like you don't have a car on jackstands.... (IMG:style_emoticons/default/chair.gif) |
|
|
|
| PanelBilly |
Dec 10 2014, 09:36 PM
Post
#187
|
|
914 Guru Group: Members Posts: 5,799 Joined: 23-July 06 From: Kent, Wa Member No.: 6,488 Region Association: Pacific Northwest |
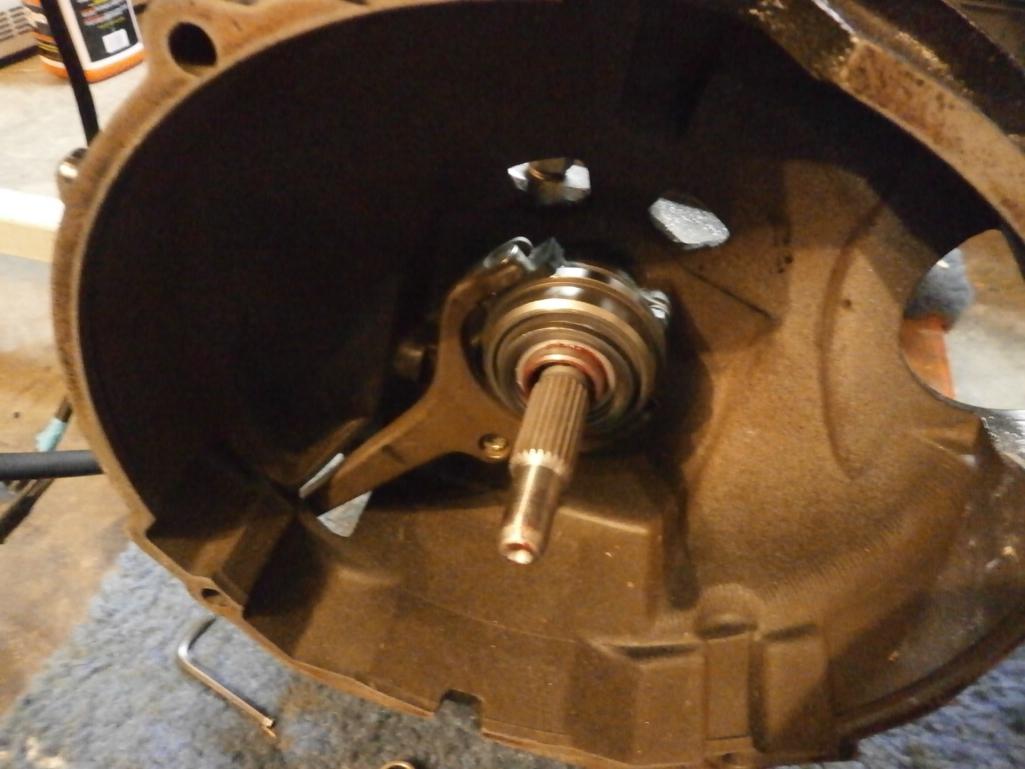
Today the oil pressure sender arrived and I have the throw out bearing finished
  |
|
|
|
| PanelBilly |
Dec 15 2014, 12:11 PM
Post
#188
|
|
914 Guru Group: Members Posts: 5,799 Joined: 23-July 06 From: Kent, Wa Member No.: 6,488 Region Association: Pacific Northwest |
Broke one of the exhaust studs yesterday while I was torking them up. I should have just replaced all the studs before I started!
|
|
|
|
| aircooledtechguy |
Dec 16 2014, 10:43 AM
Post
#189
|
|
The Aircooledtech Guy Group: Members Posts: 1,966 Joined: 8-November 08 From: Anacortes, WA Member No.: 9,730 Region Association: Pacific Northwest |
QUOTE(PanelBilly @ Dec 6 2014, 04:28 PM) (IMG:style_emoticons/default/wub.gif) (IMG:style_emoticons/default/popcorn[1].gif) |
|
|
|
| PanelBilly |
Dec 27 2014, 10:25 PM
Post
#190
|
|
914 Guru Group: Members Posts: 5,799 Joined: 23-July 06 From: Kent, Wa Member No.: 6,488 Region Association: Pacific Northwest |
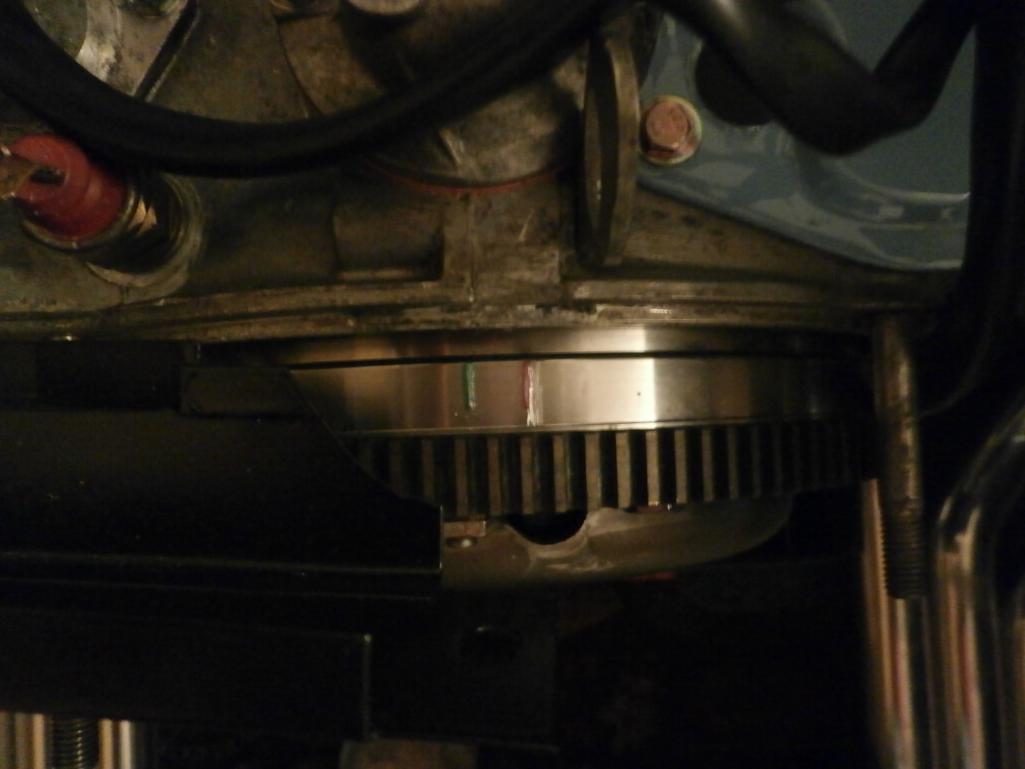
Today I got the timing marks scratched in the flywheel and color coded them.
 Here's the clutch mounted up 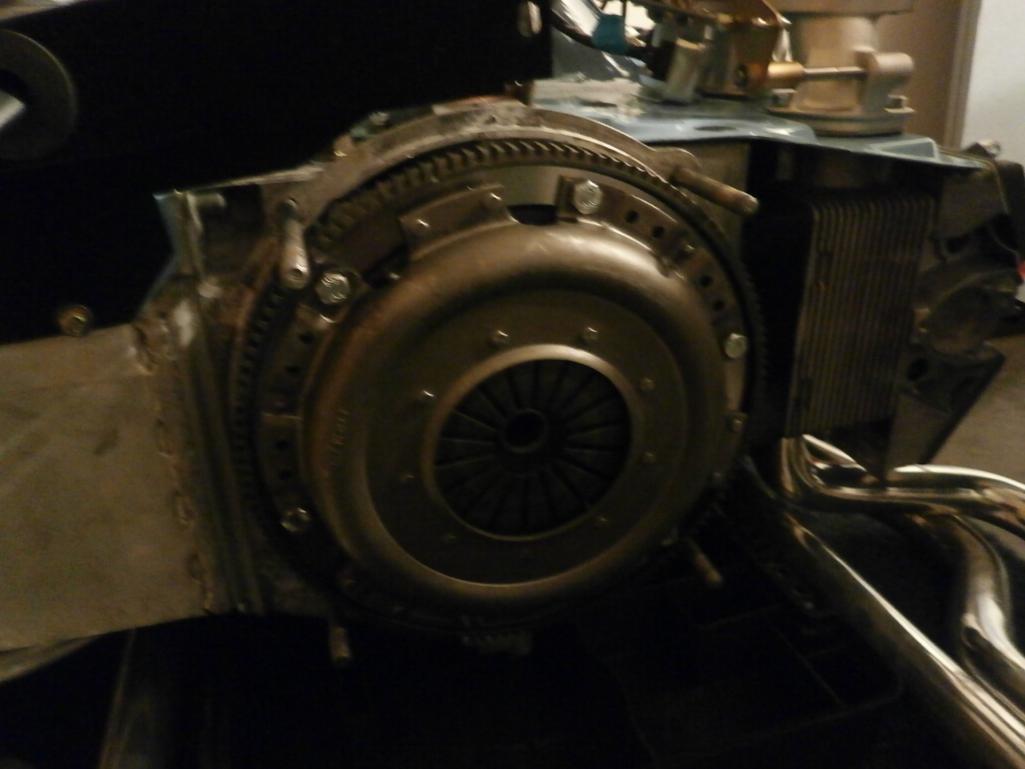 And the transmission mounted up without much fuss. Rebuilt starter needs one more bolt. I'll need to pick one up next week. 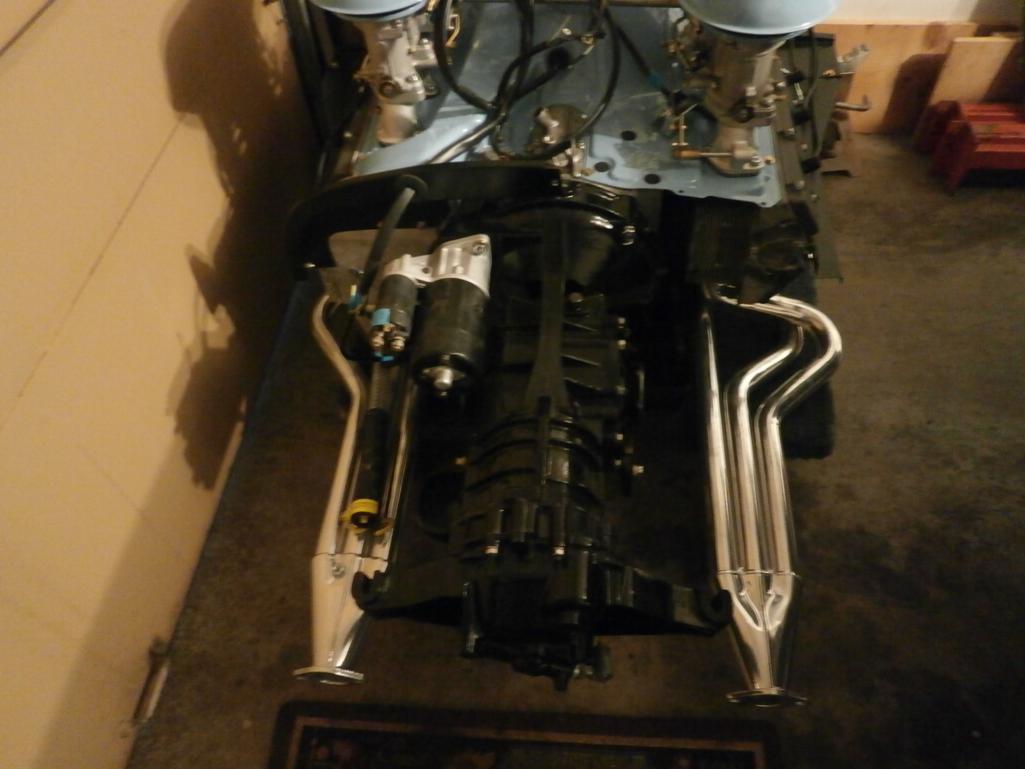 Now I need to find the gaskets for the muffler and get that mounted up. |
|
|
|
| Cairo94507 |
Dec 27 2014, 10:35 PM
Post
#191
|
|
Michael Group: Members Posts: 9,719 Joined: 1-November 08 From: Auburn, CA Member No.: 9,712 Region Association: Northern California |
Very nice (IMG:style_emoticons/default/aktion035.gif)
|
|
|
|
| PanelBilly |
Dec 30 2014, 08:44 PM
Post
#192
|
|
914 Guru Group: Members Posts: 5,799 Joined: 23-July 06 From: Kent, Wa Member No.: 6,488 Region Association: Pacific Northwest |
I needed the car high enough so I could slide the engine in, so by combining the new lift with some wood blocks, I got. I just didn't trust the lift, even though it has a built in cross bar to lock it. I stacked up some wood 4x6 blocks and stuck the jack stands on top. Just another level of safety. Not too much work to be done and I'll be dropping it back down to bolt in the engine.
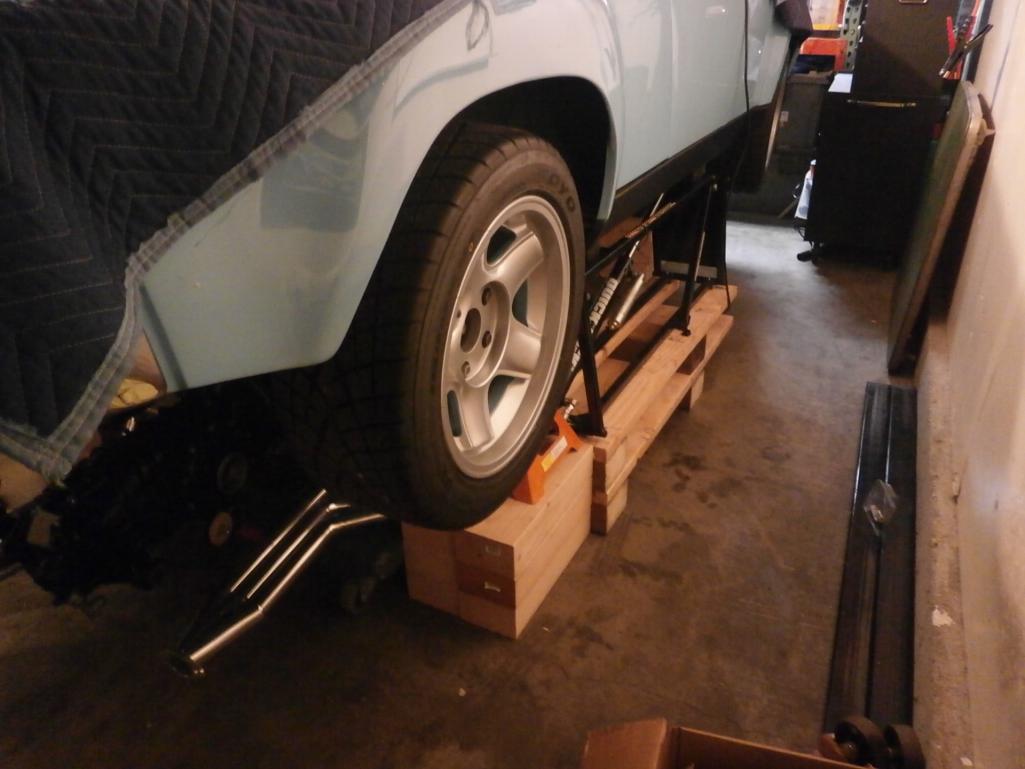 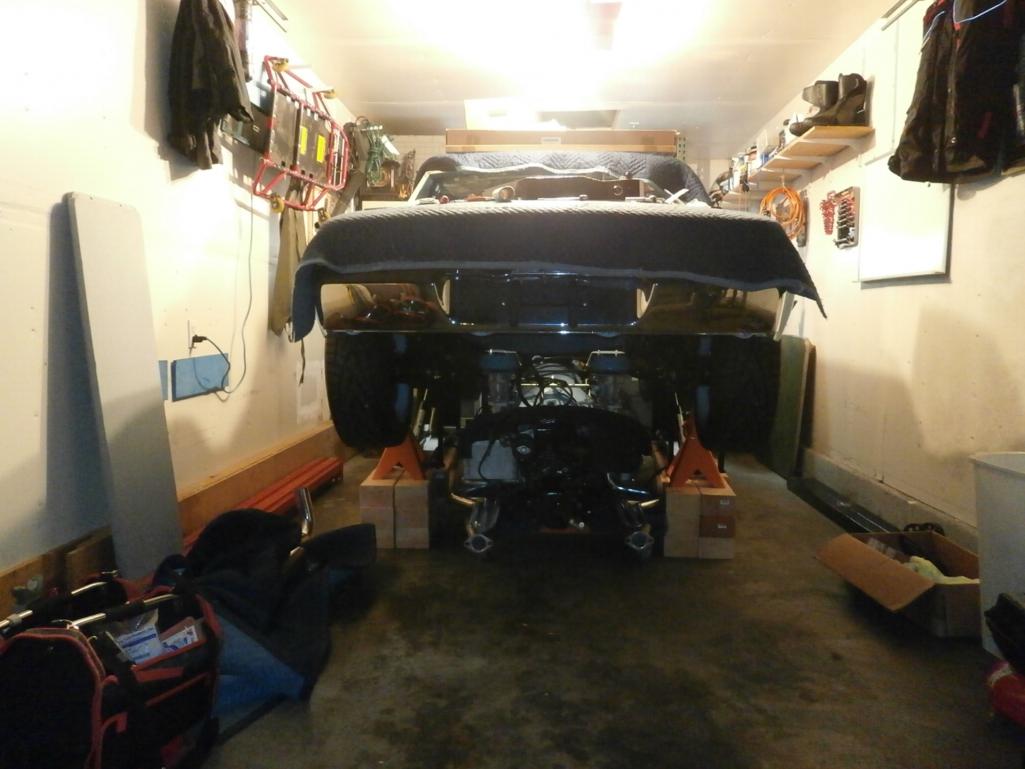 Attached thumbnail(s) 
|
|
|
|
| Mblizzard |
Dec 30 2014, 08:55 PM
Post
#193
|
|
Advanced Member Group: Members Posts: 3,033 Joined: 28-January 13 From: Knoxville Tn Member No.: 15,438 Region Association: South East States |
While the 6 x6 blocks rarely fail, I always use something to tie them together like a crank strap or pipe strap with a wood screw into each block.
|
|
|
|
| Evil Older Brother |
Dec 30 2014, 09:16 PM
Post
#194
|
|
Member Group: Members Posts: 102 Joined: 9-September 13 From: Whidbey Island Member No.: 16,367 Region Association: Pacific Northwest |
QUOTE(PanelBilly @ Dec 30 2014, 06:44 PM) I needed the car high enough so I could slide the engine in, so by combining the new lift with some wood blocks, I got. I just didn't trust the lift, even though it has a built in cross bar to lock it. I stacked up some wood 4x6 blocks and stuck the jack stands on top. Just another level of safety. Not too much work to be done and I'll be dropping it back down to bolt in the engine. Remember your evil older BROTHER in your will. At least be careful as we really like Julie. |
|
|
|
| PanelBilly |
Jan 4 2015, 01:15 PM
Post
#195
|
|
914 Guru Group: Members Posts: 5,799 Joined: 23-July 06 From: Kent, Wa Member No.: 6,488 Region Association: Pacific Northwest |
Working on details before the engine is in the way. I have the 14 pin connector back together and secured the brakelines so they didn't rub on the firewall.
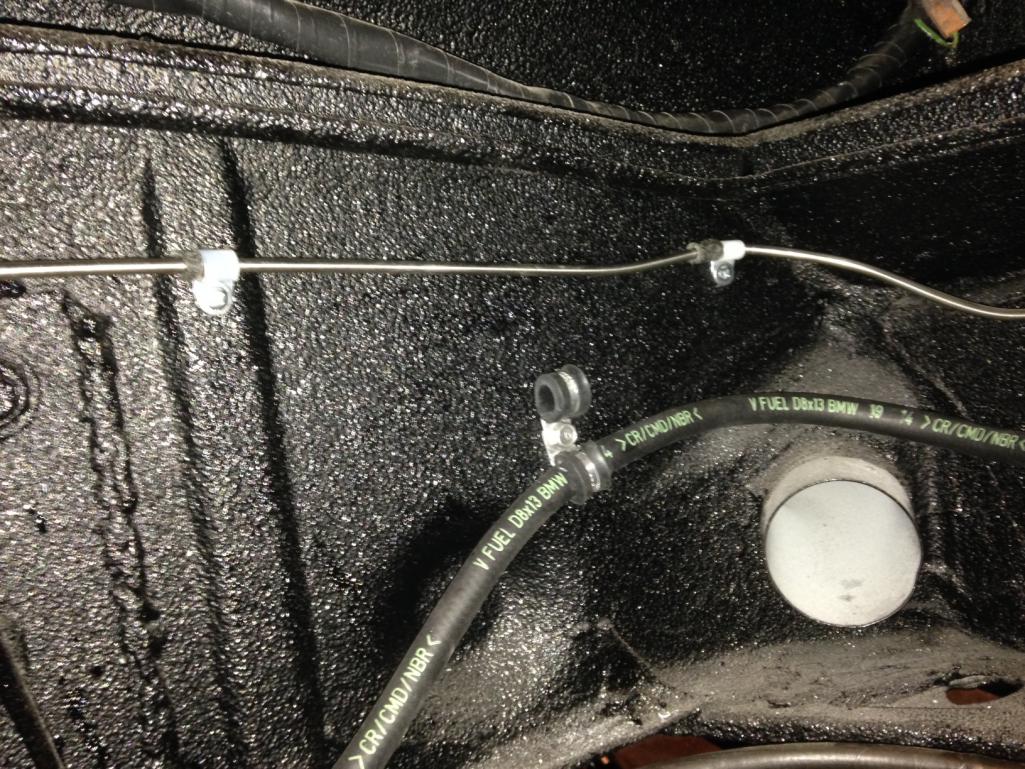 I also ran the fuel lines up to the regulator and fastened them so they were out of the way. I drilled out the original holes for the lines so some larger grommets would fit. I need to find a clean way to block off the intake for the heater ducting that runs in the longs. 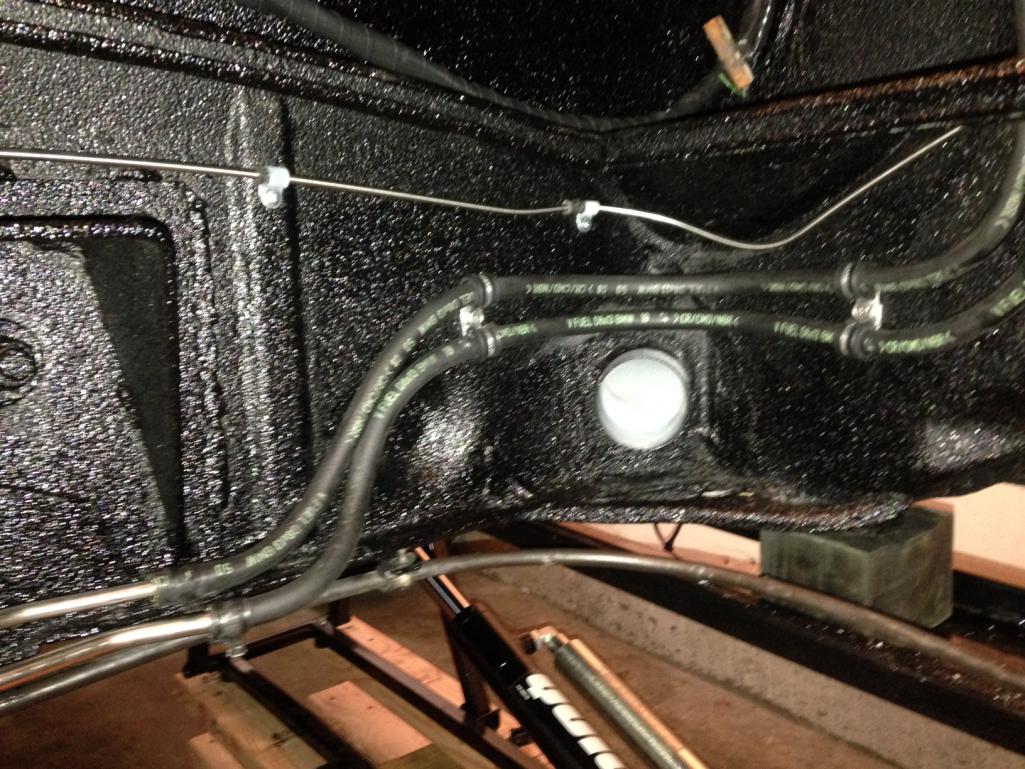 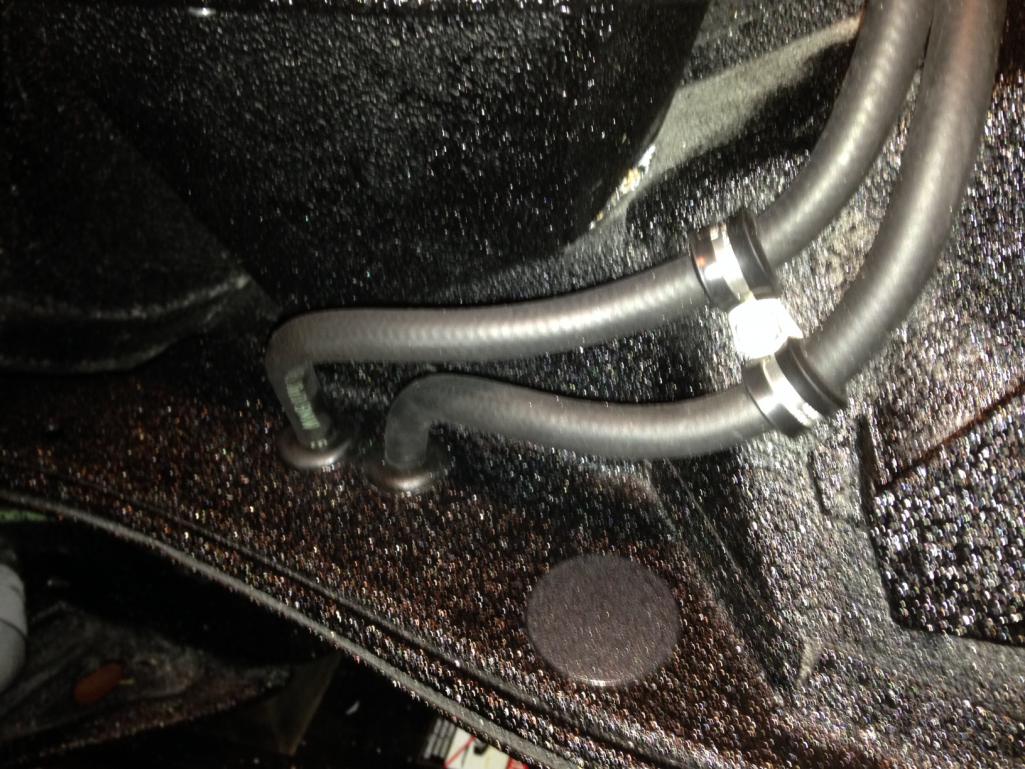 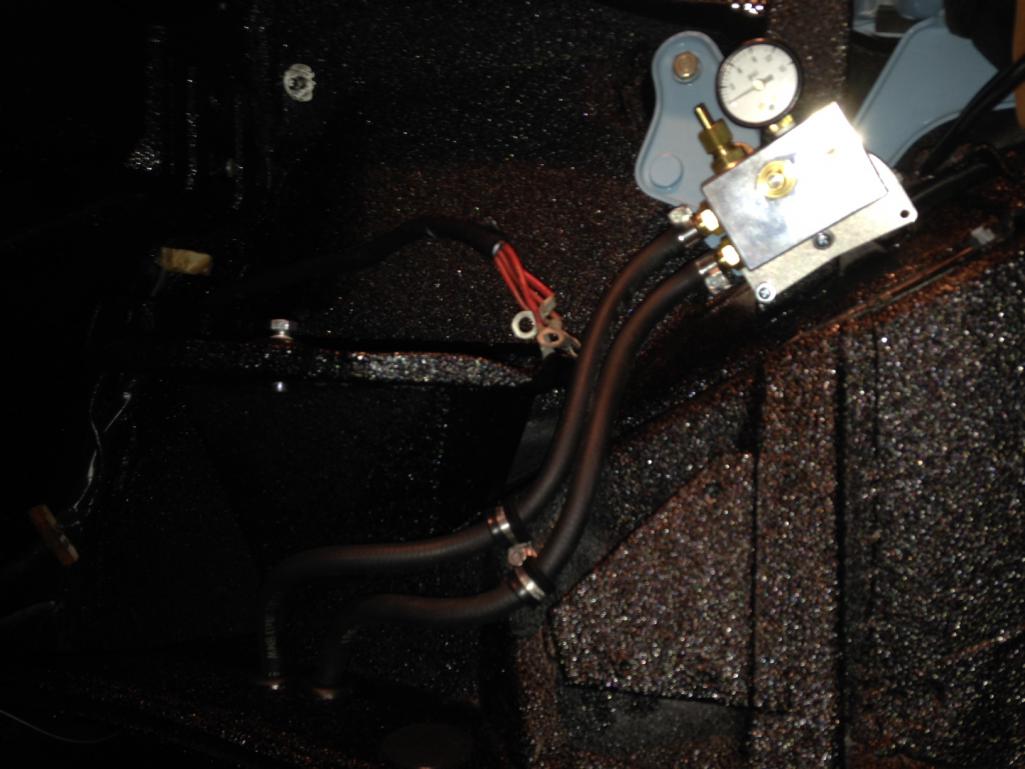 |
|
|
|
| rhodyguy |
Jan 4 2015, 01:27 PM
Post
#196
|
|
Chimp Sanctuary NW. Check it out. Group: Members Posts: 22,063 Joined: 2-March 03 From: Orion's Bell. The BELL! Member No.: 378 Region Association: Galt's Gulch |
Billy, go to mcclendons and pick up a set of rubber pipe caps and ss screw clamps for the tubes. Next time run the center pieces of 6x at 90*. Less apt too tip over. What purpose does the piece of tubing, between the headers and case in post #182, serve?
|
|
|
|
| Mr.242 |
Jan 5 2015, 09:40 AM
Post
#197
|
|
May your glass be smaller so it's always FULL! Group: Members Posts: 1,079 Joined: 10-June 08 From: Seattle Member No.: 9,160 Region Association: Pacific Northwest |
QUOTE(rhodyguy @ Jan 4 2015, 11:27 AM) . What purpose does the piece of tubing, between the headers and case in post #182, serve? Oil line that connects to the side tank. |
|
|
|
| rhodyguy |
Jan 5 2015, 10:59 AM
Post
#198
|
|
Chimp Sanctuary NW. Check it out. Group: Members Posts: 22,063 Joined: 2-March 03 From: Orion's Bell. The BELL! Member No.: 378 Region Association: Galt's Gulch |
supply or return?
|
|
|
|
| PanelBilly |
Jan 11 2015, 04:56 PM
Post
#199
|
|
914 Guru Group: Members Posts: 5,799 Joined: 23-July 06 From: Kent, Wa Member No.: 6,488 Region Association: Pacific Northwest |
I did find some rubber caps at McLendons and they worked perfect.
I need to clean off some of the dust! 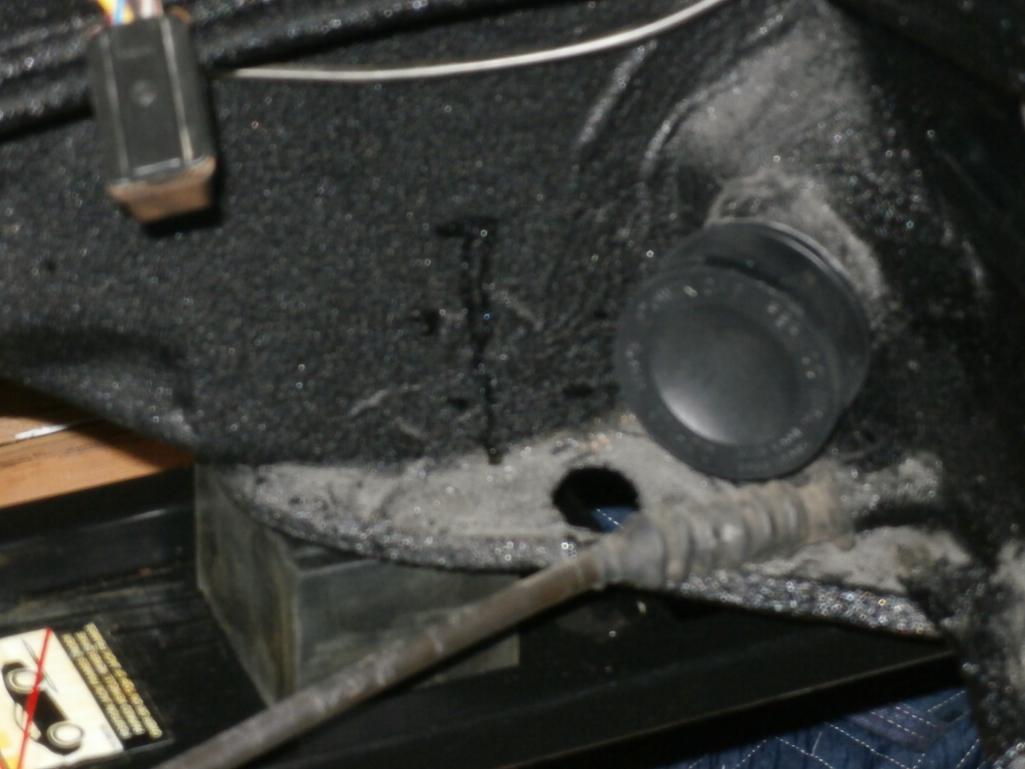 I got the last of the engine tin mounted up and the throttle cable is done. I need to get the wiring organized and figure out where to mount the regulator. I posted over at the bird site for suggestions on how to organize the harness. Figured lots of folks over there have done this. Any suggestions? 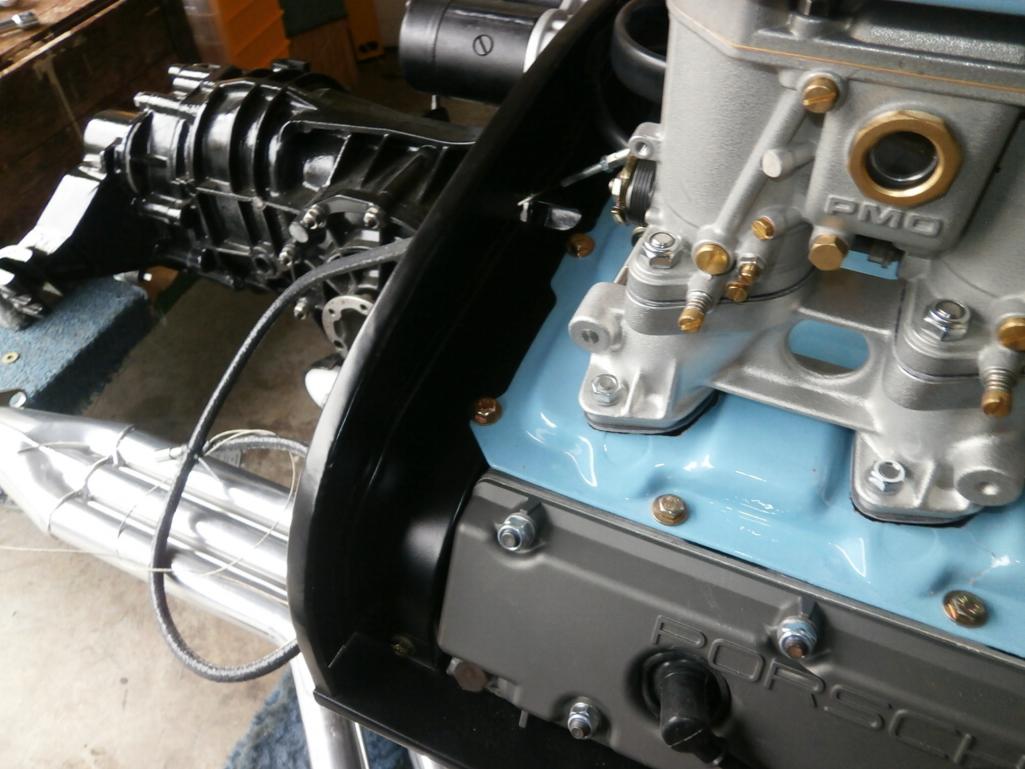 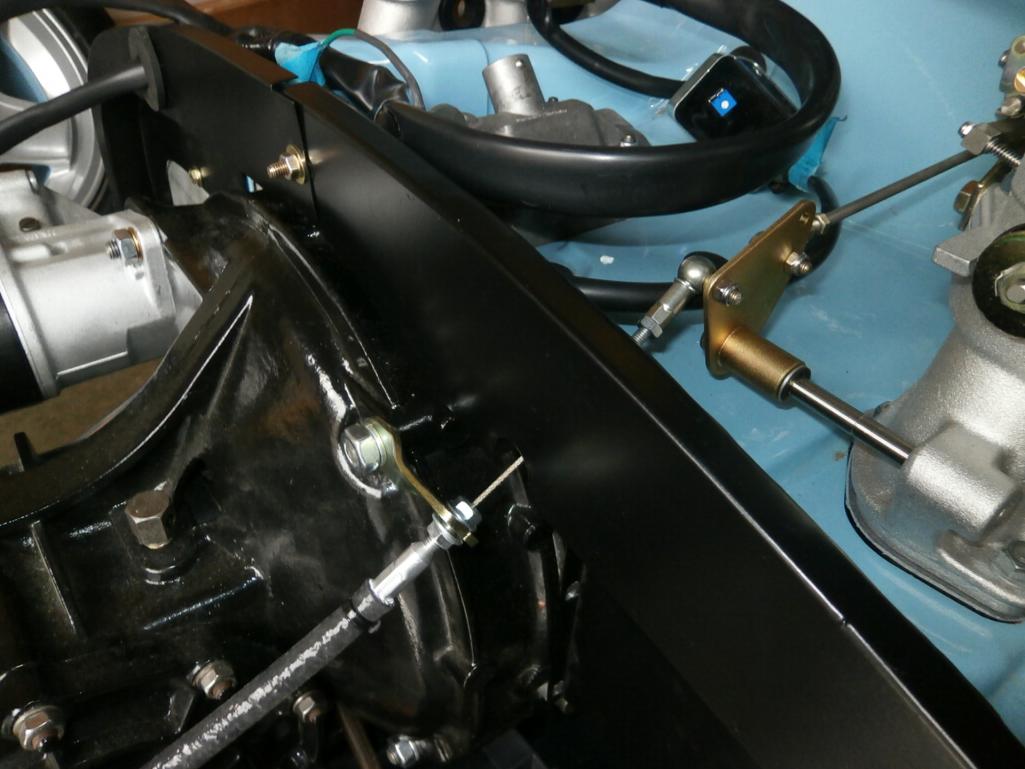 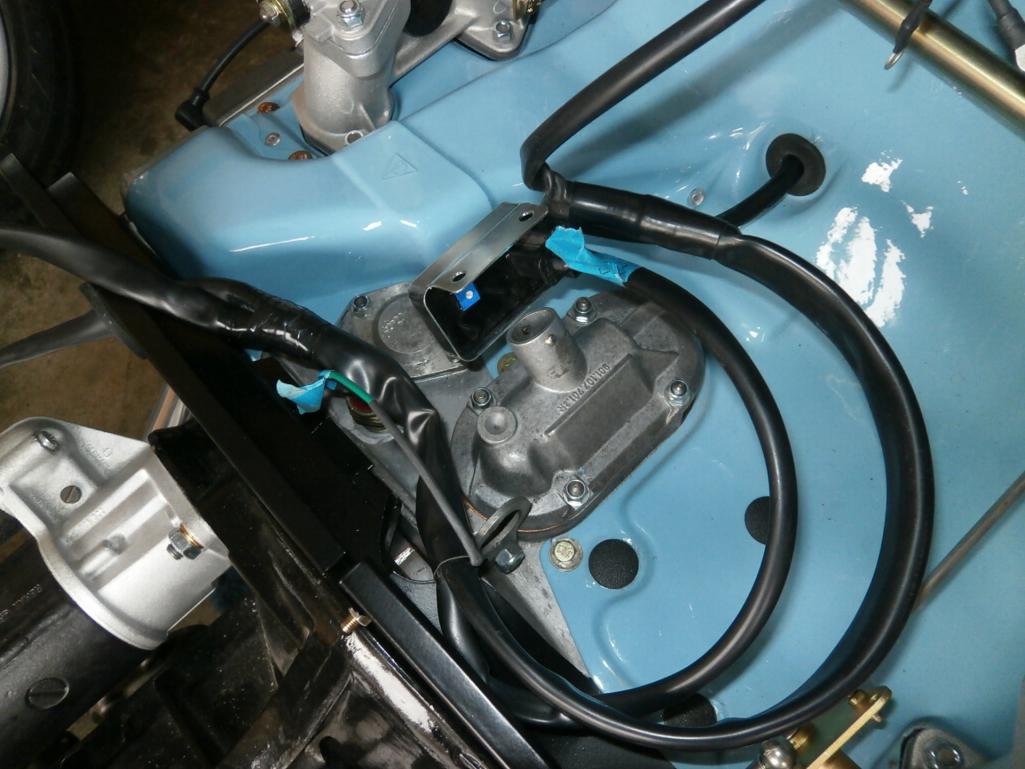 |
|
|
|
| PanelBilly |
Feb 15 2015, 01:51 PM
Post
#200
|
|
914 Guru Group: Members Posts: 5,799 Joined: 23-July 06 From: Kent, Wa Member No.: 6,488 Region Association: Pacific Northwest |
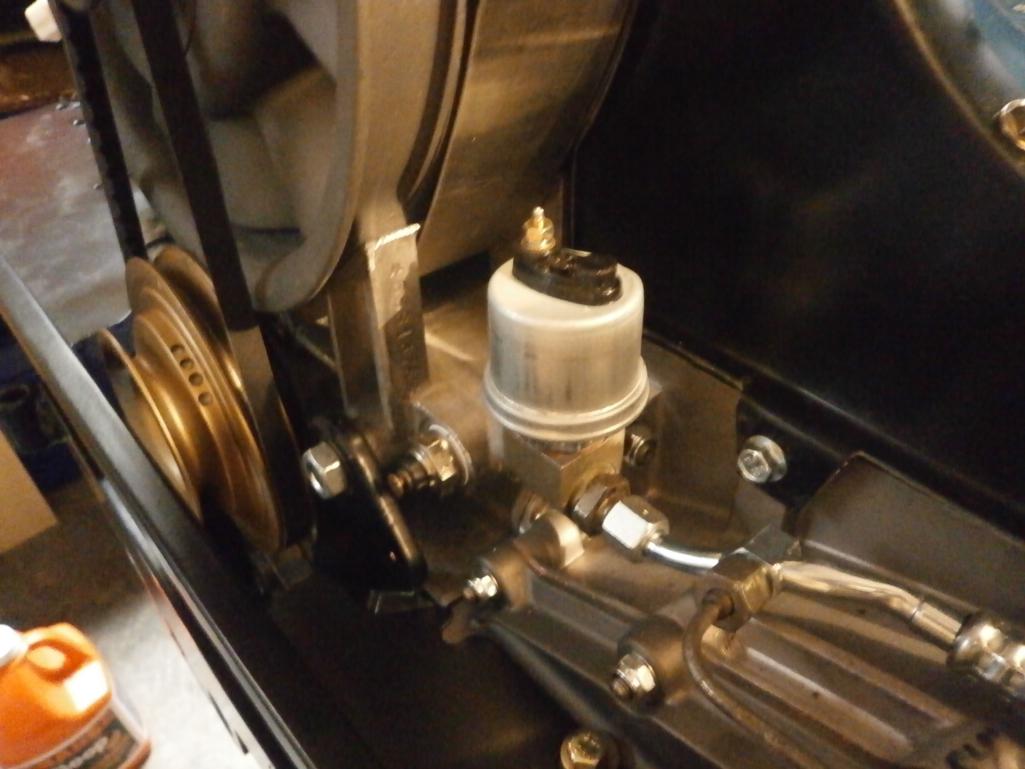
Mounted the MSD with nutserts or rivnuts (whatever you want to call them), so it could be removed and reinstalled easier. Pain in the ass making the single rubber
mount where the firewall angled back. 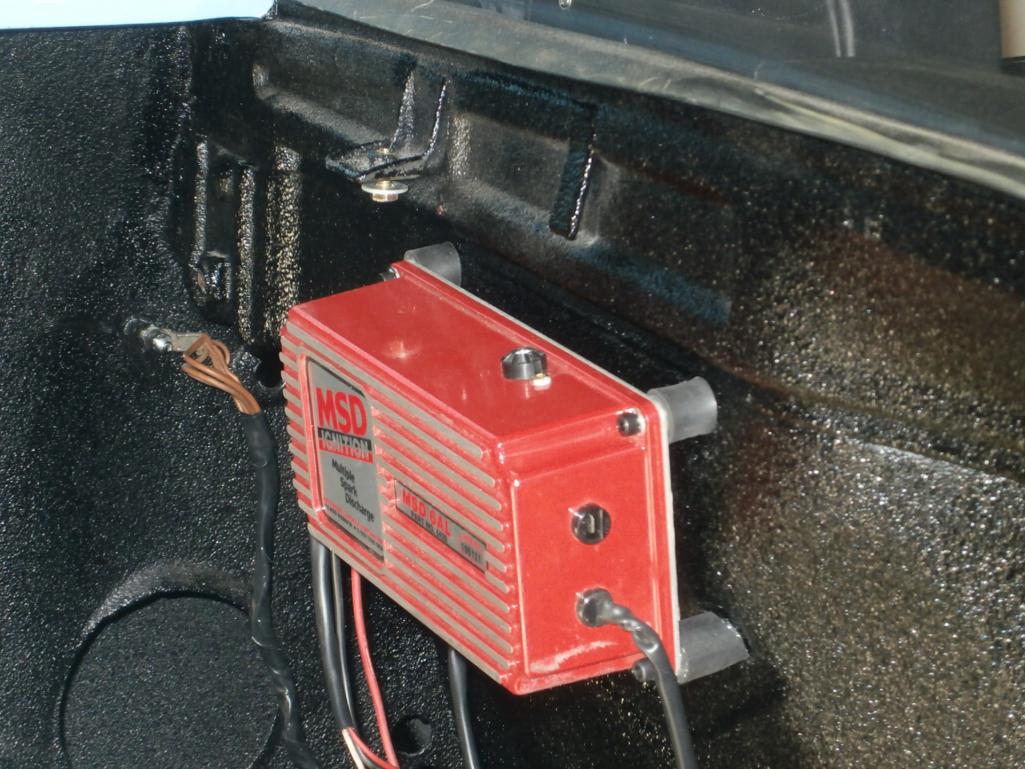 While I was mounting nutserts, I redid the fuel pressure regulator replacing the metal screws with bolts Should have cleaned off the dust before I shot the photo 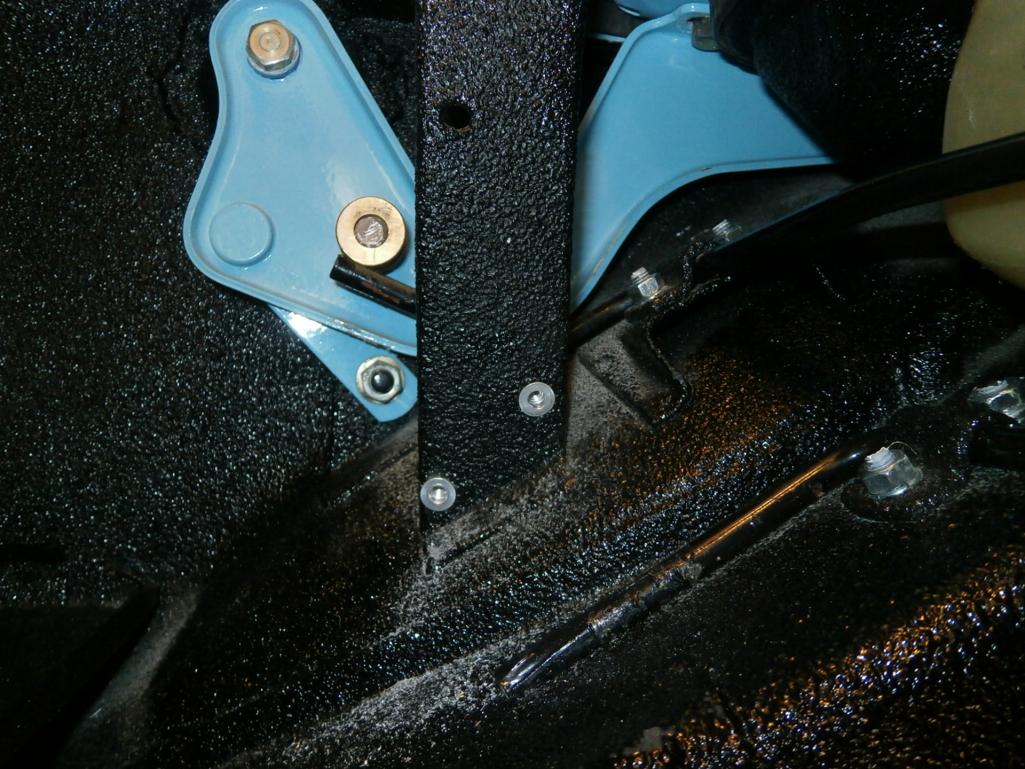 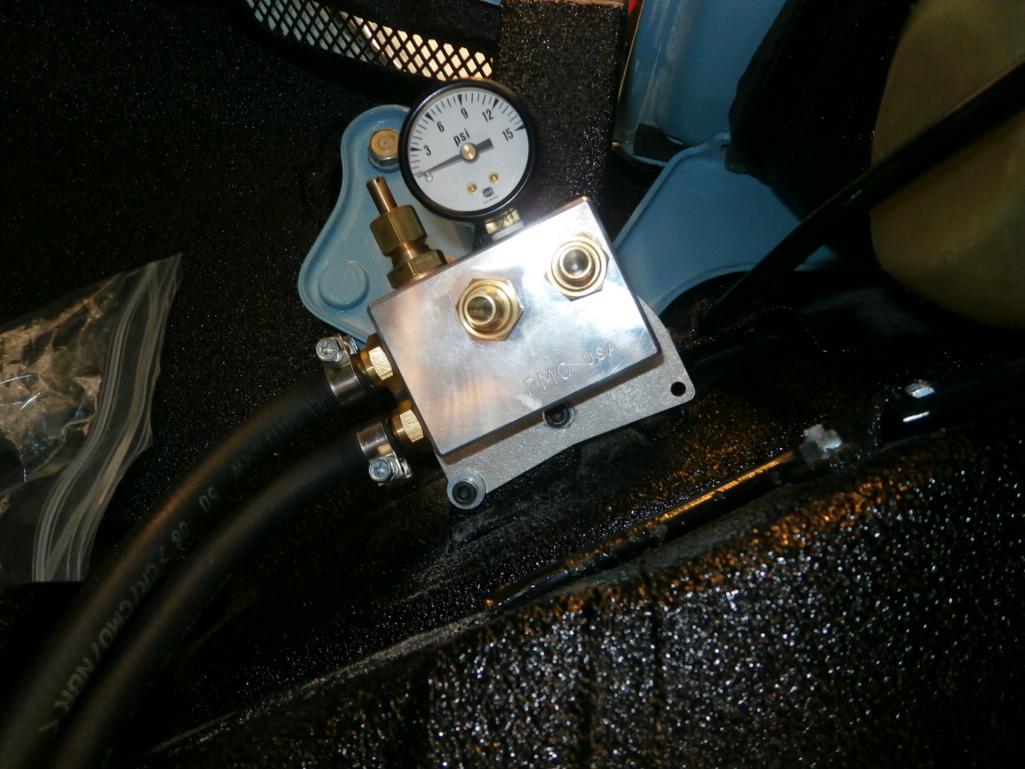 |
|
|
|
|
1 User(s) are reading this topic (1 Guests and 0 Anonymous Users)
0 Members:

|
Lo-Fi Version | Time is now: 28th April 2024 - 12:17 PM |
Invision Power Board
v9.1.4 © 2024 IPS, Inc.