|
|
|
Porsche, and the Porsche crest are registered trademarks of Dr. Ing. h.c. F. Porsche AG.
This site is not affiliated with Porsche in any way. Its only purpose is to provide an online forum for car enthusiasts. All other trademarks are property of their respective owners. |
|
|


| jfort |
 Apr 21 2004, 07:52 AM Apr 21 2004, 07:52 AM
Post
#1
|
|
Senior Member  Group: Members Posts: 1,135 Joined: 5-May 03 From: Findlay, OH Member No.: 652 Region Association: Upper MidWest |
can't find the thread now, but i saw a discussion on applying the side decals. so that the board members can benefit from my experience, i'll related the following. I ended up paying a long time friend and body shop owner to do the application. his name is fred overholt and he runs a body shop called country collision in van buren ohio -- northwest ohio near I-75. he is the best. a true artist and perfectionist. he painted a 73 911S for me years ago and it was outstanding. anyway, he uses a prodouct called "easy on" to apply the decals. i think it performs the same function as the soapy water i saw discussed elsewhere but, according to fred, works much better. it dries to nothing. no residue. that can be hastened with a heat gun. the decals were coated with easy on, applied to the car, squeegied out and cut in the appropriated places.
Attached thumbnail(s) 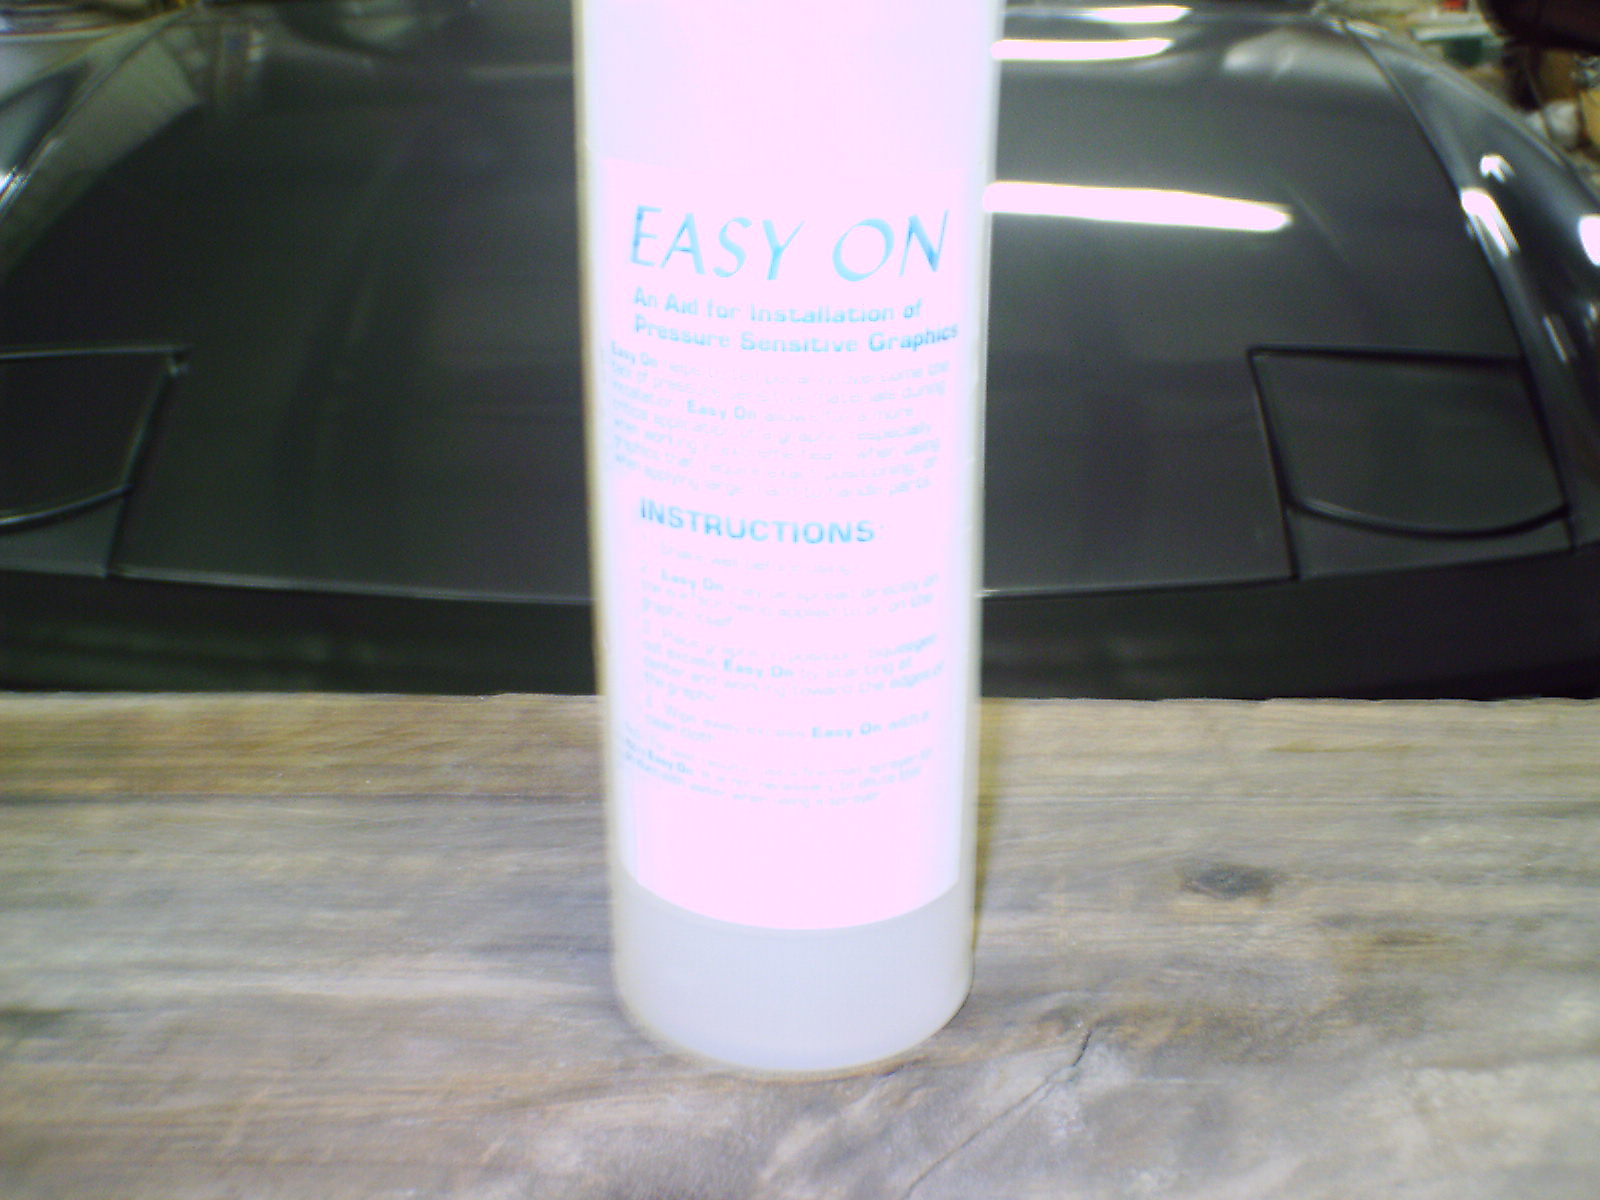
|
   |

 
|
  |
Replies(1 - 9)
| jfort |
Apr 21 2004, 07:53 AM
Post
#2
|
|
Senior Member Group: Members Posts: 1,135 Joined: 5-May 03 From: Findlay, OH Member No.: 652 Region Association: Upper MidWest |
another pic. sorry so fuzzy
Attached thumbnail(s) 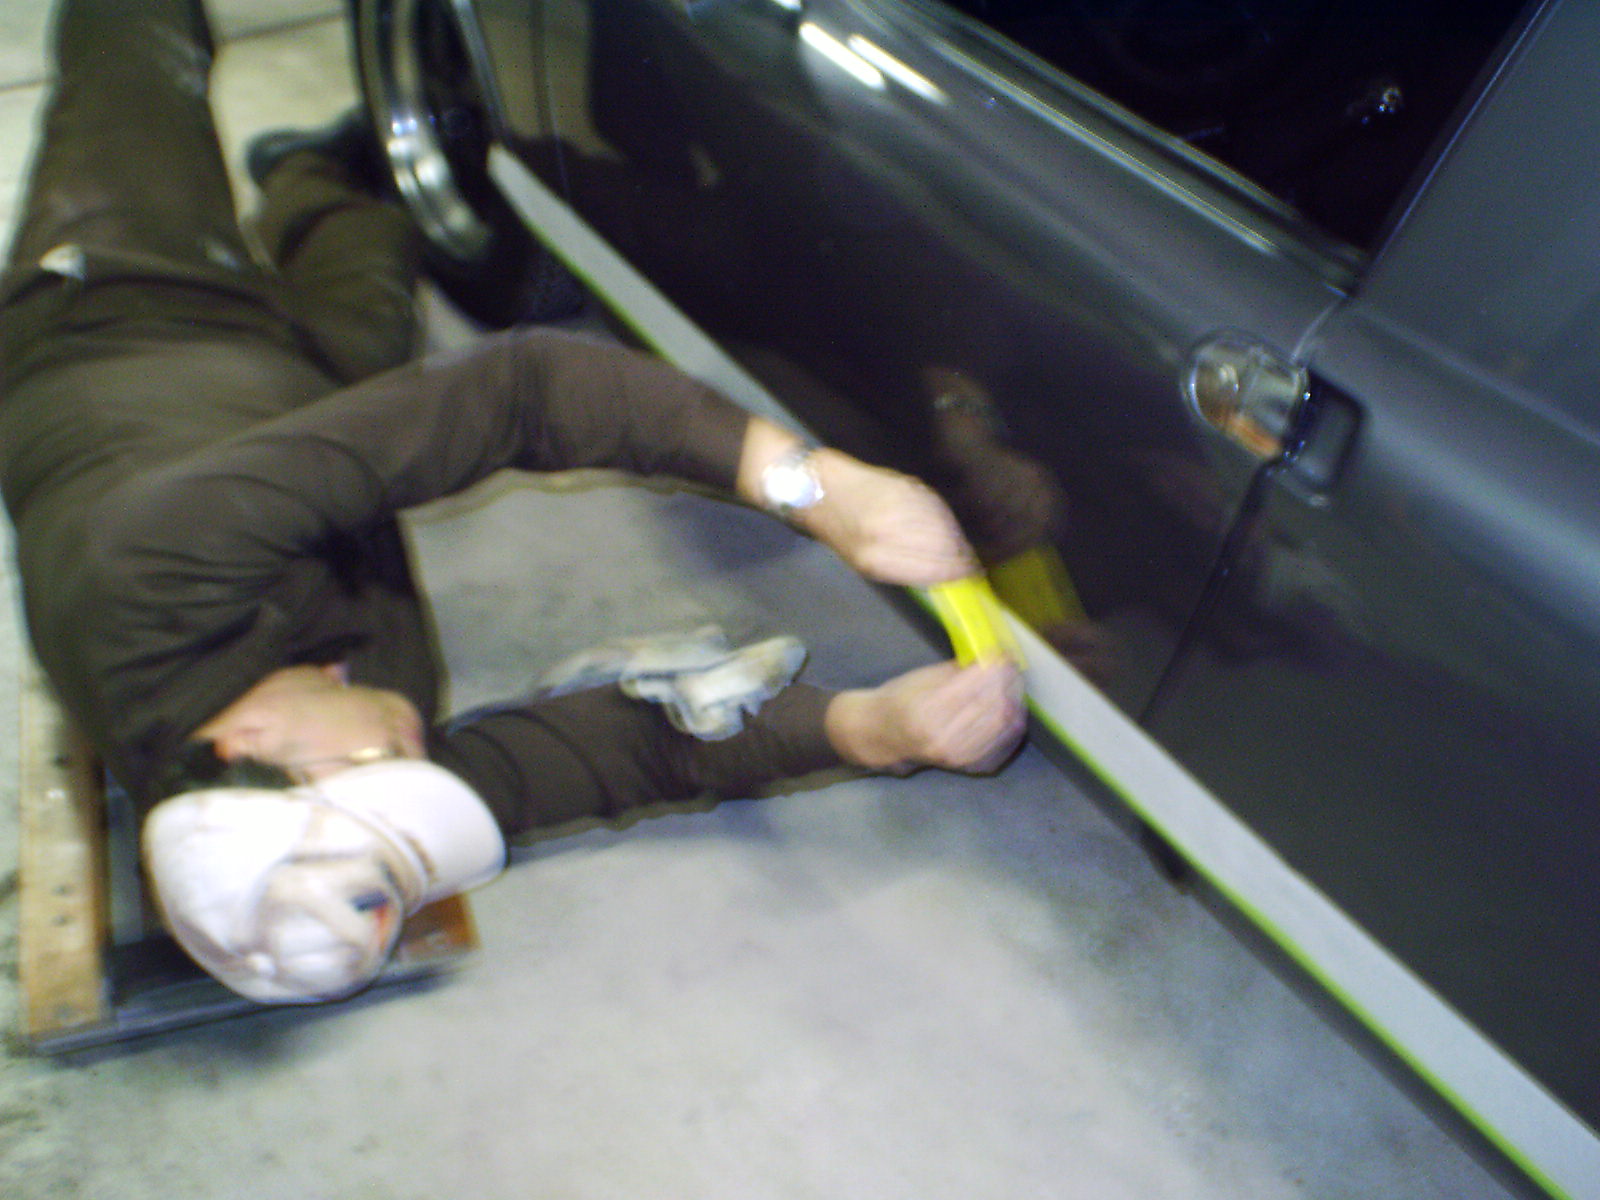
|
|
|
|
| jfort |
Apr 21 2004, 08:00 AM
Post
#3
|
|
Senior Member Group: Members Posts: 1,135 Joined: 5-May 03 From: Findlay, OH Member No.: 652 Region Association: Upper MidWest |
final pic
Attached thumbnail(s) 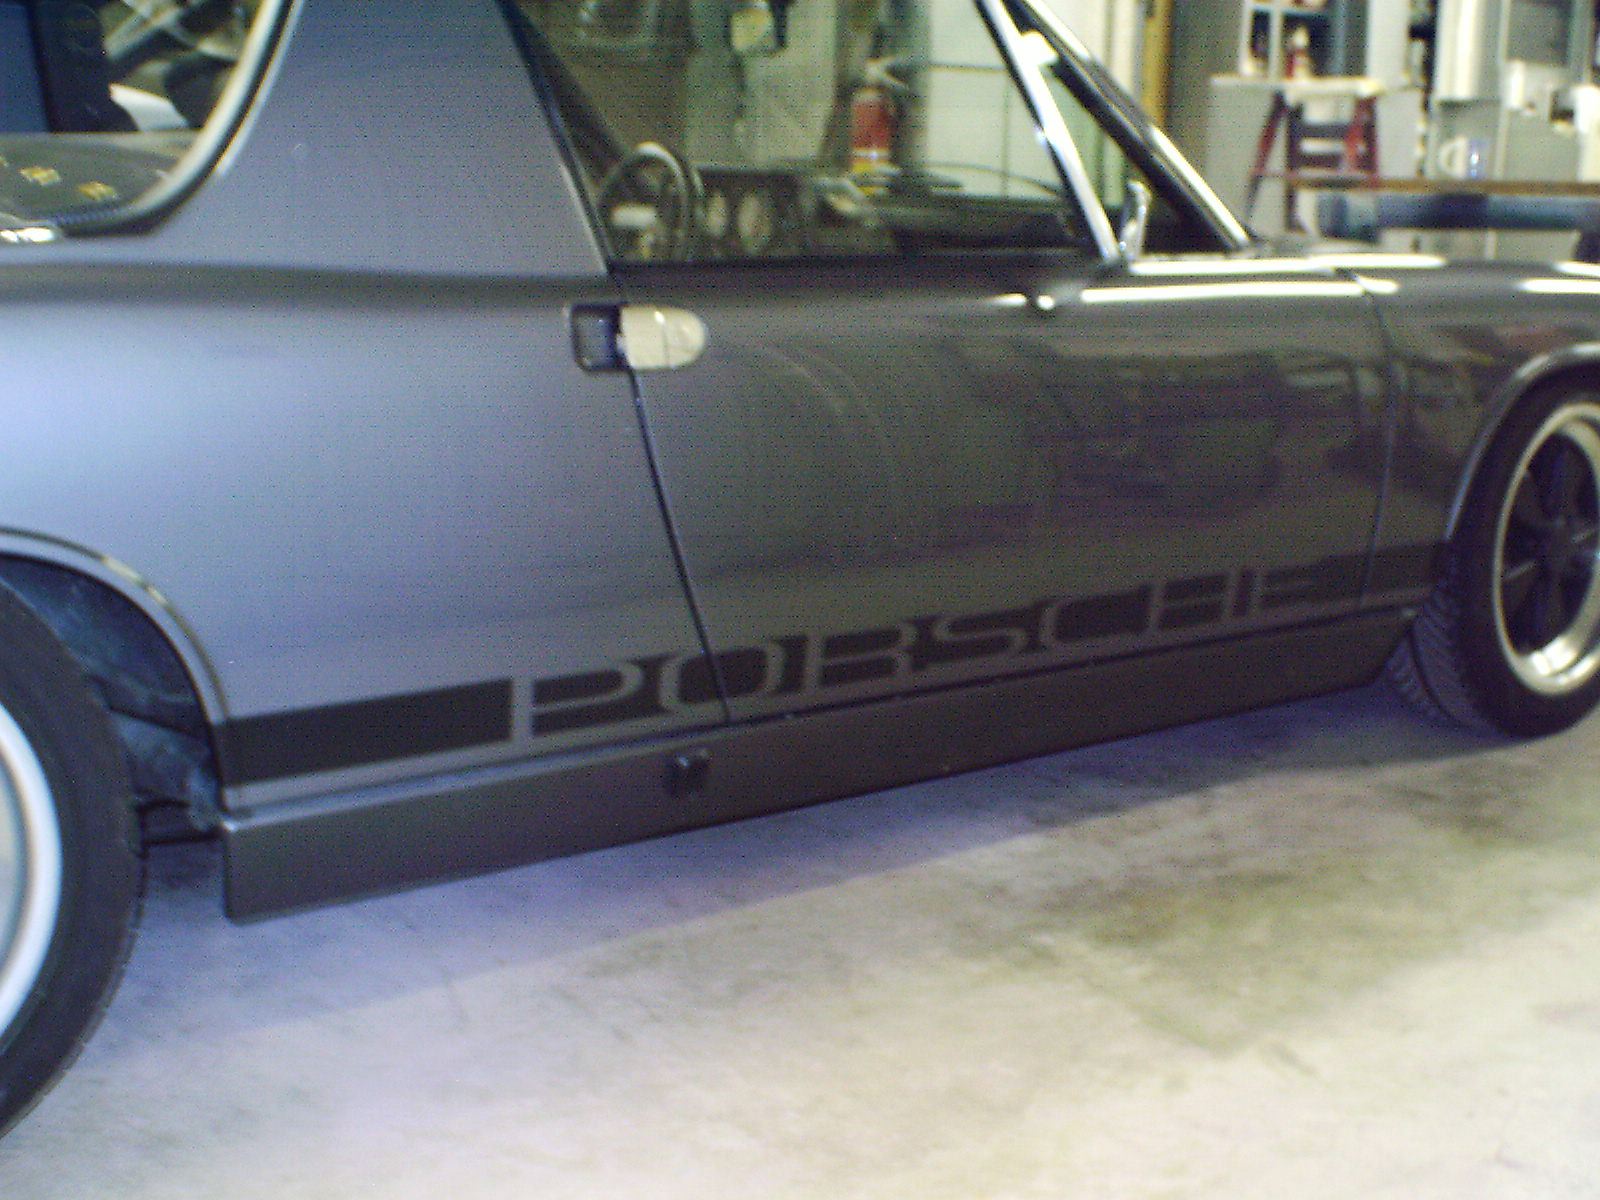
|
|
|
|
| Mark Henry |
Apr 21 2004, 08:14 AM
Post
#4
|
|
that's what I do! Group: Members Posts: 20,065 Joined: 27-December 02 From: Port Hope, Ontario Member No.: 26 Region Association: Canada |
Smaller pic's please!!!!
I find around 400X600 is the best. |
|
|
|
| jfort |
Apr 21 2004, 08:15 AM
Post
#5
|
|
Senior Member Group: Members Posts: 1,135 Joined: 5-May 03 From: Findlay, OH Member No.: 652 Region Association: Upper MidWest |
sorry about the size of the pics. how does one make a pic a certain size?
|
|
|
|
| Joe Bob |
Apr 21 2004, 08:21 AM
Post
#6
|
|
Retired admin, banned a few times Group: Members Posts: 17,427 Joined: 24-December 02 From: Boulder CO Member No.: 5 Region Association: None |
I've done a few in my time....it's gotten to the point that I just peel off the backing, have a friend hold one edge while I hold the other.
We then attach each end to the fender arch, gently apply pressure for adhesion.....I check location and height then starting from the middle press for central adhesion and squeegee out towards each fender arch.....peel top sheet off slice at doors and fenders and I'm done....sometimes there is a need to prick small bubbles. Takes 3 minutes. BTW...on pic size, most cameras have the manipulation software that comes with the camera. You can adjust brightness, sharpen, fuzz out, and resize. Most cameras can also be set to take particular sizes before snapping. RTFB.... (IMG:style_emoticons/default/biggrin.gif) Either way, before posting, reduce the size in your software to 600x450 or 450x600 depending on the orientation of the shot....save it, then post. BTW2....Are those the ones I sent ya? |
|
|
|
| Gint |
Apr 21 2004, 08:36 AM
Post
#7
|
|
Mike Ginter Group: Admin Posts: 16,076 Joined: 26-December 02 From: Denver CO. Member No.: 20 Region Association: Rocky Mountains |
Somebody's been taking photography lessons from Andy (our resident German)!
|
|
|
|
| Rusty |
Apr 21 2004, 08:43 AM
Post
#8
|
|
Wanted: Engine case GA003709 Group: Admin Posts: 7,941 Joined: 24-December 02 From: North Alabama Member No.: 6 Region Association: Galt's Gulch |
I have very limited experience on the decals... but this is what I did.
1. Clean the area well with wax and grease remover. 2. Use a grease pencil line to guide application. (above or below the intended path of the decal) 3. Go slow putting the decal on, using a rubber scraper I borrowed from the kitchen to smooth out bubbles. 4. Don't stretch the decals... it'll throw everything off. That's all I know about decals. -Rusty (IMG:style_emoticons/default/smoke.gif) |
|
|
|
| Randal |
Apr 21 2004, 10:00 AM
Post
#9
|
|
Advanced Member Group: Members Posts: 4,446 Joined: 29-May 03 From: Los Altos, CA Member No.: 750 |
Where do you buy "Easy On"
|
|
|
|
| tdgray |
Apr 21 2004, 10:37 AM
Post
#10
|
|
Thank God Nemo is not here to see this Group: Members Posts: 9,705 Joined: 5-August 03 From: Akron, OH Member No.: 984 Region Association: None |
You can get that product and others similar to it at any local autobody supply store.
I highly recommend it makes the job a hundred times easier and gives you better results. I did all the stripping on my Cobra with it. Big ass wide stripes took a whole bottle of that stuff. |
|
|
|
|
1 User(s) are reading this topic (1 Guests and 0 Anonymous Users)
0 Members:

|
Lo-Fi Version | Time is now: 25th May 2024 - 07:30 PM |
Invision Power Board
v9.1.4 © 2024 IPS, Inc.