|
|
|
Porsche, and the Porsche crest are registered trademarks of Dr. Ing. h.c. F. Porsche AG.
This site is not affiliated with Porsche in any way. Its only purpose is to provide an online forum for car enthusiasts. All other trademarks are property of their respective owners. |
|
|

  |

| Rand |
 Sep 5 2011, 11:25 PM Sep 5 2011, 11:25 PM
Post
#41
|
|
Cross Member  Group: Members Posts: 7,409 Joined: 8-February 05 From: OR Member No.: 3,573 Region Association: None |
Got my Momo seats installed. It took a fair amount of seat rail fabrication.
Started getting familiar with my oil bath air filter... I am still trying to convince myself they are great. Also fighting the guy on my other shoulder who says to get rid of that old thing and use a modern filter setup. |
   |

 
|
| DRPHIL914 |
Sep 6 2011, 06:20 AM
Post
#42
|
|
Dr. Phil Group: Members Posts: 5,767 Joined: 9-December 09 From: Bluffton, SC Member No.: 11,106 Region Association: South East States |
I pulled the driver's door panal to fix and or replace the lock and handle mechanism - found out that the inner screw that holds the latch in place some one used was too long and screwed right into the lock mechanism ruining it! (IMG:style_emoticons/default/headbang.gif)
so now i need new key and lock combos - the outside lip that bolts down snapped off so i replaced it with one who's handle is not as nice but will bolt down into place, - no key as i bought it second hand here with no matching key- Anyone have a key with key mechanisim- matching for both sides? oh, - after that i polished the outer edge of my rims with mothers' aluminum and mag polish(empi 8 spoke black with polished edges) then tightened my targa top latches, - would not pull in tight, - played with the idle setting, - replaced a bad connection on the coil- my tach would just twitch every now and then, car even died once - a bad connector to the coil i think(coil is brand new,) then sent my son back to college , - took the wife and daughters shopping (IMG:style_emoticons/default/dry.gif) Then (IMG:style_emoticons/default/driving.gif) went for a drive !!!! - - - did not get the brakes bled out- need that done before the D.E. in 2 weeks- Robeling road- savannah!!!! |
|
|
|
| tradisrad |
Sep 6 2011, 07:31 AM
Post
#43
|
|
Senior Member Group: Members Posts: 985 Joined: 11-September 06 From: San Mateo, CA Member No.: 6,815 Region Association: Northern California |
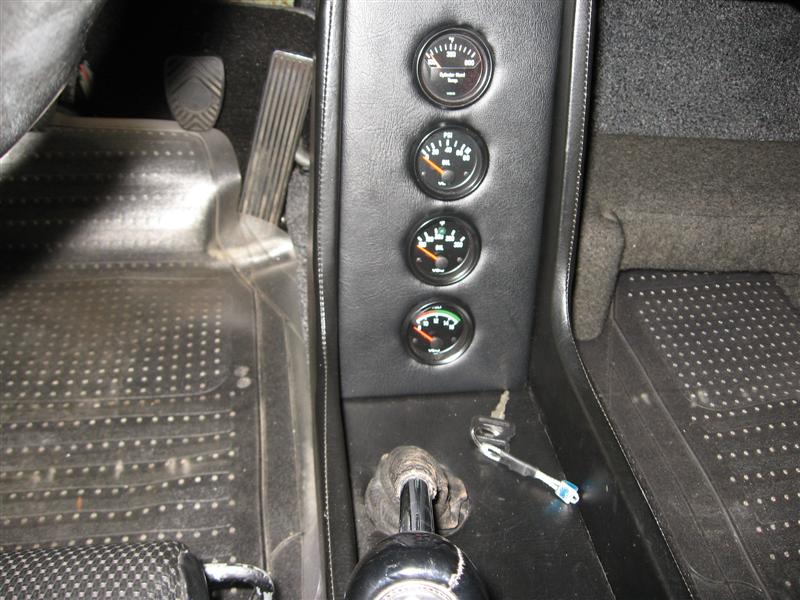
I added a CHT gauge. It involved making a new panel for the center console so the 4th gauge would fit. I'll add pics this evening. I drove it and temps were averaging 350 (assuming the gauge is accurate, but after reading @ ratwell.com they gague may not be accurate(his web page won't open this am))
 |
|
|
|
| Loser_Cruiser |
Sep 6 2011, 08:27 AM
Post
#44
|
|
Member Group: Members Posts: 407 Joined: 4-April 05 From: Bellingham, WA Member No.: 3,873 Region Association: Pacific Northwest |
Mainly made a mess but stripped te yellow car and poked around on the new red car.
(IMG:http://www.914world.com/bbs2/uploads_offsite/i302.photobucket.com-3873-1315319272.1.jpg) |
|
|
|
| JmuRiz |
Sep 6 2011, 08:30 AM
Post
#45
|
|
914 Guru Group: Members Posts: 5,432 Joined: 30-December 02 From: NoVA Member No.: 50 Region Association: MidAtlantic Region |
Big news, I actually worked on my car this weekend...it's a miracle, haha.
I took off ALL the heater parts, exchangers, and muffler...to sell and am all ready for my engine drop this coming weekend. Felt good to actually get out there and take some stuff apart! Once it's all out, time to clean up the underside of the chassis and get busy prepping for the conversion! |
|
|
|
| 76-914 |
Sep 6 2011, 10:12 AM
Post
#46
|
|
Repeat Offender & Resident Subaru Antagonist Group: Members Posts: 13,505 Joined: 23-January 09 From: Temecula, CA Member No.: 9,964 Region Association: Southern California |
After making these 2 panels:
 It was suggested by another member that I do the dash face also. So I thought why not. The face piece is 3.5" x 48" nominal. So I cut a piece of .032'" aluminum 3.5" x 50" to be trimmed at completion. The jig is relatively simple. I used a 2 x 4 (which is actually 1.5" x 3.5") with some 1x2's attached to the sides to act as a guide. The interuption between the edge guides is to allow for the 3M wheel to hang over the edge of the aluminum sheet. The wheel is a 1" wheel. I'm over lapping 1/2 diameter, hence the 1/2" spacers. So the outside rows get the wheel placed 1/2 over. If you don't you end up with non-finished areas on the edge. 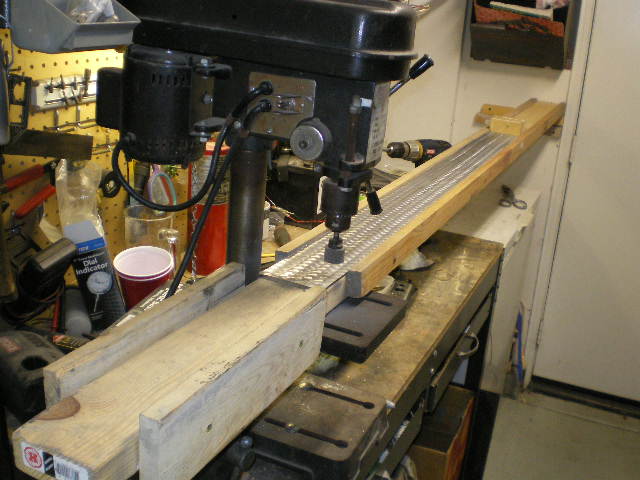 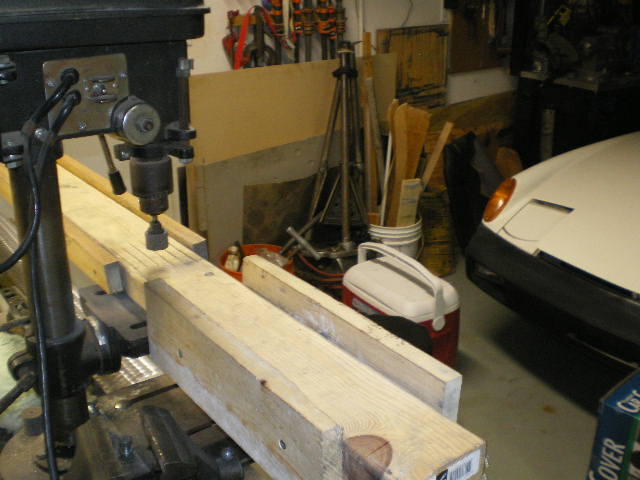 The jig is supported on one end by a 1x2 on the wall and the other end attached to the drill press. 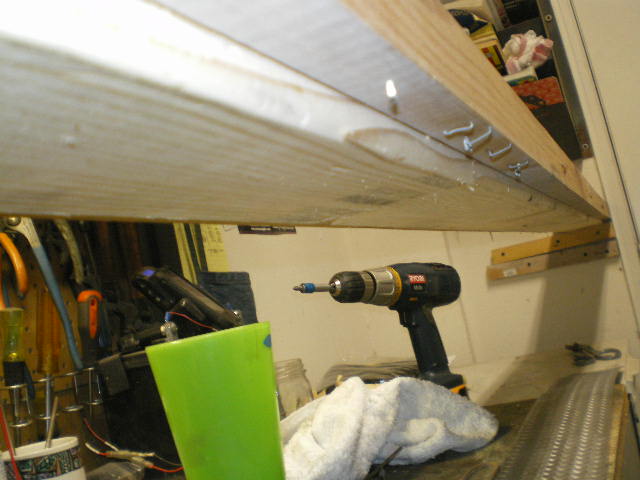 Notice this nut. On the top is a bevel head mch screw which pulls into this and holds the jig in place. 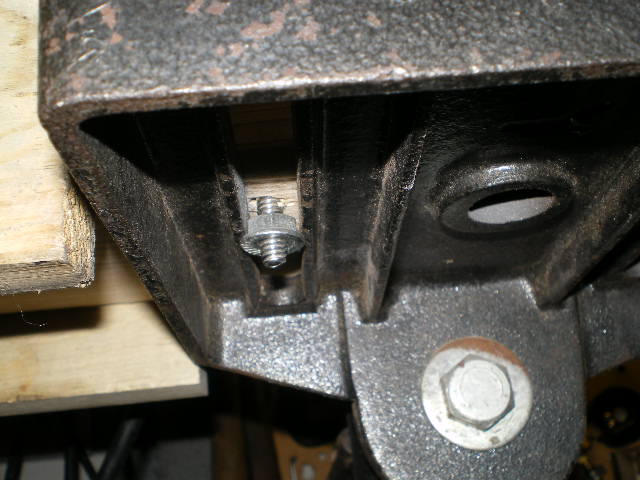 These lines are the 1/2" spacing required for the horizontal rows. Once you complete one row then loosen the screw, relocated the jig to the next line, re-tighten and continue onto the next row. 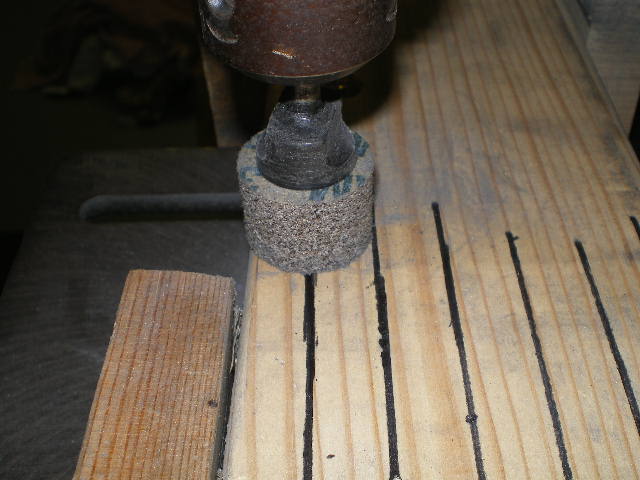 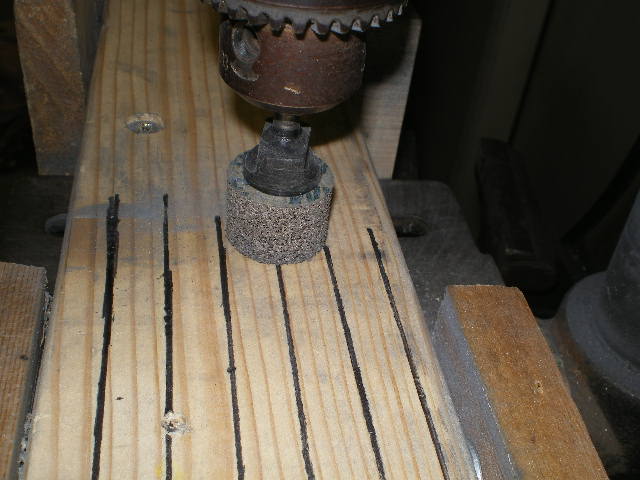 Next I placed the face piece at the point where the wheel fit 1/2 way over one end then attaced this stop block. 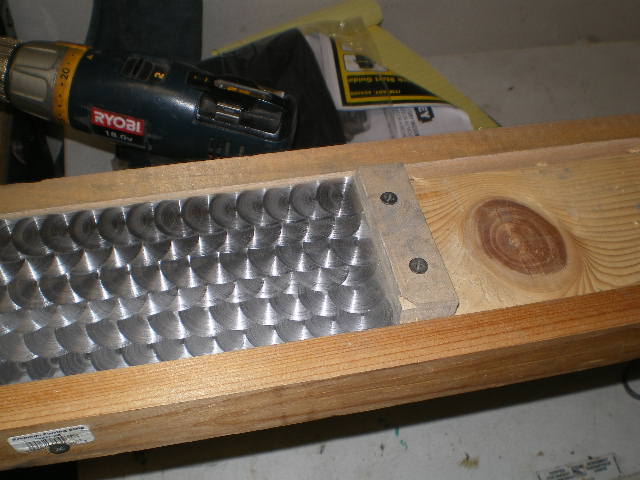 Then I cut up a shit load (appx 100) of 1/2" spacers or gage blocks. These are then added or subtracted, one at a time (depending on the direction you are working) for placing your work piece. If your not exact it will end up looking like crap. Ask me how I know. 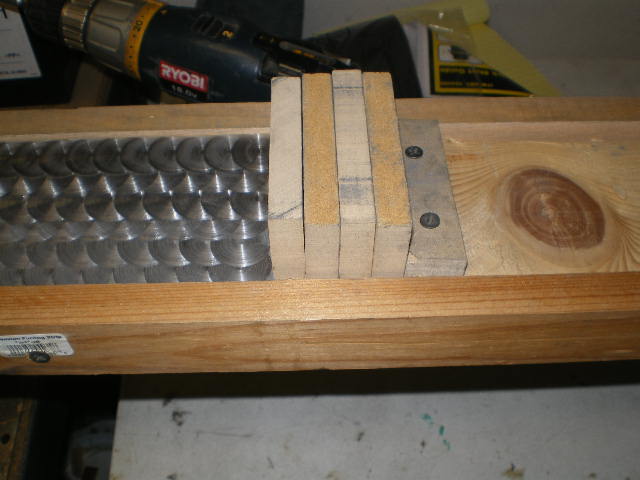 Next phase will be "cut and trim to fit". I'll post that in the next few weeks. |
|
|
|
| Andyrew |
Sep 6 2011, 02:41 PM
Post
#47
|
|
Spooling.... Please wait Group: Members Posts: 13,376 Joined: 20-January 03 From: Riverbank, Ca Member No.: 172 Region Association: Northern California |
Washed mine and drove it to the parents house for a BBQ then built the bottom end on the CRX.
|
|
|
|
|
1 User(s) are reading this topic (1 Guests and 0 Anonymous Users)
0 Members:

|
Lo-Fi Version | Time is now: 28th May 2024 - 11:25 PM |
Invision Power Board
v9.1.4 © 2024 IPS, Inc.