|
|
|
Porsche, and the Porsche crest are registered trademarks of Dr. Ing. h.c. F. Porsche AG.
This site is not affiliated with Porsche in any way. Its only purpose is to provide an online forum for car enthusiasts. All other trademarks are property of their respective owners. |
|
|

  |

| Gatornapper |
 Sep 27 2020, 06:14 AM Sep 27 2020, 06:14 AM
Post
#13501
|
|
Senior Member  Group: Members Posts: 1,290 Joined: 22-September 17 From: Woods west of Richmond, VA Member No.: 21,449 Region Association: South East States |
Phil -
DID paint the lower shroud of the fan housing, but in satin black - need to make it gloss, but not messing with the alloy section attached to the engine. Not striving to match the perfection of your sweet goldie! Hope you are well - I'm doing great now. Take care...... GN |
   |

 
|
| DRPHIL914 |
Sep 27 2020, 07:17 AM
Post
#13502
|
|
Dr. Phil Group: Members Posts: 5,954 Joined: 9-December 09 From: Kennesaw, GA Member No.: 11,106 Region Association: South East States |
QUOTE(Gatornapper @ Sep 27 2020, 08:14 AM)  Phil - DID paint the lower shroud of the fan housing, but in satin black - need to make it gloss, but not messing with the alloy section attached to the engine. Not striving to match the perfection of your sweet goldie! Hope you are well - I'm doing great now. Take care...... GN slowly feeling better, still not completely, but well enough yesterday to wash the cars. had to polish the fuchs to get the water spot stains off the rims, took a lot of elbow grease but results are pretty darn good. let me tell you Shingles nerve pain is no joke! but that’s what i got done. Attached thumbnail(s) 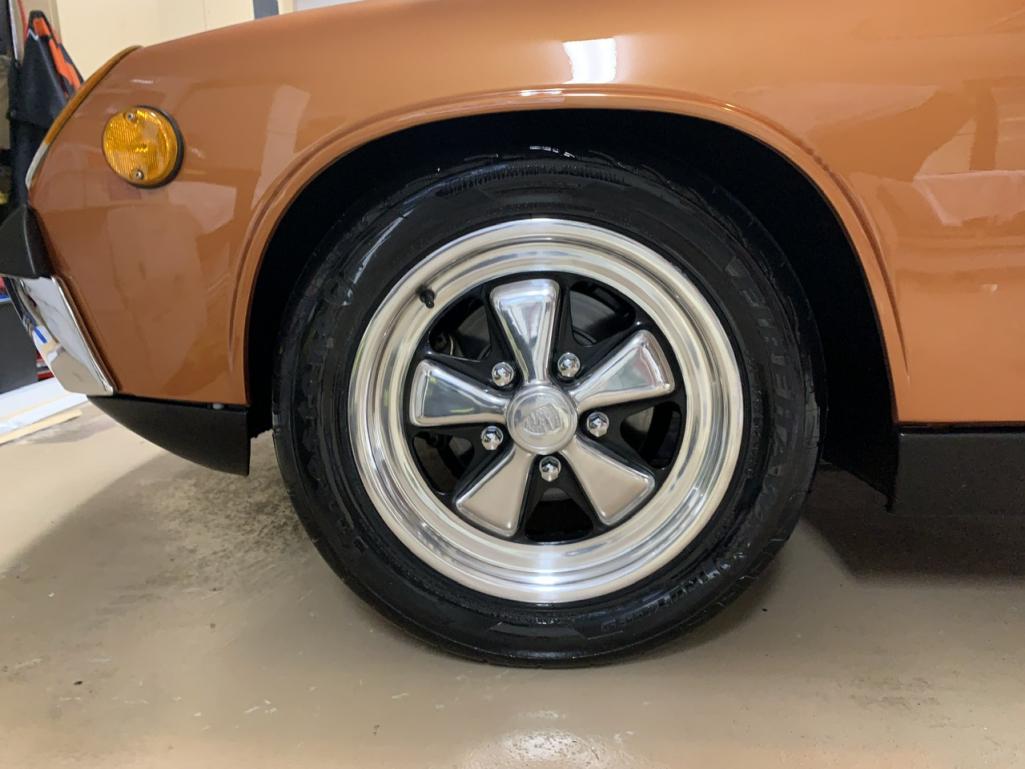
|
 |
|
| jesse7flying |
Sep 27 2020, 08:44 AM
Post
#13503
|
|
Member Group: Members Posts: 140 Joined: 9-August 16 From: Burleson,TX Member No.: 20,281 Region Association: None |
Rebuilt the CV joints on my '71 project car. Lots of crusty old grease in there, but surprisingly little wear on the metal surfaces. Van Svenson's YouTube vid on CV joints is the ticket for the job. Lot's to do on this old girl, but hope to have it on the road next year.
|
|
|
|
| Bleyseng |
Sep 27 2020, 10:37 AM
Post
#13504
|
|
Aircooled Baby! Group: Members Posts: 13,037 Joined: 27-December 02 From: Seattle, Washington (for now) Member No.: 24 Region Association: Pacific Northwest |
Installed new rubber lines on the front brakes and installed a rebuilt PMB rear caliper on the rear, adjusted the venting clearance and finally bled the system to get a good firm petal.
|
|
|
|
| brcacti |
Sep 27 2020, 06:41 PM
Post
#13505
|
|
1974 914 1.8 Group: Members Posts: 674 Joined: 17-July 19 From: PHX AZ 60 miles south Member No.: 23,302 Region Association: Southwest Region |
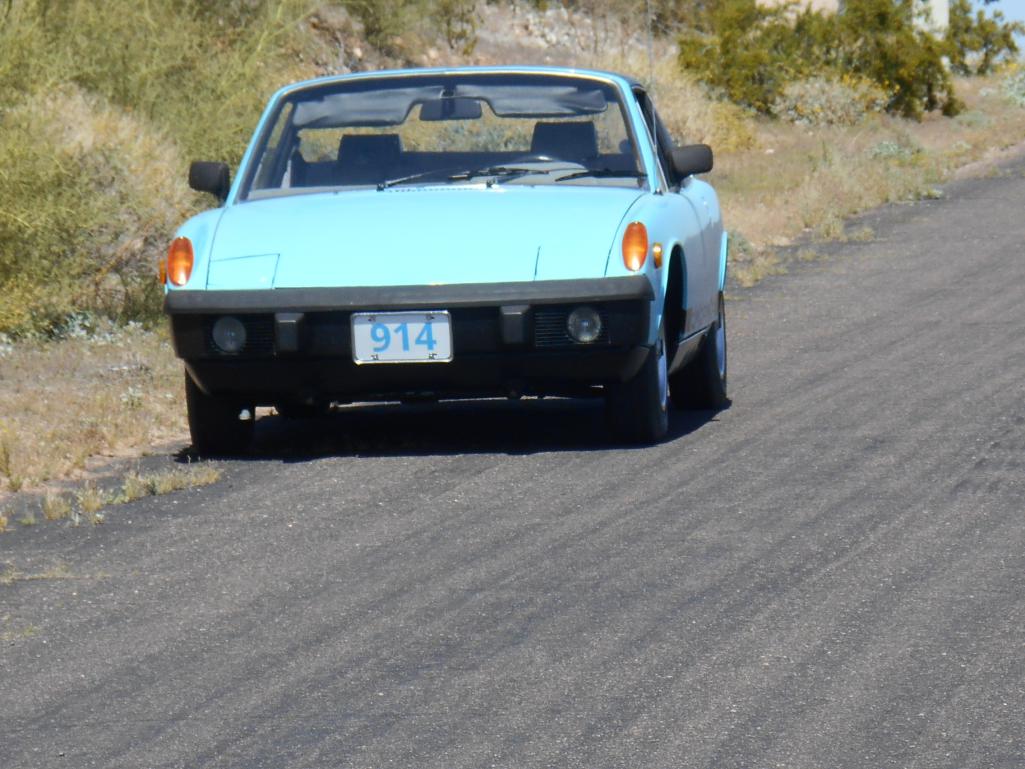
Vacuumed the outside of the car today getting it ready for the next driving season in very hot AZ. Still a little too hot for use as of this week. Also took it off the blocks and ramps for test drive.
 |
|
|
|
| simonjb |
Sep 27 2020, 07:17 PM
Post
#13506
|
|
KiwiMan Group: Members Posts: 574 Joined: 18-October 16 From: Stamford, Connecticut Member No.: 20,505 Region Association: North East States |
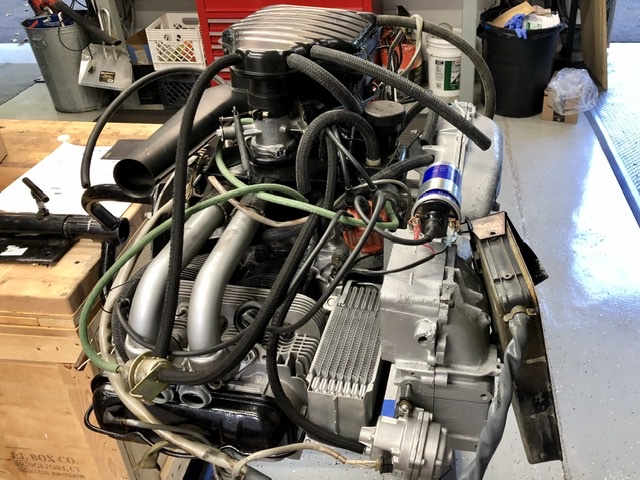
Took my 1974 2.0 for a final ? Fall drive. And have almost finished up the restoration of the original Djet engine....
  |
|
|
|
| jhynesrockmtn |
Sep 27 2020, 08:12 PM
Post
#13507
|
|
Member Group: Members Posts: 451 Joined: 13-June 16 From: spokane wa Member No.: 20,100 Region Association: Pacific Northwest |
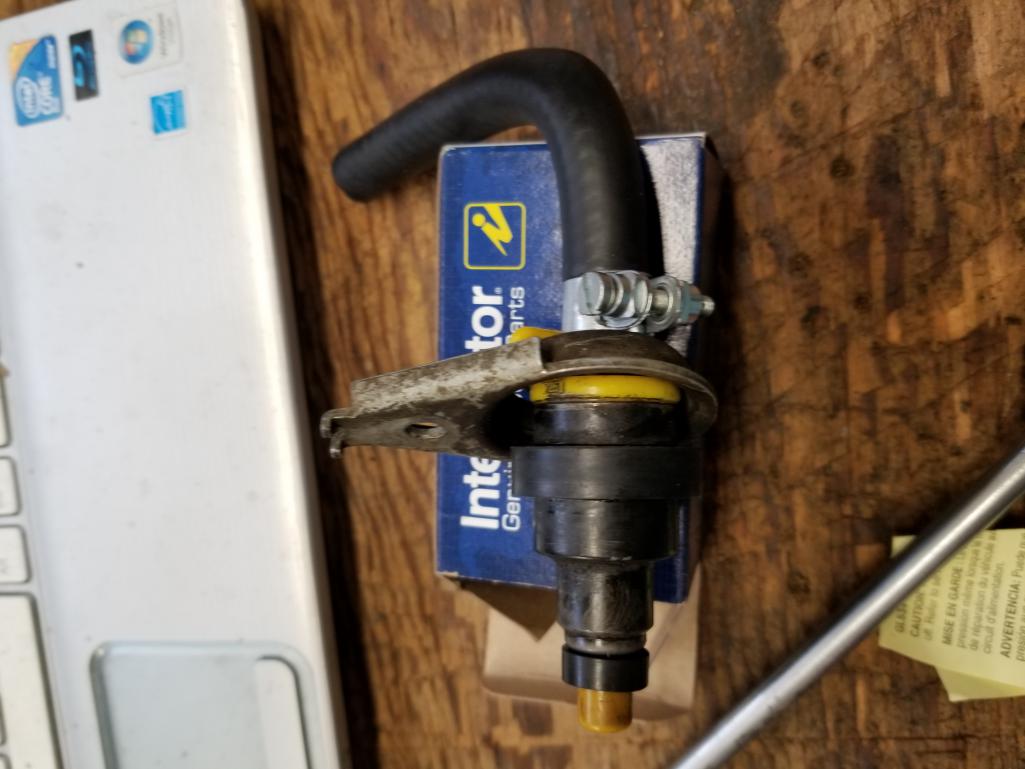
Went through the engine compartment fuel hoses and updated all including new fuel injector seals. The kit from AA was ok but I ended up being short some clamps. Luckily had a few around that were the proper type.
 |
|
|
|
| porsche914rick |
Sep 27 2020, 08:23 PM
Post
#13508
|
|
Member Group: Members Posts: 66 Joined: 6-August 14 From: Seymour, TN Member No.: 17,744 Region Association: South East States |
|
|
|
|
| RolinkHaus |
Sep 27 2020, 09:30 PM
Post
#13509
|
|
Member Group: Members Posts: 253 Joined: 21-July 18 From: Noblesville, IN Member No.: 22,330 Region Association: None |
Wet sanding old paint. While the engines out. (IMG:style_emoticons/default/piratenanner.gif) Will do some before and after.
 New / Old Porsche hauler, one owner 2001 ML with 93K (IMG:style_emoticons/default/aktion035.gif)  |
|
|
|
| Mueller |
Sep 27 2020, 09:55 PM
Post
#13510
|
|
914 Freak! Group: Members Posts: 17,155 Joined: 4-January 03 From: Antioch, CA Member No.: 87 Region Association: None |
Installed new spark plugs, changed the valve cover gaskets.
Started to tidy up the wiring, made a few brackets. One near the starter and the other on the engine mount. 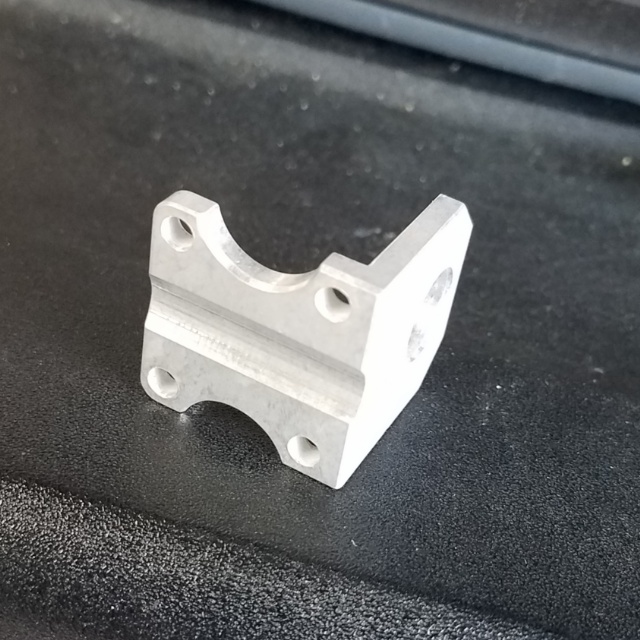 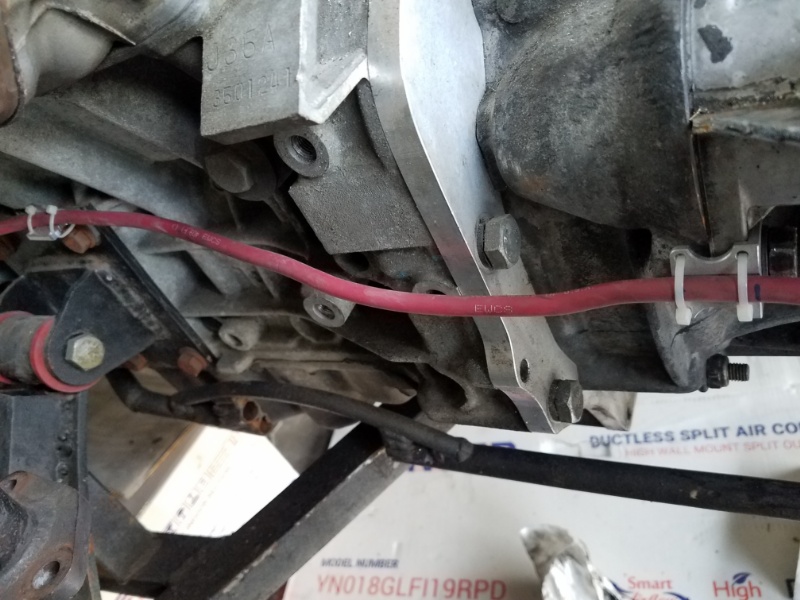 |
|
|
|
| tygaboy |
Sep 28 2020, 08:26 AM
Post
#13511
|
|
914 Guru Group: Members Posts: 5,844 Joined: 6-October 15 From: Petaluma, CA Member No.: 19,241 Region Association: Northern California |
QUOTE(Mueller @ Sep 27 2020, 08:55 PM) Installed new spark plugs, changed the valve cover gaskets. Started to tidy up the wiring, made a few brackets. One near the starter and the other on the engine mount. @Mueller - Oh come on, Mike! Now you're just showing off! Worse than that, you're going to have to make me some stuff... (IMG:style_emoticons/default/shades.gif) |
|
|
|
| henjik |
Sep 28 2020, 03:12 PM
Post
#13512
|
|
Newbie Group: Members Posts: 6 Joined: 21-May 20 From: sweden Member No.: 24,291 Region Association: Europe |
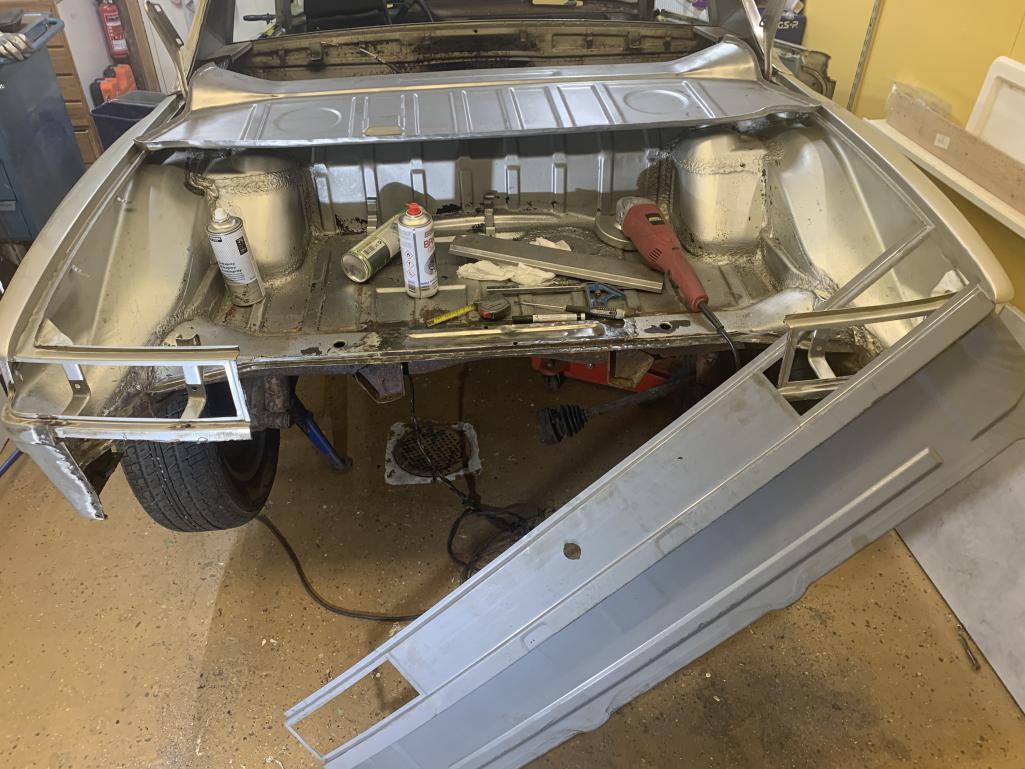
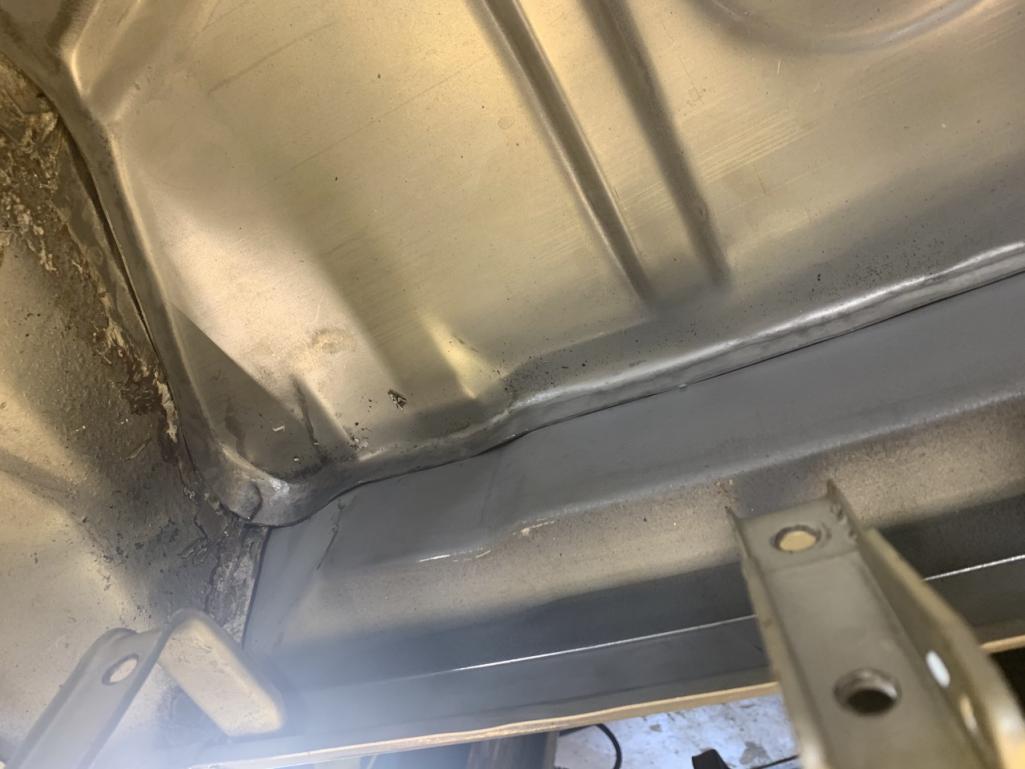
Started to fit the rear cross panel and trunk floor.
  |
|
|
|
| brcacti |
Sep 28 2020, 03:22 PM
Post
#13513
|
|
1974 914 1.8 Group: Members Posts: 674 Joined: 17-July 19 From: PHX AZ 60 miles south Member No.: 23,302 Region Association: Southwest Region |
checked tire air pressure, TOMORROW morning will be my first drive to work this driving season. The weather is starting to improve especially during the morning and late morning hours here in S. AZ. I will leave work at 10 am get home before the heat hits us.
|
|
|
|
| boxster914 |
Sep 28 2020, 07:26 PM
Post
#13514
|
|
Member Group: Members Posts: 77 Joined: 17-September 20 From: NC, USA Member No.: 24,700 Region Association: South East States |
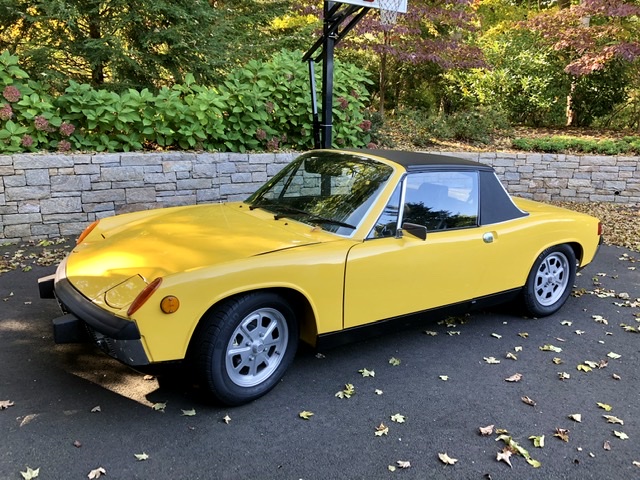
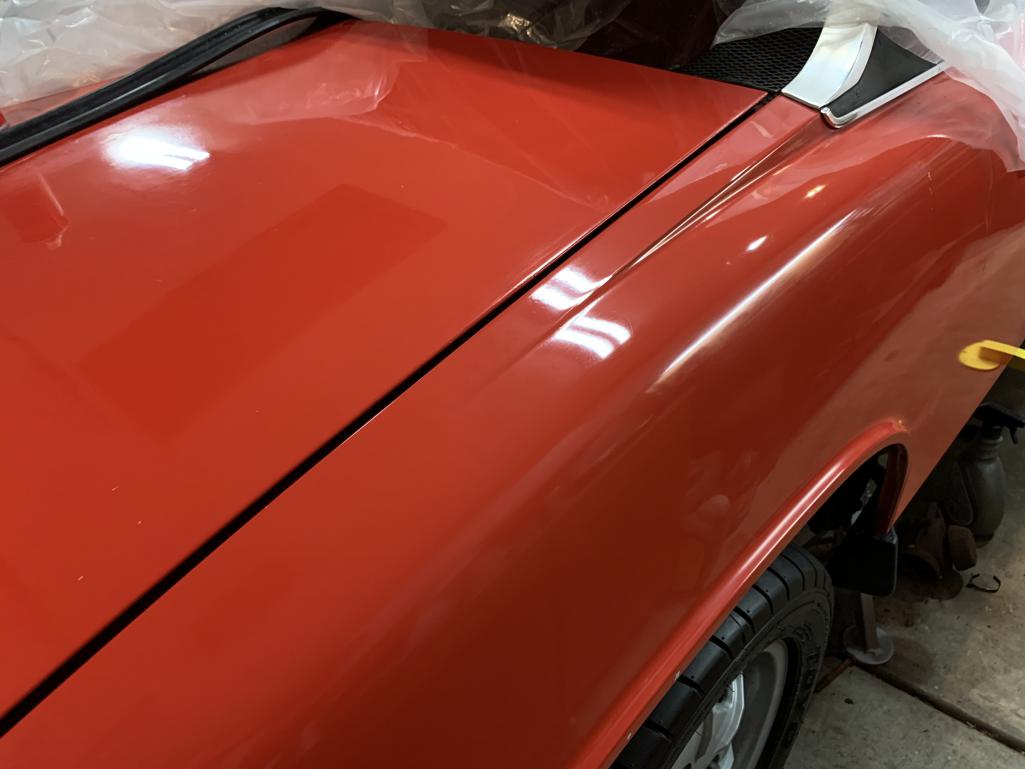
I painted my rockers with wurth satin black (cleaned first with wurth surface prep) very happy with the result. Nice and smooth.
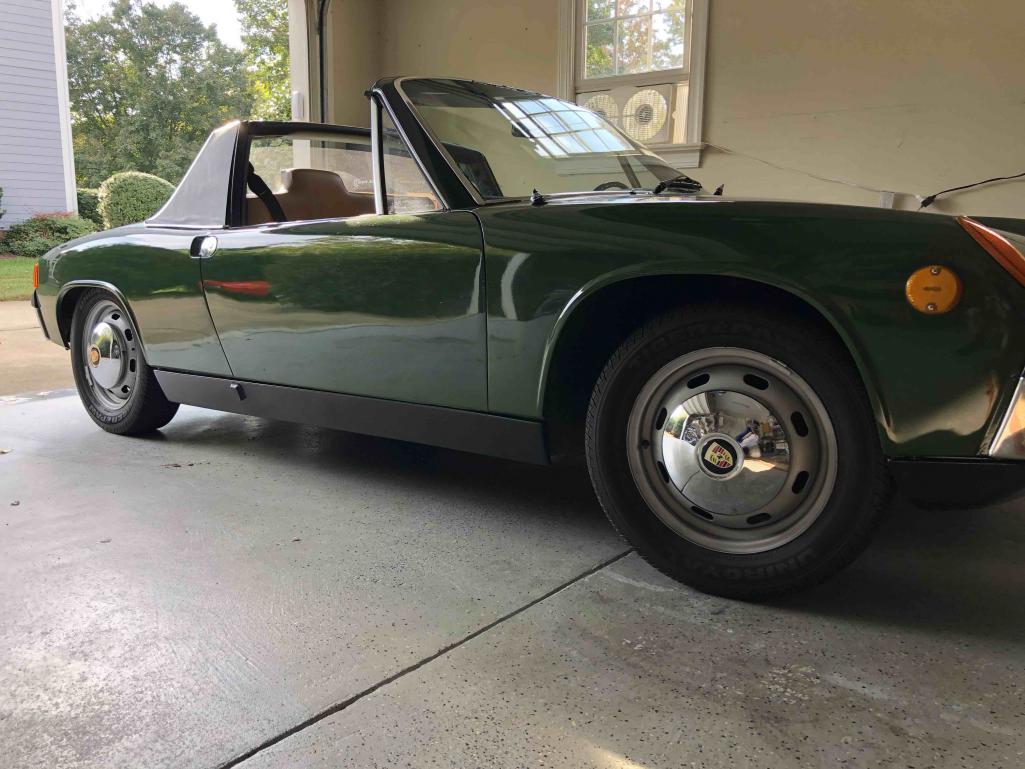 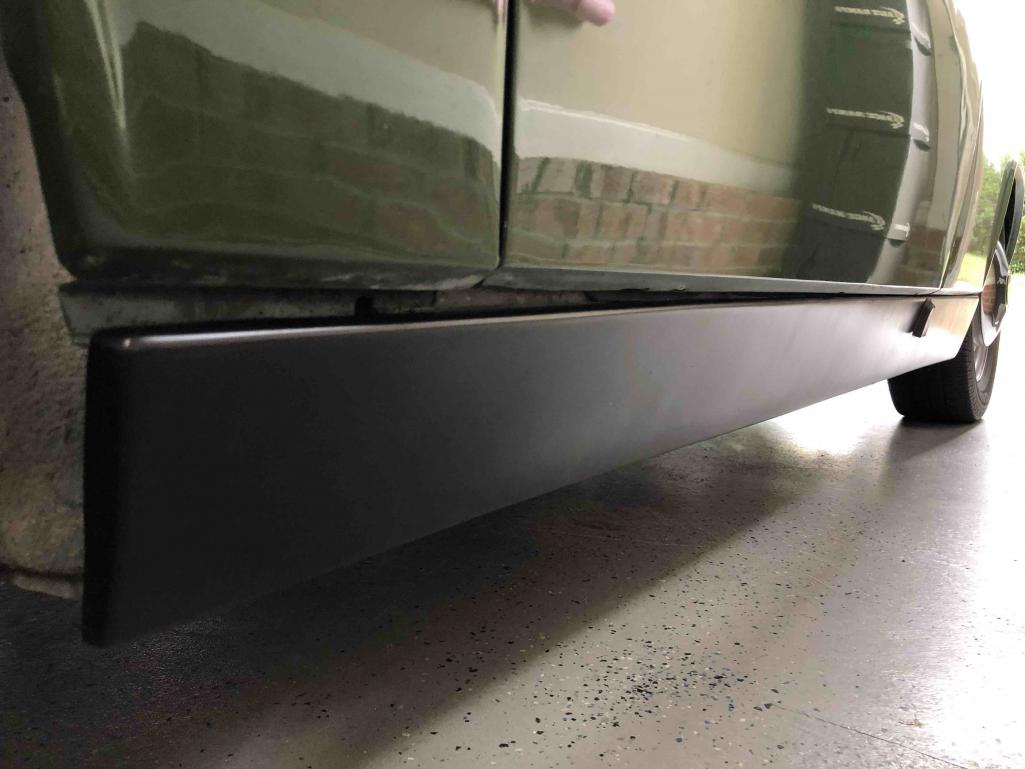 Also had to flex seal my windshield trim (lost the first set on the highway last week after windshield replacement). Not happy with this result. I'd appreciate any advice of how to permanently seat the trim in the clips without the use of flex seal! 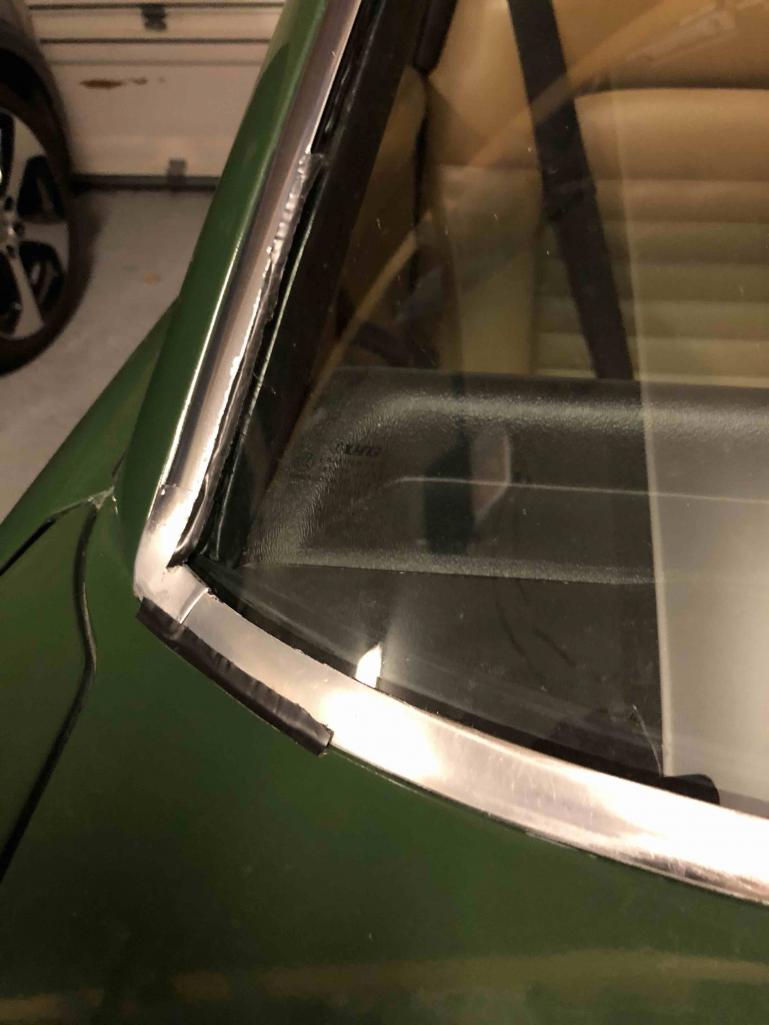 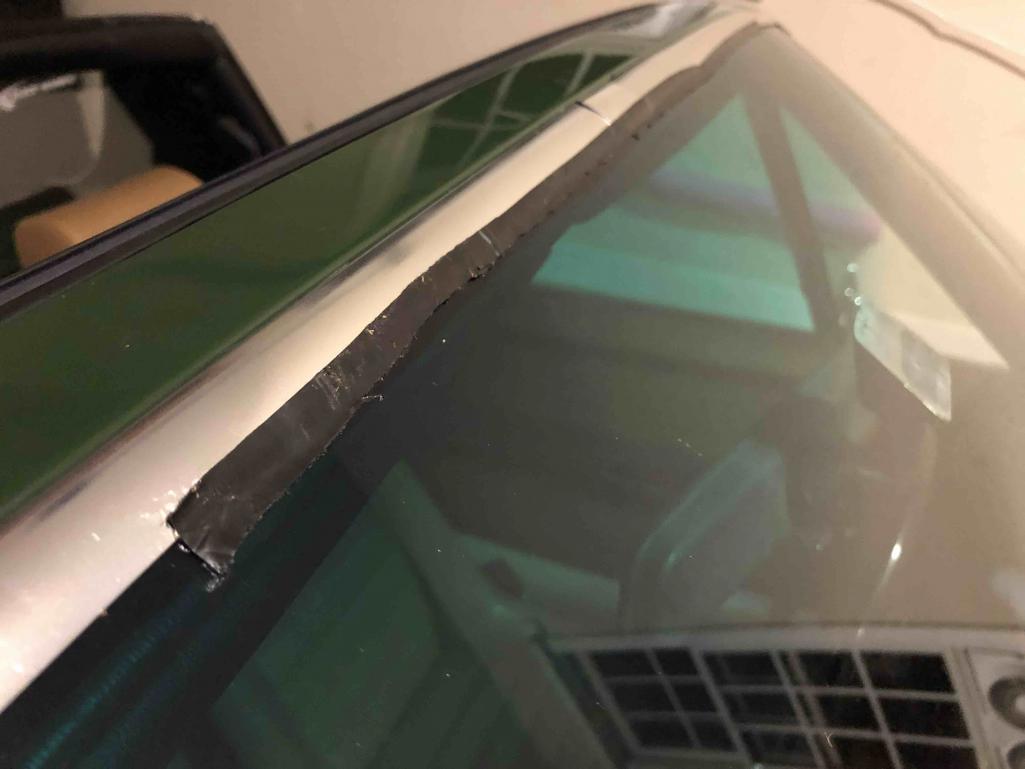 Then took a nice drive. 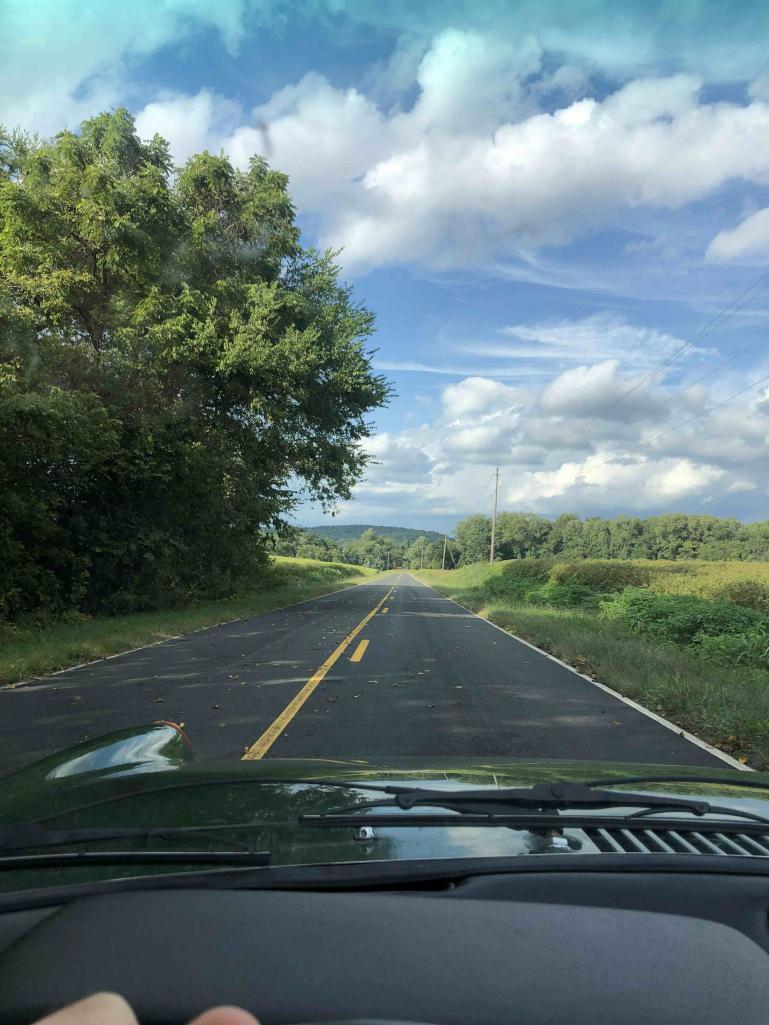 |
|
|
|
| Cairo94507 |
Sep 29 2020, 06:25 AM
Post
#13515
|
|
Michael Group: Members Posts: 10,719 Joined: 1-November 08 From: Auburn, CA Member No.: 9,712 Region Association: Northern California |
For the windshield trim you may have to remove the glass and start over. Clean out the track and install new clips and then the windshield. Then the trim. Additionally, I do not see the front mounting screw and spacer for the rocker install. But the rockers do look nice. (IMG:style_emoticons/default/beerchug.gif)
|
|
|
|
| Mark Henry |
Sep 29 2020, 06:44 AM
Post
#13516
|
|
that's what I do! Group: Members Posts: 20,065 Joined: 27-December 02 From: Port Hope, Ontario Member No.: 26 Region Association: Canada |
Drove the teen to Mike's914 and picked up some 5 bolt struts and hubs. Hard to to tell if I got a matching pair, he let me take home 3 struts to check out, I'll clean up the part numbers today.
3" struts because I have 2 sets of Alfa brembo's in my stash. Not sure if I'll pass these to teenhulk or sale them in the future. (IMG:style_emoticons/default/confused24.gif) |
|
|
|
| boxster914 |
Sep 29 2020, 07:06 AM
Post
#13517
|
|
Member Group: Members Posts: 77 Joined: 17-September 20 From: NC, USA Member No.: 24,700 Region Association: South East States |
QUOTE(Cairo94507 @ Sep 29 2020, 08:25 AM) For the windshield trim you may have to remove the glass and start over. Clean out the track and install new clips and then the windshield. Then the trim. Additionally, I do not see the front mounting screw and spacer for the rocker install. But the rockers do look nice. (IMG:style_emoticons/default/beerchug.gif) The rockers were fiberglass. Were the factory rockers fiberglass or is this an aftermarket part? Do you know of any pictures available on the web of the correct installation of the rocker in terms of the parts (you mention the mounting screws and spacer) used? I see that AutoAtlanta has a kit but I'm not sure where everything goes. |
|
|
|
| Jett |
Sep 29 2020, 08:29 AM
Post
#13518
|
|
Senior Member Group: Members Posts: 1,699 Joined: 27-July 14 From: Seattle Member No.: 17,686 Region Association: Pacific Northwest |
QUOTE(boxster914 @ Sep 29 2020, 06:06 AM) QUOTE(Cairo94507 @ Sep 29 2020, 08:25 AM) For the windshield trim you may have to remove the glass and start over. Clean out the track and install new clips and then the windshield. Then the trim. Additionally, I do not see the front mounting screw and spacer for the rocker install. But the rockers do look nice. (IMG:style_emoticons/default/beerchug.gif) The rockers were fiberglass. Were the factory rockers fiberglass or is this an aftermarket part? Do you know of any pictures available on the web of the correct installation of the rocker in terms of the parts (you mention the mounting screws and spacer) used? I see that AutoAtlanta has a kit but I'm not sure where everything goes. Here are a couple pics... Attached image(s)  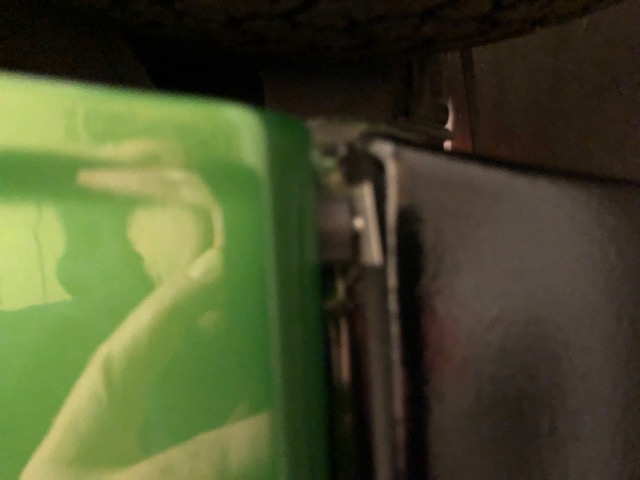
|
|
|
|
| FlacaProductions |
Sep 29 2020, 09:10 AM
Post
#13519
|
|
Advanced Member Group: Members Posts: 2,253 Joined: 24-November 17 From: LA Member No.: 21,628 Region Association: Southern California |
@boxster914 - Here's a good diagram from 914Rubber.com - which is also where you can get the spacers.
https://914rubber.com/spacer-for-rocker-panel-and-valance 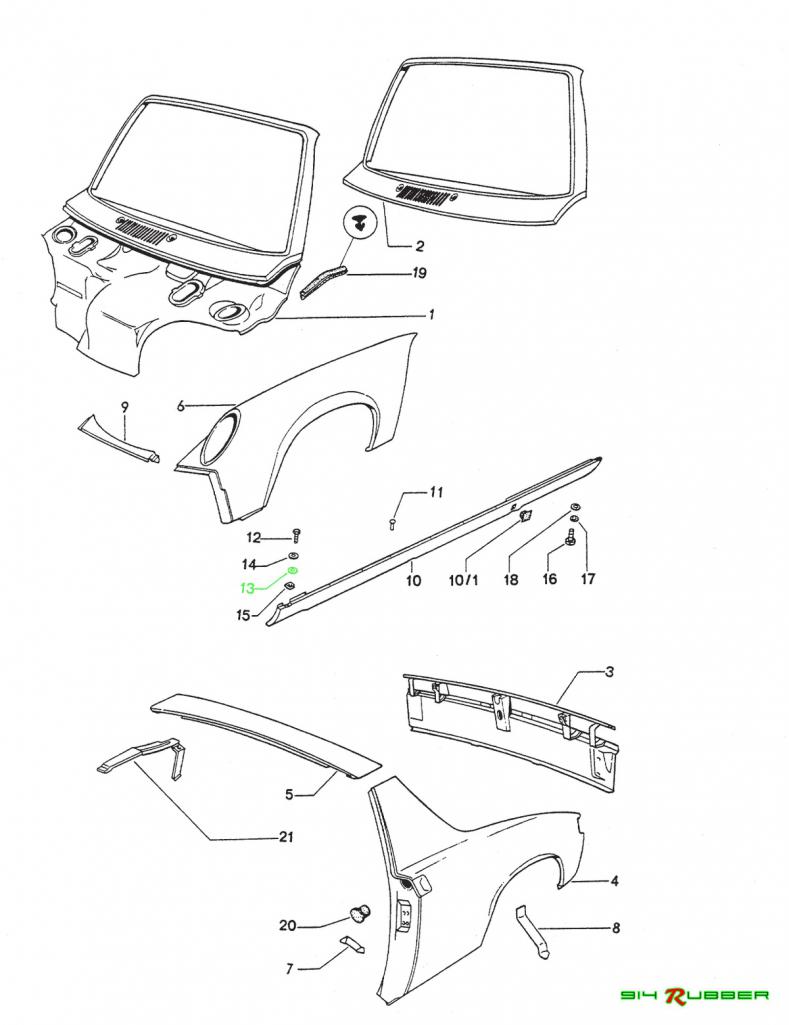 |
|
|
|
| ThinAir |
Sep 29 2020, 07:45 PM
Post
#13520
|
|
Best friends Group: Members Posts: 2,575 Joined: 4-February 03 From: Flagstaff, AZ Member No.: 231 Region Association: Southwest Region |
Duplicate post...
|
|
|
|
|
14 User(s) are reading this topic (14 Guests and 0 Anonymous Users)
0 Members:

|
Lo-Fi Version | Time is now: 23rd July 2026 - 09:06 AM |
Invision Power Board
v9.1.4 © 2026 IPS, Inc.