|
|
|
Porsche, and the Porsche crest are registered trademarks of Dr. Ing. h.c. F. Porsche AG.
This site is not affiliated with Porsche in any way. Its only purpose is to provide an online forum for car enthusiasts. All other trademarks are property of their respective owners. |
|
|

  |

| euro911 |
 Mar 12 2012, 08:04 PM Mar 12 2012, 08:04 PM
Post
#21
|
|
Retired & living the dream. God help me if I wake up!  Group: Members Posts: 8,851 Joined: 2-December 06 From: So.Cal. & No.AZ (USA) Member No.: 7,300 Region Association: Southern California |
Pulled the bumper back off . Here's what I have:
Front side view - is this the BUB lip? 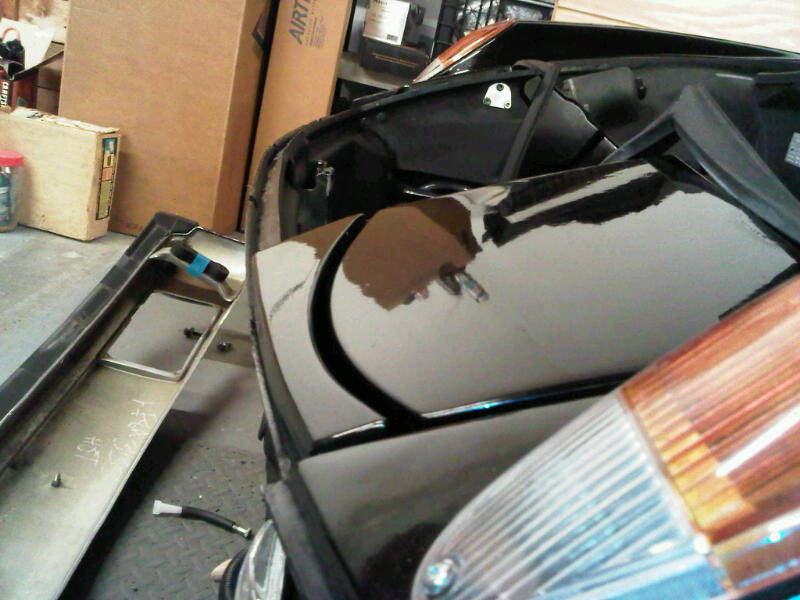 Right side - fender is flush with front ledge) 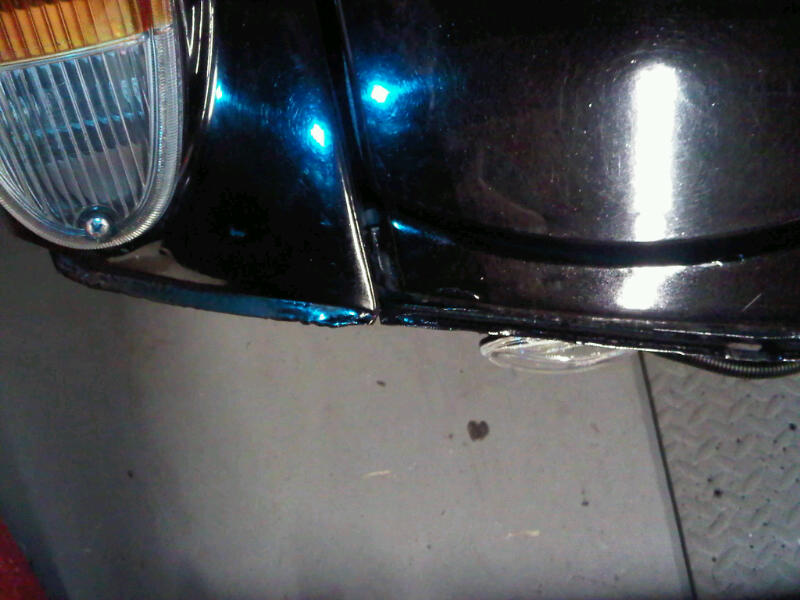 Left side - notice fender protrudes from front ledge a bit) 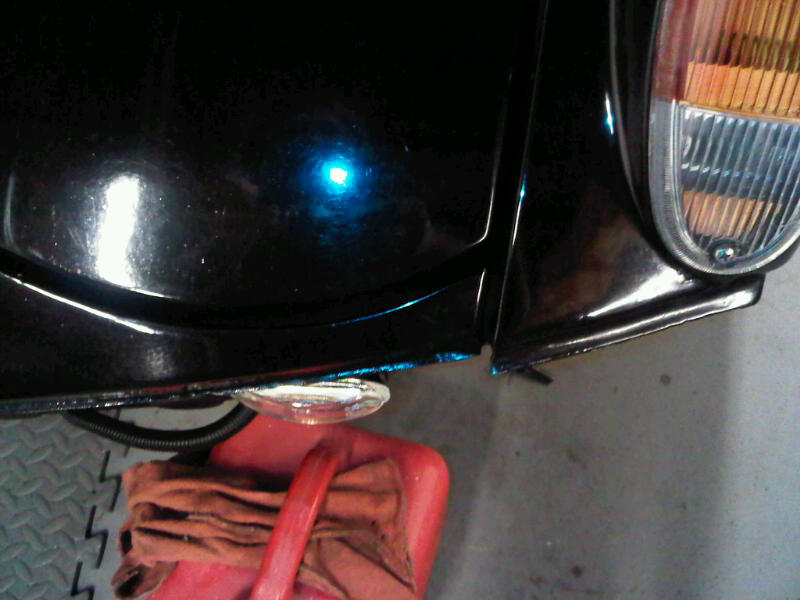 Top left mounting hole - measured from the flat surface directly above the hole 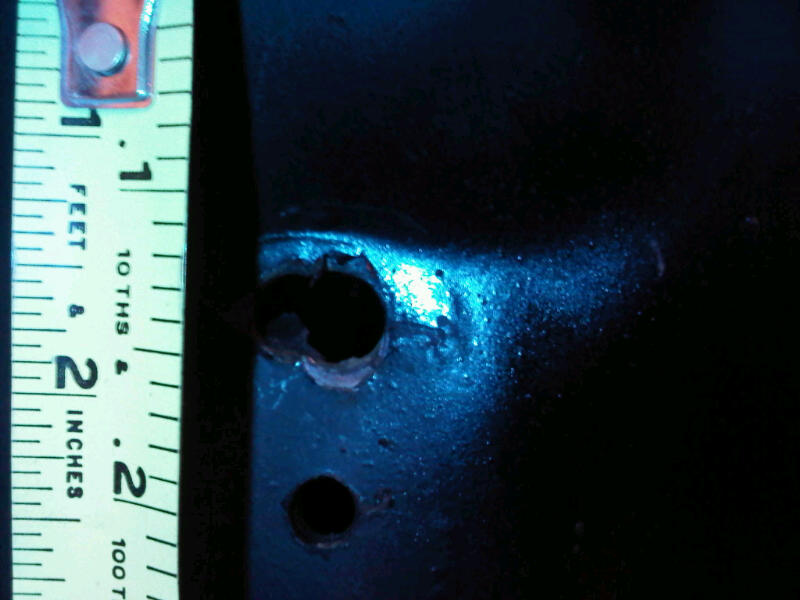 Top hole, measured from side - side-to-side fitment is OK, but I included this pic to show the flat surface I measured down from 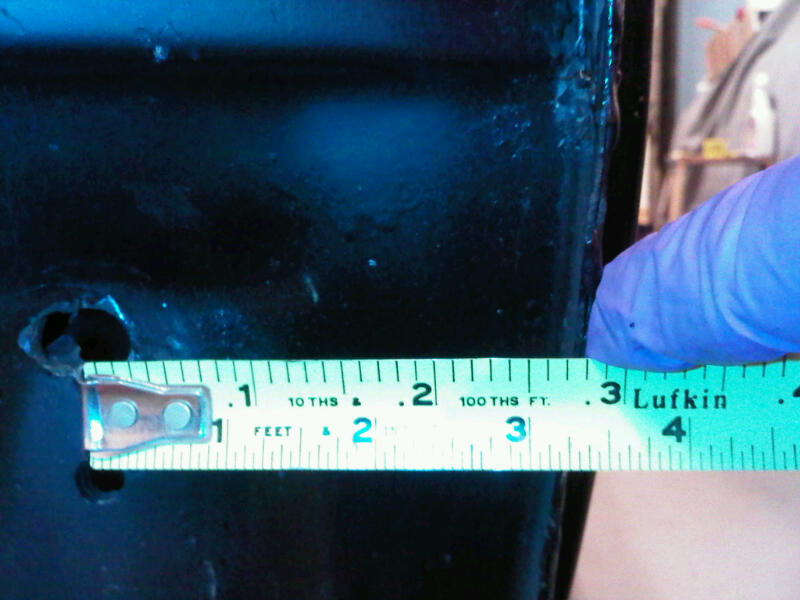 Hope I'm making sense. Are the mounting holes in the correct location (height wise)? (IMG:style_emoticons/default/confused24.gif) ... |
   |

 
|
| MDG |
Mar 12 2012, 08:13 PM
Post
#22
|
|
Wolf in wolf's clothing. Group: Members Posts: 8,652 Joined: 3-February 09 From: Toronto Member No.: 10,018 Region Association: None |
Here's the only picture I can find of mine before I put the bumpers on and sorry - no measurements.
Attached image(s) 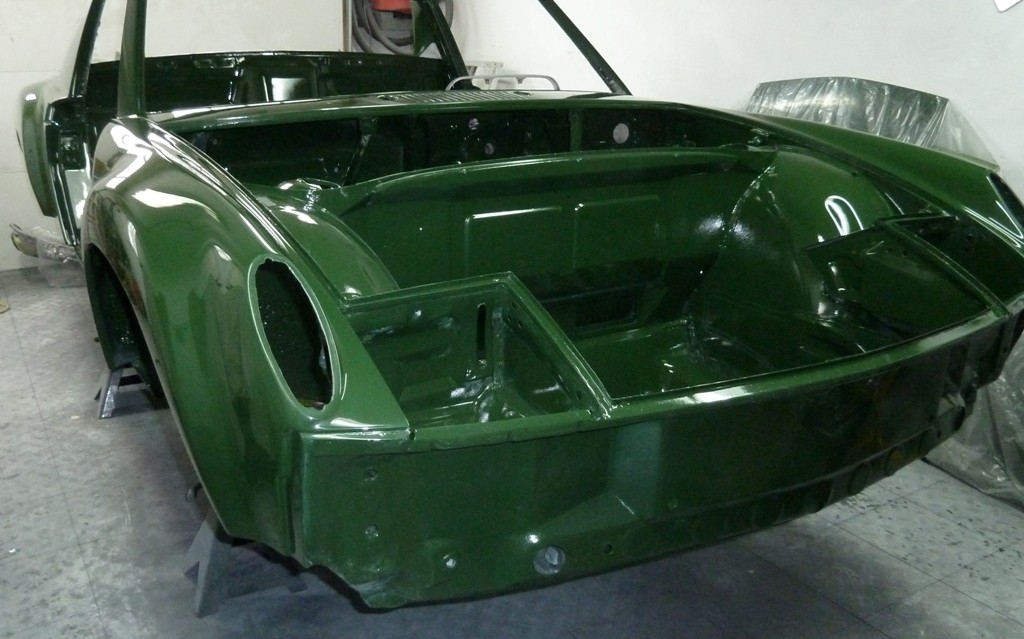
|
|
|
|
| SirAndy |
Mar 12 2012, 09:40 PM
Post
#23
|
|
Resident German Group: Admin Posts: 41,669 Joined: 21-January 03 From: Oakland, Kalifornia Member No.: 179 Region Association: Northern California |
QUOTE(euro911 @ Mar 12 2012, 07:04 PM)  Left side - notice fender protrudes from front ledge a bit) That's how it's supposed to be. Your right side looks mangled. In either case, that small lip should not be the problem. It looks like the PO ground off the BUB lip ... (IMG:style_emoticons/default/idea.gif) |
|
|
|
| Jeffs9146 |
Mar 12 2012, 10:16 PM
Post
#24
|
|
Ski Bum Group: Members Posts: 4,062 Joined: 10-January 03 From: Discovery Bay, Ca Member No.: 128 |
Yep you need to cut the center section out a bit more and bring it up a bit!
I plan on welding up my messed up holes to make it permenent! |
|
|
|
| euro911 |
Mar 13 2012, 12:32 AM
Post
#25
|
|
Retired & living the dream. God help me if I wake up! Group: Members Posts: 8,851 Joined: 2-December 06 From: So.Cal. & No.AZ (USA) Member No.: 7,300 Region Association: Southern California |
Enlarging the holes allowed me to raise it up a little, but there is still a gap ... smaller though. I'll leave it as is for now, and take more of the BUB lip out in the near future.
There's more pressing issues we need to deal with this week, getting the carbs dialed in, lower the front end, road testing and maybe new tires (IMG:style_emoticons/default/smile.gif) ... the Rt-66 weekend is coming up fast (IMG:style_emoticons/default/sad.gif) Thanks again for all the assistance (IMG:style_emoticons/default/beerchug.gif)  |
|
|
|
| SirAndy |
Mar 13 2012, 01:15 AM
Post
#26
|
|
Resident German Group: Admin Posts: 41,669 Joined: 21-January 03 From: Oakland, Kalifornia Member No.: 179 Region Association: Northern California |
QUOTE(euro911 @ Mar 12 2012, 11:32 PM) Enlarging the holes allowed me to raise it up a little, but there is still a gap ... smaller though. I'll leave it as is for now, and take more of the BUB lip out in the near future. Still looks like your seal is preventing the hood from closing all the way. Again, like i said earlier, look at how the hood is much higher than the headlight covers ABOVE the headlights!!!! The hood should be flush with the headlight covers ... (IMG:style_emoticons/default/popcorn[1].gif) |
|
|
|
| Tom |
Mar 13 2012, 01:51 AM
Post
#27
|
|
Advanced Member Group: Members Posts: 2,139 Joined: 21-August 05 From: Port Orchard, WA 98367 Member No.: 4,626 Region Association: None |
|
|
|
|
| euro911 |
Mar 13 2012, 10:51 AM
Post
#28
|
|
Retired & living the dream. God help me if I wake up! Group: Members Posts: 8,851 Joined: 2-December 06 From: So.Cal. & No.AZ (USA) Member No.: 7,300 Region Association: Southern California |
Andy, I've mainly been dealing with the mechanical aspects of the car (drive train, brakes, etc.), adjustments to the body parts is new territory for me, but I am learning.
The headlights always made a scraping noise opening and closing, and settled too far down when they were closed. When I removed the headlight assemblies to check things out, found a PO's home made pivot that wasn't quite kosher (IMG:style_emoticons/default/dry.gif) When installing the correct pivot, I realized there were adjustment capabilities, and at least got the front of the lights to settle in the right place. Moving the mounting pivots up a little does look like it might eliminate the gap between the rear of light covers and trunk lid - I'll play with the adjustment some more. Also, the brows are bolted in on this car. I understand that they're supposed to be mounted with rubber grommets. Ordered the grommets from Mark. ... and thanks for the link Tom - read through it last night. Good stuff (IMG:style_emoticons/default/beer.gif) The seats worked out great, Jim ... thanks (IMG:style_emoticons/default/smile.gif) |
|
|
|
| rick_cv |
Mar 13 2012, 11:52 AM
Post
#29
|
|
Newbie Group: Members Posts: 33 Joined: 3-March 09 From: PNW Member No.: 10,125 Region Association: Pacific Northwest |
When I backdated my bumpers I had a similar issue. Ended up pulling the rubber bumper top off and shimming about 3/16 inch in the middle to nothing outside using different thickness washers.
|
|
|
|
| boxstr |
Mar 13 2012, 12:37 PM
Post
#30
|
|
MEMBER:PACIFIC NORTHWEST REGION Group: Members Posts: 7,522 Joined: 25-December 02 From: OREGON Member No.: 12 Region Association: Pacific Northwest |
It looks like you need to trim off, if you havent yet, the lip just below the front channel for the hood seal.
Also you need to mount the brows with the rubber buttons and you will need to adjust the headlight pivots at the allen head bolts. It is surprising how much adjustment you can get by doing it there. Looks like you are almost there. Good luck Craig at CAMP |
|
|
|
| MartyYeoman |
Mar 13 2012, 01:35 PM
Post
#31
|
|
Senior Member Group: Members Posts: 1,520 Joined: 19-June 03 From: San Ramon, CA Member No.: 839 Region Association: Northern California |
QUOTE(rick_cv @ Mar 13 2012, 10:52 AM) When I backdated my bumpers I had a similar issue. Ended up pulling the rubber bumper top off and shimming about 3/16 inch in the middle to nothing outside using different thickness washers. (IMG:style_emoticons/default/agree.gif) That's exactly the procedure I had to use. |
|
|
|
| euro911 |
Mar 13 2012, 10:24 PM
Post
#32
|
|
Retired & living the dream. God help me if I wake up! Group: Members Posts: 8,851 Joined: 2-December 06 From: So.Cal. & No.AZ (USA) Member No.: 7,300 Region Association: Southern California |
(IMG:style_emoticons/default/agree.gif) You're right Craig. I looked at a '74 this evening and can see that the lip remnant needs to go away completely.
I'll get right on it - AFTER the RT-66 ... (IMG:style_emoticons/default/biggrin.gif) |
|
|
|
|
1 User(s) are reading this topic (1 Guests and 0 Anonymous Users)
0 Members:

|
Lo-Fi Version | Time is now: 31st May 2024 - 06:04 AM |
Invision Power Board
v9.1.4 © 2024 IPS, Inc.