|
|
|
Porsche, and the Porsche crest are registered trademarks of Dr. Ing. h.c. F. Porsche AG.
This site is not affiliated with Porsche in any way. Its only purpose is to provide an online forum for car enthusiasts. All other trademarks are property of their respective owners. |
|
|

  |

| porschefile2010 |
 May 28 2012, 03:34 AM May 28 2012, 03:34 AM
Post
#1
|
|
Member  Group: Members Posts: 228 Joined: 26-May 11 From: Whangaparaoa, New Zealand Member No.: 13,118 Region Association: Australia and New Zealand |
There has to be an easy way. Knowing how Porsche think these things out it can't be that difficult but for the life of me they don't want to slide out.
So these are the four pieces of rubber moulding that seal the engine in engine bay. It looks like the two side ones should slide out to the rear but then they run into the strip that holds the rear moulding and there doesn't seem to be any room to slide them out forwards. The only possibility seems to be taking the rear curved one out first, but then that is the only one that is still any good. Can someone tell me what the trick is? Thanks.........again World! (IMG:style_emoticons/default/confused24.gif) |
   |

 
|
| jimkelly |
May 28 2012, 04:55 AM
Post
#2
|
|
Delaware USA Group: Members Posts: 4,969 Joined: 5-August 04 From: Delaware, USA Member No.: 2,460 Region Association: MidAtlantic Region |
if they are trash - thye get pretty brittle over time - just pull them out and pry out what remains.
but wait on this advice until others weigh in. there is the section that runs along the fire wall, 2 that run lengthwise of the car and 1 that runs over trans. which ones can't you remove? Attached image(s) 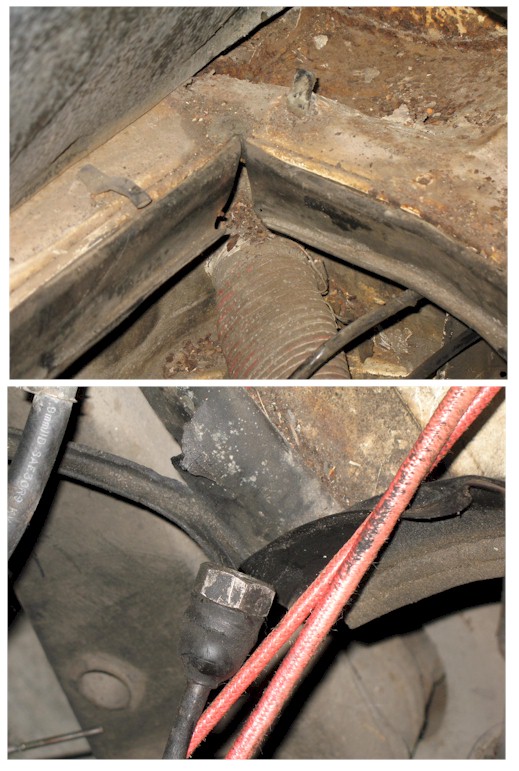
|
|
|
|
| ww914 |
May 28 2012, 08:32 AM
Post
#3
|
|
914 Convert Group: Members Posts: 435 Joined: 29-September 11 From: Central Coast, CA Member No.: 13,621 Region Association: Central California |
If they are old and brittle like mine were, just tear them out. Clean the slots and fix any dents. The new rubber will go in pretty easy.
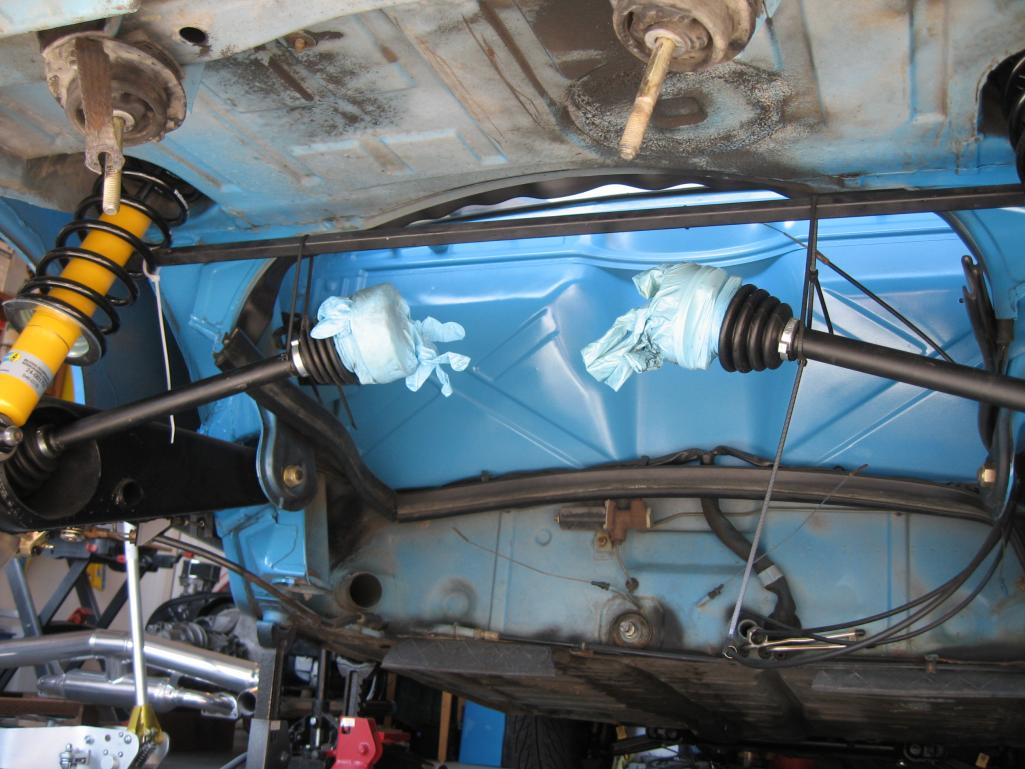 At this point in the picture, I had not cut the ends yet. |
|
|
|
| JStroud |
May 28 2012, 09:08 AM
Post
#4
|
|
Senior Member Group: Members Posts: 1,463 Joined: 15-January 11 From: Galt, California Member No.: 12,594 Region Association: Northern California |
I used a small flat head to carefully pry one side of the rubber out that fits in the channel, to get the ones out to save, but if you're replacing them, just pull them out, no need to spend a lot of time if you're throwing them away.
I carefully took mine out thinking I would reuse them, but once I got them out I decided I didn't want to use old rubber and bought new ones anyway. Jeff |
|
|
|
| Mikey914 |
May 28 2012, 09:13 AM
Post
#5
|
|
The rubber man Group: Members Posts: 12,669 Joined: 27-December 04 From: Hillsboro, OR Member No.: 3,348 Region Association: None |
Just pull them out. Take a vice grip, grab it, and pull. If it falls apart, you didn't want it anyway. By all means if the are in good condition re use them, but they are now cheap enough you can replace the whole set very inexpensively. Unless you plan to have the motor backout soon, this is really the best time.
-Mark |
|
|
|
| rhodyguy |
May 28 2012, 09:23 AM
Post
#6
|
|
Chimp Sanctuary NW. Check it out. Group: Members Posts: 22,080 Joined: 2-March 03 From: Orion's Bell. The BELL! Member No.: 378 Region Association: Galt's Gulch |
get the old ones out and clean as mentioned above. get a 1" cheap paint brush and a bottle of glycerin (local drugstore). liberally paint the glycerin in the recess of the tin and the edge of the seal that goes in the recess'. start at with the front piece so you can get the front ends of the sides matched up. put the bottom edge of the seal in the recess. use a something thin, wide and not sharp to work the top edge in and work your way back. a paint stir stick works great, just ease the sharp edges on the stick a bit with a piece of sand paper. take your time. the glycerin does not deteriorate the rubber and is mentioned in the haynes manual as the preferred seal dressing for all seals.
|
|
|
|
| porschefile2010 |
May 28 2012, 12:31 PM
Post
#7
|
|
Member Group: Members Posts: 228 Joined: 26-May 11 From: Whangaparaoa, New Zealand Member No.: 13,118 Region Association: Australia and New Zealand |
Thanks guys. The two side ones are history so I will rip them out and clean up. Speaking of which WW914, you have done a nice clean up on your chassis-I think I have MORE work to do!
Cheers Richard |
|
|
|
| rhodyguy |
May 28 2012, 12:47 PM
Post
#8
|
|
Chimp Sanctuary NW. Check it out. Group: Members Posts: 22,080 Joined: 2-March 03 From: Orion's Bell. The BELL! Member No.: 378 Region Association: Galt's Gulch |
this task is way easier if the engine is out. the one over the rear engine tin is a real hassle. actually, all of them are with the engine in.
k |
|
|
|
|
1 User(s) are reading this topic (1 Guests and 0 Anonymous Users)
0 Members:

|
Lo-Fi Version | Time is now: 18th May 2024 - 05:40 AM |
Invision Power Board
v9.1.4 © 2024 IPS, Inc.