|
|
|
Porsche, and the Porsche crest are registered trademarks of Dr. Ing. h.c. F. Porsche AG.
This site is not affiliated with Porsche in any way. Its only purpose is to provide an online forum for car enthusiasts. All other trademarks are property of their respective owners. |
|
|

  |

| RON S. |
 Sep 13 2012, 05:51 PM Sep 13 2012, 05:51 PM
Post
#21
|
|
9140430841, FINALLY RUNNING  Group: Members Posts: 1,216 Joined: 22-May 03 From: WALTERBORO,S.C. Member No.: 724 Region Association: South East States |
I've gotten the fuel filler tube fully welded up, and fitting the way it will forever. The drain hose and vent hose are set and functional. Last up is setting the height of the rain water catch ray. I'll do that over the weekend, and cleanup the welds. Next week, the filler will go off to the powder coater for a shot of semi-gloss black to finish. I had my local gasket company whittle me up a 1/4'' thick neoprene gasket that raises the whole unit up a little more for what I fell is a nice height. With the varying gasket thicknesses I can adjust the total height to what ever I wish. Now if I could only get my quote back to finish he bat handle (IMG:style_emoticons/default/dry.gif) I'd fell a lot better. Ron Attached thumbnail(s) 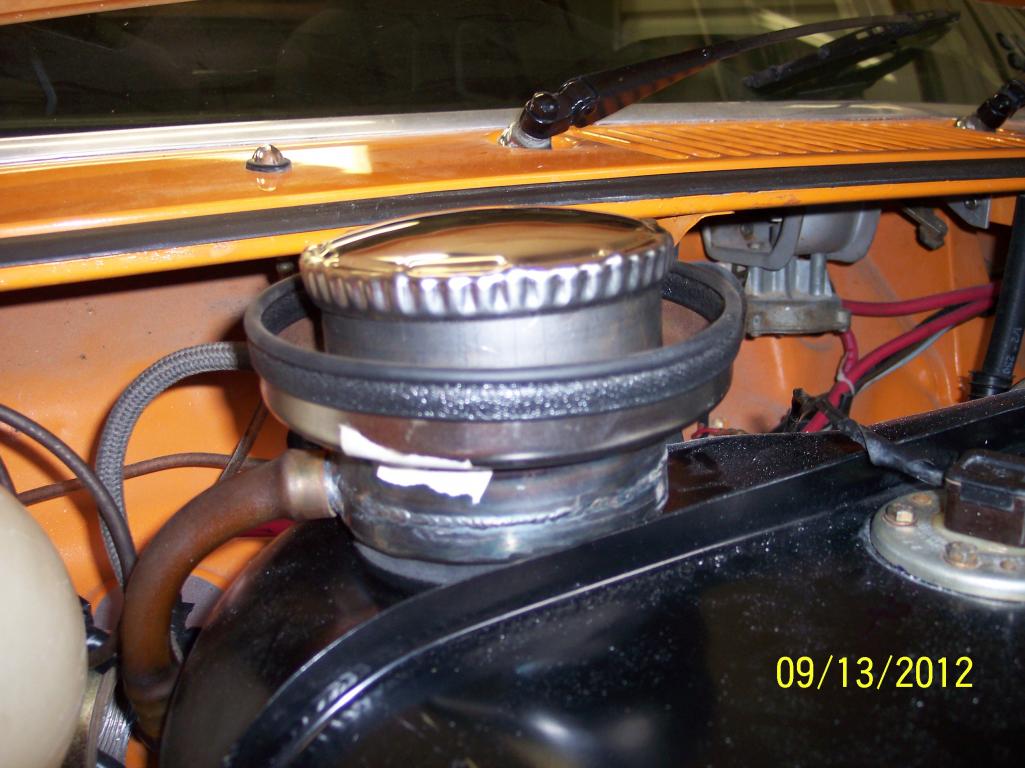 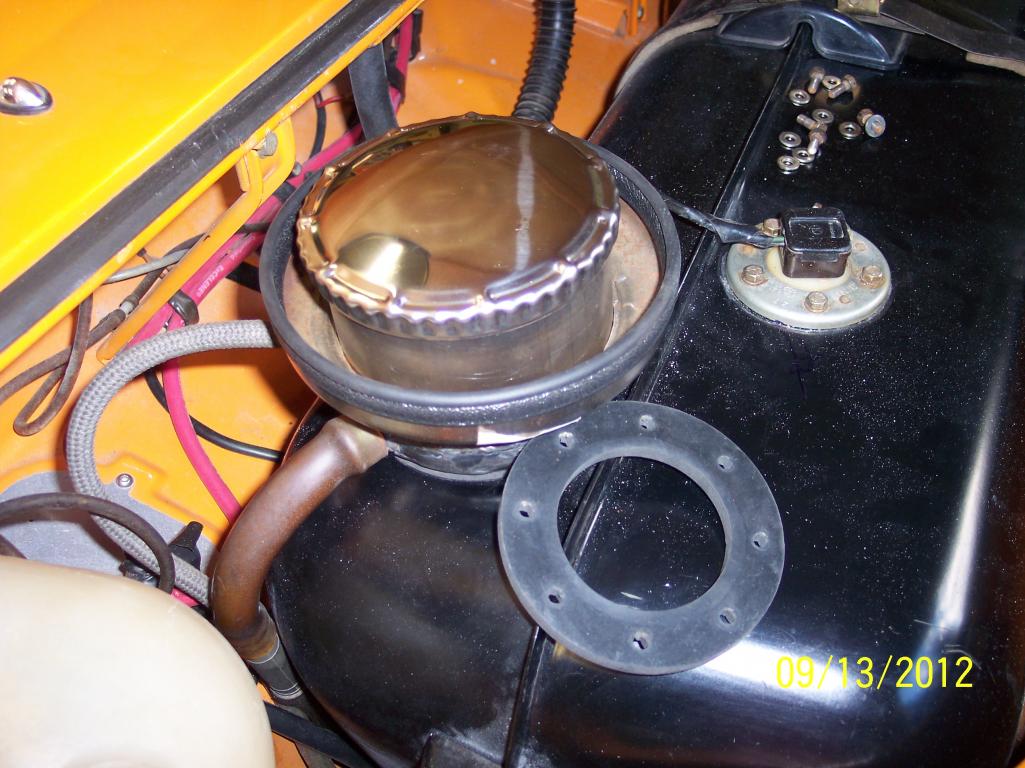 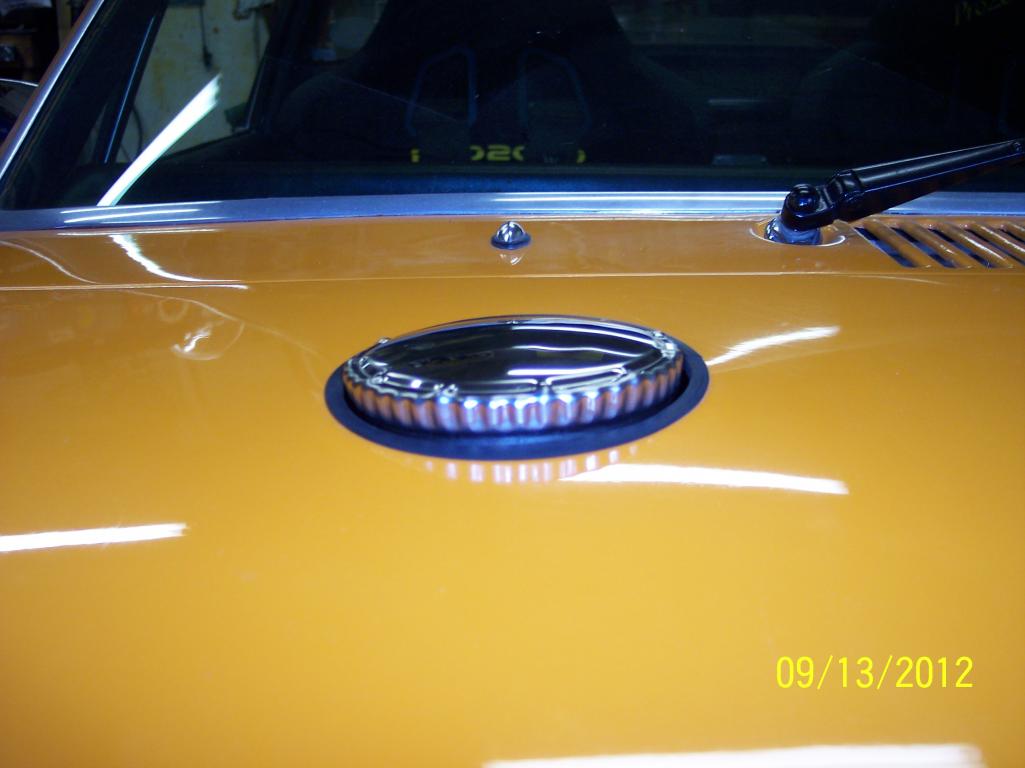 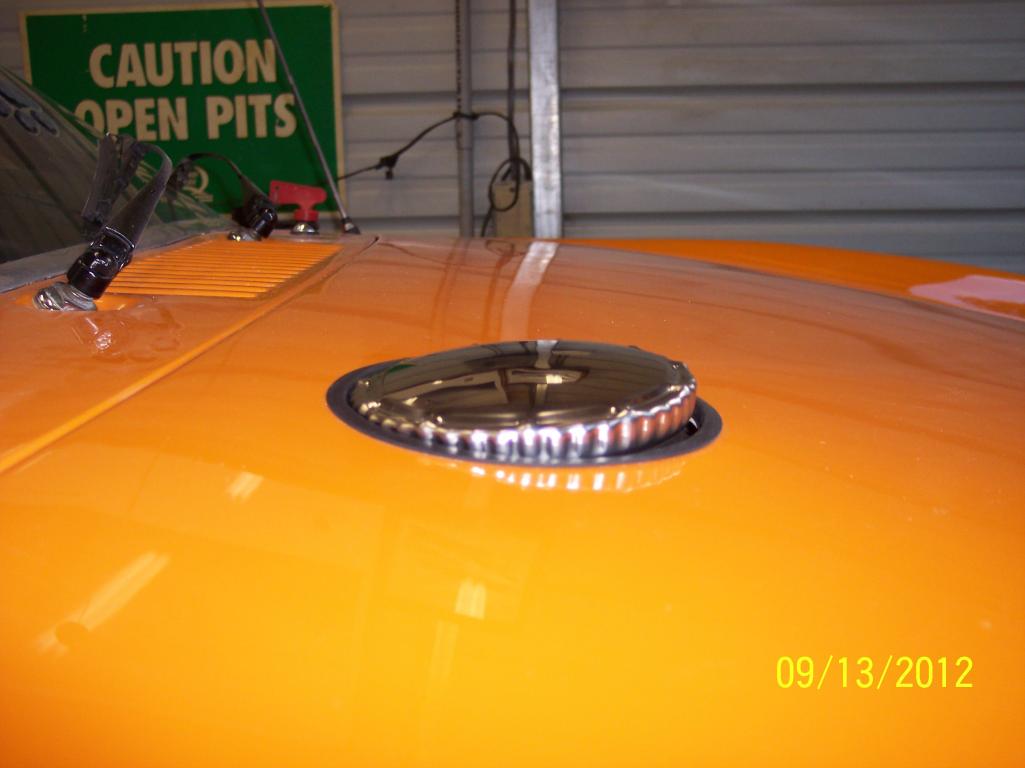
|
   |

 
|
| Harpo |
Sep 13 2012, 06:39 PM
Post
#22
|
|
Senior Member Group: Members Posts: 1,304 Joined: 21-August 11 From: Motor City aka Detroit Member No.: 13,469 Region Association: None |
Yes, I was very happy with the caps. The gas cap is huge! Looks very nice Ron.
DAvid |
|
|
|
| RON S. |
Oct 8 2012, 04:51 PM
Post
#23
|
|
9140430841, FINALLY RUNNING Group: Members Posts: 1,216 Joined: 22-May 03 From: WALTERBORO,S.C. Member No.: 724 Region Association: South East States |
It has taken a while to get a couple of designs lasered but here are the 2 I've settled on.
One design is a curved top, and the other design has a flat top. Both are 4 hole designs. The material is .048 thick stainless, came mirror polished on one side. Please give me some feedback, good or bad. Does it look to weak??, too heavy?? In the pics, nothing is welded up yet. Pieces are just sitting there loosely. I also will post pics soon of 2 of the standup parts back to back, sitting on the base for more feedback. Ron Attached thumbnail(s) 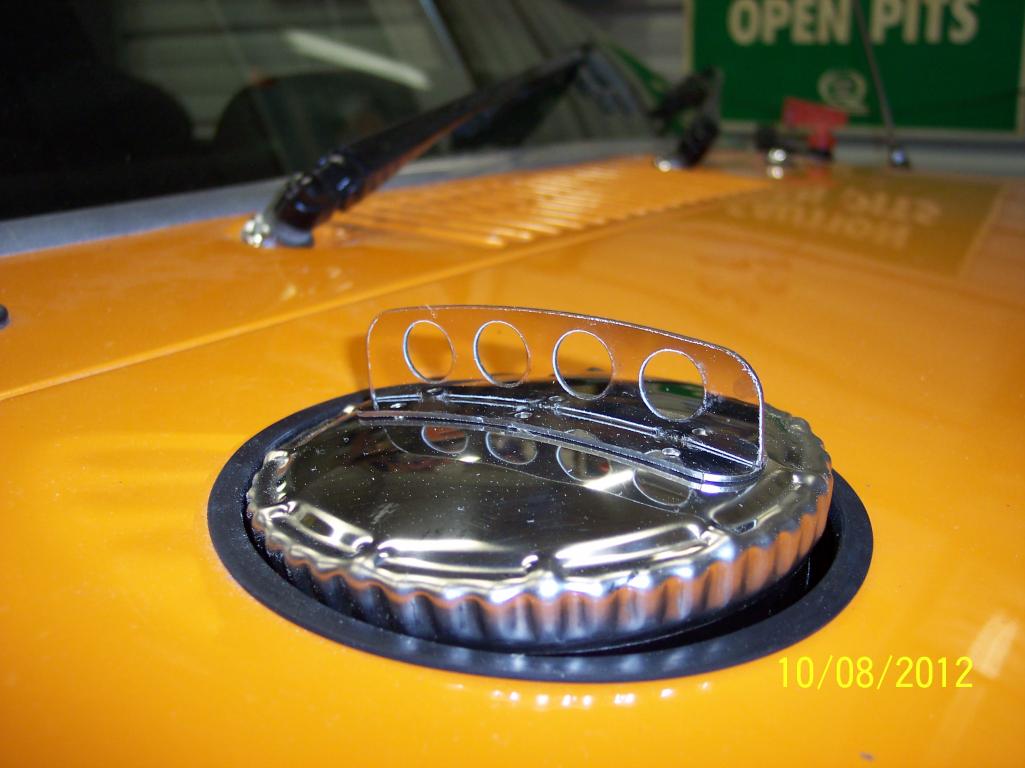 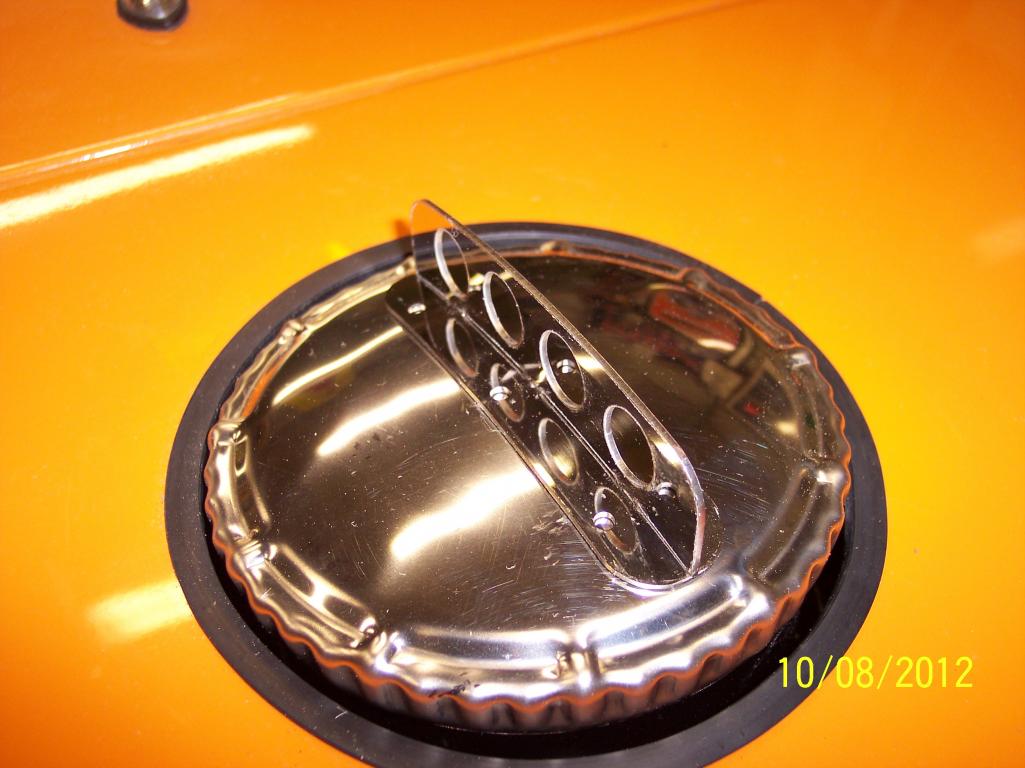 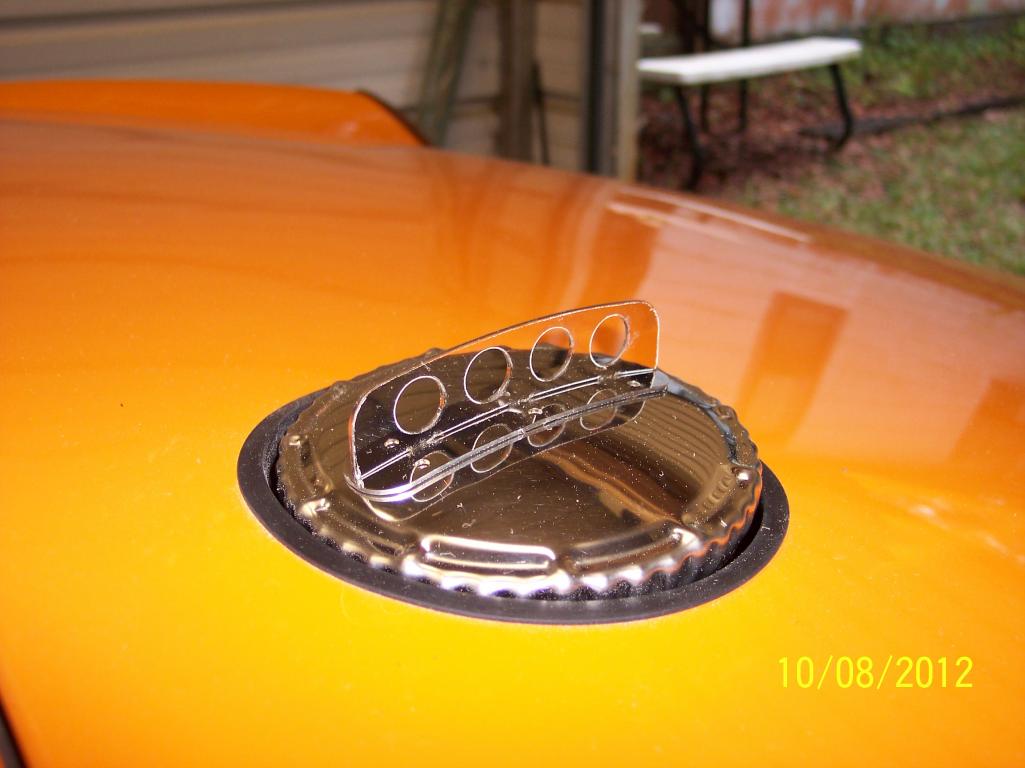 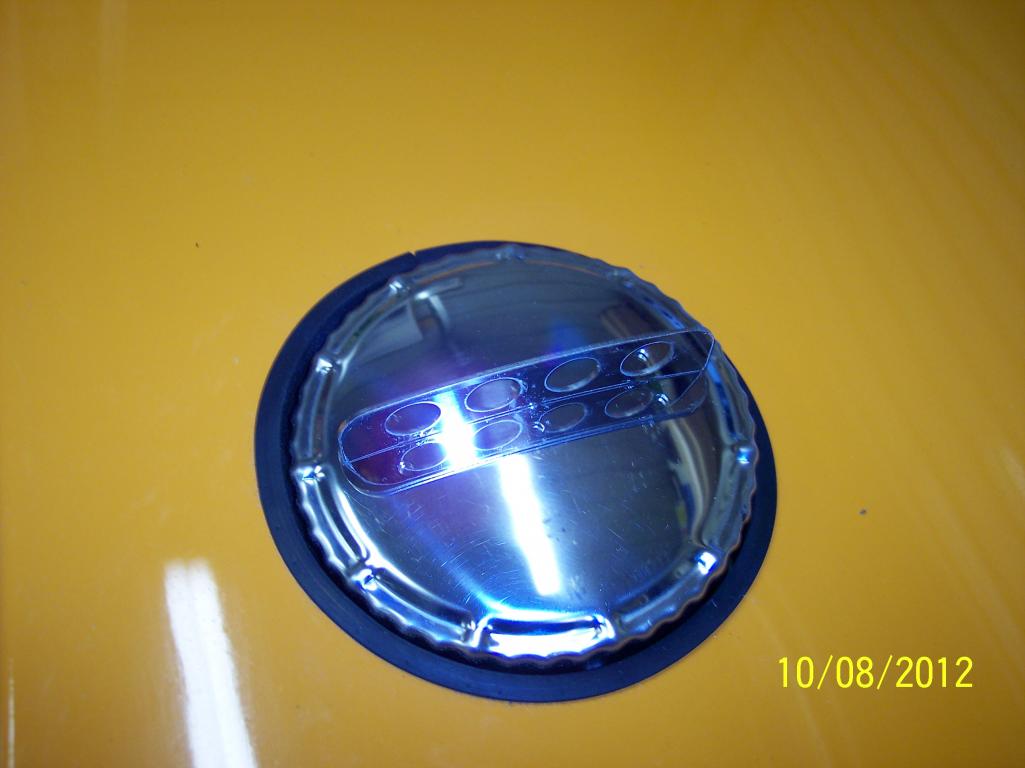 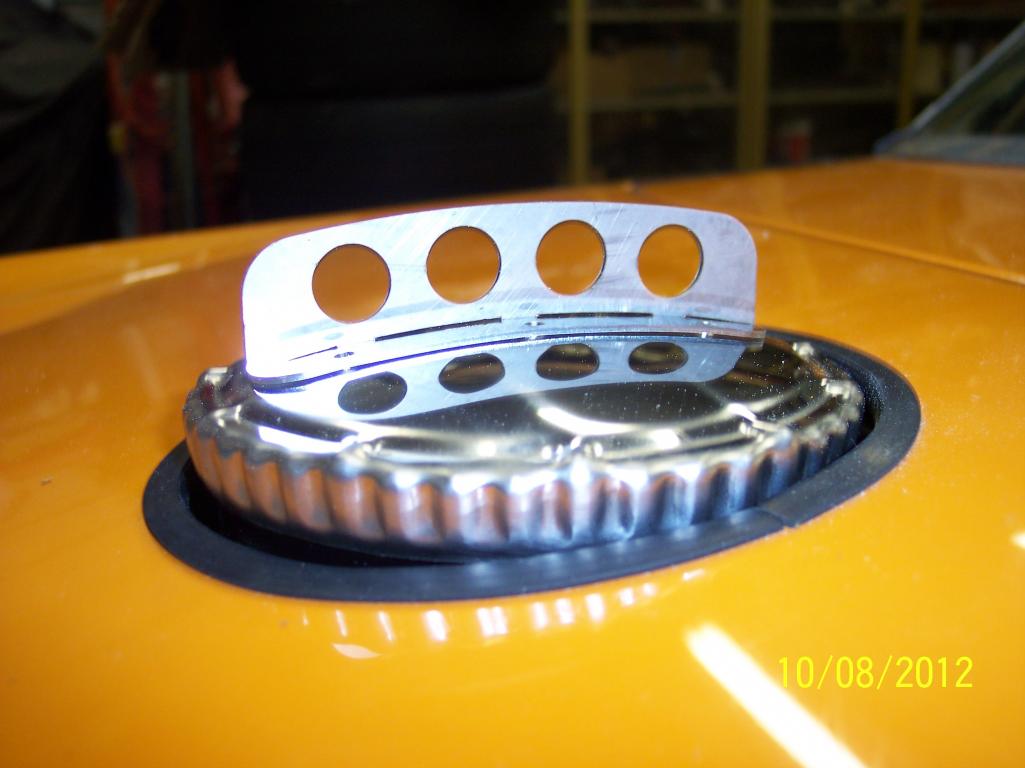
|
|
|
|
| RON S. |
Oct 8 2012, 04:54 PM
Post
#24
|
|
9140430841, FINALLY RUNNING Group: Members Posts: 1,216 Joined: 22-May 03 From: WALTERBORO,S.C. Member No.: 724 Region Association: South East States |
I took several shots because the reflectivity of the finish seemed to make the parts look transparent..
Here are some more curved, then the flat handles. Ron Attached thumbnail(s) 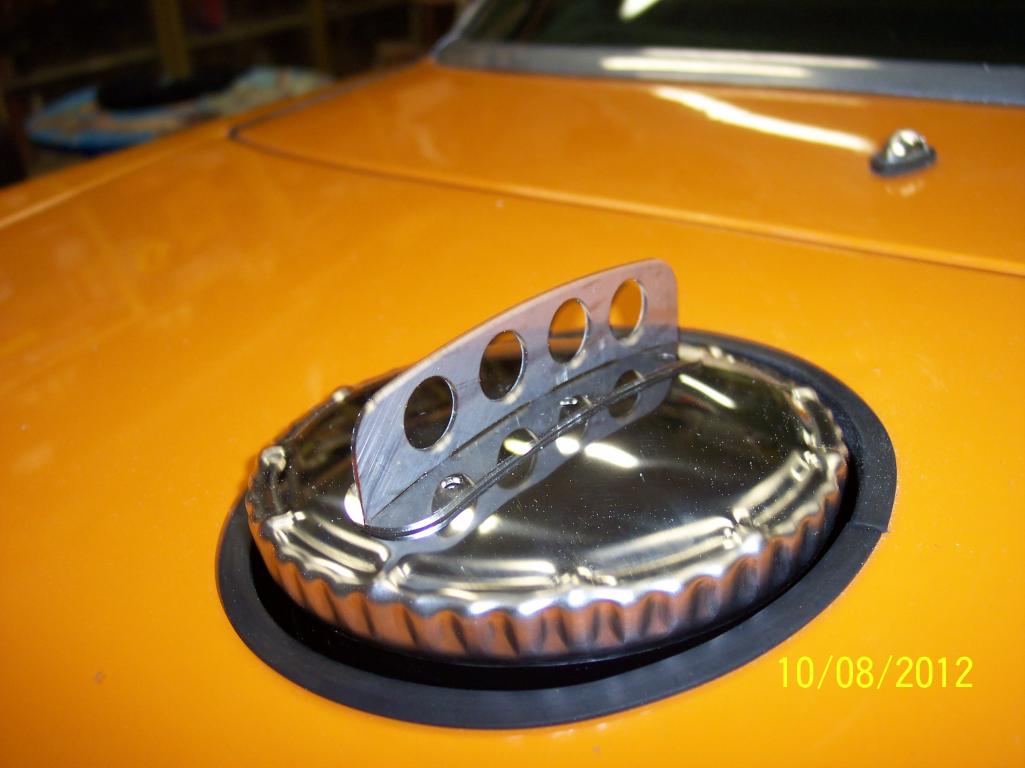 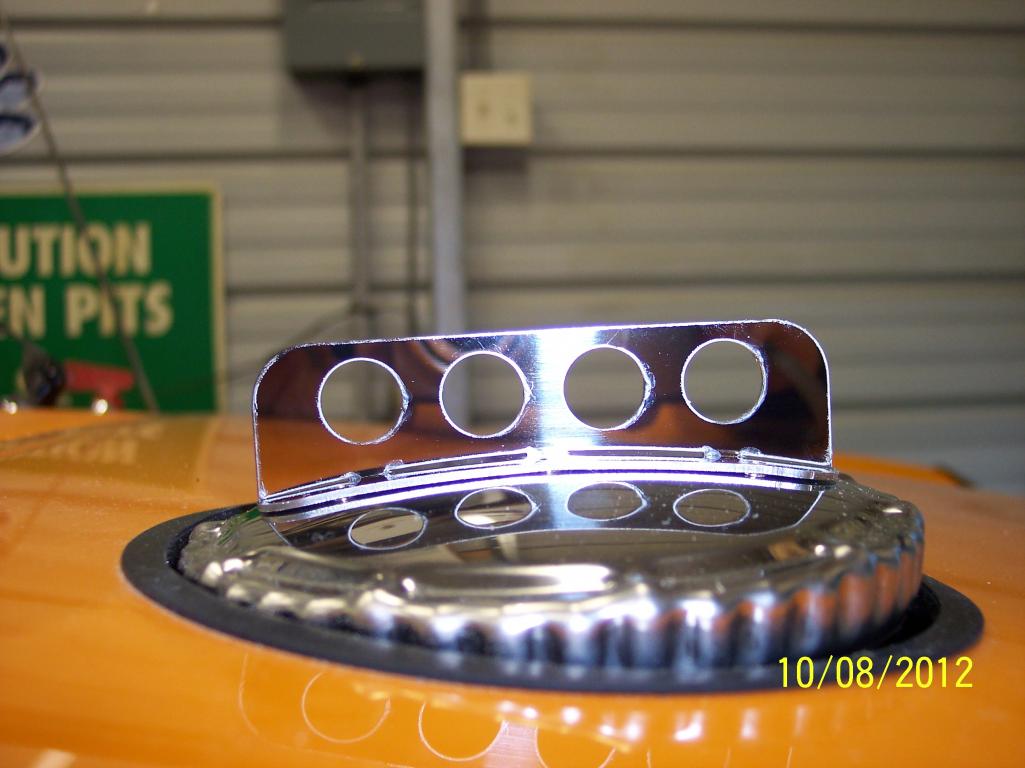  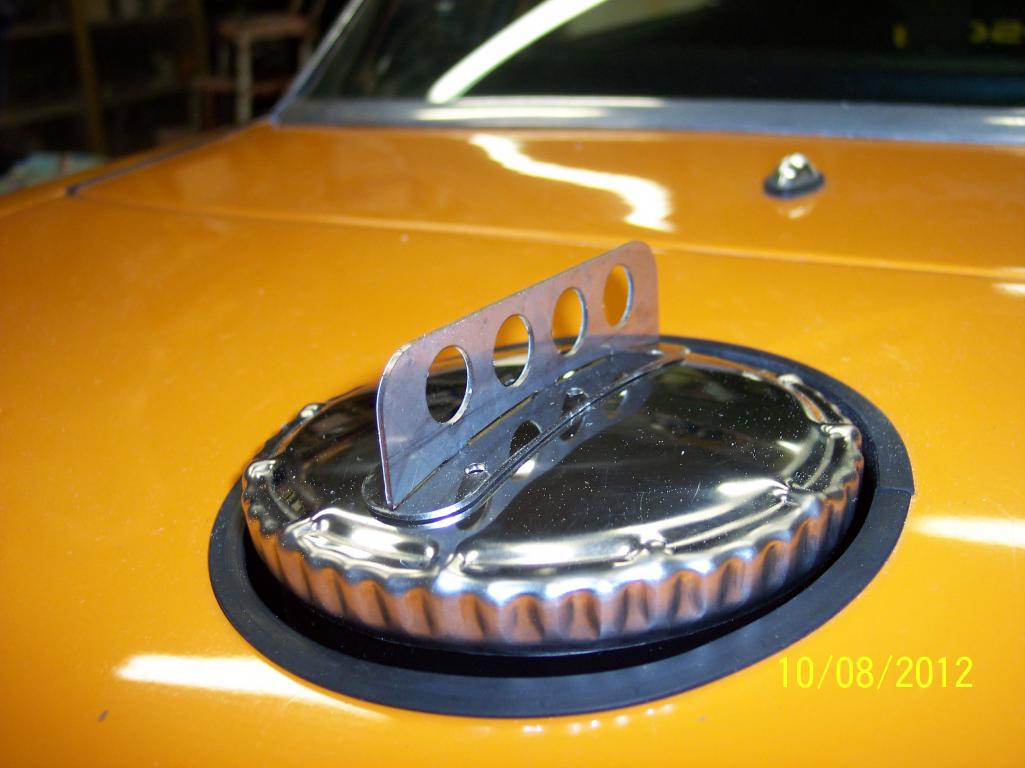
|
|
|
|
| Harpo |
Oct 8 2012, 05:51 PM
Post
#25
|
|
Senior Member Group: Members Posts: 1,304 Joined: 21-August 11 From: Motor City aka Detroit Member No.: 13,469 Region Association: None |
Looks great Ron. The reason why I'm leaning towards doubling up the top piece is that I want it to be rigid and I want the mirror finish on both sides.
Sending PM DAvid |
|
|
|
| RON S. |
Oct 8 2012, 06:32 PM
Post
#26
|
|
9140430841, FINALLY RUNNING Group: Members Posts: 1,216 Joined: 22-May 03 From: WALTERBORO,S.C. Member No.: 724 Region Association: South East States |
I thought I should post some pics of the finished filler.. Sorry if they are Blurry.... You can't see it, but I also took a stainless steel sink strainer from Lowes, and modified it to fit below the bottom gasket. I put it there to stop anything from falling into the tank with the cap off. Attached thumbnail(s) 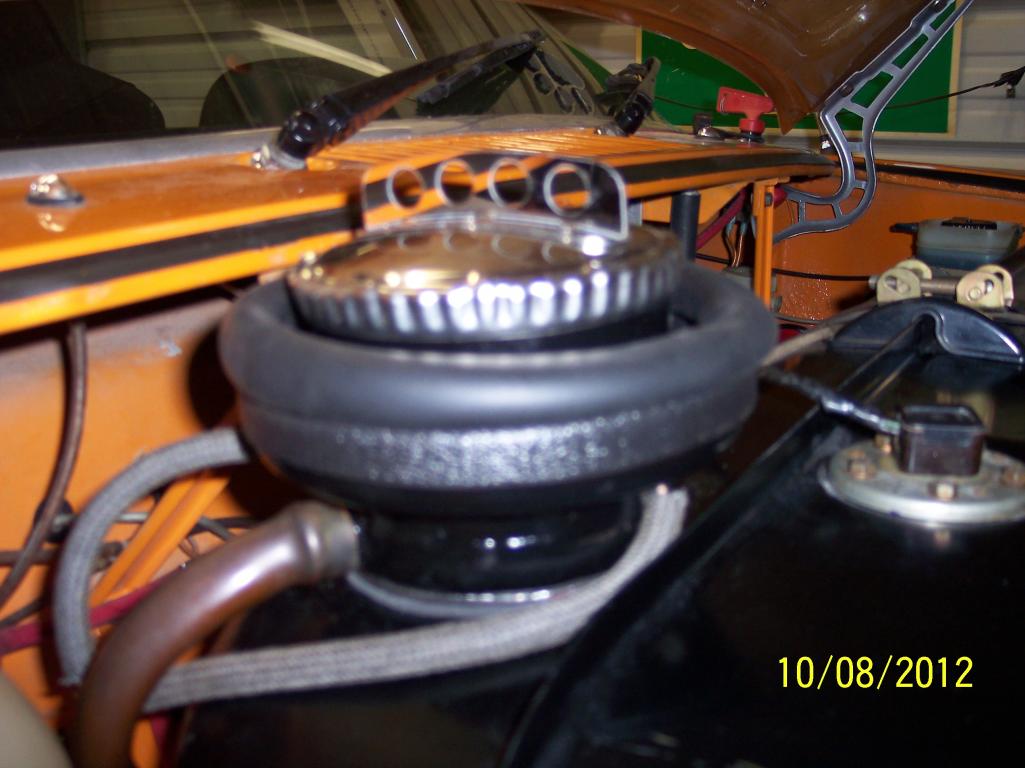 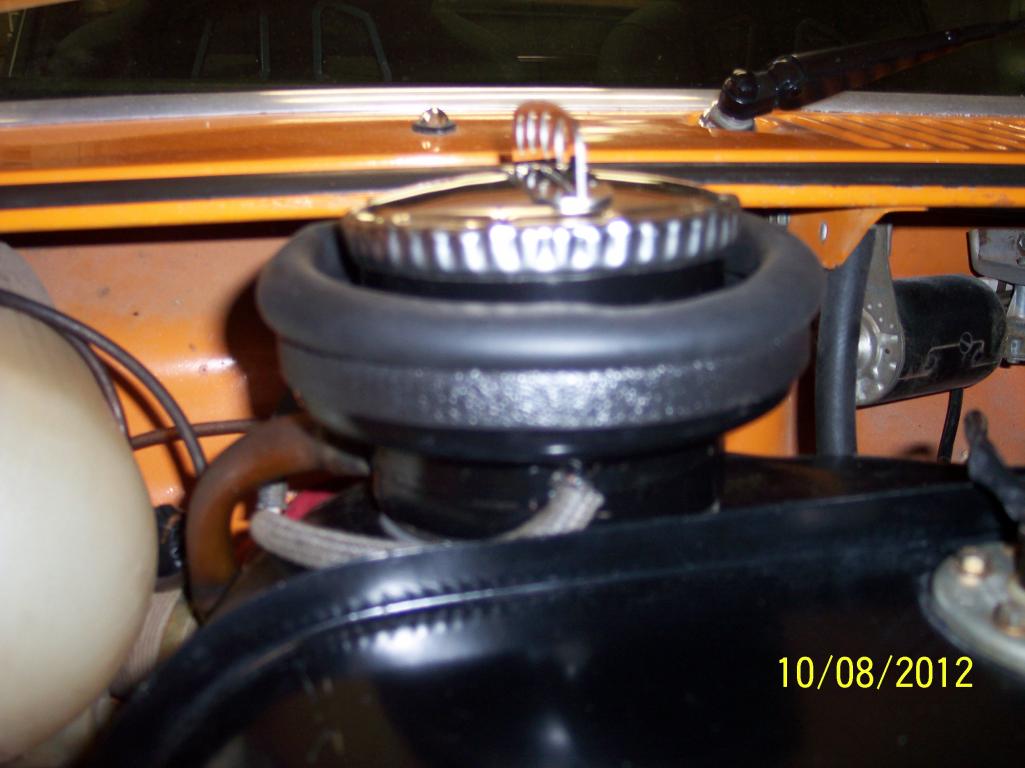 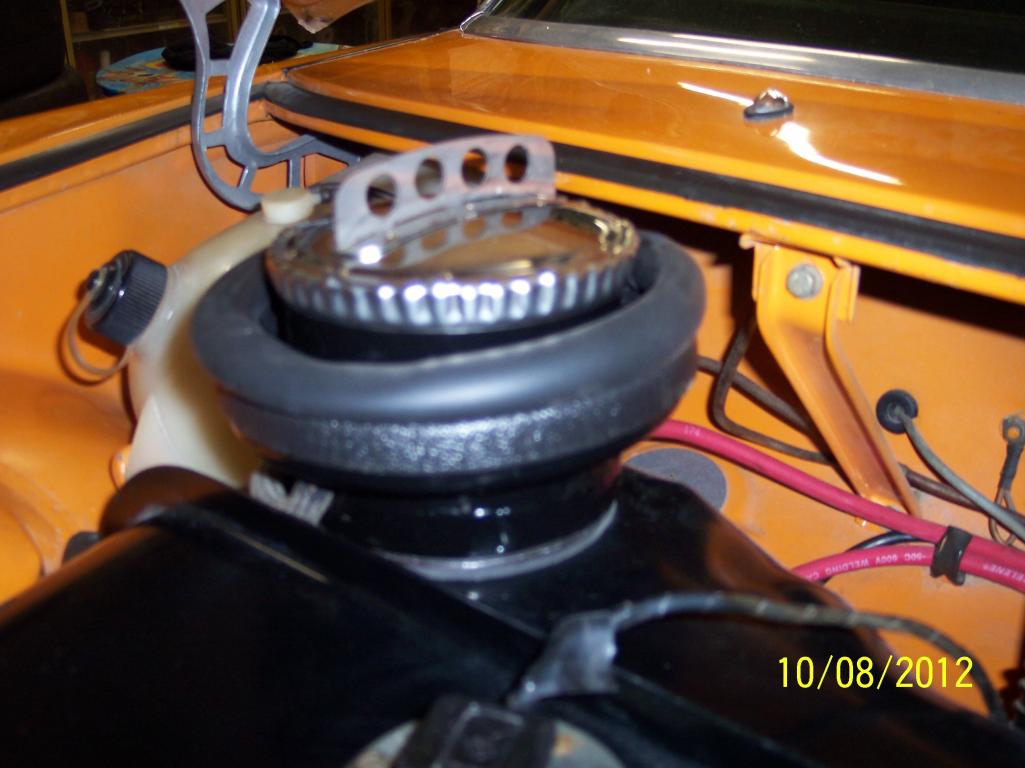 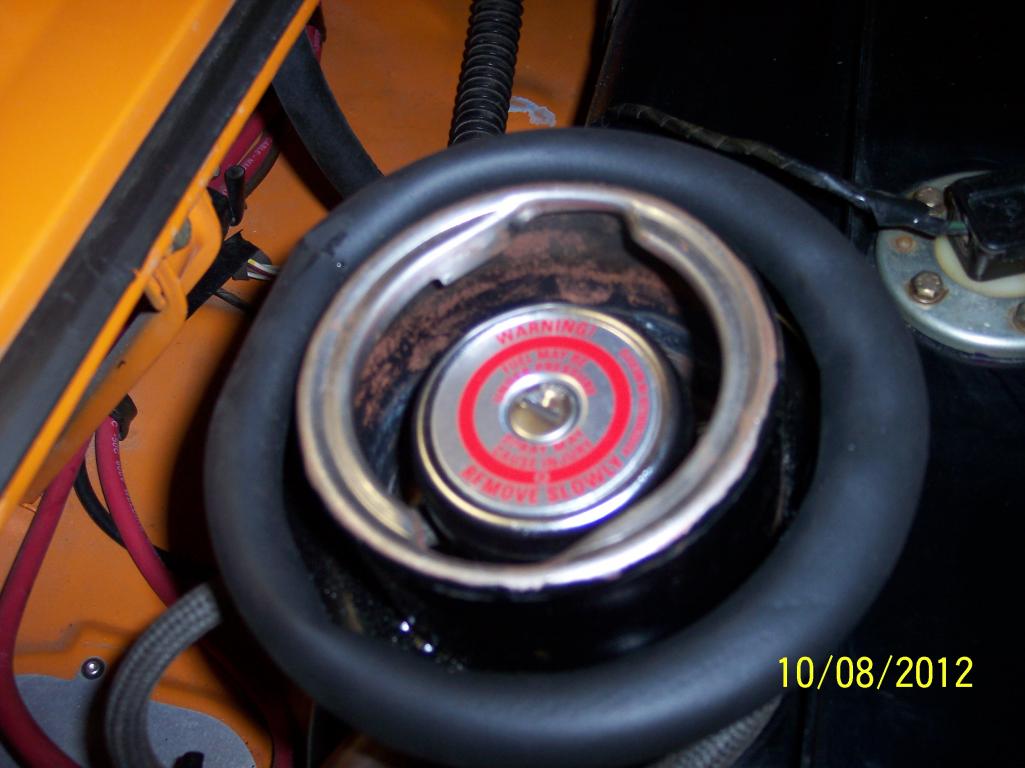
|
|
|
|
| 0396 |
Oct 8 2012, 07:05 PM
Post
#27
|
|
Advanced Member Group: Members Posts: 2,046 Joined: 13-October 03 From: L.A. Calif Member No.: 1,245 Region Association: Southern California |
Wow. Great work
|
|
|
|
| porbmw |
Oct 9 2012, 10:51 AM
Post
#28
|
|
Senior Member Group: Members Posts: 818 Joined: 10-September 08 From: Vancouver, B.C. Member No.: 9,534 Region Association: None |
Nice!
Very nice! (IMG:style_emoticons/default/smile.gif) |
|
|
|
| RON S. |
Oct 9 2012, 04:36 PM
Post
#29
|
|
9140430841, FINALLY RUNNING Group: Members Posts: 1,216 Joined: 22-May 03 From: WALTERBORO,S.C. Member No.: 724 Region Association: South East States |
Today I'm posting pics of the handle with double thickness uprights.
First the curved design.. Attached thumbnail(s)  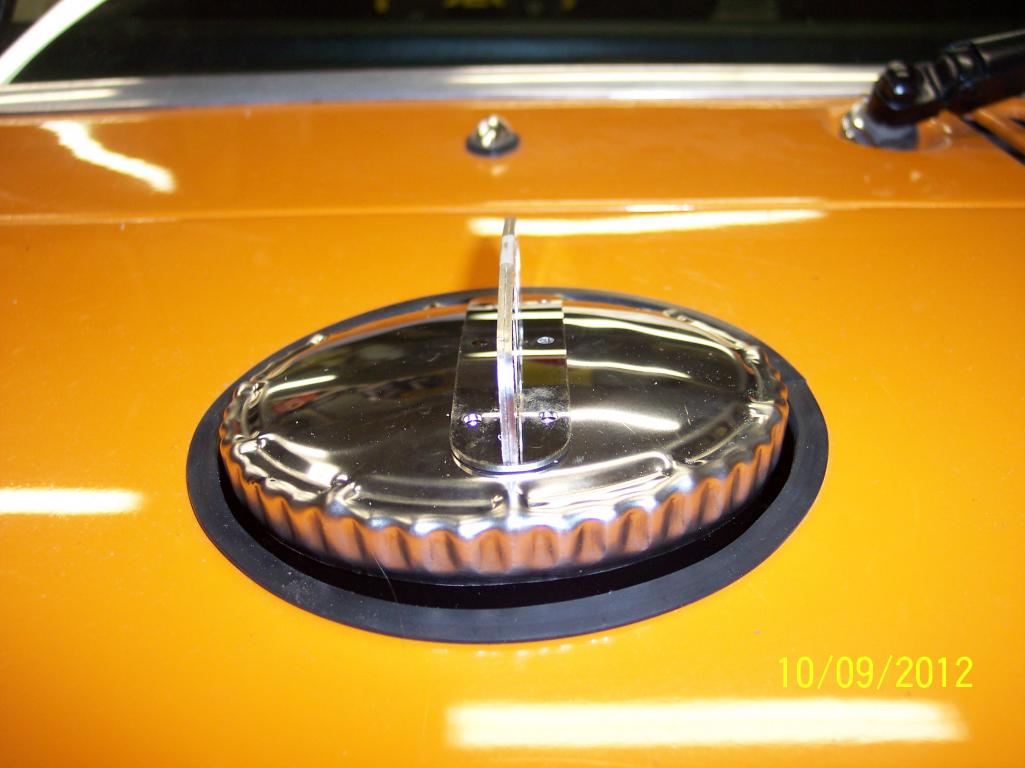 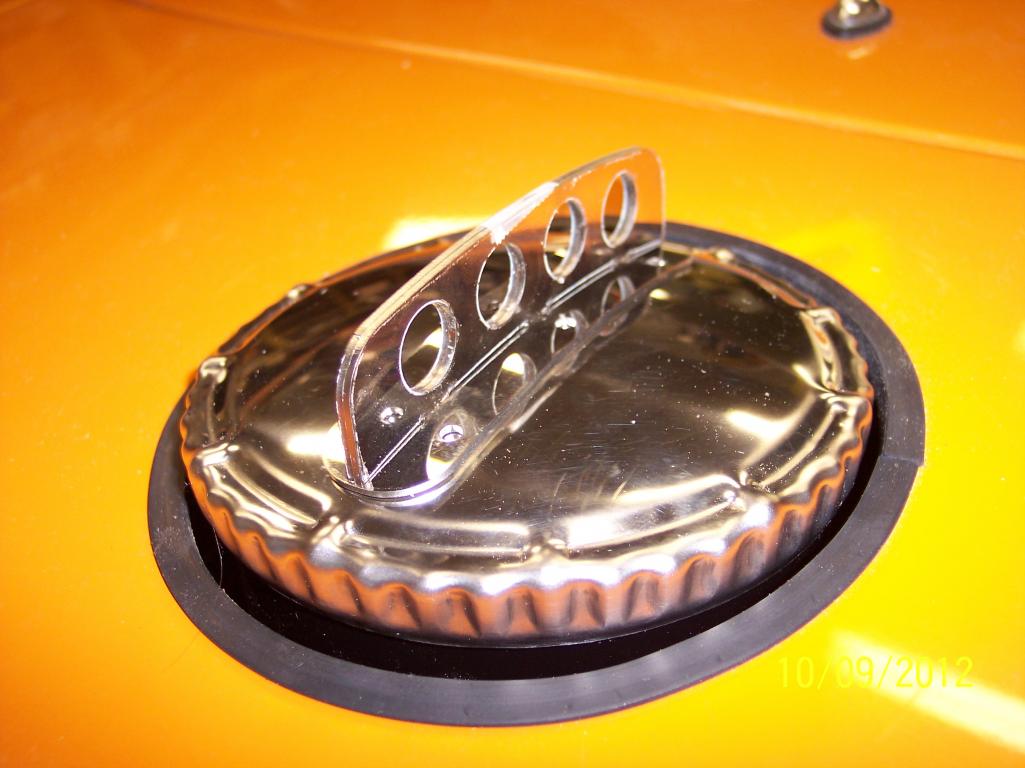
|
|
|
|
| RON S. |
Oct 9 2012, 04:39 PM
Post
#30
|
|
9140430841, FINALLY RUNNING Group: Members Posts: 1,216 Joined: 22-May 03 From: WALTERBORO,S.C. Member No.: 724 Region Association: South East States |
Lastly the flat top design. Keep in mind that nothing is welded, and the uprights are held together with cellophane tape.
I'll pick one or the other, and weld it up.... Attached thumbnail(s) 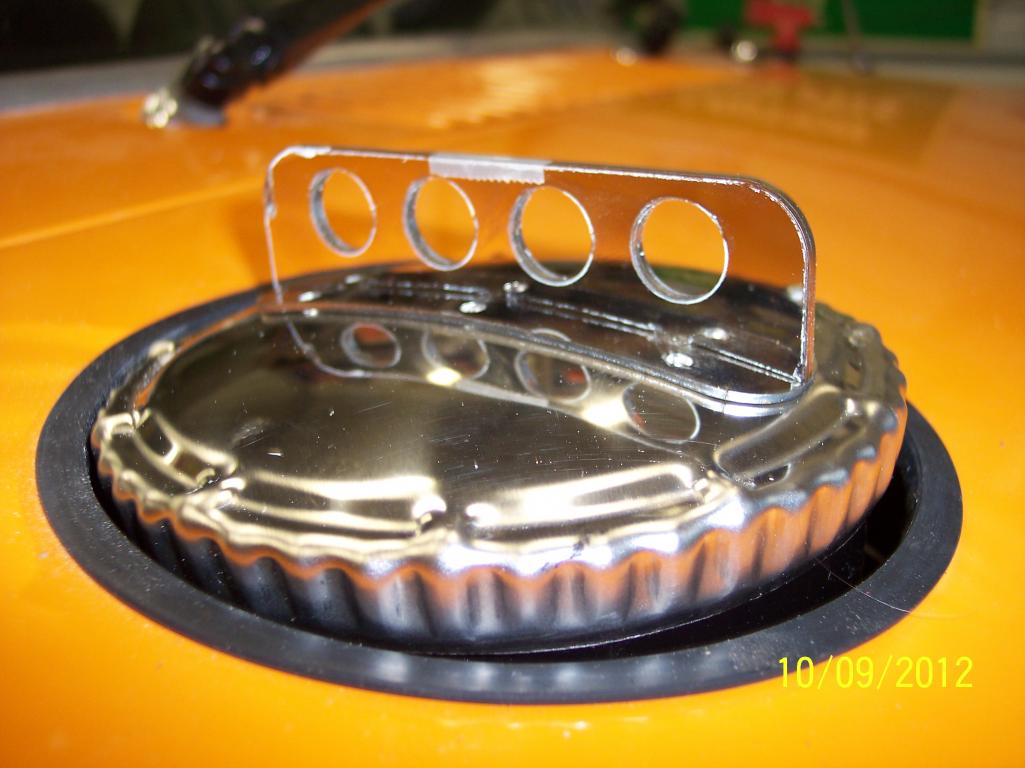 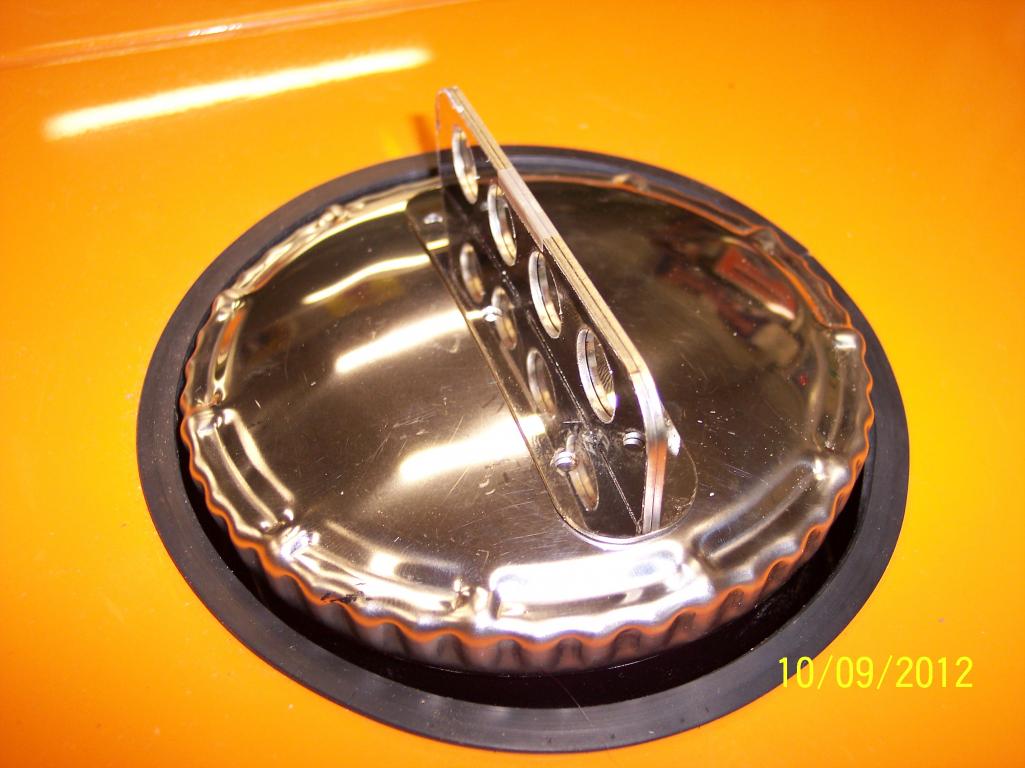  
|
|
|
|
| RON S. |
Nov 3 2012, 12:30 PM
Post
#31
|
|
9140430841, FINALLY RUNNING Group: Members Posts: 1,216 Joined: 22-May 03 From: WALTERBORO,S.C. Member No.: 724 Region Association: South East States |
I finally got my parts back from my cutter the other day.
I also got my 1st sample piece back from my Tig welder. No real warpage, and not much burn through either. The handle on the cap is welded together, but not welded to the cap yet... Next week, I'll drop off all the extra parts to my Tigger (IMG:style_emoticons/default/welder.gif) for final welding. Then to finish it off, I'll send my completed cap out to a polisher to buff it to perfection.... Attached thumbnail(s)   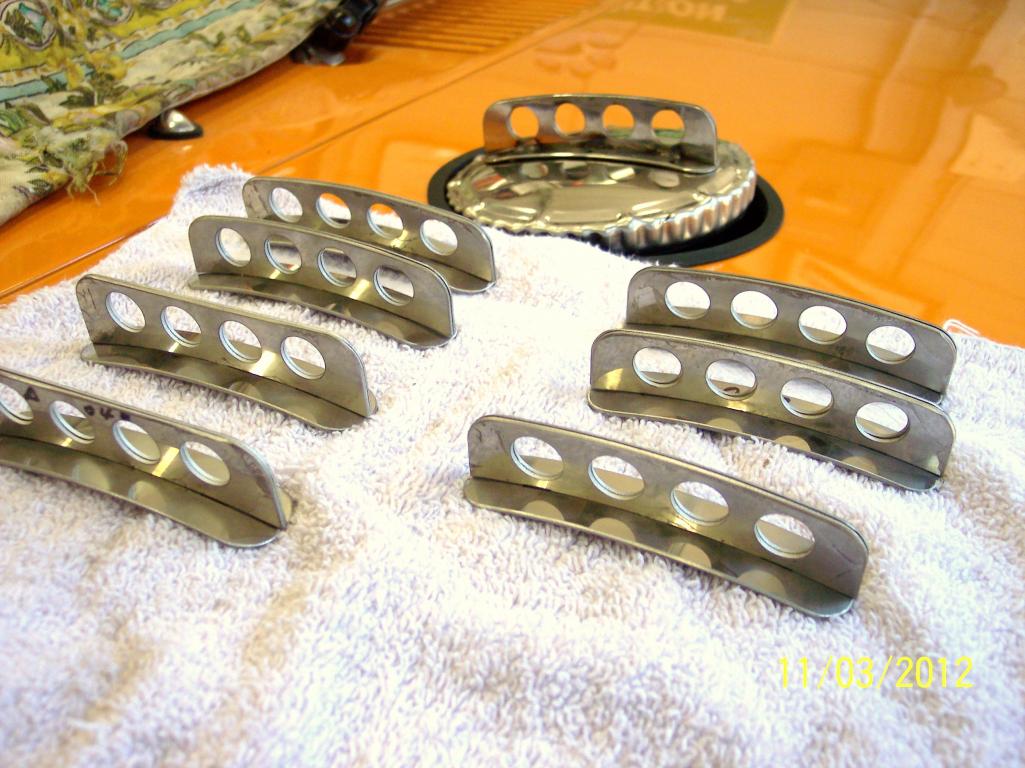 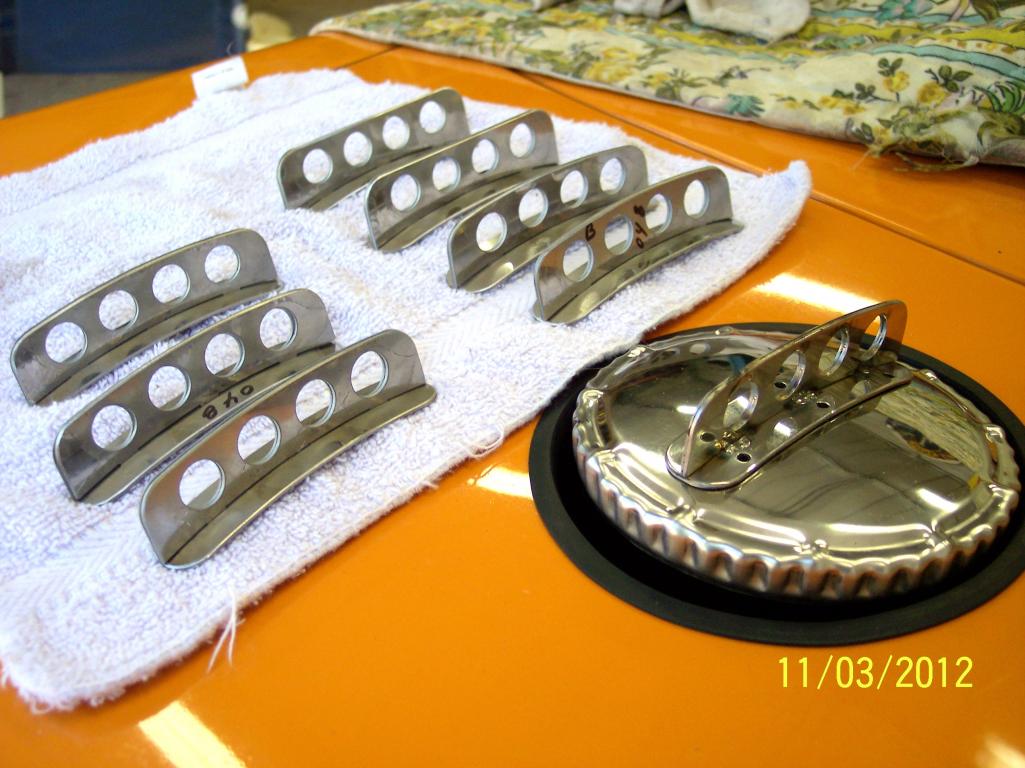
|
|
|
|
| Harpo |
Nov 3 2012, 02:23 PM
Post
#32
|
|
Senior Member Group: Members Posts: 1,304 Joined: 21-August 11 From: Motor City aka Detroit Member No.: 13,469 Region Association: None |
Look great Ron
|
|
|
|
|
1 User(s) are reading this topic (1 Guests and 0 Anonymous Users)
0 Members:

|
Lo-Fi Version | Time is now: 17th June 2026 - 04:29 AM |
Invision Power Board
v9.1.4 © 2026 IPS, Inc.