|
|
|
Porsche, and the Porsche crest are registered trademarks of Dr. Ing. h.c. F. Porsche AG.
This site is not affiliated with Porsche in any way. Its only purpose is to provide an online forum for car enthusiasts. All other trademarks are property of their respective owners. |
|
|


| turk22 |
 Nov 23 2012, 08:56 PM Nov 23 2012, 08:56 PM
Post
#1
|
|
Treetop Flyer  Group: Members Posts: 735 Joined: 27-July 12 From: Cincinnati OH Member No.: 14,725 Region Association: Upper MidWest |
I wanted to put together a little overview of my experience in Seat Upholstery.
I started with some very brittle and ripped seat and center cushion. 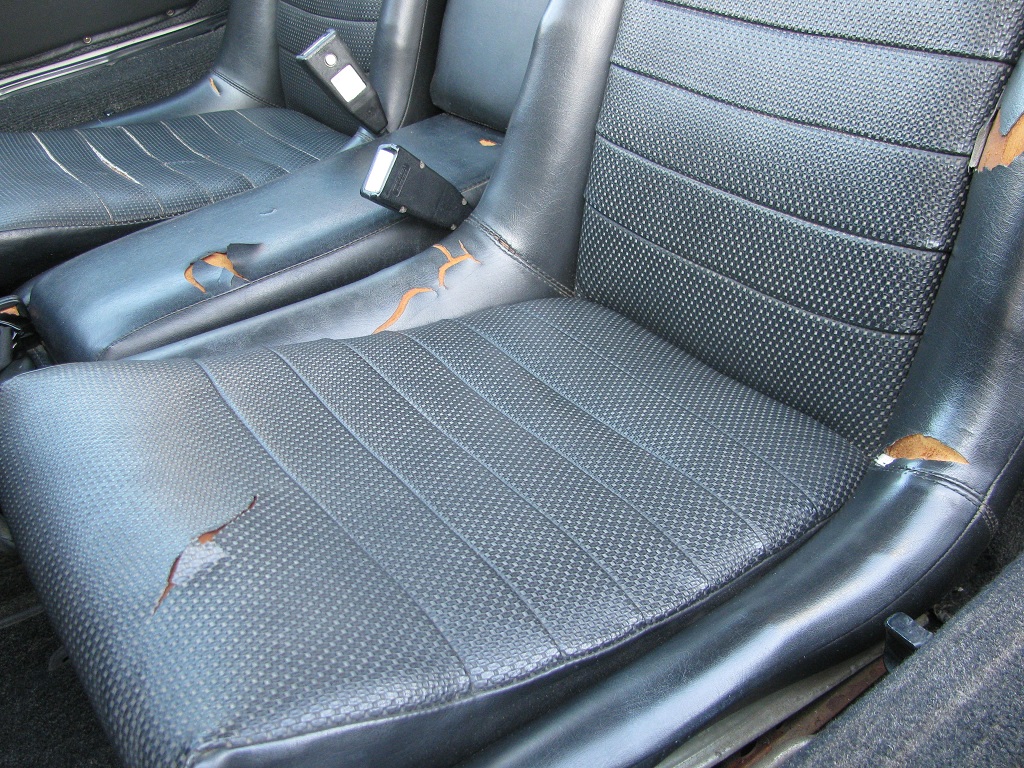 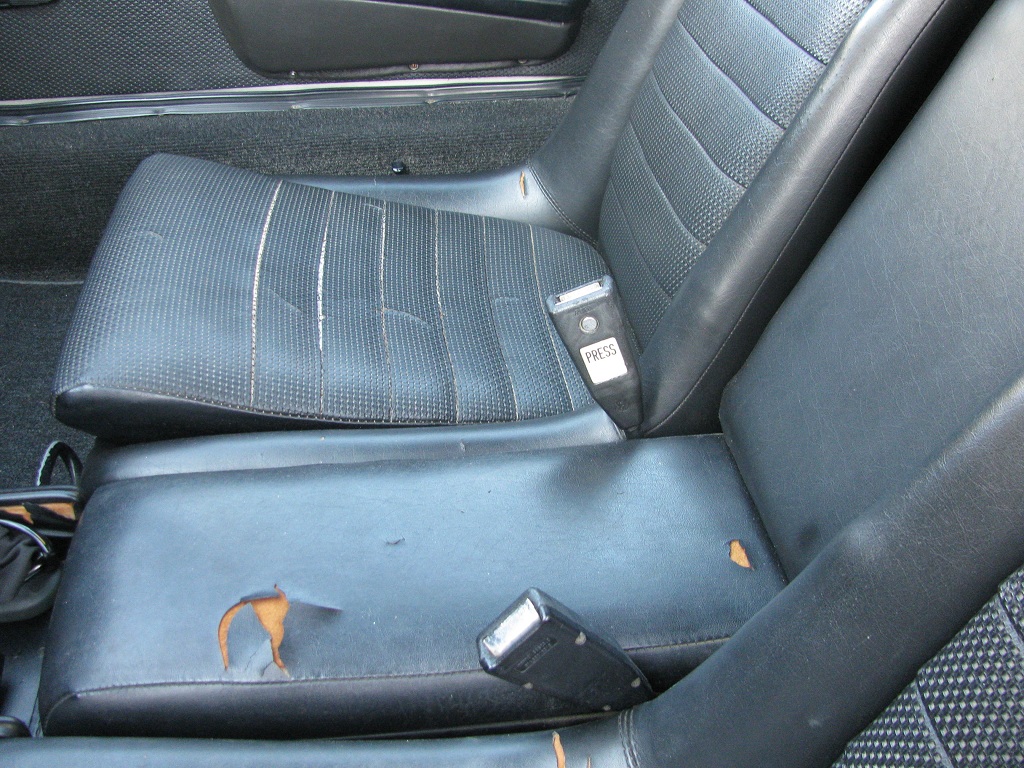 I purchased my seat upholstery on ebay, but there are several vendors. 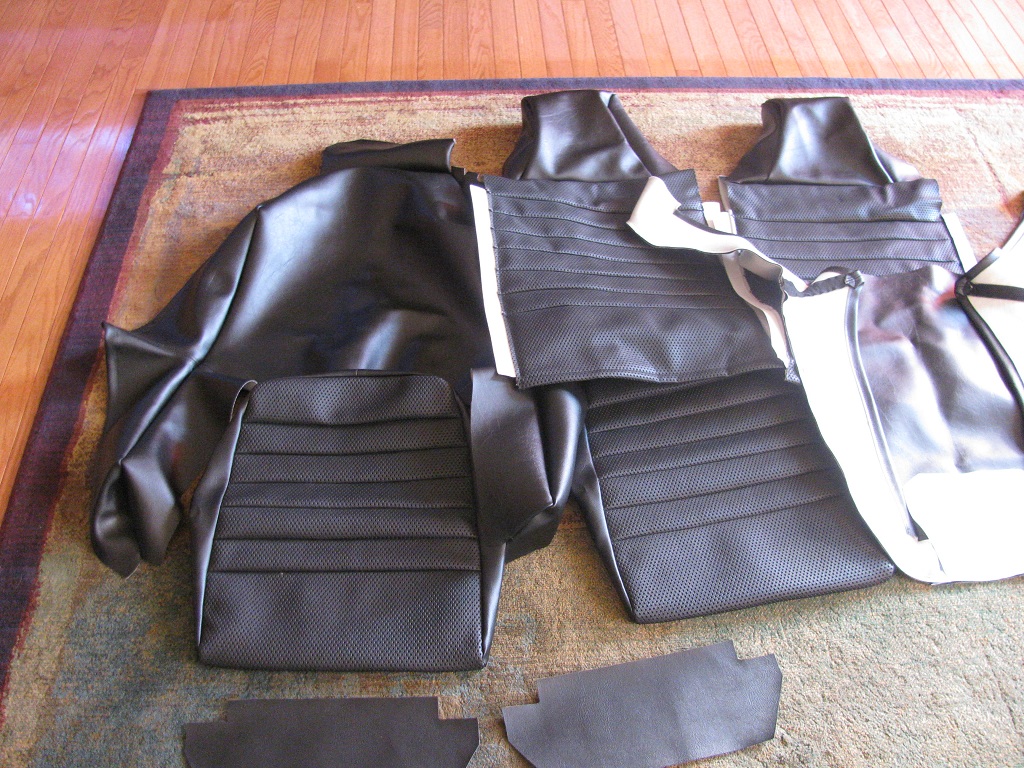 Remove your seat, I did one at a time, in case I wanted to refer to the other seat to see how something was done. The first step is to remove the two screws on the back of the headrest 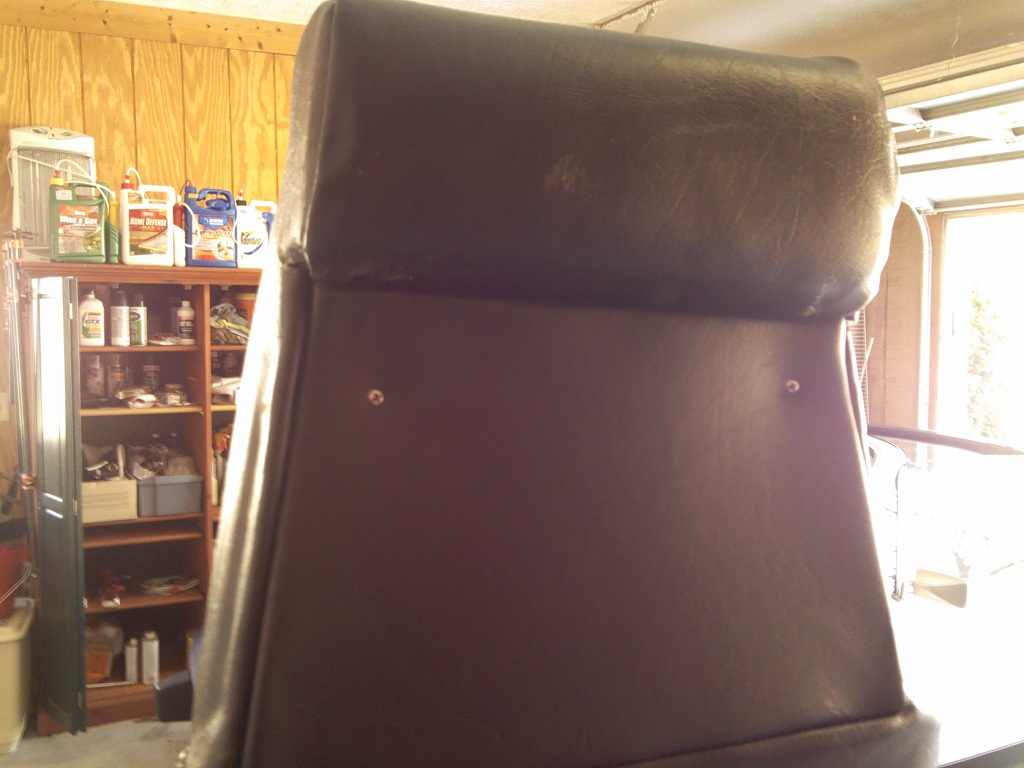 Then the two screws in red behind the headrest flap 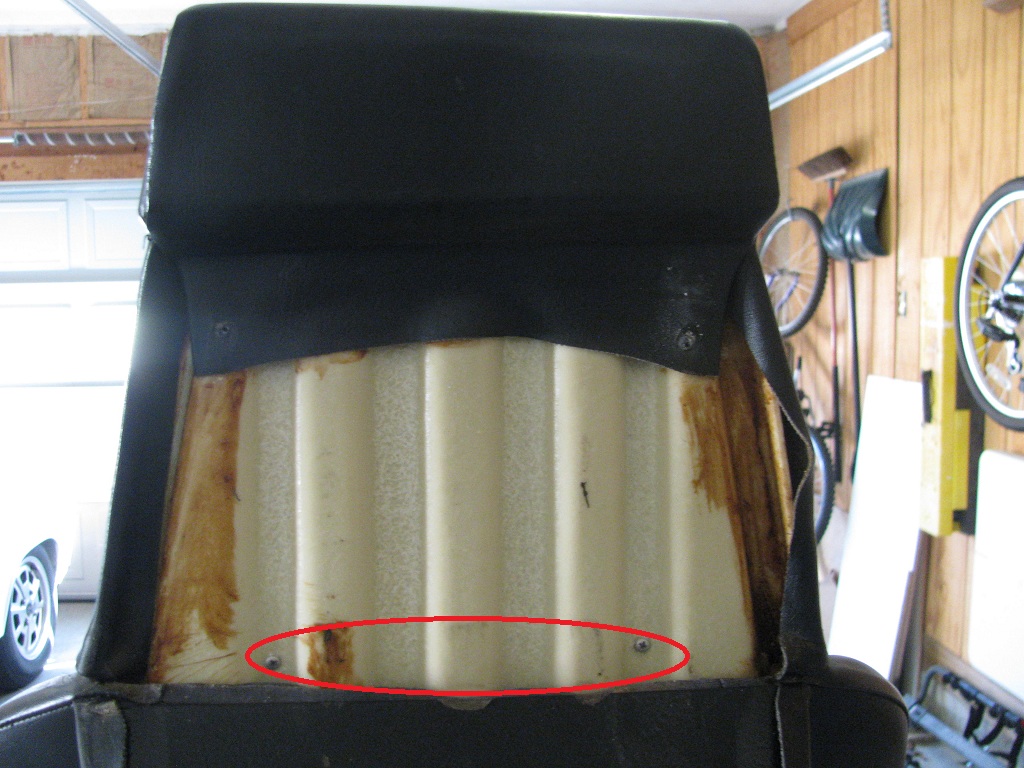 There are three metal points at the base of the back rest that need to pry'ed up with a flat screwdriver and pliers to release the bottom of the backrest 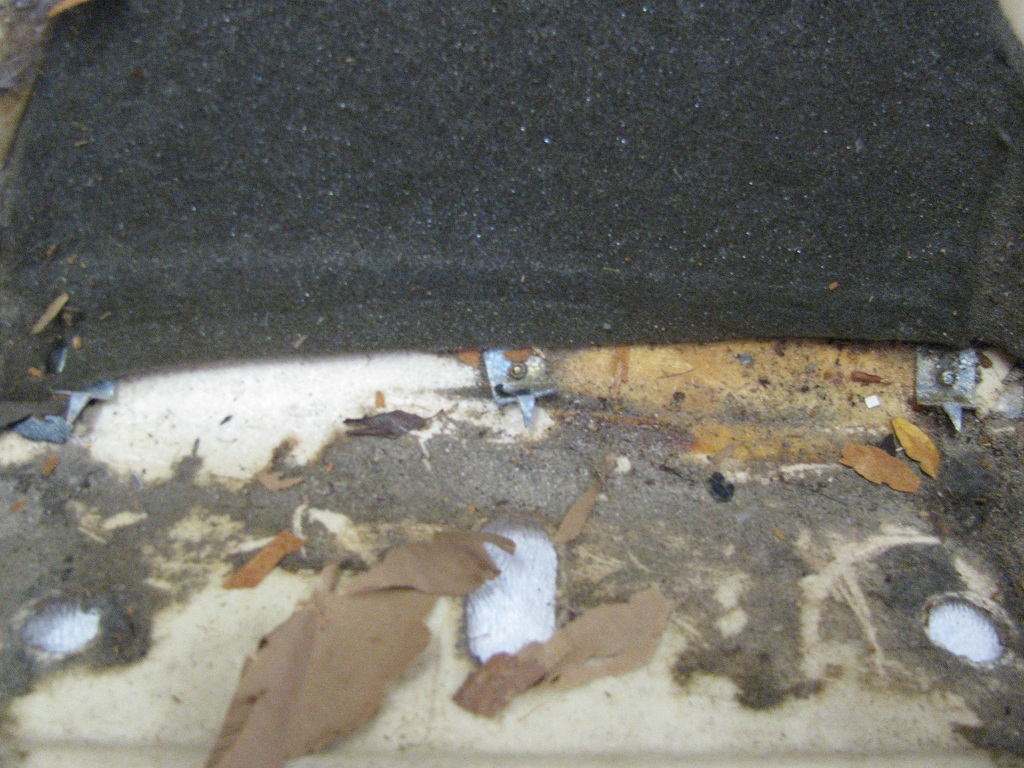 Here's the backrest removed, and you can see what it consists of on the back. On my car the headrest cover came off quite easy.  Next you can see the points that hold the side bolsters on, these need to pryed up and straightened as well 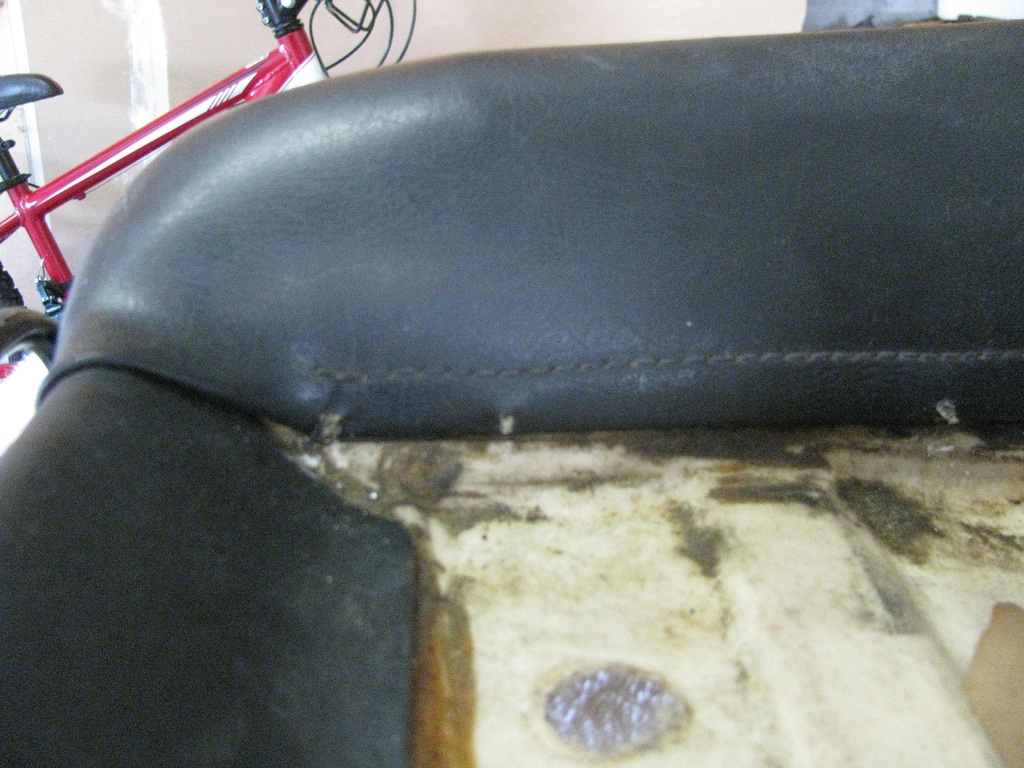 But first, you need to remove the seat rails by removing the 4 allen head bolts from each rail 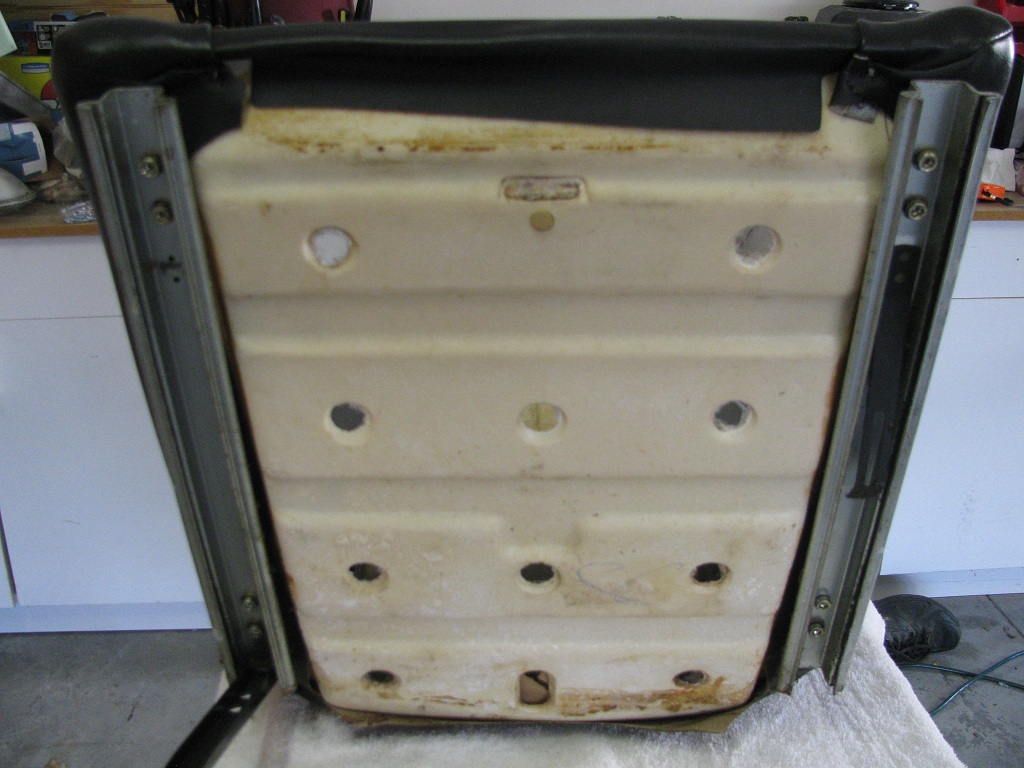 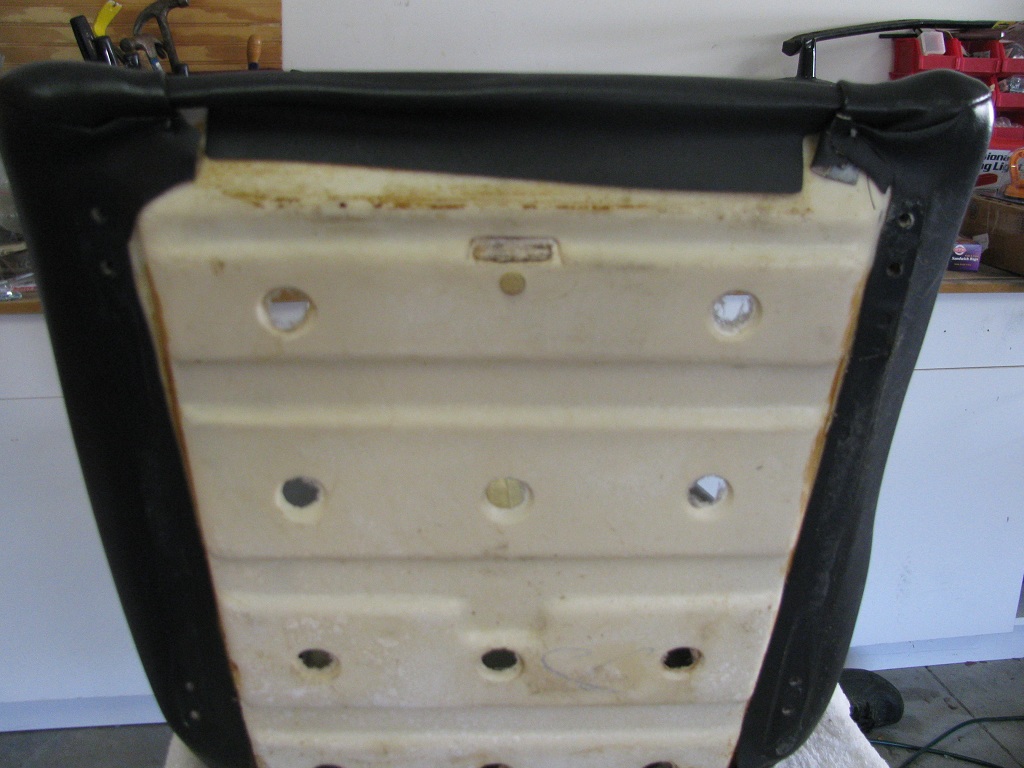 There are 2 metal points under the front seat, holding some tucked fabric onto the seat botton, release the fabric and straighten these points as well 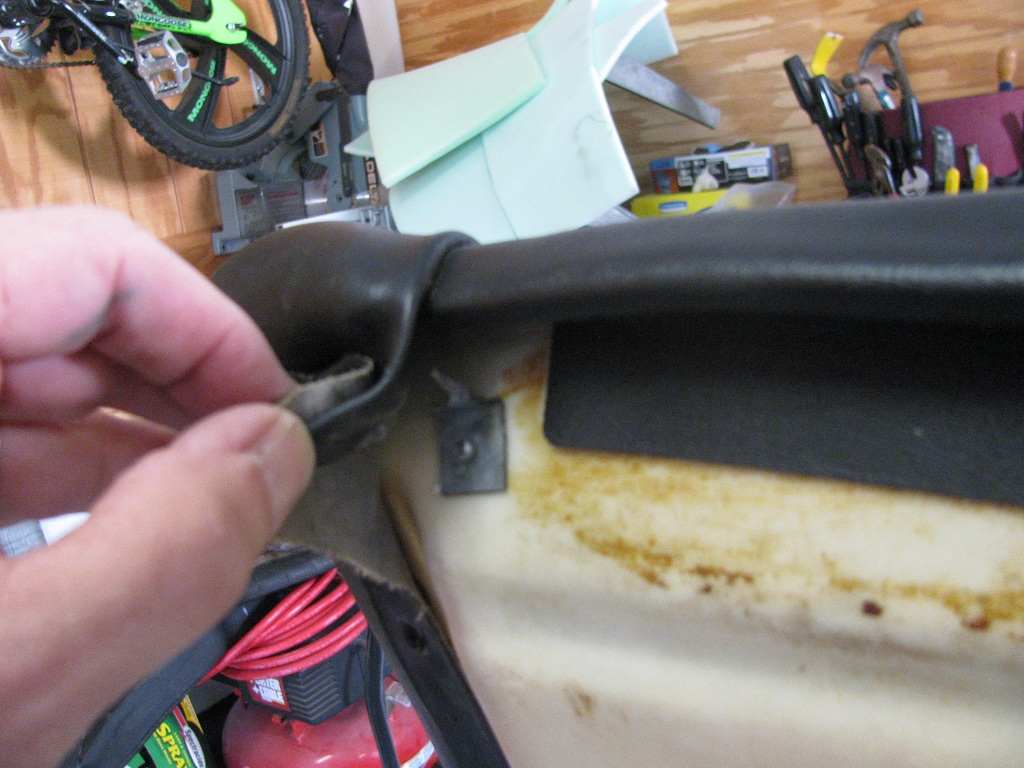 Now you release the points holding the bolster down, there are 10 or 12 on each side 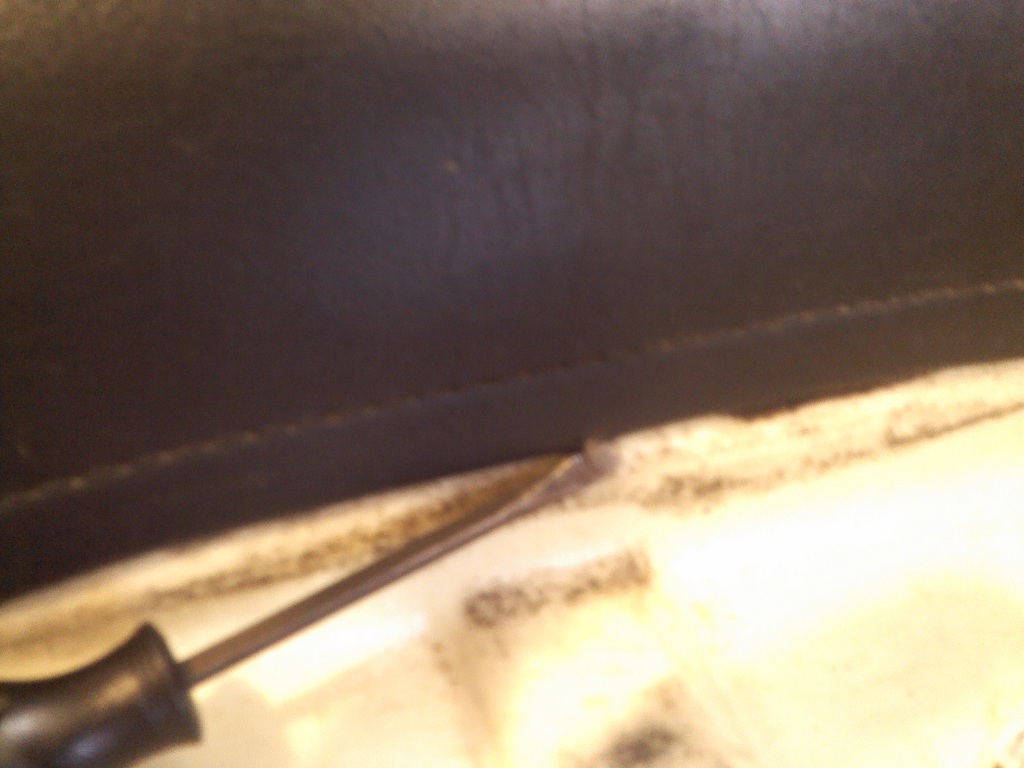 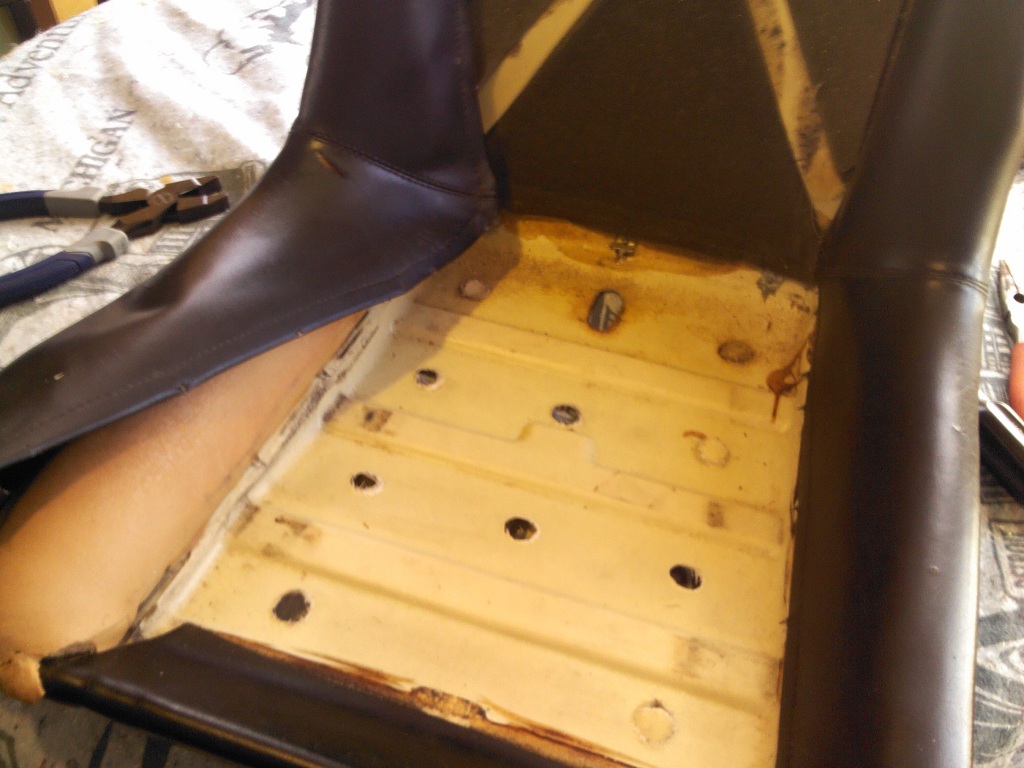 The bolster comes off like a jacket, and will go back on the same way 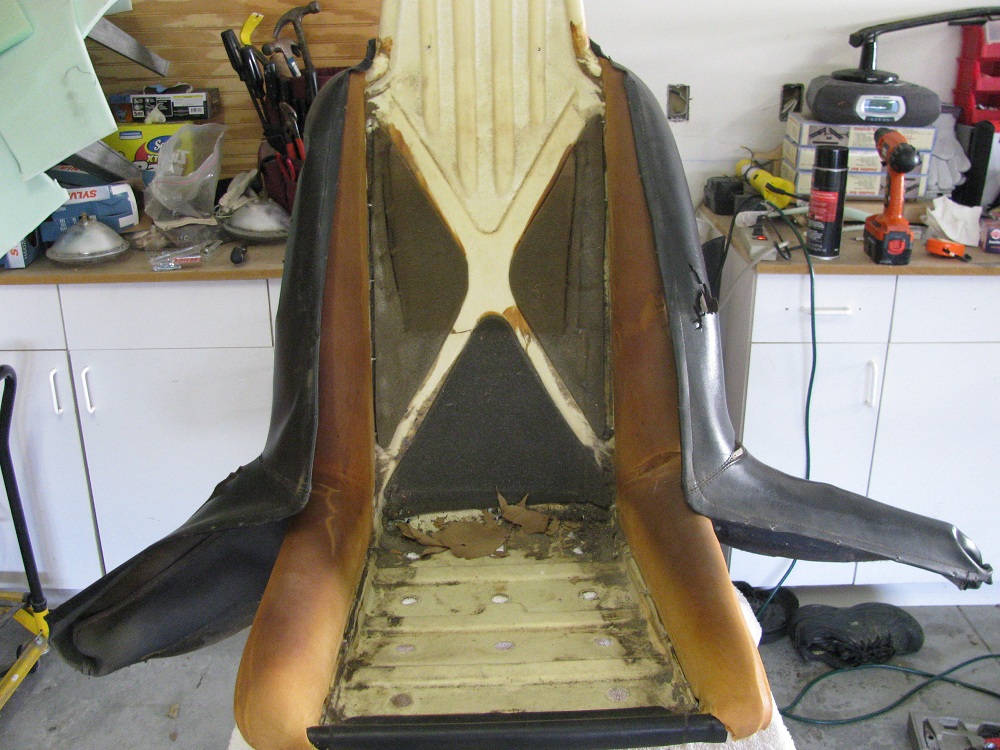 |
   |

 
|
  |
Replies
| turk22 |
Nov 23 2012, 09:20 PM
Post
#2
|
|
Treetop Flyer Group: Members Posts: 735 Joined: 27-July 12 From: Cincinnati OH Member No.: 14,725 Region Association: Upper MidWest |
With the bolster basically done, we can turn to the seat back/headrest
This pic shows the two metal rings that secure the seatback vinyl to the headrest, remove these to release the backpad from the headrest frame. I did not reuse these, I used plastic zip ties instead. 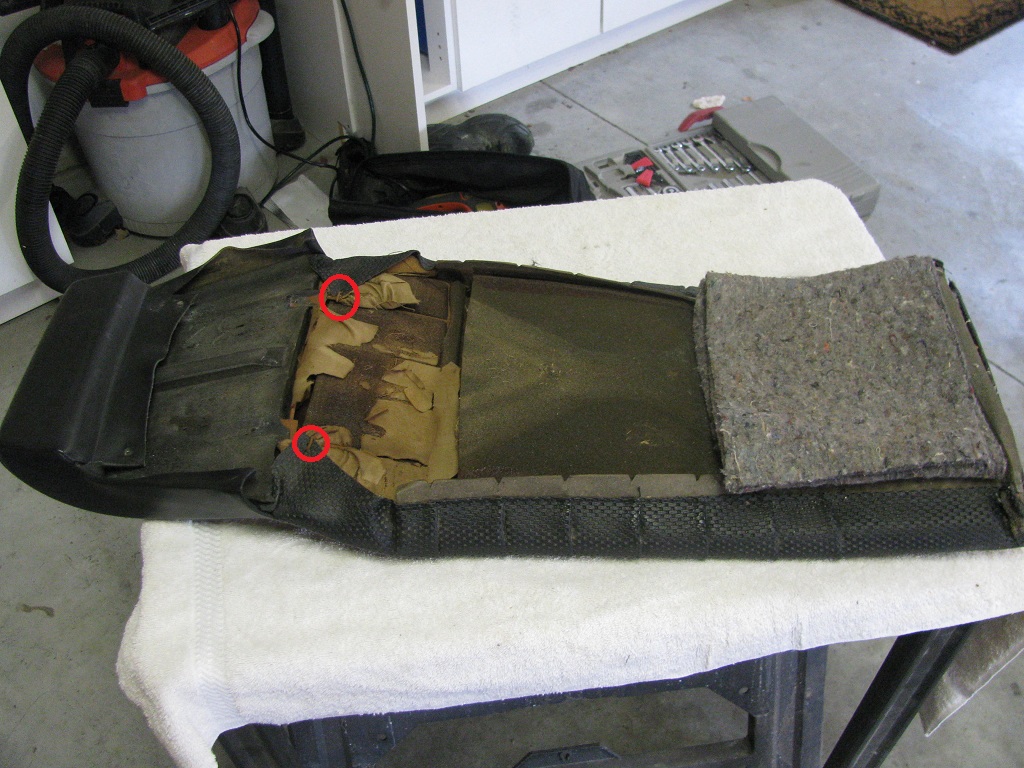 Remove the metal rod from the bottom of the backpad, you will reuse this as well, in the new backpad 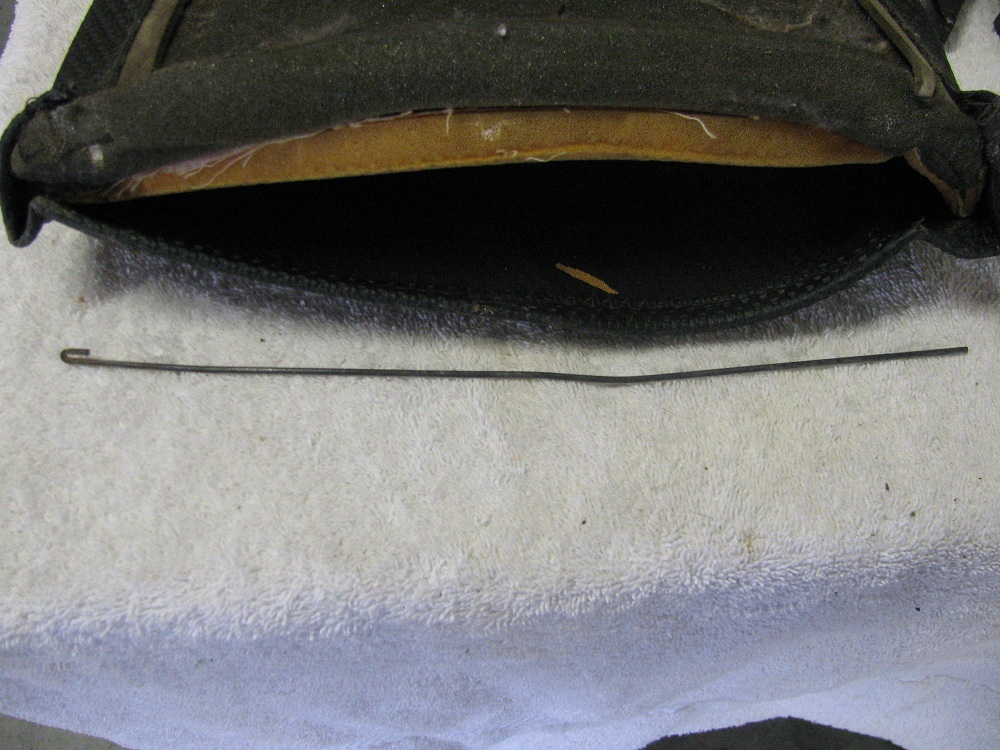 Seperate the foam from the vinyl, one of mine came apart easily, and the other, I had to use a razor blade to seperate it. They were glued to the foam originally, and you will repeat that process with the new one. 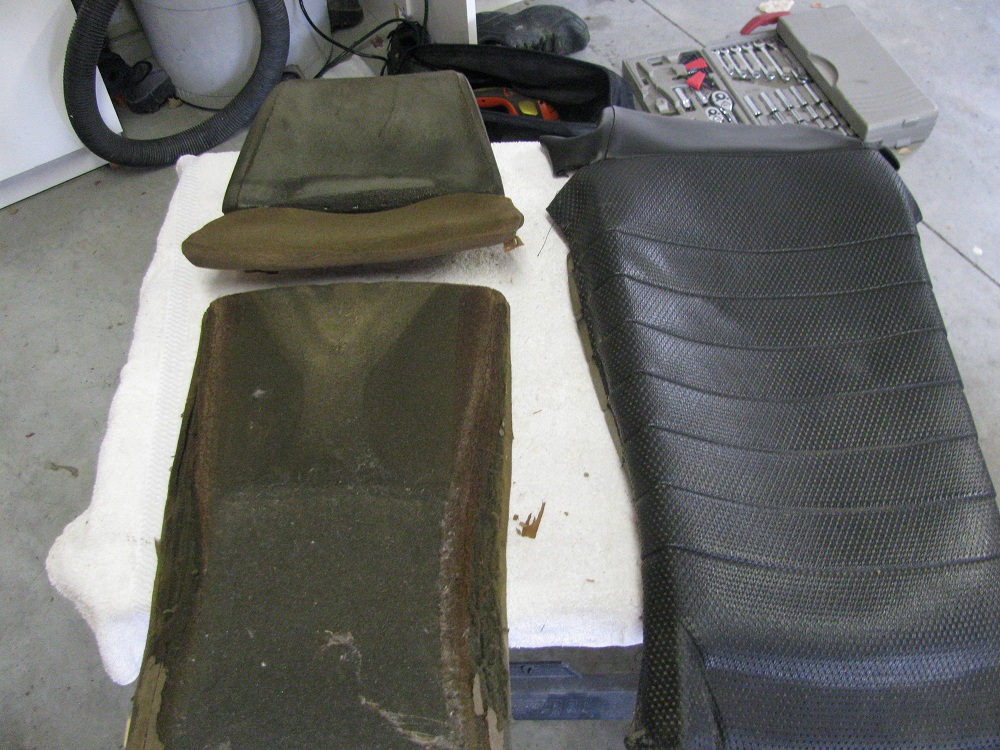 Remove the foam from the metal headrest frame. My frame was dirty/rusty, and I cleaned it up with scotchbrite pad. I decided to replace the old foam with new, and used 1" thick seat foam. I traced the old, and cut the new 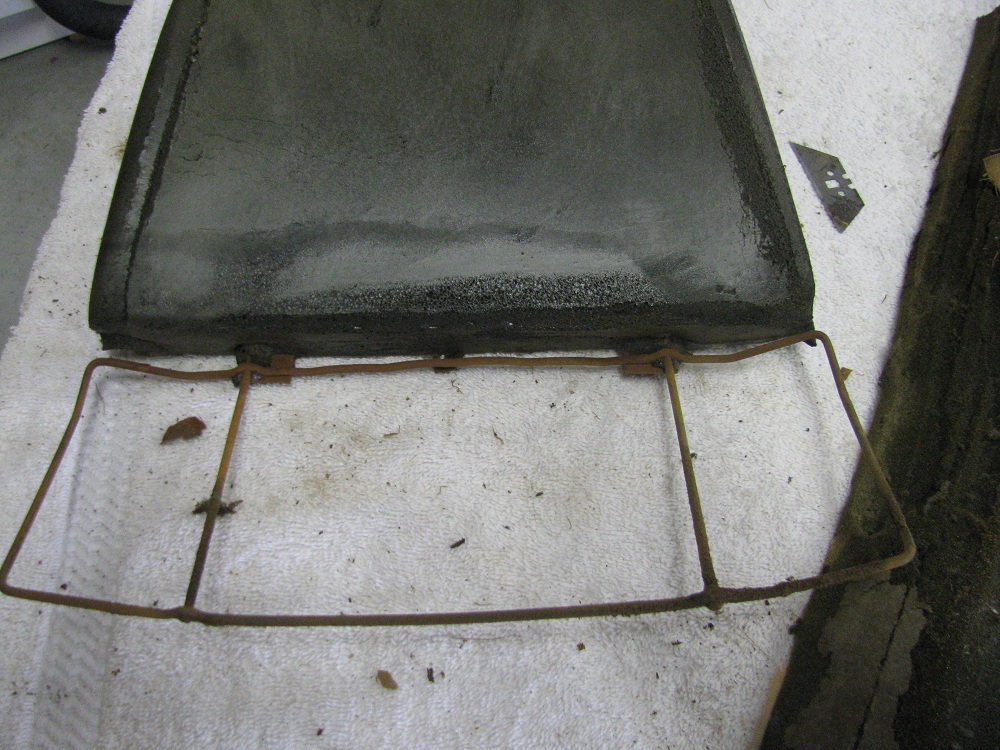 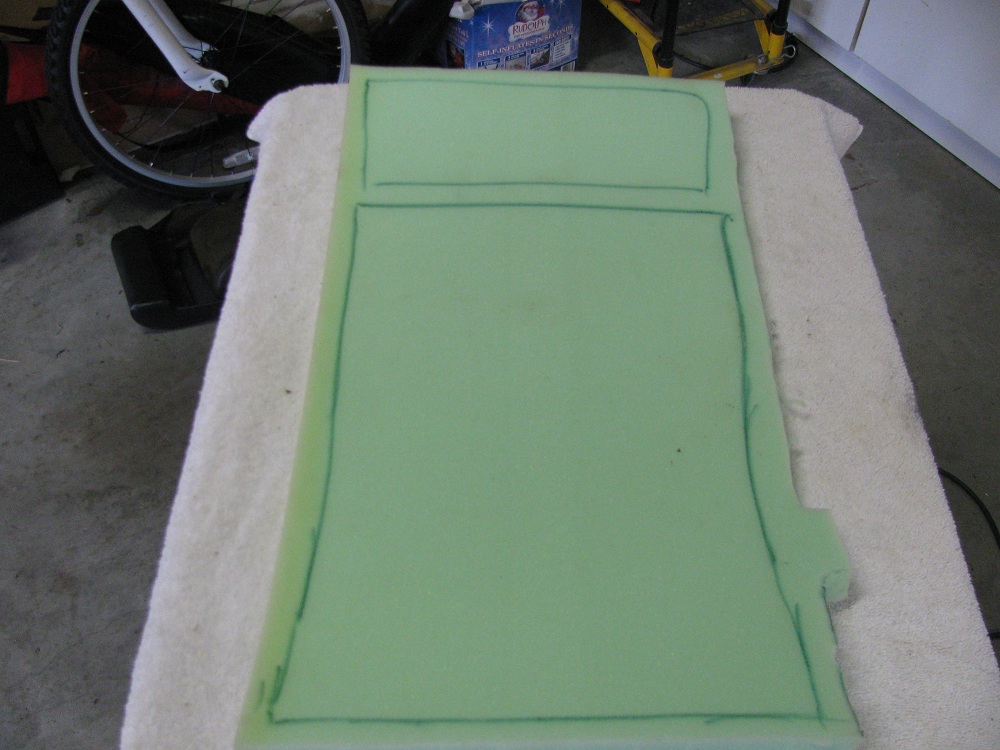 I also added 1/2" foam to the headrest. After test fitting without, this took up the additional slack in the new headrest. I shaved the edge with sharp sissors to ease the transition. 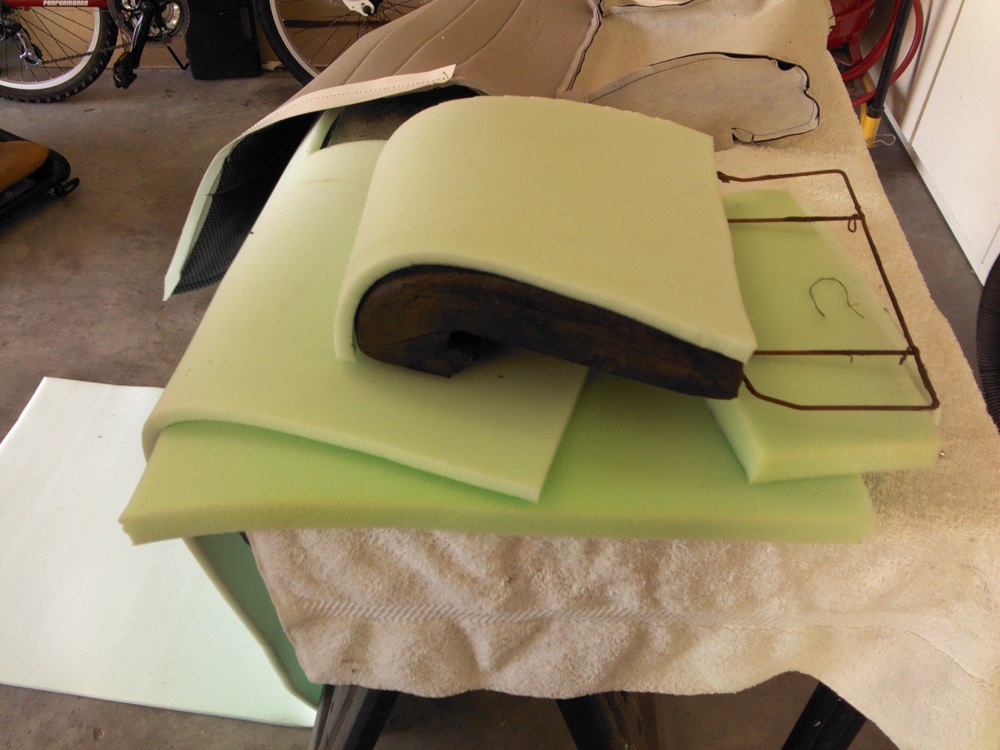 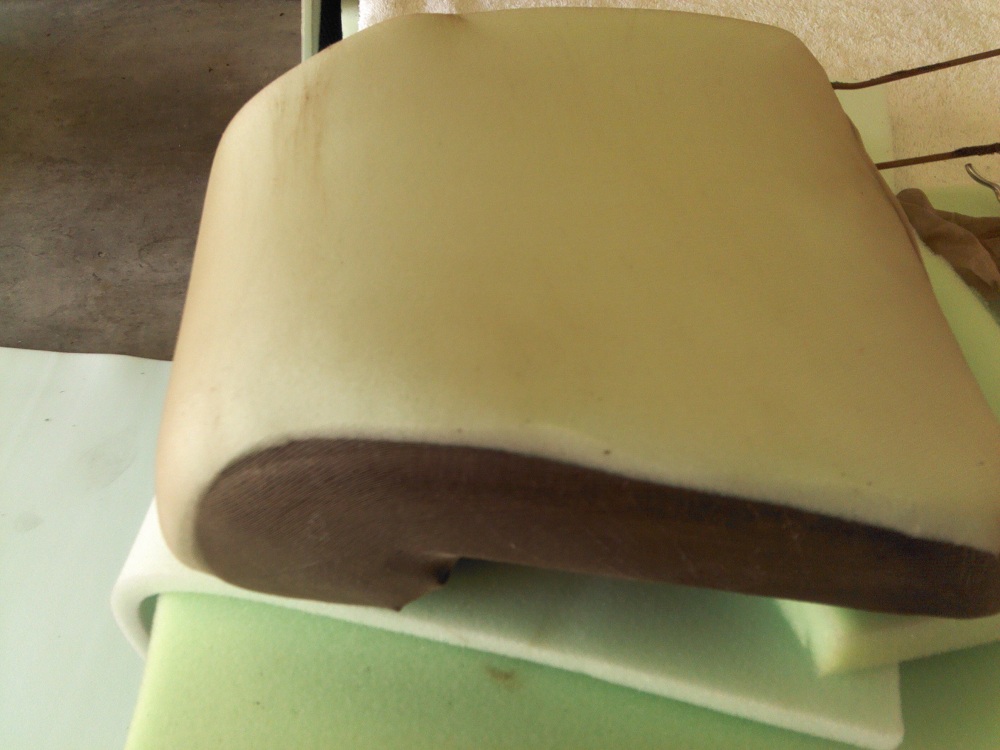 I used a cut stocking stretched over the headrest to ease sliding it into the new headrest vinyl. I lightly glued the foam to the backpad, and then used the white cardboard to glue the backpad to the back of the foam. **Don't stretch to tightly here! The backpad narrows in the center but has wider "shoulders", and if you pull the wire ties too tight, the backpad won't fully fill the space at the top ** (ask me how I know (IMG:style_emoticons/default/huh.gif) ) 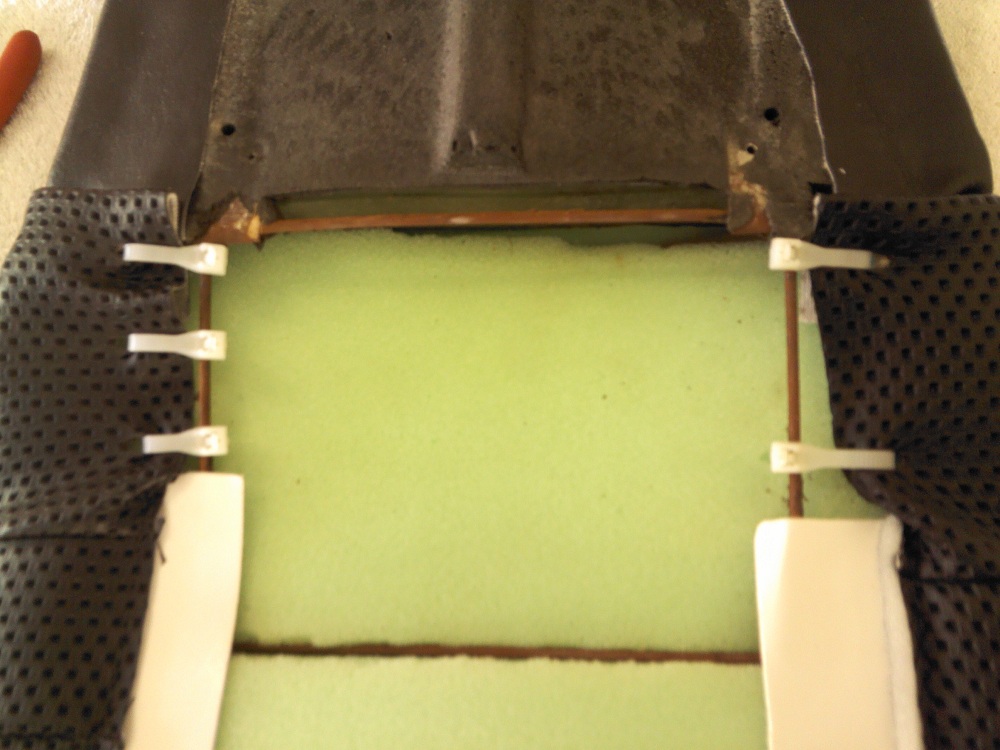 I put the two screws back into the bottom of the headrest here, to pull it in, and then using contact adhesive, glued the headrest fabric around the back of the seat frame for a tight fit. This came out pretty good, and the fit was nice with that extra 1/2" of foam on the headrest. 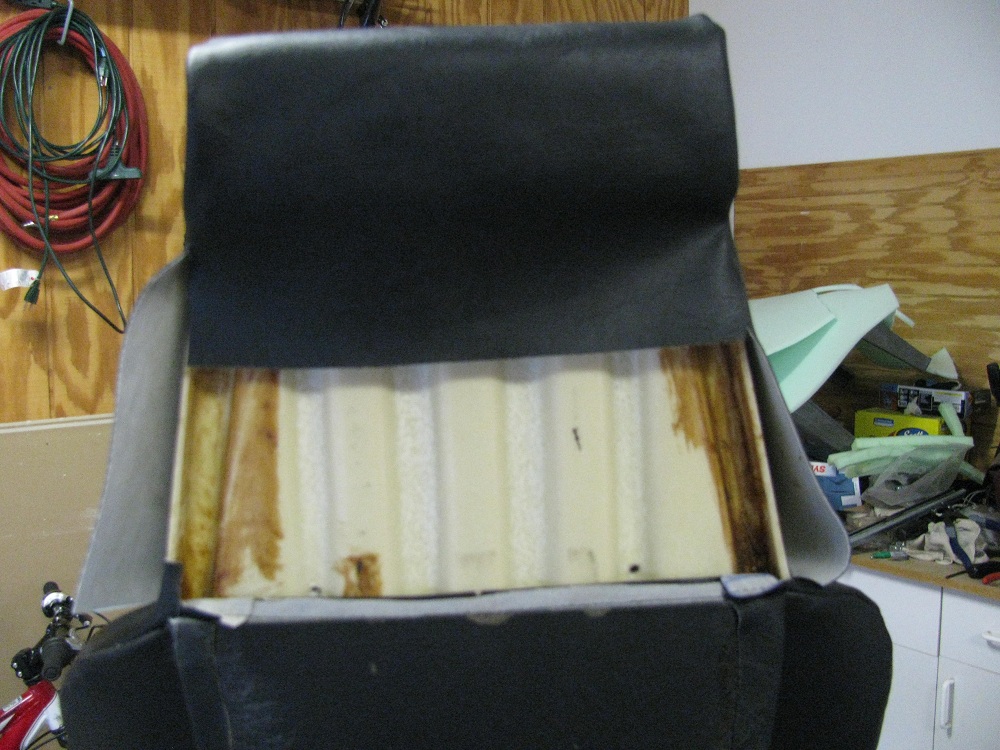 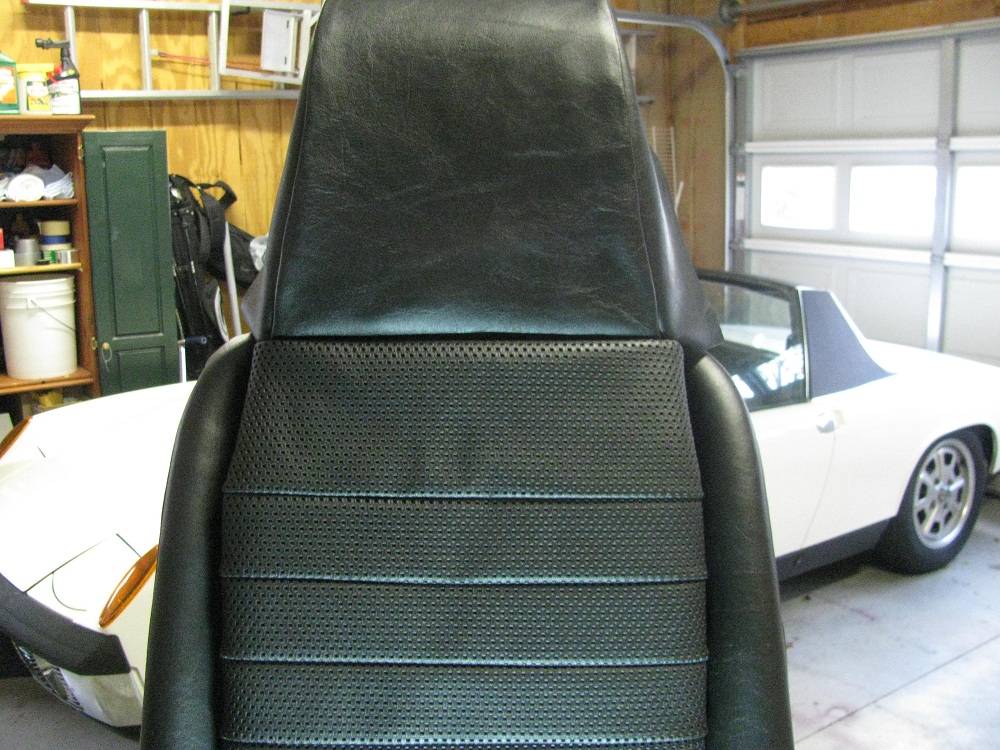 On the first seat I didn't glue in the flap cardboard until this point, got glue overspray everywhere. On the second seat, I glued it in prior to installing the bolster, much cleaner that way. The overspray cleans up easily, but avoiding it is best. 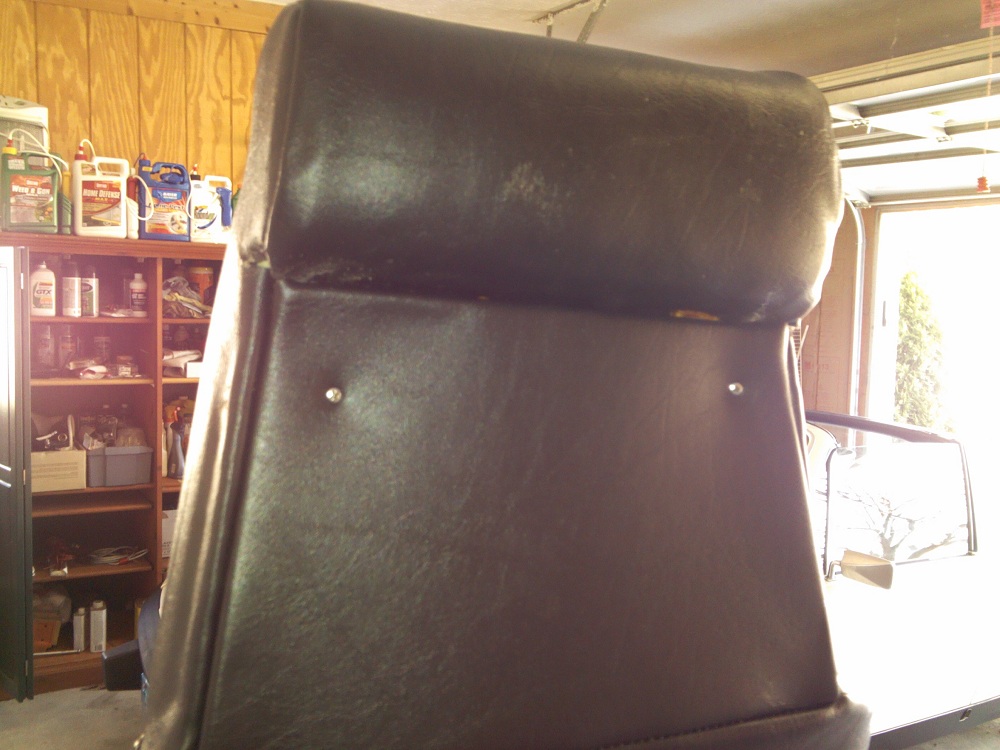 On this seat the top of the backrest is stretched to tighly (my fault), and I was careful not to make that mistake of the other seat. Another good reason to do one at a time, lessons learned and all. 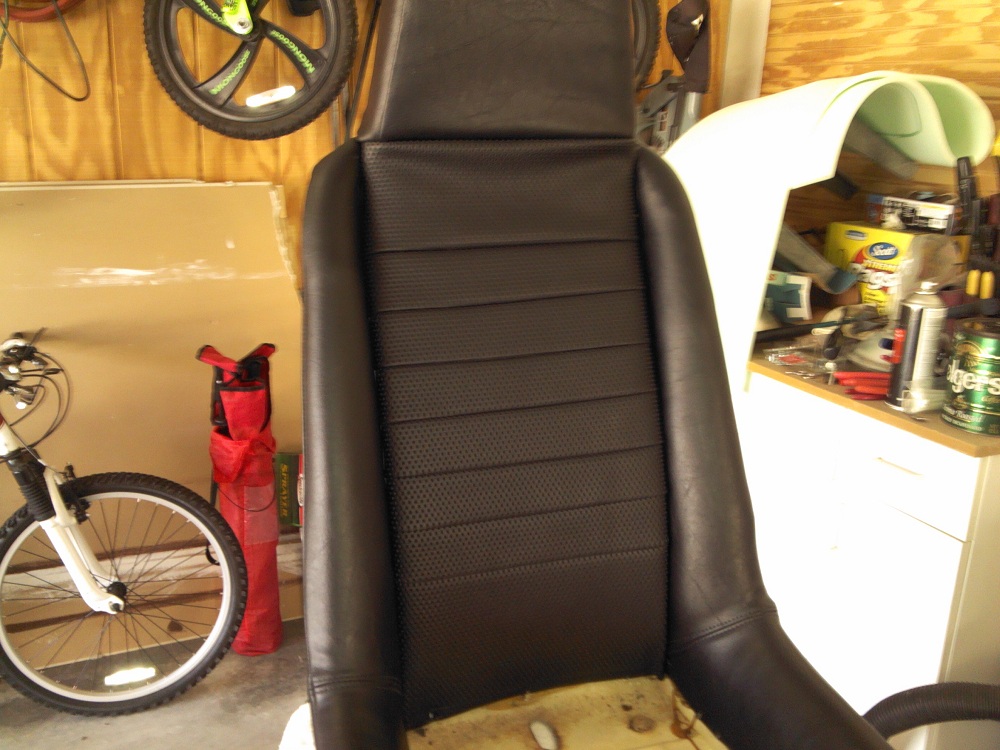 The seat bottom is very simple, I added some extra 1/2" foam to the "ass" portion of the seat, stretched and stapled (no glue needed). I bought a air stapler from HF for $20, well worth the money. 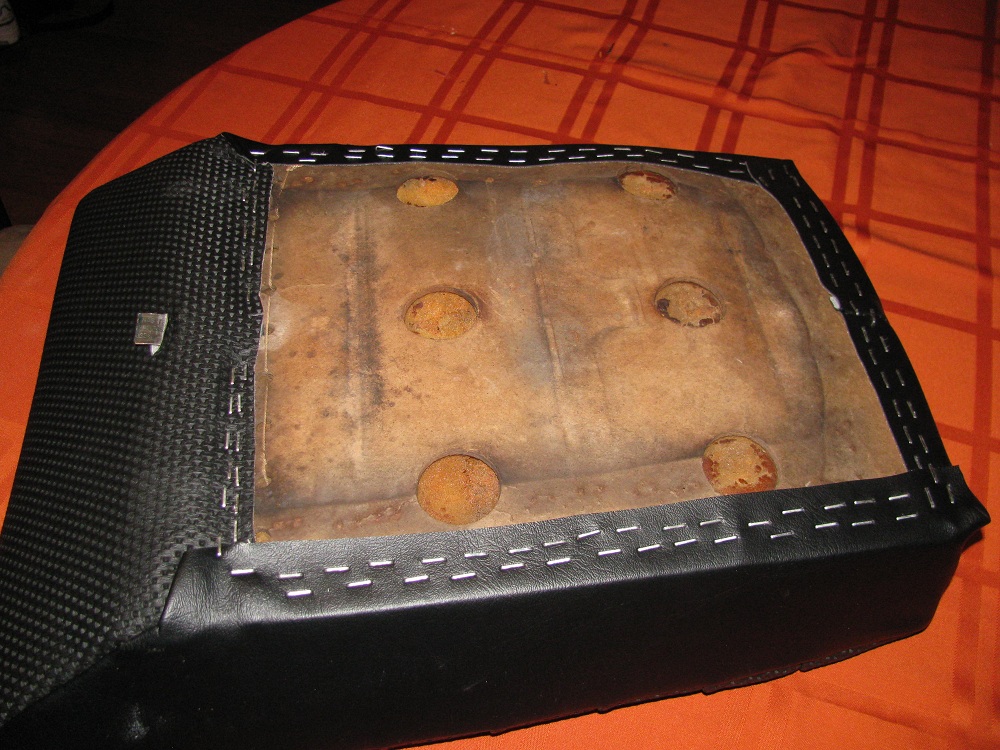 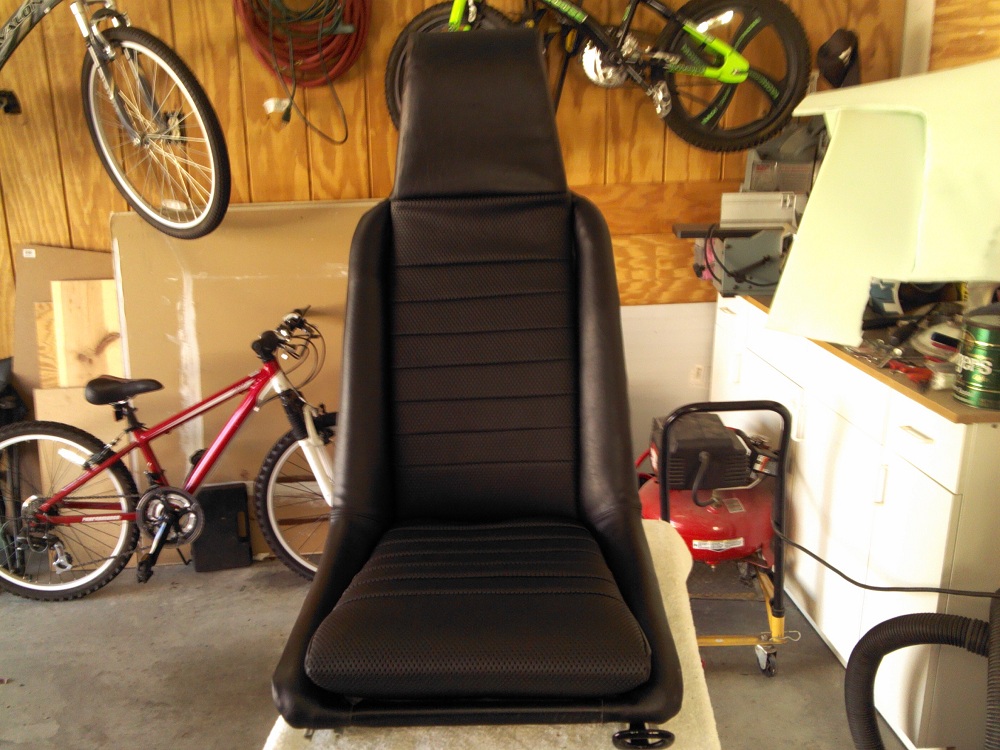 |
|
|
|
Posts in this topic
 turk22 Seat ReUpholstery - Step by step Nov 23 2012, 08:56 PM
 turk22 Don't forget to carefully remove this hard car... Nov 23 2012, 09:07 PM turk22 I bought a center console cover from a different v... Nov 23 2012, 09:29 PM DBCooper Looks really good. Well done. Nov 23 2012, 09:58 PM FourBlades Nice work!
John Nov 23 2012, 10:54 PM Todd Enlund Sweet!
Thanks for sharing! Nov 23 2012, 11:48 PM Cool914 Very nice, thanks for the pointers! Nov 23 2012, 11:58 PM zonedoubt Nice! I'm right in the middle of doing my ... Nov 24 2012, 12:46 AM rnellums Excellent work! Isn't it great when thing... Nov 24 2012, 09:55 AM turk22 Thanks All,
The first seat took a couple of days,... Nov 24 2012, 12:14 PM dlkawashima Edd China's didn't come out as good as you... Nov 24 2012, 04:29 PM johannes Very well documented. I hope this will help more p... Nov 25 2012, 06:36 AM turk22
Edd China's didn't come out as good as yo... Nov 25 2012, 09:58 AM SUNAB914 Great job, this thread needs to be saved. Nov 25 2012, 09:59 AM turk22
Very well documented. I hope this will help more ... Nov 25 2012, 10:16 AM saigon71 Excellent work and documentation! :beer2:
... Nov 25 2012, 05:17 PM
turk22 Don't forget to carefully remove this hard car... Nov 23 2012, 09:07 PM turk22 I bought a center console cover from a different v... Nov 23 2012, 09:29 PM DBCooper Looks really good. Well done. Nov 23 2012, 09:58 PM FourBlades Nice work!
John Nov 23 2012, 10:54 PM Todd Enlund Sweet!
Thanks for sharing! Nov 23 2012, 11:48 PM Cool914 Very nice, thanks for the pointers! Nov 23 2012, 11:58 PM zonedoubt Nice! I'm right in the middle of doing my ... Nov 24 2012, 12:46 AM rnellums Excellent work! Isn't it great when thing... Nov 24 2012, 09:55 AM turk22 Thanks All,
The first seat took a couple of days,... Nov 24 2012, 12:14 PM dlkawashima Edd China's didn't come out as good as you... Nov 24 2012, 04:29 PM johannes Very well documented. I hope this will help more p... Nov 25 2012, 06:36 AM turk22
Edd China's didn't come out as good as yo... Nov 25 2012, 09:58 AM SUNAB914 Great job, this thread needs to be saved. Nov 25 2012, 09:59 AM turk22
Very well documented. I hope this will help more ... Nov 25 2012, 10:16 AM saigon71 Excellent work and documentation! :beer2:
... Nov 25 2012, 05:17 PM
 turk22
Excellent work and documentation! :beer2:
... Nov 25 2012, 06:46 PM trojanhorsepower That looks great! Thanks for the write up. Nov 25 2012, 06:28 PM 1970 Neun vierzehn Nice contribution to the forum. :clap:
Surely yo... Nov 26 2012, 08:37 PM scotty b :beer2: Lapuwali classics now :trophy: Nov 26 2012, 08:40 PM turk22
Nice contribution to the forum. :clap:
Surely y... Nov 27 2012, 12:19 PM Speedo Seat upholstery...thread bump. Considering the var... Oct 9 2020, 04:47 PM porschetub
Seat upholstery...thread bump. Considering the va... Oct 9 2020, 06:19 PM iankarr Adding videos to this thread for future generation... Oct 9 2020, 07:48 PM mark04usa Thanks to Turk22 and Ian, we have the ultimate reu... Oct 9 2020, 10:01 PM
turk22
Excellent work and documentation! :beer2:
... Nov 25 2012, 06:46 PM trojanhorsepower That looks great! Thanks for the write up. Nov 25 2012, 06:28 PM 1970 Neun vierzehn Nice contribution to the forum. :clap:
Surely yo... Nov 26 2012, 08:37 PM scotty b :beer2: Lapuwali classics now :trophy: Nov 26 2012, 08:40 PM turk22
Nice contribution to the forum. :clap:
Surely y... Nov 27 2012, 12:19 PM Speedo Seat upholstery...thread bump. Considering the var... Oct 9 2020, 04:47 PM porschetub
Seat upholstery...thread bump. Considering the va... Oct 9 2020, 06:19 PM iankarr Adding videos to this thread for future generation... Oct 9 2020, 07:48 PM mark04usa Thanks to Turk22 and Ian, we have the ultimate reu... Oct 9 2020, 10:01 PM |
1 User(s) are reading this topic (1 Guests and 0 Anonymous Users)
0 Members:

|
Lo-Fi Version | Time is now: 3rd May 2024 - 03:04 PM |
Invision Power Board
v9.1.4 © 2024 IPS, Inc.