|
|
|
Porsche, and the Porsche crest are registered trademarks of Dr. Ing. h.c. F. Porsche AG.
This site is not affiliated with Porsche in any way. Its only purpose is to provide an online forum for car enthusiasts. All other trademarks are property of their respective owners. |
|
|

  |

| rangrbob |
 Jan 28 2015, 10:45 PM Jan 28 2015, 10:45 PM
Post
#101
|
|
Member  Group: Members Posts: 174 Joined: 11-October 12 From: Loveland, CO Member No.: 15,027 Region Association: Rocky Mountains |
"Why go with a vinyl that won't match your seats when the original pattern is readily available and cheap?"
My seats are smooth leatherette, so I'm not concerned about the dash not matching them. I just wanted to try something a little different, and was even thinking of dying it charcoal to bring in the carpet color for a little contrast. If I don't like the look, it's easy enough to change it back to the stock material. Thanks for the input and kind words on the project. I can't wait to see the final result too. I'm shooting to have it done by August for a show at the local Porsche dealer. |
   |

 
|
| rangrbob |
Jan 29 2015, 10:04 PM
Post
#102
|
|
Member Group: Members Posts: 174 Joined: 11-October 12 From: Loveland, CO Member No.: 15,027 Region Association: Rocky Mountains |
Picked up a set of Uniroyal tires today. They are 185/65R15 Tiger Paws.
The rims definitely look better on the car with the tires mounted! 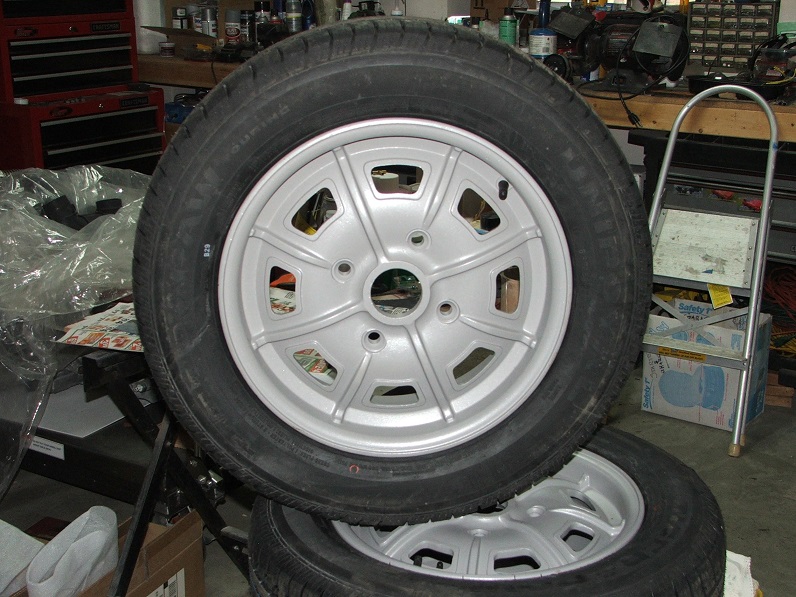 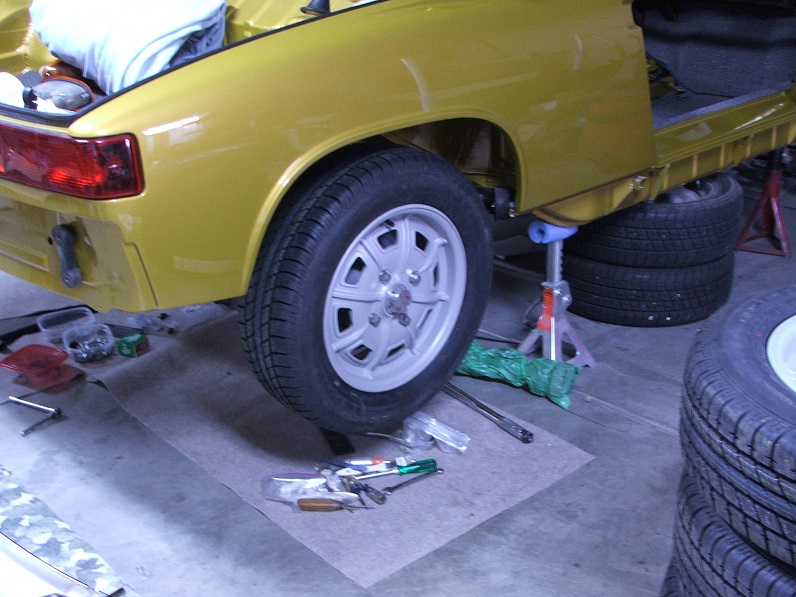 |
|
|
|
| rangrbob |
Feb 6 2015, 09:49 PM
Post
#103
|
|
Member Group: Members Posts: 174 Joined: 11-October 12 From: Loveland, CO Member No.: 15,027 Region Association: Rocky Mountains |
Installed the rear trunk lid and hung the doors. The doors still need some minor adjusting to get the gaps correct, but over all the look pretty good.
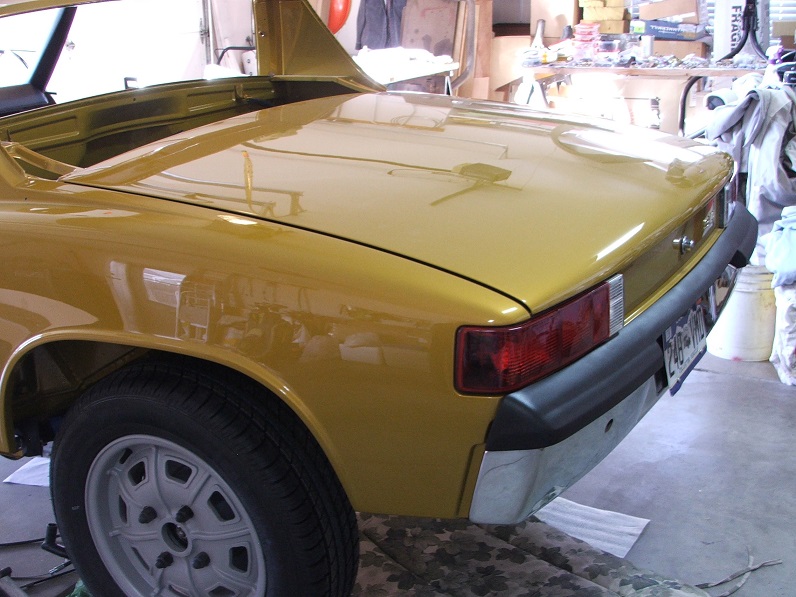   I also continued on the dash install. 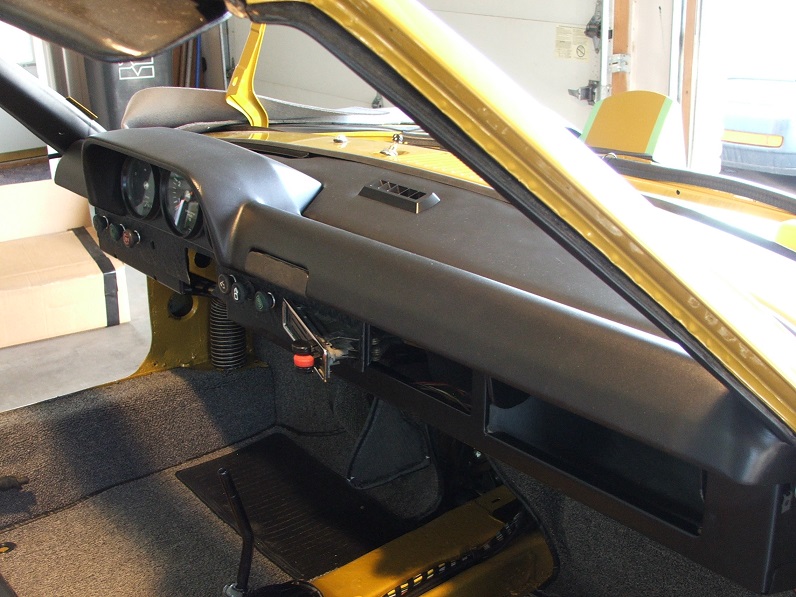 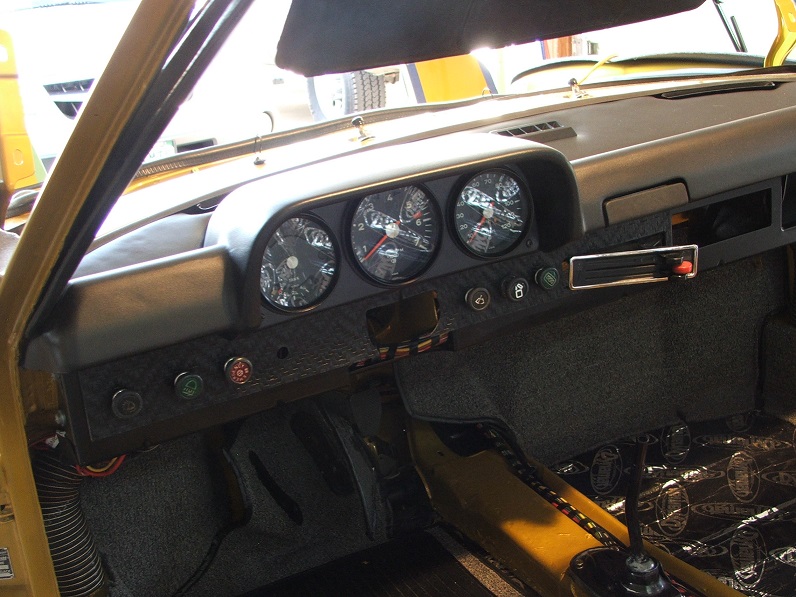 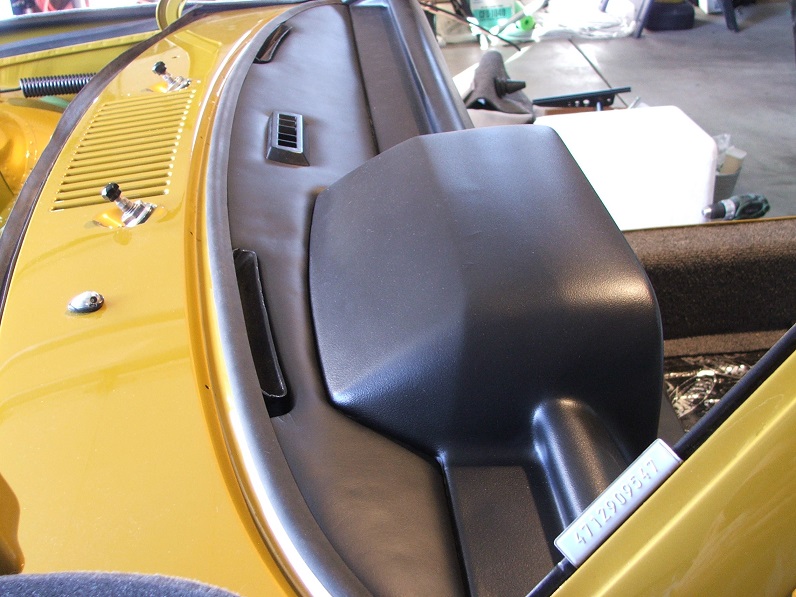 |
|
|
|
| Cairo94507 |
Feb 6 2015, 10:15 PM
Post
#104
|
|
Michael Group: Members Posts: 10,611 Joined: 1-November 08 From: Auburn, CA Member No.: 9,712 Region Association: Northern California |
This restoration is off the scale. Beautiful detailed work.
|
|
|
|
| bigkensteele |
Feb 6 2015, 10:24 PM
Post
#105
|
|
Major Member Group: Members Posts: 2,200 Joined: 30-August 04 From: Cincinnati, OH Member No.: 2,660 Region Association: South East States |
I can't get over how much I love this color on a 914! I passed a new gold Caddy coupe on the way to work this morning and realized you don't see many late model cars in gold. It was truly hideous. The color itself was much more muted and bland than the Porsche color, but I think it was also a matter of context. I think that outrageous colors bring out the vibe of cars from the '60s and '70s.
And your attention to detail is incredible. I see COTM in your future! (IMG:style_emoticons/default/smilie_pokal.gif) |
|
|
|
| KELTY360 |
Feb 7 2015, 12:00 AM
Post
#106
|
|
914 Neferati Group: Members Posts: 5,186 Joined: 31-December 05 From: Pt. Townsend, WA Member No.: 5,344 Region Association: Pacific Northwest |
Spectacular restoration.
|
|
|
|
| rangrbob |
Feb 11 2015, 10:44 PM
Post
#107
|
|
Member Group: Members Posts: 174 Joined: 11-October 12 From: Loveland, CO Member No.: 15,027 Region Association: Rocky Mountains |
Thanks everyone for all the praises. This project certainly has been an adventure. Today while I was trying to get the passenger door to fit better, I noticed a bit of an issue with the rear quarter panel.
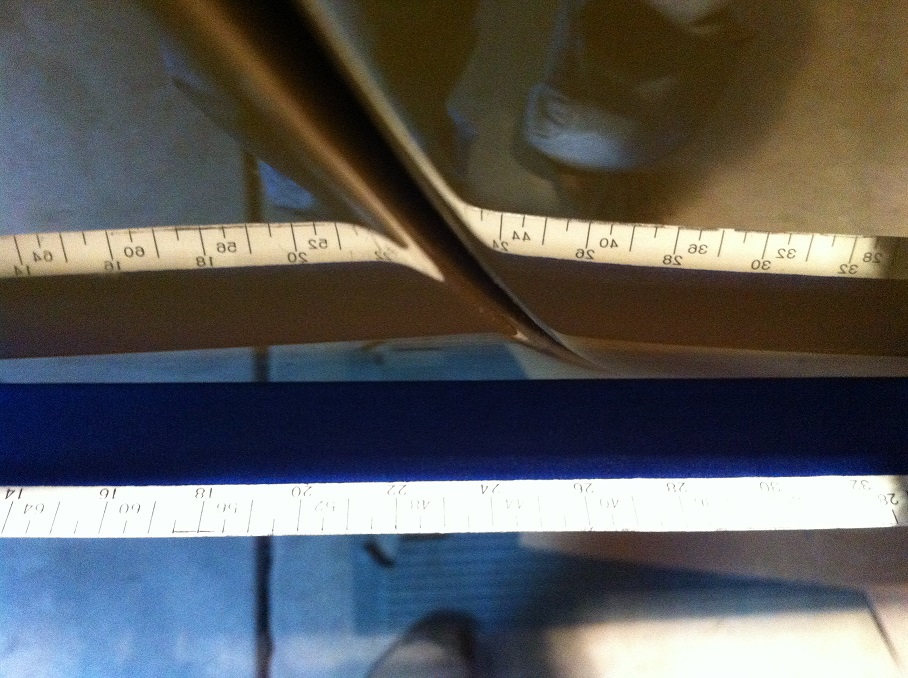 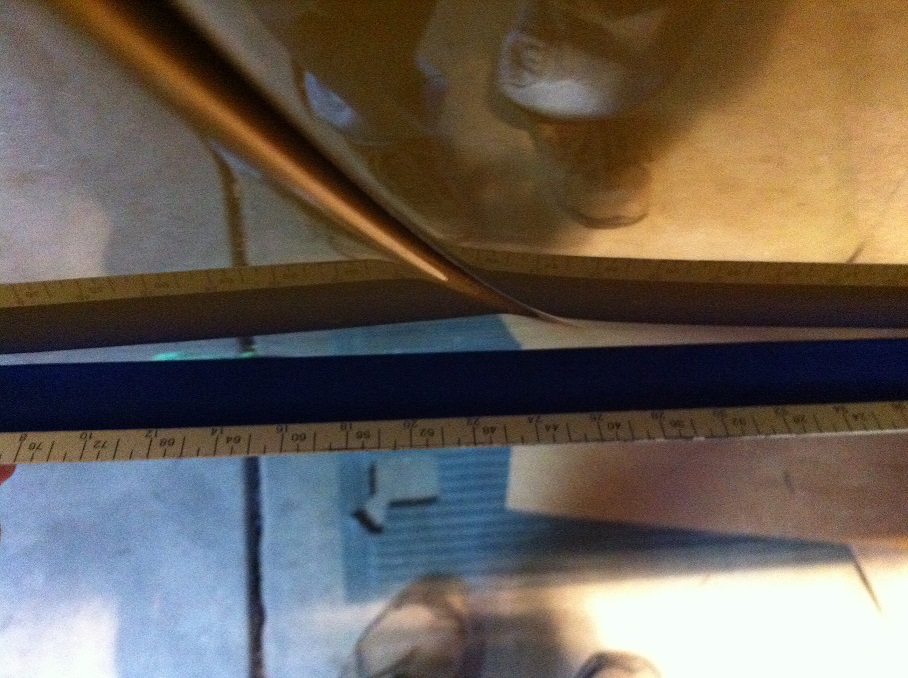 Driver's side:  I had the painter come over and take a look. I'm not sure what to do at this stage of the restoration. The panel looks like it is going to have to be taken down to bare metal and shrunk to pull in the fender in the area of the wheel opening. It appears to be about an 1/4" further out than the driver's side. The door will also need to be re-worked. (IMG:style_emoticons/default/headbang.gif) |
|
|
|
| Cairo94507 |
Feb 12 2015, 12:04 PM
Post
#108
|
|
Michael Group: Members Posts: 10,611 Joined: 1-November 08 From: Auburn, CA Member No.: 9,712 Region Association: Northern California |
That is a huge bummer that the painter/repair shop did not catch that before color went on. But the paint is fresh and they should have no trouble matching that. Just a pain in the butt to have to go through that at this stage of the game. Please keep us posted.
|
|
|
|
| rangrbob |
Feb 26 2015, 07:32 PM
Post
#109
|
|
Member Group: Members Posts: 174 Joined: 11-October 12 From: Loveland, CO Member No.: 15,027 Region Association: Rocky Mountains |
I've decided to leave the body alone for now. I hate the fact that the problem was missed, but it'll have to do. I've got too much invested in paint and body already between the two shops, and can't justify the cost of any more at this time.
I have been plugging away at putting the car back together. I worked on the doors a bit, and installed the sail panel vinyl. While doing so, I found that the holes for the lower trim on the passenger side were slightly high so the trim does not sit right on the body line. (IMG:style_emoticons/default/sad.gif) Over all it's looking pretty good. 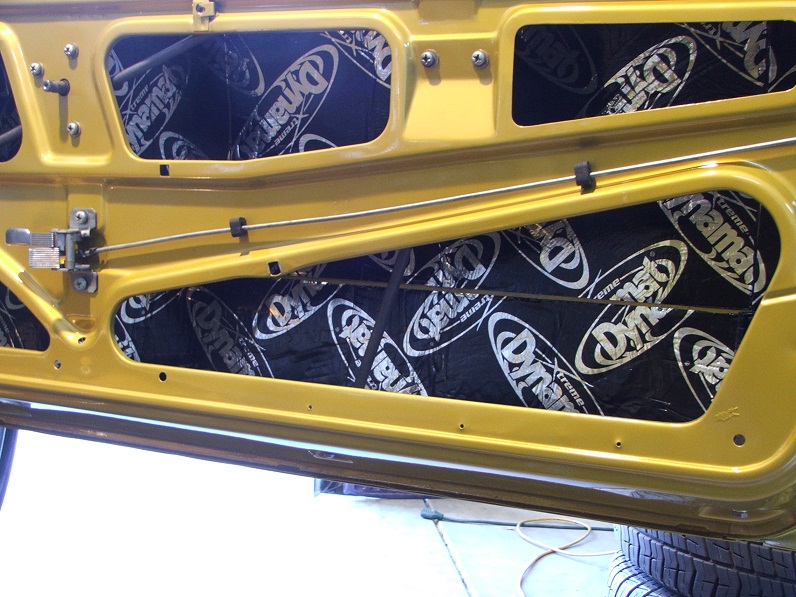 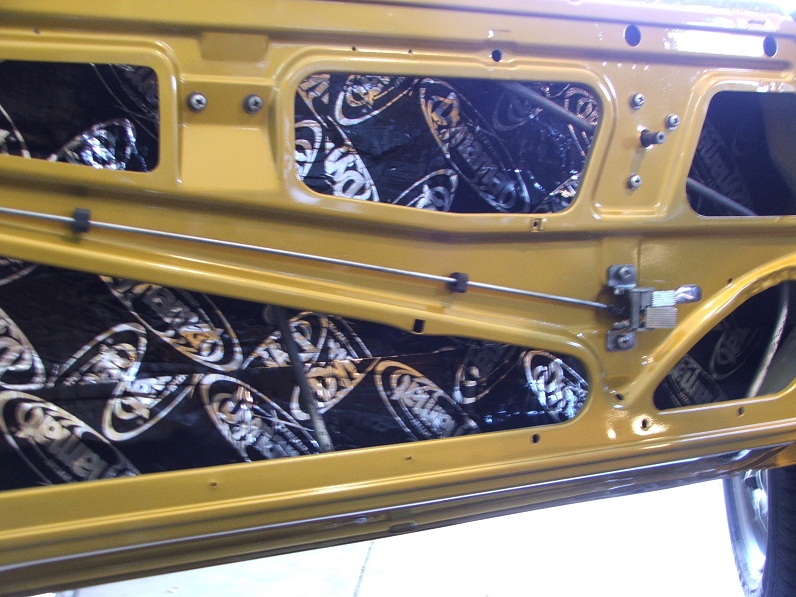 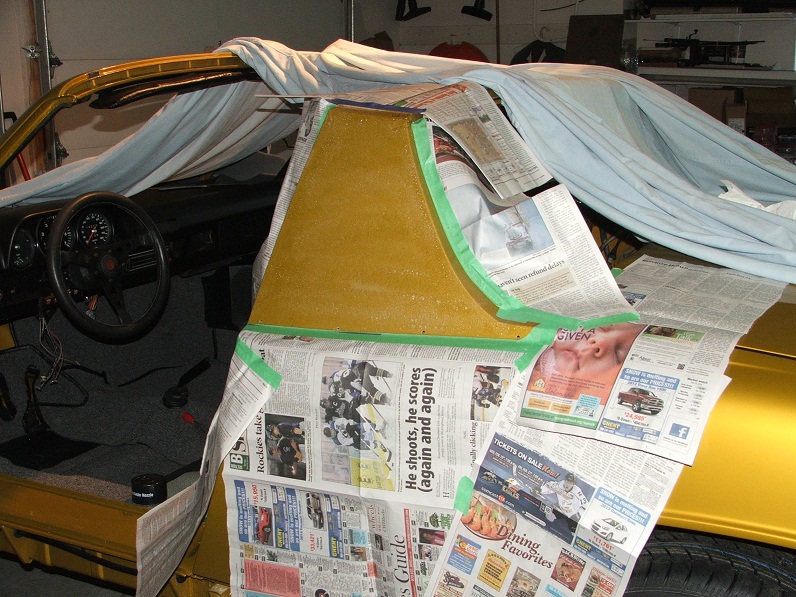 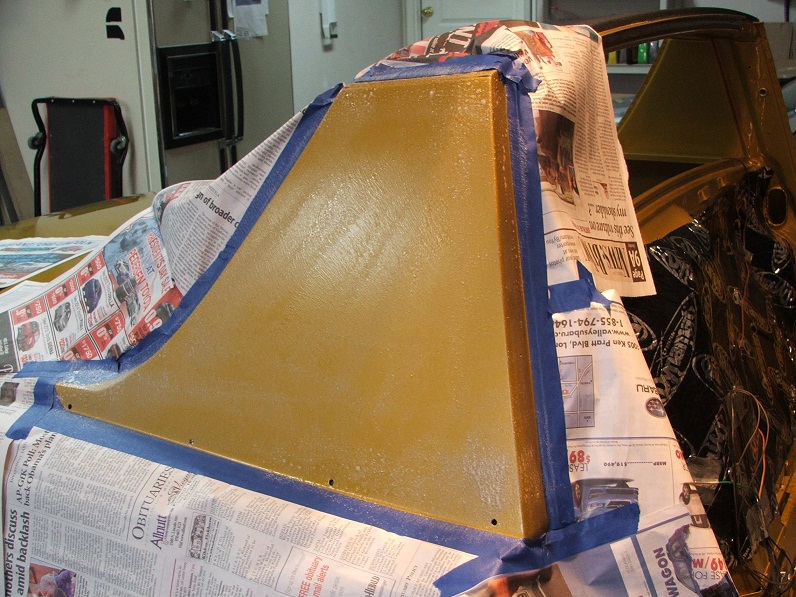 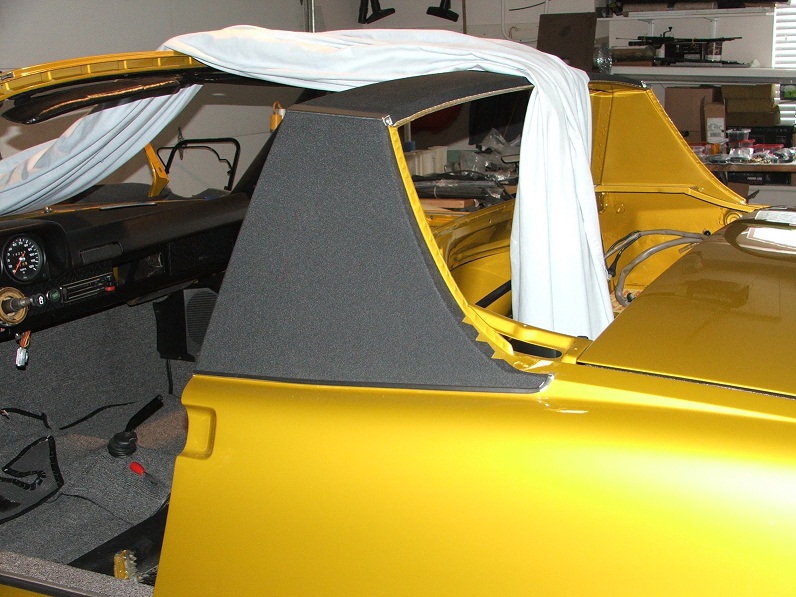 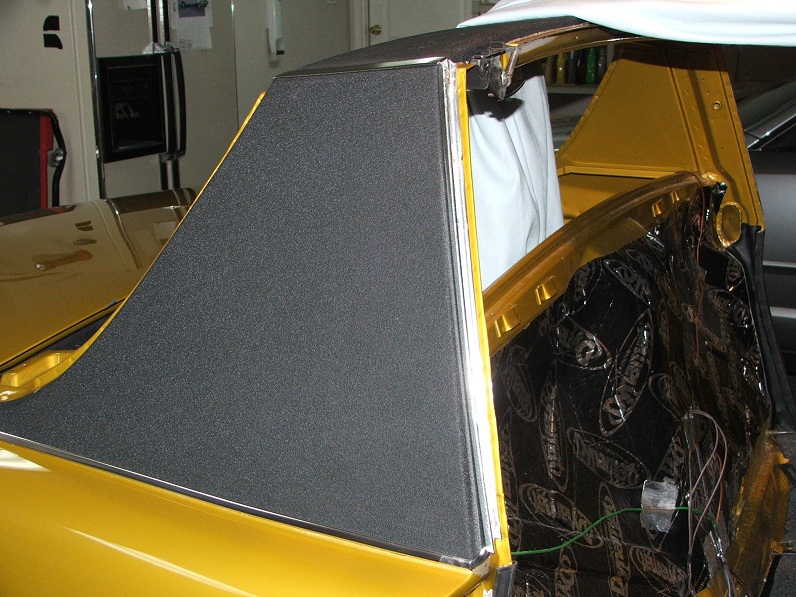 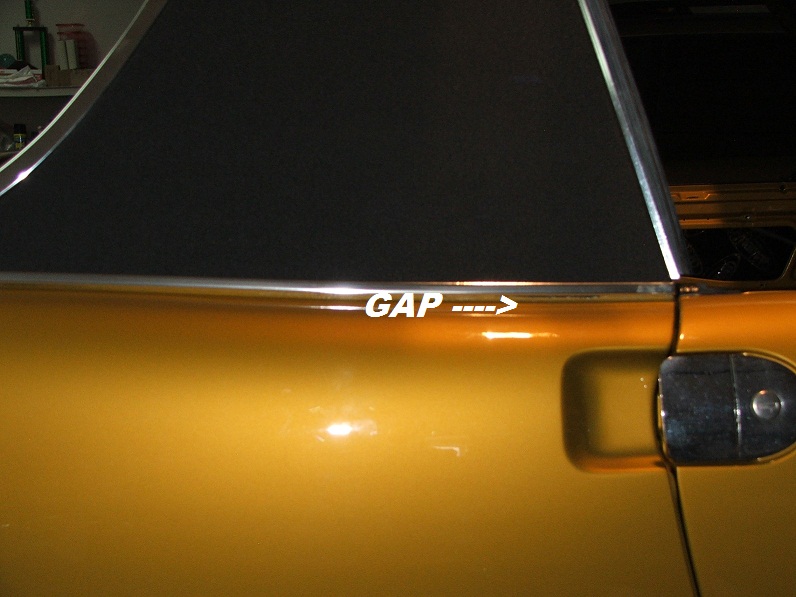 Last week I installed the blower unit and hooked up the control cables and hoses. 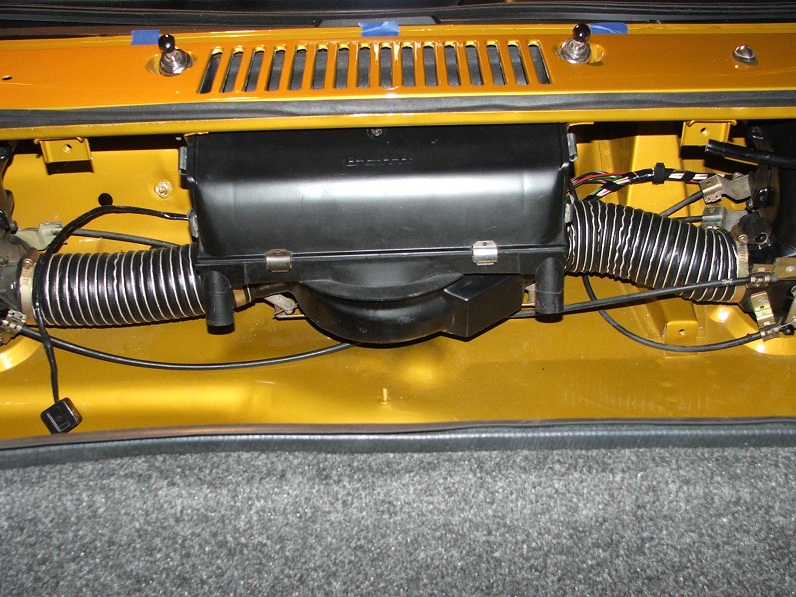 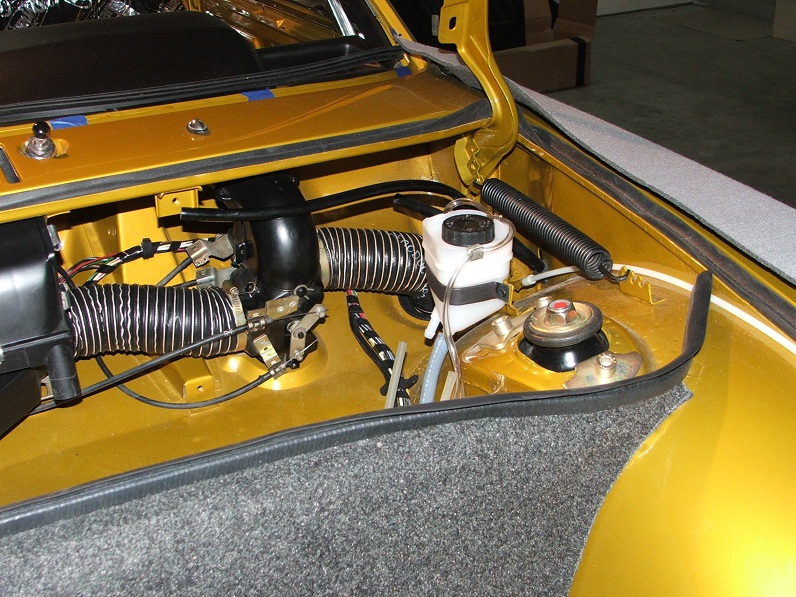 |
|
|
|
| bigkensteele |
Feb 26 2015, 09:17 PM
Post
#110
|
|
Major Member Group: Members Posts: 2,200 Joined: 30-August 04 From: Cincinnati, OH Member No.: 2,660 Region Association: South East States |
QUOTE(rangrbob @ Feb 26 2015, 05:32 PM)  I've decided to leave the body alone for now. I hate the fact that the problem was missed, but it'll have to do. I've got too much invested in paint and body already between the two shops, and can't justify the cost of any more at this time. I have been plugging away at putting the car back to gether. I worked on the doors a bit, and installed the sail panel vinyl. While doing so, I found that the holes fro the lower trim on the passenger side were slightly high so the trim does not sit right on the body line. (IMG:style_emoticons/default/sad.gif) I assume that you realize that even with the "flaws" you have pointed out, you will still own one of the finest 914s on the planet. If the pictures are truly representative, you will be the only one to ever notice either of them (well, actually you screwed that up when you told all of us). I hope that you are having as much fun building it as I am watching it. Great work! |
|
|
|
| rangrbob |
Feb 26 2015, 09:41 PM
Post
#111
|
|
Member Group: Members Posts: 174 Joined: 11-October 12 From: Loveland, CO Member No.: 15,027 Region Association: Rocky Mountains |
[/quote]
I assume that you realize that even with the "flaws" you have pointed out, you will still own one of the finest 914s on the planet. If the pictures are truly representative, you will be the only one to ever notice either of them (well, actually you screwed that up when you told all of us). I hope that you are having as much fun building it as I am watching it. Great work! [/quote] Thanks for the kind words. I am having fun, for the most part. Definitely can be frustrating though. It will more fun once I get the engine in and running. (IMG:style_emoticons/default/driving.gif) I do realize pointing out the flaws can have drawbacks, but if it helps out someone catch errors on their restoration, that's a good thing. |
|
|
|
| Cairo94507 |
Feb 26 2015, 11:22 PM
Post
#112
|
|
Michael Group: Members Posts: 10,611 Joined: 1-November 08 From: Auburn, CA Member No.: 9,712 Region Association: Northern California |
Terrific work and quality. I agree that sharing the very minor issues that arise while building these cars will give others a heads up as they work on their cars. Your car is looking beautiful.
|
|
|
|
| Socalandy |
Feb 26 2015, 11:29 PM
Post
#113
|
|
Its got to be Yellow!!! Group: Members Posts: 2,432 Joined: 29-August 09 From: Orange Member No.: 10,742 Region Association: Southern California |
Amazing job (IMG:style_emoticons/default/first.gif) So much fun putting them back together!!!
|
|
|
|
| rangrbob |
Mar 5 2015, 11:35 AM
Post
#114
|
|
Member Group: Members Posts: 174 Joined: 11-October 12 From: Loveland, CO Member No.: 15,027 Region Association: Rocky Mountains |
Yesterday, after receiving a third defective shift linkage boot. I decided to find a suitable alternative. I went to a local motorcylce shop an purchaced an aftermarket ATV axle boot and cut it down to fit. It's not concors, but I think it should work just fine.
Sorry for the couple blurry pictures. Boots that came defective: 1st boot 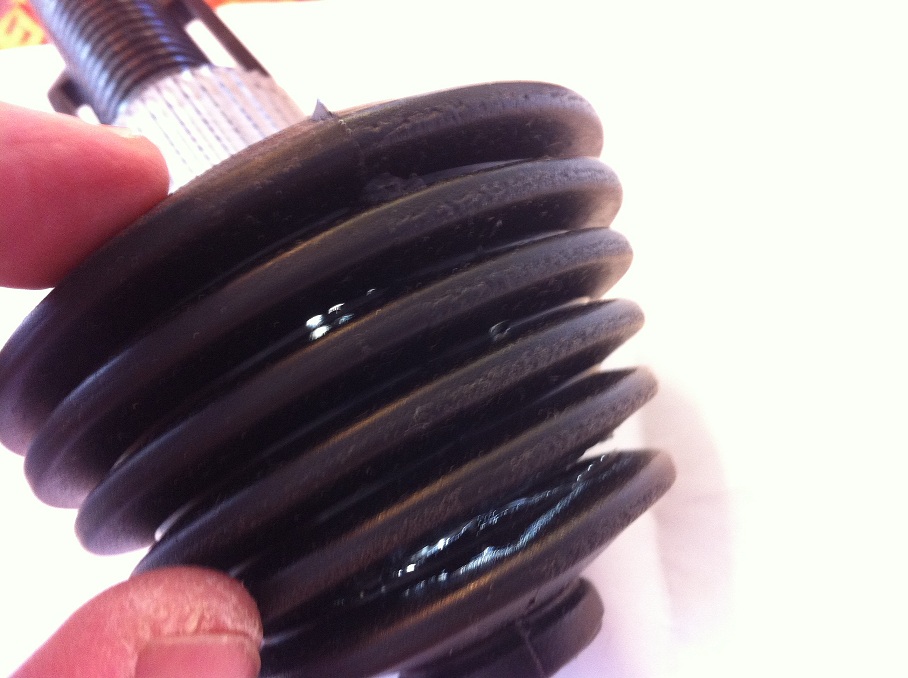 2nd boot  2nd boot 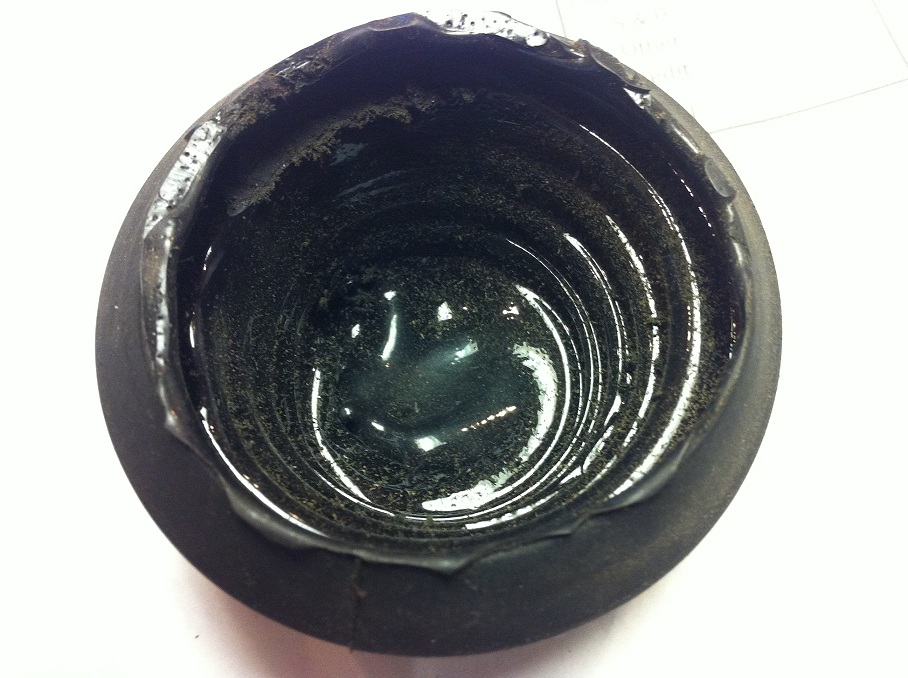 3rd boot 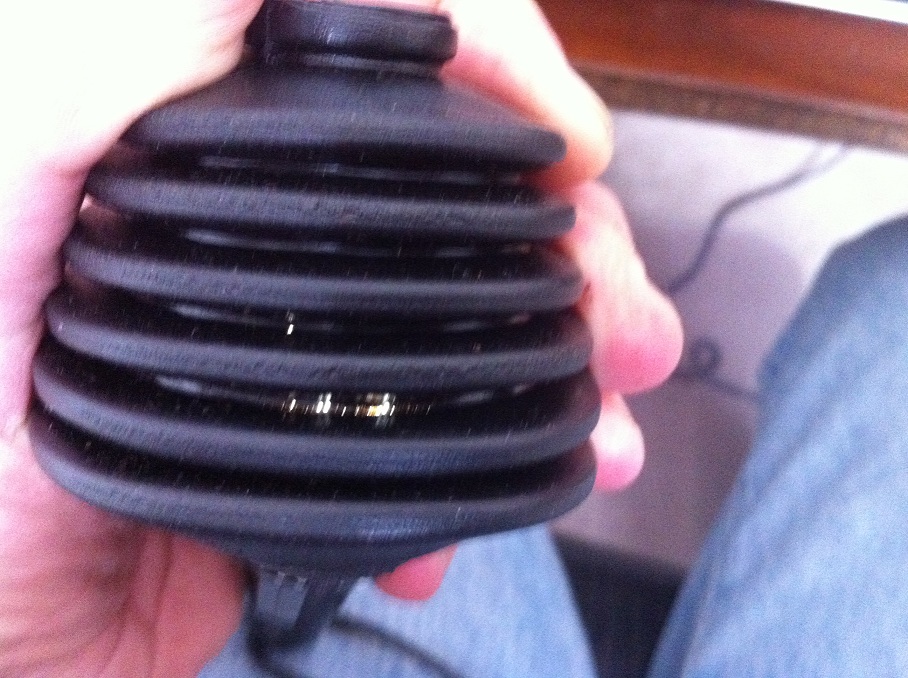 Modified ATV Axle Boot: 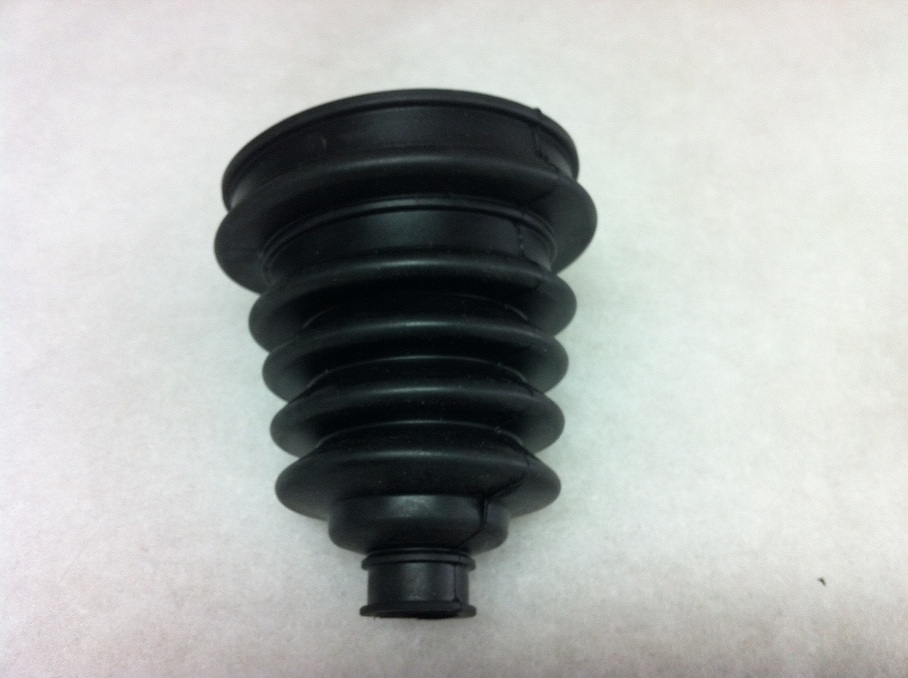 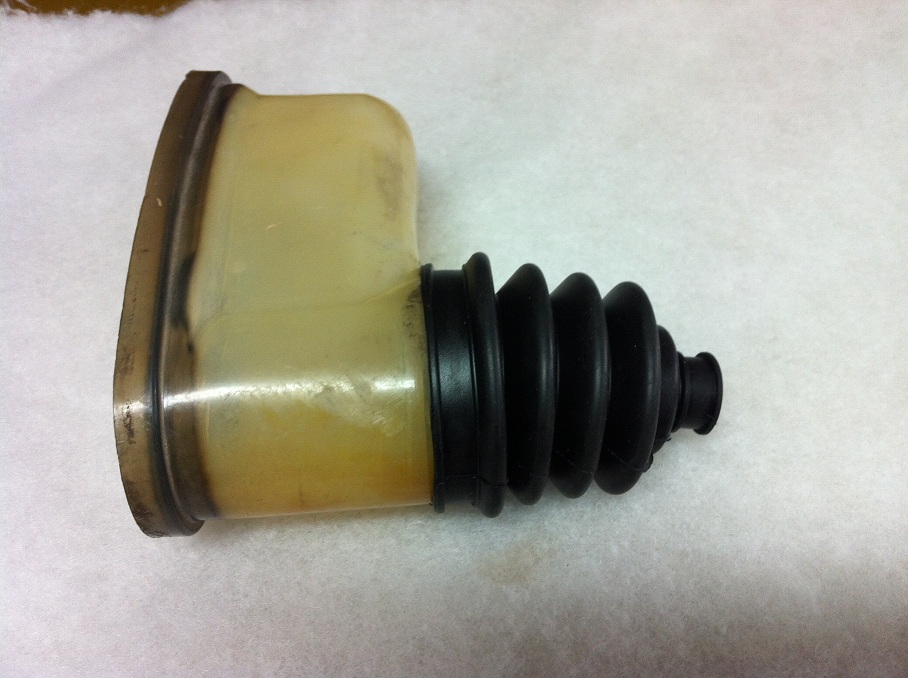 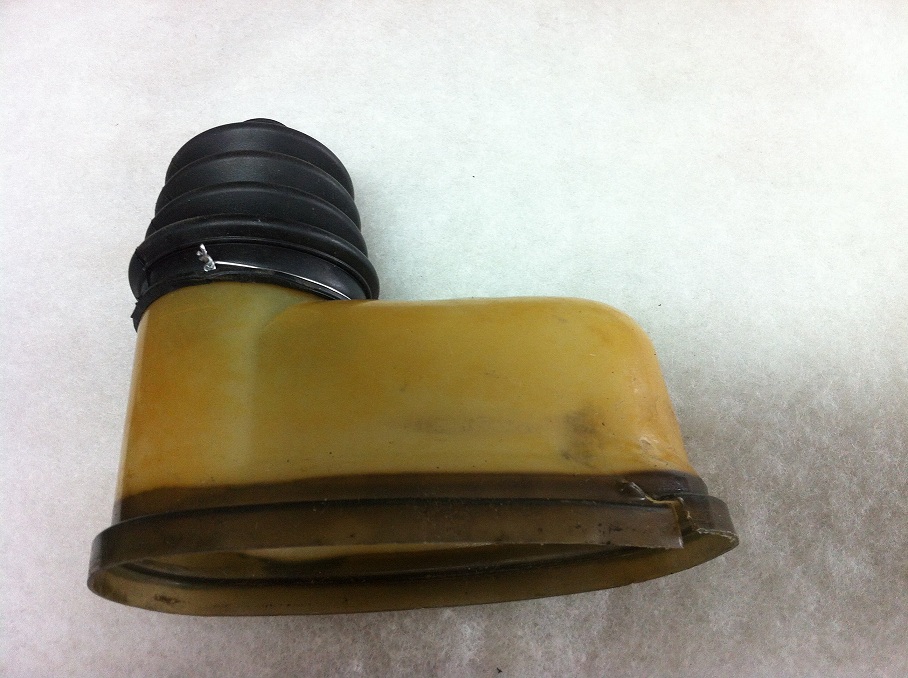 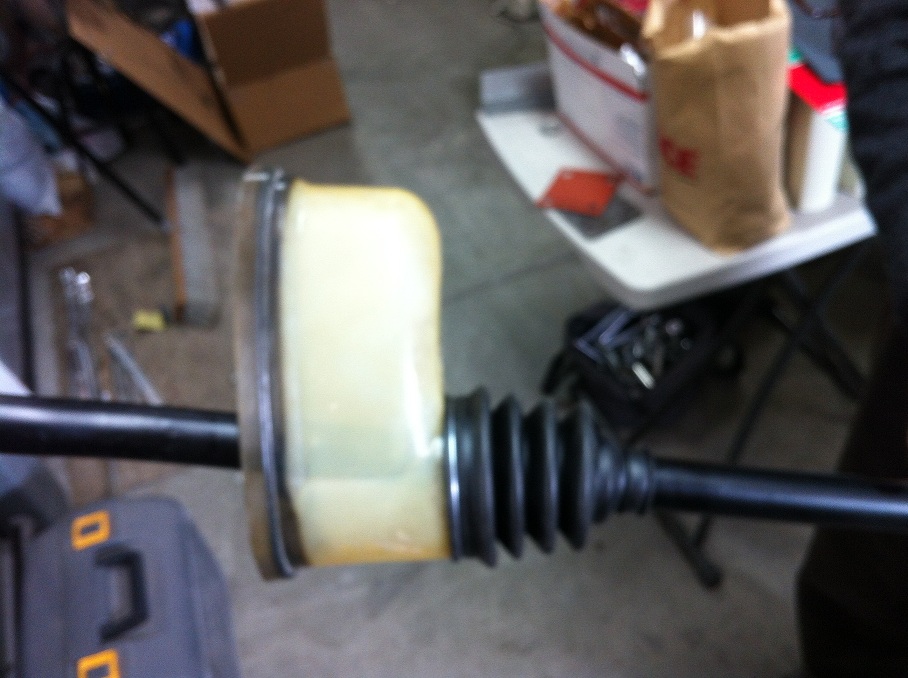 |
|
|
|
| Cairo94507 |
Mar 5 2015, 03:11 PM
Post
#115
|
|
Michael Group: Members Posts: 10,611 Joined: 1-November 08 From: Auburn, CA Member No.: 9,712 Region Association: Northern California |
Wow your solution looks way better than any of those others ones ever could. Nice work.
|
|
|
|
| rangrbob |
Mar 6 2015, 08:07 PM
Post
#116
|
|
Member Group: Members Posts: 174 Joined: 11-October 12 From: Loveland, CO Member No.: 15,027 Region Association: Rocky Mountains |
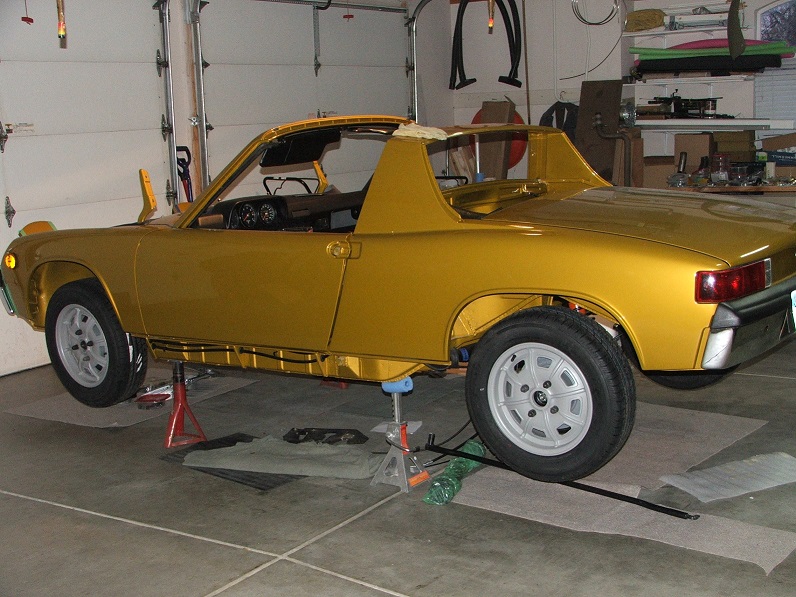
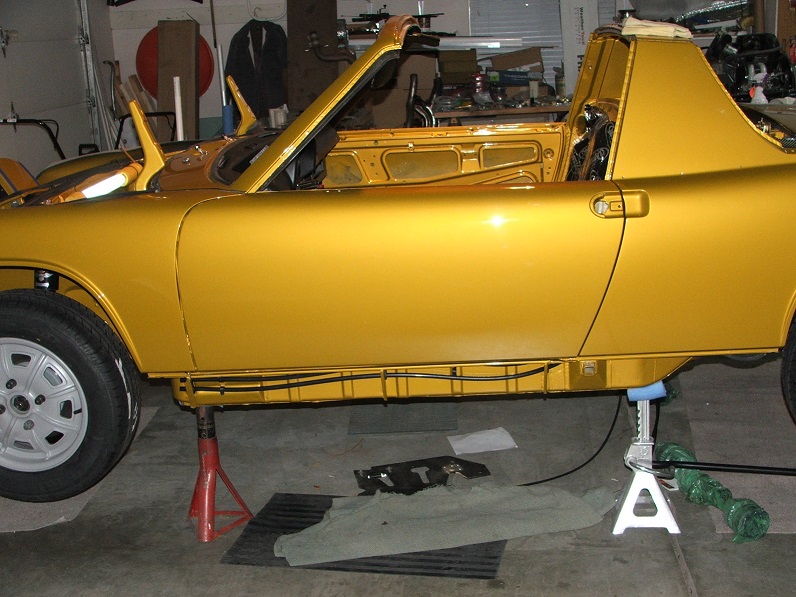
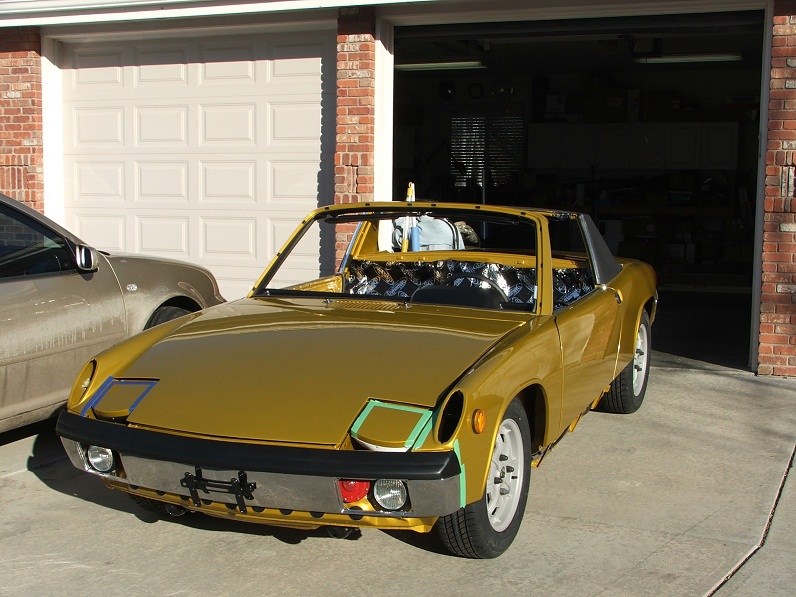
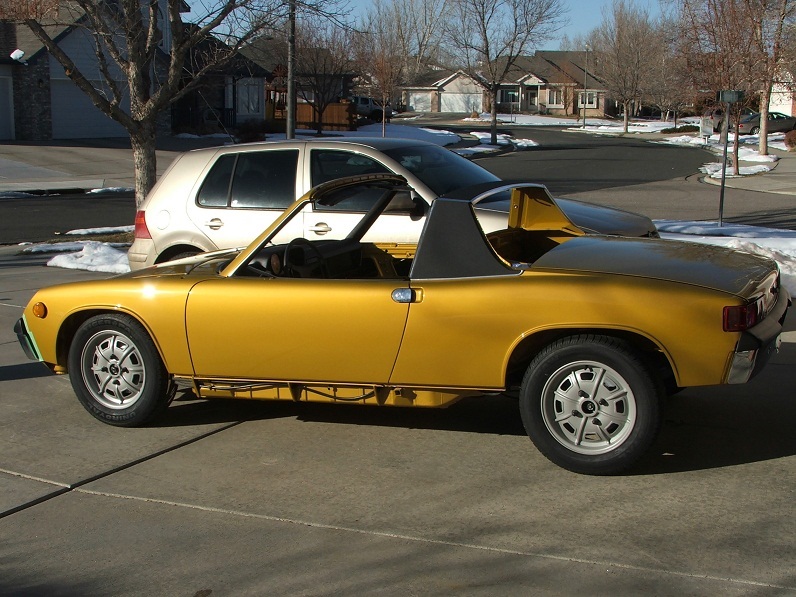
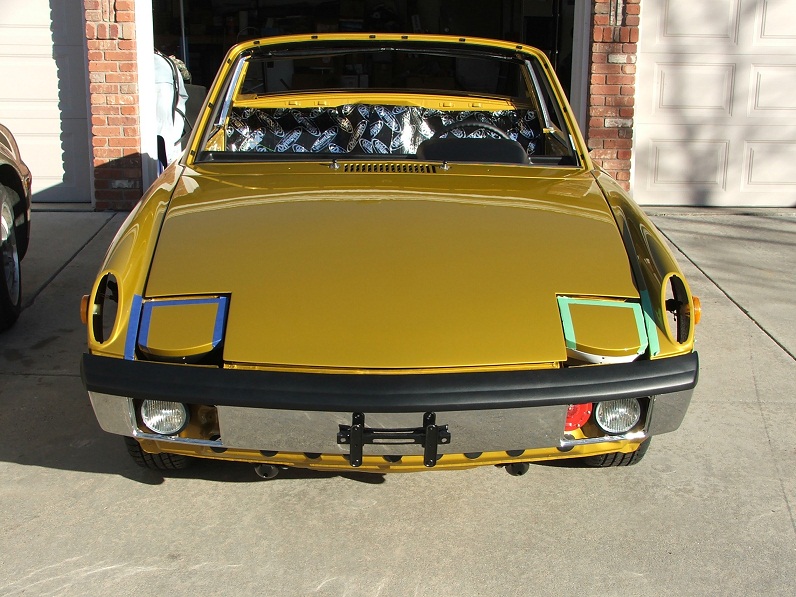
Today, I installed the gas tank and put the front trunk lid on. The front lid is going to need some more adjusting. I also rolled it outside with out it being on a stand for the first time since Sept 2012.
   |
|
|
|
| puffinator |
Mar 7 2015, 08:40 AM
Post
#117
|
|
Member Group: Members Posts: 193 Joined: 6-August 13 From: Annapolis, MD Member No.: 16,218 Region Association: MidAtlantic Region |
do you recall brand/size of the axle boot you bought?
|
|
|
|
| turk22 |
Mar 7 2015, 08:45 PM
Post
#118
|
|
Treetop Flyer Group: Members Posts: 735 Joined: 27-July 12 From: Cincinnati OH Member No.: 14,725 Region Association: Upper MidWest |
QUOTE(rangrbob @ Mar 6 2015, 09:07 PM) Today, I installed the gas tank and put the front trunk lid on. The front lid is going to need some more adjusting. I also rolled it outside with out it being on a stand for the first time since Sept 2012. Love the color, and am really impressed with the work your doing. It looks great outside in the sun. Congrats! (IMG:style_emoticons/default/beerchug.gif) |
|
|
|
| rangrbob |
Mar 7 2015, 09:19 PM
Post
#119
|
|
Member Group: Members Posts: 174 Joined: 11-October 12 From: Loveland, CO Member No.: 15,027 Region Association: Rocky Mountains |
QUOTE(puffinator @ Mar 7 2015, 07:40 AM) do you recall brand/size of the axle boot you bought? Gambit Power ATV axle kit # 13-E6336 Not sure if the part number is correct. I'll have to double check in a few days. |
|
|
|
| rangrbob |
Mar 12 2015, 06:05 PM
Post
#120
|
|
Member Group: Members Posts: 174 Joined: 11-October 12 From: Loveland, CO Member No.: 15,027 Region Association: Rocky Mountains |
I sent the car back to the body shop today to take care of the passenger side quarter panel issue and work on the drivers' side headlight bucket. It needed some tweaking. The headlight surround would hit the front of the bucket when lowered.
Since the car was gone, I decided to work on installing the roof seals and mouse fur. 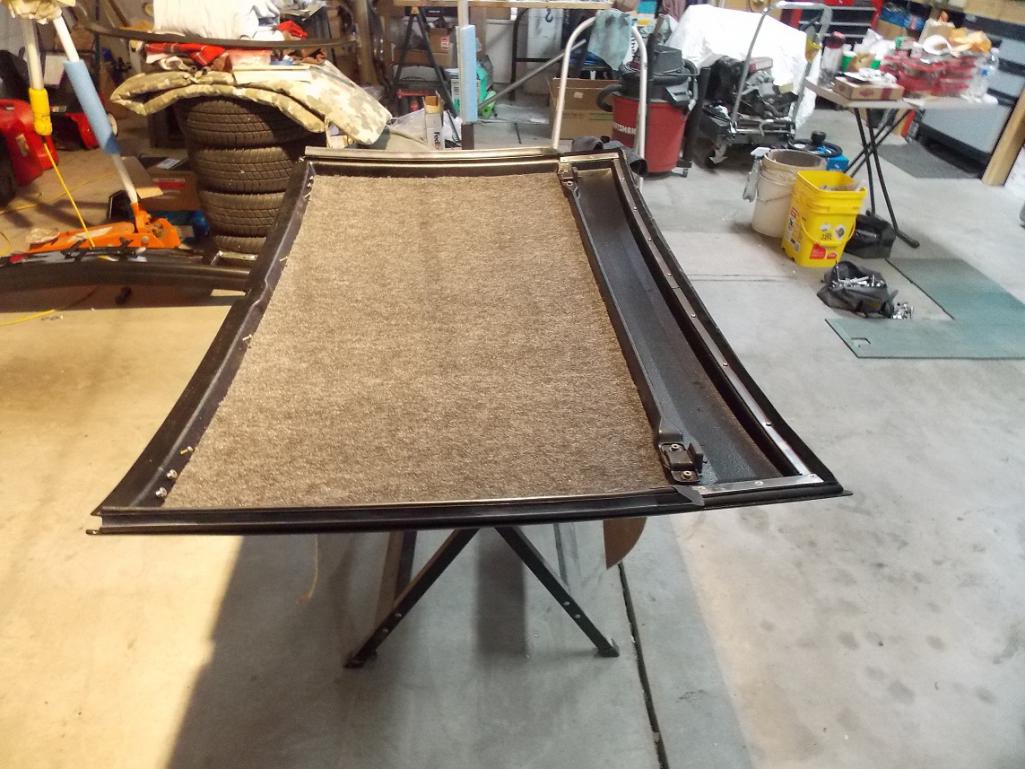 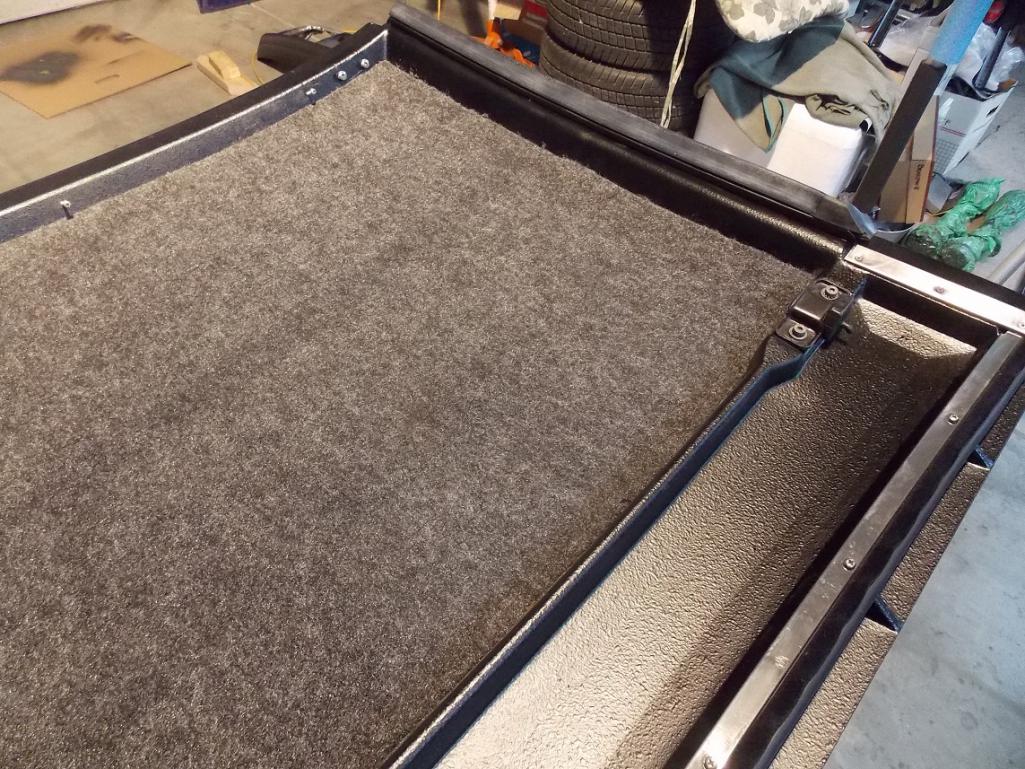 |
|
|
|
|
2 User(s) are reading this topic (2 Guests and 0 Anonymous Users)
0 Members:

|
Lo-Fi Version | Time is now: 15th April 2026 - 10:01 PM |
Invision Power Board
v9.1.4 © 2026 IPS, Inc.