|
|
|
Porsche, and the Porsche crest are registered trademarks of Dr. Ing. h.c. F. Porsche AG.
This site is not affiliated with Porsche in any way. Its only purpose is to provide an online forum for car enthusiasts. All other trademarks are property of their respective owners. |
|
|

  |

| Bulldog9 |
 Oct 24 2014, 05:43 PM Oct 24 2014, 05:43 PM
Post
#141
|
|
Senior Member  Group: Members Posts: 706 Joined: 21-August 13 From: United States Member No.: 16,283 Region Association: MidAtlantic Region |
|
   |

 
|
| scotty b |
Nov 3 2014, 06:18 PM
Post
#142
|
|
rust free you say ? Group: Members Posts: 16,375 Joined: 7-January 05 From: richmond, Va. Member No.: 3,419 Region Association: None |
Everything is in high build and will sit for a week or tw to setup good. I ran out of donor fenders for the dog leg area that always rots out, so it was metal smashing time. Also had a broken bolt to extract
(IMG:style_emoticons/default/smash.gif) (IMG:style_emoticons/default/welder.gif) Attached image(s) 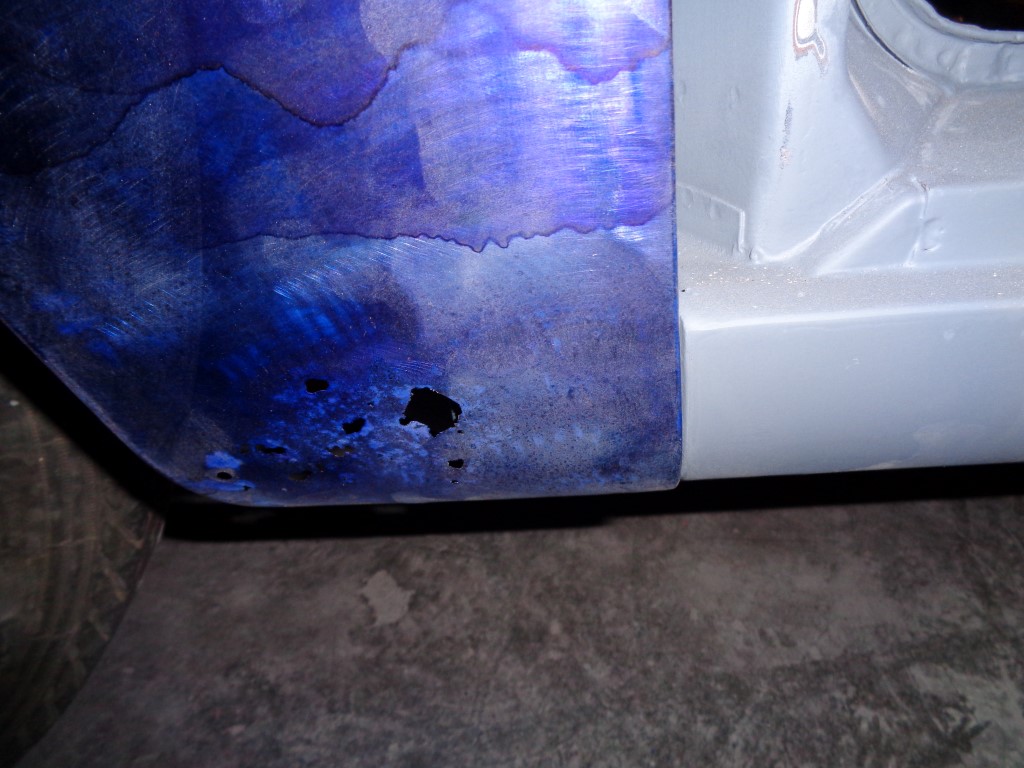 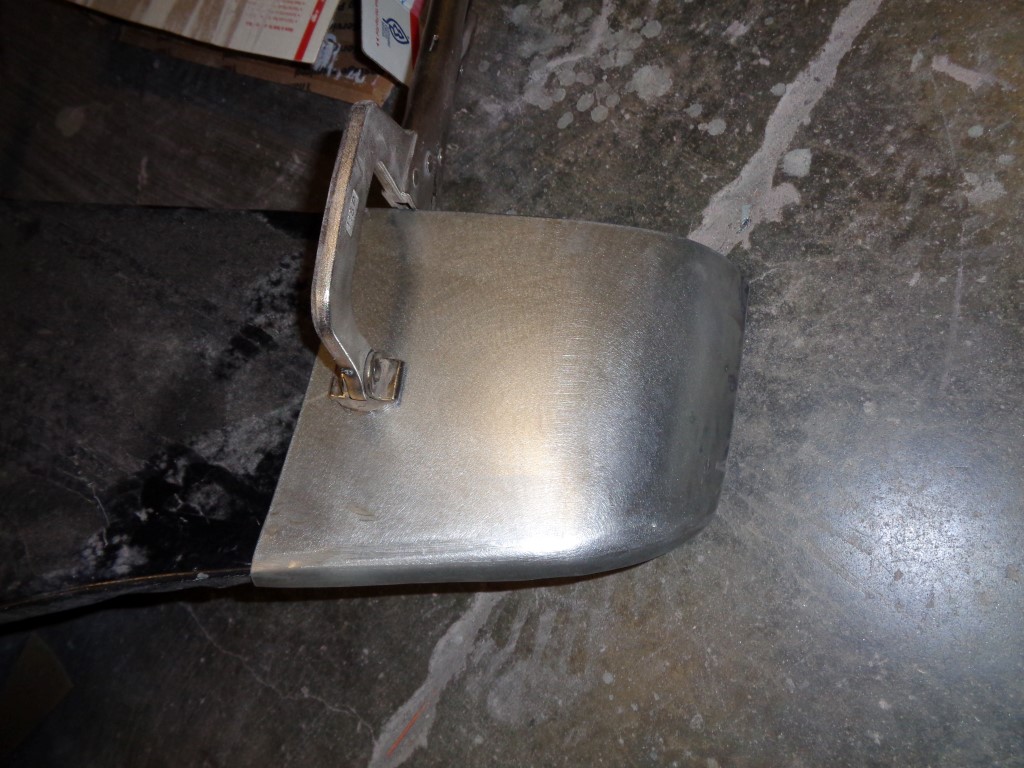  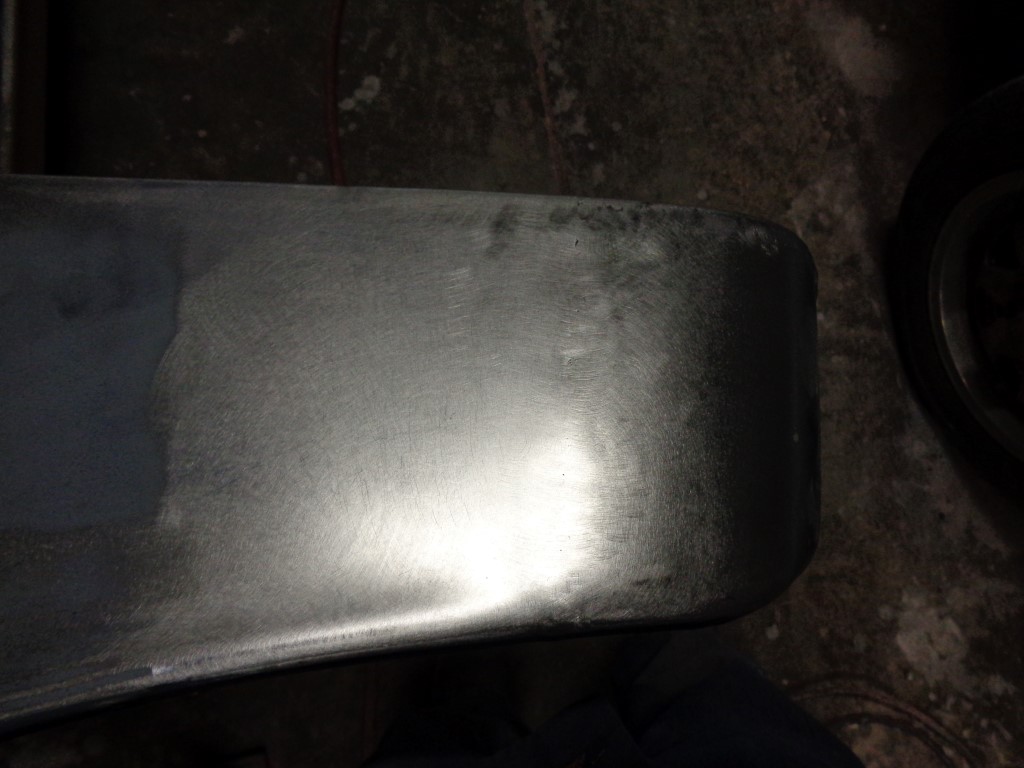 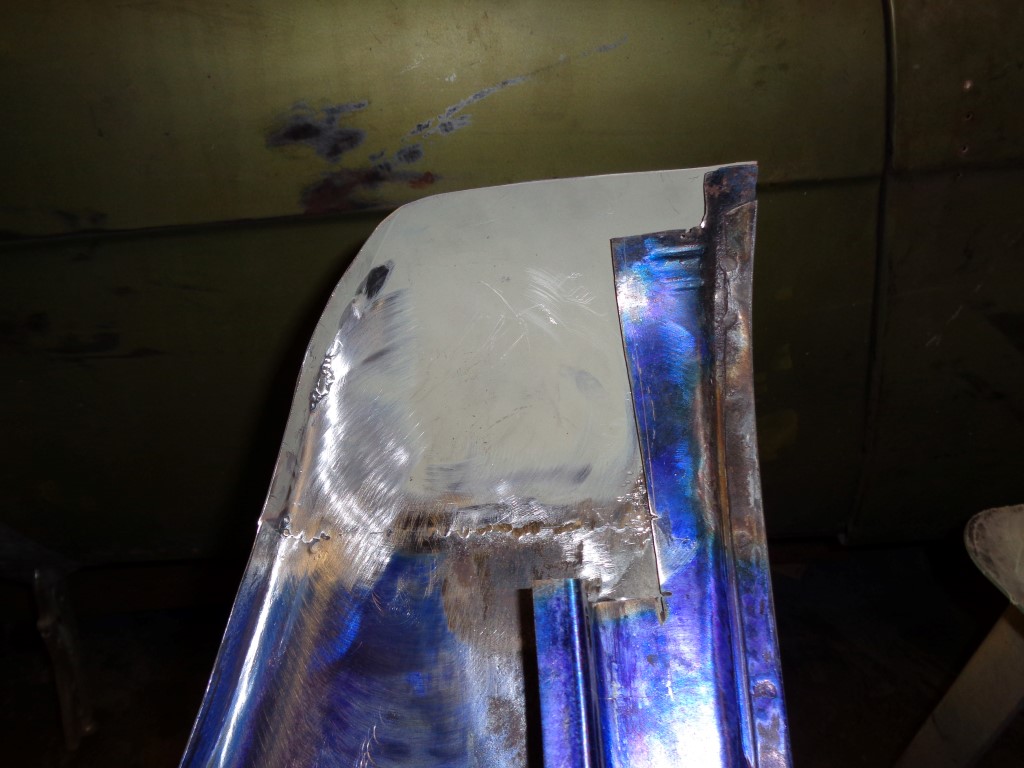 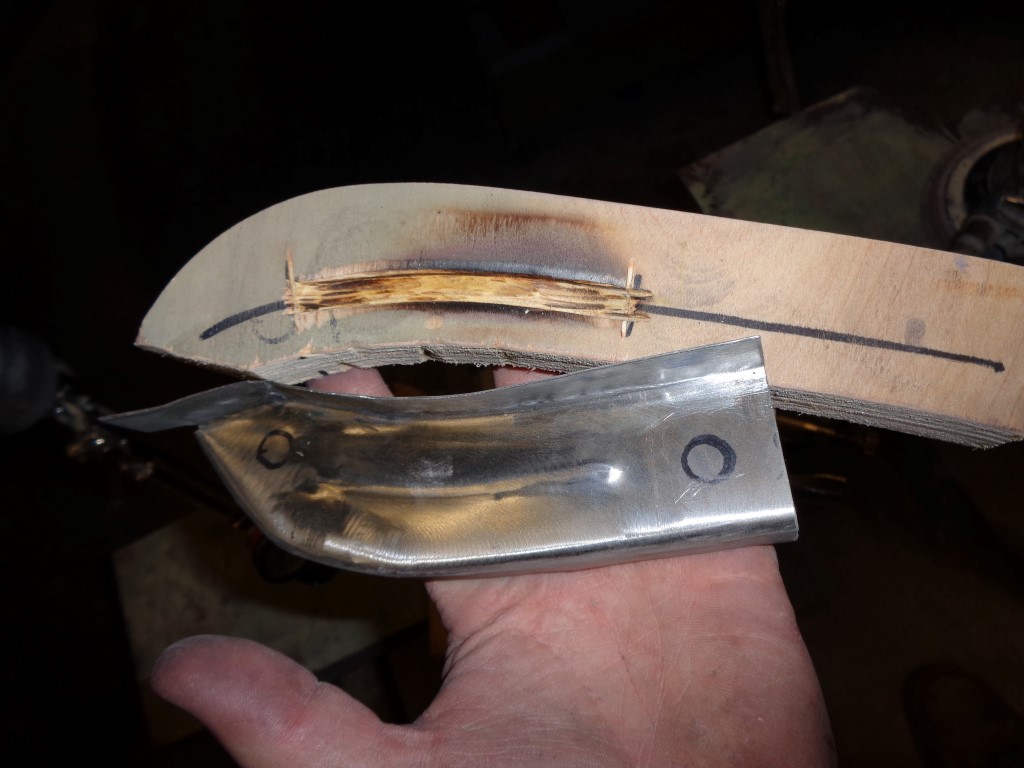 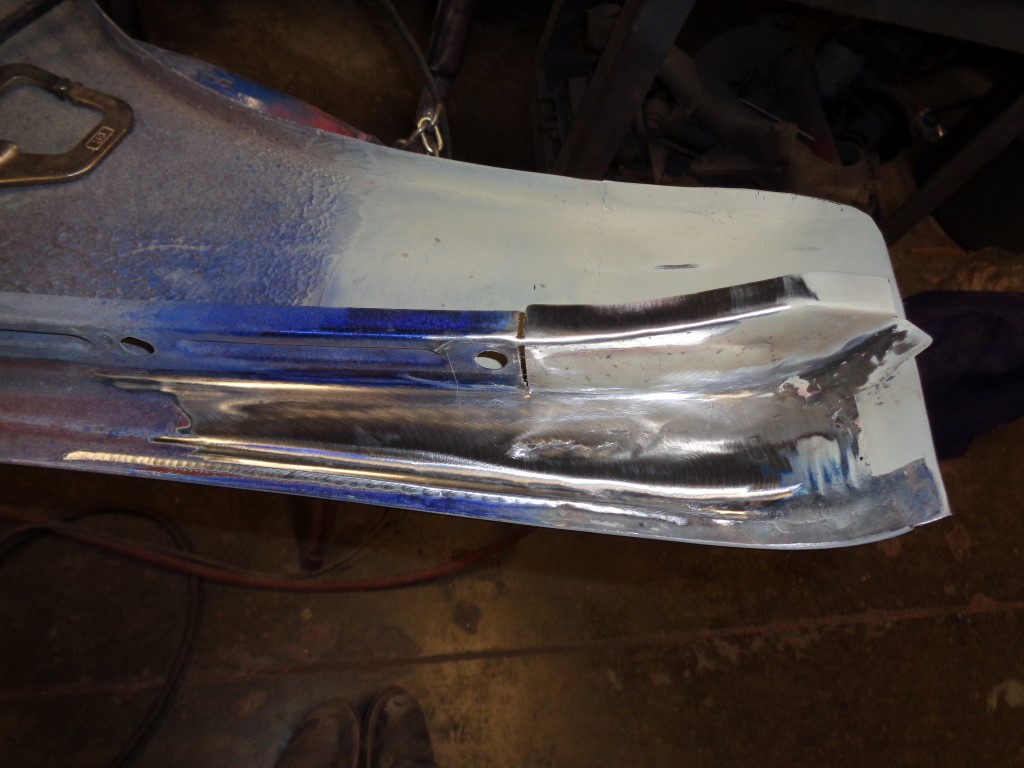 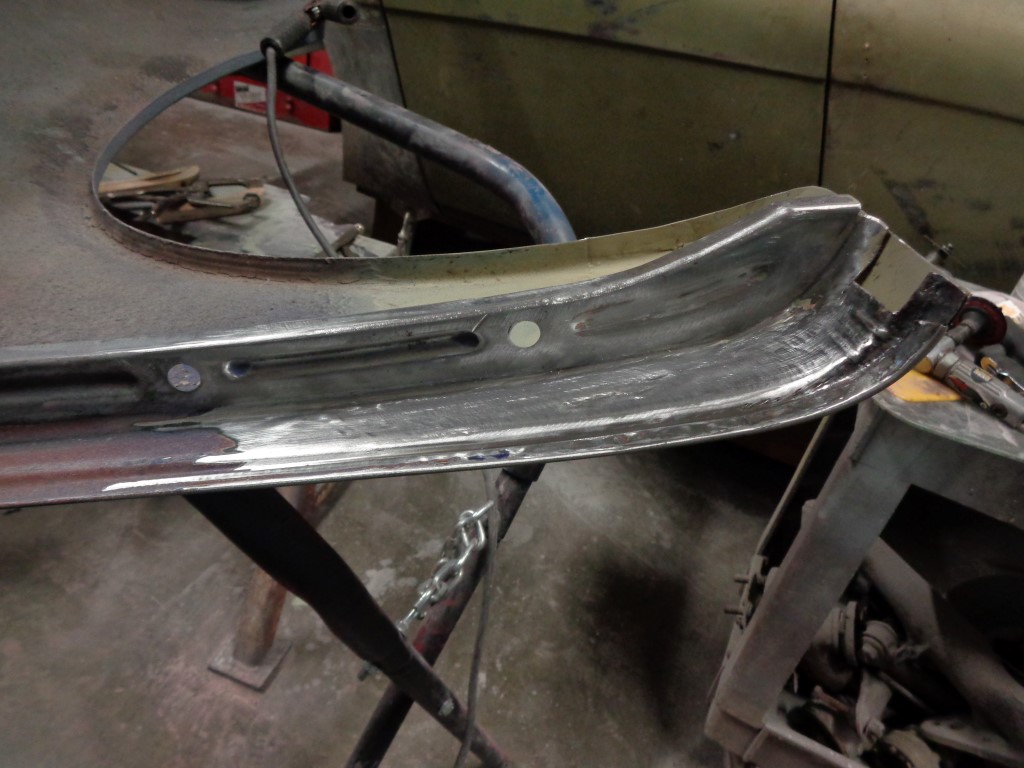 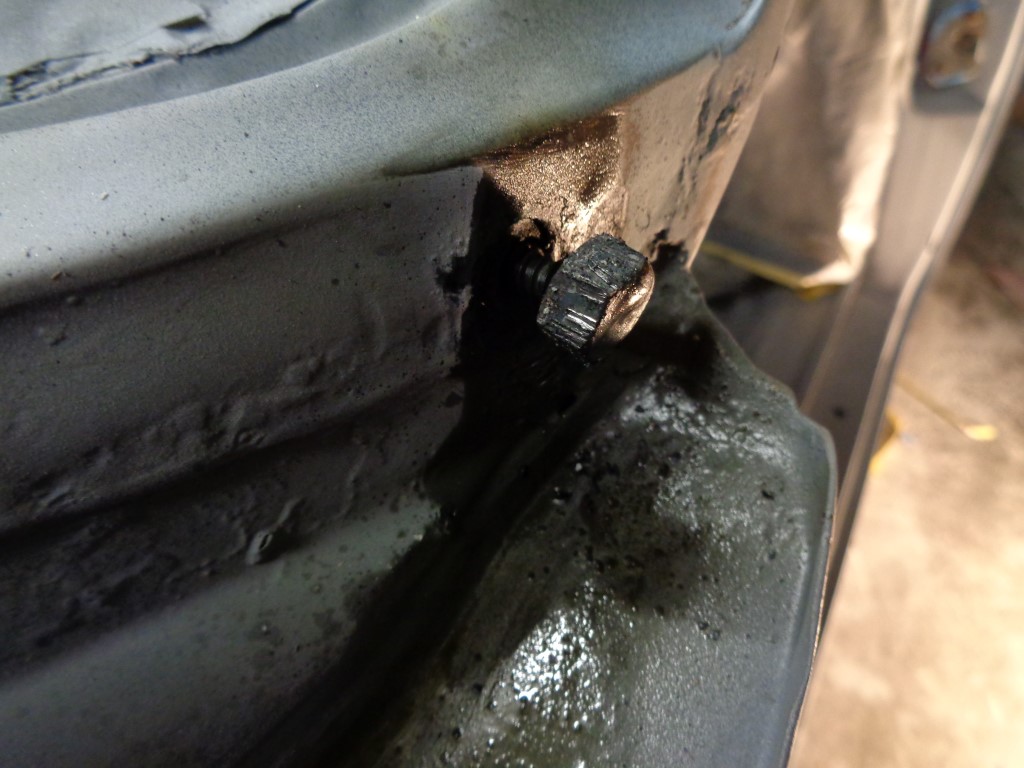 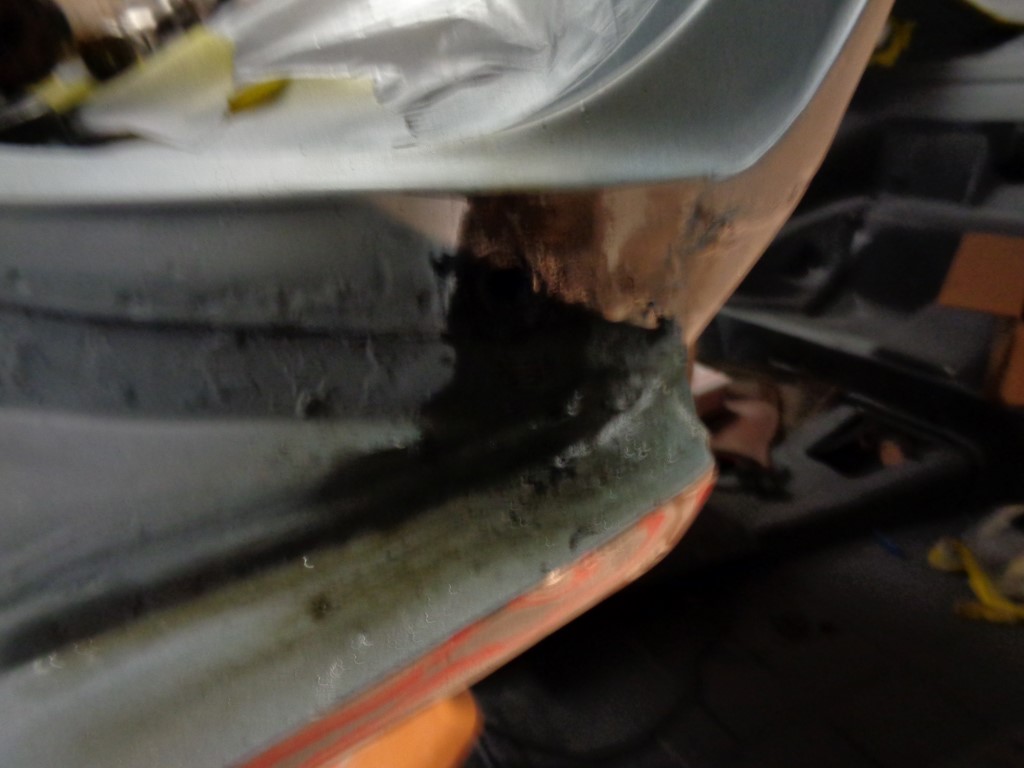 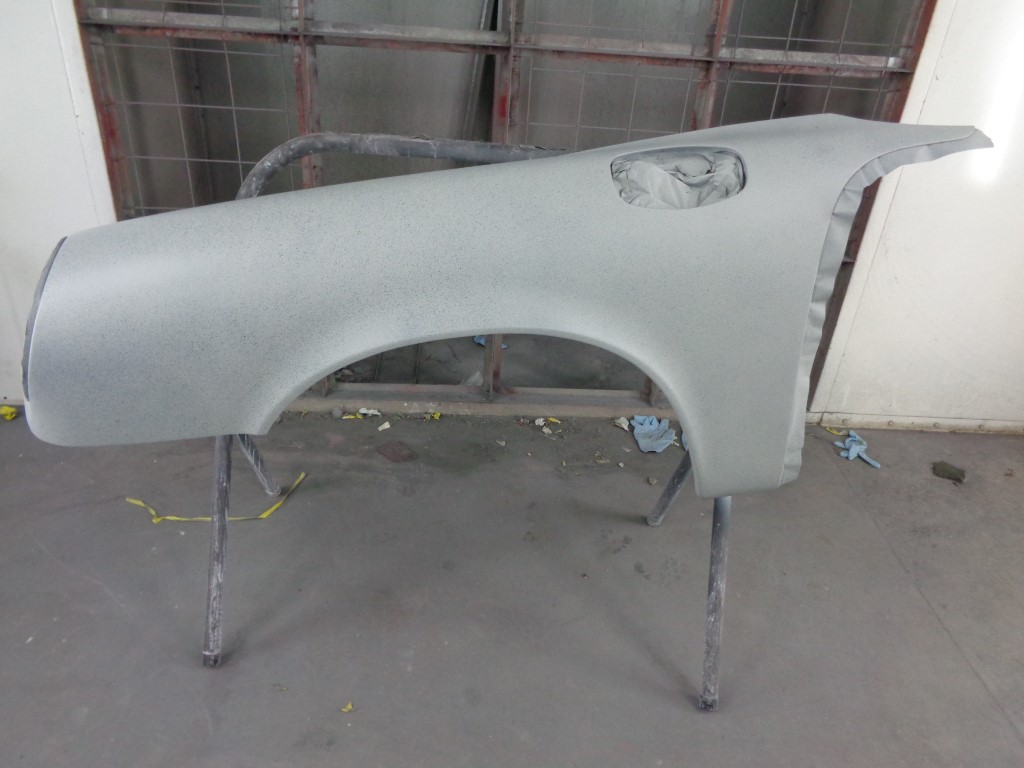
|
|
|
|
| scotty b |
Nov 3 2014, 06:25 PM
Post
#143
|
|
rust free you say ? Group: Members Posts: 16,375 Joined: 7-January 05 From: richmond, Va. Member No.: 3,419 Region Association: None |
Epoxy sealer followed by a couple coats of high build. Where's that spray gun smilie ? (IMG:style_emoticons/default/confused24.gif)
Attached image(s) 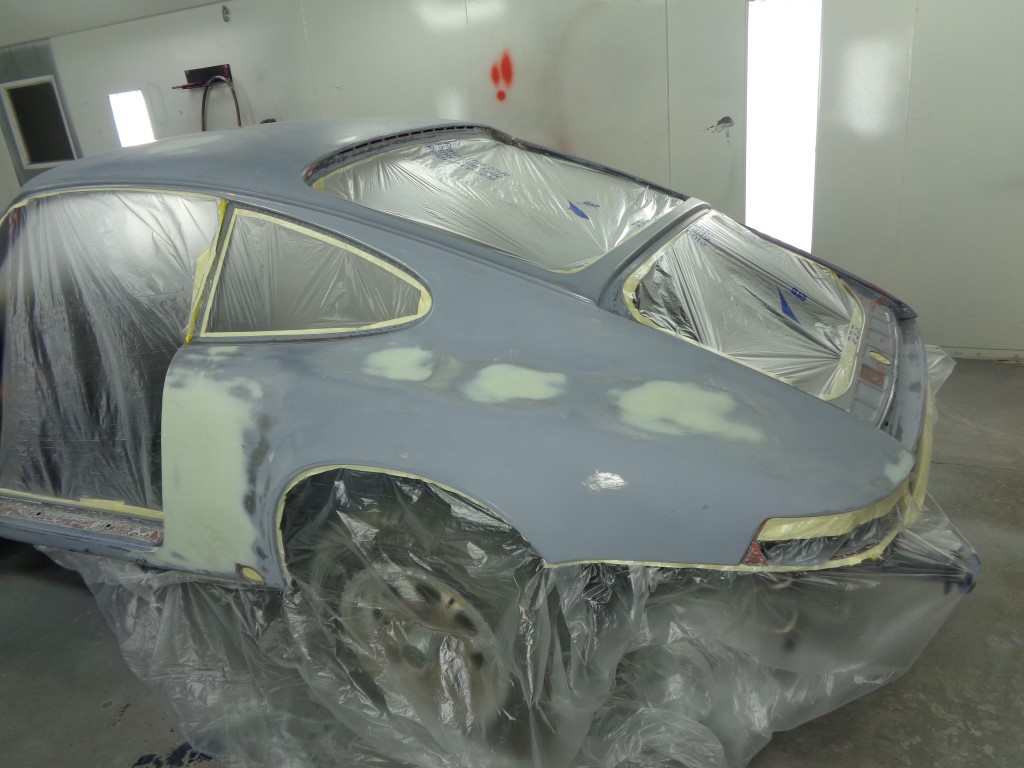 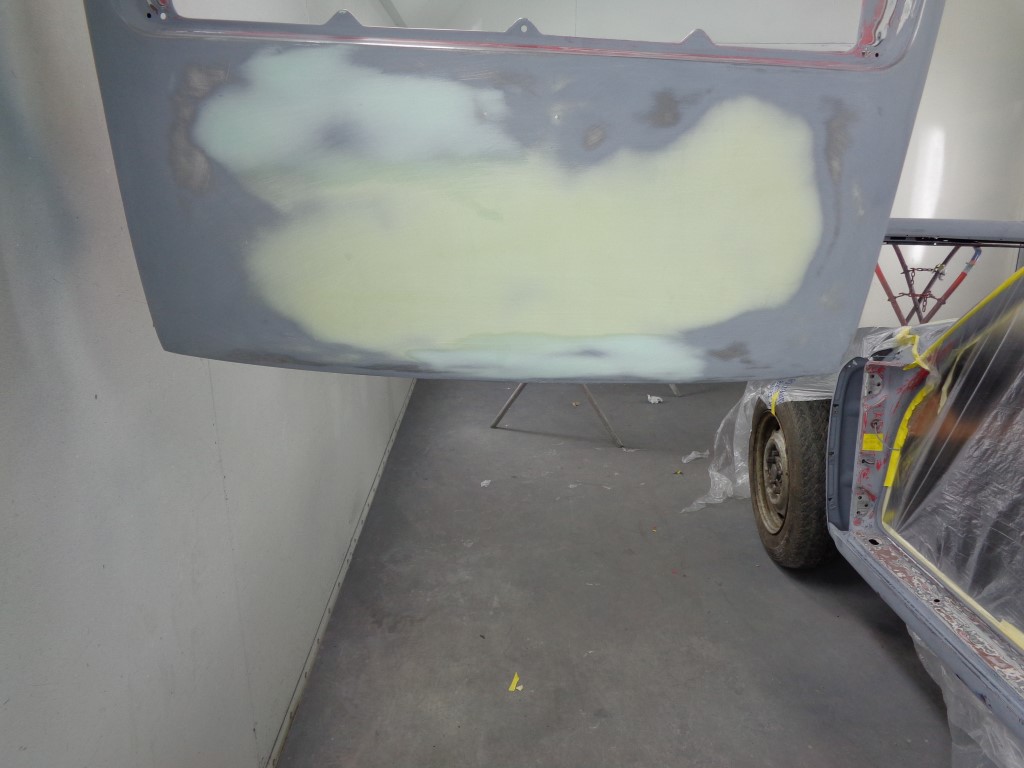  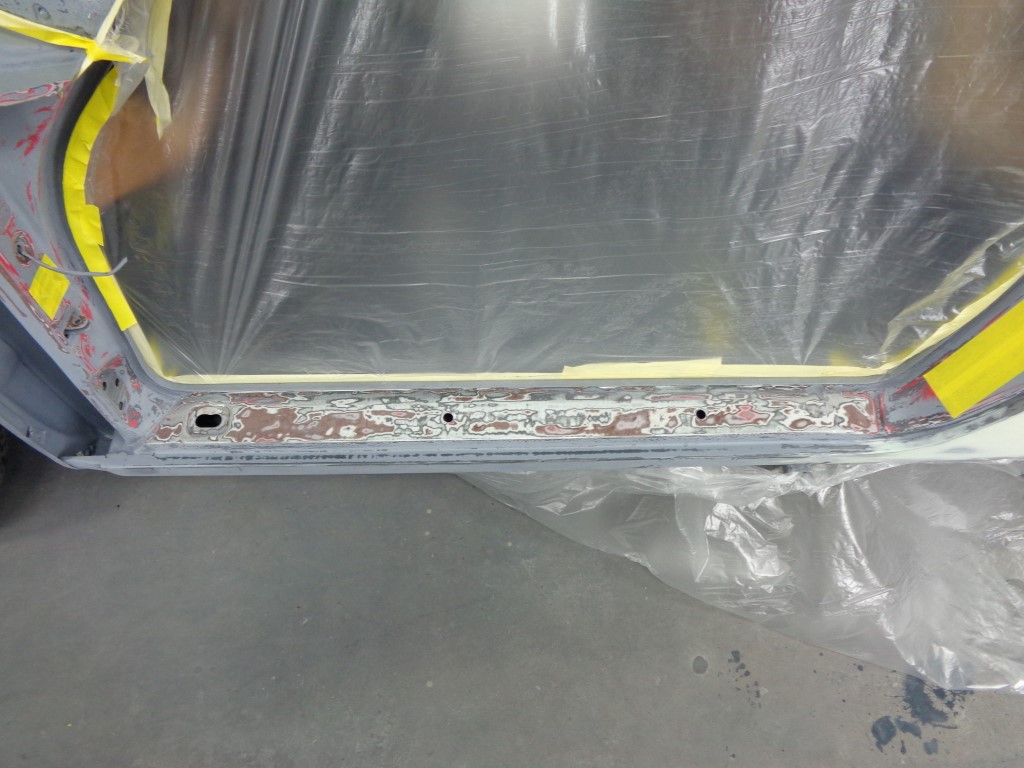 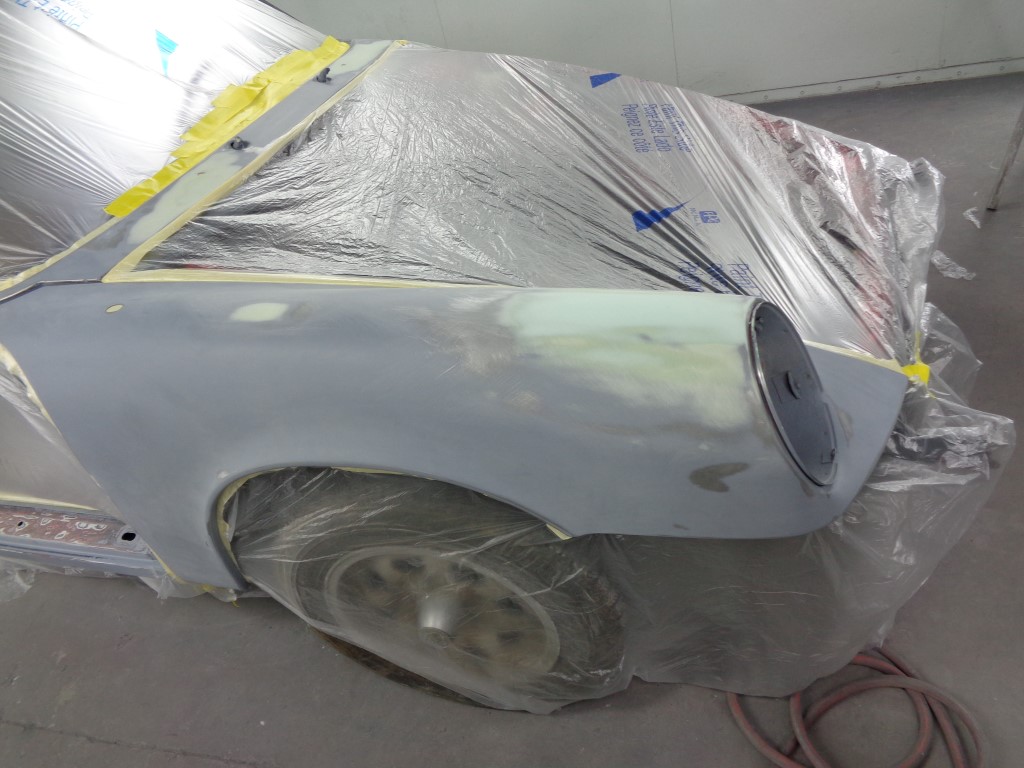 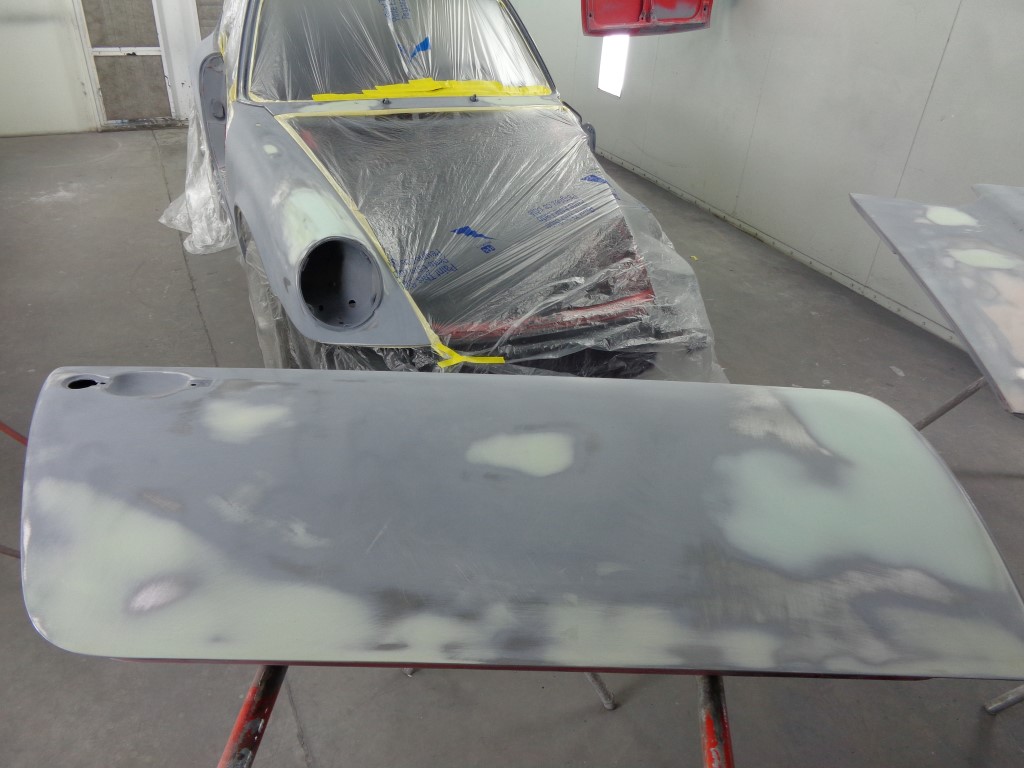 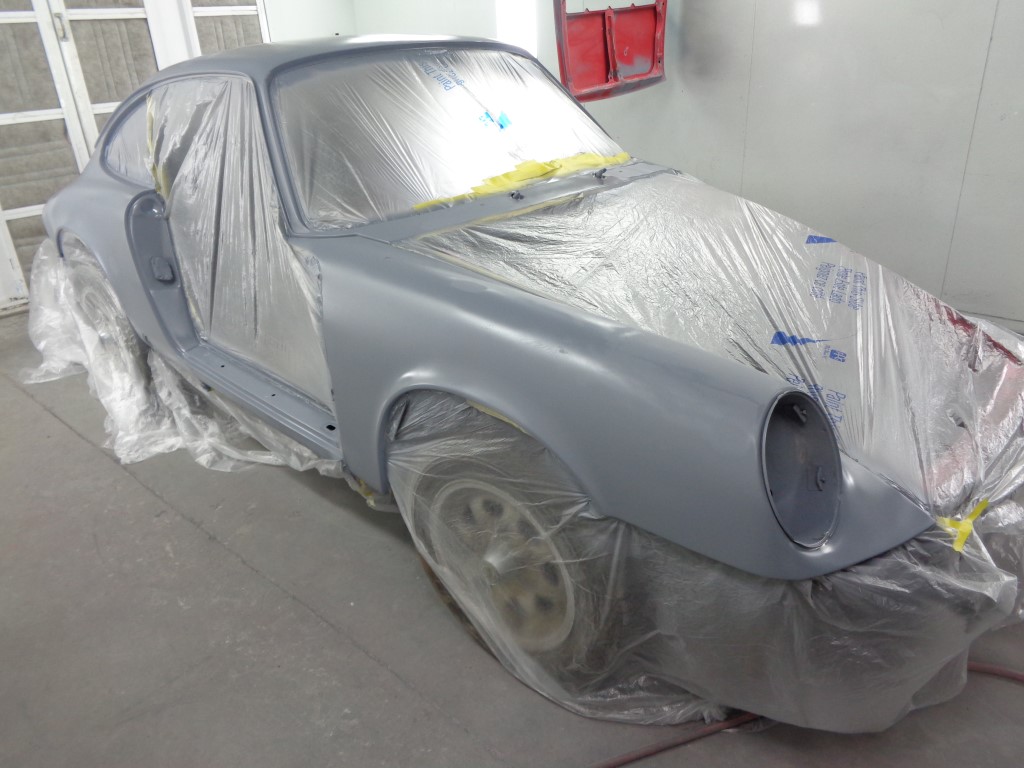 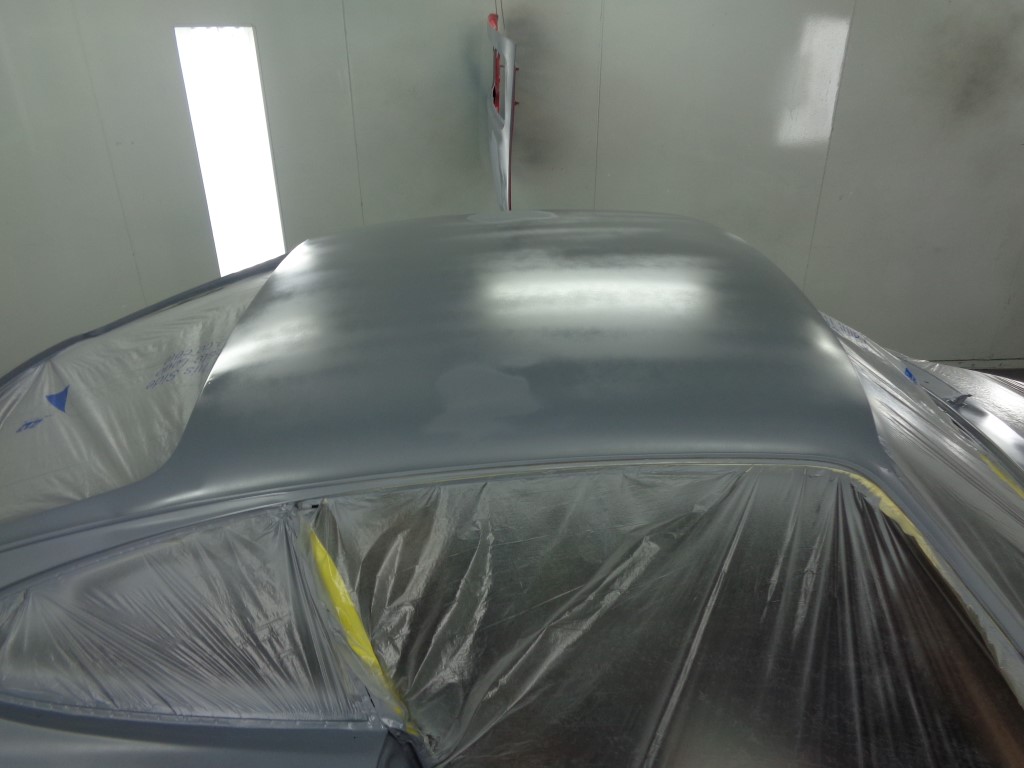 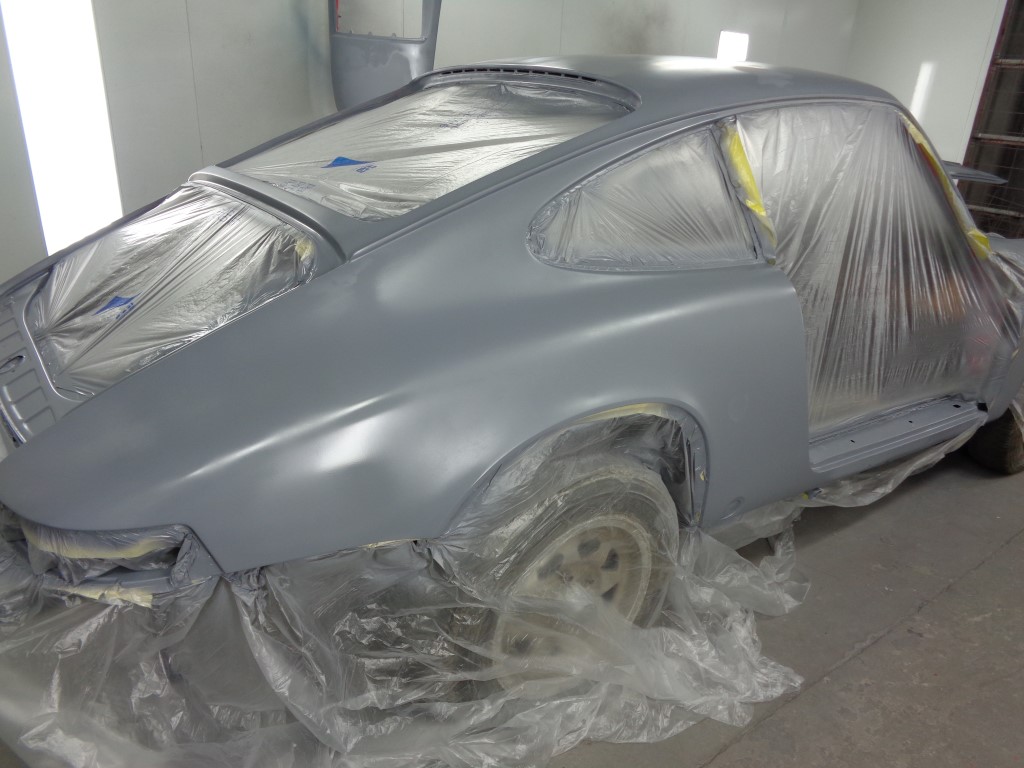 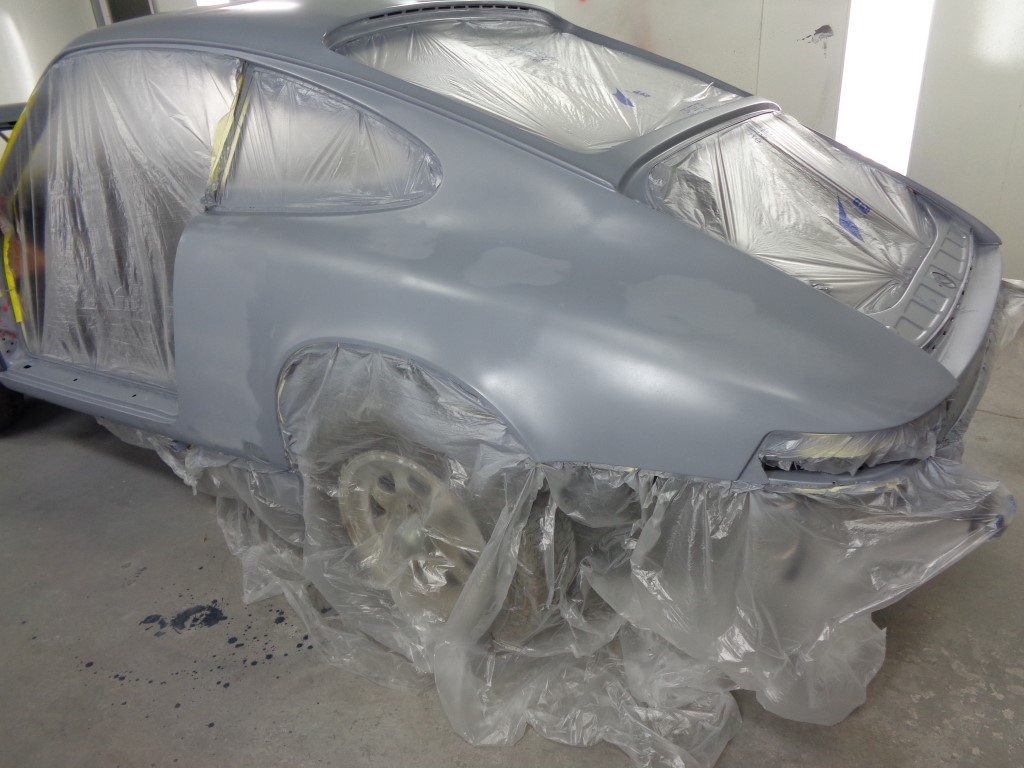 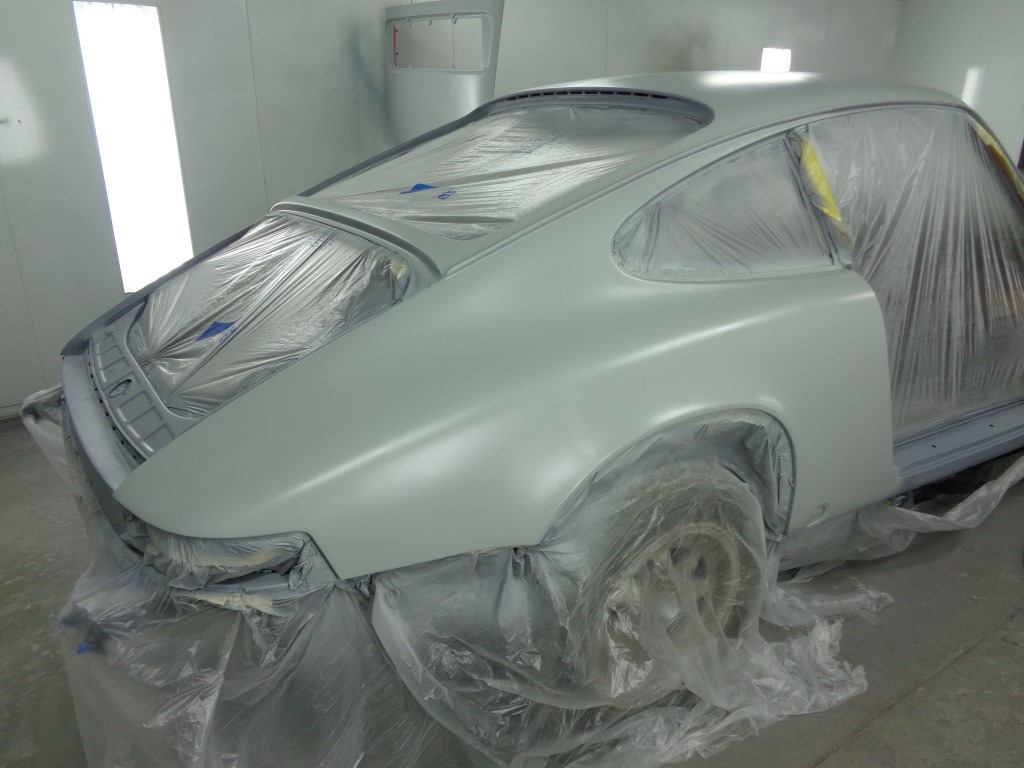 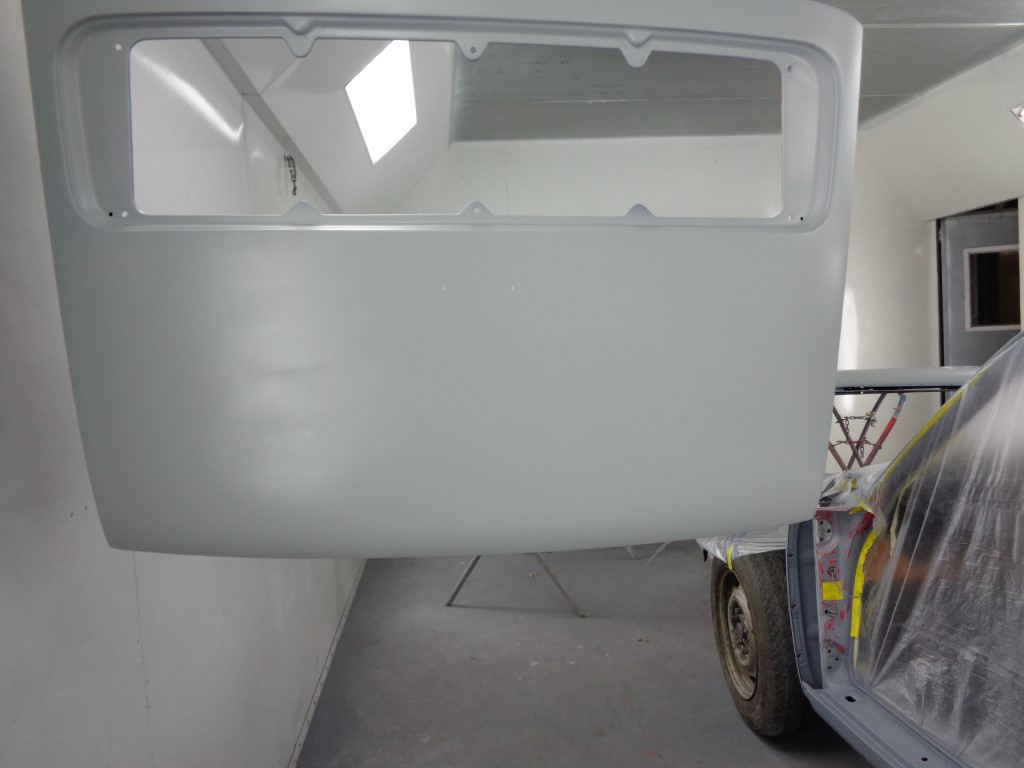 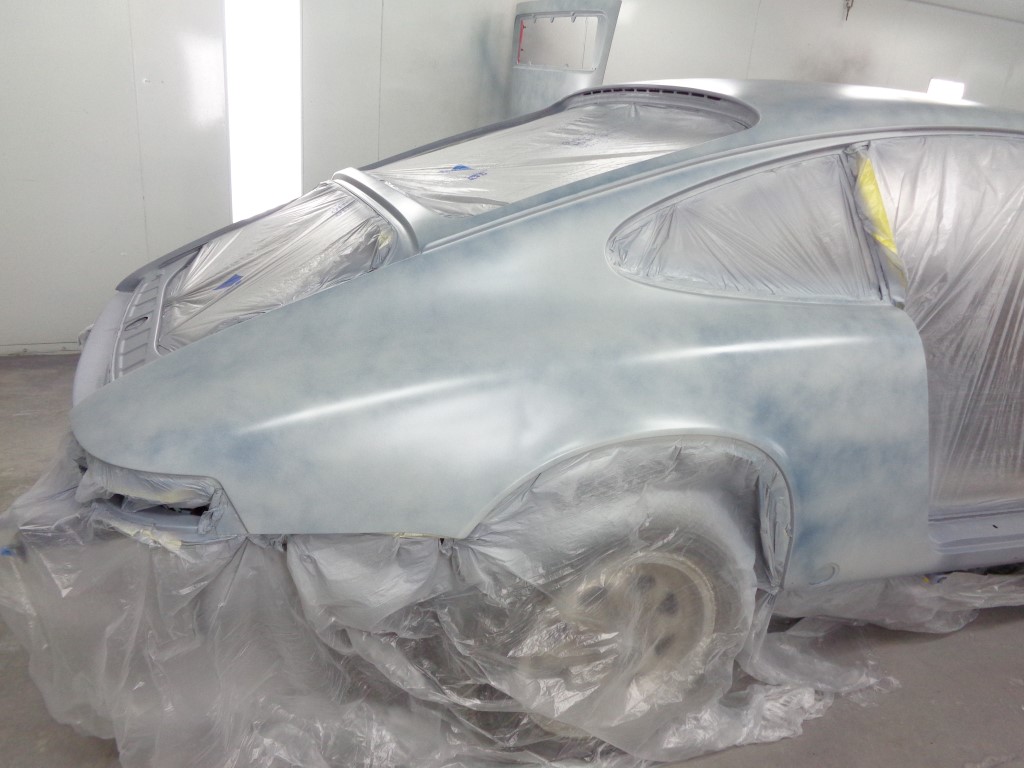 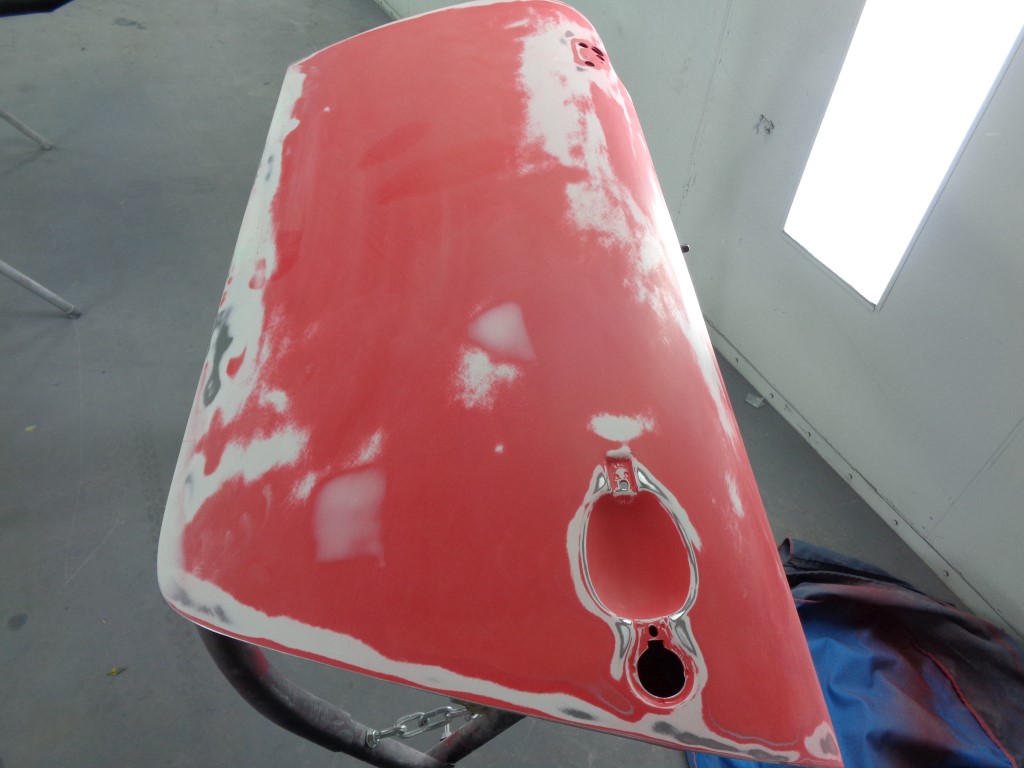 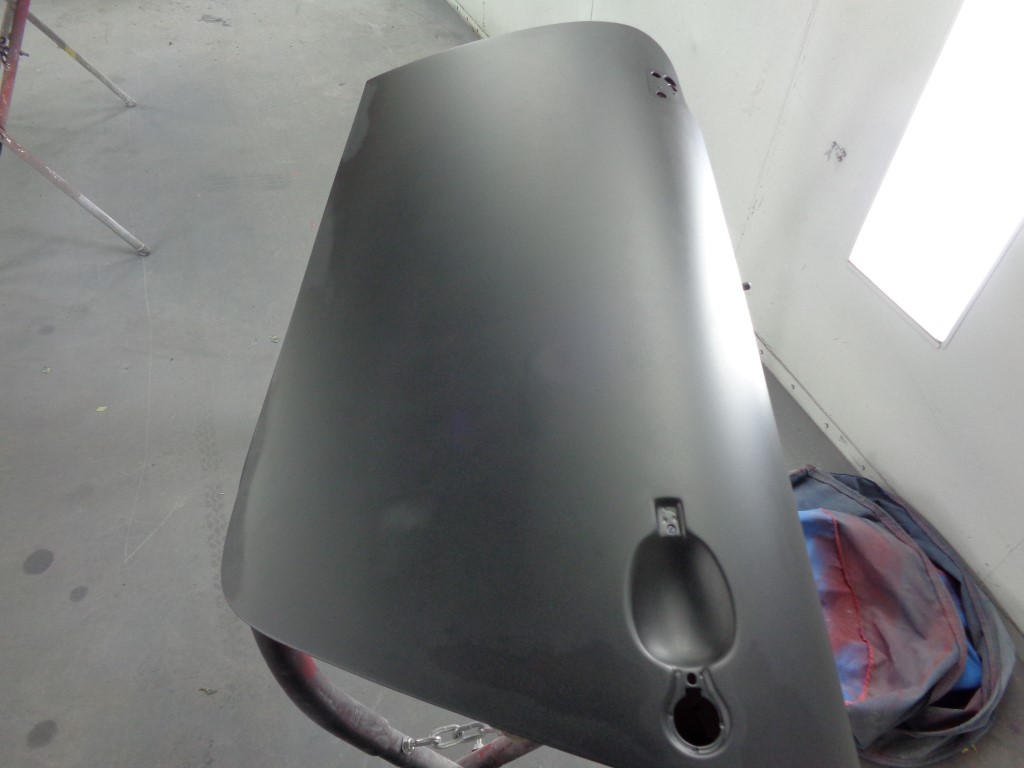 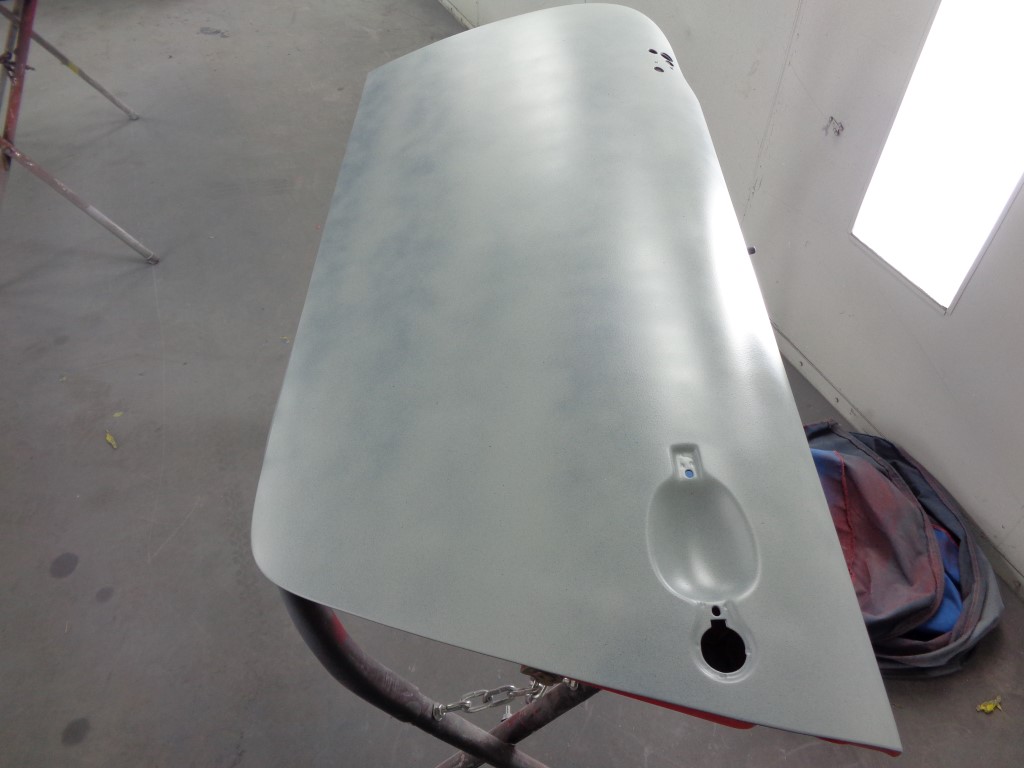 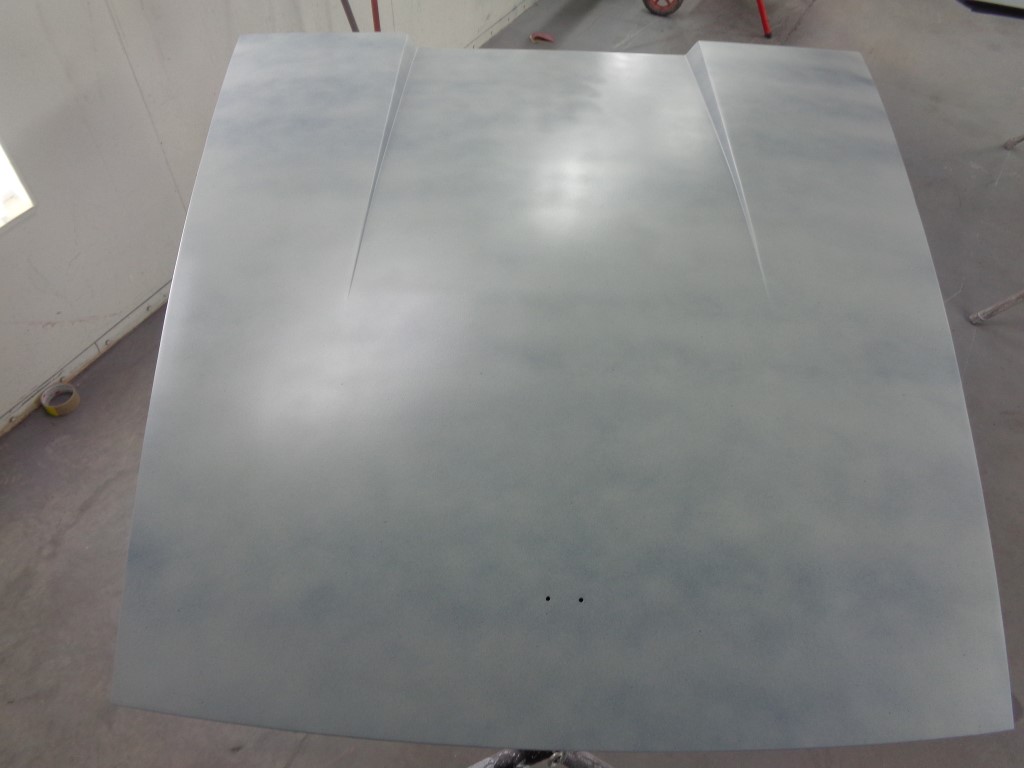
|
|
|
|
| Bulldog9 |
Nov 4 2014, 06:02 PM
Post
#144
|
|
Senior Member Group: Members Posts: 706 Joined: 21-August 13 From: United States Member No.: 16,283 Region Association: MidAtlantic Region |
Looking great! (IMG:style_emoticons/default/beerchug.gif) (IMG:style_emoticons/default/piratenanner.gif)
|
|
|
|
| Bulldog9 |
Nov 12 2014, 01:09 PM
Post
#145
|
|
Senior Member Group: Members Posts: 706 Joined: 21-August 13 From: United States Member No.: 16,283 Region Association: MidAtlantic Region |
Took the opportunity of a day off to finish up a few stray ends, finished painting the fan housing and tins. Will let cure for a few days then 'bake'
Used VHT Gloss on the tins, Satin on the fan housing, and the super high temp flat on the lower tin in hopes it will stand up to heat better. After cleaning up the fan housing, I treated the severely corroded parts, then a hi temp self etching primer and top coated with VHT The finishing of these parts brings my strip sand, clean and repaint mode to an end, and NOT TOO SOON..... I must admit motivation was low for these parts. The aluminum on the housing was very distressed and it took 3-4 attempts to get all the loose powdery residue and oxidized stuff off. I was very surprised at the amount of corrosion, but given that there was standing water in and on the engine, and fan (all was corroded and rusted together) and that the entire engine compartment was a nest of many years and layers of nests and varmints, I guess it is to be expected. I was able to save all the hard parts, and most cleaned up well, though with some major pitting. When Len Hoffman rebuilt the heads, me mentioned that there was some significant pitting he couldnt polish out in the intake tracts but not to be worried because "the increased turbulance will likely be benificial" lol. Anyhow, Now it is time for assembly! Woohoo! 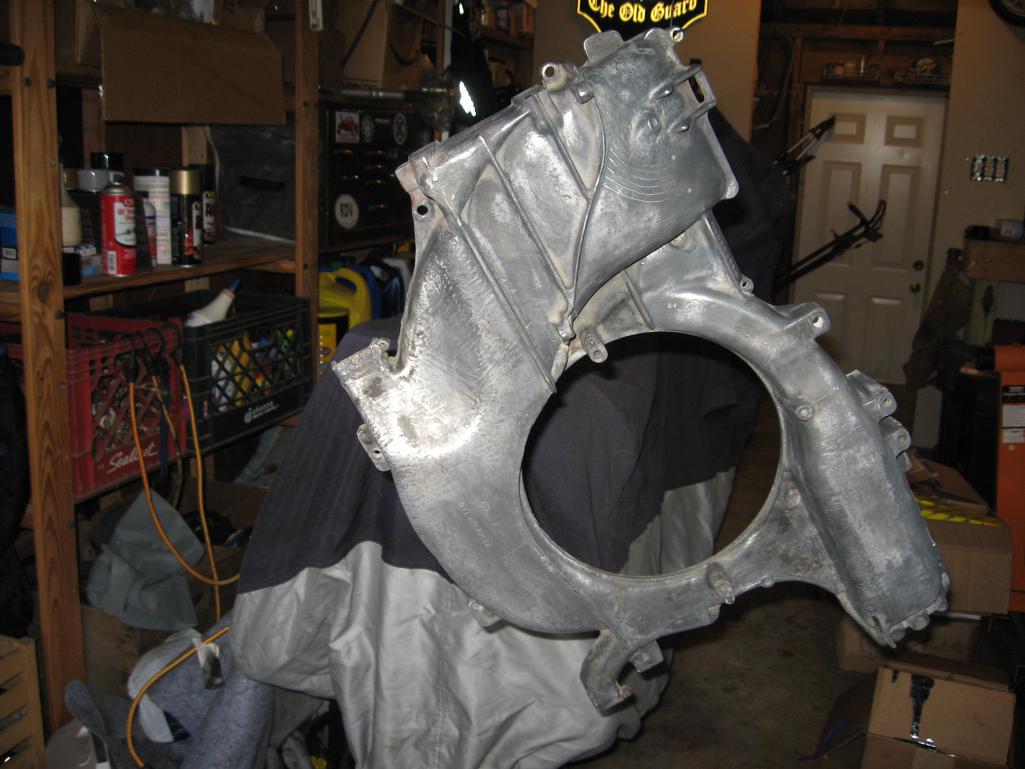 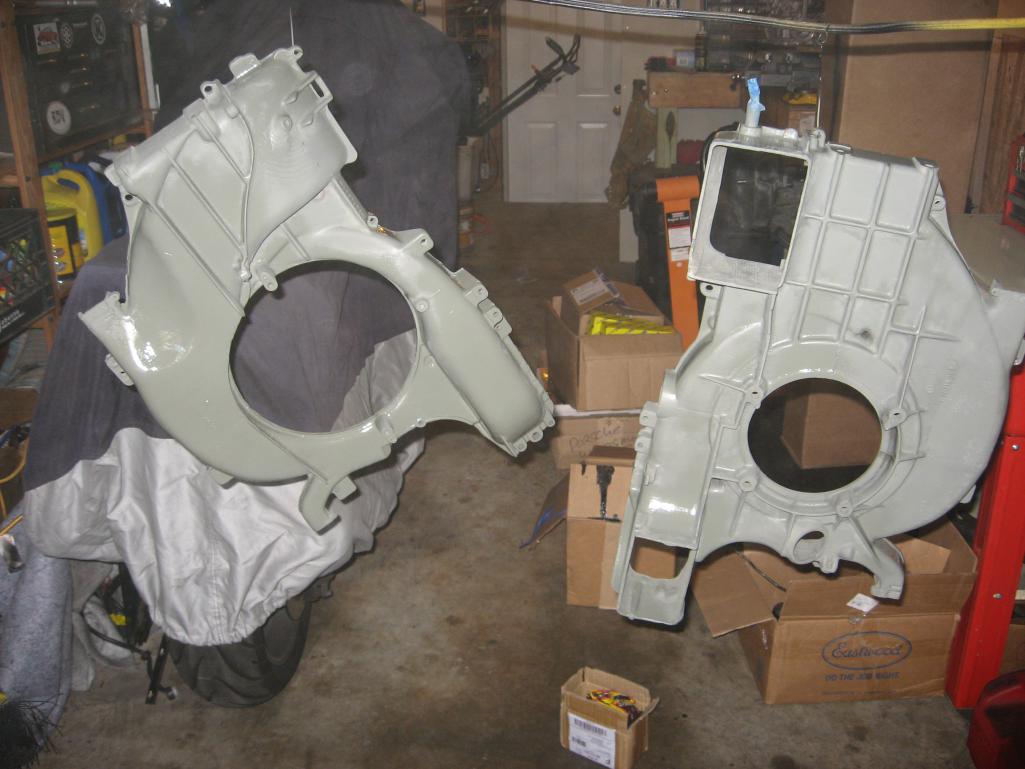 |
|
|
|
| Bulldog9 |
Nov 12 2014, 01:25 PM
Post
#146
|
|
Senior Member Group: Members Posts: 706 Joined: 21-August 13 From: United States Member No.: 16,283 Region Association: MidAtlantic Region |
more
Attached thumbnail(s) 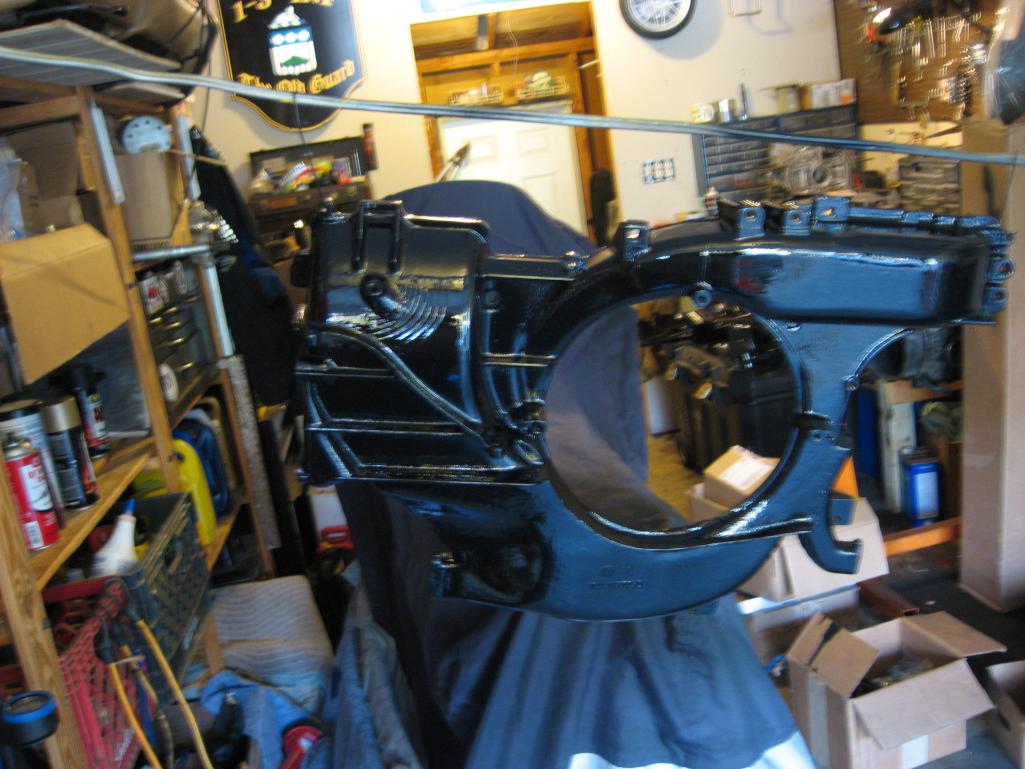 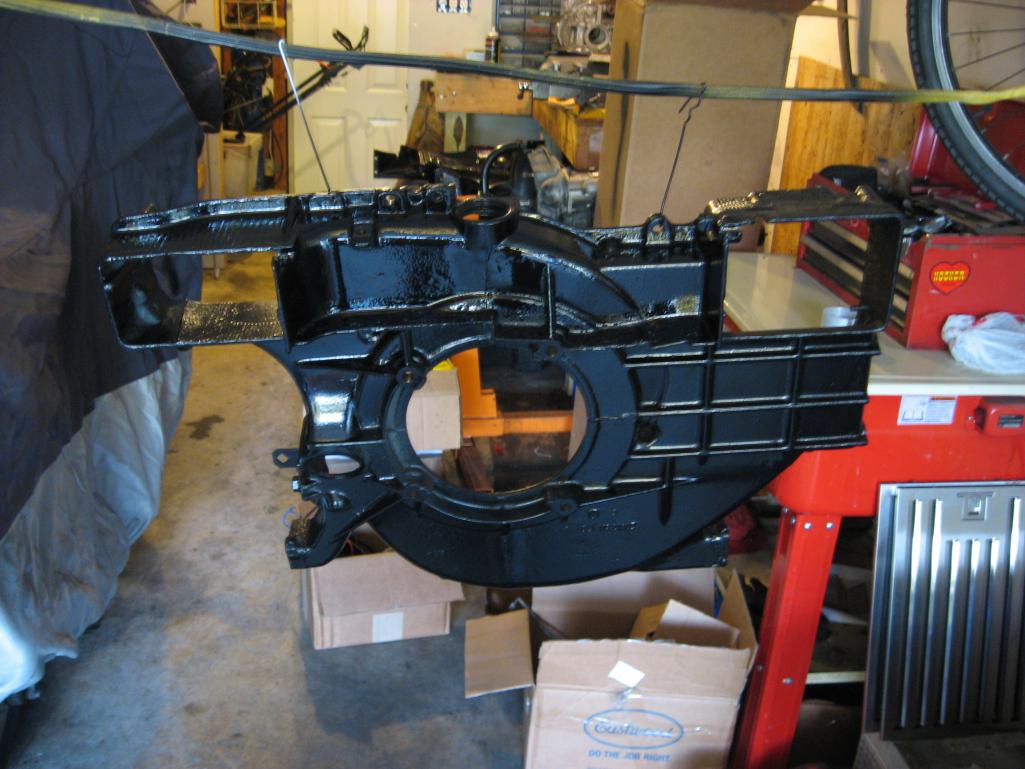
|
|
|
|
| Bulldog9 |
Nov 12 2014, 01:29 PM
Post
#147
|
|
Senior Member Group: Members Posts: 706 Joined: 21-August 13 From: United States Member No.: 16,283 Region Association: MidAtlantic Region |
small and side pieces. After cleaning I had some significant holes in the tin, used an old method with the mercedes source miracle paint and layers of fiberglass mesh to fill gaps. Not perfect, but good enough.
Attached thumbnail(s) 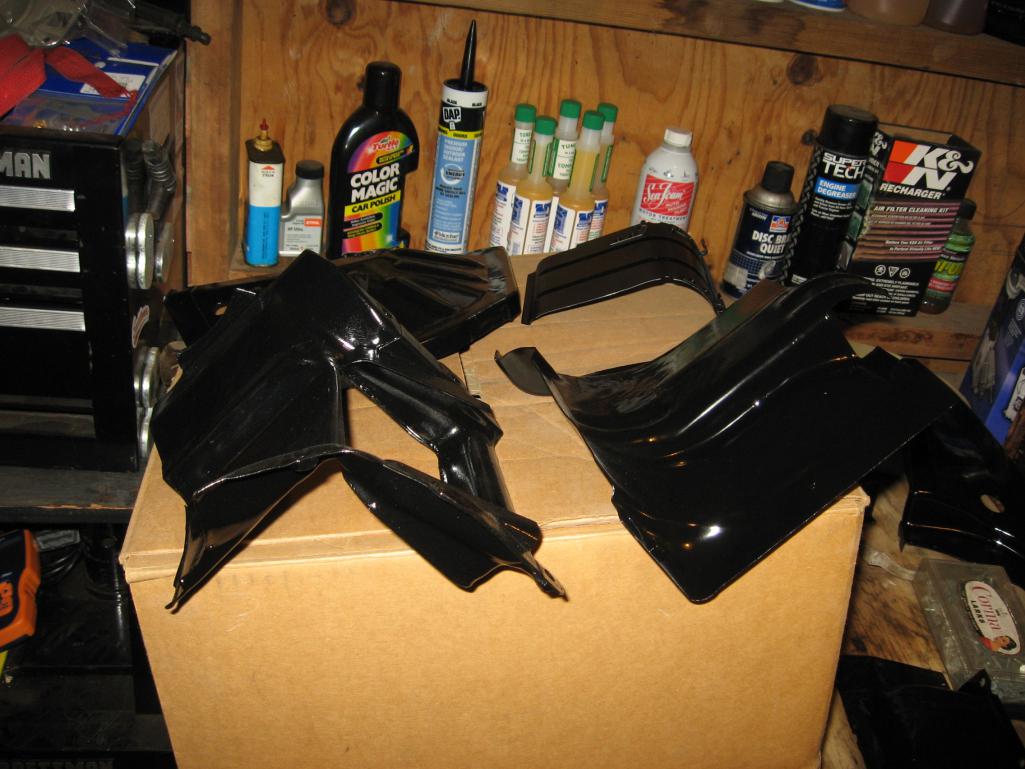 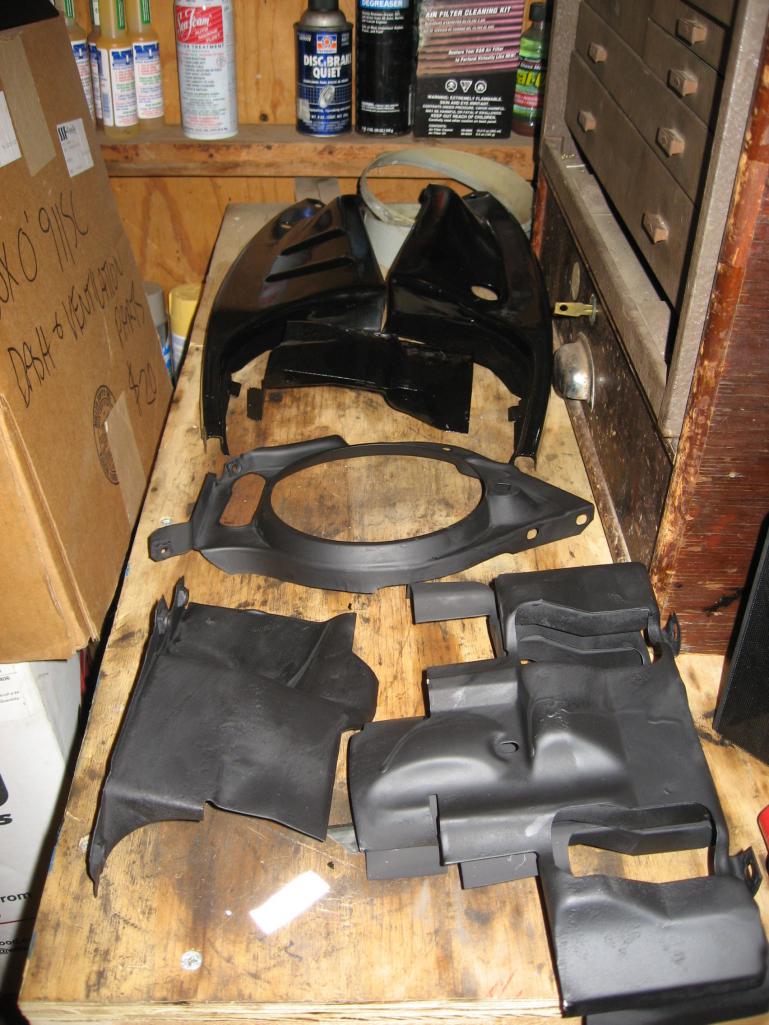 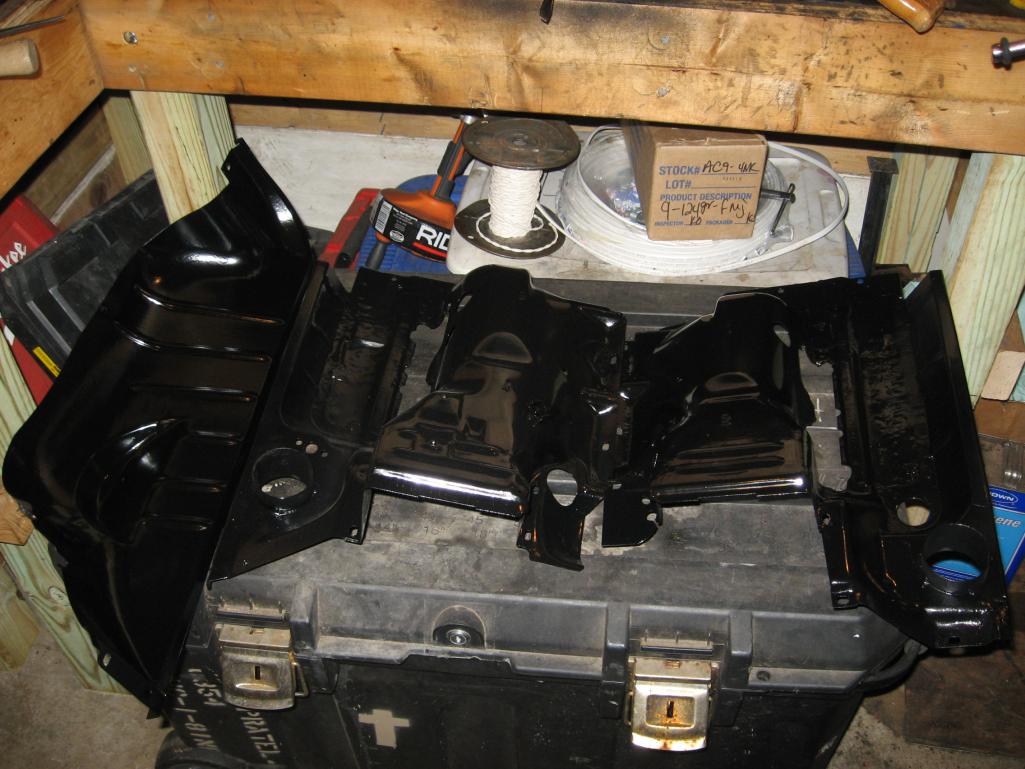
|
|
|
|
| Bulldog9 |
Nov 12 2014, 01:32 PM
Post
#148
|
|
Senior Member Group: Members Posts: 706 Joined: 21-August 13 From: United States Member No.: 16,283 Region Association: MidAtlantic Region |
Fan Shroud Mockup with "Porsche " plate" I know, a bit cheesy, but I wanted to do something in the engine compartment and found this plate, thought it would look good. Has an adhesive back, but is metal and I will drill and rivet in the corners.
Attached thumbnail(s) 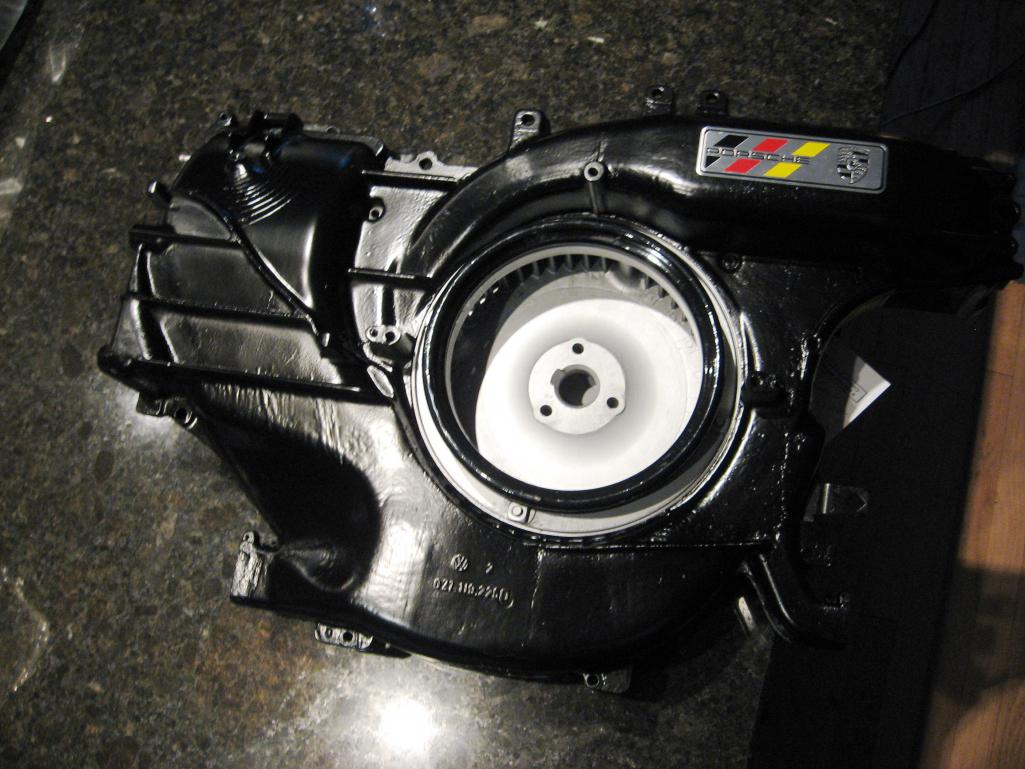
|
|
|
|
| euro911 |
Nov 12 2014, 02:01 PM
Post
#149
|
|
Retired & living the dream. God help me if I wake up! Group: Members Posts: 8,937 Joined: 2-December 06 From: So.Cal. & No.AZ (USA) Member No.: 7,300 Region Association: Southern California |
|
|
|
|
| scotty b |
Nov 13 2014, 07:23 PM
Post
#150
|
|
rust free you say ? Group: Members Posts: 16,375 Joined: 7-January 05 From: richmond, Va. Member No.: 3,419 Region Association: None |
All blocked down for the last time. A few spots showed up and were addressed and spot primed. And a splash of glossy poo on the insides (IMG:style_emoticons/default/smile.gif) Depending on how my back is doing next week I may be able to get the rest of the car painted. Then all that will be left is the bumpers and valances
Attached image(s) 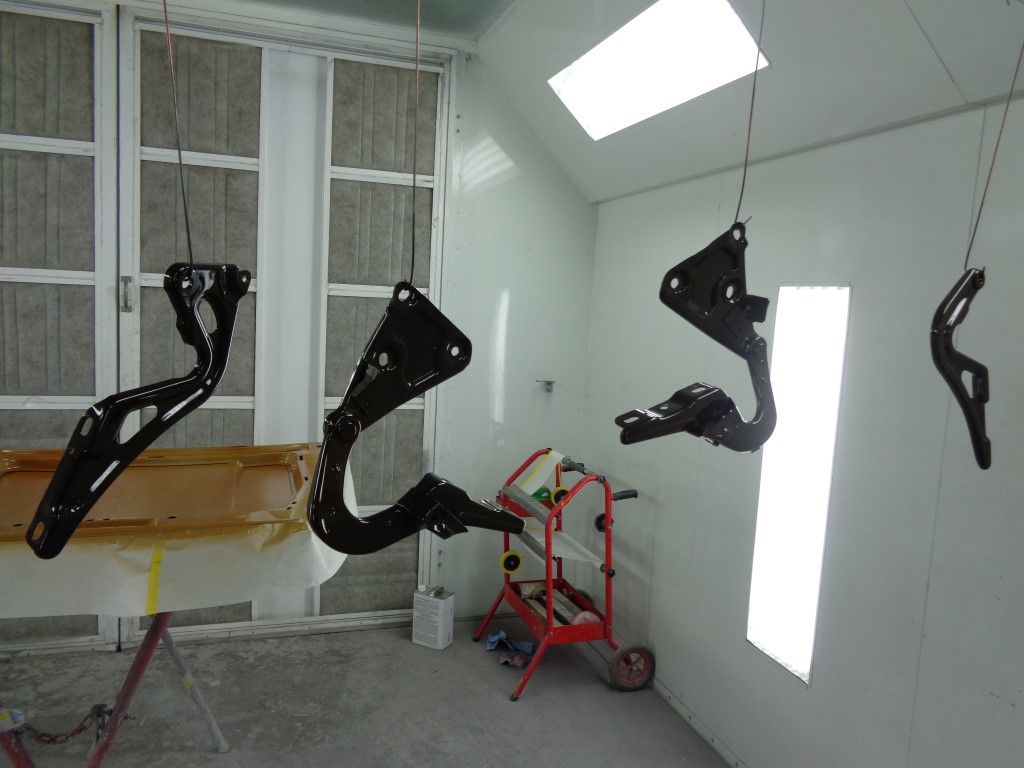 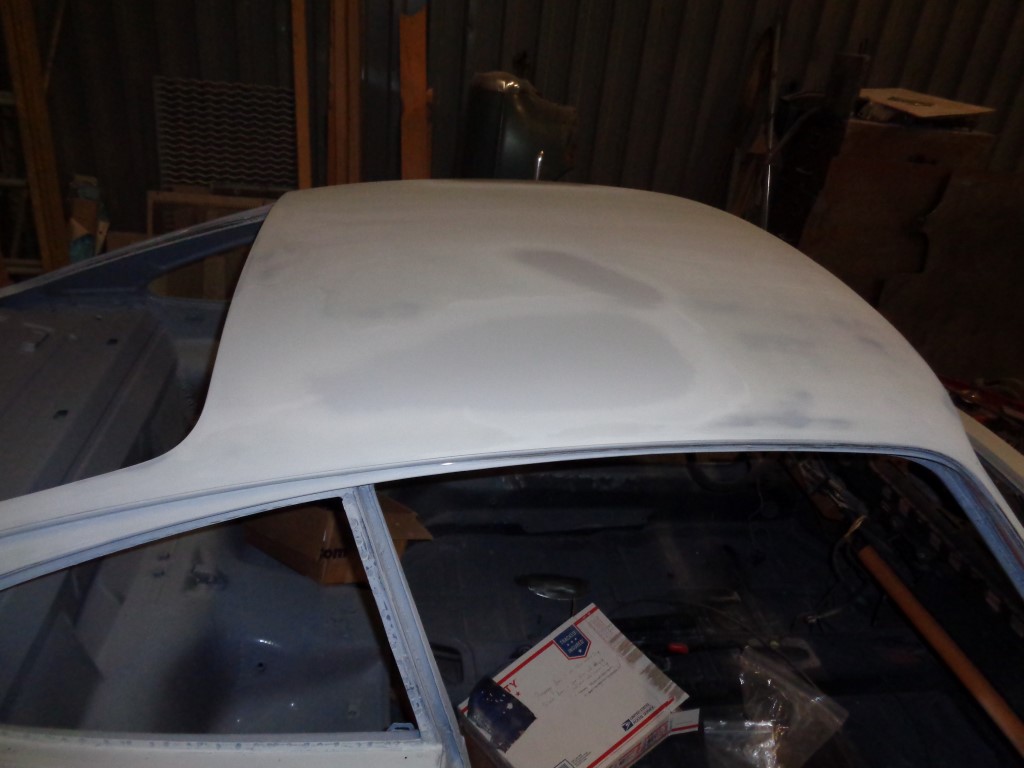 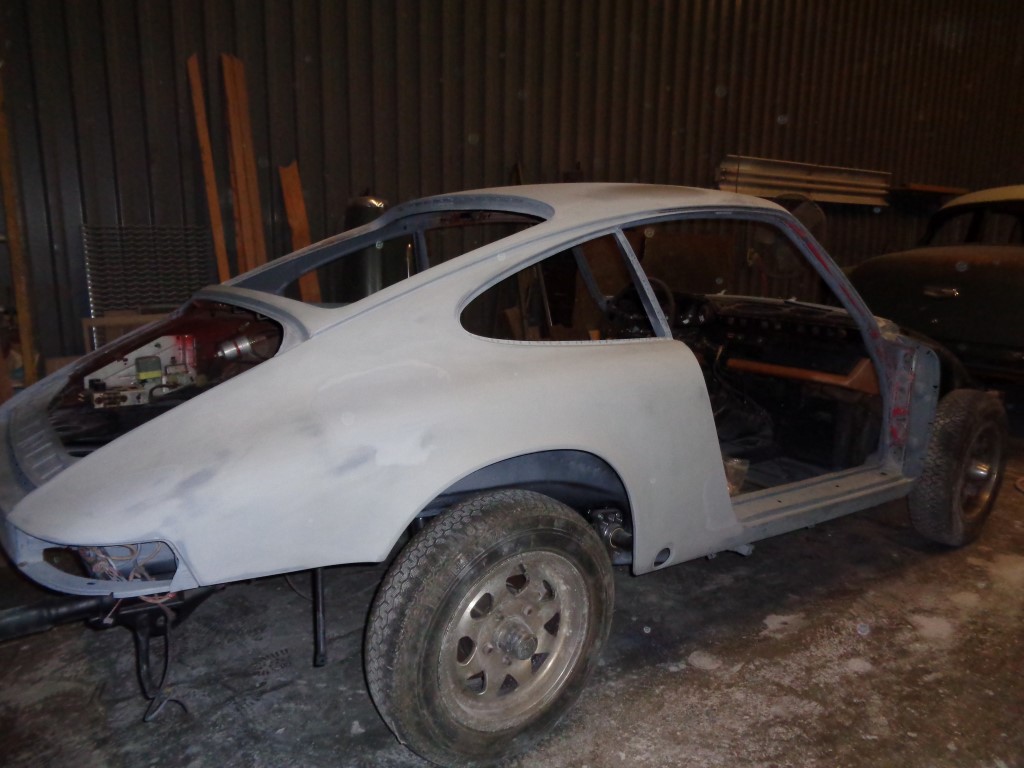 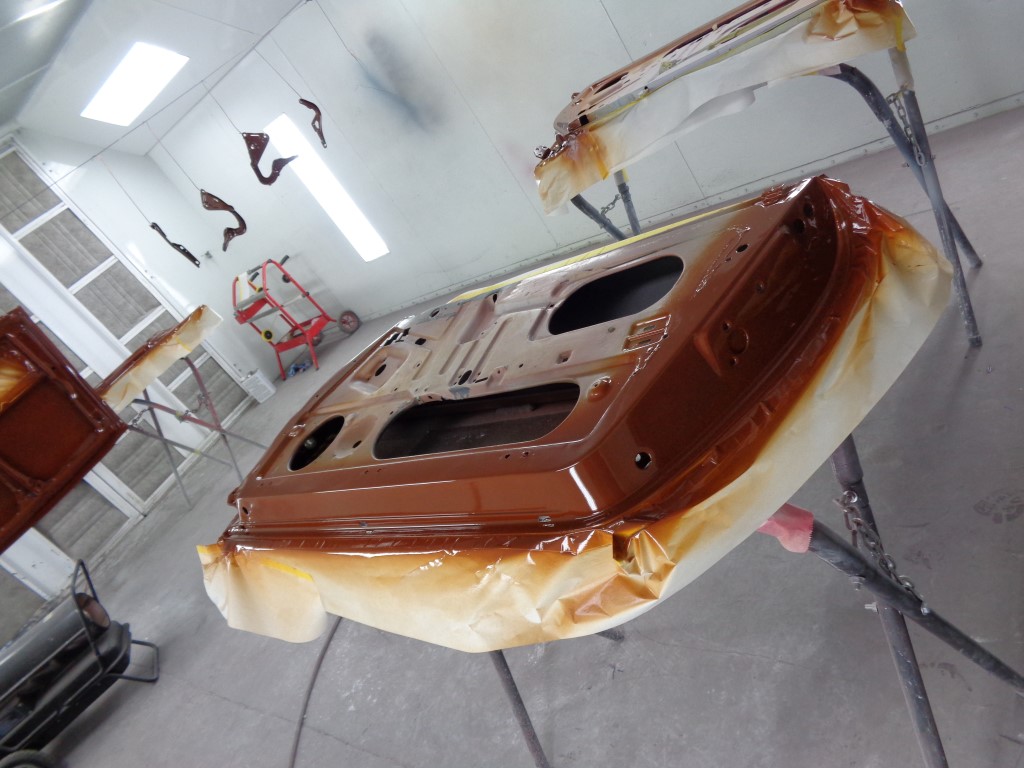 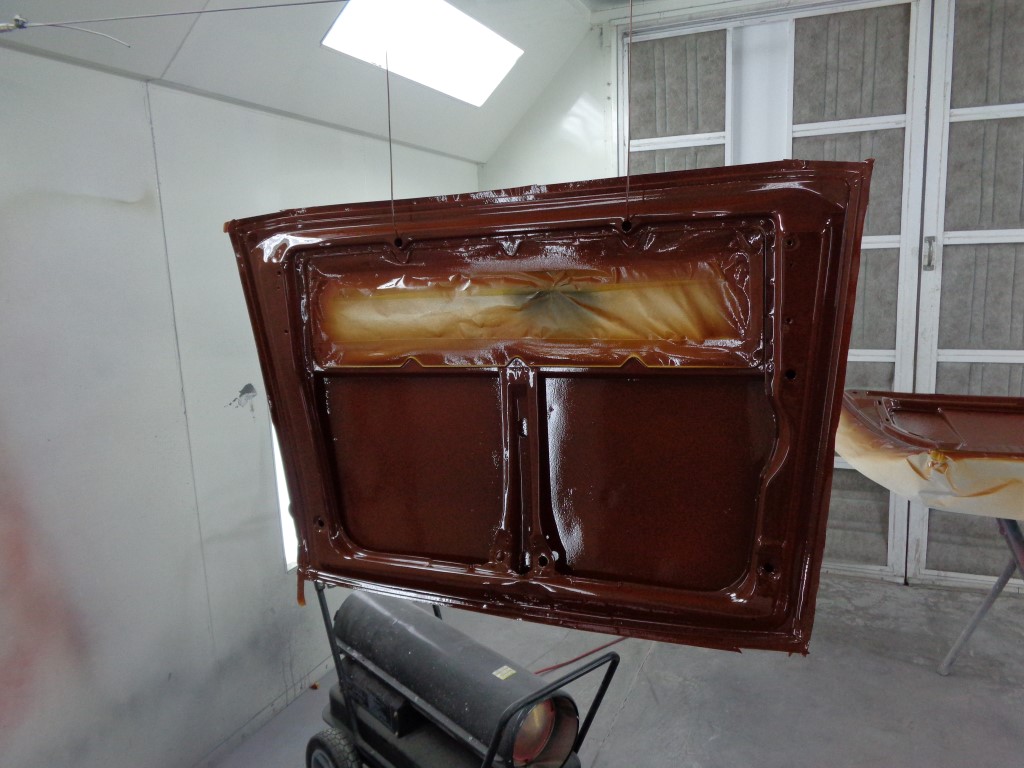 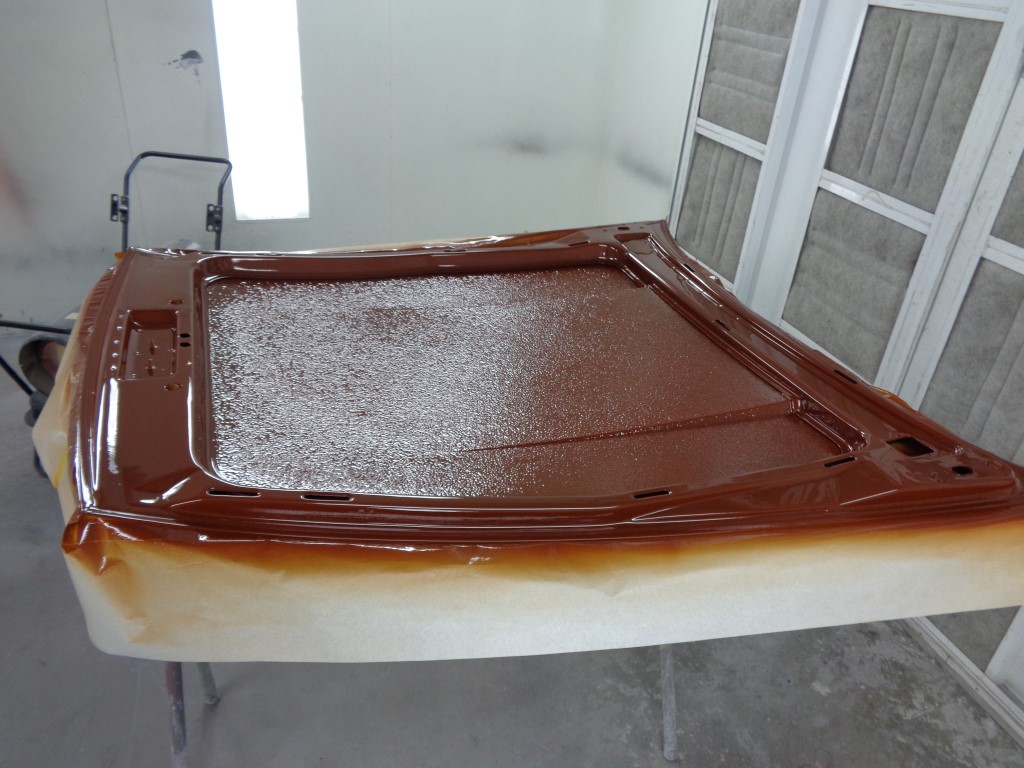
|
|
|
|
| Bulldog9 |
Nov 17 2014, 02:30 PM
Post
#151
|
|
Senior Member Group: Members Posts: 706 Joined: 21-August 13 From: United States Member No.: 16,283 Region Association: MidAtlantic Region |
Finished the tail lights over the weekend, the lenses polished up nice, and lights are bright. We will see how the directional relay likes the LED's, may have to solder in a resistor. Not bad for a $45 investment (plus time and paint cost).
Attached thumbnail(s)  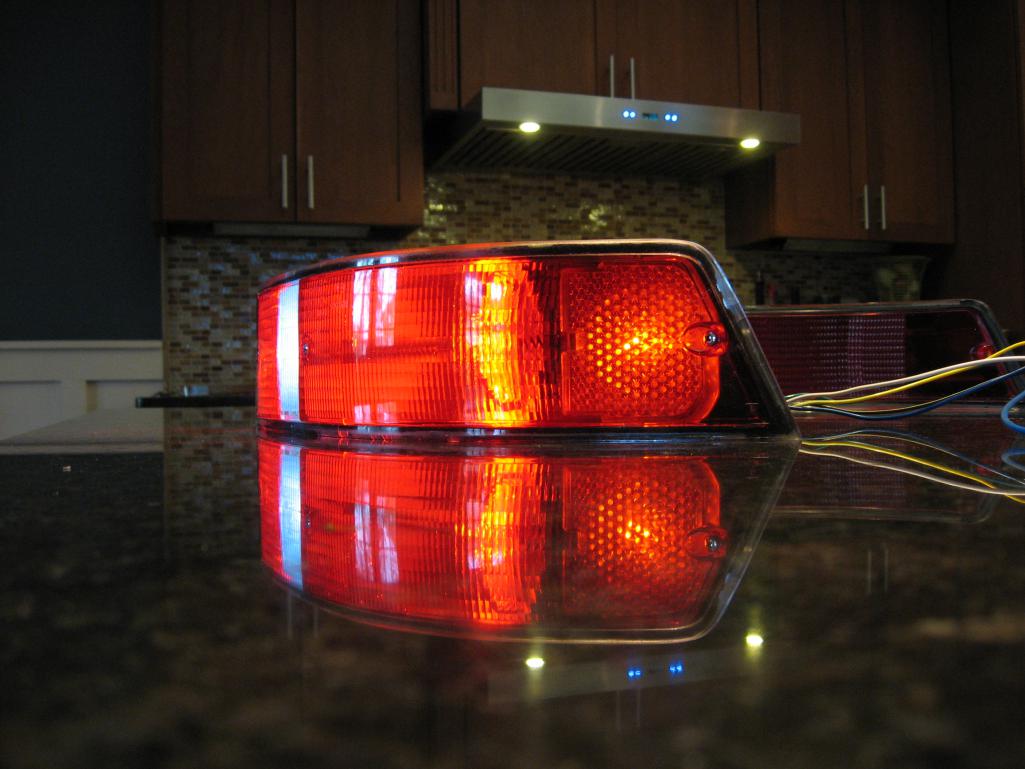
|
|
|
|
| Bulldog9 |
Nov 17 2014, 02:38 PM
Post
#152
|
|
Senior Member Group: Members Posts: 706 Joined: 21-August 13 From: United States Member No.: 16,283 Region Association: MidAtlantic Region |
inner details of taillight LED conversion. All units are sealed weather proof LED's, I had to gut the housings due to corrosion, cracked connectors, circuit boards, etc. I didn't want to spend the $$ ($350+) so I improvised.
The Directional/Tail light was a dual filament bulb, so I added drilled into the housing and added another light. All is held in place with marine silicone. LED's tend to last a very long time, but if one burns out will be simple to change. Was a fun project overall. Attached thumbnail(s) 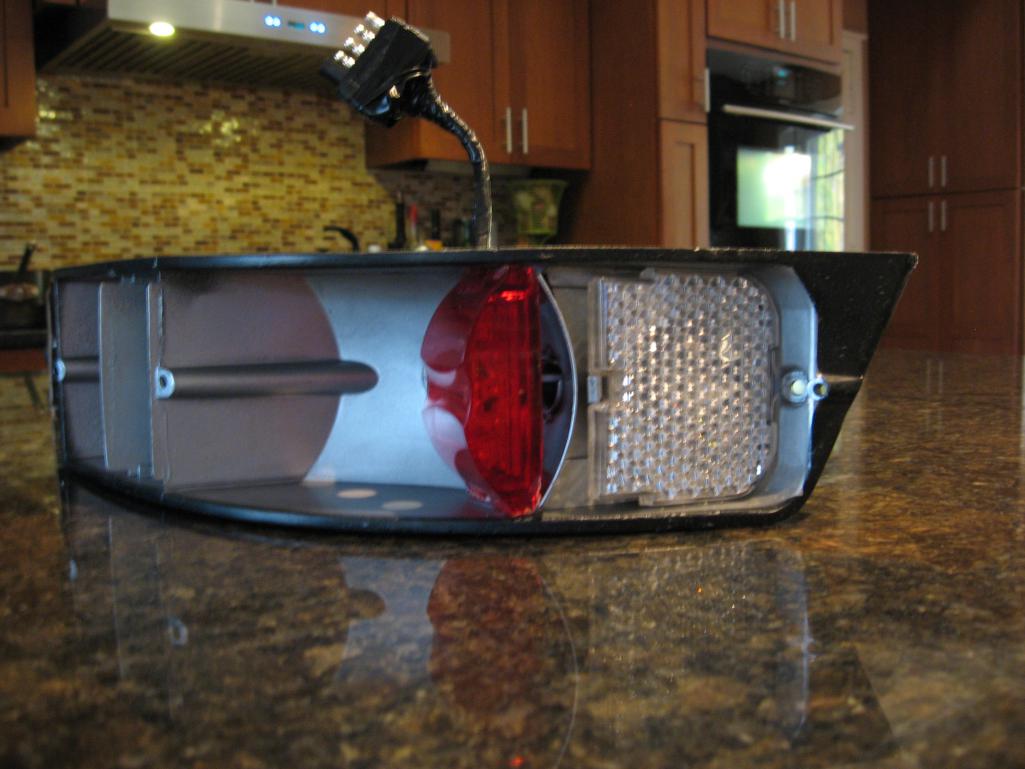 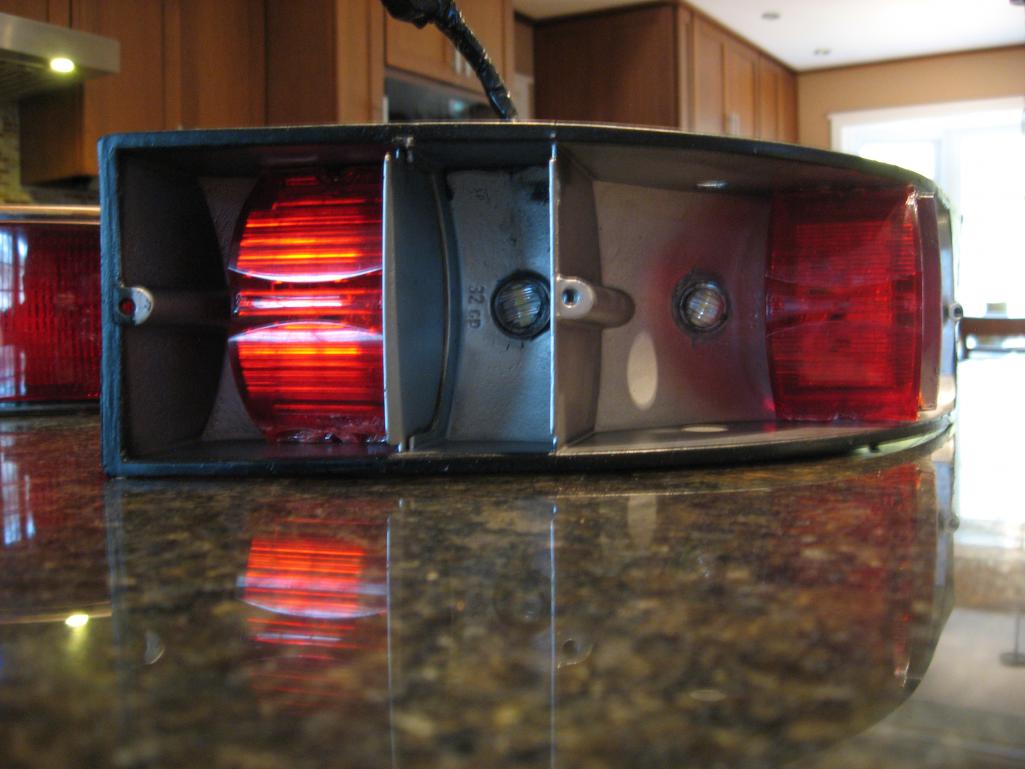
|
|
|
|
| scotty b |
Dec 6 2014, 09:50 PM
Post
#153
|
|
rust free you say ? Group: Members Posts: 16,375 Joined: 7-January 05 From: richmond, Va. Member No.: 3,419 Region Association: None |
and the chocolate shall flow (IMG:style_emoticons/default/smile.gif) I never would have thought it, but this is the second worst color I've done for coverage. I initially bought 3 quarts of base, which once reduced gets you 4.5 quarts. This normally is enough for a 911. It has now taken 5 quarts ( gallon and a half reduced ) to get this far. I went and got another 3 quarts friday morning to get the outsides of the doors, hood, engine lid, bumpers and valances done. It is taking 9 coats to get full coverage (IMG:style_emoticons/default/headbang.gif) Normally 3-4 gets it done in Shopline, 2-3 in Deltron
Attached image(s) 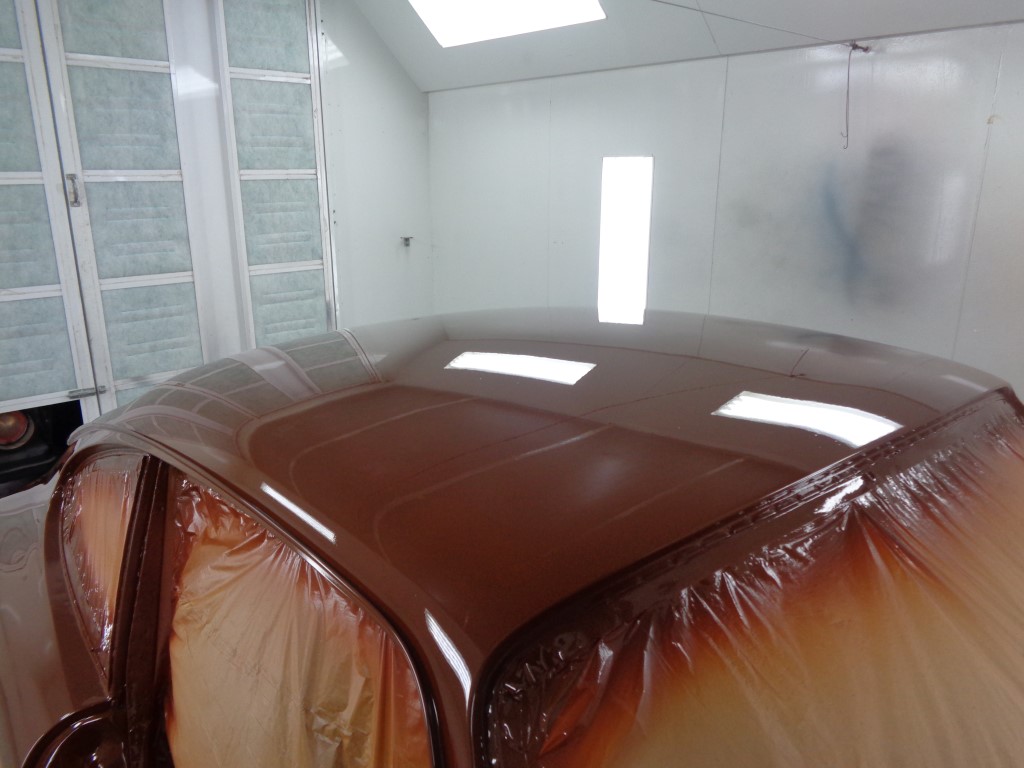 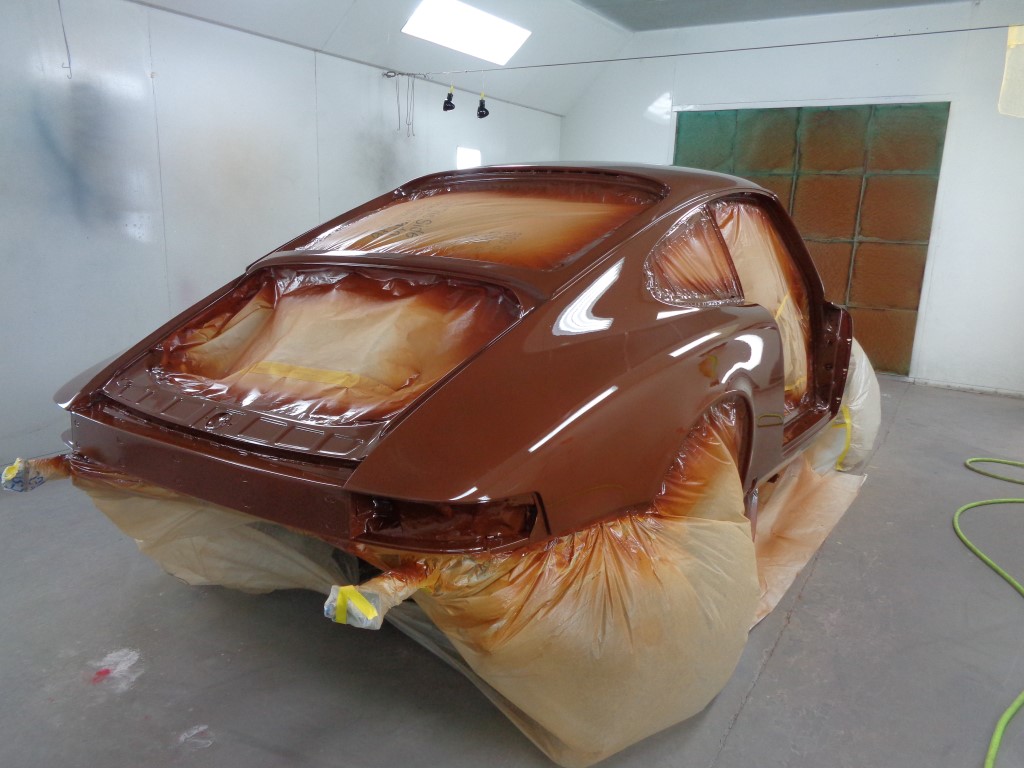 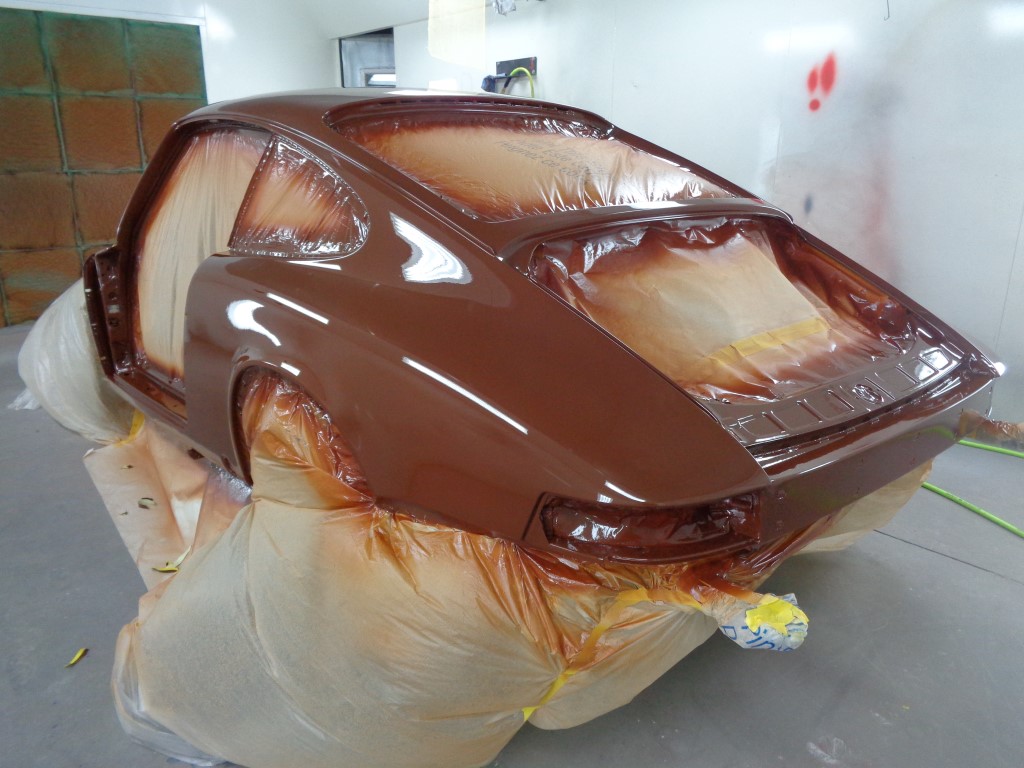 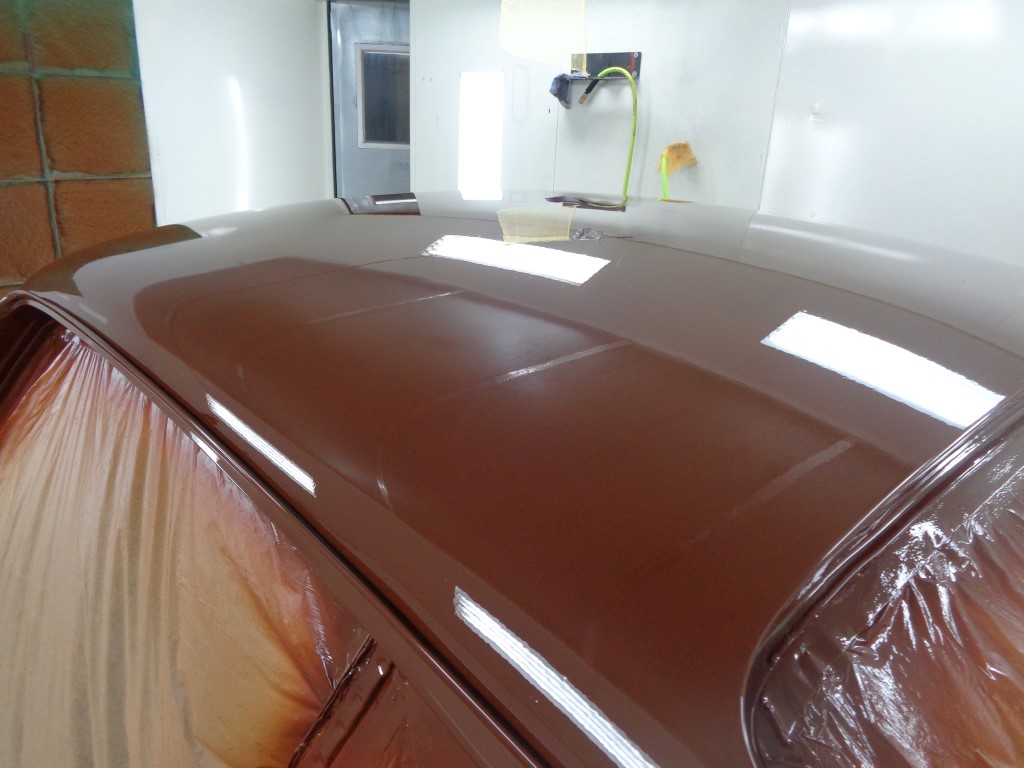 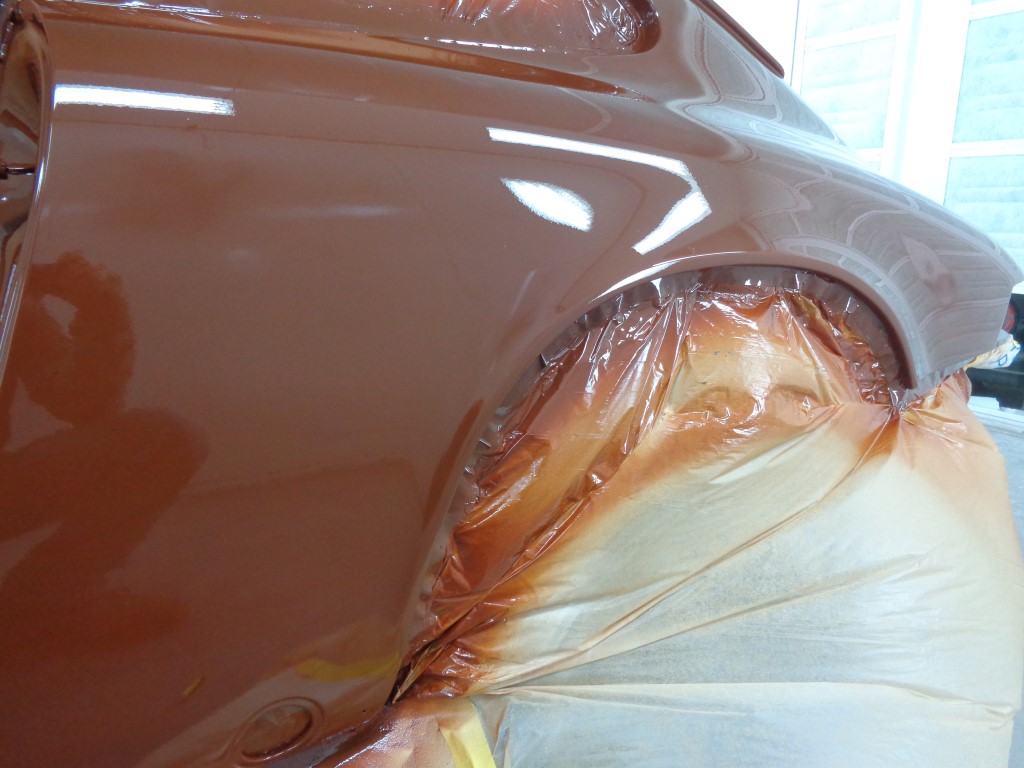
|
|
|
|
| bigkensteele |
Dec 6 2014, 10:13 PM
Post
#154
|
|
Major Member Group: Members Posts: 2,200 Joined: 30-August 04 From: Cincinnati, OH Member No.: 2,660 Region Association: South East States |
That is a lot of material, but it looks phenomenal!!! (IMG:style_emoticons/default/smilie_pokal.gif)
Who took these pictures? This obviously isn't your camera. (IMG:style_emoticons/default/poke.gif) |
|
|
|
| euro911 |
Dec 7 2014, 12:59 AM
Post
#155
|
|
Retired & living the dream. God help me if I wake up! Group: Members Posts: 8,937 Joined: 2-December 06 From: So.Cal. & No.AZ (USA) Member No.: 7,300 Region Association: Southern California |
NICE (IMG:style_emoticons/default/drooley.gif)
|
|
|
|
| Bulldog9 |
Dec 7 2014, 10:22 AM
Post
#156
|
|
Senior Member Group: Members Posts: 706 Joined: 21-August 13 From: United States Member No.: 16,283 Region Association: MidAtlantic Region |
Scott, looks great, will give you a call later.
|
|
|
|
| rick 918-S |
Dec 7 2014, 12:49 PM
Post
#157
|
|
Hey nice rack! -Celette Group: Members Posts: 21,272 Joined: 30-December 02 From: Now in Superior WI Member No.: 43 Region Association: Northstar Region |
I hate that. I had a ford factory color that did that. But even worse it really didn't show up until we pulled it out of the booth. (IMG:style_emoticons/default/unsure.gif) At least you were able to keep going.
That chocolate looks delicious! (IMG:style_emoticons/default/chowtime.gif) (IMG:style_emoticons/default/drooley.gif) |
|
|
|
| Bulldog9 |
Dec 11 2014, 03:34 PM
Post
#158
|
|
Senior Member Group: Members Posts: 706 Joined: 21-August 13 From: United States Member No.: 16,283 Region Association: MidAtlantic Region |
More progress, finished assembling the fan housing and alternator tonight. I was able to source a new lower alt bracket as the old one was missing the rear half. Thanks to Bruce Stone. Also pulled out the heads, man they look great. Havent really looked at them since I received last year, looking forward to getting it all together!
Housing went together well, and I sealed the housing with curil K2 before assembly. Interesting stuff. I am waiting for my new connecting rod bolts before I continue on the crankshaft, so doing some prep and test fitting. It took a good bit to figure out how all that goes back together, but I think I have it right. Found all the pieces except the little white plug thing on the left side. Why do parts look much worse rust wise in pics???? Tonight hope to put a light coat of black on the cyls and prep the case. ***EDIT, just realized I already posted this in the engine thread yesterday (IMG:style_emoticons/default/huh.gif) Attached thumbnail(s) 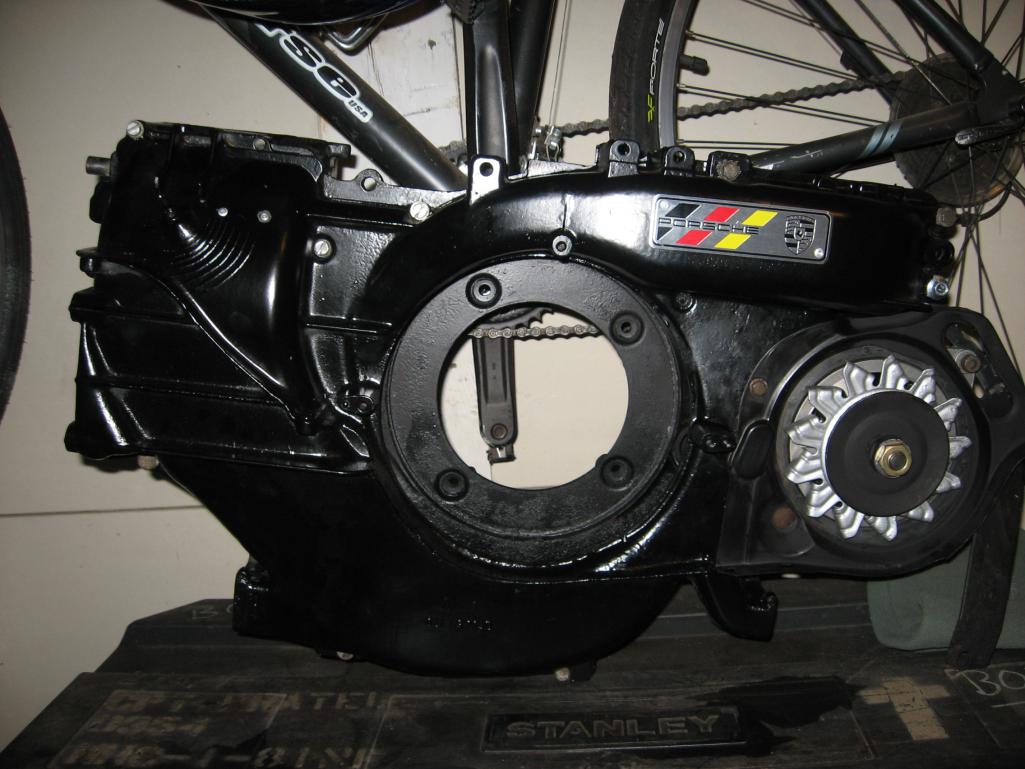 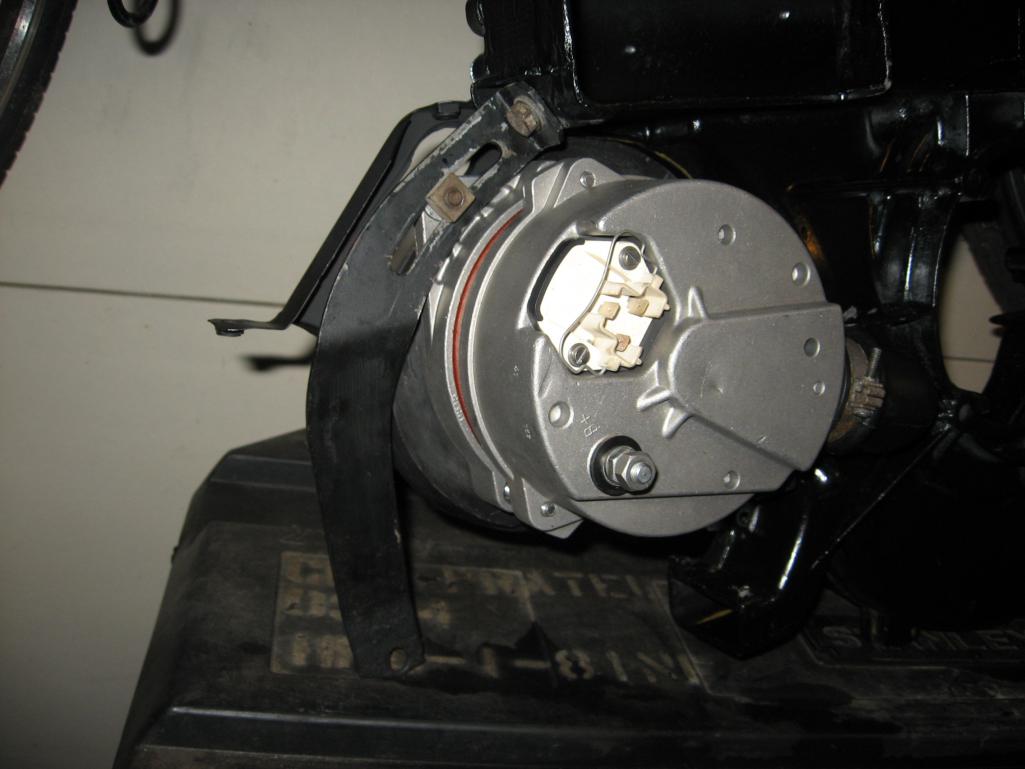 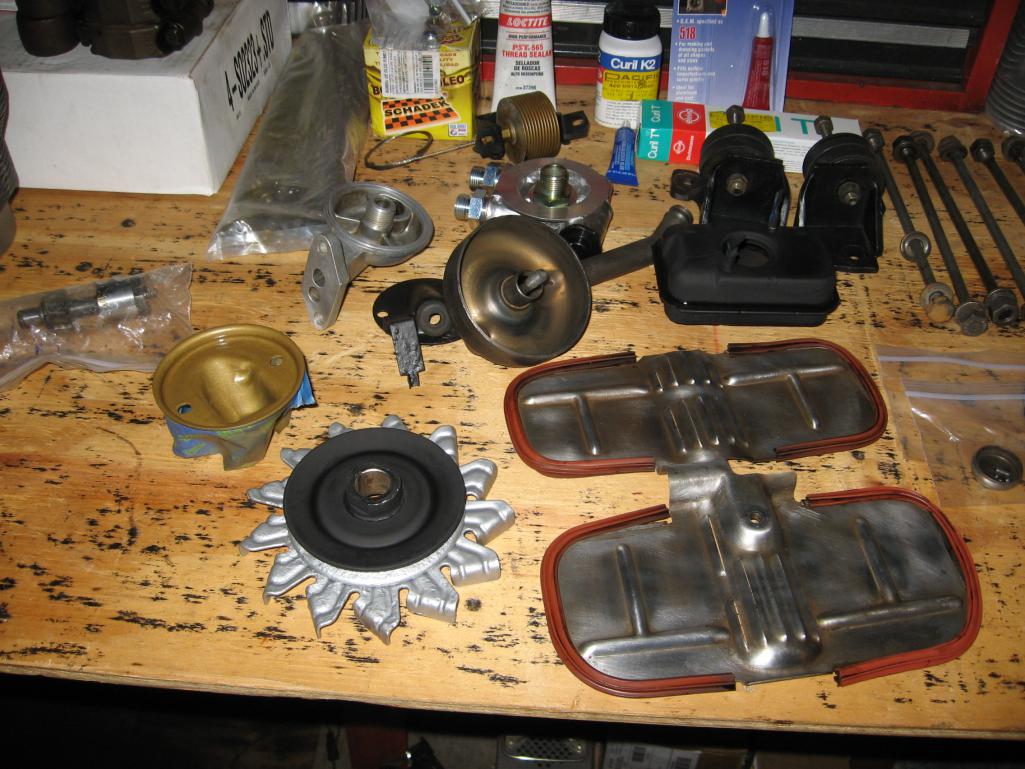 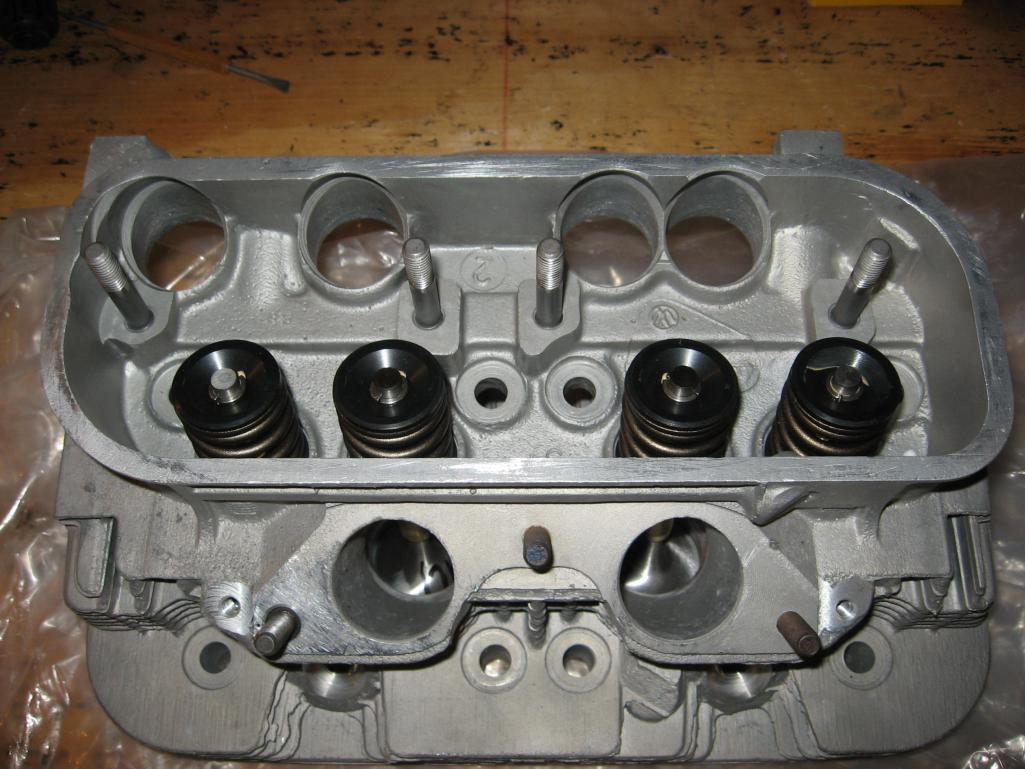
|
|
|
|
| euro911 |
Dec 11 2014, 05:42 PM
Post
#159
|
|
Retired & living the dream. God help me if I wake up! Group: Members Posts: 8,937 Joined: 2-December 06 From: So.Cal. & No.AZ (USA) Member No.: 7,300 Region Association: Southern California |
Looking good, Steve. (IMG:style_emoticons/default/smile.gif)
Is that one of Pete Newman's alternator upgrade kits? |
|
|
|
| Bulldog9 |
Dec 11 2014, 06:12 PM
Post
#160
|
|
Senior Member Group: Members Posts: 706 Joined: 21-August 13 From: United States Member No.: 16,283 Region Association: MidAtlantic Region |
QUOTE(euro911 @ Dec 11 2014, 06:42 PM)  Looking good, Steve. (IMG:style_emoticons/default/smile.gif) Is that one of Pete Newman's alternator upgrade kits? Thanks, a little frustrating right now with a few hardware issues, Got the alternator direct from BNR parts, is an ebay seller too. |
|
|
|
|
1 User(s) are reading this topic (1 Guests and 0 Anonymous Users)
0 Members:

|
Lo-Fi Version | Time is now: 23rd May 2026 - 12:55 PM |
Invision Power Board
v9.1.4 © 2026 IPS, Inc.