|
|
|
Porsche, and the Porsche crest are registered trademarks of Dr. Ing. h.c. F. Porsche AG.
This site is not affiliated with Porsche in any way. Its only purpose is to provide an online forum for car enthusiasts. All other trademarks are property of their respective owners. |
|
|

  |

| trojanhorsepower |
 Nov 14 2013, 07:28 PM Nov 14 2013, 07:28 PM
Post
#1
|
|
Senior Member  Group: Members Posts: 1,051 Joined: 21-September 03 From: Marion, NC Member No.: 1,179 Region Association: None |
Hi All
After finishing my rotisserie I am finally getting back to actual car work (started in 03). I am redoing what I did in the past (made a mess of it) and hopefully moving on from there. Doug has is helping me with the restoration, so hopefully we can make some actual progress. The entire passenger side of my car is pretty rotten so we have our work cut out for us. I got the good part of the long cut out so when Doug gets here maybe we can start filling in the gaps. In this pic I have cut out the outside long bit. 10/1/15: Joined in the build off challenge! Attached image(s) 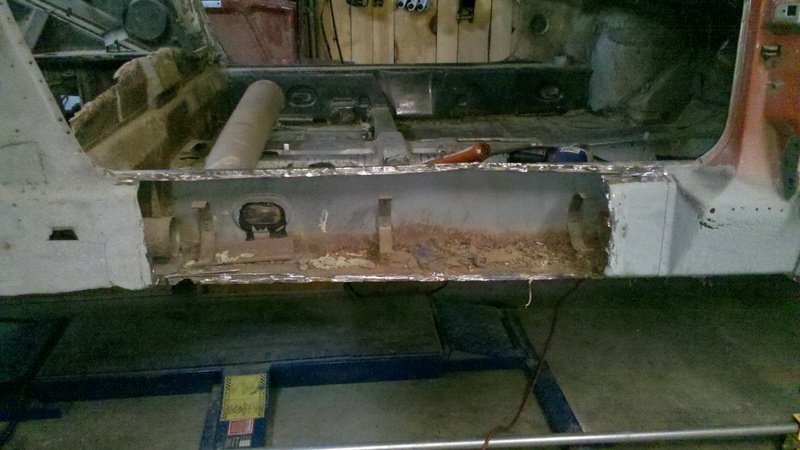
|
   |

 
|
| dlee6204 |
Nov 14 2013, 07:31 PM
Post
#2
|
|
Howdy Group: Members Posts: 2,162 Joined: 30-April 06 From: Burnsville, NC Member No.: 5,956 |
MMM...Rust (IMG:style_emoticons/default/chowtime.gif)
|
|
|
|
| trojanhorsepower |
Nov 14 2013, 07:32 PM
Post
#3
|
|
Senior Member Group: Members Posts: 1,051 Joined: 21-September 03 From: Marion, NC Member No.: 1,179 Region Association: None |
At this point I was afraid that there was not enough metal to really support the car suspended from the rotisserie, so my lift to the rescue. Now I feel better about cutting out more metal. Hopefully when Doug gets here I will have things ready to go so we can make some real progress.
Attached image(s) 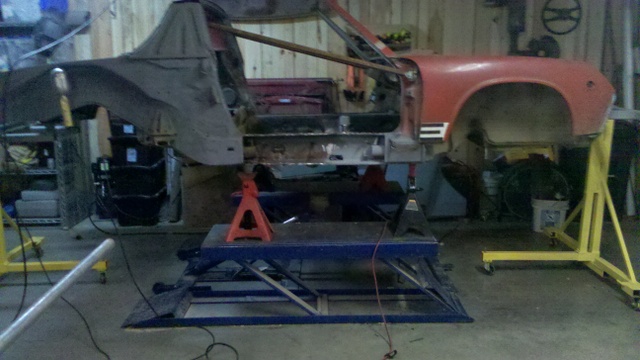
|
|
|
|
| trojanhorsepower |
Nov 16 2013, 08:34 AM
Post
#4
|
|
Senior Member Group: Members Posts: 1,051 Joined: 21-September 03 From: Marion, NC Member No.: 1,179 Region Association: None |
I have an old Restoration Design? patch panel for the lower inside firewall. It is basically flat. The original has a dimple as does the current Restoration Designs panel. What is the dimple for?
Attached image(s) 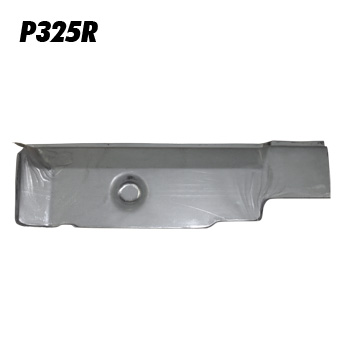
|
|
|
|
| rick 918-S |
Nov 16 2013, 08:46 AM
Post
#5
|
|
Hey nice rack! -Celette Group: Members Posts: 21,279 Joined: 30-December 02 From: Now in Superior WI Member No.: 43 Region Association: Northstar Region |
The dimple actually touches the outside panel. That gets spot welded to add strength to the box the inner and outer panel are forming. Does that make sense?
|
|
|
|
| trojanhorsepower |
Nov 16 2013, 09:42 AM
Post
#6
|
|
Senior Member Group: Members Posts: 1,051 Joined: 21-September 03 From: Marion, NC Member No.: 1,179 Region Association: None |
Thanks Rick,
That makes sense. So I need to make a part to weld between the inner and outer firewall parts since min patch does not have the dimple. |
|
|
|
| dlee6204 |
Nov 16 2013, 03:12 PM
Post
#7
|
|
Howdy Group: Members Posts: 2,162 Joined: 30-April 06 From: Burnsville, NC Member No.: 5,956 |
QUOTE(trojanhorsepower @ Nov 16 2013, 10:42 AM)  That makes sense. So I need to make a part to weld between the inner and outer firewall parts since min patch does not have the dimple. I can probably get you a dimple patch to weld in if desired. How was your outer lower firewall? |
|
|
|
| trojanhorsepower |
Nov 17 2013, 08:08 AM
Post
#8
|
|
Senior Member Group: Members Posts: 1,051 Joined: 21-September 03 From: Marion, NC Member No.: 1,179 Region Association: None |
That would be great Doug. The outer section is bad to. The lower inch or so is gone and the part under the seam sealer around the heater tube is also gone. I also found some rust on the engine mount.
Attached thumbnail(s) 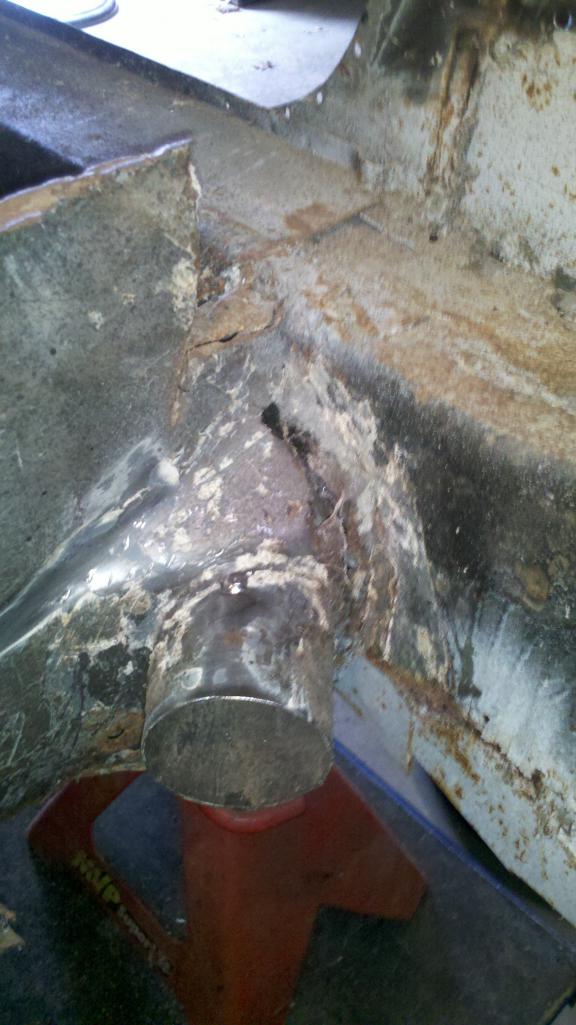 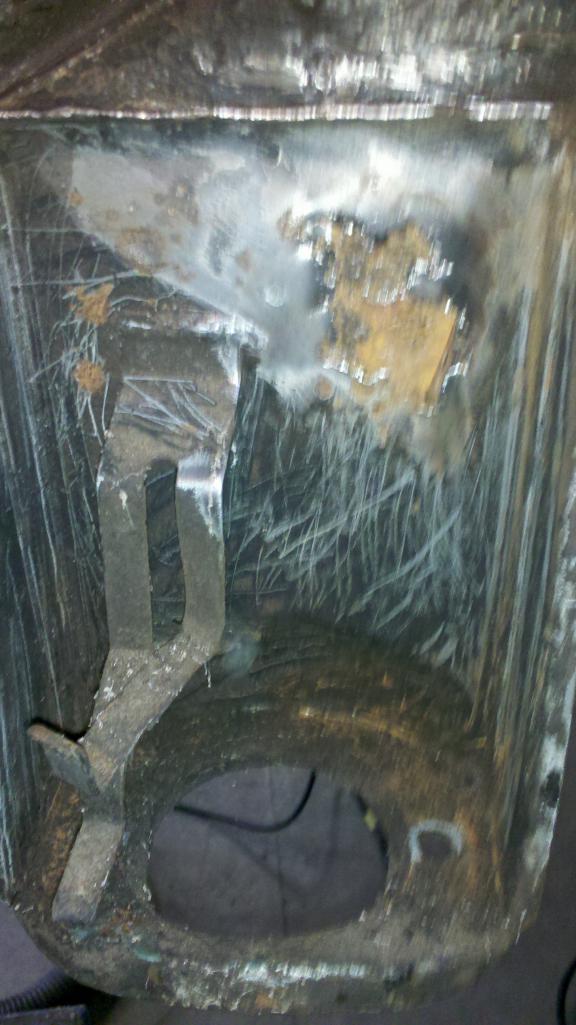
|
|
|
|
| trojanhorsepower |
Nov 17 2013, 06:53 PM
Post
#9
|
|
Senior Member Group: Members Posts: 1,051 Joined: 21-September 03 From: Marion, NC Member No.: 1,179 Region Association: None |
Did a little work to boost confidence. It did not come out great, but it is much better than before.
Attached image(s) 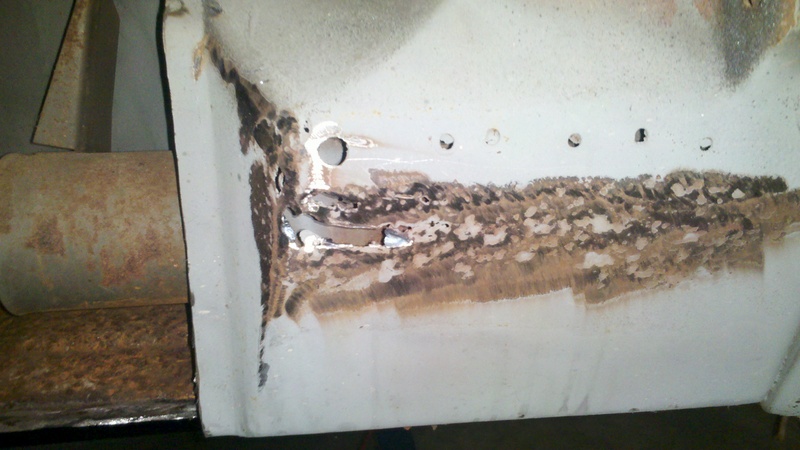 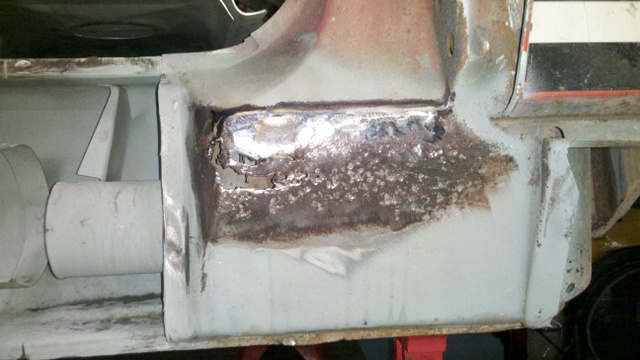 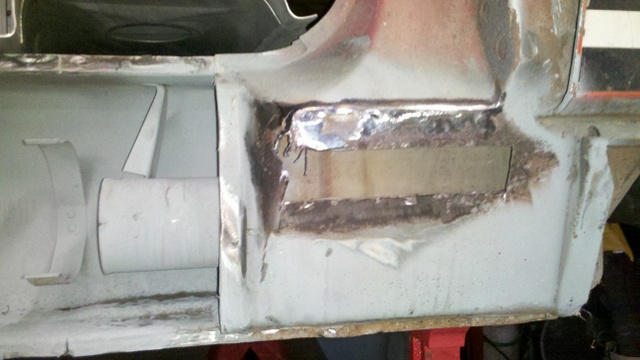 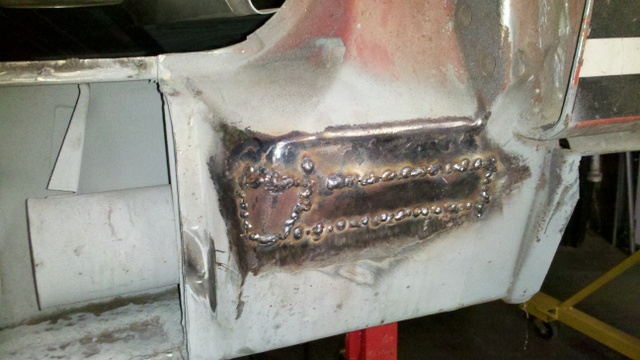 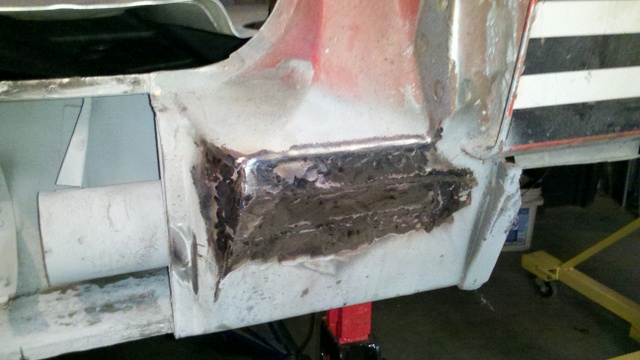 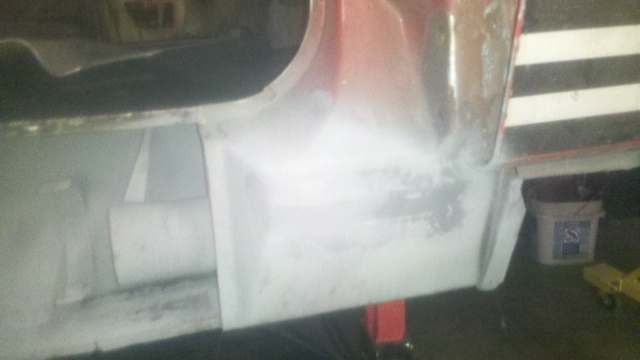
|
|
|
|
| rick 918-S |
Nov 17 2013, 07:21 PM
Post
#10
|
|
Hey nice rack! -Celette Group: Members Posts: 21,279 Joined: 30-December 02 From: Now in Superior WI Member No.: 43 Region Association: Northstar Region |
QUOTE(trojanhorsepower @ Nov 16 2013, 09:42 AM) Thanks Rick, That makes sense. So I need to make a part to weld between the inner and outer firewall parts since min patch does not have the dimple. I'm having second thoughts about what I told you. If I can get a look at one of my cars I can remind myself about that pocket. Could be what I told you. (IMG:style_emoticons/default/screwy.gif) |
|
|
|
| Douglas Miller |
Nov 17 2013, 07:46 PM
Post
#11
|
|
Newbie Group: Members Posts: 1 Joined: 17-November 13 From: Roanoke Rapids NC Member No.: 16,661 Region Association: South East States |
QUOTE(trojanhorsepower @ Nov 14 2013, 08:28 PM) Hi All After finishing my rotisserie I am finally getting back to actual car work (started in 03). I am redoing what I did in the past (made a mess of it) and hopefully moving on from there. Doug has is helping me with the restoration, so hopefully we can make some actual progress. The entire passenger side of my car is pretty rotten so we have our work cut out for us. I got the good part of the long cut out so when Doug gets here maybe we can start filling in the gaps. In this pic I have cut out the outside long bit. Sweet! Kids are ready to test drive! |
|
|
|
| trojanhorsepower |
Nov 17 2013, 08:50 PM
Post
#12
|
|
Senior Member Group: Members Posts: 1,051 Joined: 21-September 03 From: Marion, NC Member No.: 1,179 Region Association: None |
Hi Doug,
Glad to see you here. Don't hang out too long or you will have to learn to weld! Some mean person suggested that all the recent effort was so I could have the car ready as a collage graduation present for Hugh. Personally I did not think that was funny.... well maybe a little. |
|
|
|
| trojanhorsepower |
Nov 20 2013, 08:08 PM
Post
#13
|
|
Senior Member Group: Members Posts: 1,051 Joined: 21-September 03 From: Marion, NC Member No.: 1,179 Region Association: None |
Tackled another little spot tonight. I am not quite finished, but it looks better than the rusty holes.
Attached image(s)  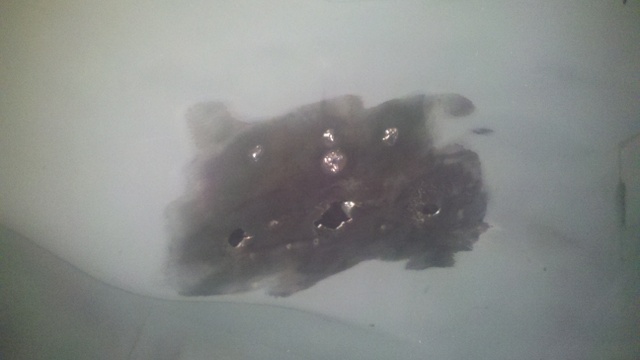 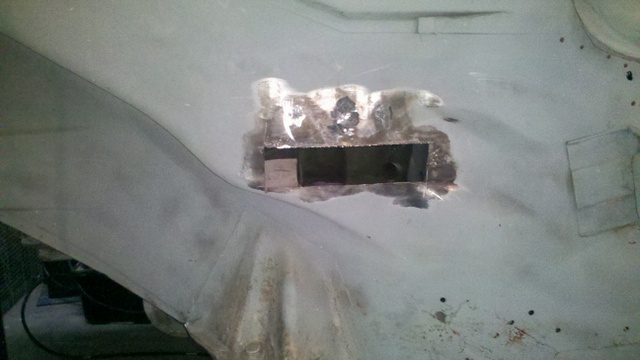 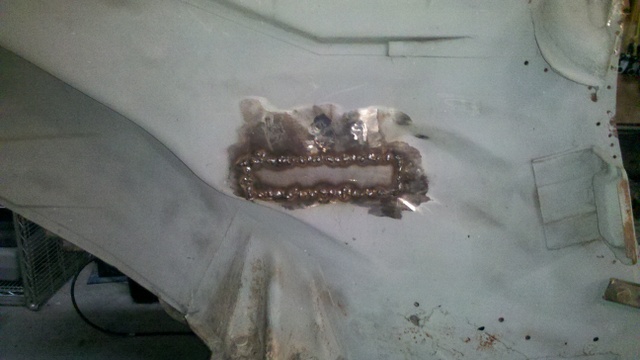 
|
|
|
|
| trojanhorsepower |
Nov 29 2013, 08:58 PM
Post
#14
|
|
Senior Member Group: Members Posts: 1,051 Joined: 21-September 03 From: Marion, NC Member No.: 1,179 Region Association: None |
Plugged the antenna hole.
Attached image(s) 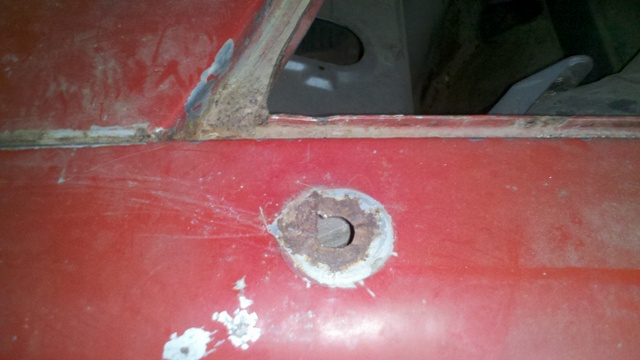 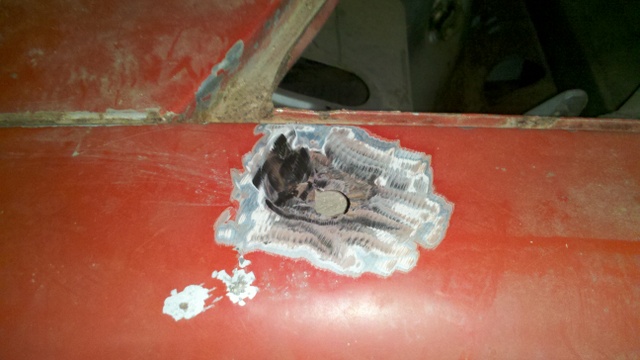 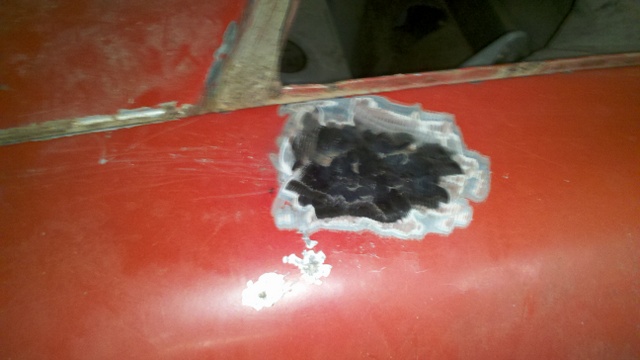 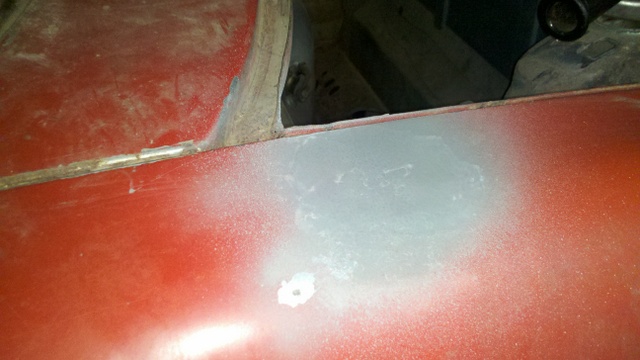
|
|
|
|
| trojanhorsepower |
Nov 29 2013, 09:01 PM
Post
#15
|
|
Senior Member Group: Members Posts: 1,051 Joined: 21-September 03 From: Marion, NC Member No.: 1,179 Region Association: None |
Doug Leehr came out today and we got right to work. Doug and I have been busy cutting out the cancer. First we did a little bracing.
Attached image(s) 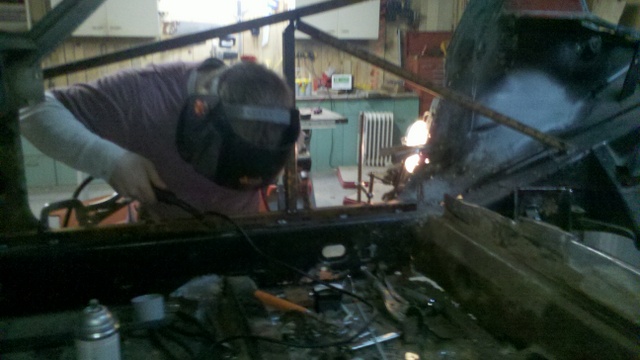 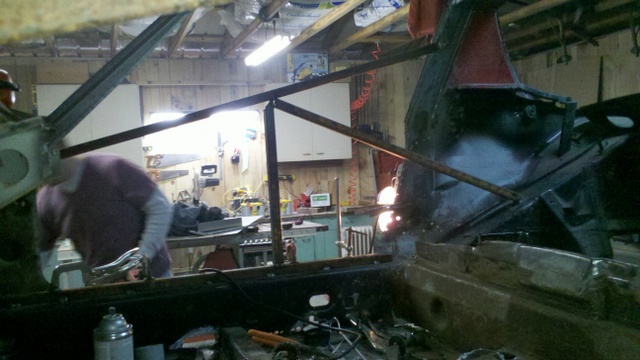
|
|
|
|
| trojanhorsepower |
Nov 29 2013, 09:04 PM
Post
#16
|
|
Senior Member Group: Members Posts: 1,051 Joined: 21-September 03 From: Marion, NC Member No.: 1,179 Region Association: None |
Next we started cutting. First the motor mount had to come out.
Attached image(s) 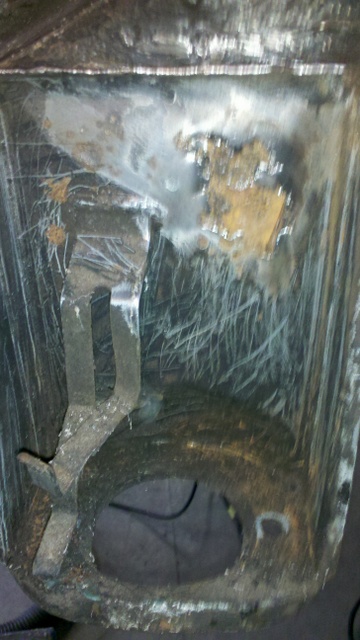 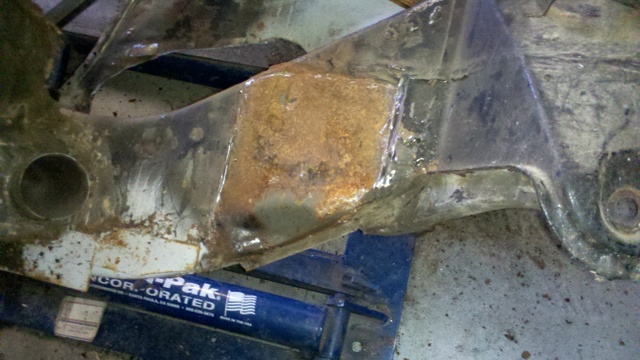
|
|
|
|
| trojanhorsepower |
Nov 29 2013, 09:06 PM
Post
#17
|
|
Senior Member Group: Members Posts: 1,051 Joined: 21-September 03 From: Marion, NC Member No.: 1,179 Region Association: None |
Then we cut a patch panel to weld in after we clean up the rust.
Attached image(s) 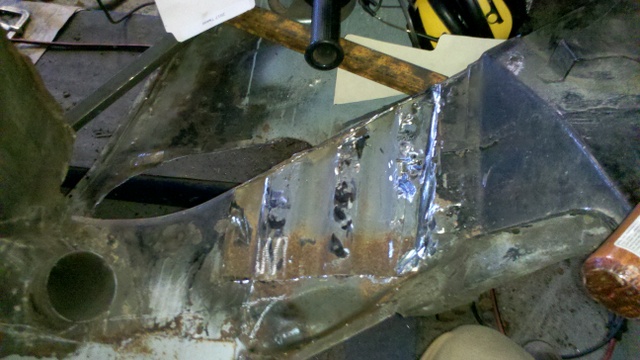 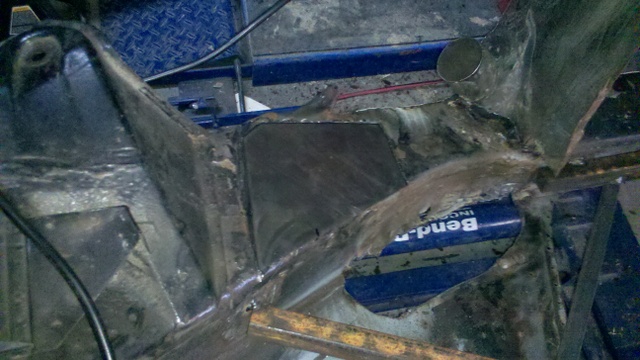
|
|
|
|
| trojanhorsepower |
Nov 29 2013, 09:07 PM
Post
#18
|
|
Senior Member Group: Members Posts: 1,051 Joined: 21-September 03 From: Marion, NC Member No.: 1,179 Region Association: None |
Lastly we cut out the rest of the rust. In this section. And started to test fit patch panels.
Attached image(s)  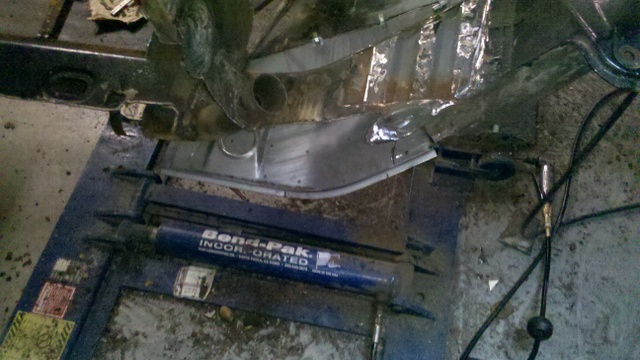
|
|
|
|
| trojanhorsepower |
Nov 30 2013, 08:32 PM
Post
#19
|
|
Senior Member Group: Members Posts: 1,051 Joined: 21-September 03 From: Marion, NC Member No.: 1,179 Region Association: None |
Doug and I worked like elves today. While I did some cleaning Doug whipped up a curvy inner long bit.
Attached image(s) 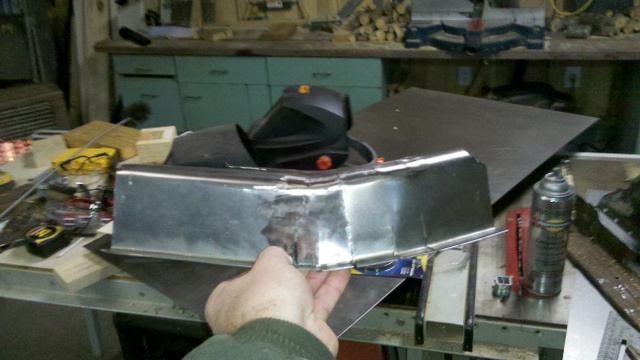 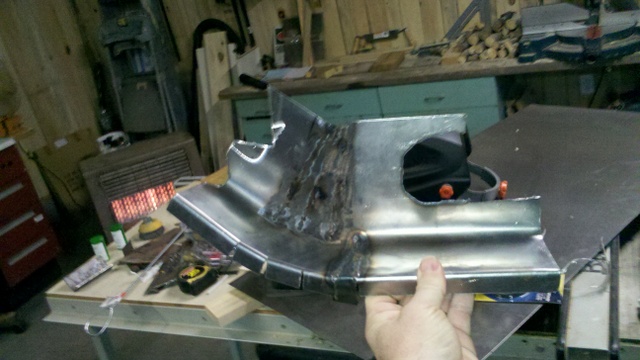
|
|
|
|
| trojanhorsepower |
Nov 30 2013, 08:36 PM
Post
#20
|
|
Senior Member Group: Members Posts: 1,051 Joined: 21-September 03 From: Marion, NC Member No.: 1,179 Region Association: None |
We got that part tacked in and cut out the rest of the lower inner long, and tacked in new metal.
Attached image(s) 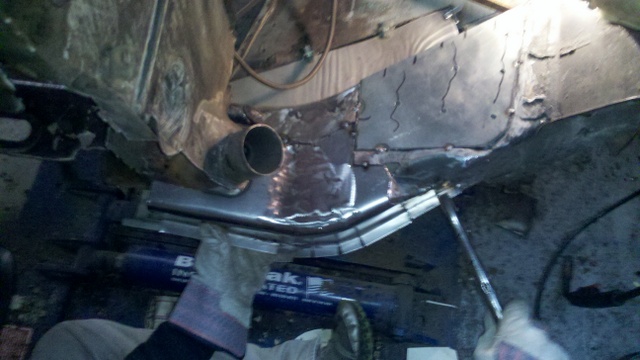 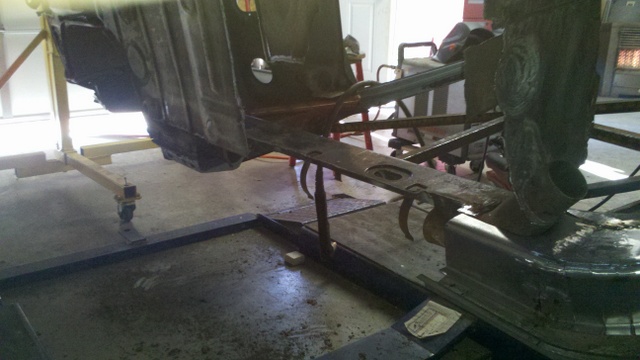 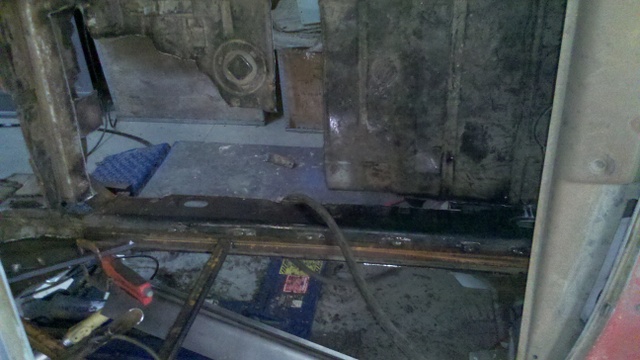  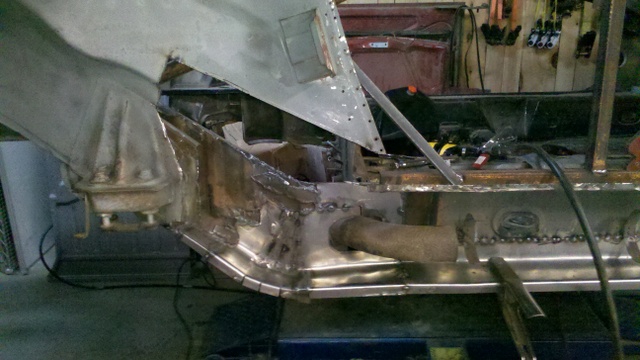
|
|
|
|
|
1 User(s) are reading this topic (1 Guests and 0 Anonymous Users)
0 Members:

|
Lo-Fi Version | Time is now: 5th June 2026 - 01:59 PM |
Invision Power Board
v9.1.4 © 2026 IPS, Inc.