|
|
|
Porsche, and the Porsche crest are registered trademarks of Dr. Ing. h.c. F. Porsche AG.
This site is not affiliated with Porsche in any way. Its only purpose is to provide an online forum for car enthusiasts. All other trademarks are property of their respective owners. |
|
|

  |

| trojanhorsepower |
 Feb 21 2017, 07:11 PM Feb 21 2017, 07:11 PM
Post
#161
|
|
Senior Member  Group: Members Posts: 1,031 Joined: 21-September 03 From: Marion, NC Member No.: 1,179 Region Association: None |
Does can someone post a picture of what this section is supposed to look like...
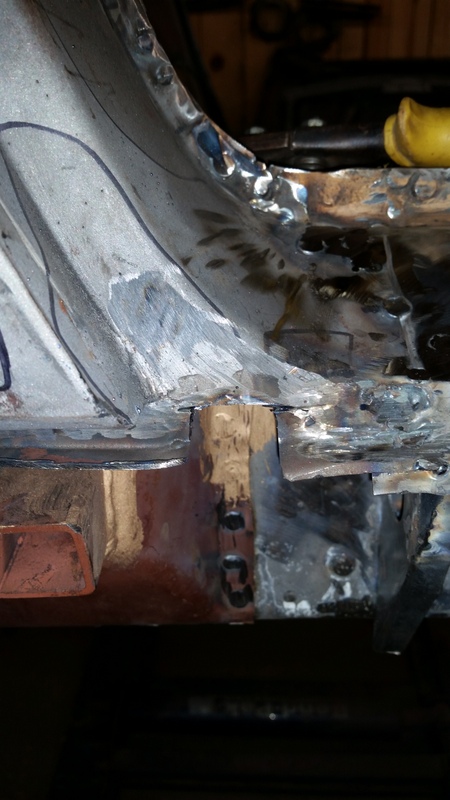 Mine was rusty and thin so I cut it out, but the other side is not great either. |
   |

 
|
| trojanhorsepower |
Jul 6 2017, 07:27 PM
Post
#162
|
|
Senior Member Group: Members Posts: 1,031 Joined: 21-September 03 From: Marion, NC Member No.: 1,179 Region Association: None |
Well its been a while, but atlast....
Progress!!!!!! Attached image(s) 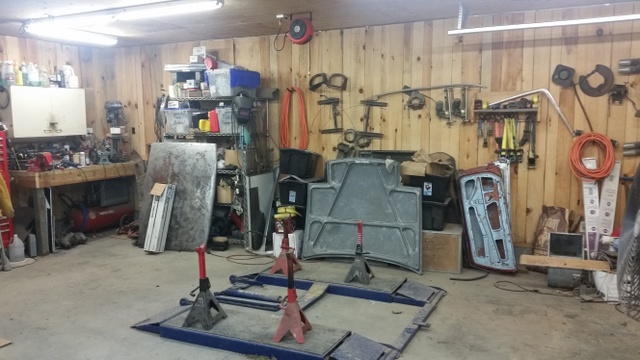
|
|
|
|
| trojanhorsepower |
Jul 6 2017, 07:28 PM
Post
#163
|
|
Senior Member Group: Members Posts: 1,031 Joined: 21-September 03 From: Marion, NC Member No.: 1,179 Region Association: None |
Naked 914
Attached image(s) 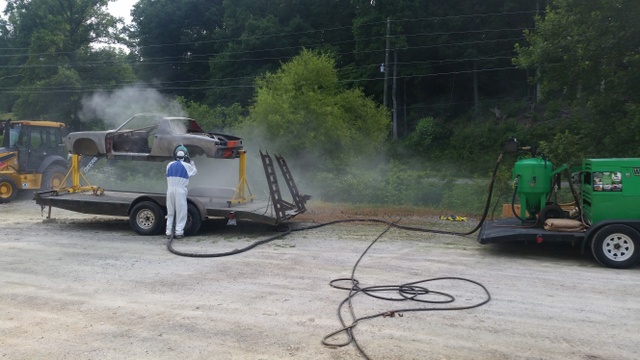 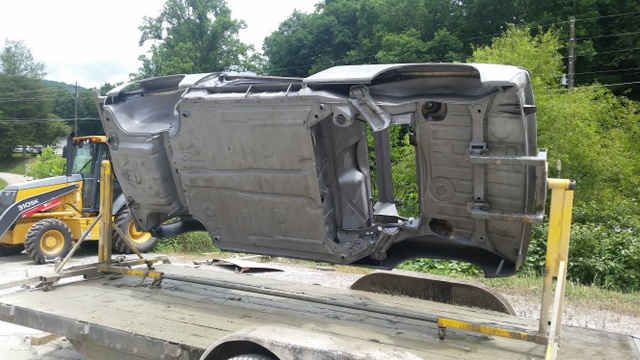 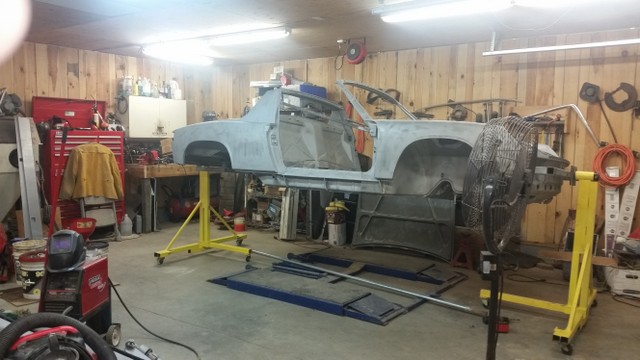 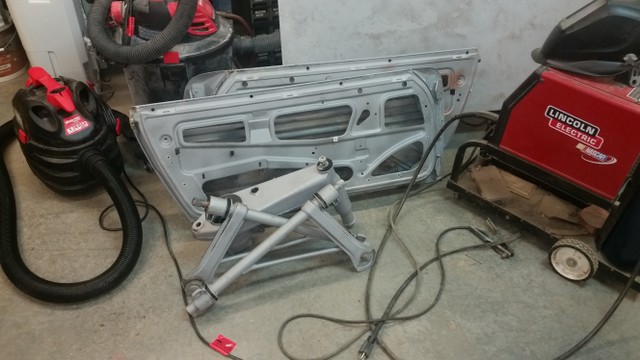
|
|
|
|
| dlee6204 |
Jul 7 2017, 10:54 AM
Post
#164
|
|
Howdy Group: Members Posts: 2,162 Joined: 30-April 06 From: Burnsville, NC Member No.: 5,956 |
Awesome! Not much left before paint!
|
|
|
|
| trojanhorsepower |
Aug 4 2017, 06:12 PM
Post
#165
|
|
Senior Member Group: Members Posts: 1,031 Joined: 21-September 03 From: Marion, NC Member No.: 1,179 Region Association: None |
Could it be? Is this possible?
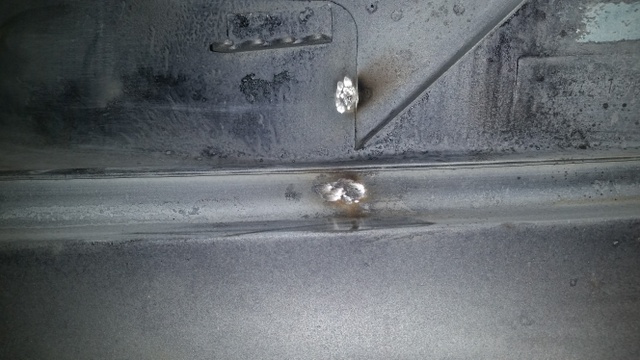 The last rust holes welded up.. I have thought this several times already, but maybe this one is it. |
|
|
|
| trojanhorsepower |
Aug 4 2017, 06:12 PM
Post
#166
|
|
Senior Member Group: Members Posts: 1,031 Joined: 21-September 03 From: Marion, NC Member No.: 1,179 Region Association: None |
I have sanded most of the insides now. On to the bottom and outsides, then primer.
|
|
|
|
| trojanhorsepower |
Sep 3 2017, 05:44 PM
Post
#167
|
|
Senior Member Group: Members Posts: 1,031 Joined: 21-September 03 From: Marion, NC Member No.: 1,179 Region Association: None |
Well its past time for another update..
Not as much visible progress, but I have been working. Going over the whole care with dental pick, toothbrush and vacuum. I am still finding sand, but I have the bulk of it out....I think. I decided to go ahead and get the foam out from the rear fender. 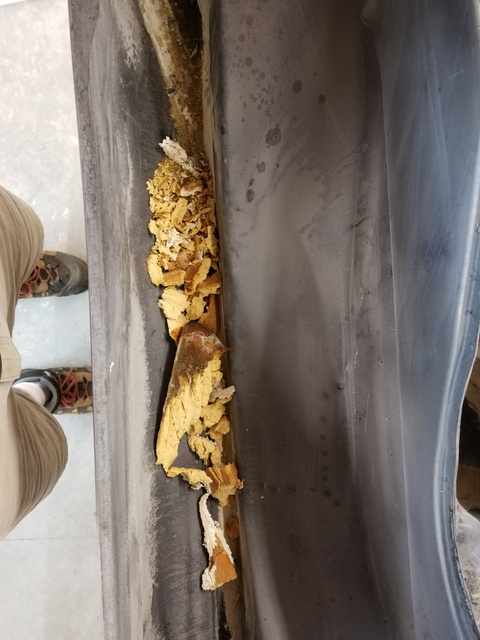 |
|
|
|
| trojanhorsepower |
Sep 3 2017, 05:49 PM
Post
#168
|
|
Senior Member Group: Members Posts: 1,031 Joined: 21-September 03 From: Marion, NC Member No.: 1,179 Region Association: None |
I have also been prepping my paint booth. I still have a ways to go, but here is the plan.
Positive pressure with furnace fan in filter box (still need to build). Plastic hanging from ceiling, and a filter wall built where the garage door is. 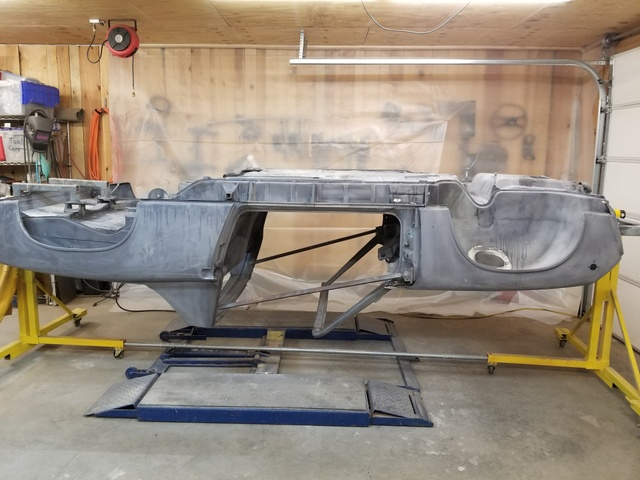 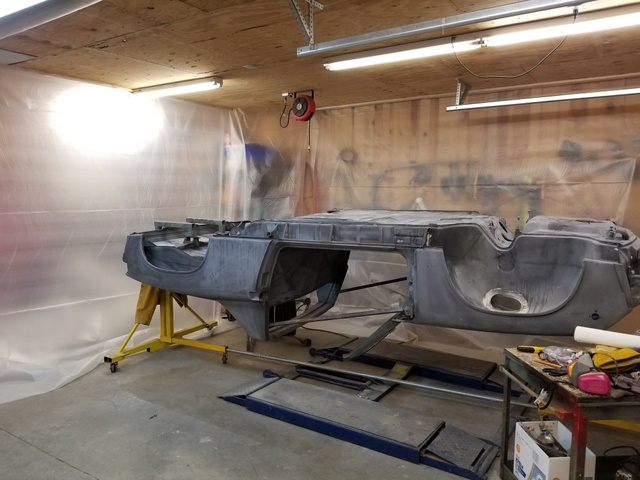 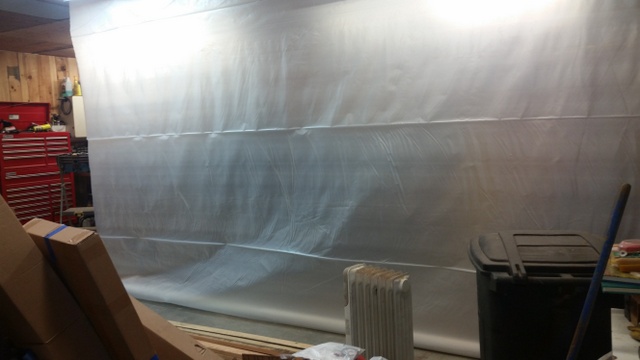 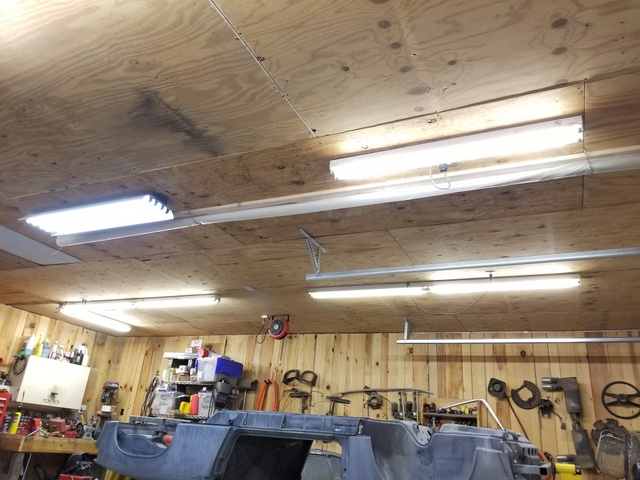 |
|
|
|
| trojanhorsepower |
Sep 3 2017, 05:52 PM
Post
#169
|
|
Senior Member Group: Members Posts: 1,031 Joined: 21-September 03 From: Marion, NC Member No.: 1,179 Region Association: None |
This is the idea. Roll up when not in use. I will add plastic to the floor, and tape up all the seams before I spray.. roll up the door, turn on the fan and fire away.
I hope. Its small only about 20' long and 12' wide. |
|
|
|
| trojanhorsepower |
Sep 3 2017, 05:59 PM
Post
#170
|
|
Senior Member Group: Members Posts: 1,031 Joined: 21-September 03 From: Marion, NC Member No.: 1,179 Region Association: None |
Also building a "Hannah's Bug" decicant air dryer.
First I had to cut the stops out of the bushings. I had to make the screened outlet line and then just glue it all together. 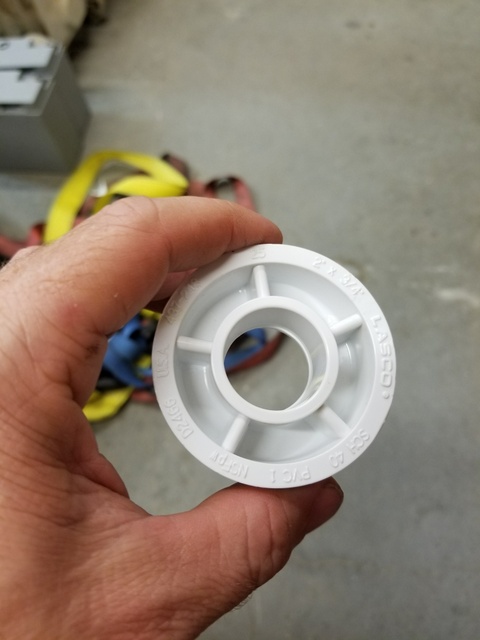 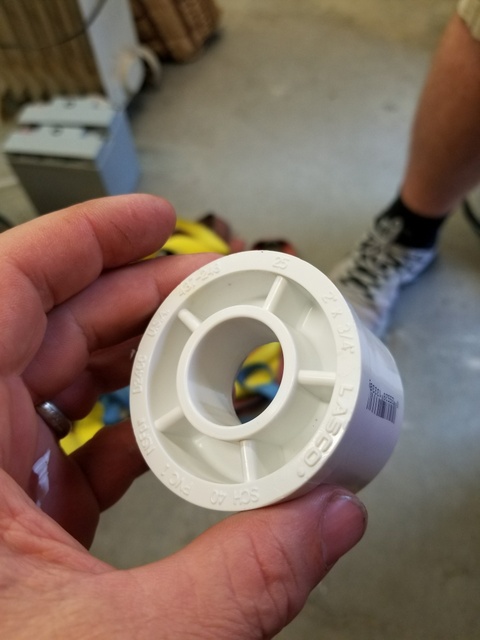 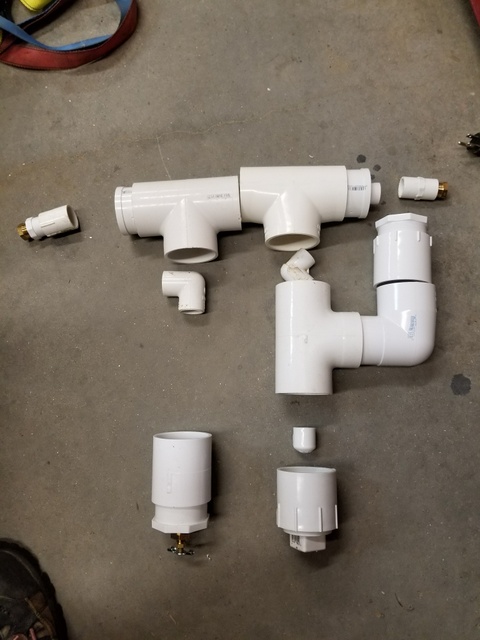 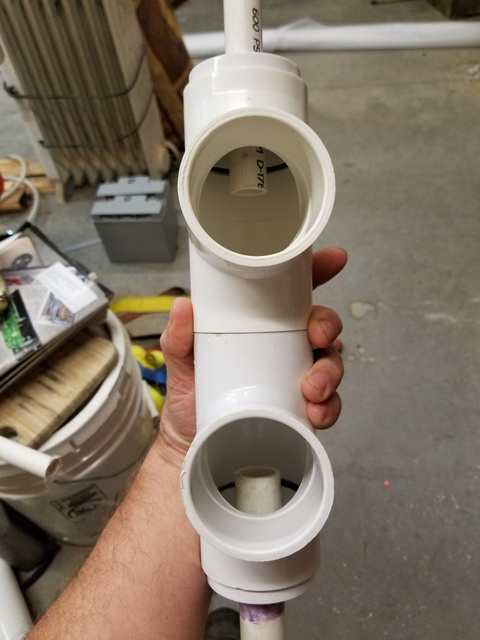 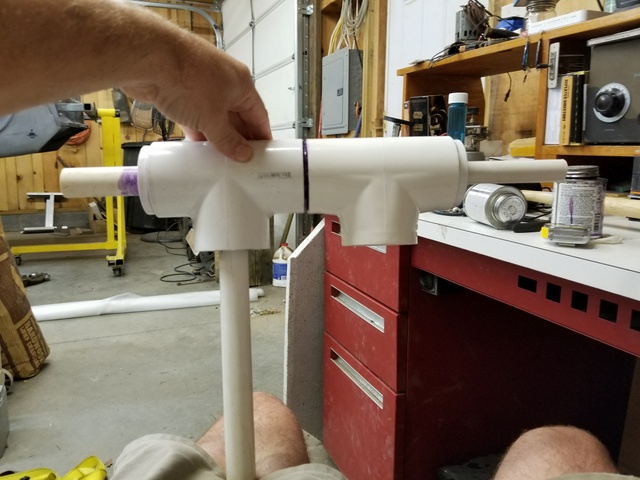  Waiting on the regulator and desiccant beads. |
|
|
|
| trojanhorsepower |
Nov 19 2017, 06:32 PM
Post
#171
|
|
Senior Member Group: Members Posts: 1,031 Joined: 21-September 03 From: Marion, NC Member No.: 1,179 Region Association: None |
Well at last... Progress!
As discussed in my SPI thread with ScottyB I started with PPG Shopline JP371.. 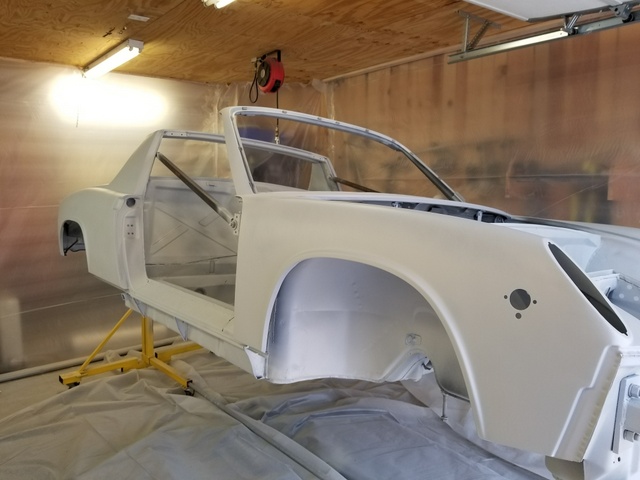 This is just the first coat. After this was dry I spent about an hour spinning the car and got a little more sand out.  Next I applied JP202 as a sealer  Then I applied color JB Marathon Blue Metalic 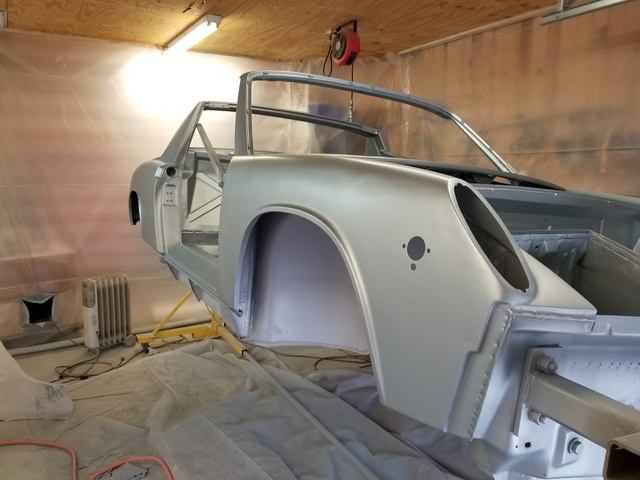 Mostly just messing around with the color on the outer panels, I plan to sand them all right back, but it was good practice.... and I mixed up too much paint. Next I used the JC620 Clear on the inside stuff. 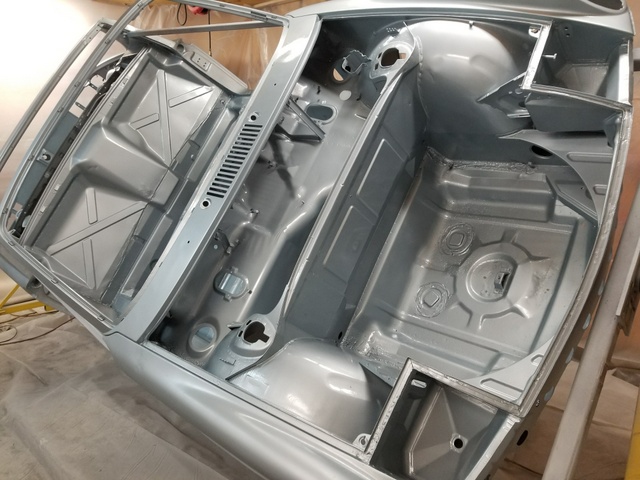  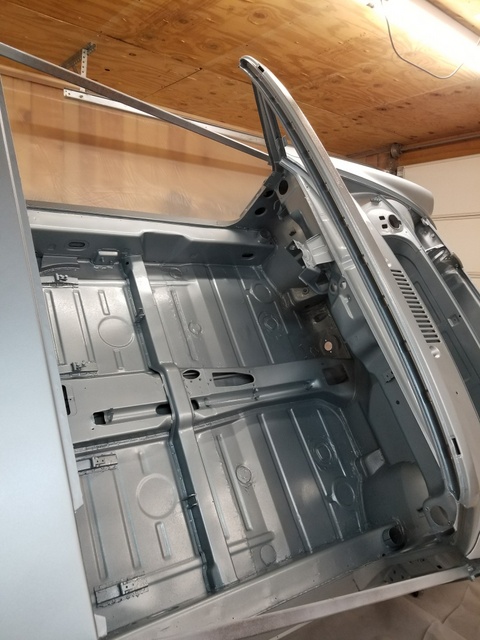 |
|
|
|
| trojanhorsepower |
Nov 19 2017, 06:35 PM
Post
#172
|
|
Senior Member Group: Members Posts: 1,031 Joined: 21-September 03 From: Marion, NC Member No.: 1,179 Region Association: None |
I wasn't convinced I would ever get this far, but for the first time in who know how long she is the factory color again. Next I need to spray Raptor on the underside and wheel wells, then I can start bolting stuff back on. After most of that stuff is done, I will sand the outside back and repaint the outsides.
|
|
|
|
| 76-914 |
Nov 19 2017, 09:15 PM
Post
#173
|
|
Repeat Offender & Resident Subaru Antagonist Group: Members Posts: 13,882 Joined: 23-January 09 From: Temecula, CA Member No.: 9,964 Region Association: Southern California |
Looks good. I made the same style paint booth in 2009. Cost me about $60 but I already had an squirrel cage fan. Worked great! (IMG:style_emoticons/default/beerchug.gif)
|
|
|
|
| porschetub |
Nov 19 2017, 09:34 PM
Post
#174
|
|
914 Guru Group: Members Posts: 5,102 Joined: 25-July 15 From: New Zealand Member No.: 18,995 Region Association: None |
Amazing progress considering what you started with...like my silver car (L96 D) but really like that colour I think a little more than mine.
Good luck you are getting closer (IMG:style_emoticons/default/beerchug.gif) |
|
|
|
| dlee6204 |
Nov 19 2017, 11:58 PM
Post
#175
|
|
Howdy Group: Members Posts: 2,162 Joined: 30-April 06 From: Burnsville, NC Member No.: 5,956 |
|
|
|
|
| trojanhorsepower |
Dec 5 2017, 08:17 PM
Post
#176
|
|
Senior Member Group: Members Posts: 1,031 Joined: 21-September 03 From: Marion, NC Member No.: 1,179 Region Association: None |
Hey guys,
Quick question: are the rubber spring bits available or needed for the shocks. I have new shocks from PMB, but don't see this part for the fronts or rears. Rear is Haynes manual page 94 lower right corner item number 8. Front is Haynes page 100 item 26. Also is there a round universal joint bushing (shift linkage) other than the $50 brass one that works OK? Thanks |
|
|
|
| trojanhorsepower |
Jul 19 2018, 06:55 PM
Post
#177
|
|
Senior Member Group: Members Posts: 1,031 Joined: 21-September 03 From: Marion, NC Member No.: 1,179 Region Association: None |
How about some pictures of the front bulkhead? I need to see how the wires go from inside the cab, through the fuel tank section and into the front trunk.
Thanks, |
|
|
|
| trojanhorsepower |
May 5 2021, 06:46 PM
Post
#178
|
|
Senior Member Group: Members Posts: 1,031 Joined: 21-September 03 From: Marion, NC Member No.: 1,179 Region Association: None |
Well, I have not posted much, but I have done a little work.
Finished the under coating. 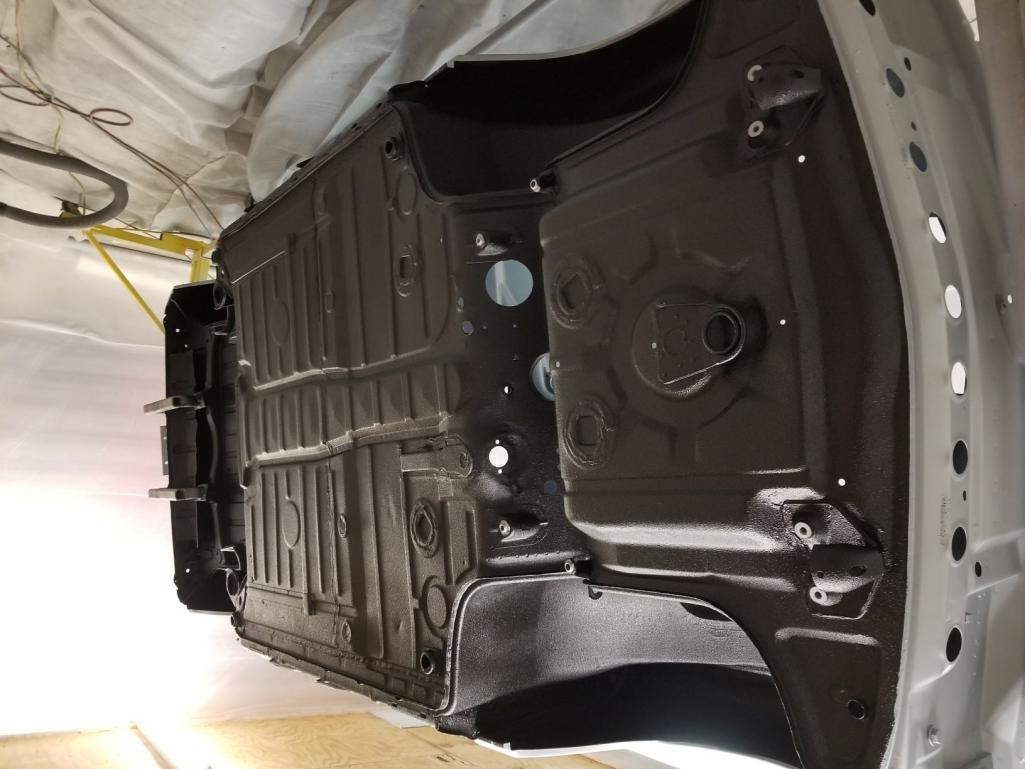 |
|
|
|
| trojanhorsepower |
May 5 2021, 06:48 PM
Post
#179
|
|
Senior Member Group: Members Posts: 1,031 Joined: 21-September 03 From: Marion, NC Member No.: 1,179 Region Association: None |
Redid the cluster.
Attached thumbnail(s) 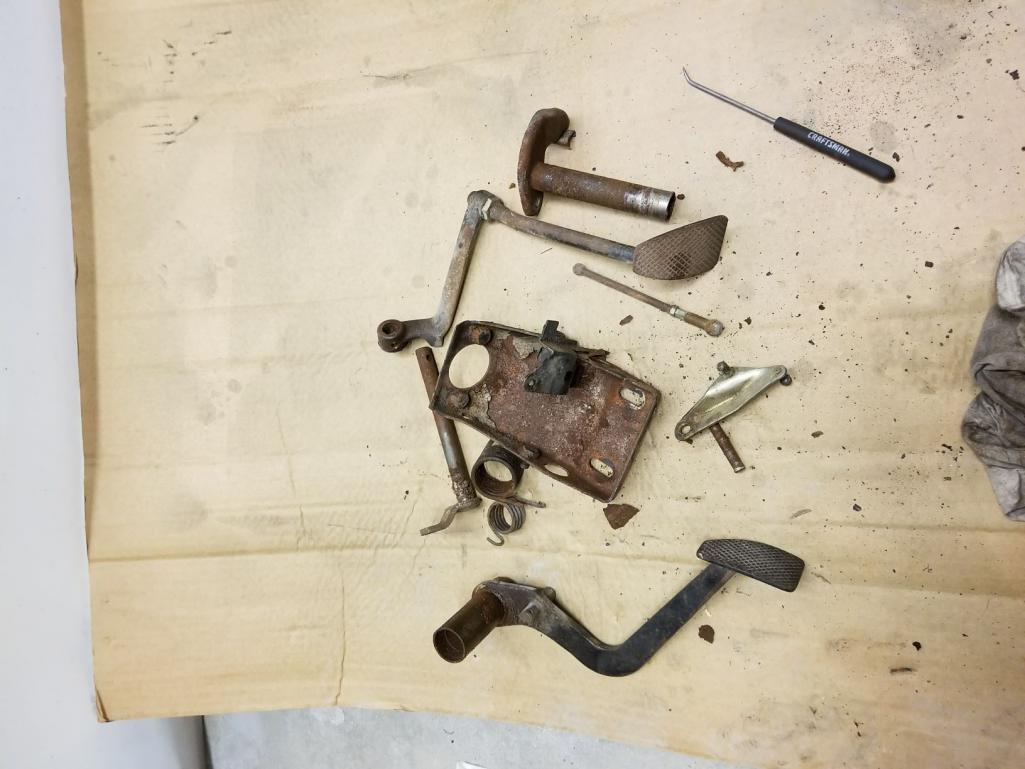 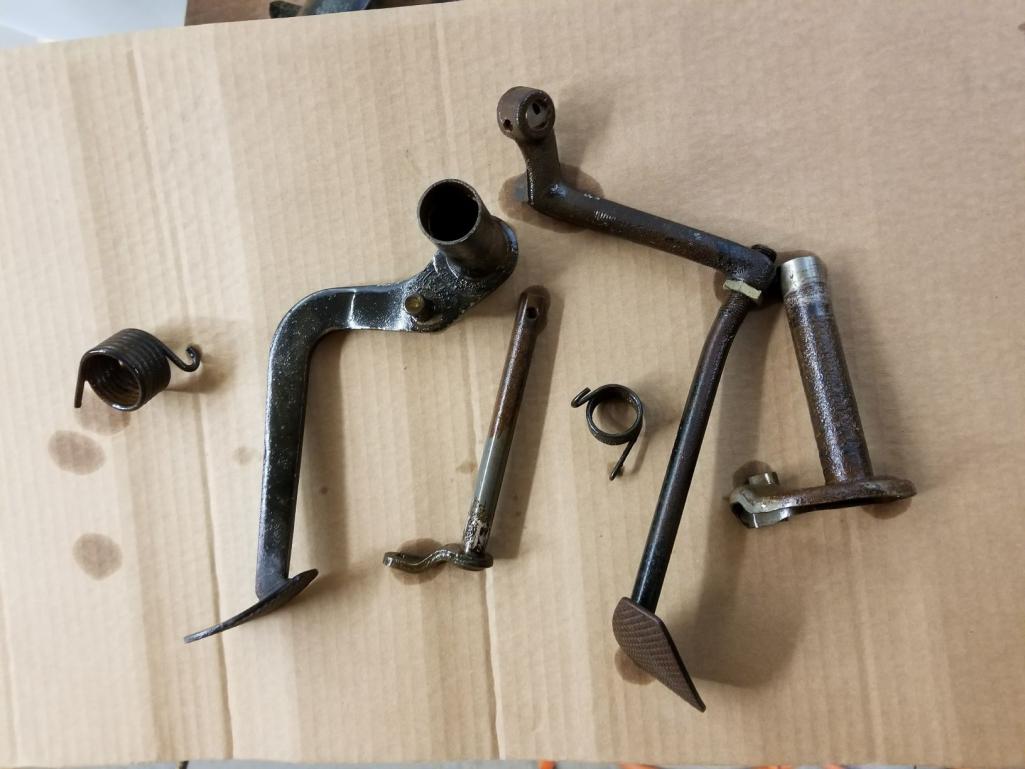 
|
|
|
|
| Cairo94507 |
May 5 2021, 06:49 PM
Post
#180
|
|
Michael Group: Members Posts: 10,627 Joined: 1-November 08 From: Auburn, CA Member No.: 9,712 Region Association: Northern California |
Glad to see you back at it. That is looking really nice. That has got to get you fired up. (IMG:style_emoticons/default/beerchug.gif)
|
|
|
|
|
1 User(s) are reading this topic (1 Guests and 0 Anonymous Users)
0 Members:

|
Lo-Fi Version | Time is now: 10th May 2026 - 12:03 PM |
Invision Power Board
v9.1.4 © 2026 IPS, Inc.