|
|
|
Porsche, and the Porsche crest are registered trademarks of Dr. Ing. h.c. F. Porsche AG.
This site is not affiliated with Porsche in any way. Its only purpose is to provide an online forum for car enthusiasts. All other trademarks are property of their respective owners. |
|
|

  |

| trojanhorsepower |
 Nov 30 2013, 08:42 PM Nov 30 2013, 08:42 PM
Post
#21
|
|
Senior Member  Group: Members Posts: 1,031 Joined: 21-September 03 From: Marion, NC Member No.: 1,179 Region Association: None |
At this point we decided to cut out for the day. We were getting burned out. We had been grinding away at this project for hours.........
|
   |

 
|
| TargaToy |
Dec 1 2013, 04:30 PM
Post
#22
|
|
-NONSOLIS RADIOS SEDIOUIS FULMINA MITTO- Group: Members Posts: 714 Joined: 26-March 10 From: DelMarVa Peninsula Member No.: 11,509 Region Association: MidAtlantic Region |
(IMG:style_emoticons/default/sawzall-smiley.gif) Keep it up! Making real progress there. (IMG:style_emoticons/default/welder.gif)
|
|
|
|
| trojanhorsepower |
Dec 2 2013, 04:16 PM
Post
#23
|
|
Senior Member Group: Members Posts: 1,031 Joined: 21-September 03 From: Marion, NC Member No.: 1,179 Region Association: None |
Thanks Conrad!
It has been really nice to get back to work on this. I could not have done much of it with out Doug. |
|
|
|
| trojanhorsepower |
Dec 15 2013, 08:33 PM
Post
#24
|
|
Senior Member Group: Members Posts: 1,031 Joined: 21-September 03 From: Marion, NC Member No.: 1,179 Region Association: None |
Well it has been a while since my last update, but I have not been totally slack. After Doug left I have been filling in the welds and I made three plates to help strengthen all the welded joints. I have been welding these in a little at a time.
Attached image(s) 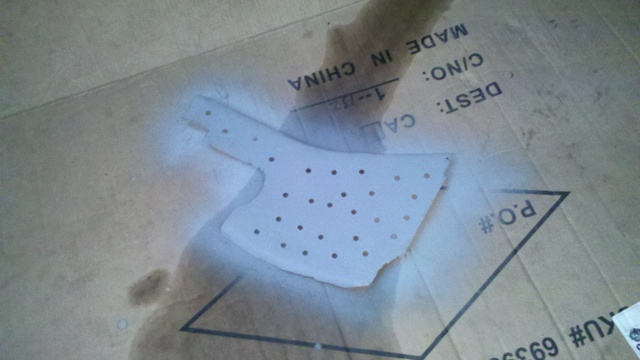 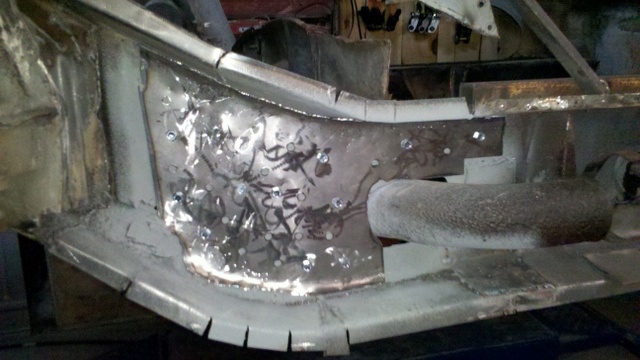 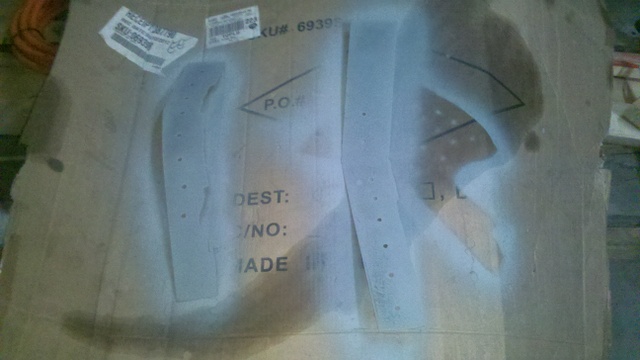
|
|
|
|
| trojanhorsepower |
Dec 15 2013, 08:35 PM
Post
#25
|
|
Senior Member Group: Members Posts: 1,031 Joined: 21-September 03 From: Marion, NC Member No.: 1,179 Region Association: None |
For now I am out of wire so it is time to grind some welds and clean house. I have my helpers all working hard.
Attached image(s) 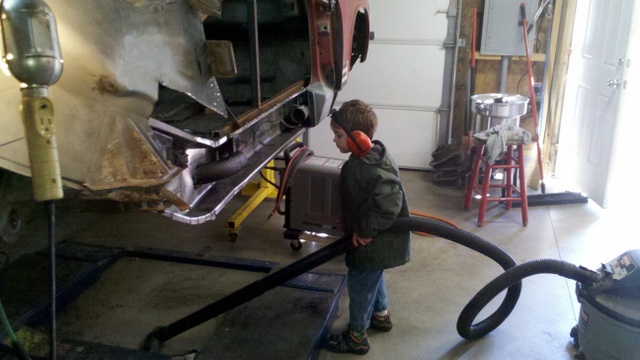 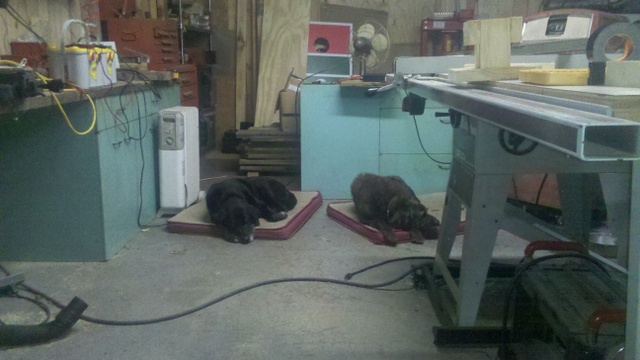
|
|
|
|
| trojanhorsepower |
Jan 13 2014, 07:13 PM
Post
#26
|
|
Senior Member Group: Members Posts: 1,031 Joined: 21-September 03 From: Marion, NC Member No.: 1,179 Region Association: None |
With the holidays over it is time to get back to work. Thanks to my Dad and Father-in-Law, I got some new parts and new supplies. I got a big shipment from RD, a nice autodark helmet and switched my welder over to 10lb. spools.
With the welder up and running I decided to start working on one of the cross braces. Attached image(s) 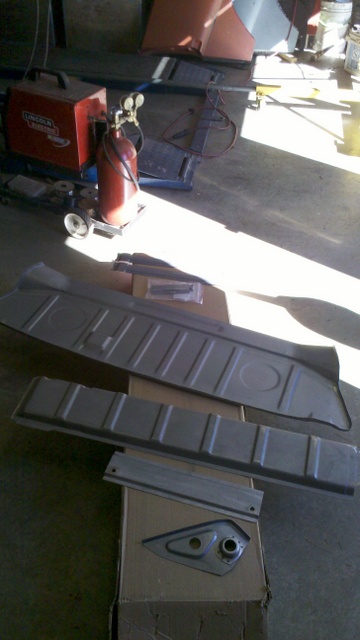 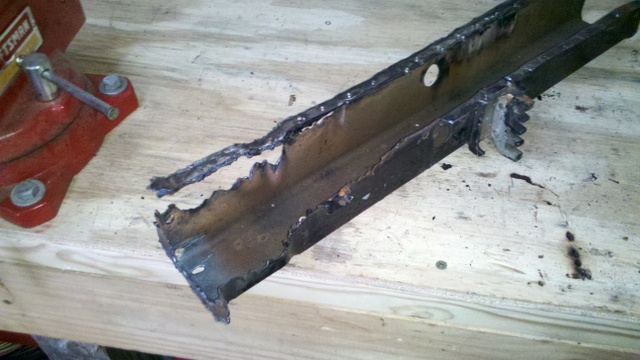 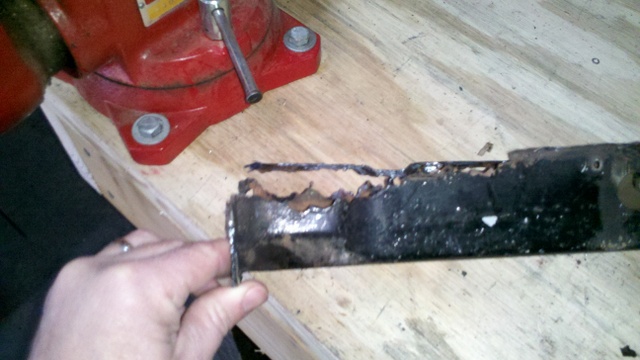 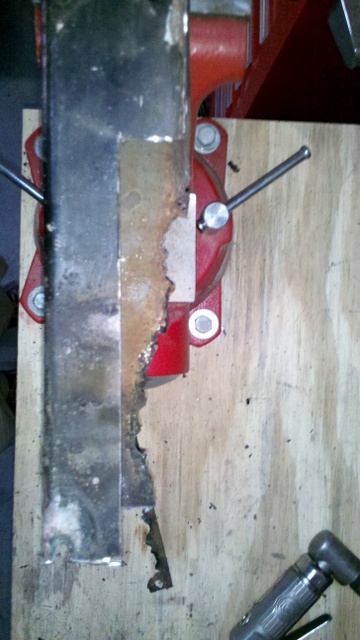 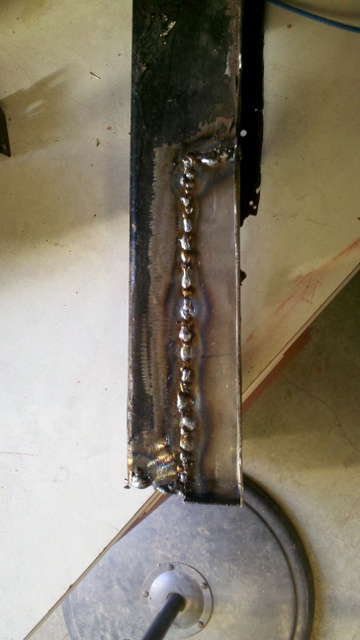 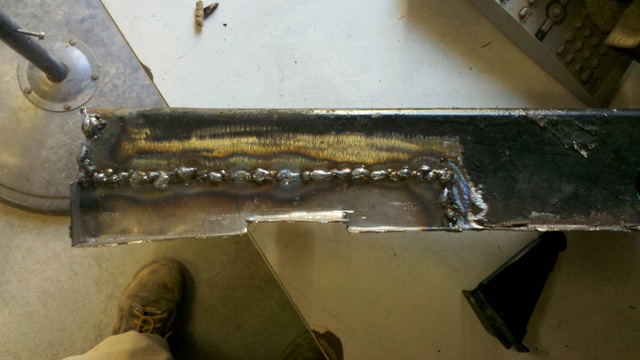
|
|
|
|
| FourBlades |
Jan 13 2014, 08:23 PM
Post
#27
|
|
From Wreck to Rockin Group: Members Posts: 2,056 Joined: 3-December 07 From: Brevard, FL Member No.: 8,414 Region Association: South East States |
|
|
|
|
| trojanhorsepower |
Jan 20 2014, 06:00 PM
Post
#28
|
|
Senior Member Group: Members Posts: 1,031 Joined: 21-September 03 From: Marion, NC Member No.: 1,179 Region Association: None |
Did a little more today. I have started working on the inner and outer fire wall bits. I started working on the outer section and realized there was no reason for it to be in the right place in relation to the long. After measuring and adjusting I am thinking about welding in the inner part first, but how in the heck am I going to locate that stupid dimple?
Attached image(s) 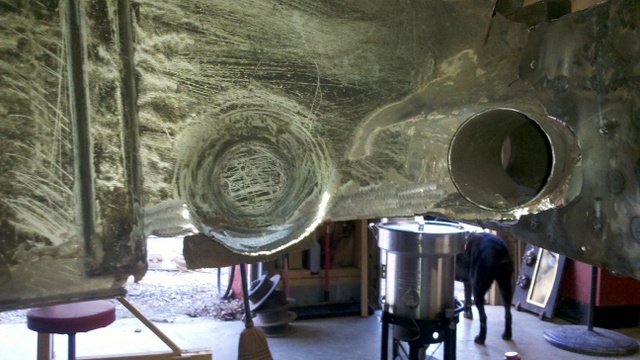 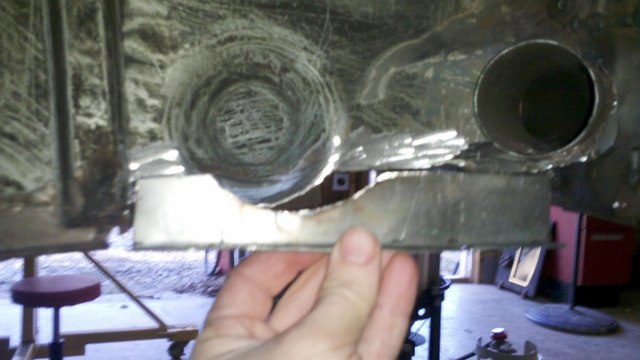 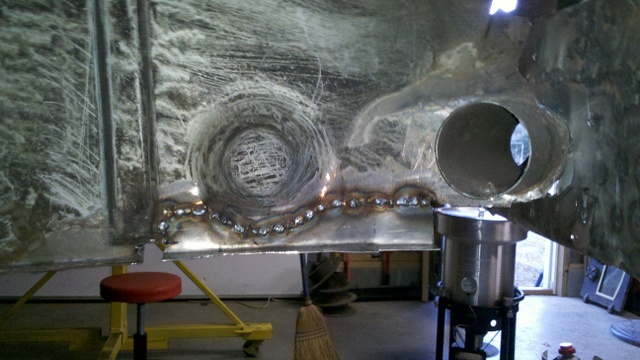 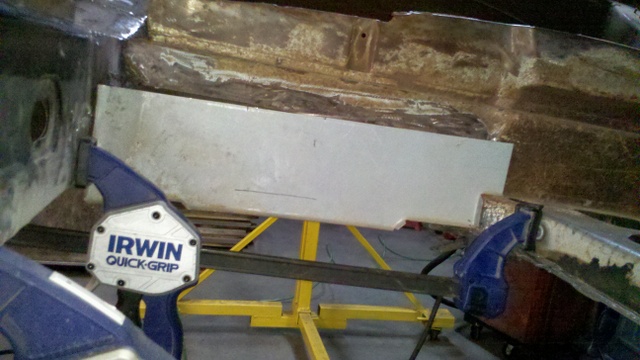
|
|
|
|
| trojanhorsepower |
Feb 2 2014, 06:44 PM
Post
#29
|
|
Senior Member Group: Members Posts: 1,031 Joined: 21-September 03 From: Marion, NC Member No.: 1,179 Region Association: None |
I went back to working on the out firewall, because I have not decided what to do about the dimple. After a long time the two sides of my car are connected at the firewall!
Attached image(s) 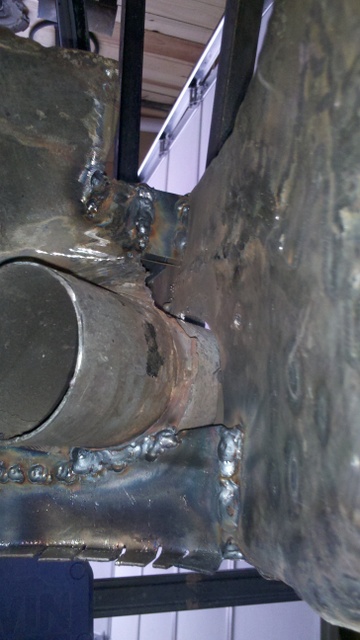 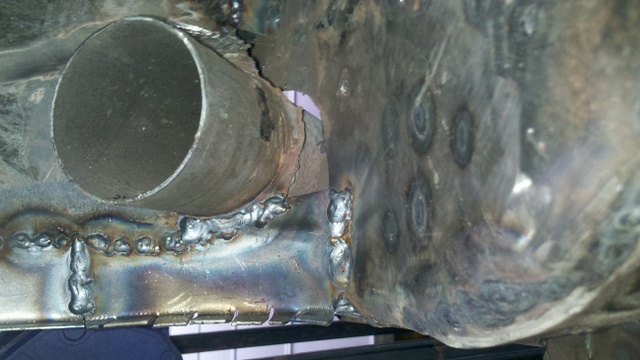 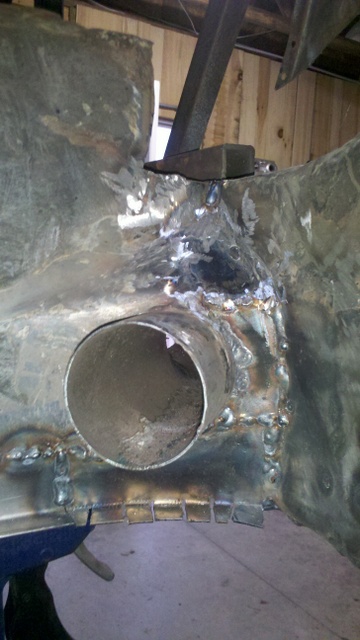
|
|
|
|
| trojanhorsepower |
Feb 22 2014, 06:51 PM
Post
#30
|
|
Senior Member Group: Members Posts: 1,031 Joined: 21-September 03 From: Marion, NC Member No.: 1,179 Region Association: None |
I have been picking away at the inner firewall. The patch did not have the dimple, so I cut my old dimple out and welded it in to the patch panel. I have been tacking it in over the last few days.
Attached image(s) 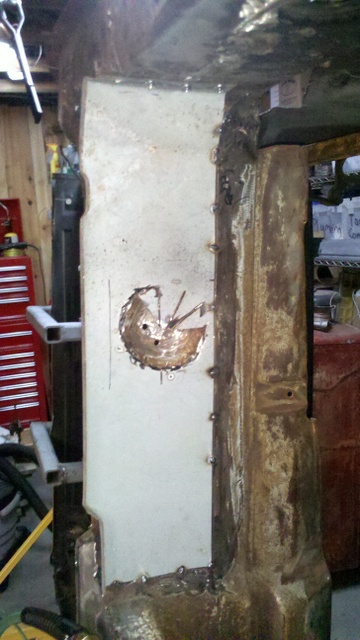 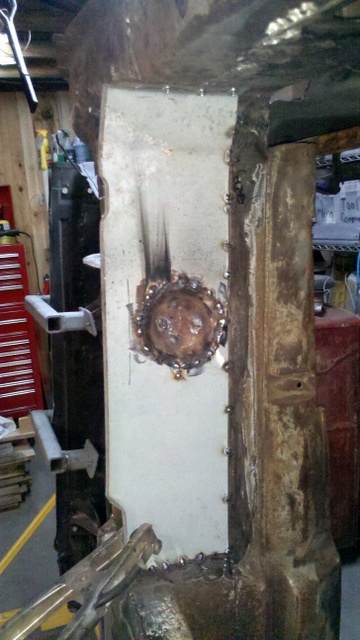
|
|
|
|
| trojanhorsepower |
Mar 14 2014, 07:06 PM
Post
#31
|
|
Senior Member Group: Members Posts: 1,031 Joined: 21-September 03 From: Marion, NC Member No.: 1,179 Region Association: None |
I have been pecking away at the project.
I got the inside coated with copperweld and the seat belt nut in. Now I am test fitting the outer cover. I can't believe I am actually getting close to closing this long up. I know I still have tons to do, but this will be a nice milestone to cross. Attached image(s) 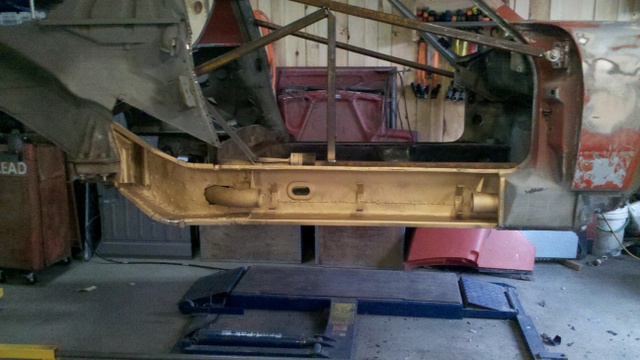 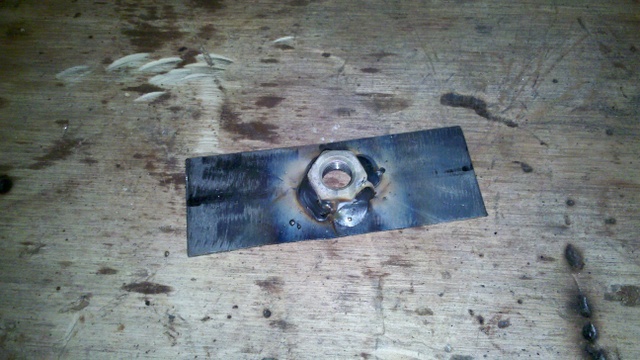 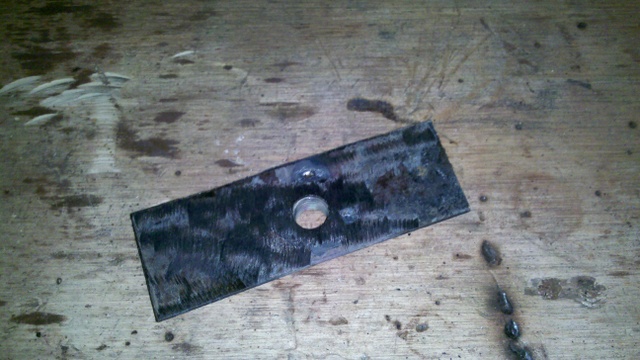 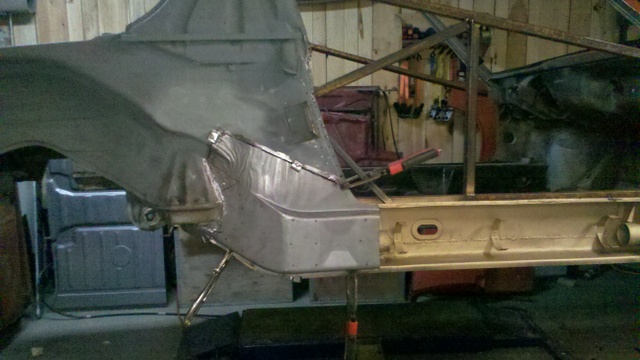
|
|
|
|
| trojanhorsepower |
Mar 18 2014, 07:10 PM
Post
#32
|
|
Senior Member Group: Members Posts: 1,031 Joined: 21-September 03 From: Marion, NC Member No.: 1,179 Region Association: None |
OK so I have started to test fit the outer long parts. When that is right and welded on, when do the experts think I can remove some of the bracing. Not the main brace, but some of the other bits. I need to remove some of it to start fitting the upper firewall.
|
|
|
|
| trojanhorsepower |
Mar 19 2014, 05:13 PM
Post
#33
|
|
Senior Member Group: Members Posts: 1,031 Joined: 21-September 03 From: Marion, NC Member No.: 1,179 Region Association: None |
|
|
|
|
| dlee6204 |
Mar 19 2014, 06:11 PM
Post
#34
|
|
Howdy Group: Members Posts: 2,162 Joined: 30-April 06 From: Burnsville, NC Member No.: 5,956 |
I wouldn't remove any of it until the long is closed. After that I might keep a simple door brace while it's still on the rotisserie being welded on.
|
|
|
|
| cary |
Mar 20 2014, 02:20 AM
Post
#35
|
|
Advanced Member Group: Members Posts: 3,900 Joined: 26-January 04 From: Sherwood Oregon Member No.: 1,608 Region Association: Pacific Northwest |
Nothing can come off until the outer rocker is welded in.
My .02c. |
|
|
|
| trojanhorsepower |
Mar 20 2014, 02:50 PM
Post
#36
|
|
Senior Member Group: Members Posts: 1,031 Joined: 21-September 03 From: Marion, NC Member No.: 1,179 Region Association: None |
OK, thanks guys.
|
|
|
|
| trojanhorsepower |
Mar 24 2014, 04:34 PM
Post
#37
|
|
Senior Member Group: Members Posts: 1,031 Joined: 21-September 03 From: Marion, NC Member No.: 1,179 Region Association: None |
The outer long parts clamped/screwed on.
Edit: Not sure what happened here. Attached image(s) 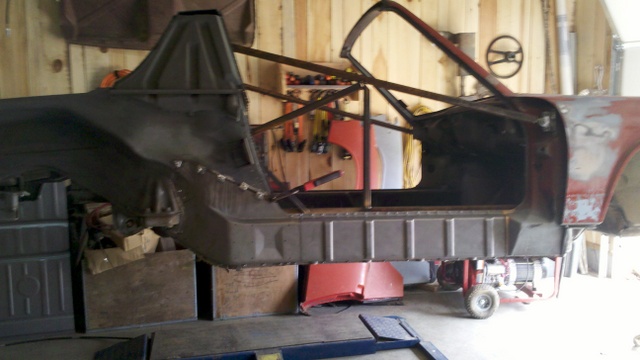
|
|
|
|
| trojanhorsepower |
Mar 24 2014, 04:34 PM
Post
#38
|
|
Senior Member Group: Members Posts: 1,031 Joined: 21-September 03 From: Marion, NC Member No.: 1,179 Region Association: None |
The outer long parts clamped/screwed on.
|
|
|
|
| trojanhorsepower |
Mar 24 2014, 04:45 PM
Post
#39
|
|
Senior Member Group: Members Posts: 1,031 Joined: 21-September 03 From: Marion, NC Member No.: 1,179 Region Association: None |
While I wait for some expert double checking on the outer long, I have moved on to some other bad spots.
Attached image(s) 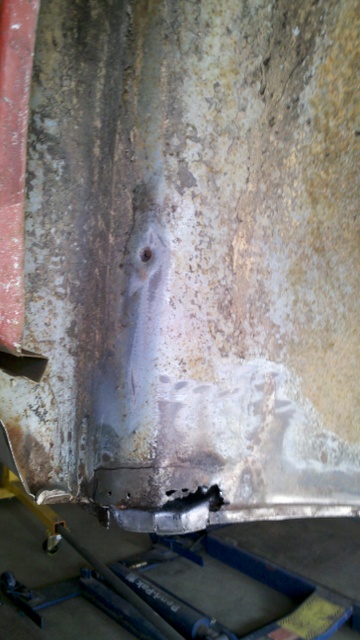 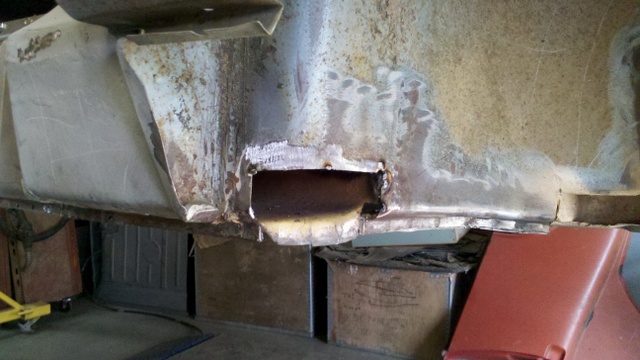  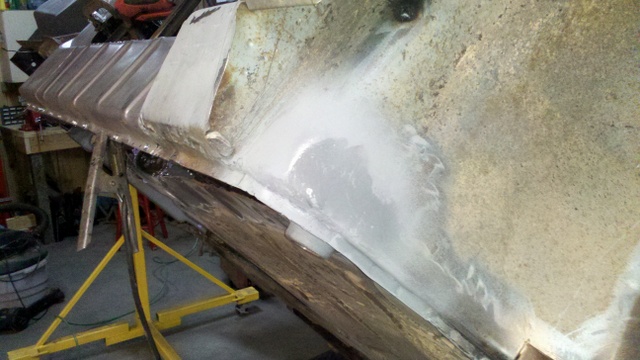
|
|
|
|
| trojanhorsepower |
Mar 24 2014, 04:48 PM
Post
#40
|
|
Senior Member Group: Members Posts: 1,031 Joined: 21-September 03 From: Marion, NC Member No.: 1,179 Region Association: None |
This spot is much harder. I am really struggling to fabricate a patch. Does anyone have a parts car they can cut this bit out of?
Attached image(s) 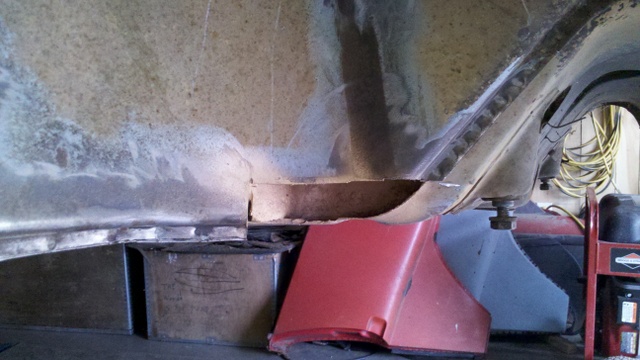 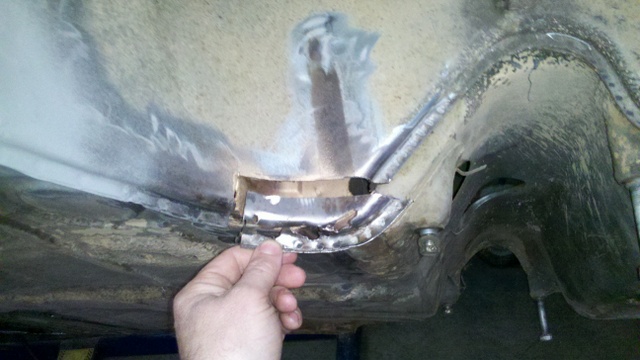 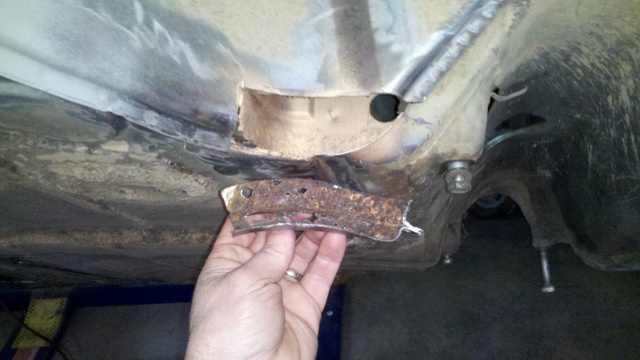
|
|
|
|
|
2 User(s) are reading this topic (2 Guests and 0 Anonymous Users)
0 Members:

|
Lo-Fi Version | Time is now: 10th May 2026 - 10:31 AM |
Invision Power Board
v9.1.4 © 2026 IPS, Inc.