|
|
|
Porsche, and the Porsche crest are registered trademarks of Dr. Ing. h.c. F. Porsche AG.
This site is not affiliated with Porsche in any way. Its only purpose is to provide an online forum for car enthusiasts. All other trademarks are property of their respective owners. |
|
|

  |

| mbseto |
 Dec 10 2014, 04:48 PM Dec 10 2014, 04:48 PM
Post
#1
|
|
Senior Member  Group: Members Posts: 1,257 Joined: 6-August 14 From: Cincy Member No.: 17,743 Region Association: North East States |
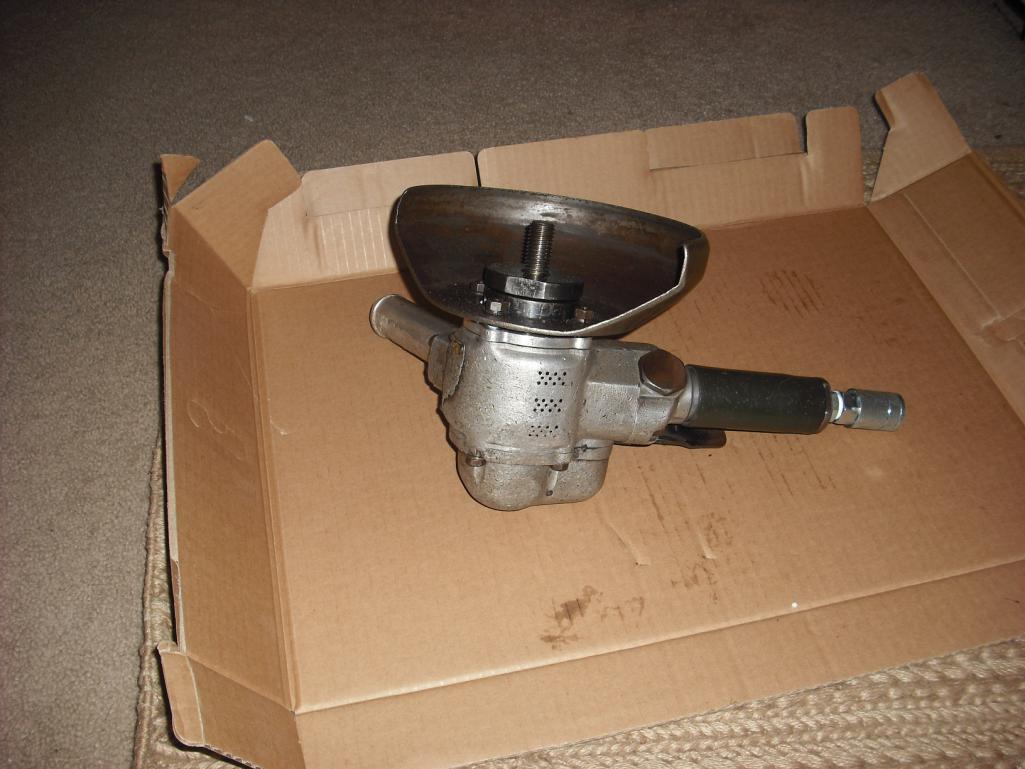
I suppose air tools are as much 914-related as jackstands are... And although these days it seems they are considered disposable, this one has grown on me and a rebuild kit is available so I did the work. Maybe someone out there may benefit from the photos.
It's a 3HP motor, which is within a 1/2HP of my push mower. EDIT: Guess I should mention, it's an ATSCO 1700. 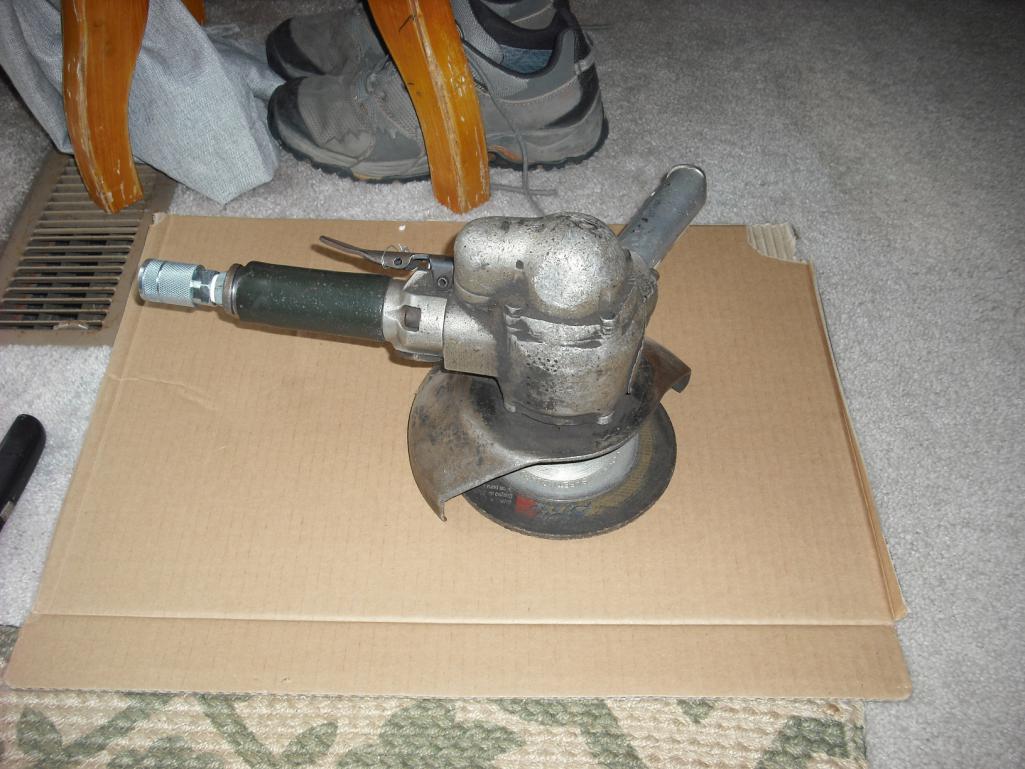 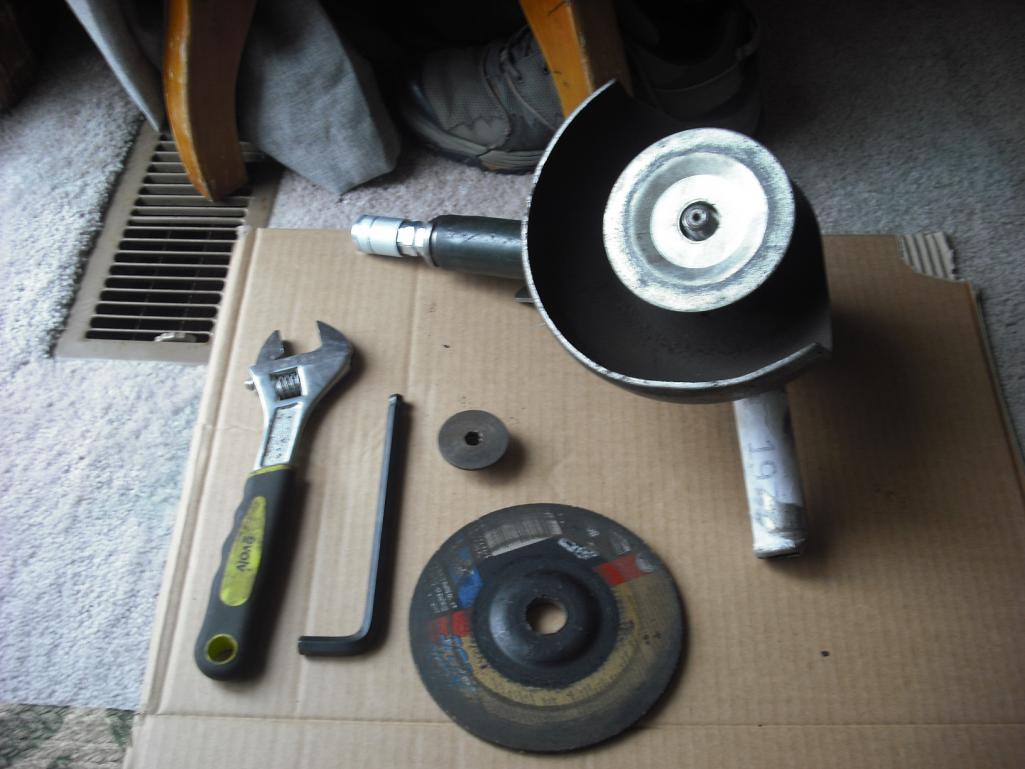 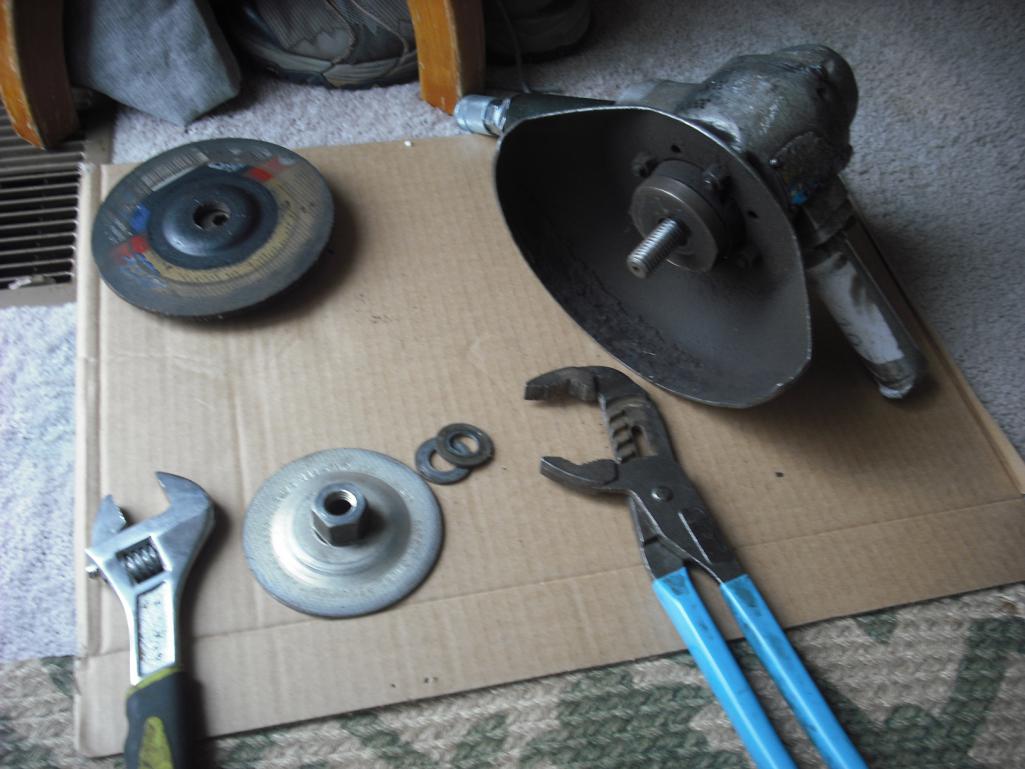 |
   |

 
|
| mbseto |
Dec 10 2014, 04:52 PM
Post
#2
|
|
Senior Member Group: Members Posts: 1,257 Joined: 6-August 14 From: Cincy Member No.: 17,743 Region Association: North East States |
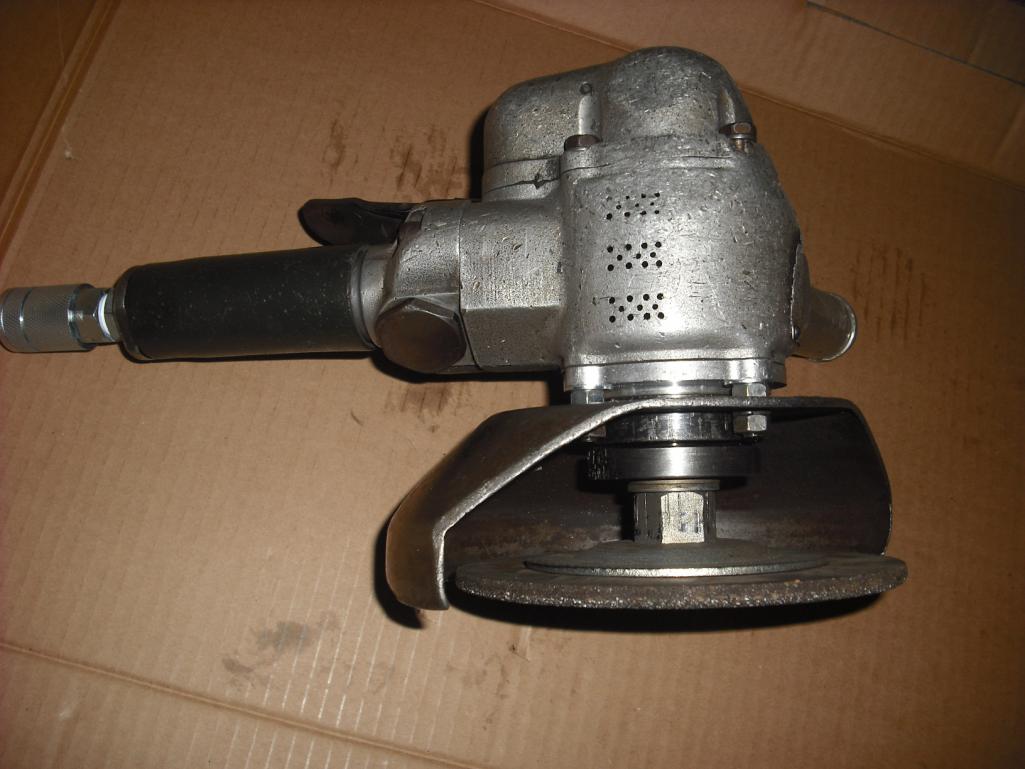
Removed the guard:
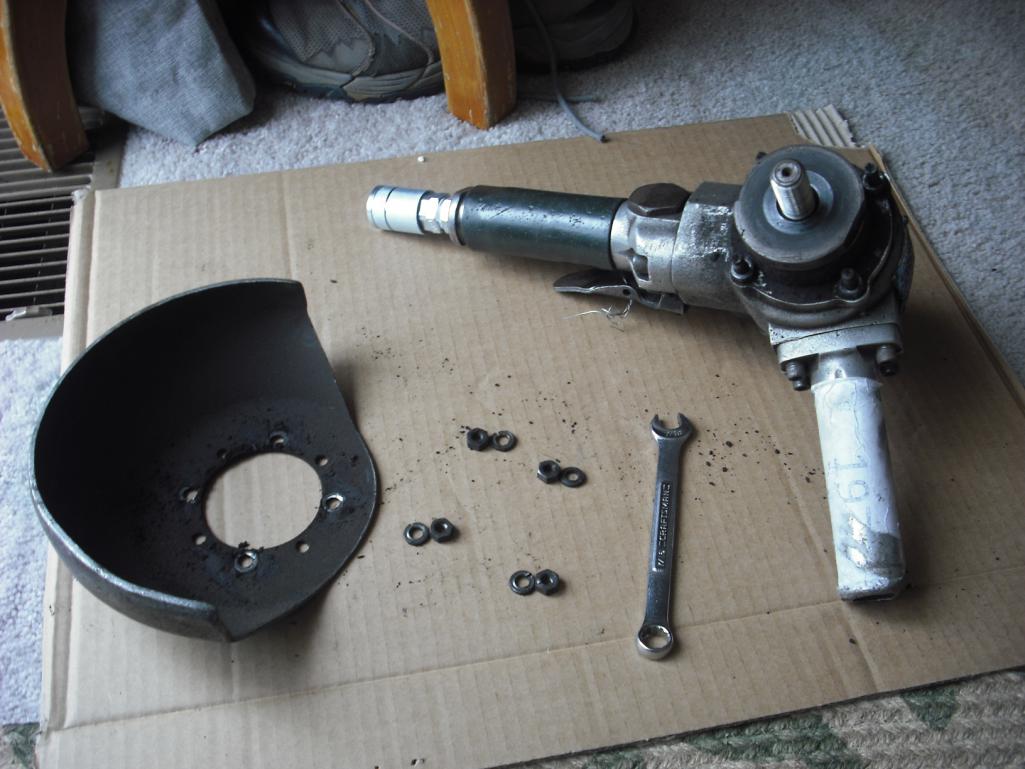 Removed the end cover: 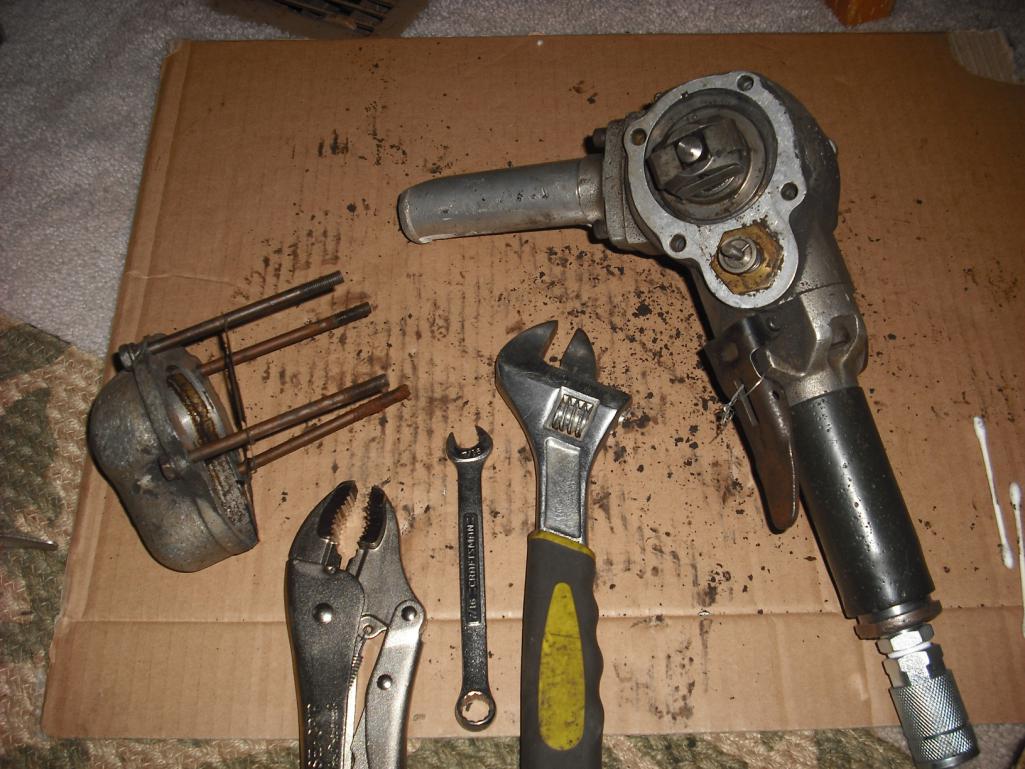 Removed one handle: 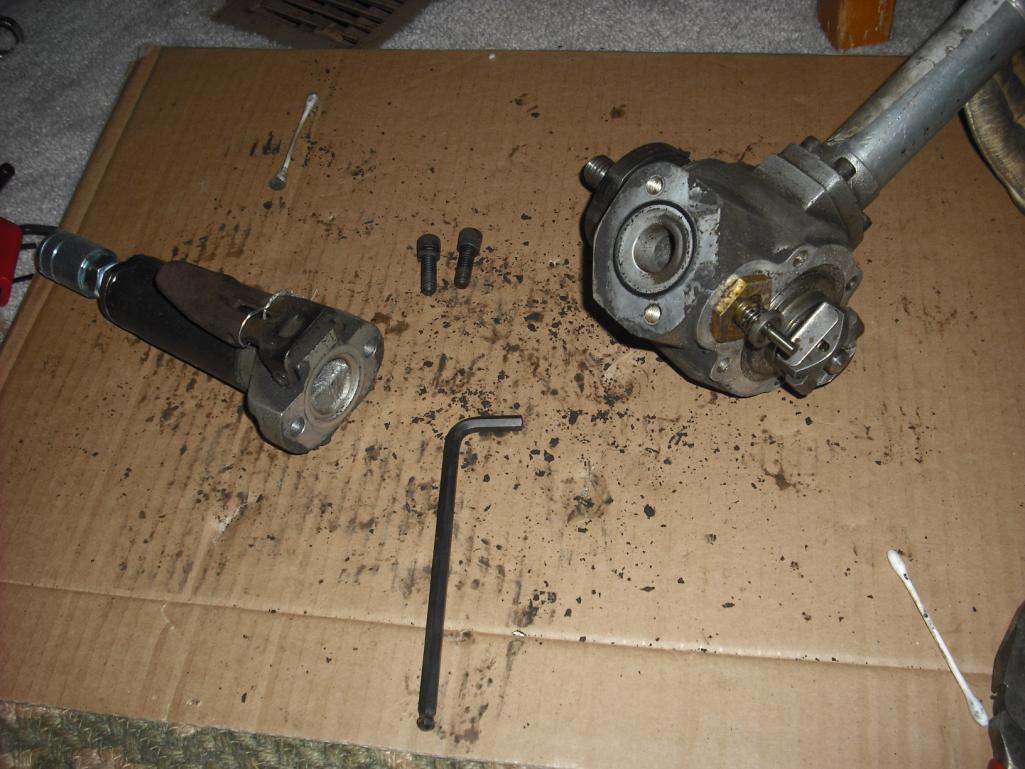 ...and the other handle: 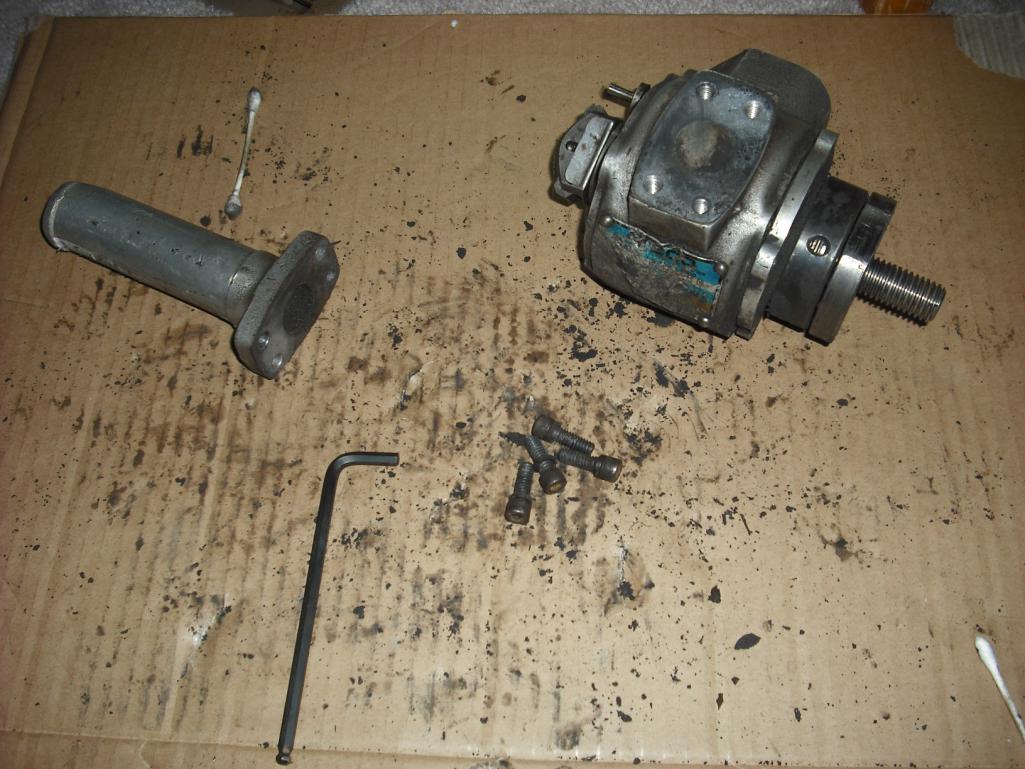 |
|
|
|
| mbseto |
Dec 10 2014, 04:59 PM
Post
#3
|
|
Senior Member Group: Members Posts: 1,257 Joined: 6-August 14 From: Cincy Member No.: 17,743 Region Association: North East States |
Took a break, refreshed my cardboard...
Put the end cap back on while I was away, this is the motor by itself: 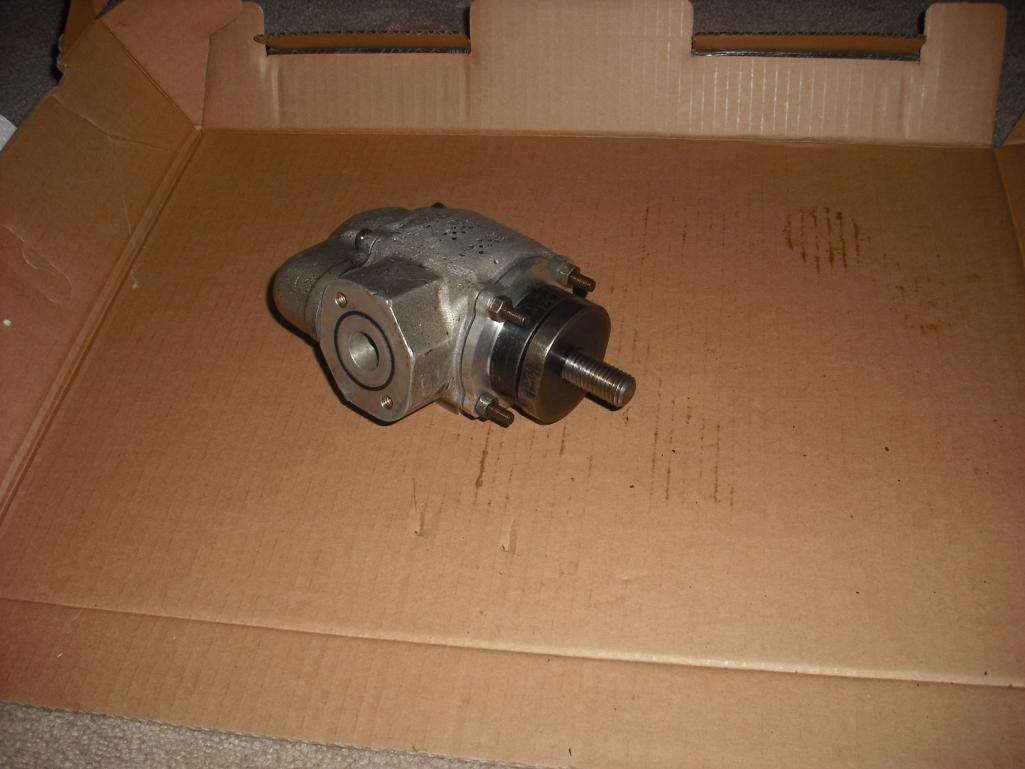 End cap comes off again, gasket is a replacement item, natch: 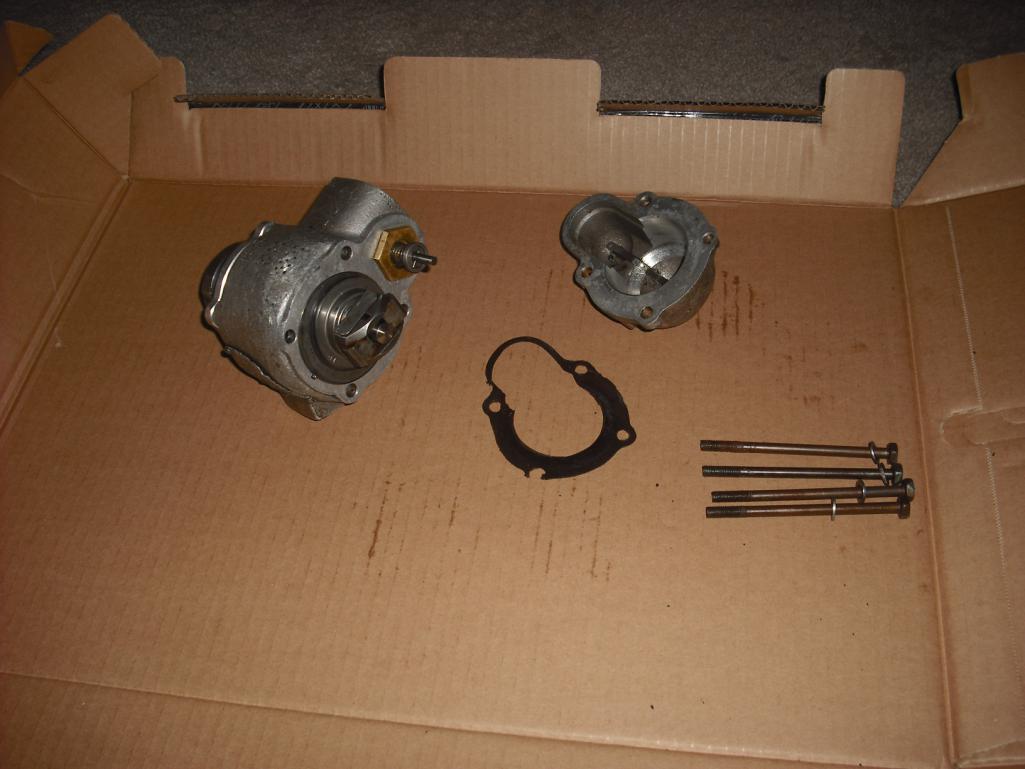 To get the regulator out, gotta grab it here...: 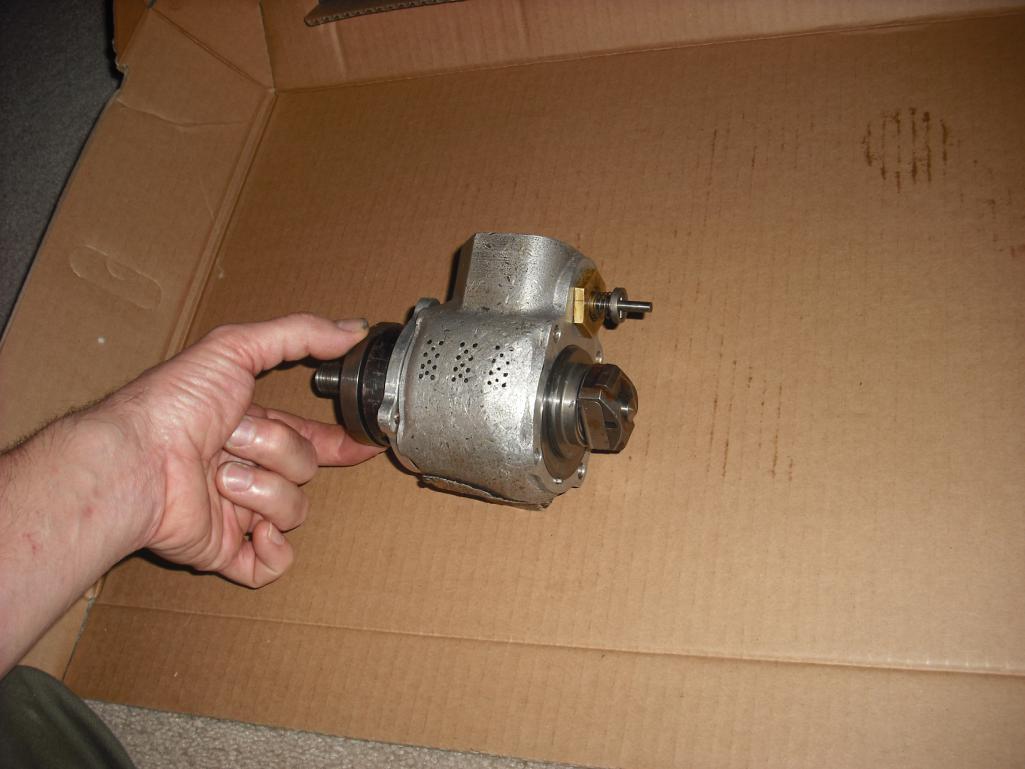 ...and spin out the regulator assy. It's a left hand thread: 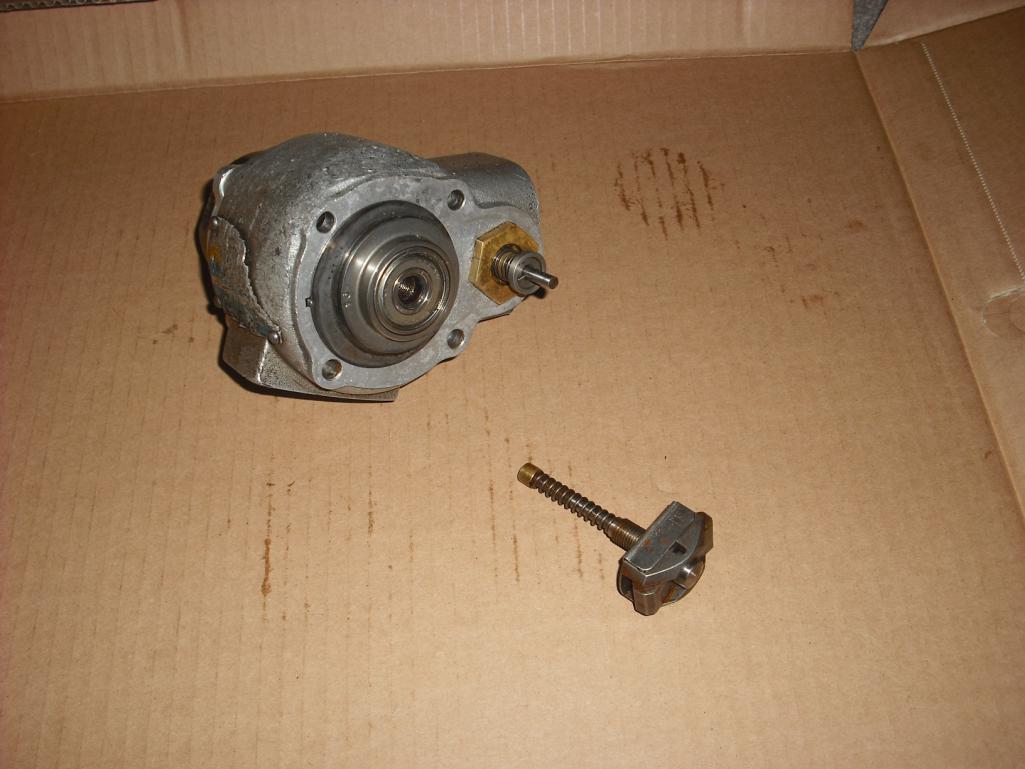 |
|
|
|
| mbseto |
Dec 10 2014, 05:10 PM
Post
#4
|
|
Senior Member Group: Members Posts: 1,257 Joined: 6-August 14 From: Cincy Member No.: 17,743 Region Association: North East States |
The motor endcaps/bearing cups are line-to-line fit with a key. Once the regulator is out of the way, they can be pushed out with the shaft.
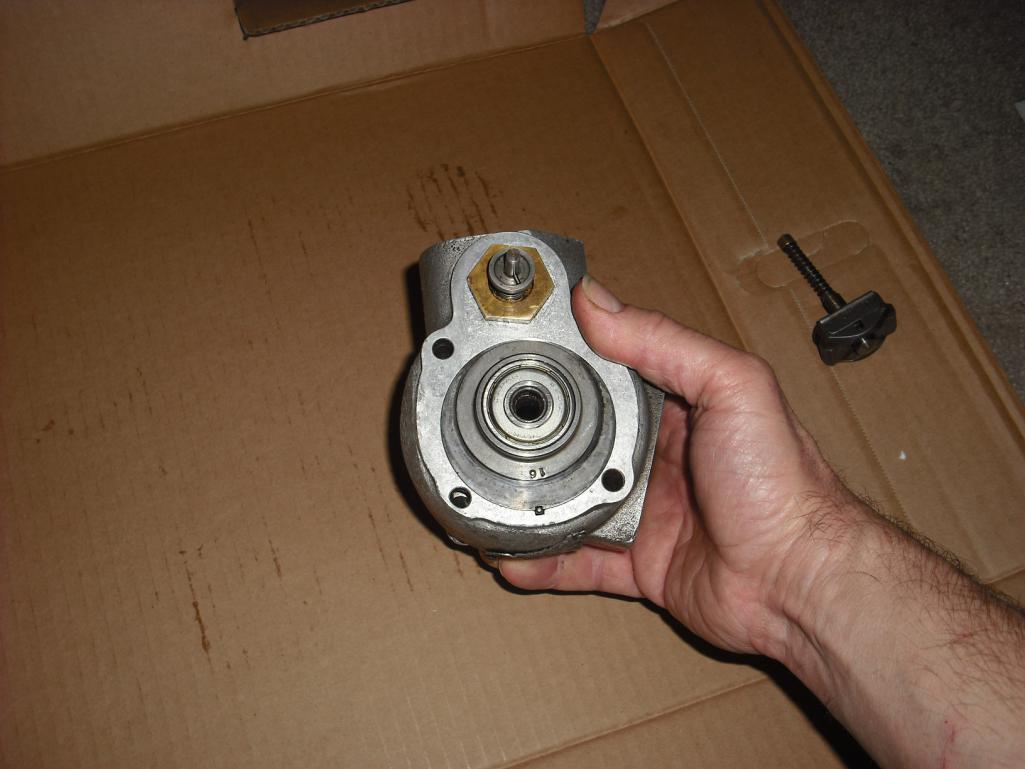 Here's one end off, showing the rotor: 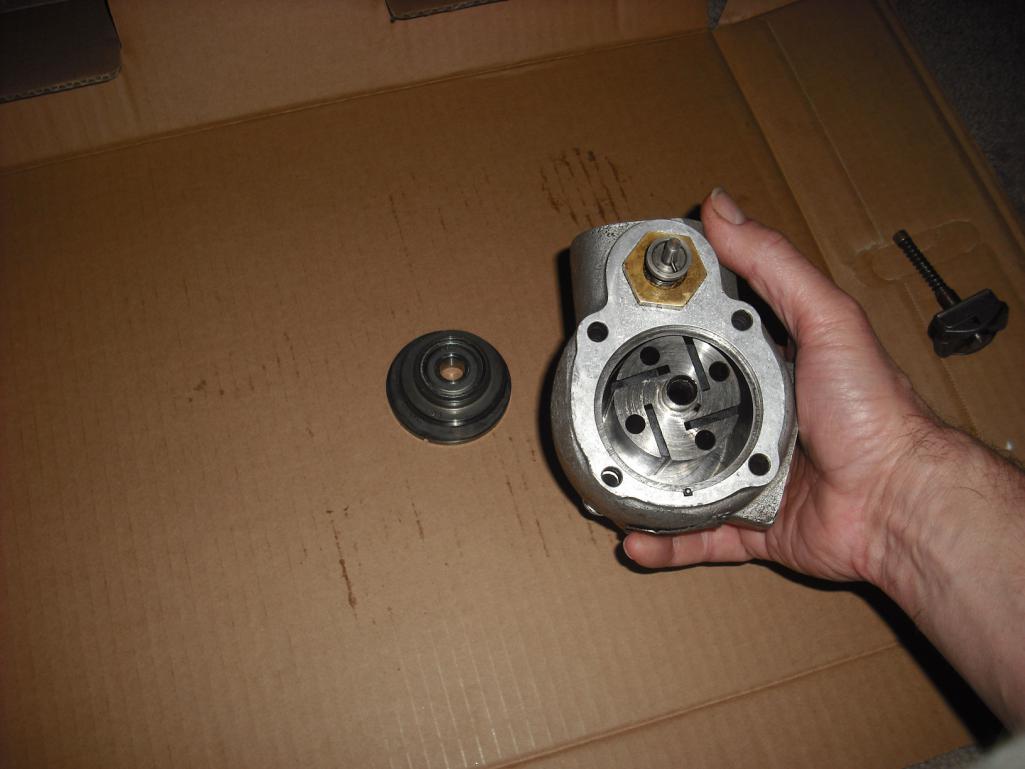 And the other end popped out with the shaft attached. If everything is clean, the vanes will just fall out. Vanes are a replacement item: 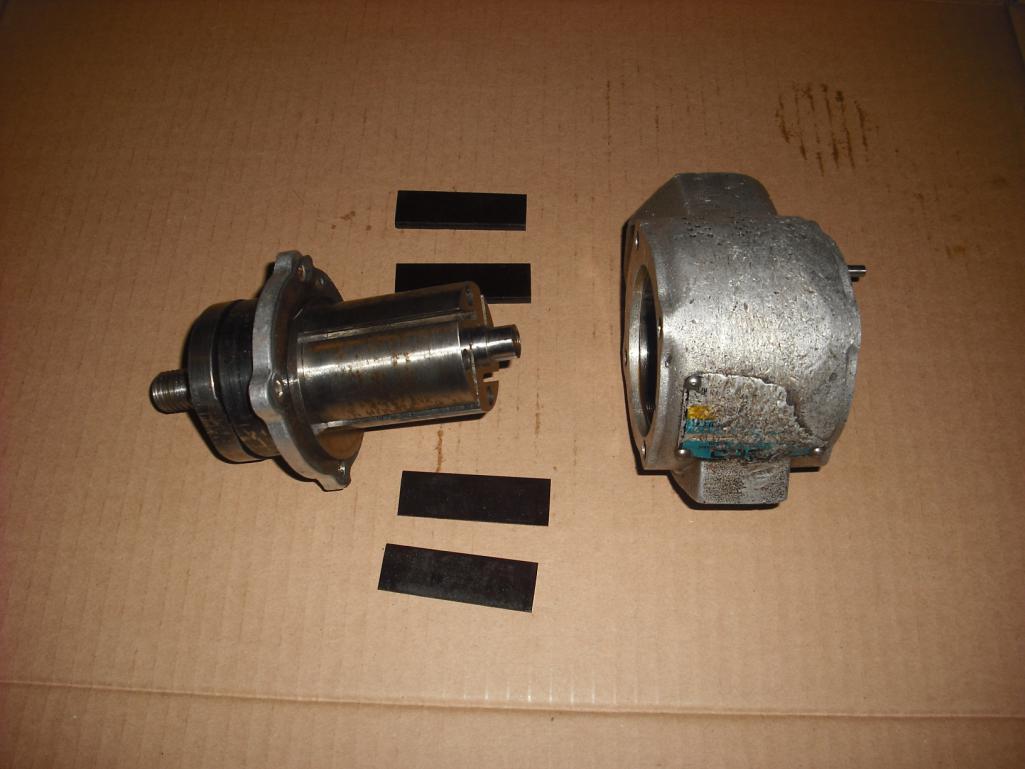 The cap and the bearing cup on this end are separate pieces. There's the shaft key for the rotor lying there and the other gasket to be replaced: 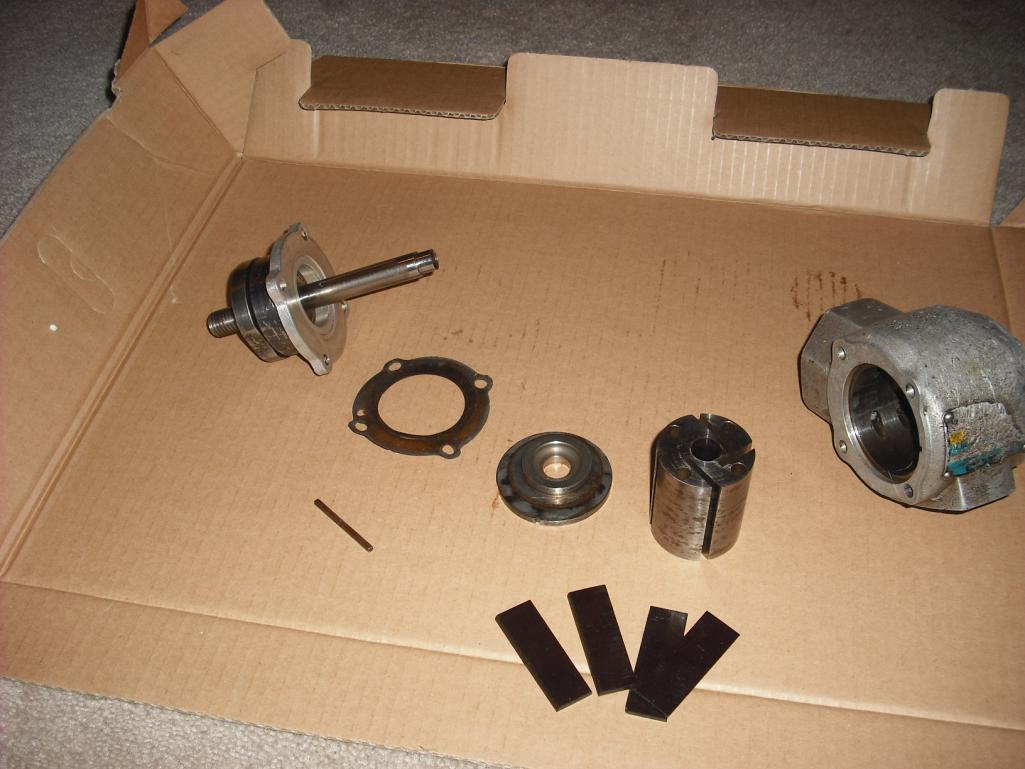 |
|
|
|
| 02loftsmoor |
Dec 10 2014, 05:18 PM
Post
#5
|
|
Senior Member Group: Members Posts: 577 Joined: 26-June 11 From: Ft. Worth TX Member No.: 13,243 Region Association: Southwest Region |
I used those before, Man killer
|
|
|
|
| mbseto |
Dec 10 2014, 05:20 PM
Post
#6
|
|
Senior Member Group: Members Posts: 1,257 Joined: 6-August 14 From: Cincy Member No.: 17,743 Region Association: North East States |
This shaft assy was a bit of a puzzle. Decided to ask a guy at the maintenance place before I got too far up the "bigger hammer" ladder. He said, put the shaft ket back in the slot and slide the rotor back on the shaft. Wrap the rotor in a piece of leather or similar and clamp gently in a vise. Then spin the end plate off using the flats:
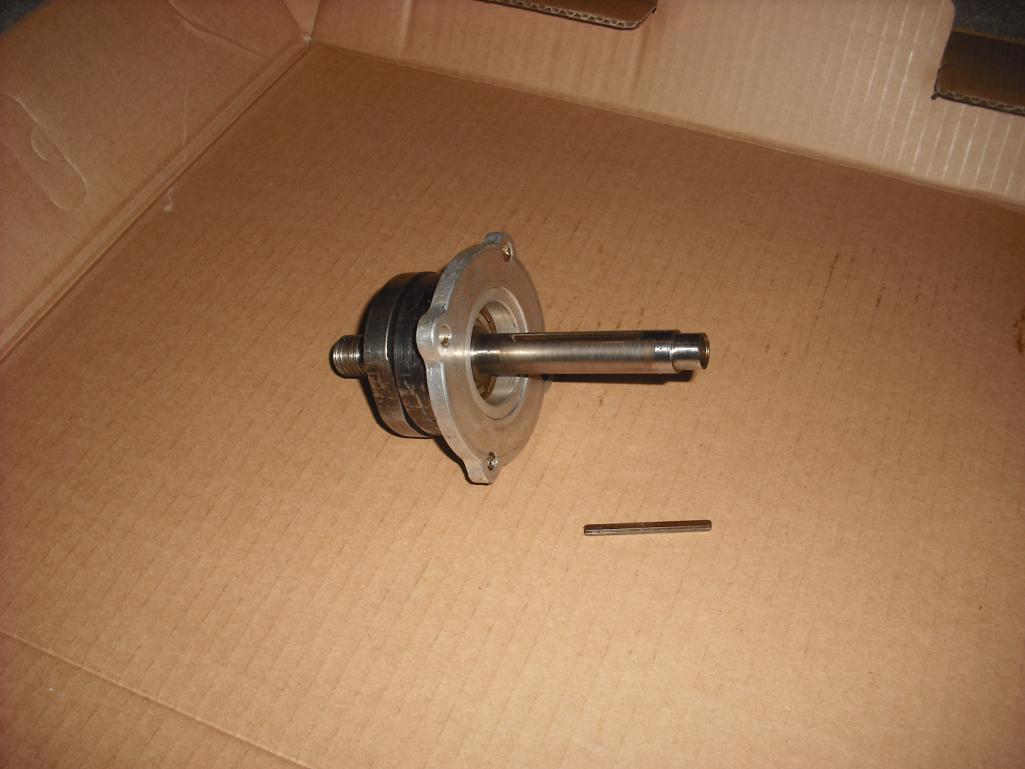 If the bearing needs to be replaced, it is pressed in to the plate with the bolt holes, and trapped by the adjacent plate, which is screwed on with left-hand threads. That adjacent plate has no flats, there is just a hole in the side of it, I assume to take a spanner-like tool if you do not want to use a more galoot-like method of removal. |
|
|
|
| mbseto |
Dec 10 2014, 05:23 PM
Post
#7
|
|
Senior Member Group: Members Posts: 1,257 Joined: 6-August 14 From: Cincy Member No.: 17,743 Region Association: North East States |
Soaked everything in light oil, deglazed the pan with a nice Riesling and put it all back together. Purrs like a kitten and sucks air like an asthmatic triathlete.
  |
|
|
|
| mbseto |
Dec 10 2014, 05:27 PM
Post
#8
|
|
Senior Member Group: Members Posts: 1,257 Joined: 6-August 14 From: Cincy Member No.: 17,743 Region Association: North East States |
QUOTE(02loftsmoor @ Dec 10 2014, 06:18 PM)  I used those before, Man killer https://www.flickr.com/photos/dystopos/8692...in/photostream/ |
|
|
|
| ThePaintedMan |
Dec 10 2014, 05:38 PM
Post
#9
|
|
Advanced Member Group: Members Posts: 3,887 Joined: 6-September 11 From: St. Petersburg, FL Member No.: 13,527 Region Association: South East States |
Now THAT'S cool! (IMG:style_emoticons/default/smilie_pokal.gif)
|
|
|
|
|
1 User(s) are reading this topic (1 Guests and 0 Anonymous Users)
0 Members:

|
Lo-Fi Version | Time is now: 14th April 2026 - 02:49 AM |
Invision Power Board
v9.1.4 © 2026 IPS, Inc.