|
|
|
Porsche, and the Porsche crest are registered trademarks of Dr. Ing. h.c. F. Porsche AG.
This site is not affiliated with Porsche in any way. Its only purpose is to provide an online forum for car enthusiasts. All other trademarks are property of their respective owners. |
|
|

  |

| cdmcse |
 Feb 13 2005, 12:15 AM Feb 13 2005, 12:15 AM
Post
#1
|
|
Member  Group: Members Posts: 340 Joined: 17-December 04 From: Georgetown, Ky Member No.: 3,305 |
It seemed like it was going to take forever to make some progress on my rust repair. After spending the entire winter locating parts, grinding, cuting, painting, and learning to weld, I was finally ready to take the plunge....
Also thanks to everyone on the board, I would have never had enough confidence to tackle this without this site!!! BTW: I must be getting addicted to the "914 lifestyle" as I had withdrawal when the site was down. (IMG:http://www.914world.com/bbs2/html/emoticons/happy11.gif) Fist Pic : The Rust Attached image(s) 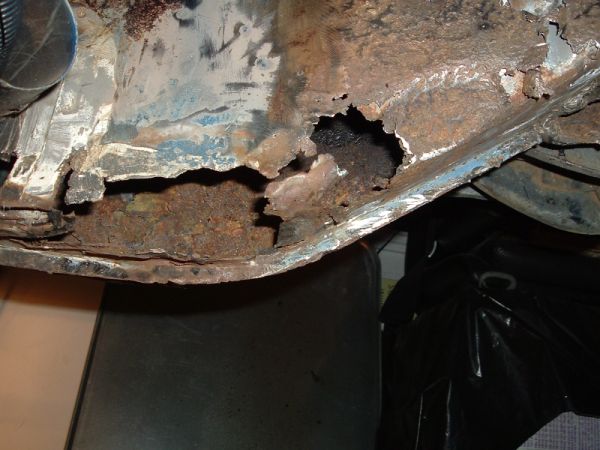
|
   |

 
|
| cdmcse |
Feb 13 2005, 12:15 AM
Post
#2
|
|
Member Group: Members Posts: 340 Joined: 17-December 04 From: Georgetown, Ky Member No.: 3,305 |
Where the motor mount was.
Attached image(s) 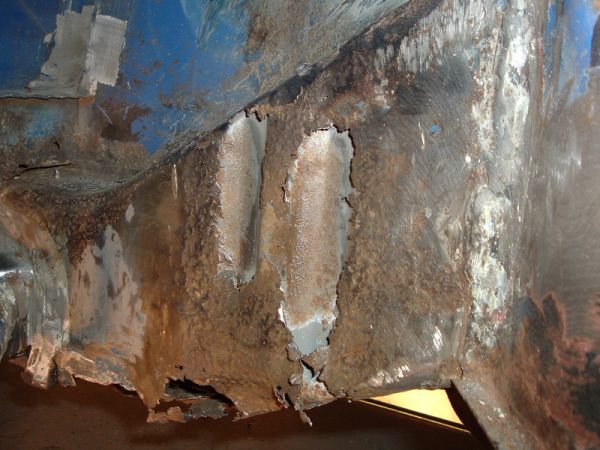
|
|
|
|
| cdmcse |
Feb 13 2005, 12:17 AM
Post
#3
|
|
Member Group: Members Posts: 340 Joined: 17-December 04 From: Georgetown, Ky Member No.: 3,305 |
Here we go.
Attached image(s) 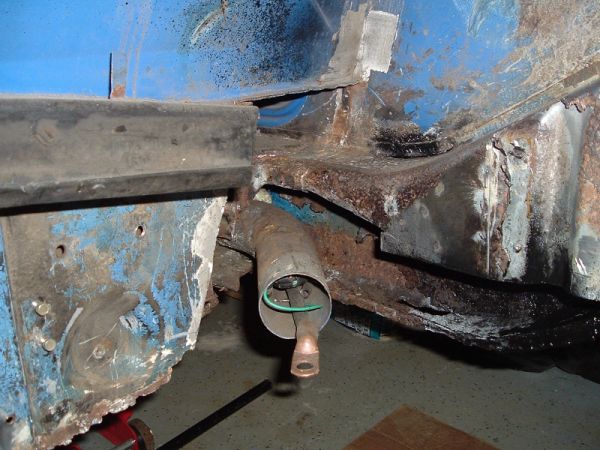
|
|
|
|
| cdmcse |
Feb 13 2005, 12:18 AM
Post
#4
|
|
Member Group: Members Posts: 340 Joined: 17-December 04 From: Georgetown, Ky Member No.: 3,305 |
The repair piece from a parts car.
Attached image(s) 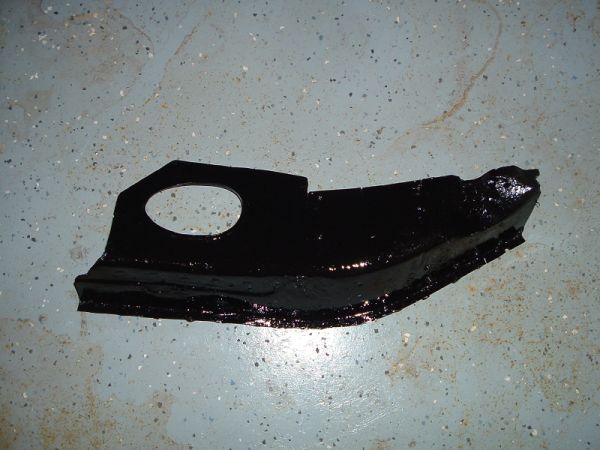
|
|
|
|
| cdmcse |
Feb 13 2005, 12:19 AM
Post
#5
|
|
Member Group: Members Posts: 340 Joined: 17-December 04 From: Georgetown, Ky Member No.: 3,305 |
Clamped.
Attached image(s) 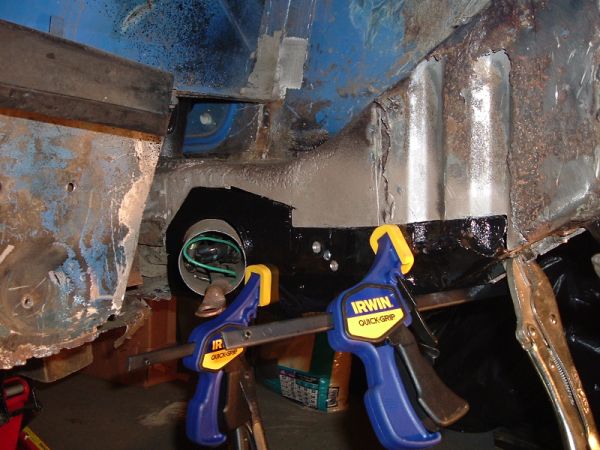
|
|
|
|
| cdmcse |
Feb 13 2005, 12:20 AM
Post
#6
|
|
Member Group: Members Posts: 340 Joined: 17-December 04 From: Georgetown, Ky Member No.: 3,305 |
Welded (no making fun) (IMG:http://www.914world.com/bbs2/html/emoticons/wink.gif)
Attached image(s) 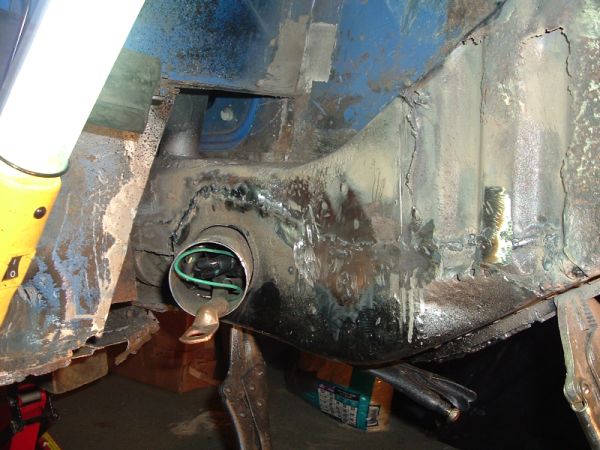
|
|
|
|
| cdmcse |
Feb 13 2005, 12:21 AM
Post
#7
|
|
Member Group: Members Posts: 340 Joined: 17-December 04 From: Georgetown, Ky Member No.: 3,305 |
The patch for the frame under the engine mount.
Attached image(s) 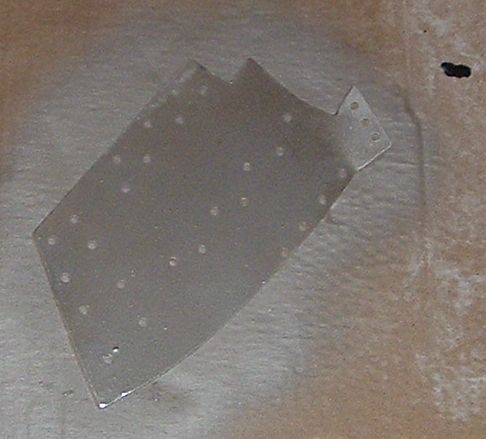
|
|
|
|
| cdmcse |
Feb 13 2005, 12:22 AM
Post
#8
|
|
Member Group: Members Posts: 340 Joined: 17-December 04 From: Georgetown, Ky Member No.: 3,305 |
Patch welded in.
Attached image(s) 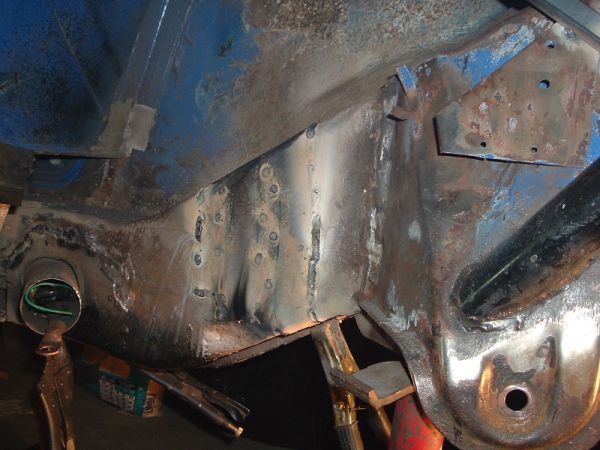
|
|
|
|
| cdmcse |
Feb 13 2005, 12:23 AM
Post
#9
|
|
Member Group: Members Posts: 340 Joined: 17-December 04 From: Georgetown, Ky Member No.: 3,305 |
This part is next, after a little clean up in the welds.
Attached image(s) 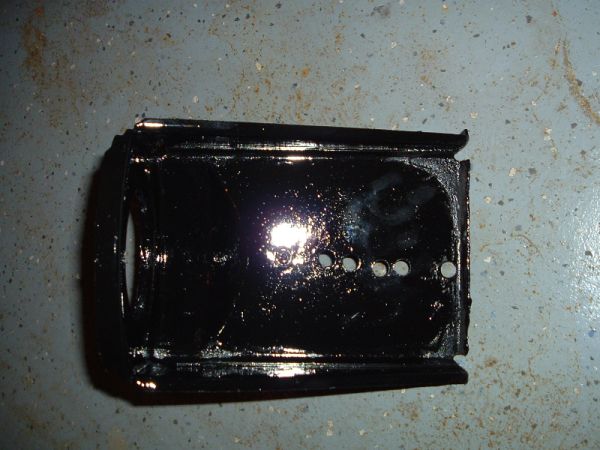
|
|
|
|
| Lou W |
Feb 13 2005, 01:30 AM
Post
#10
|
|
"Here Kitty Kitty" my ass...... Group: Members Posts: 4,109 Joined: 9-May 04 From: Roseburg, OR. Member No.: 2,039 Region Association: Spain |
Looks great, keep the pictures coming. I'm getting ready to start cutting some rust out of mine and these pictures help me to see what I may be getting into. (IMG:http://www.914world.com/bbs2/html/emoticons/clap.gif)
|
|
|
|
| Bleyseng |
Feb 13 2005, 09:41 AM
Post
#11
|
|
Aircooled Baby! Group: Members Posts: 13,036 Joined: 27-December 02 From: Seattle, Washington (for now) Member No.: 24 Region Association: Pacific Northwest |
Whats with the electrical cable coming out of the heater tube??
Geoff |
|
|
|
| jd74914 |
Feb 13 2005, 10:10 AM
Post
#12
|
|
Its alive Group: Members Posts: 4,862 Joined: 16-February 04 From: CT Member No.: 1,659 Region Association: North East States |
looks good (IMG:http://www.914world.com/bbs2/html/emoticons/smilie_pokal.gif)
|
|
|
|
| cdmcse |
Feb 13 2005, 11:25 AM
Post
#13
|
|
Member Group: Members Posts: 340 Joined: 17-December 04 From: Georgetown, Ky Member No.: 3,305 |
These cables in the heater tubes are for a front trunk mounted battery and some aux gauges. I am moving them to the center tunnel when I replace the rear floorpan.
|
|
|
|
| cdmcse |
Feb 13 2005, 07:24 PM
Post
#14
|
|
Member Group: Members Posts: 340 Joined: 17-December 04 From: Georgetown, Ky Member No.: 3,305 |
Motor Mount is in, I can practially hear the engine running (as soon as I put in a new floor pan (IMG:http://www.914world.com/bbs2/html/emoticons/dry.gif) )
Attached image(s) 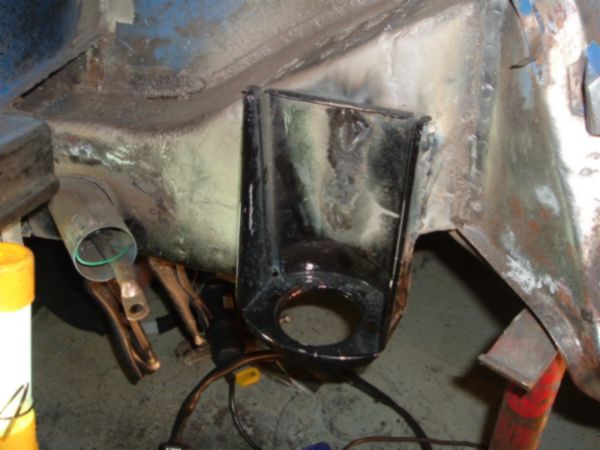
|
|
|
|
| mharrison |
Feb 13 2005, 08:13 PM
Post
#15
|
|
Why do I bother???? Group: Members Posts: 633 Joined: 8-September 03 From: Madison, MS Member No.: 1,123 |
You don't need a floor pan to run the engine!!! (IMG:http://www.914world.com/bbs2/html/emoticons/rolleyes.gif)
Seriously, the work looks great. It's good to see another one NOT get crushed or shredded due to rust! |
|
|
|
| MecGen |
Feb 13 2005, 09:08 PM
Post
#16
|
|
8 Easy Steps Group: Members Posts: 848 Joined: 8-January 05 From: Laval, Canada Member No.: 3,421 |
Thumbs up Dude (IMG:http://www.914world.com/bbs2/html/emoticons/aktion035.gif)
You don't need to be an expert to see that you put some serious good work into you car. gotta love the before and after pics (IMG:http://www.914world.com/bbs2/html/emoticons/sawzall-smiley.gif) Gotta send us more pics dude WBR Joe |
|
|
|
| cdmcse |
Feb 23 2005, 11:40 PM
Post
#17
|
|
Member Group: Members Posts: 340 Joined: 17-December 04 From: Georgetown, Ky Member No.: 3,305 |
Made some more progress
Before: Attached image(s) 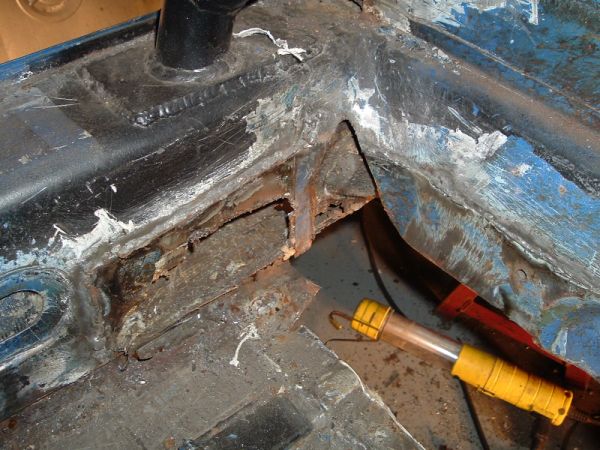
|
|
|
|
| cdmcse |
Feb 23 2005, 11:42 PM
Post
#18
|
|
Member Group: Members Posts: 340 Joined: 17-December 04 From: Georgetown, Ky Member No.: 3,305 |
After:
Attached image(s) 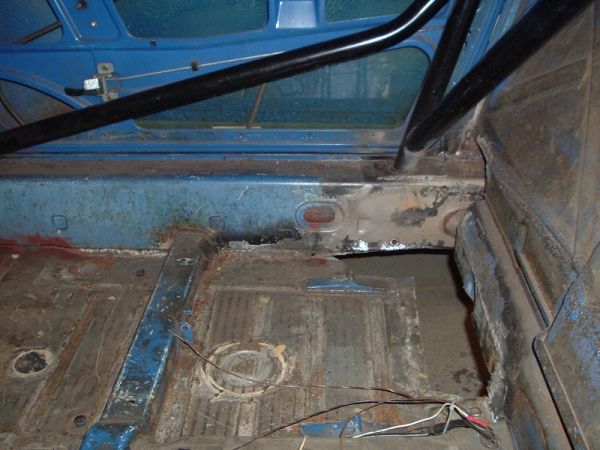
|
|
|
|
| cdmcse |
Feb 23 2005, 11:43 PM
Post
#19
|
|
Member Group: Members Posts: 340 Joined: 17-December 04 From: Georgetown, Ky Member No.: 3,305 |
Outer Firewall back in:
Attached image(s) 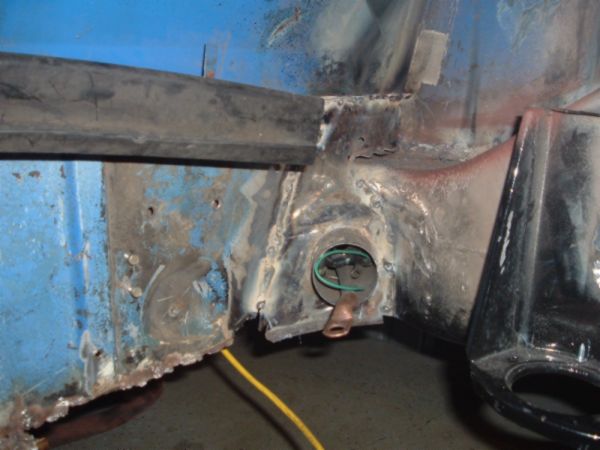
|
|
|
|
| SirAndy |
Feb 23 2005, 11:57 PM
Post
#20
|
|
Resident German Group: Admin Posts: 42,360 Joined: 21-January 03 From: Oakland, Kalifornia Member No.: 179 Region Association: Northern California |
did you spray plenty of "metal-ready" inside that long before you closed it up?
looked like there was quite some surface rust in there. i'd hate to see it rust from the inside out again ... nice work! (IMG:http://www.914world.com/bbs2/html/emoticons/smash.gif) Andy |
|
|
|
|
1 User(s) are reading this topic (1 Guests and 0 Anonymous Users)
0 Members:

|
Lo-Fi Version | Time is now: 10th November 2025 - 08:09 PM |
Invision Power Board
v9.1.4 © 2025 IPS, Inc.