|
|
|
Porsche, and the Porsche crest are registered trademarks of Dr. Ing. h.c. F. Porsche AG.
This site is not affiliated with Porsche in any way. Its only purpose is to provide an online forum for car enthusiasts. All other trademarks are property of their respective owners. |
|
|

  |

| 914_teener |
 Apr 28 2015, 08:41 PM Apr 28 2015, 08:41 PM
Post
#141
|
|
914 Guru  Group: Members Posts: 5,197 Joined: 31-August 08 From: So. Cal Member No.: 9,489 Region Association: Southern California |
Freakin awesome effort.
And I was worried about my car....jeez. (IMG:style_emoticons/default/smilie_pokal.gif) |
   |

 
|
| JRust |
Apr 28 2015, 10:52 PM
Post
#142
|
|
914 Guru Group: Members Posts: 6,305 Joined: 10-January 03 From: Corvallis Oregon Member No.: 129 Region Association: Pacific Northwest |
Okay I've got brakes! I am going to put my tires back on tomorrow after work. Put the flat tow kit on. Not even going to power my car back up. Just going to leave before I find something else wrong (IMG:style_emoticons/default/dry.gif) . So I'll be loading up my tow van with everything under the sun after work tomorrow. Still planning on just hitting the road early thursday morning. Or I may throw a mattress in the back of the van & leave wednesday night. All depends how tired I am tomorrow night & how early I am packed
|
|
|
|
| sixnotfour |
Apr 29 2015, 10:36 PM
Post
#143
|
|
914 Wizard Group: Members Posts: 10,422 Joined: 12-September 04 From: Life Elevated..planet UT. Member No.: 2,744 Region Association: Rocky Mountains |
Safe Travels...
|
|
|
|
| JRust |
Apr 30 2015, 08:45 AM
Post
#144
|
|
914 Guru Group: Members Posts: 6,305 Joined: 10-January 03 From: Corvallis Oregon Member No.: 129 Region Association: Pacific Northwest |
I ended up putting my new adjustable strut inserts in last night before I hit the road too. Got the proper gland nut from Paragon just in time. Left them on full soft up front for now. Car is towing nicely. Hopefully I remembered all the right tools. I did forget to bring misc pieces of wood (IMG:style_emoticons/default/dry.gif)
|
|
|
|
| rhodyguy |
Apr 30 2015, 09:01 AM
Post
#145
|
|
Chimp Sanctuary NW. Check it out. Group: Members Posts: 22,072 Joined: 2-March 03 From: Orion's Bell. The BELL! Member No.: 378 Region Association: Galt's Gulch |
Full soft? Ext adj ext Koni? Check the installation instructions. Iirc FULL soft or hard is not recommended.
|
|
|
|
| theleschyouknow |
May 1 2015, 09:17 AM
Post
#146
|
|
Senior Member Group: Members Posts: 523 Joined: 4-June 13 From: Texas Member No.: 15,967 Region Association: None |
get to work, slackers! (IMG:style_emoticons/default/laugh.gif)
|
|
|
|
| dangerranger01 |
May 3 2015, 03:42 PM
Post
#147
|
|
Member Group: Members Posts: 145 Joined: 12-August 05 From: Boring, Oregon U.S.A. Member No.: 4,578 Region Association: None |
JRust where did you take it to get aligned and what specs did you adjust to? I've heard the factory numbers were done so oversteer wouldn't occur and other setups are better for driving. I'm not sure if Schwabs could do my alignment or if I need to take it to a special shop also.
|
|
|
|
| JRust |
May 17 2015, 09:42 PM
Post
#148
|
|
914 Guru Group: Members Posts: 6,305 Joined: 10-January 03 From: Corvallis Oregon Member No.: 129 Region Association: Pacific Northwest |
Back front he great work at WCR. Did get the little welding that was needed done. My friend Brent from Salem came down to weld it up for me. Didn't take to long to fix the small tear in the bottom corner. As well as the small crack 1/2 crack in the flare weld. Need to prime, do a coat of glaze & block away. I was screwing around with a smooth top. I bought some synergy green put in aerosol cans. It was single stage while my paint is base & clear. Didn't cost much & I figured if I had to wait for a bit on paint. I could use it temporarily. Doubt I will waste time doing the paint thing. It will go to a shop once I have it ready for paint. I painted a metal cutout I had with the single stage I have. Isn't a great match which is no surprise. It is a little darker than my car.
Attached thumbnail(s) 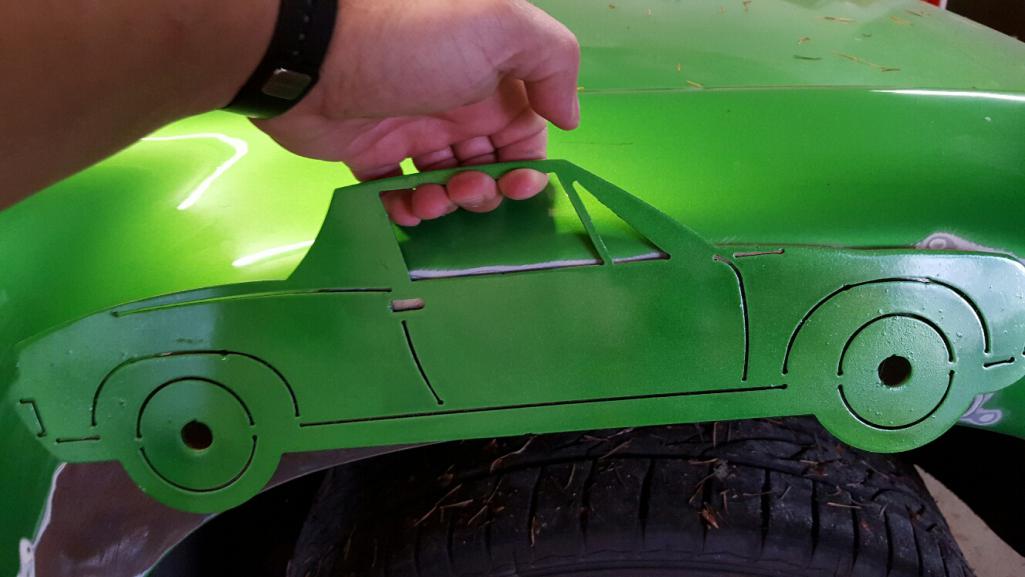  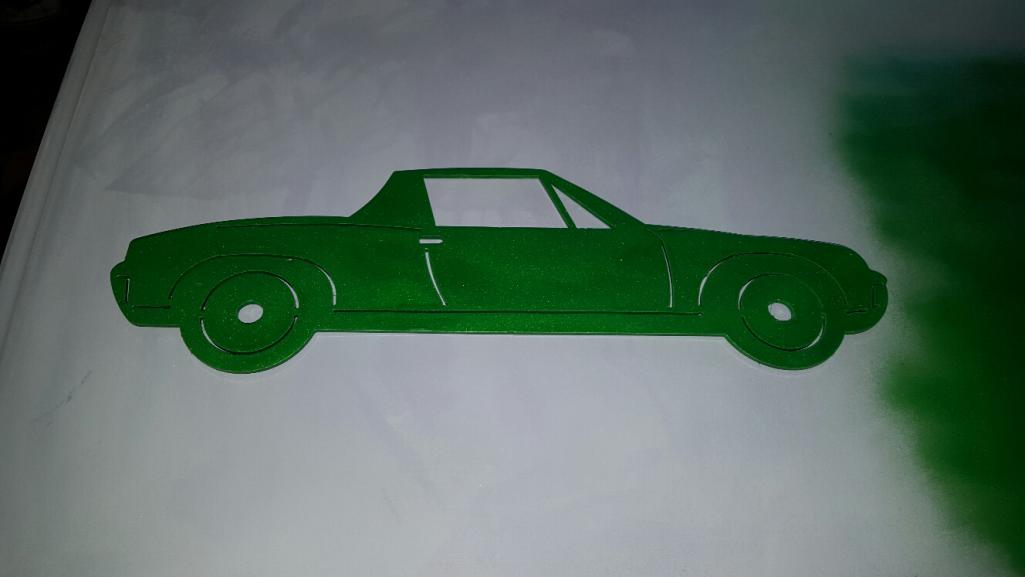
|
|
|
|
| euro911 |
May 17 2015, 10:22 PM
Post
#149
|
|
Retired & living the dream. God help me if I wake up! Group: Members Posts: 8,848 Joined: 2-December 06 From: So.Cal. & No.AZ (USA) Member No.: 7,300 Region Association: Southern California |
Let the top sit out in the sun for a couple of weeks … it'll fade a little bit (IMG:style_emoticons/default/poke.gif)
|
|
|
|
| Cairo94507 |
May 17 2015, 10:53 PM
Post
#150
|
|
Michael Group: Members Posts: 9,734 Joined: 1-November 08 From: Auburn, CA Member No.: 9,712 Region Association: Northern California |
Hey that cutout is totally cool (IMG:style_emoticons/default/aktion035.gif)
|
|
|
|
| Andyrew |
May 18 2015, 12:08 AM
Post
#151
|
|
Spooling.... Please wait Group: Members Posts: 13,376 Joined: 20-January 03 From: Riverbank, Ca Member No.: 172 Region Association: Northern California |
Hard to get a proper color directly over the metal with no base primer (IMG:style_emoticons/default/smile.gif)
|
|
|
|
| JRust |
May 18 2015, 11:42 AM
Post
#152
|
|
914 Guru Group: Members Posts: 6,305 Joined: 10-January 03 From: Corvallis Oregon Member No.: 129 Region Association: Pacific Northwest |
I did do a prime coat on it before painting my cutout. It was a quick job admittedly but I did give it a day to dry before painting. I will be sanding my cutout down & doing a proper job on it. That cutout has been sitting on my shelf for years. About time I put it to use. So it will get painted & hung in my shop. My paint job was a little uneven too. Couple darker spots than the rest. Good practice anyway (IMG:style_emoticons/default/evilgrin.gif)
|
|
|
|
| McMark |
May 18 2015, 12:56 PM
Post
#153
|
|
914 Freak! Group: Retired Admin Posts: 20,179 Joined: 13-March 03 From: Grand Rapids, MI Member No.: 419 Region Association: None |
Definitely good practice on laying it down. The problem with paint matching is that you can't. (IMG:style_emoticons/default/wink.gif) Well, you can get close, and then you can blend the panel. But that takes a bit more skill. And laying down a metallic evenly takes skill as well. Practice enough and you'll be able to get it done. It's not magic, just takes practice and trial-and-error.
I've heard mention of inherent magnetism in the panels being a factor in metallic paints. Someone mentioned grounding the car while they sprayed metallic to make sure the charge in the car was relieved. |
|
|
|
| Andyrew |
May 18 2015, 01:19 PM
Post
#154
|
|
Spooling.... Please wait Group: Members Posts: 13,376 Joined: 20-January 03 From: Riverbank, Ca Member No.: 172 Region Association: Northern California |
^I've heard about grounding as well.
Here is an interesting video. One thing he noted was to spray the last coat light so the flakes can stand up. https://www.youtube.com/watch?v=efVr_JsIclQ |
|
|
|
| JRust |
May 24 2015, 06:03 PM
Post
#155
|
|
914 Guru Group: Members Posts: 6,305 Joined: 10-January 03 From: Corvallis Oregon Member No.: 129 Region Association: Pacific Northwest |
Finally got around to adding some filler to the rear flare. Note to self. Don't go to thick on your coat. Spent a couple hours sanding today. Added a second coat but was much smarter & did a nice light coat. Going to be sore tomorrow after all that sanding though. Oh well it's a learning experience right. I'll post some pics tomorrow
|
|
|
|
| Andyrew |
May 24 2015, 08:06 PM
Post
#156
|
|
Spooling.... Please wait Group: Members Posts: 13,376 Joined: 20-January 03 From: Riverbank, Ca Member No.: 172 Region Association: Northern California |
What grit are you using to sand and what type of filler are you using right now?
I typically start with 80 or less, and I'll hit it really gently when its fresh and still hardening to knock off the main excess leaving 1/8 or so left to sand. Then I wait for it to fully harden and go 80 till its about right and 120 or up to whatever step of filler I am at. If your at the glaze point, double the grits I just said. |
|
|
|
| JRust |
May 24 2015, 09:22 PM
Post
#157
|
|
914 Guru Group: Members Posts: 6,305 Joined: 10-January 03 From: Corvallis Oregon Member No.: 129 Region Association: Pacific Northwest |
QUOTE(Andyrew @ May 24 2015, 07:06 PM)  What grit are you using to sand and what type of filler are you using right now? I typically start with 80 or less, and I'll hit it really gently when its fresh and still hardening to knock off the main excess leaving 1/8 or so left to sand. Then I wait for it to fully harden and go 80 till its about right and 120 or up to whatever step of filler I am at. If your at the glaze point, double the grits I just said. Just plain body filler. I didn't know there was different grades. I'm sanding with 80 grit now. It's going fine. After the first thick coat. The second is going much better & faster. Just getting the rear corner to blend takes some doing. Should have it squared away tomorrow. I've got to work on my kids Subaru tomorrow too. Probably do some sanding then finish the sons car. Then back to the 914 |
|
|
|
| Andyrew |
May 24 2015, 10:38 PM
Post
#158
|
|
Spooling.... Please wait Group: Members Posts: 13,376 Joined: 20-January 03 From: Riverbank, Ca Member No.: 172 Region Association: Northern California |
Well there is your typical body filler like Bondo. There is thinner stuff like Featherfill which has smaller particles and less pinholes (I use this exclusively) then there is glazing compound.
|
|
|
|
| JRust |
May 24 2015, 10:50 PM
Post
#159
|
|
914 Guru Group: Members Posts: 6,305 Joined: 10-January 03 From: Corvallis Oregon Member No.: 129 Region Association: Pacific Northwest |
QUOTE(Andyrew @ May 24 2015, 09:38 PM) Well there is your typical body filler like Bondo. There is thinner stuff like Featherfill which has smaller particles and less pinholes (I use this exclusively) then there is glazing compound. I'm sure I have the regular (bondo) stuff. I'll try to find some of the feather fill if you recommend it. I need to get some glaze anyway. Plus going to get some base coat & clear too. I'll shoot some to see if it matches better than the single stage I had put into cans. |
|
|
|
| Andyrew |
May 25 2015, 01:01 AM
Post
#160
|
|
Spooling.... Please wait Group: Members Posts: 13,376 Joined: 20-January 03 From: Riverbank, Ca Member No.: 172 Region Association: Northern California |
My bad, I used my terms wrong....
http://www.tcpglobal.com/UPO-745.html#.VWLGqkap2-4 This is what I meant when I said featherfill, ... Basically its super lightweight smooth filler. Like I said you can thin it down with acetone and use it as a glaze if you dont have very many pinholes or your bodywork is fairly close and you dont want to spend $30 bucks on glaze (Or you run out). I typically mix this and glaze to get to the consistency I need one a specific spot... But its probably redundant at that point most times. Actual "Featherfill" is thick primer used for adding to low spots (And shouldnt be shot in less than a 1.8 tip) You should be using this after the glazing compound, then guide coat, sand, and use this again for low spots. There are many different types of primer filler(And most can be used as a primer sealer)... |
|
|
|
|
1 User(s) are reading this topic (1 Guests and 0 Anonymous Users)
0 Members:

|
Lo-Fi Version | Time is now: 6th May 2024 - 08:06 AM |
Invision Power Board
v9.1.4 © 2024 IPS, Inc.