|
|
|
Porsche, and the Porsche crest are registered trademarks of Dr. Ing. h.c. F. Porsche AG.
This site is not affiliated with Porsche in any way. Its only purpose is to provide an online forum for car enthusiasts. All other trademarks are property of their respective owners. |
|
|

  |

| Chris H. |
 Jan 11 2016, 10:47 PM Jan 11 2016, 10:47 PM
Post
#41
|
|
Senior Member  Group: Members Posts: 4,093 Joined: 2-January 03 From: Chicago 'burbs Member No.: 73 Region Association: Upper MidWest |
I agree, nice metal work (IMG:style_emoticons/default/beerchug.gif) . You make it look WAY too easy.
|
   |

 
|
| twistedstang |
Jan 12 2016, 06:59 AM
Post
#42
|
|
Member Group: Members Posts: 229 Joined: 9-January 06 From: Port Huron, MI Member No.: 5,395 Region Association: None |
Nice work and great pics! Following along in case I ever work up the courage to flare my car.
|
|
|
|
| whitetwinturbo |
Jan 12 2016, 11:12 AM
Post
#43
|
|
Honey, does this wing make my ass look fat? Group: Members Posts: 1,391 Joined: 22-October 11 From: Newport Beach/Kalefornya/USA Member No.: 13,704 Region Association: Southern California |
|
|
|
|
| Garland |
Jan 27 2016, 08:28 PM
Post
#44
|
|
Restoration Fanatic Group: Members Posts: 1,431 Joined: 8-January 04 From: ......Michigan...... Member No.: 1,535 Region Association: Upper MidWest |
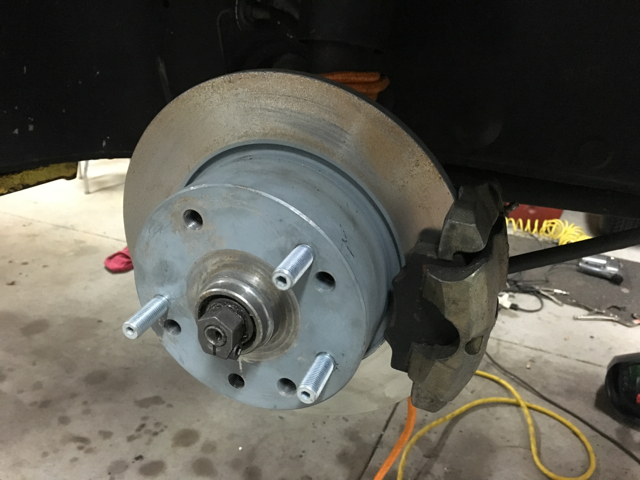
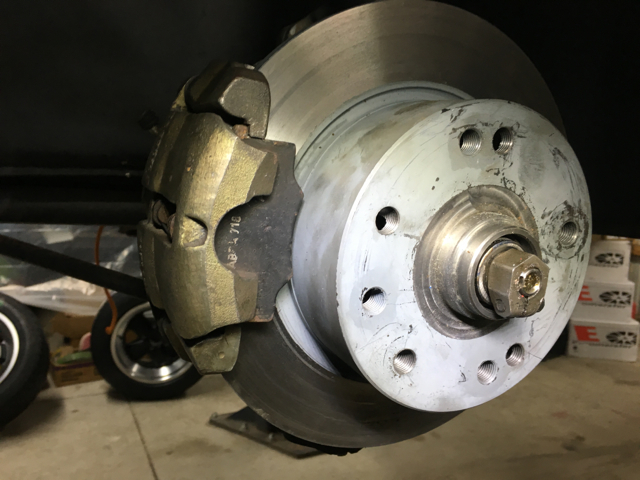
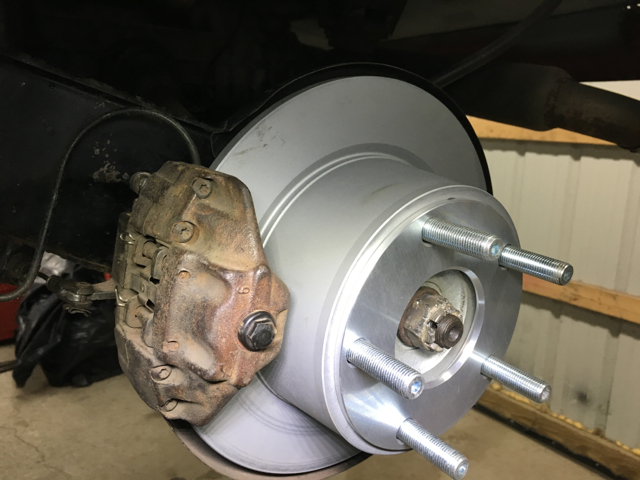
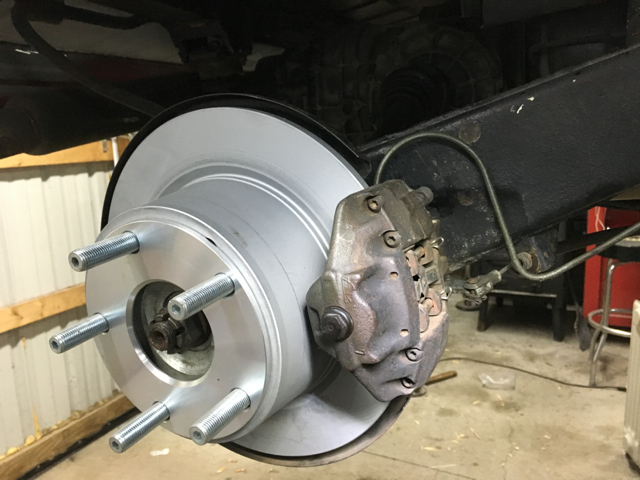
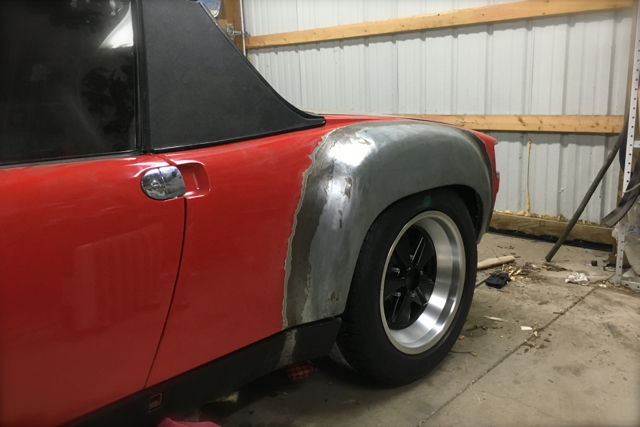
Back at it over the last few weeks, installed 5 Lug package from PMB Performance. Pressed in new bearings, and seals. Turbo tie rod ends, rack spacers, and shorter firmer springs and shocks.
     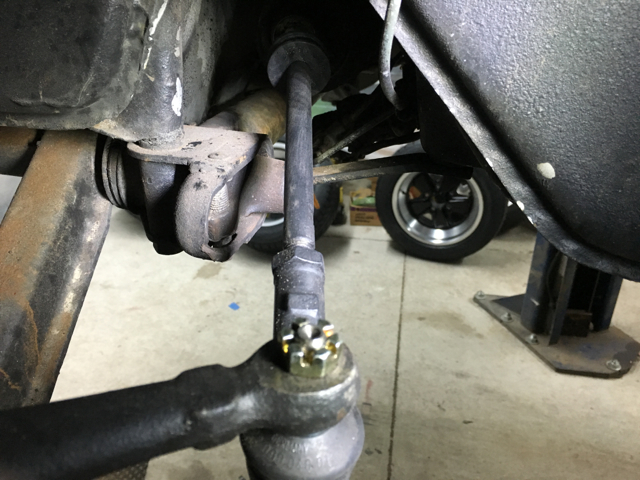 Also went with a pair of old front calipers I had from the 70's these are Girling calipers, that were tested for use on some VW's. Had to trim the calipers a bit to fit the rotors. But they mount right up to the strut housing, no adjustment required. 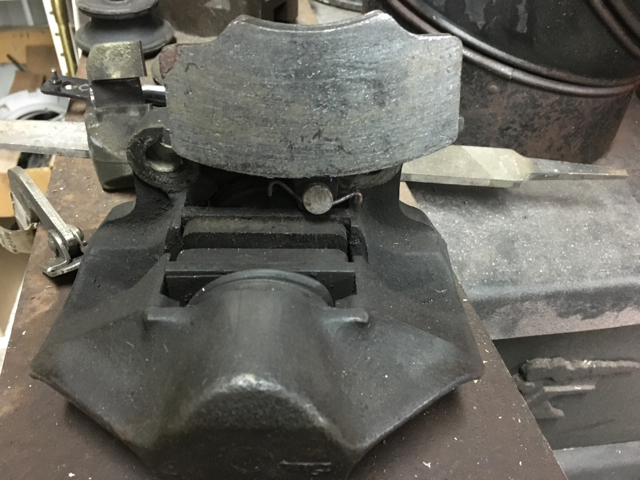 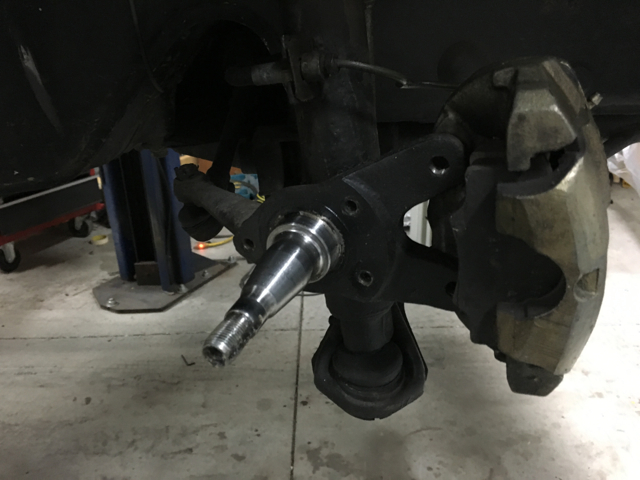 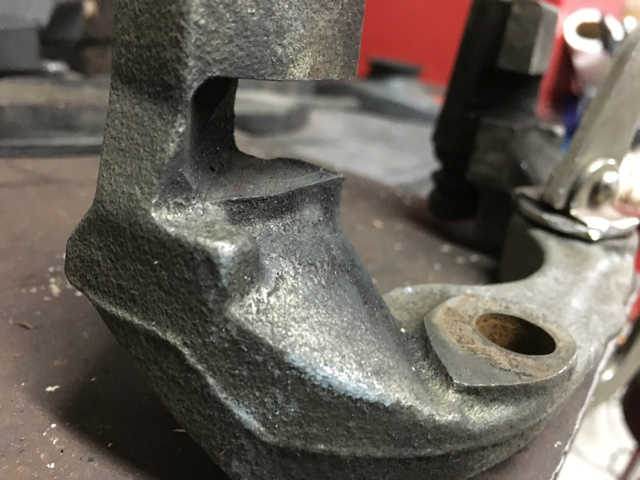 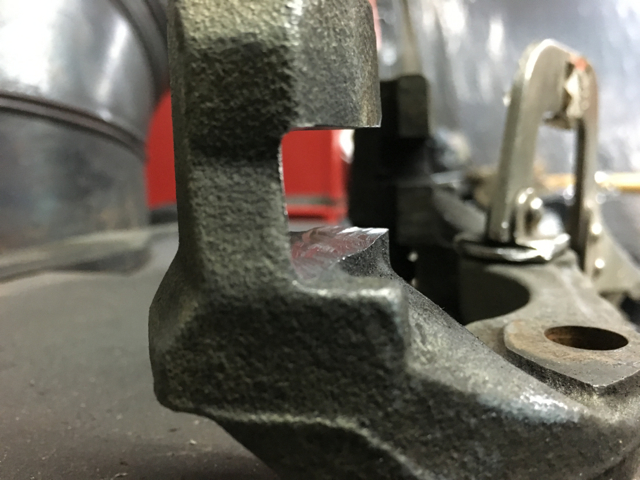 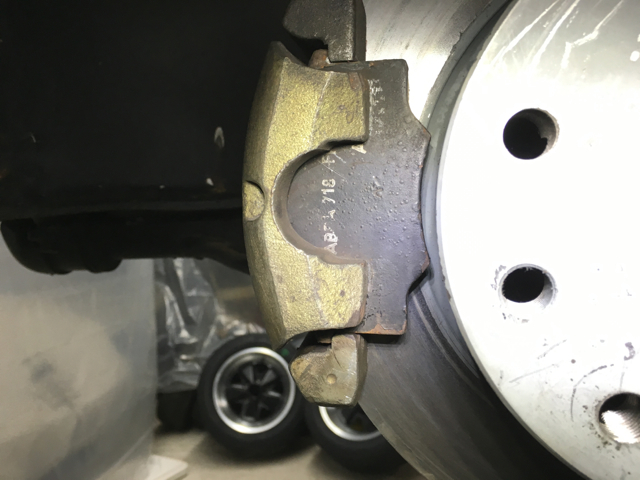 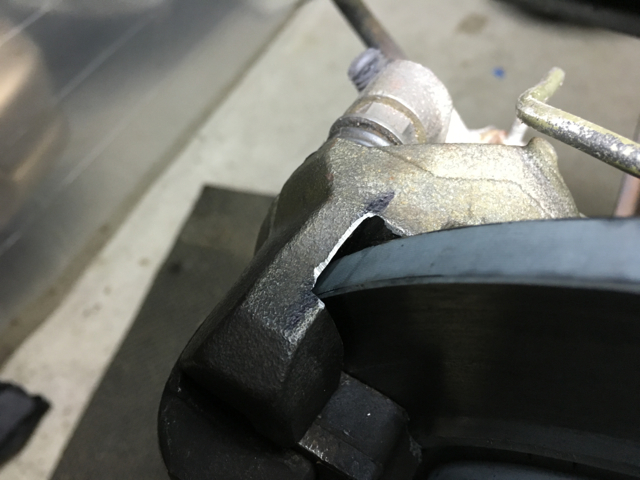 |
|
|
|
| Garland |
Jan 27 2016, 08:36 PM
Post
#45
|
|
Restoration Fanatic Group: Members Posts: 1,431 Joined: 8-January 04 From: ......Michigan...... Member No.: 1,535 Region Association: Upper MidWest |
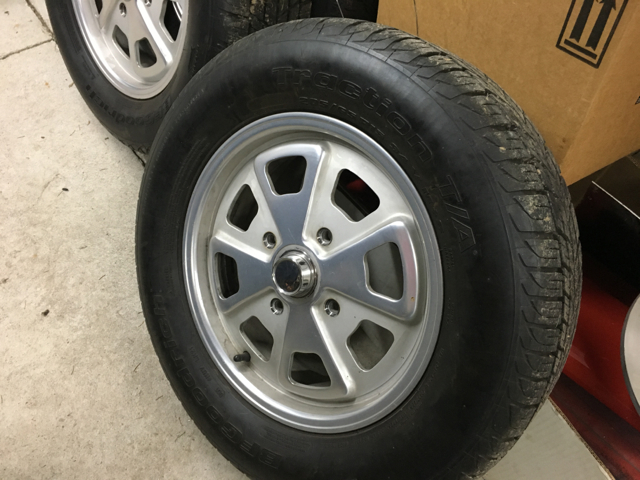
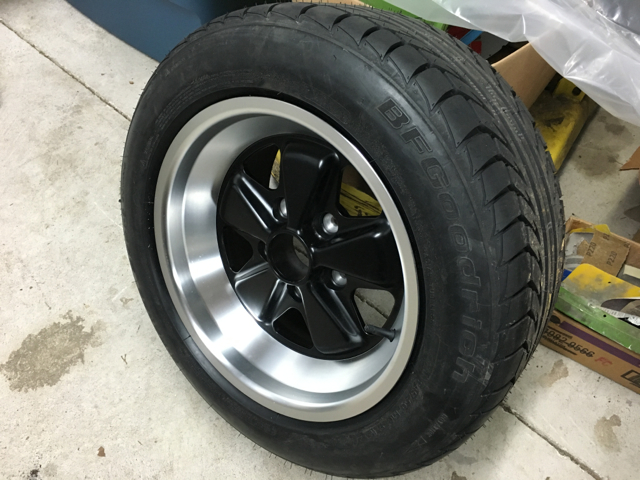
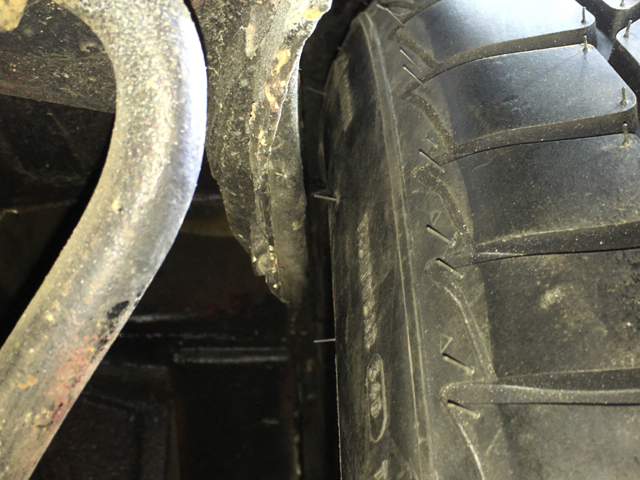
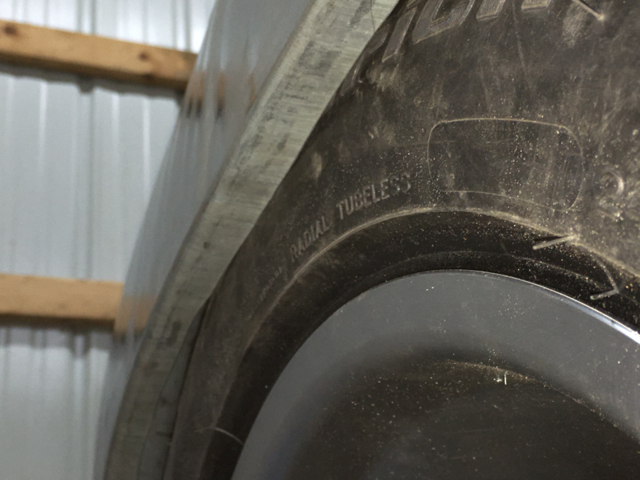
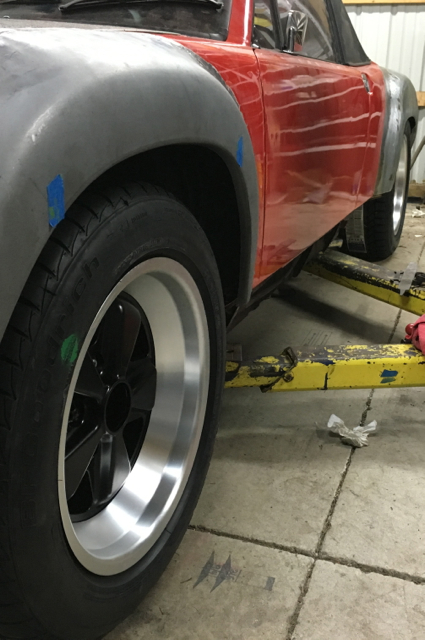
I will be using spacers 2mm rear, and 15-20mm front. Trimmed the lip of the rears looks like all will clear fine.
             |
|
|
|
| 914forme |
Jan 27 2016, 08:45 PM
Post
#46
|
|
Times a wastin', get wrenchin'! Group: Members Posts: 3,899 Joined: 24-July 04 From: Dayton, Ohio Member No.: 2,388 Region Association: None |
very nice work sir, very nice.
|
|
|
|
| Vysoc |
Jan 28 2016, 04:03 PM
Post
#47
|
|
Vysoc Group: Members Posts: 589 Joined: 27-August 09 From: NorthWest Arkansas Member No.: 10,737 Region Association: Southwest Region |
Wow John,
I am very impressed with what you have accomplished on your build!! Congratulations, keep up the good work! Vysoc (IMG:style_emoticons/default/flag.gif) (IMG:style_emoticons/default/welder.gif) (IMG:style_emoticons/default/sunglasses.gif) |
|
|
|
| Puebloswatcop |
Jan 30 2016, 08:09 AM
Post
#48
|
|
Senior Member Group: Members Posts: 1,708 Joined: 27-December 14 From: Mineola, Texas Member No.: 18,258 Region Association: Southwest Region |
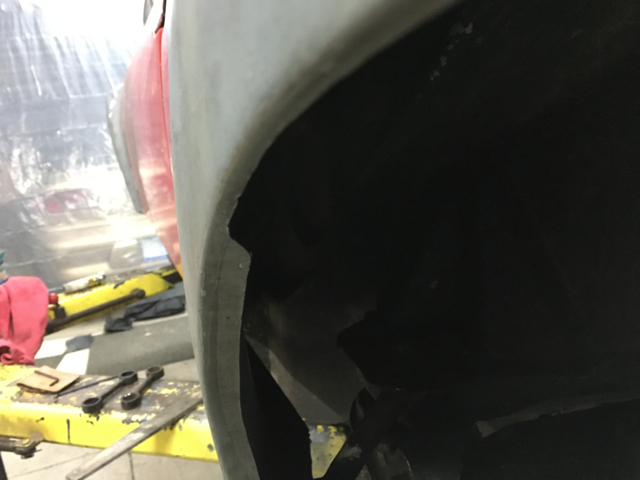
It looks like the same "hack" did my rear trunk and damage repair as yours. Some people shouldn't work on cars or own tools. Thanks for sharing your repair. It has motivated me to dig into mine and get it fixed. Your detailed pictures really helped clear up some of my concerns. (IMG:style_emoticons/default/sawzall-smiley.gif) (IMG:style_emoticons/default/smash.gif) (IMG:style_emoticons/default/welder.gif)
|
|
|
|
| Garland |
Jan 31 2016, 12:01 PM
Post
#49
|
|
Restoration Fanatic Group: Members Posts: 1,431 Joined: 8-January 04 From: ......Michigan...... Member No.: 1,535 Region Association: Upper MidWest |
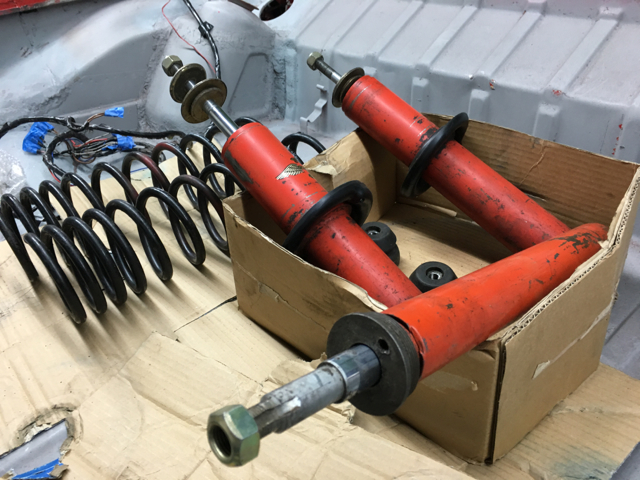
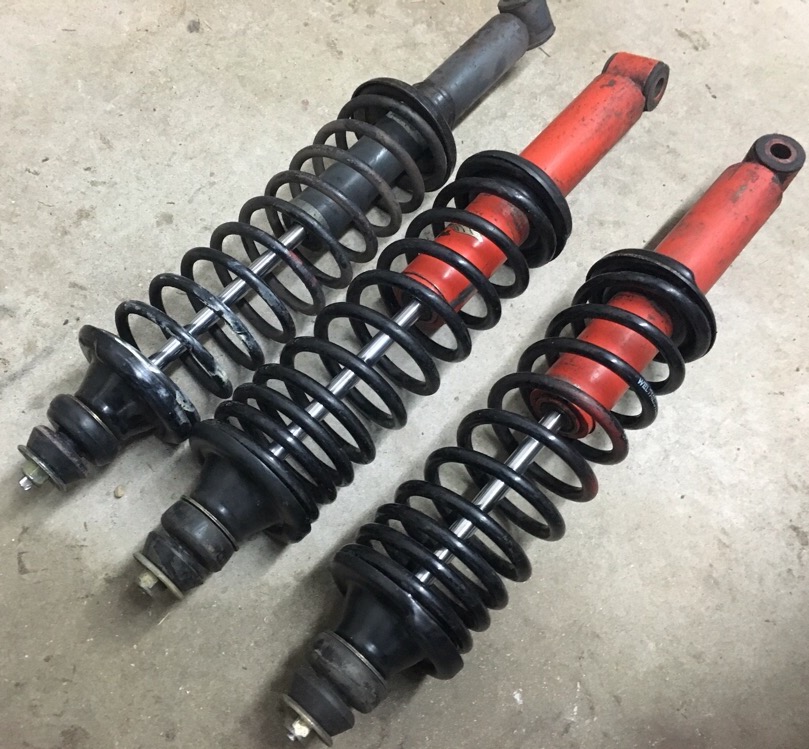
Put together the rear struts. Old pair of Koni red adj, and new welt 140 lb springs.
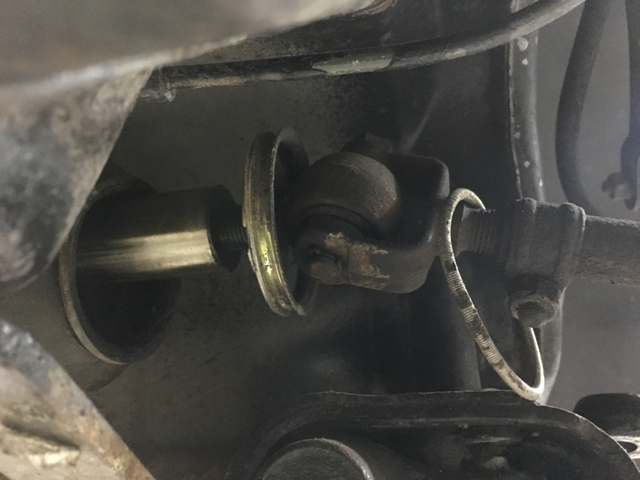
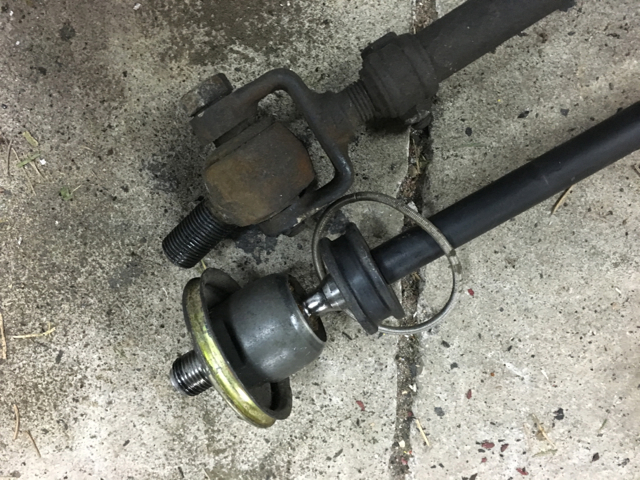
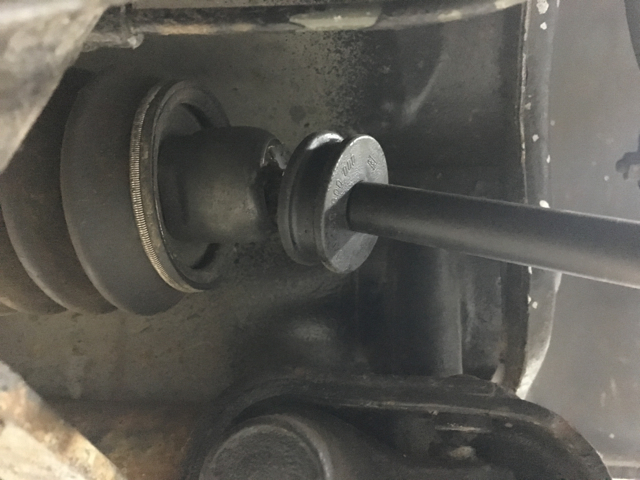
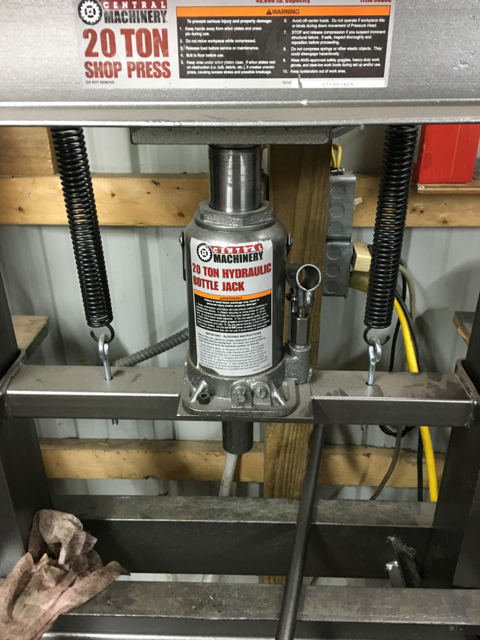
 Got a little bit done last night, put the drop links in with new bushings. Heated up the bushings in water, and pressed them in A bit sideways, till they popped in. Then big pliers to squeeze on to the studs. 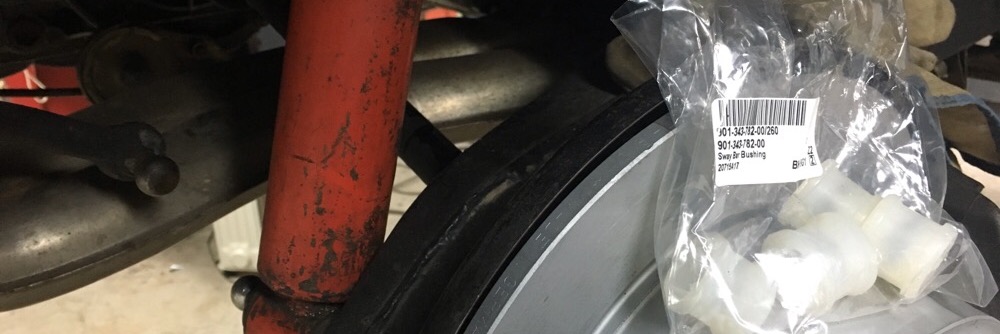 Heated up the wheel studs a bit to be able to remove them, losses the lock tight. Then moved the long ones up front, and the shorts to the rear. Shorts are still a bit to short , need to order additional 10 more. 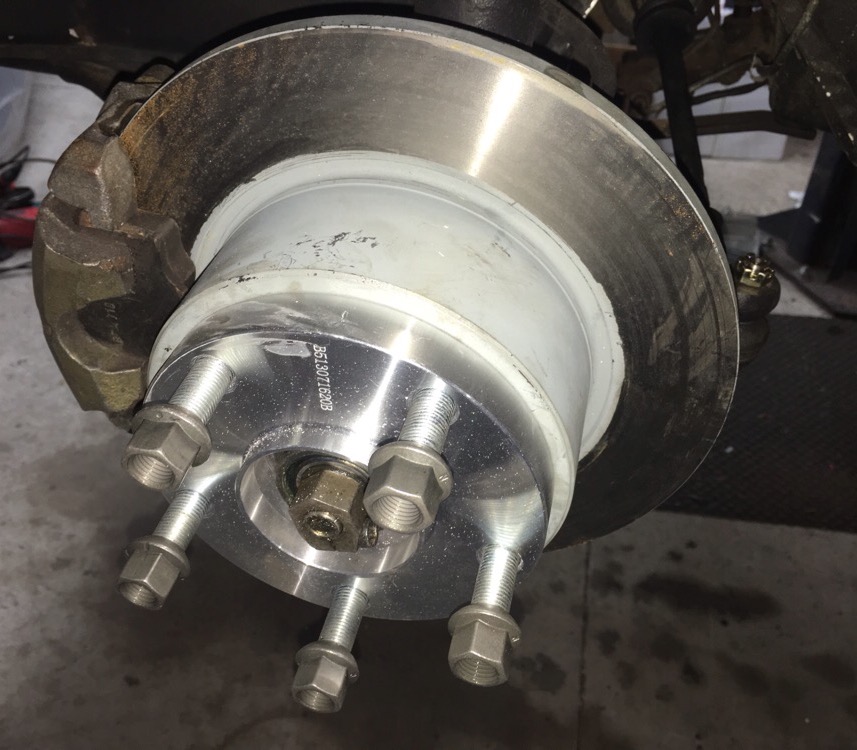 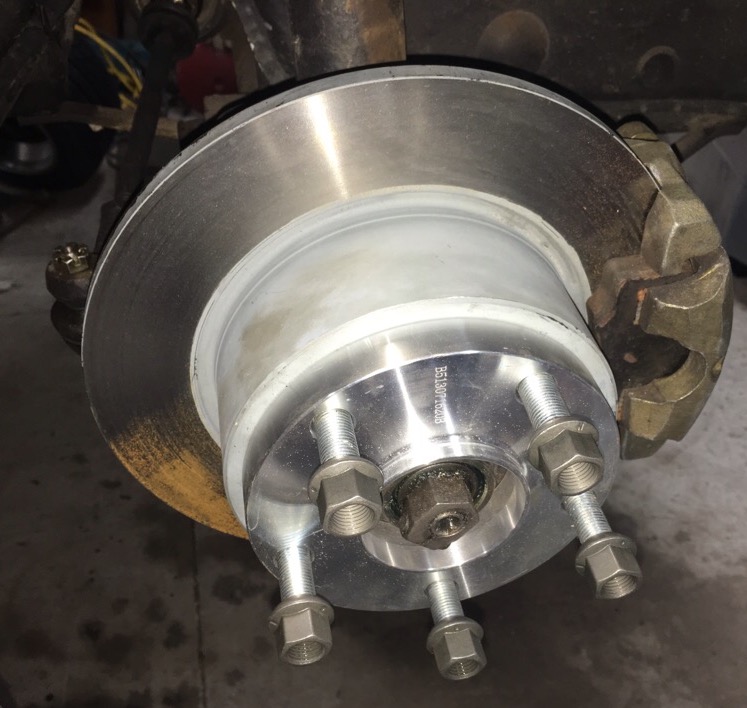 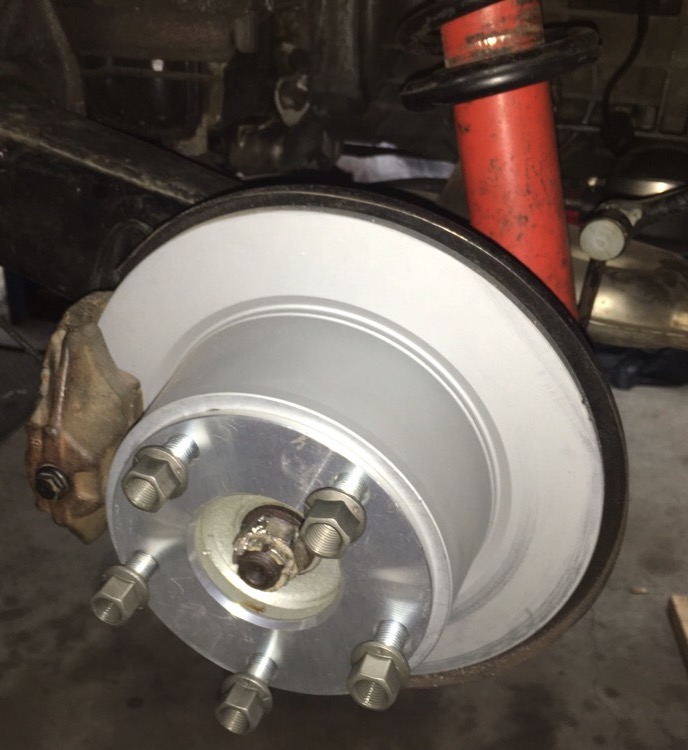 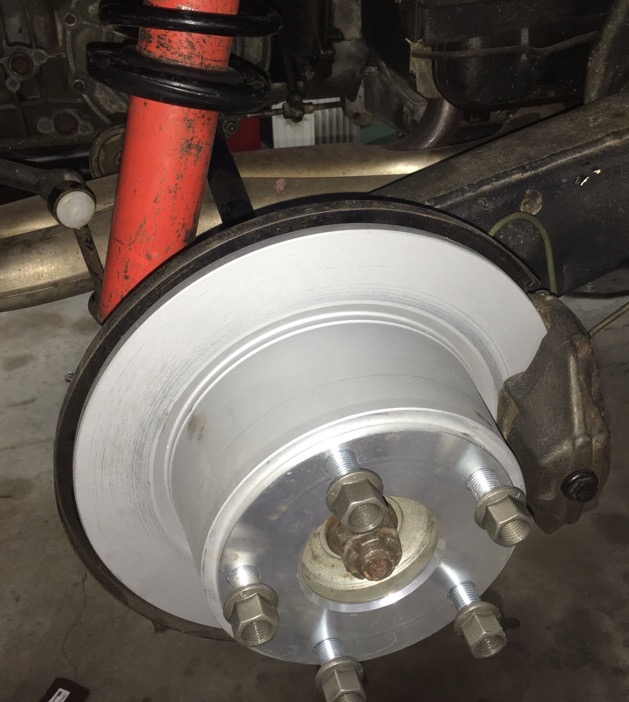 Was able to mount all 4 wheels, and completely lower the lift. Everything clears fine. Till I'm road worthy I'll have to wait on exact spacer size, but I'm very close. 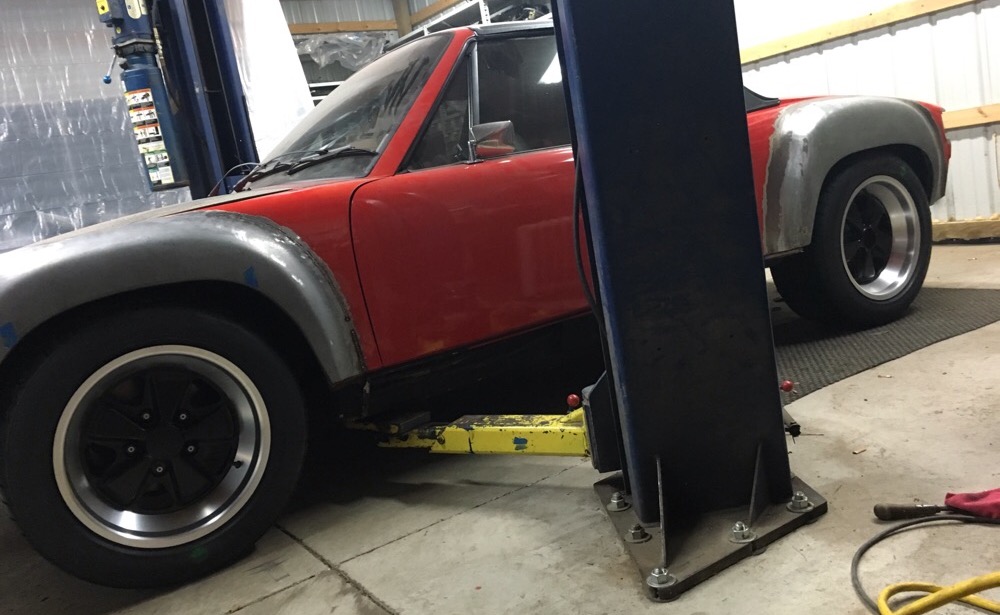 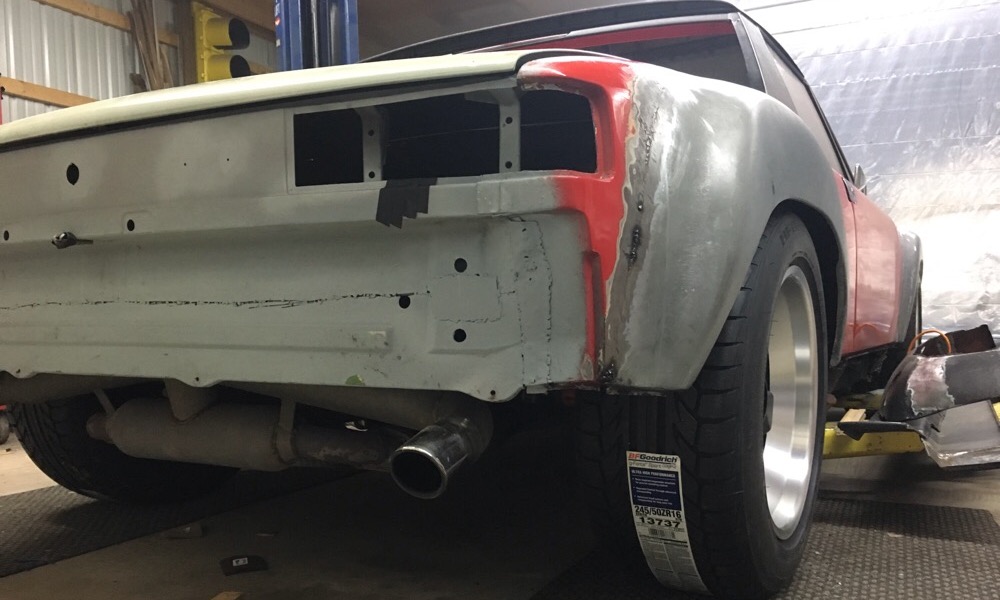 Still to go: Finishing touches on the flares, and valance bodywork Headlight doors delete Headlights added to new location Interior swap out. Replace both doors Engine build up, and replace I have added a few extra tasks to my original build list of 5. This happens all the time, one reason my projects always take so long. But This time I'll have to draw a line, thanks to a dead line. Of course I'm sure I'll find more to do, other then drive it, after 9-14-16. (IMG:style_emoticons/default/stirthepot.gif) |
|
|
|
| rick 918-S |
Jan 31 2016, 11:22 PM
Post
#50
|
|
Hey nice rack! -Celette Group: Members Posts: 21,306 Joined: 30-December 02 From: Now in Superior WI Member No.: 43 Region Association: Northstar Region |
Nice work. Fat rubber.
|
 |
|
| Garland |
Feb 29 2016, 09:05 PM
Post
#51
|
|
Restoration Fanatic Group: Members Posts: 1,431 Joined: 8-January 04 From: ......Michigan...... Member No.: 1,535 Region Association: Upper MidWest |
Well, still on it. Worked on the hood to eliminate the headlamp doors. I, know, it took me a while to convince myself to do it. The pop up headlamps are a great feature, but.
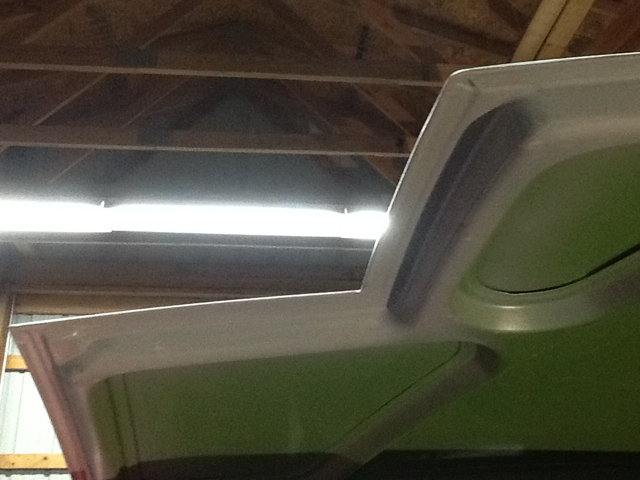  Took the filler pieces from a spare hood, and tried to cut for a perfect fit. lots of measuring, yet still off a bit. 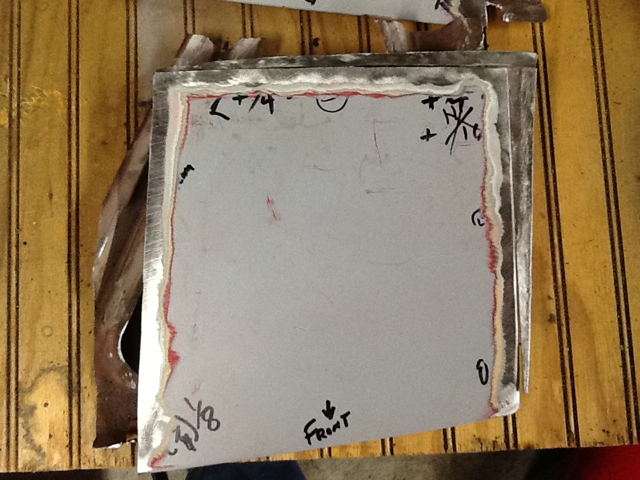 I found that to achieve the correct angles, and keep the front lip correct, I needed to add a little. 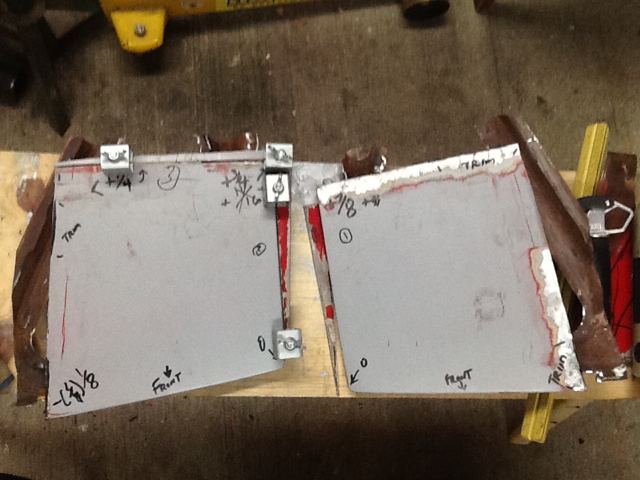 Weld on! (IMG:style_emoticons/default/welder.gif) 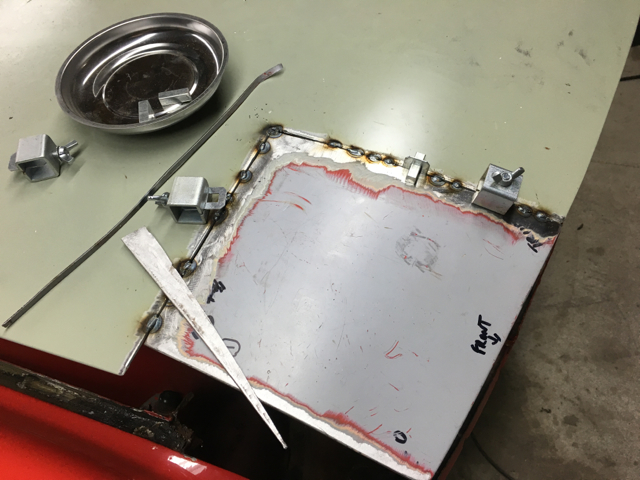 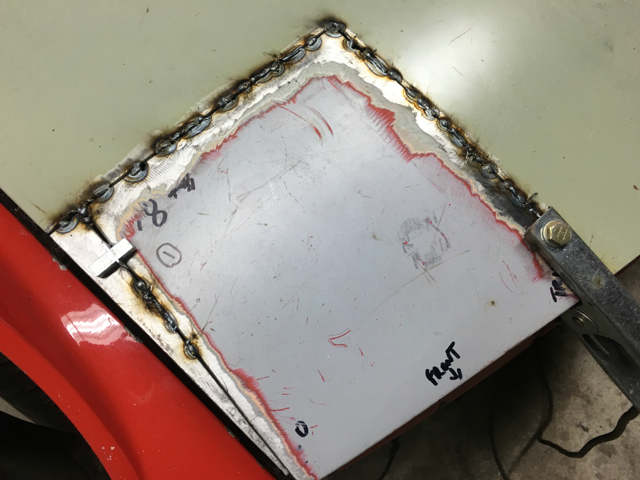 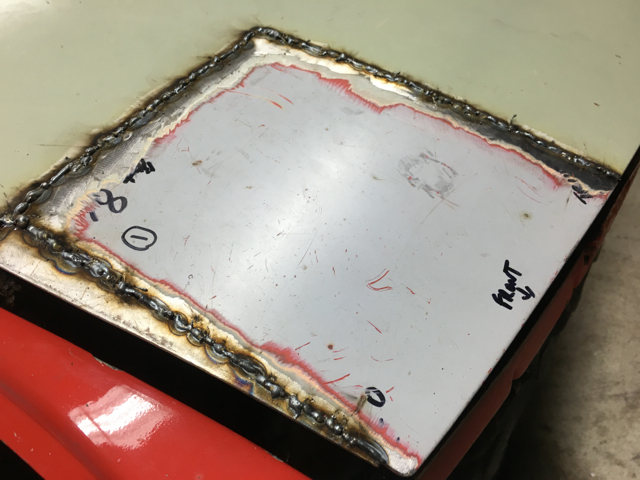 The underside still needs some work, but heres a look at the top. The front lip lines up nice across the hood. I'm happy. 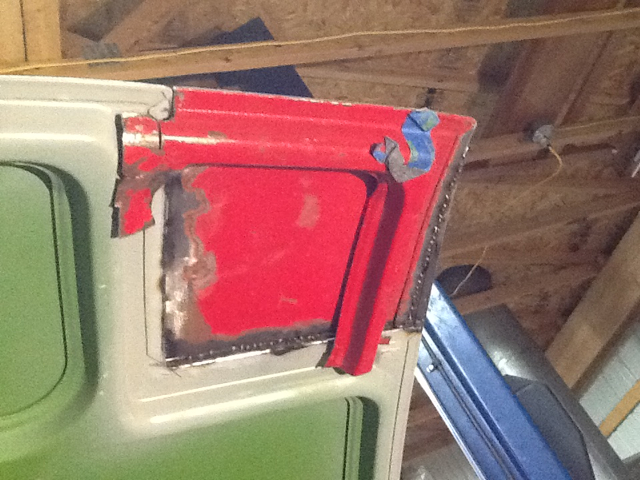 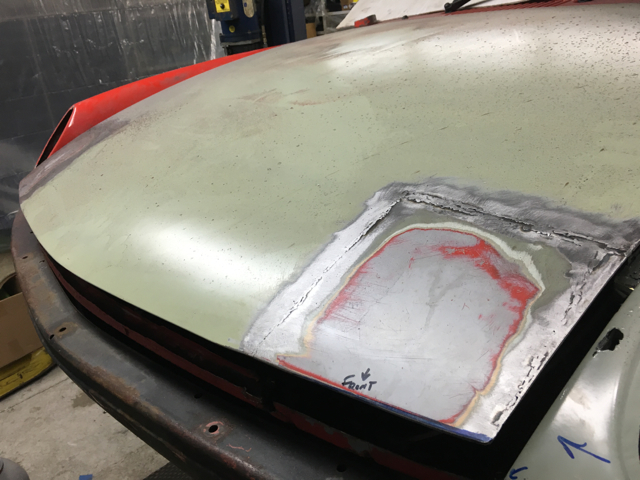 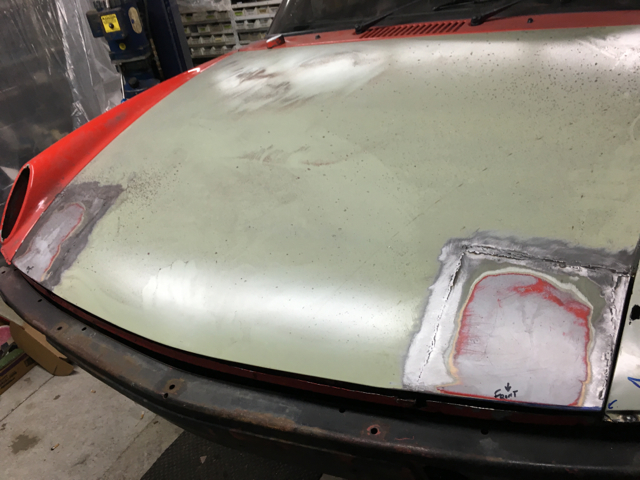 Now, as far as the headlamp relocation, been doing a bit of work on that idea. Also need to install correct size studs for the front wheels, touch up a bit of errors in my welds, and general catch up all around. Thanks for taking a look. 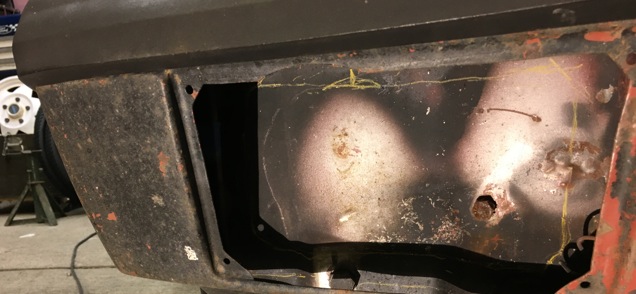 |
|
|
|
| trojanhorsepower |
Mar 1 2016, 06:49 AM
Post
#52
|
|
Senior Member Group: Members Posts: 1,053 Joined: 21-September 03 From: Marion, NC Member No.: 1,179 Region Association: None |
Man you are making great progress, and it looks great!
|
|
|
|
| whitetwinturbo |
Mar 1 2016, 10:11 AM
Post
#53
|
|
Honey, does this wing make my ass look fat? Group: Members Posts: 1,391 Joined: 22-October 11 From: Newport Beach/Kalefornya/USA Member No.: 13,704 Region Association: Southern California |
|
|
|
|
| 914forme |
Mar 1 2016, 10:48 AM
Post
#54
|
|
Times a wastin', get wrenchin'! Group: Members Posts: 3,899 Joined: 24-July 04 From: Dayton, Ohio Member No.: 2,388 Region Association: None |
Nice hood work there (IMG:style_emoticons/default/aktion035.gif)
|
|
|
|
| Garland |
Mar 2 2016, 07:57 PM
Post
#55
|
|
Restoration Fanatic Group: Members Posts: 1,431 Joined: 8-January 04 From: ......Michigan...... Member No.: 1,535 Region Association: Upper MidWest |
Thanks everybody,
I have slowed down a bit with cold weather, but not stopped. But as winters go it's a light one for Michigan. I have been thinking on the headlamp's, but going for the interior swap next. Right now it has a early "smooth leather" interior from my 1st car, a 71, that I rode in 40 years ago, and have been riding on, and off, over the years. It's in excellent condition. But! I'm installing a 70 black leatherette set that's from the car I just sold last year as a roller, owned it for 38 years. This set also includies the seats, and back pad, and was made from a thicker materials than any other car I've owned. It was a early 70. It's in perfect condition, that car only saw about 70,000 miles. Setting up for a busy weekend or two. |
|
|
|
| Garland |
Mar 31 2016, 07:55 PM
Post
#56
|
|
Restoration Fanatic Group: Members Posts: 1,431 Joined: 8-January 04 From: ......Michigan...... Member No.: 1,535 Region Association: Upper MidWest |
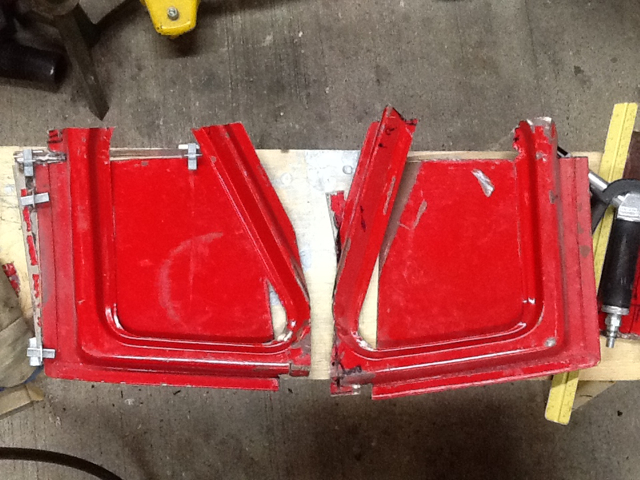
Change in plans. Im back working on the headlamps. I love the stock lamps, great idea. So I still wanted pop up's, well at least motorized. OK flip downs in the bumper face. And some kind of cover when the lamps are off.
S Started with location for motor in relation to motor, and keeping it all very low, and concealed in the trunk.    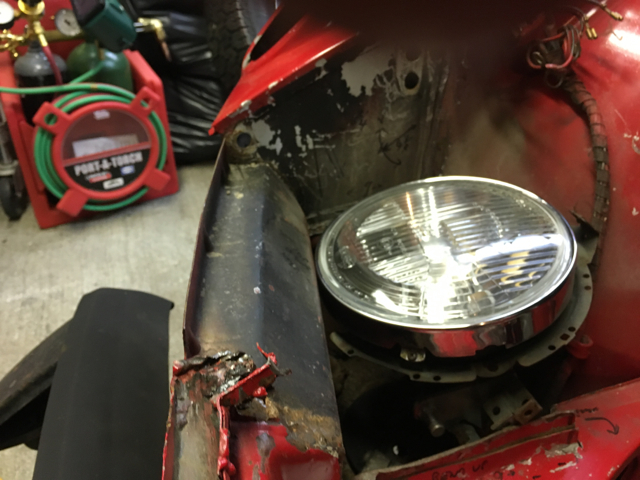 Test box build to the specs of the opening. Relocating the motor location and clearance. 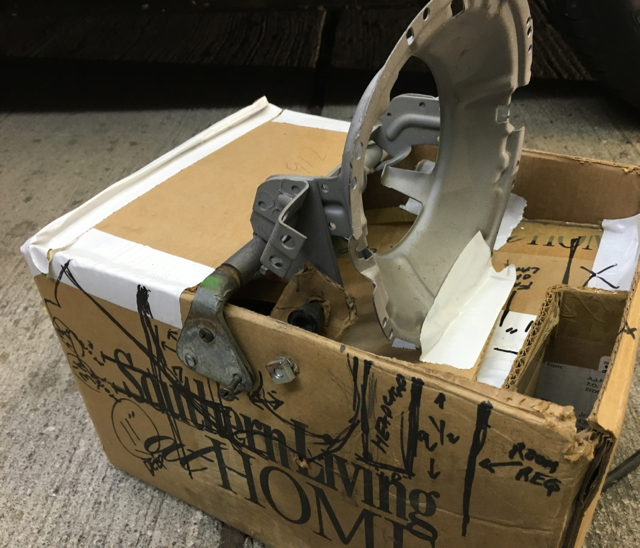 Cut out the original mount for the motor, and reworked it to fit the project. 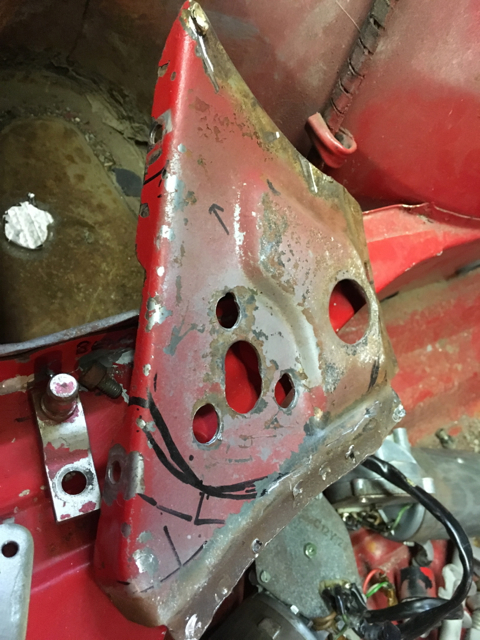  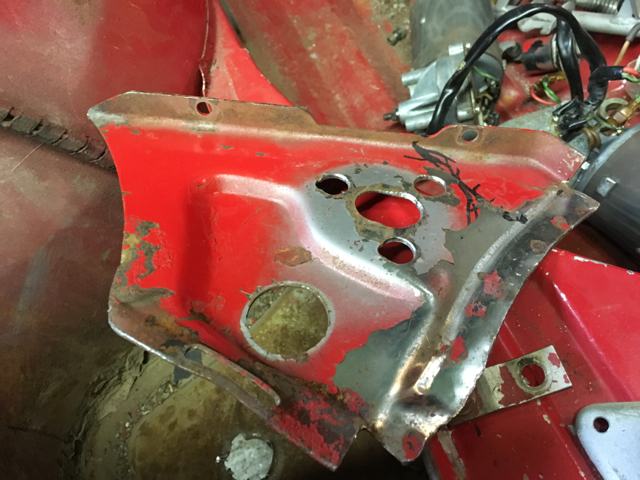 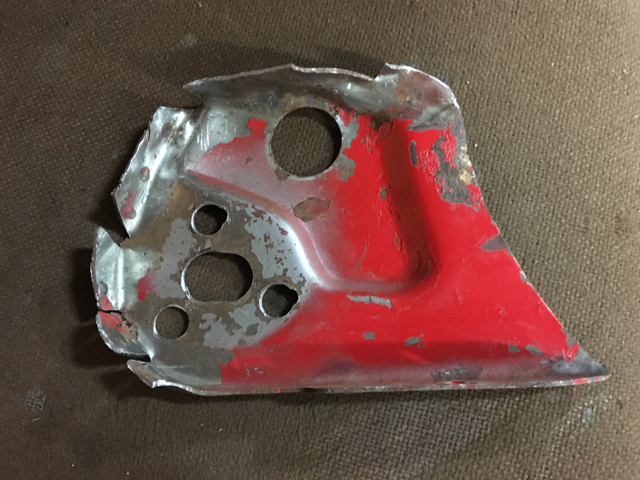 Right and left sides roughly done. 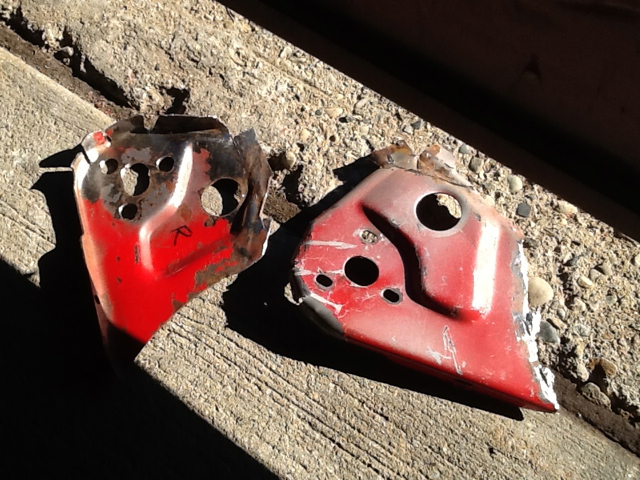 |
|
|
|
| mgp4591 |
Mar 31 2016, 08:06 PM
Post
#57
|
|
914 Guru Group: Members Posts: 5,978 Joined: 1-August 12 From: Salt Lake City Ut Member No.: 14,748 Region Association: Intermountain Region |
Okay, this looks really interesting.... (IMG:style_emoticons/default/idea.gif) (IMG:style_emoticons/default/popcorn[1].gif)
|
|
|
|
| Garland |
Mar 31 2016, 08:07 PM
Post
#58
|
|
Restoration Fanatic Group: Members Posts: 1,431 Joined: 8-January 04 From: ......Michigan...... Member No.: 1,535 Region Association: Upper MidWest |
Thank you, and on with the show (IMG:style_emoticons/default/popcorn[1].gif)
Positioning the location and locating mounting points, swing room ect. When fitting them in. Found that not only that the motor position could be improved, I also tried many heights as far as fitting in the factory opening thats for a fog lamp. First went so that the complete lamp would show. Then realized that the appearance would be poor. So same size lamp, and 80% opening to shine through. Wont see the top bit of the lens. Work in progress. 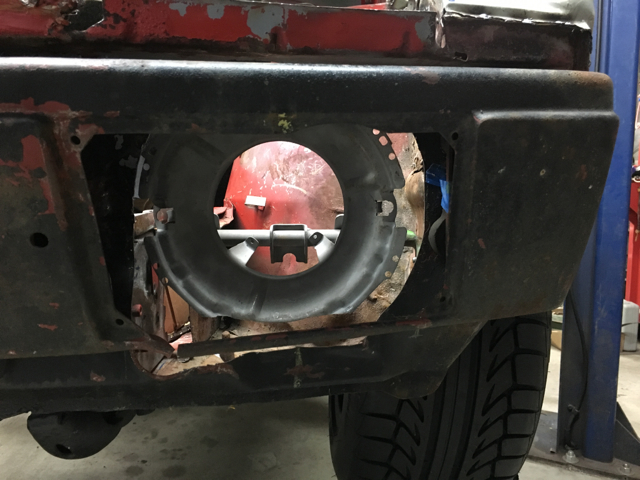 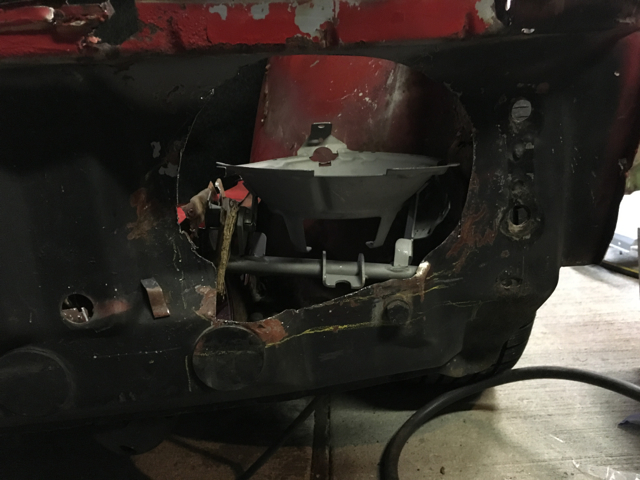 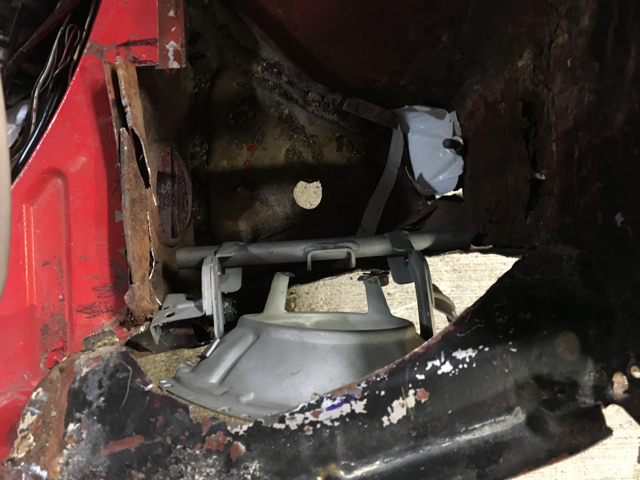 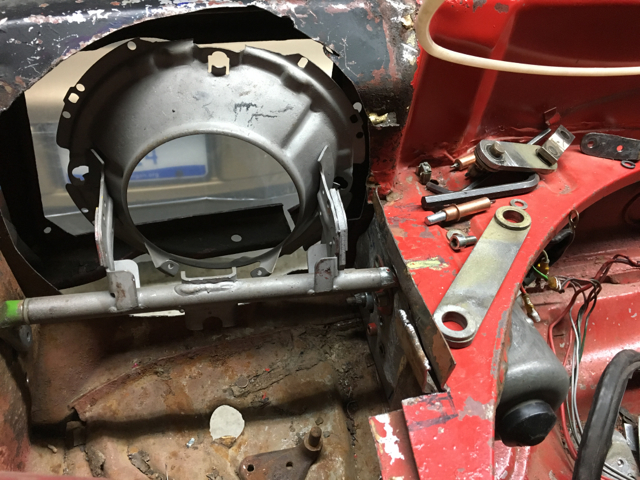 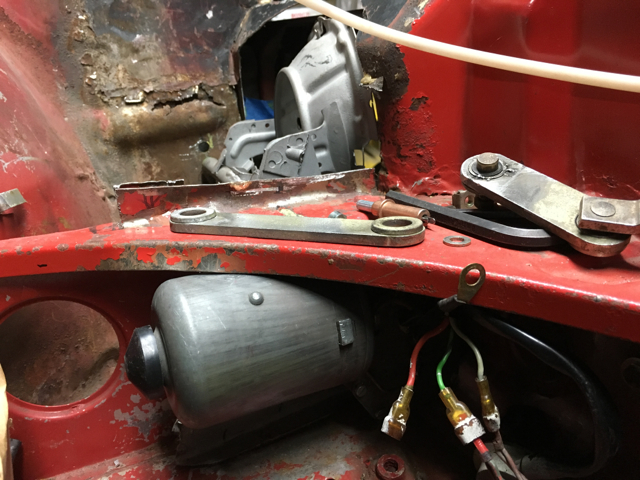 Made up first linkage incorrectly since the relocation, so need to do one a bit longer. 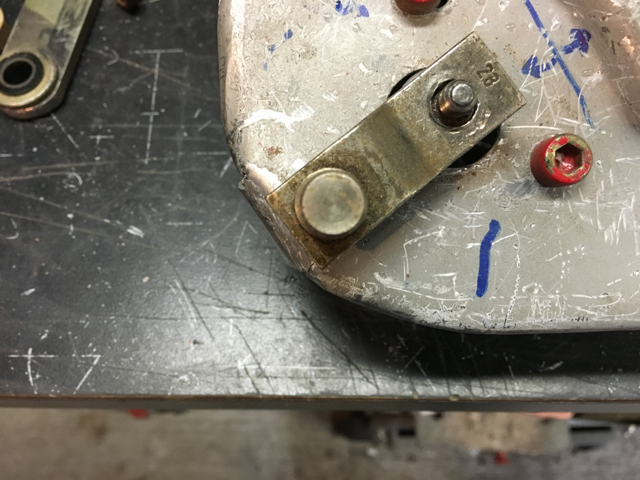 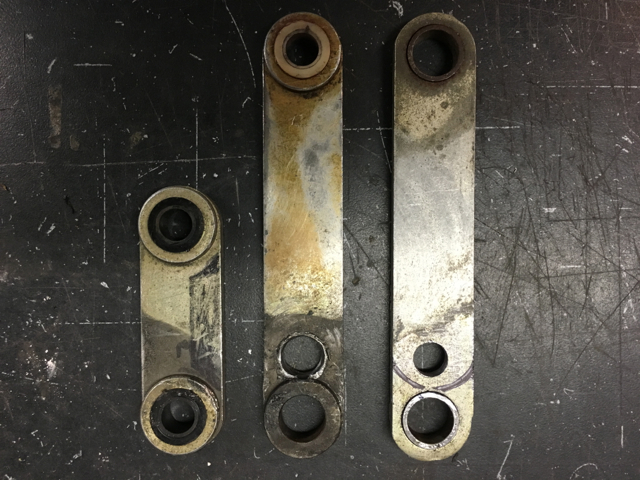 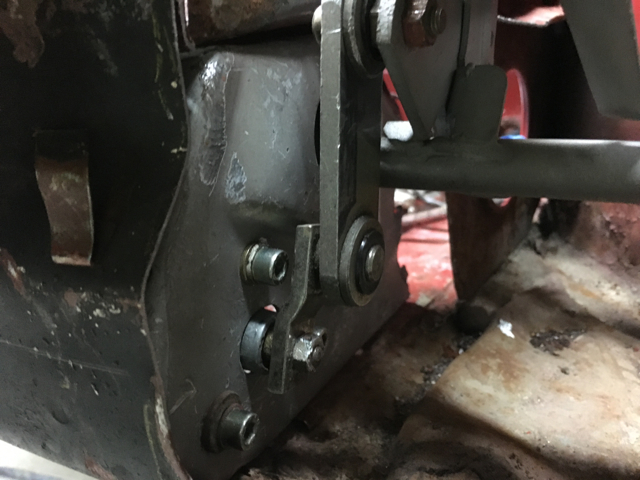 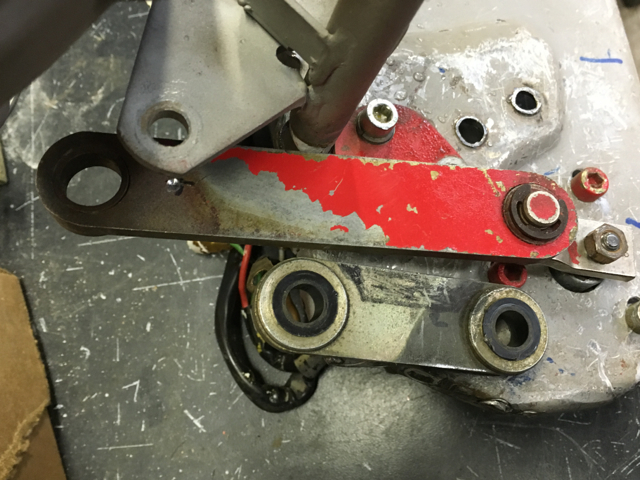 Item view. 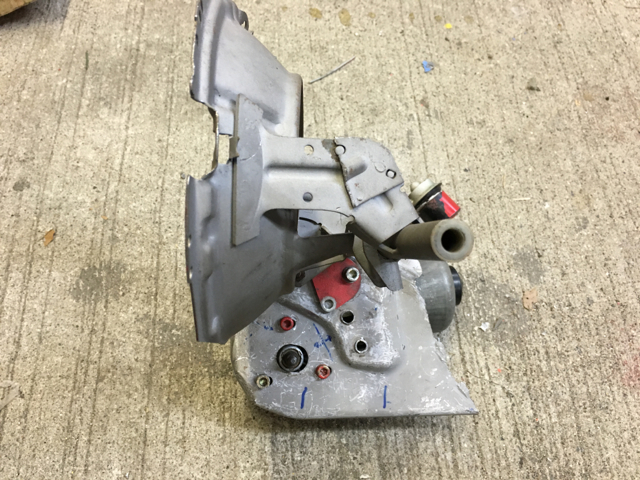 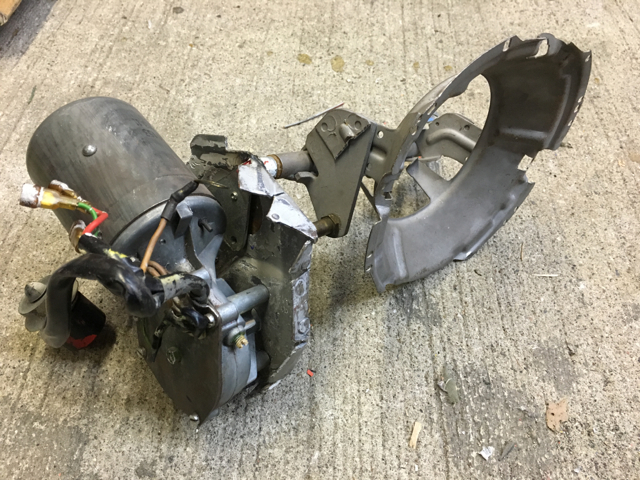 |
|
|
|
| Andyrew |
Mar 31 2016, 08:15 PM
Post
#59
|
|
Spooling.... Please wait Group: Members Posts: 13,381 Joined: 20-January 03 From: Riverbank, Ca Member No.: 172 Region Association: Northern California |
Interesting! I take it you dont have headlight height laws in michigan?
|
|
|
|
| Garland |
Mar 31 2016, 08:17 PM
Post
#60
|
|
Restoration Fanatic Group: Members Posts: 1,431 Joined: 8-January 04 From: ......Michigan...... Member No.: 1,535 Region Association: Upper MidWest |
I have thought about that, and have a solution in mind! Not to limit the though, but between after dusk driving, and having it addressed by law inforcement, the solution only needs to be somewhat minimal. More to come......
|
|
|
|
|
1 User(s) are reading this topic (1 Guests and 0 Anonymous Users)
0 Members:

|
Lo-Fi Version | Time is now: 19th July 2026 - 08:42 PM |
Invision Power Board
v9.1.4 © 2026 IPS, Inc.