|
|
|
Porsche, and the Porsche crest are registered trademarks of Dr. Ing. h.c. F. Porsche AG.
This site is not affiliated with Porsche in any way. Its only purpose is to provide an online forum for car enthusiasts. All other trademarks are property of their respective owners. |
|
|

  |

| tygaboy |
 Jan 11 2018, 09:03 AM Jan 11 2018, 09:03 AM
Post
#81
|
|
914 Guru  Group: Members Posts: 5,829 Joined: 6-October 15 From: Petaluma, CA Member No.: 19,241 Region Association: Northern California |
QUOTE(rick 918-S @ Jan 11 2018, 01:06 AM)  Nice work Cary. It's always interesting and challenging when it comes to chassis diagnosis. Specially with 2000 miles between us. Looks like we figured out what happened. I have a few ideas how to set it right. I will send another email then we can talk again. Such a great community.... (IMG:style_emoticons/default/cheer.gif) |
   |

 
|
| cary |
Jan 11 2018, 11:01 PM
Post
#82
|
|
Advanced Member Group: Members Posts: 3,900 Joined: 26-January 04 From: Sherwood Oregon Member No.: 1,608 Region Association: Pacific Northwest |
Well after all the measurements, pictures and emails Rick and I came to the consensus that the car took a hit on the right control arm end cap and tire wheel.
 pretty significant whack.................. 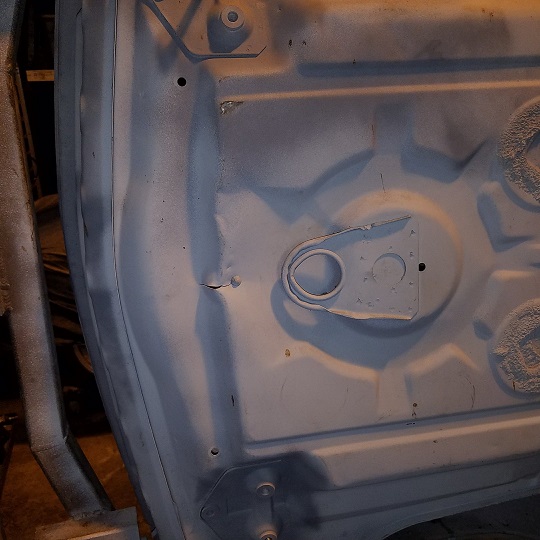  But after all the geometry, it looks to be 2-3 mm both back and to the right. Which is just a smidgen out of tolerance. So back to work ............... First order of business. I'll fix the split in the tire well.  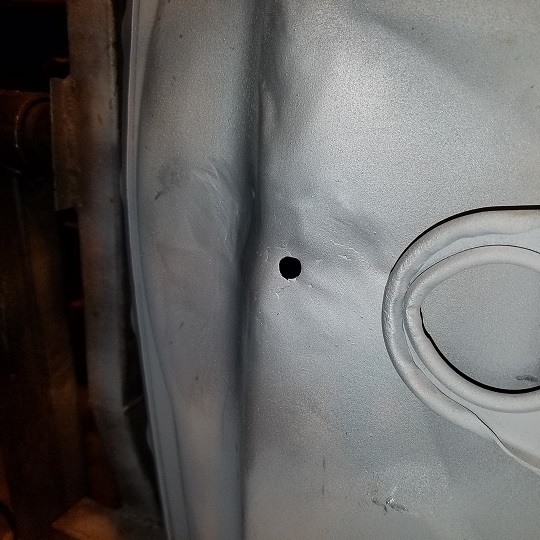 Needs a little more hammer and dolly work when I have a second set of hands. Blasted the cross member and gave it a couple coats of cold galvanizing. 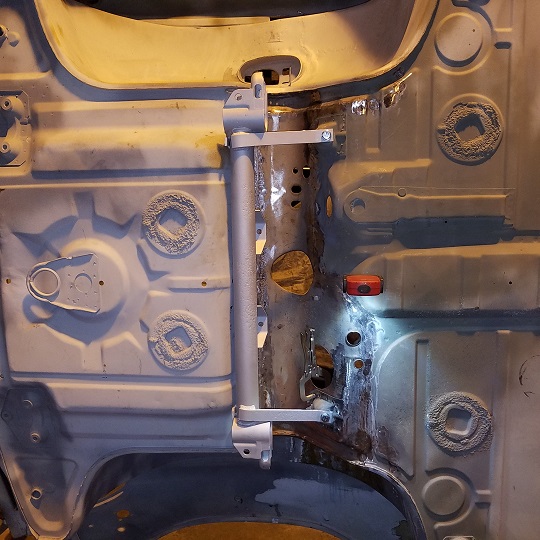 After just a smidgen of tuning and she slipped into place. Next onto welding in the right rear cross member mount. 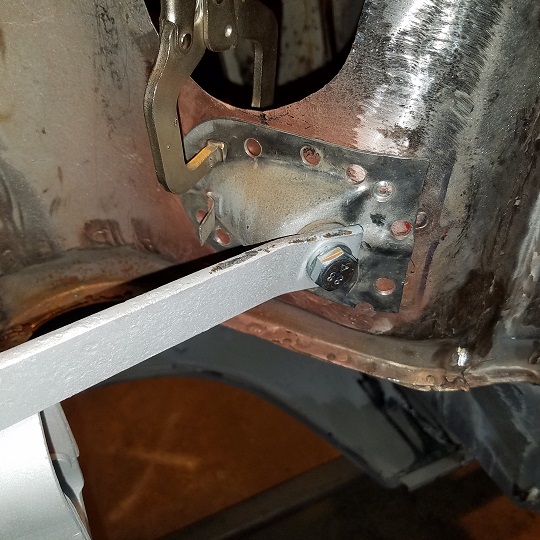 |
 |
|
| rick 918-S |
Jan 12 2018, 07:06 AM
Post
#83
|
|
Hey nice rack! -Celette Group: Members Posts: 21,288 Joined: 30-December 02 From: Now in Superior WI Member No.: 43 Region Association: Northstar Region |
Always enjoy a challenge. (IMG:style_emoticons/default/smash.gif) (IMG:style_emoticons/default/sawzall-smiley.gif) (IMG:style_emoticons/default/welder.gif) (IMG:style_emoticons/default/beerchug.gif)
|
|
|
|
| cary |
Jan 13 2018, 08:44 AM
Post
#84
|
|
Advanced Member Group: Members Posts: 3,900 Joined: 26-January 04 From: Sherwood Oregon Member No.: 1,608 Region Association: Pacific Northwest |
Here's all the geometry ..............
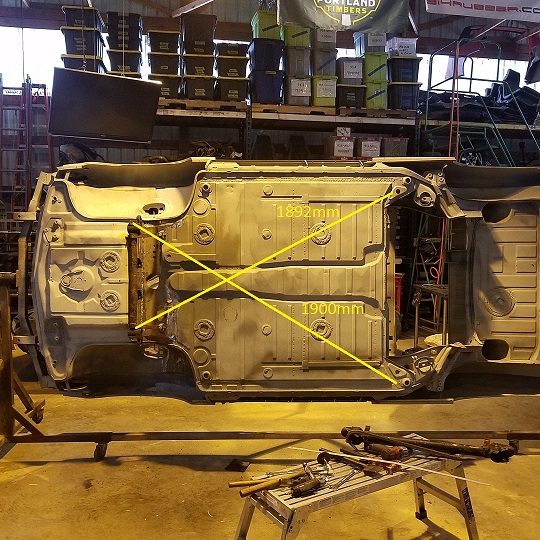 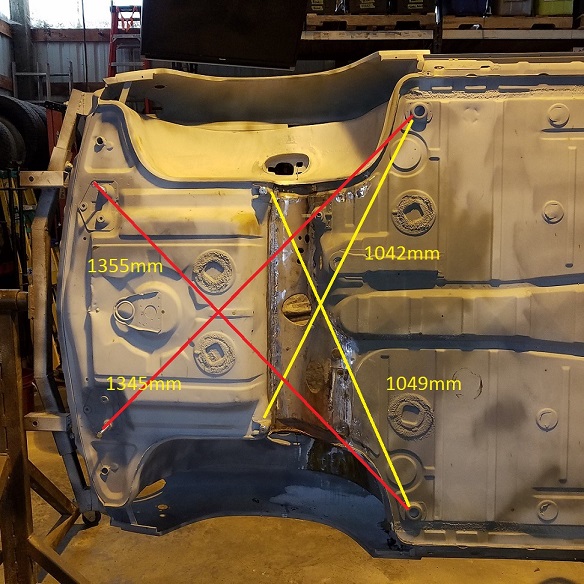 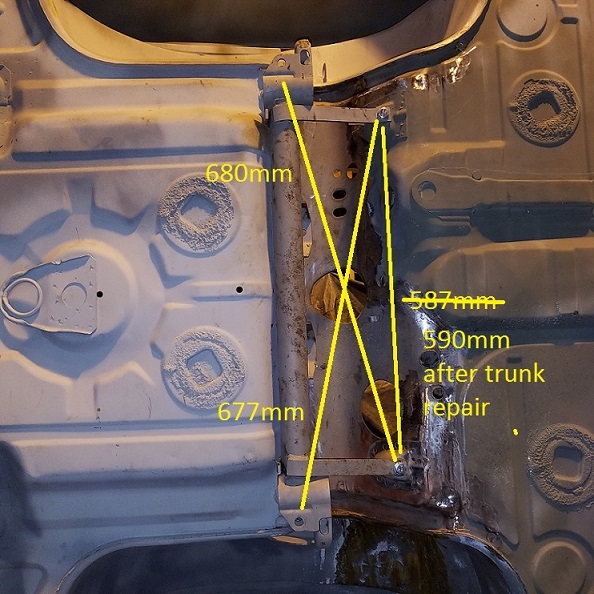  For prosperity's sake, I'll double check my notes on the 498. Back to work ............ |
|
|
|
| cary |
Jan 13 2018, 09:11 AM
Post
#85
|
|
Advanced Member Group: Members Posts: 3,900 Joined: 26-January 04 From: Sherwood Oregon Member No.: 1,608 Region Association: Pacific Northwest |
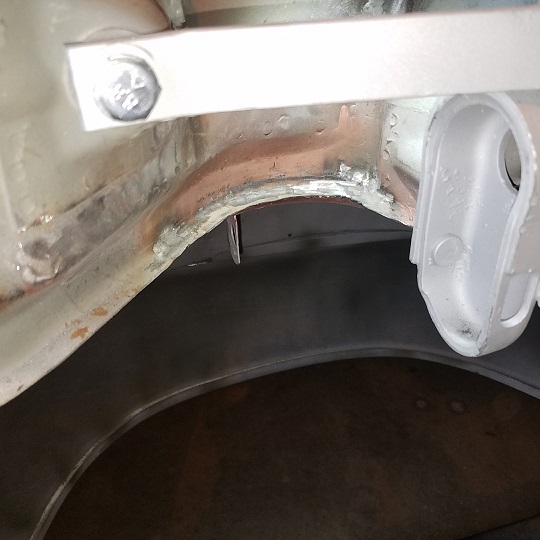
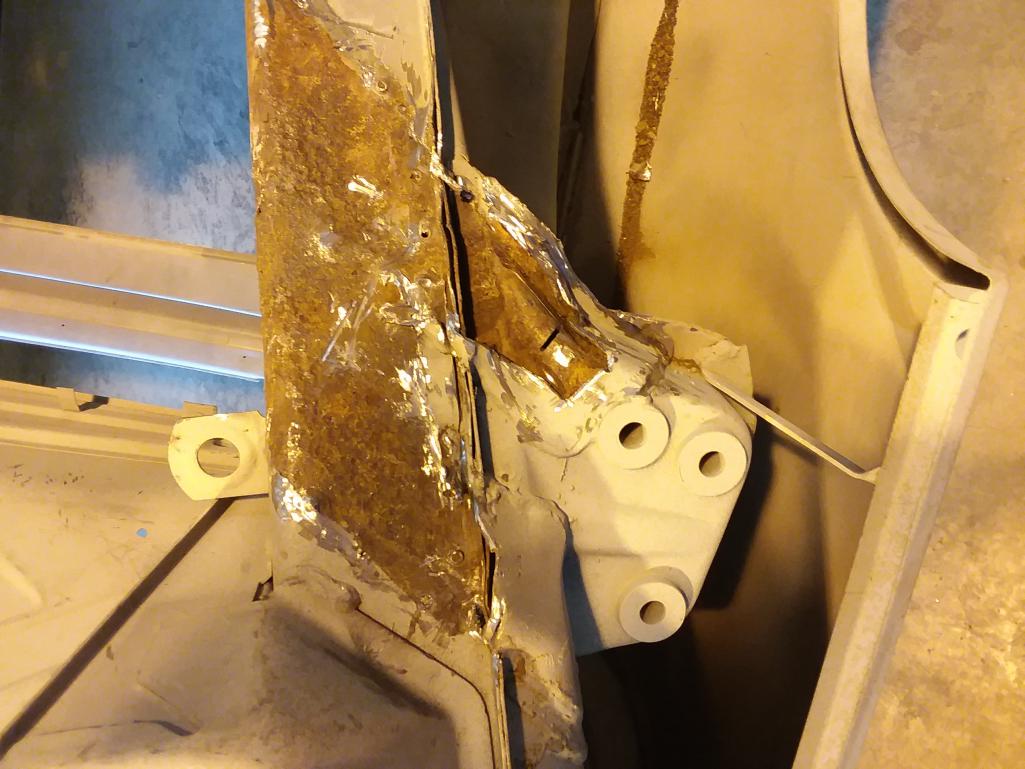
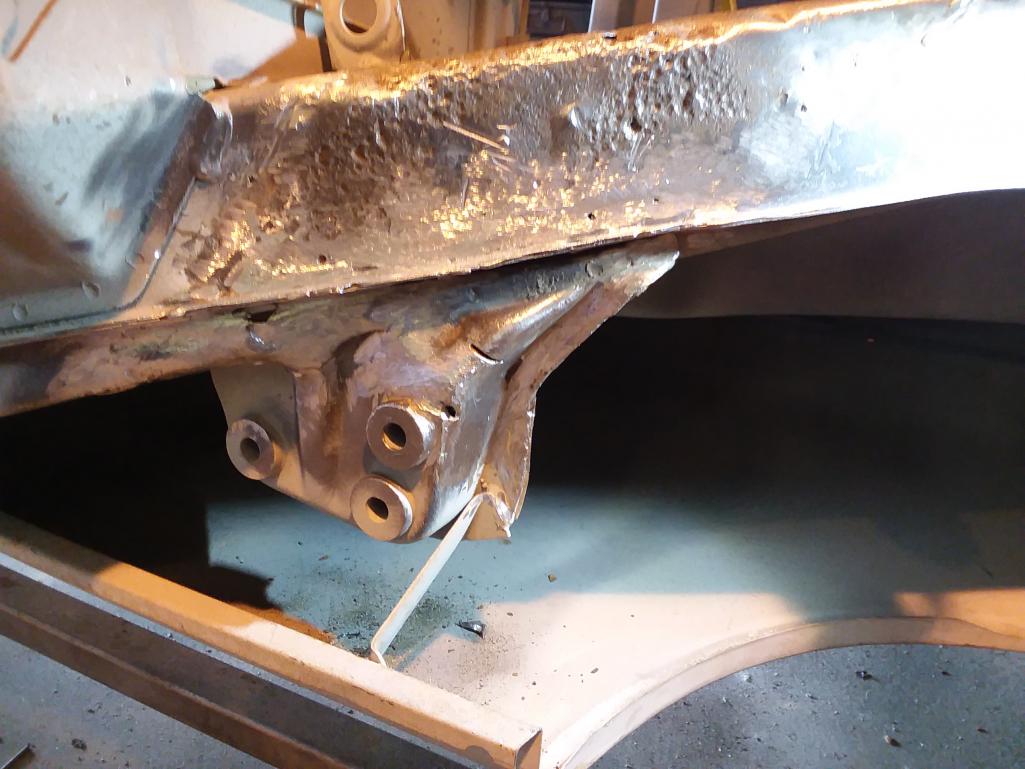
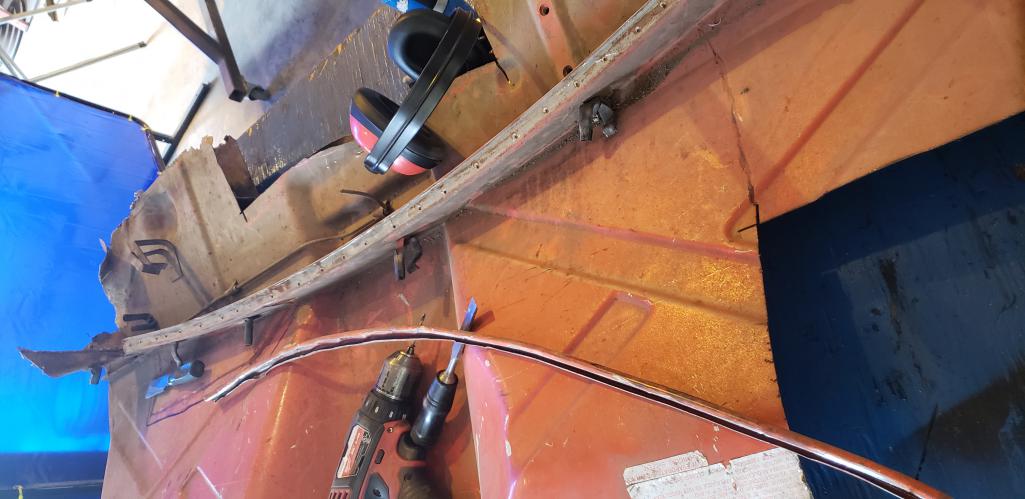
Spent the morning weldng on the right rear cross member mount and re welding the arch. A little dicey ........... The flange took quite a beating coming out. But it came together nicely.
 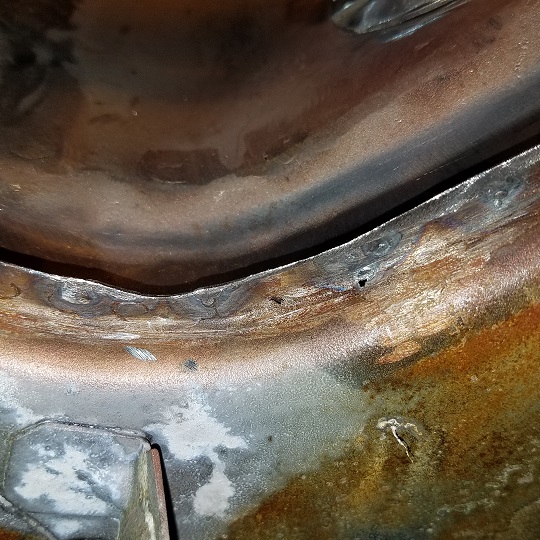 Checking the backside ............. a couple pin holes to fill 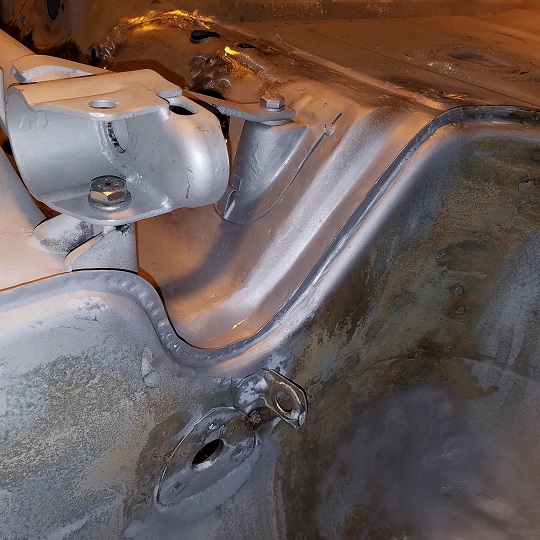 Gooder as new ....... Left last night with the bottom side of the cowl getting an Ospho treatment. Best guess is the rust freckles are from the Dustless Blaster media left hanging. Prior to the treatment, Taylor spent about 3 hours removing blasting media from the tub. Round and round on the rotisserie. Plus some tapping with rubber mallets. |
|
|
|
| cary |
Jan 19 2018, 09:36 AM
Post
#86
|
|
Advanced Member Group: Members Posts: 3,900 Joined: 26-January 04 From: Sherwood Oregon Member No.: 1,608 Region Association: Pacific Northwest |
Finished up the left side arch yesterday.
 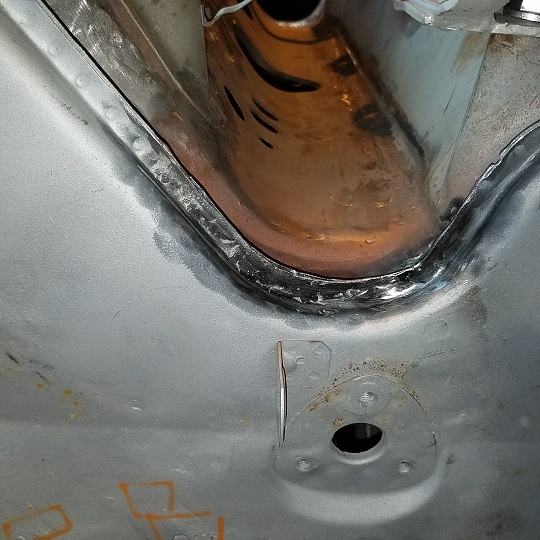   Next is the bottom 1/2 patch piece on the strut/fuel tank trunk wall. |
|
|
|
| cary |
Jan 21 2018, 08:48 PM
Post
#87
|
|
Advanced Member Group: Members Posts: 3,900 Joined: 26-January 04 From: Sherwood Oregon Member No.: 1,608 Region Association: Pacific Northwest |
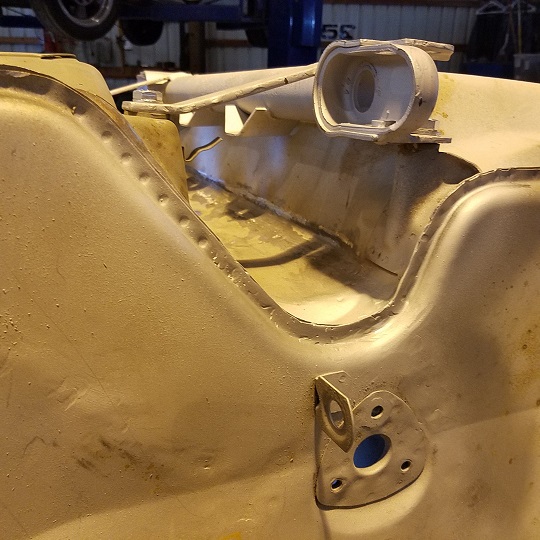
Catch up on Taylor's car.
1st. Treated the bottom side of the cowl with OSPHO. It had quite a bit of over spray or condensation from the paint stripping. After the OSPHO dried Taylor scrubbed it down with a red pad. 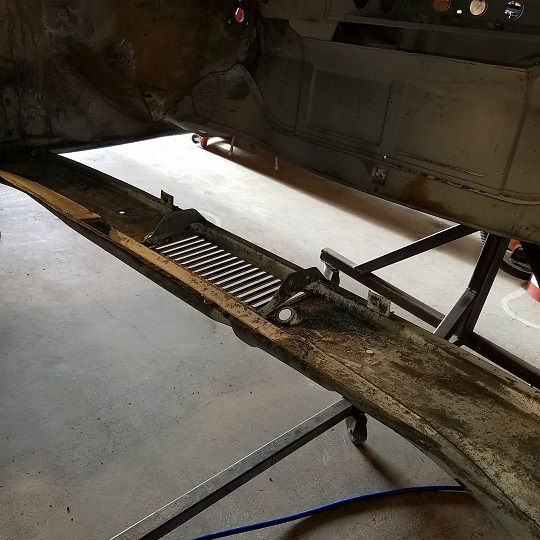 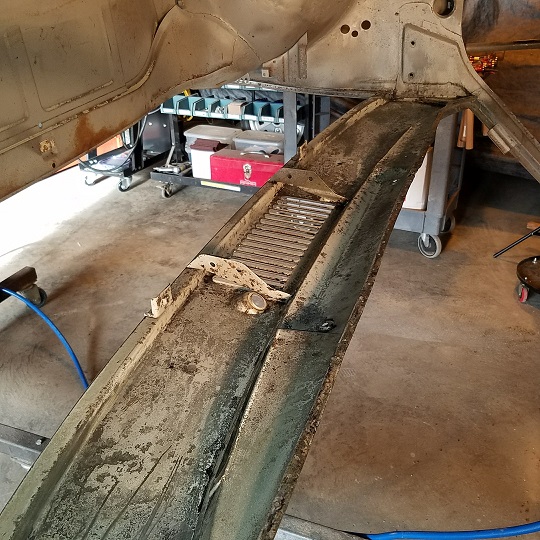 Then I gave it two coats of cold galvanizing in case it gets missing during paint. Forgot to shoot a photo. I'll be back. 2nd. Onto the patch at the base of the cross panel. 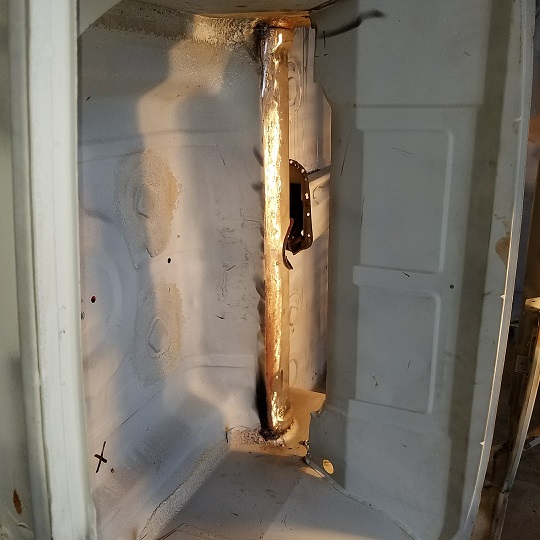 |
|
|
|
| cary |
Jan 21 2018, 08:55 PM
Post
#88
|
|
Advanced Member Group: Members Posts: 3,900 Joined: 26-January 04 From: Sherwood Oregon Member No.: 1,608 Region Association: Pacific Northwest |
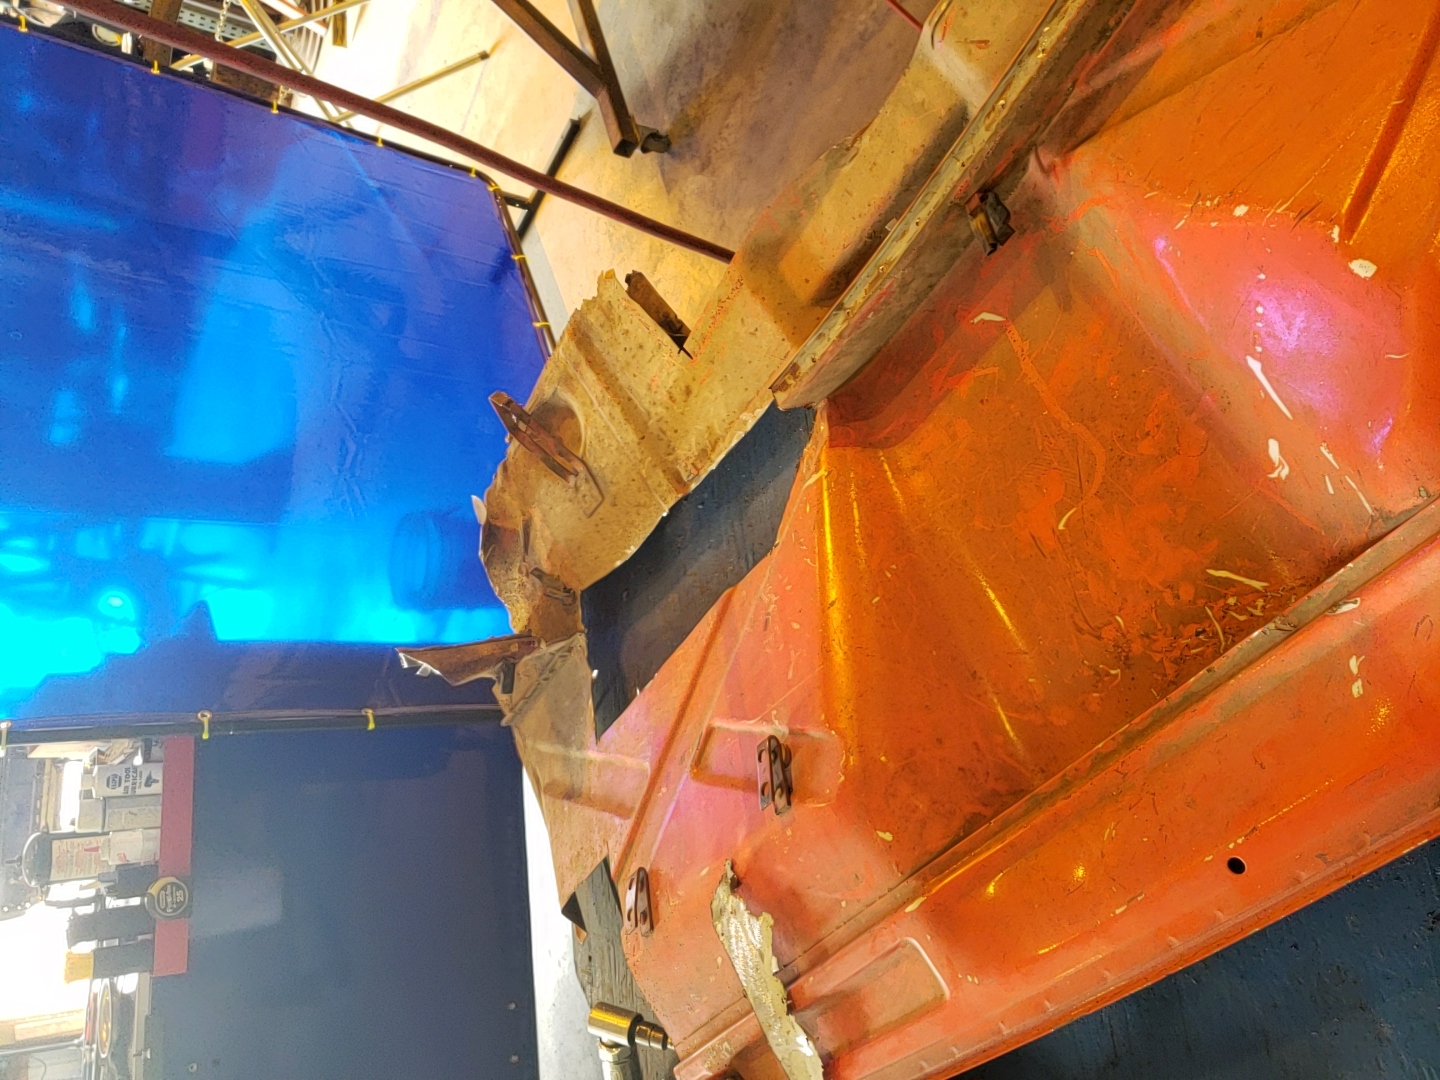
Took a little tuning to get it ready to weld in. It's a pretty tough removal. It's wedged in there pretty good.
   Ready to go ................ 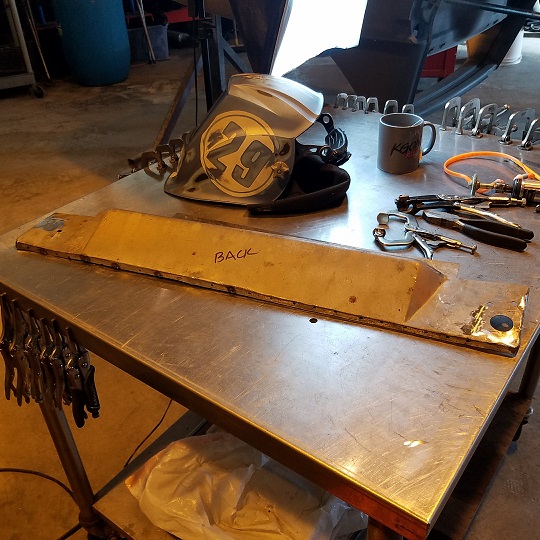 Decided that the left inner fender needed a patch on a fairly thin spot. 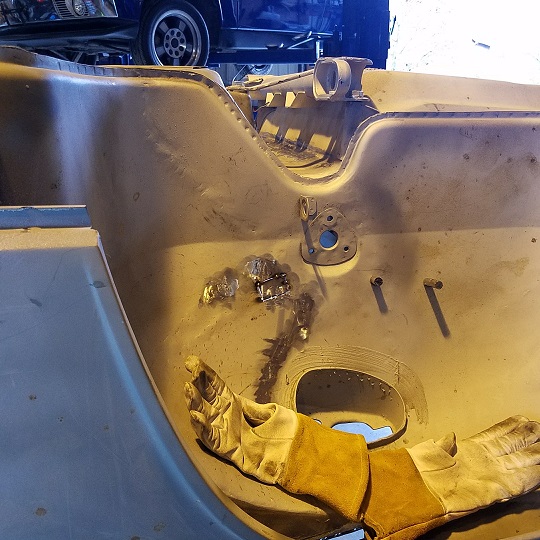 |
|
|
|
| Taylor.914 |
May 6 2018, 12:33 PM
Post
#89
|
|
Newbie Group: Members Posts: 22 Joined: 18-January 17 From: Hillsboro oregon Member No.: 20,761 Region Association: Pacific Northwest |
Have not been very active on the forum but still making progress. Don't have any pictures of before or during, but spent the weekend tearing out the rotted suspension. Now for some patch work and the me part us ready for install.
 koo koo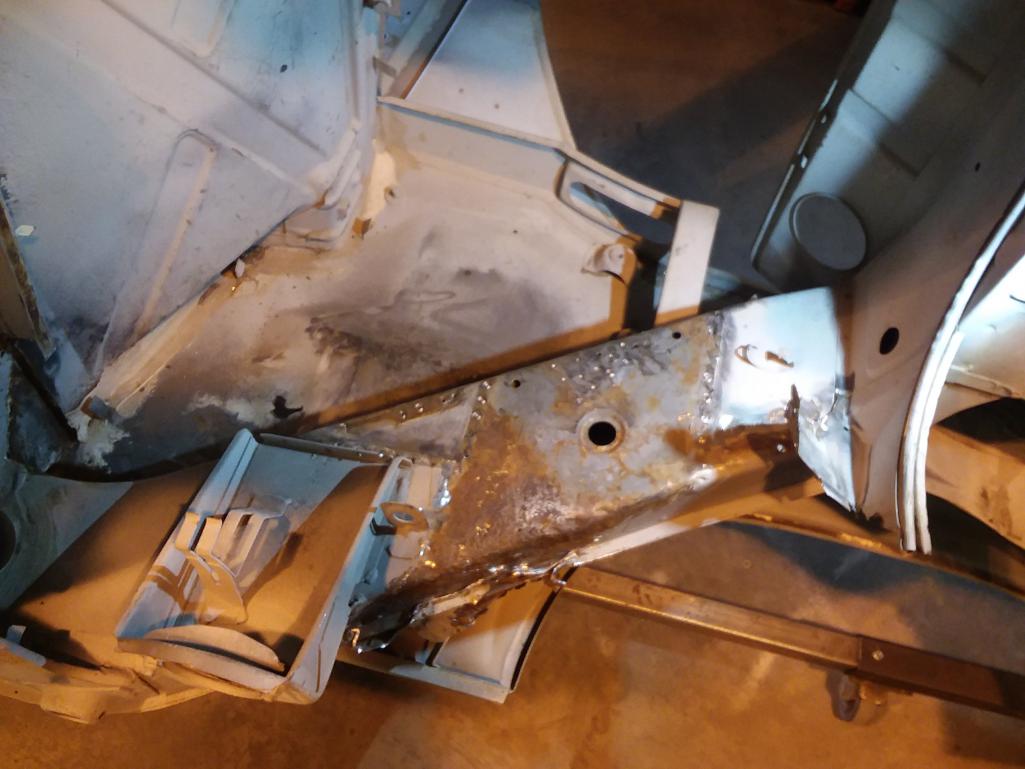 |
|
|
|
| Taylor.914 |
May 6 2018, 12:39 PM
Post
#90
|
|
Newbie Group: Members Posts: 22 Joined: 18-January 17 From: Hillsboro oregon Member No.: 20,761 Region Association: Pacific Northwest |
  koo koo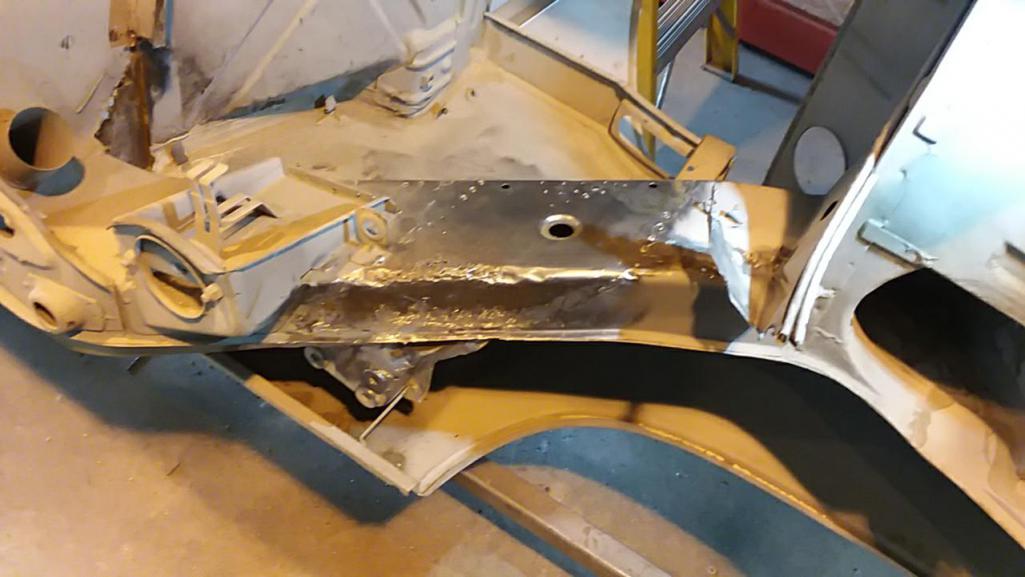 |
|
|
|
| Taylor.914 |
May 6 2018, 12:40 PM
Post
#91
|
|
Newbie Group: Members Posts: 22 Joined: 18-January 17 From: Hillsboro oregon Member No.: 20,761 Region Association: Pacific Northwest |
 |
|
|
|
| cary |
May 6 2018, 01:20 PM
Post
#92
|
|
Advanced Member Group: Members Posts: 3,900 Joined: 26-January 04 From: Sherwood Oregon Member No.: 1,608 Region Association: Pacific Northwest |
I feel bad. I've been so busy in the other room working with Matt. I haven't taken any pictures when go out and answer Taylor's questions. He did a great job on the suspension console removal. Looks like we'll have a little skin transfusion on the outer layer of the upper long.
|
|
|
|
| Taylor.914 |
Aug 6 2018, 09:25 PM
Post
#93
|
|
Newbie Group: Members Posts: 22 Joined: 18-January 17 From: Hillsboro oregon Member No.: 20,761 Region Association: Pacific Northwest |
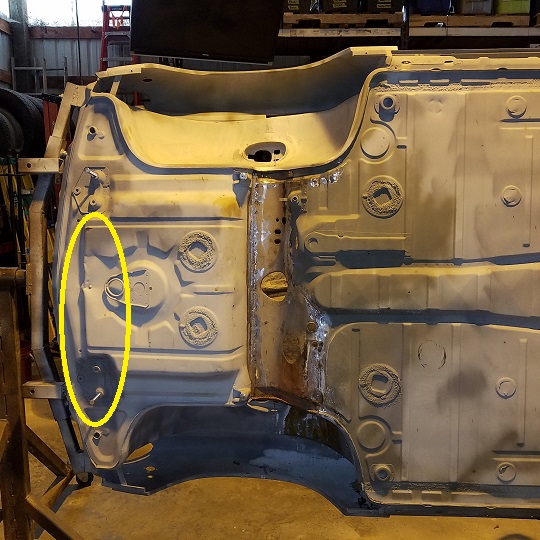
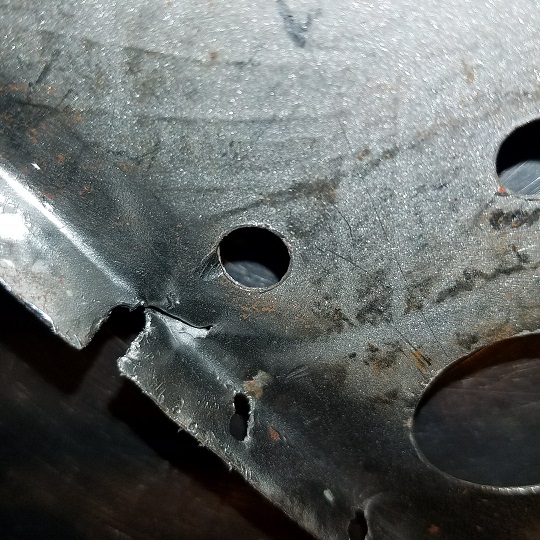
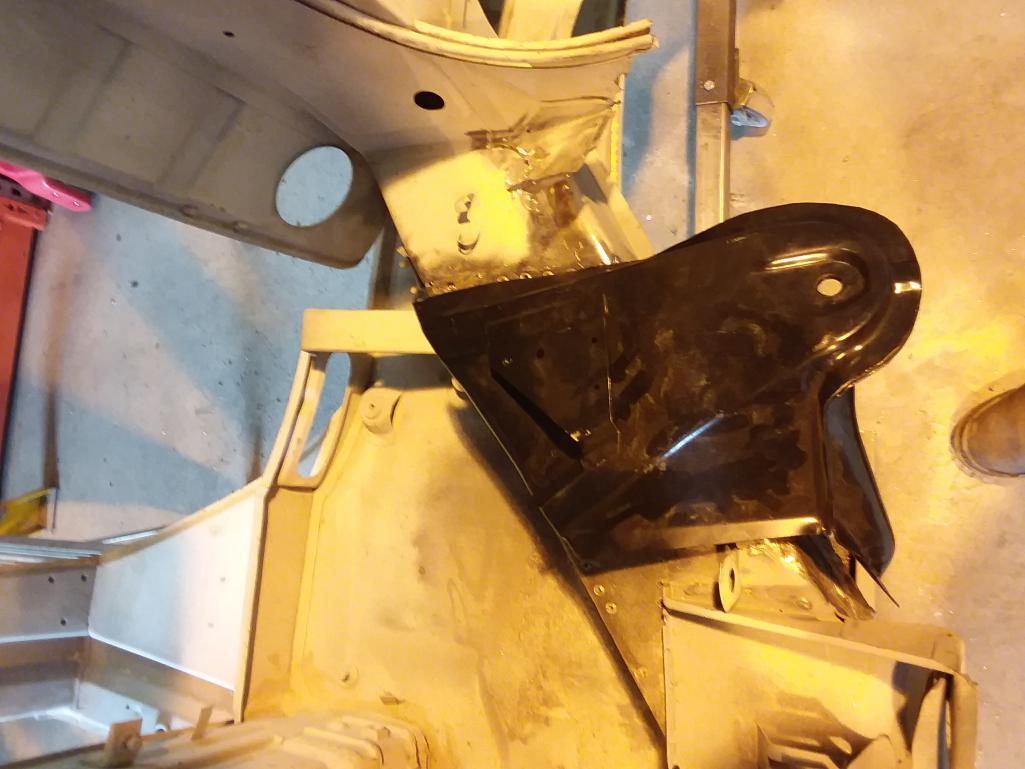
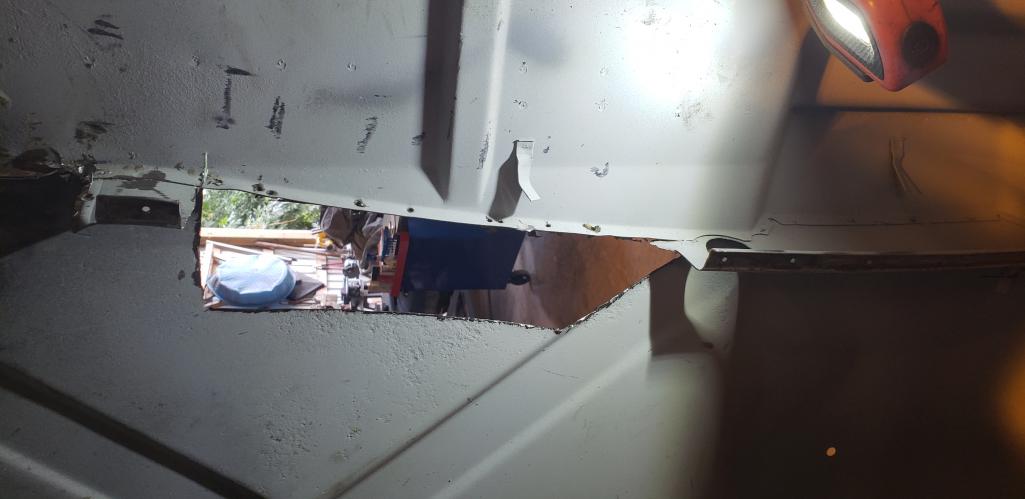
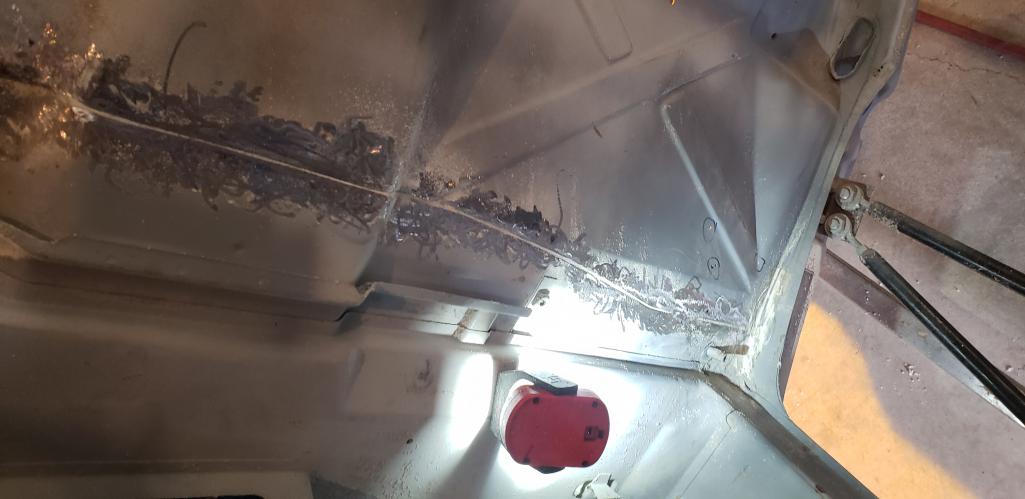
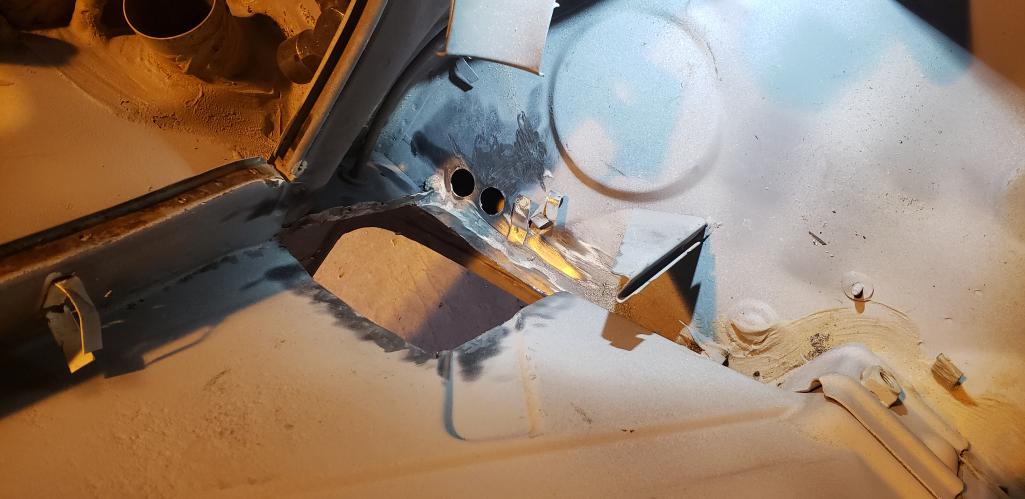
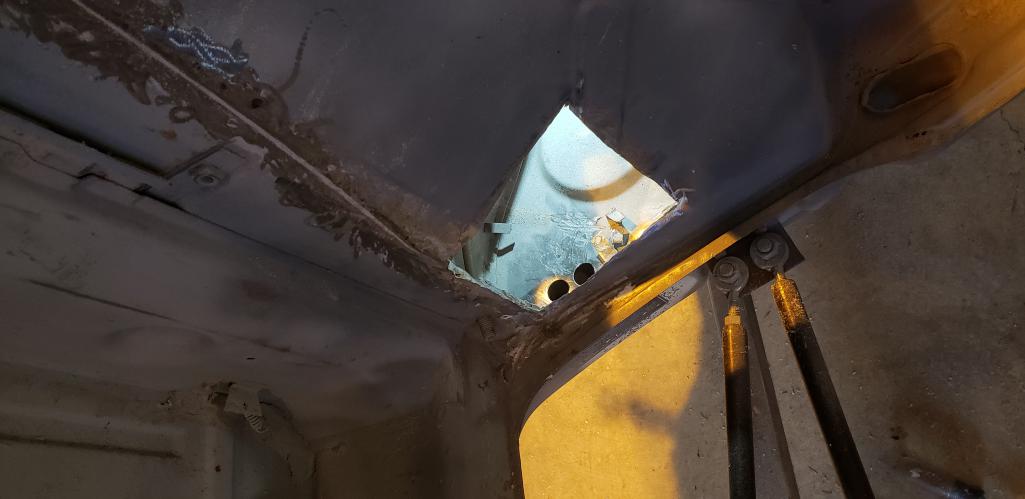
Some good progress was made this weekend on firewall patches.
 |
|
|
|
| Taylor.914 |
Aug 6 2018, 09:26 PM
Post
#94
|
|
Newbie Group: Members Posts: 22 Joined: 18-January 17 From: Hillsboro oregon Member No.: 20,761 Region Association: Pacific Northwest |
 |
|
|
|
| Taylor.914 |
Aug 6 2018, 09:27 PM
Post
#95
|
|
Newbie Group: Members Posts: 22 Joined: 18-January 17 From: Hillsboro oregon Member No.: 20,761 Region Association: Pacific Northwest |
 |
|
|
|
| Taylor.914 |
Aug 6 2018, 09:27 PM
Post
#96
|
|
Newbie Group: Members Posts: 22 Joined: 18-January 17 From: Hillsboro oregon Member No.: 20,761 Region Association: Pacific Northwest |
 |
|
|
|
| Taylor.914 |
Aug 6 2018, 09:29 PM
Post
#97
|
|
Newbie Group: Members Posts: 22 Joined: 18-January 17 From: Hillsboro oregon Member No.: 20,761 Region Association: Pacific Northwest |
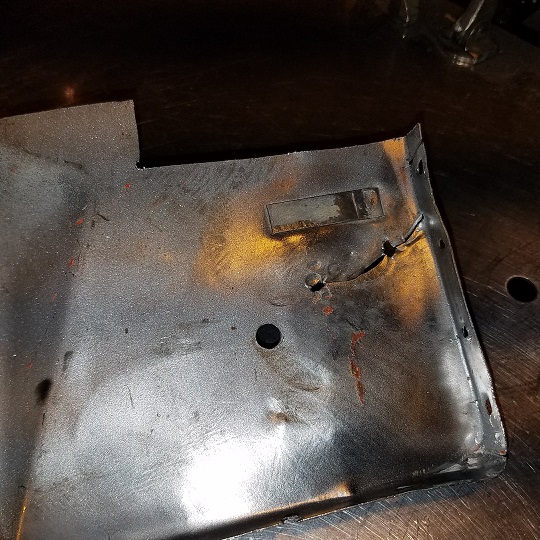
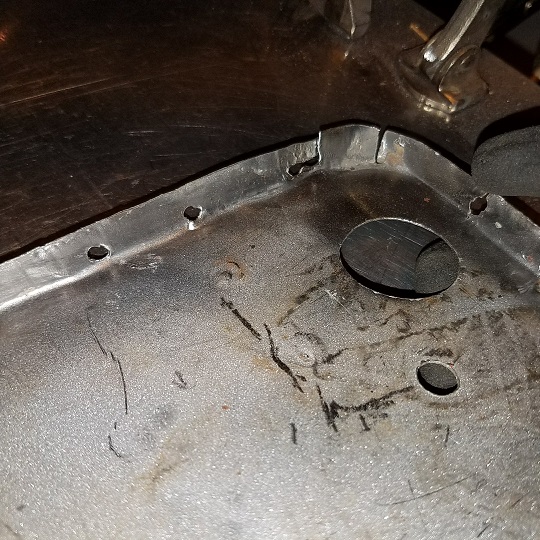
Prepping the donor.
 |
|
|
|
| Taylor.914 |
Aug 6 2018, 09:29 PM
Post
#98
|
|
Newbie Group: Members Posts: 22 Joined: 18-January 17 From: Hillsboro oregon Member No.: 20,761 Region Association: Pacific Northwest |
 |
|
|
|
| Mikey914 |
Aug 8 2018, 04:52 PM
Post
#99
|
|
The rubber man Group: Members Posts: 12,782 Joined: 27-December 04 From: Hillsboro, OR Member No.: 3,348 Region Association: None |
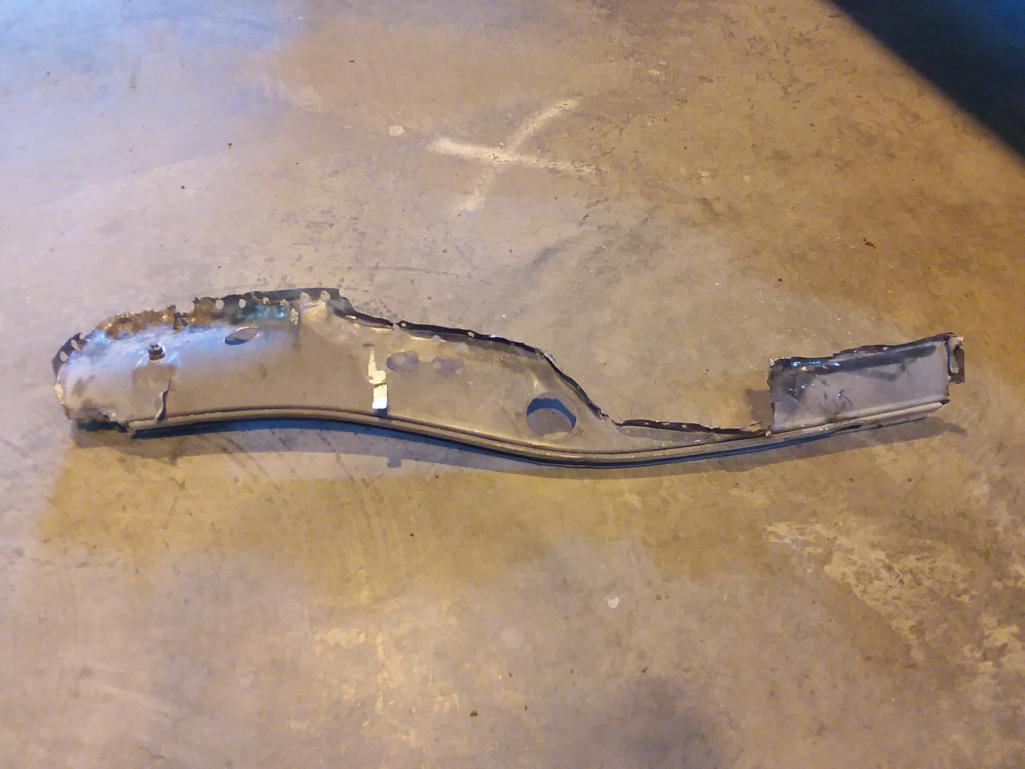
just ordered up the passenger side engine tray section from Restoration design. Next week ready for install, maybe???
|
|
|
|
| wes |
Aug 8 2018, 05:07 PM
Post
#100
|
|
wes Group: Members Posts: 1,613 Joined: 8-December 07 From: Ukiah Ca Member No.: 8,436 Region Association: Northern California |
Amazing work, turned out the car had more rust than I found when decided it was a Parts’s car.
|
|
|
|
|
1 User(s) are reading this topic (1 Guests and 0 Anonymous Users)
0 Members:

|
Lo-Fi Version | Time is now: 23rd June 2026 - 07:04 PM |
Invision Power Board
v9.1.4 © 2026 IPS, Inc.