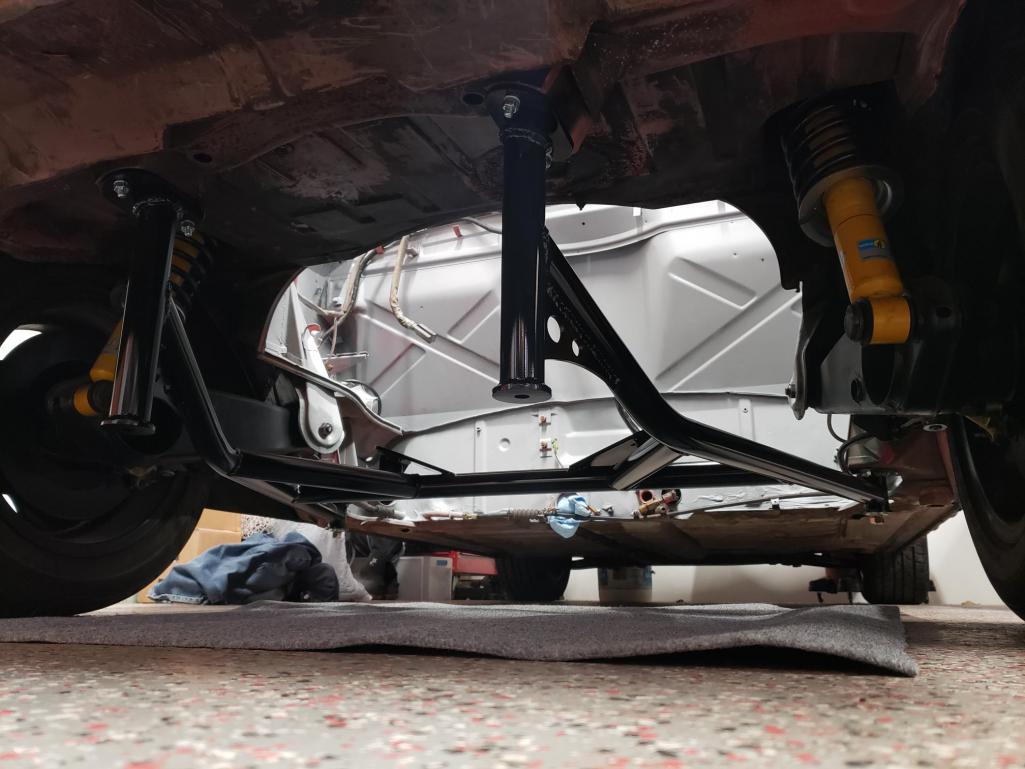
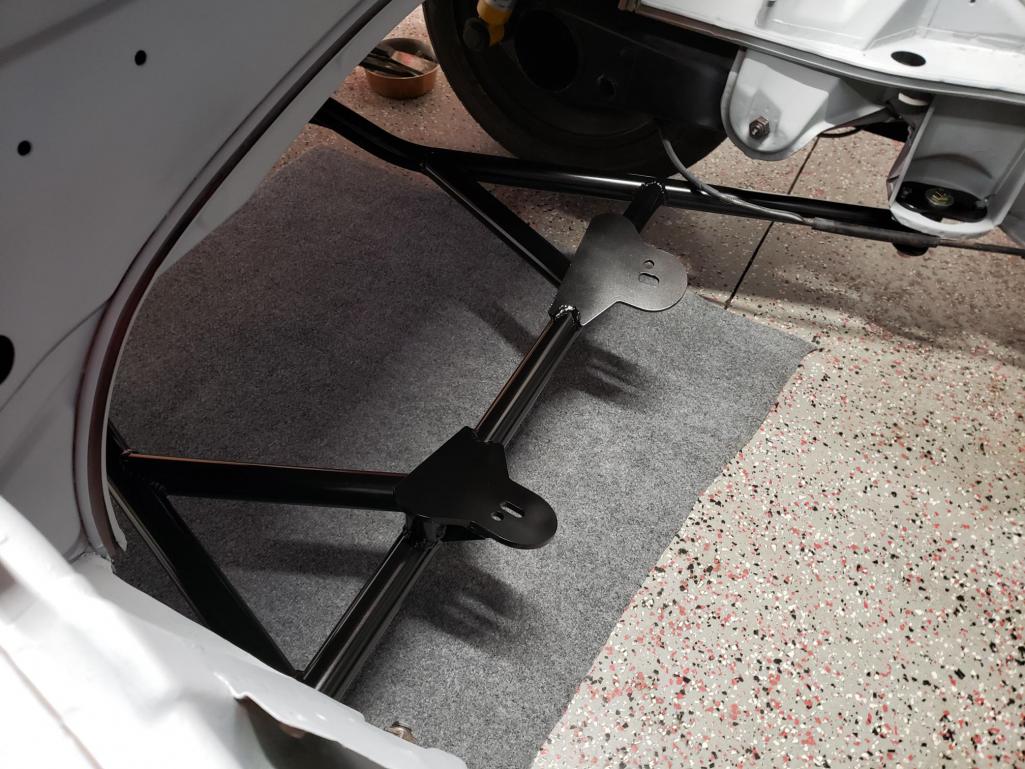
|
|

|
Porsche, and the Porsche crest are registered trademarks of Dr. Ing. h.c. F. Porsche AG.
This site is not affiliated with Porsche in any way. Its only purpose is to provide an online forum for car enthusiasts. All other trademarks are property of their respective owners. |
|
|
  |
| Mayne |
 Jan 12 2023, 11:19 AM Jan 12 2023, 11:19 AM
Post
#101
|
|
Member   Group: Members Posts: 254 Joined: 28-February 17 From: NM Member No.: 20,880 Region Association: None |
I forgot to add this; you may already have this update. https://www.agtengineering.com.au/product-p...Ejr4GulBgKcm7Ss Thanks for the link. I didn't know about that canbus module. I'll do some research on it, but one question that comes to mind is if it is needed when using engine management that accommodates canbus (like Haltech and Link). Thanks for including us on your resto journey! I'm likely going to be doing a lot of similar repairs to my 74 2.0. Q: did you use stock aluminum windshield trim for the windshield or a rubber seal? I had a 914 awhile ago that had a rubber windshield seal and I never did figure out how it was done. I'll be replacing my cracked windshield and (hopefully) re-installing the aluminum trim, if I don't completely mangle it during removal. BTW, If anybody has any tips on how to successfully remove windshield trim, I'd appreciate it. Regarding the flux core MIG: IIRC, I was told that flux core wire may have baked in impurities that may eventually pop out like a rust bubble later on on finished body panels. If anyone else can enlighten and/or correct me if I'm wrong, I'd appreciate it, as I'm getting ready to buy a MIG welder and want to ensure I'm getting the right type. When I had the windshield installed, I didn't have any of the factory trim, so the installer basically create a rubber seal with windshield silicone. It works but only looks okay closeup and when I eventually do full paint, I plan to spring for new stainless trim. Yeah, my flux core welder gets me through for this kind of work that's sort of hidden away. I do sometimes get a burst bubble effect in my welds, which could be related to contaminates in the flux core. When I get to the point when I weld on GT flares, I plan to upgrade to MIG, or even a MIG/TIG combo unit. Though I doubt I'd try to do flares for my first TIG project. (IMG:style_emoticons/default/biggrin.gif) |
| 76-914 |
 Jan 12 2023, 11:52 AM Jan 12 2023, 11:52 AM
Post
#102
|
|
Repeat Offender & Resident Subaru Antagonist           Group: Members Posts: 13,494 Joined: 23-January 09 From: Temecula, CA Member No.: 9,964 Region Association: Southern California 
|
I could be wrong but I believe that it is intended to be used with the factory ECU. Previously one needed to stuff the instrument panel somewhere behind the existing panel because of the CanBus requirements. I believe with this you won't need to keep the Subaru panel and will be able to use the factory ECU. LMK, what you find out and cost comparison between the Halltech vs. this set up. Harness costs included.
|
| 914rrr |
 Jan 13 2023, 10:25 AM Jan 13 2023, 10:25 AM
Post
#103
|
|
Senior Member    Group: Members Posts: 1,822 Joined: 1-July 03 From: Knoxville, TN Member No.: 874 Region Association: South East States |
Thanks for including us on your resto journey! I'm likely going to be doing a lot of similar repairs to my 74 2.0. Q: did you use stock aluminum windshield trim for the windshield or a rubber seal? I had a 914 awhile ago that had a rubber windshield seal and I never did figure out how it was done. I'll be replacing my cracked windshield and (hopefully) re-installing the aluminum trim, if I don't completely mangle it during removal. BTW, If anybody has any tips on how to successfully remove windshield trim, I'd appreciate it. Regarding the flux core MIG: IIRC, I was told that flux core wire may have baked in impurities that may eventually pop out like a rust bubble later on on finished body panels. If anyone else can enlighten and/or correct me if I'm wrong, I'd appreciate it, as I'm getting ready to buy a MIG welder and want to ensure I'm getting the right type. MIG is correct but requires a little hammer/dolly work. TIG is better as less heat=less shrinkage. TIG units are more expensive and complex. MIG is easily learned. (IMG:style_emoticons/default/beerchug.gif) Thanks! I think my concern about flux popping through was actually a stick or gas + rod weld repair. I now remember what the flux core vs gas MIG concern was. Many years ago I borrowed a neighbor's cheap HF flux core welder and it was really difficult to weld body metal with it without blowing holes in the metal due to the wire size and heat. After that I bought my own gas MIG and it was a night and day difference in welding control and ease. This article explains why: https://weldtalk.hobartwelders.com/forum/eq...to-patch-panels |
| Mayne |
 Mar 26 2023, 12:05 PM Mar 26 2023, 12:05 PM
Post
#104
|
|
Member   Group: Members Posts: 254 Joined: 28-February 17 From: NM Member No.: 20,880 Region Association: None |
Here's another update on the 914 project. The engine bay repairs, though not extensive, were pretty time consuming. I finally got it to a point where I felt happy with the rust repair around the hell hole. I also removed a good amount of the engine shelf sheet metal to clean things up a bit and create more space around the engine.
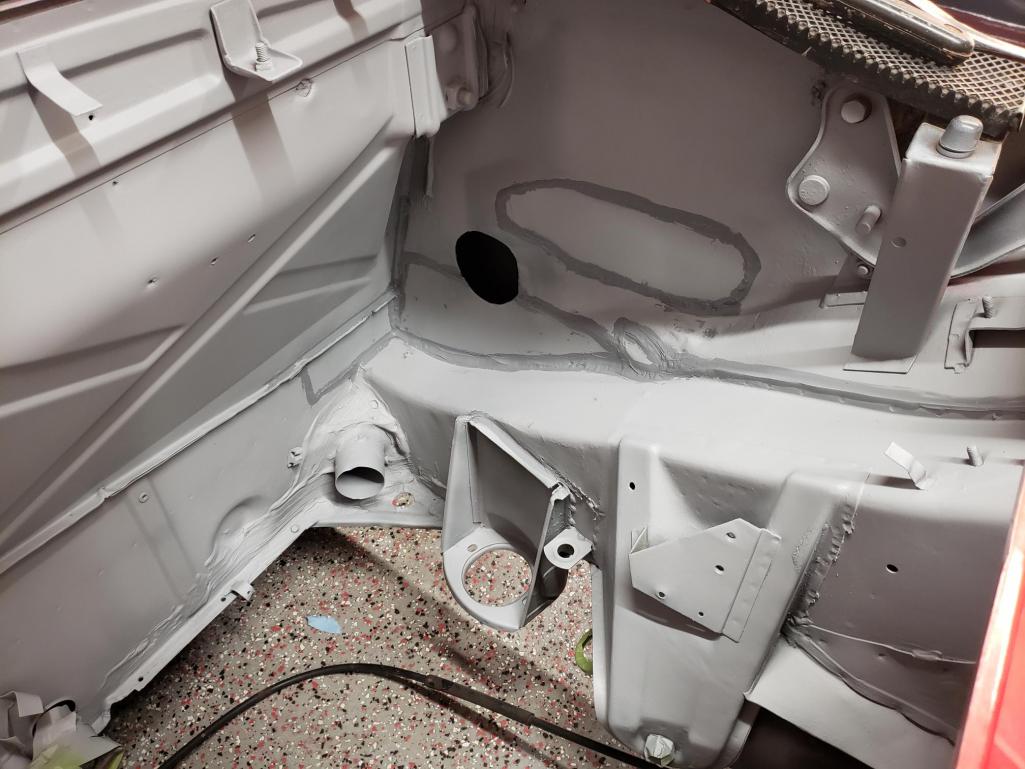 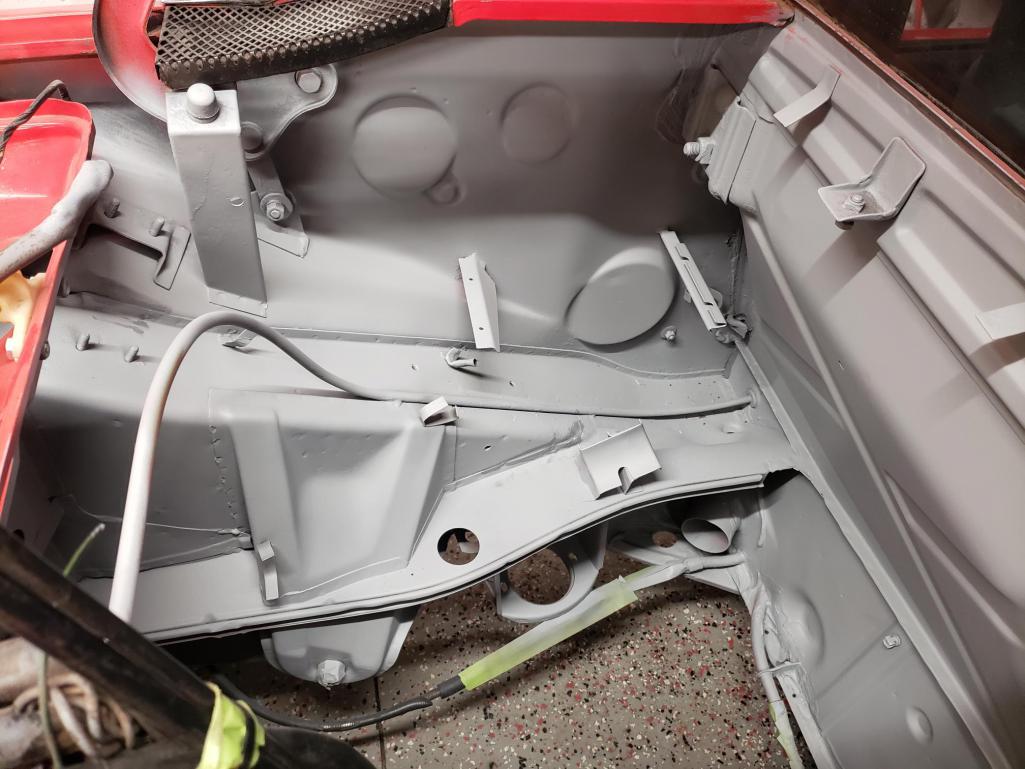 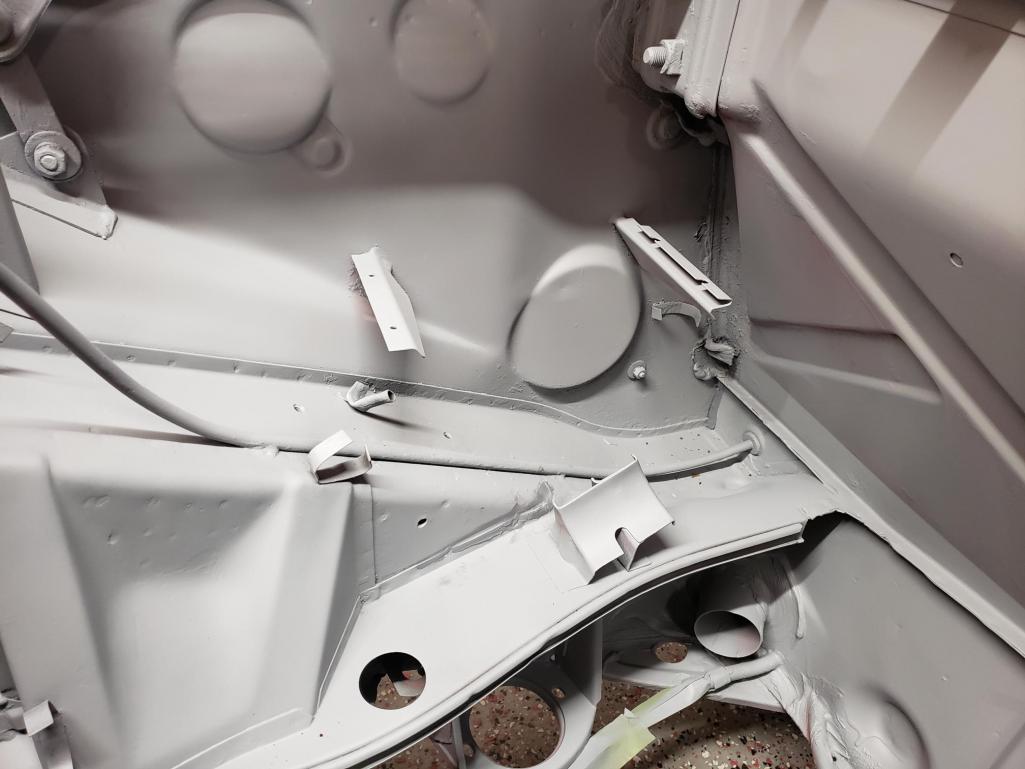 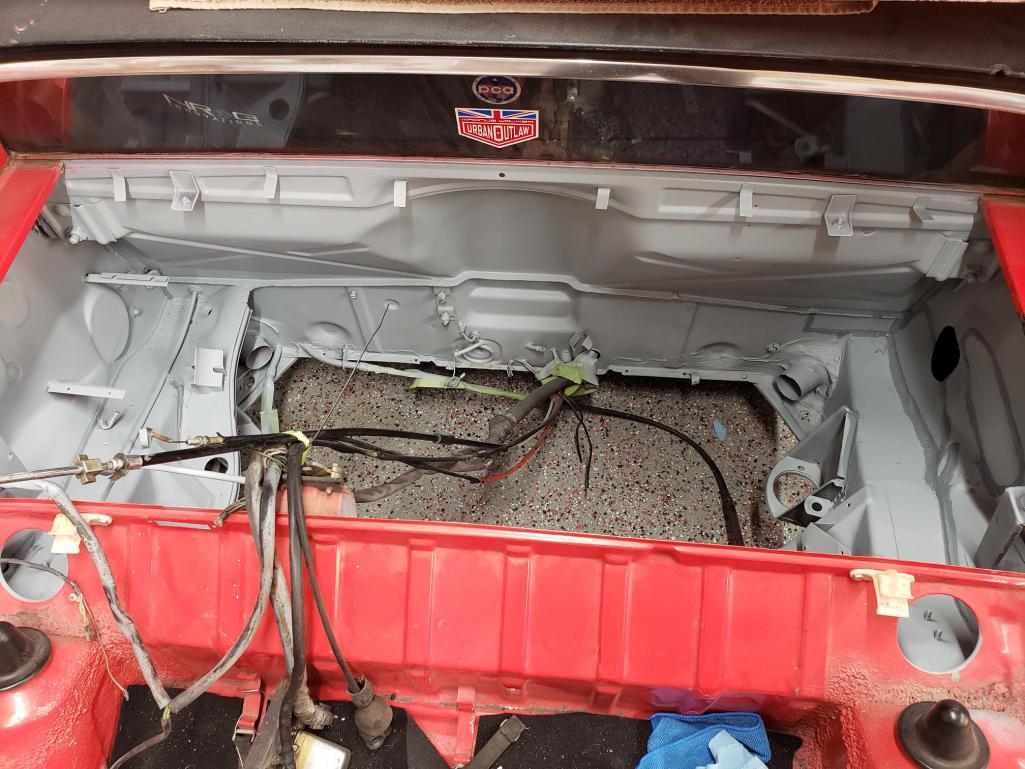 Time for an engine in that space! (IMG:style_emoticons/default/piratenanner.gif) Attached thumbnail(s) 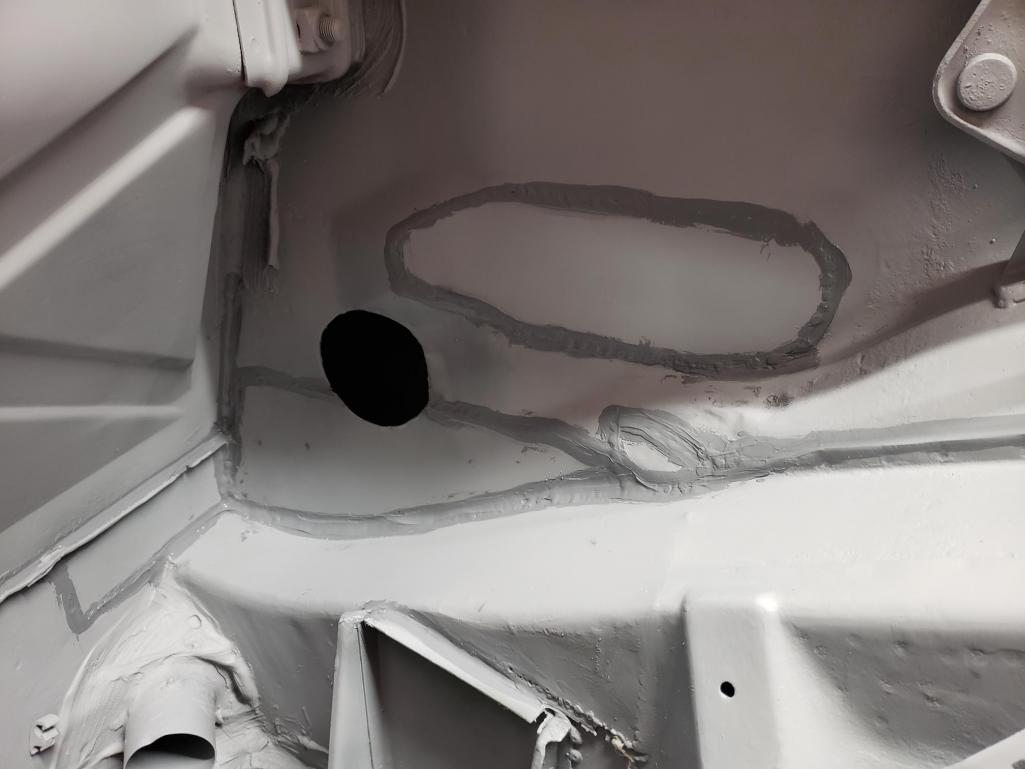
|
| Mayne |
 Mar 26 2023, 12:14 PM Mar 26 2023, 12:14 PM
Post
#105
|
|
Member   Group: Members Posts: 254 Joined: 28-February 17 From: NM Member No.: 20,880 Region Association: None |
|
| Mayne |
 Mar 26 2023, 12:21 PM Mar 26 2023, 12:21 PM
Post
#106
|
|
Member   Group: Members Posts: 254 Joined: 28-February 17 From: NM Member No.: 20,880 Region Association: None |
Reinstalled the drivetrain on the cradle and eased it in place. A big moment!
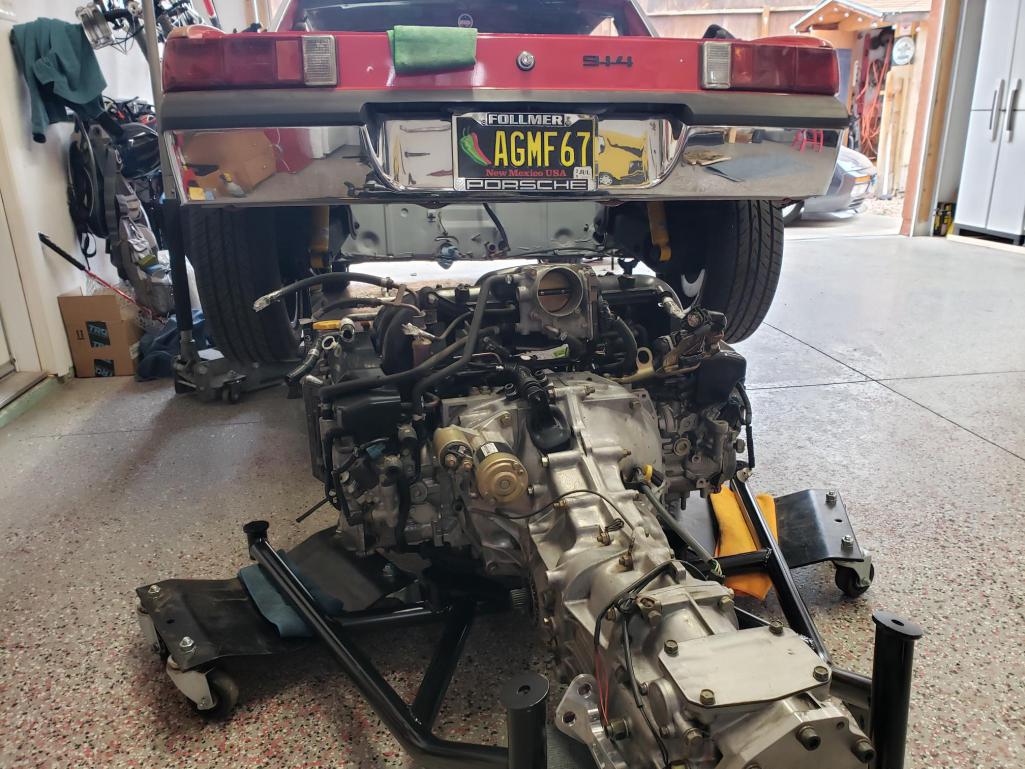 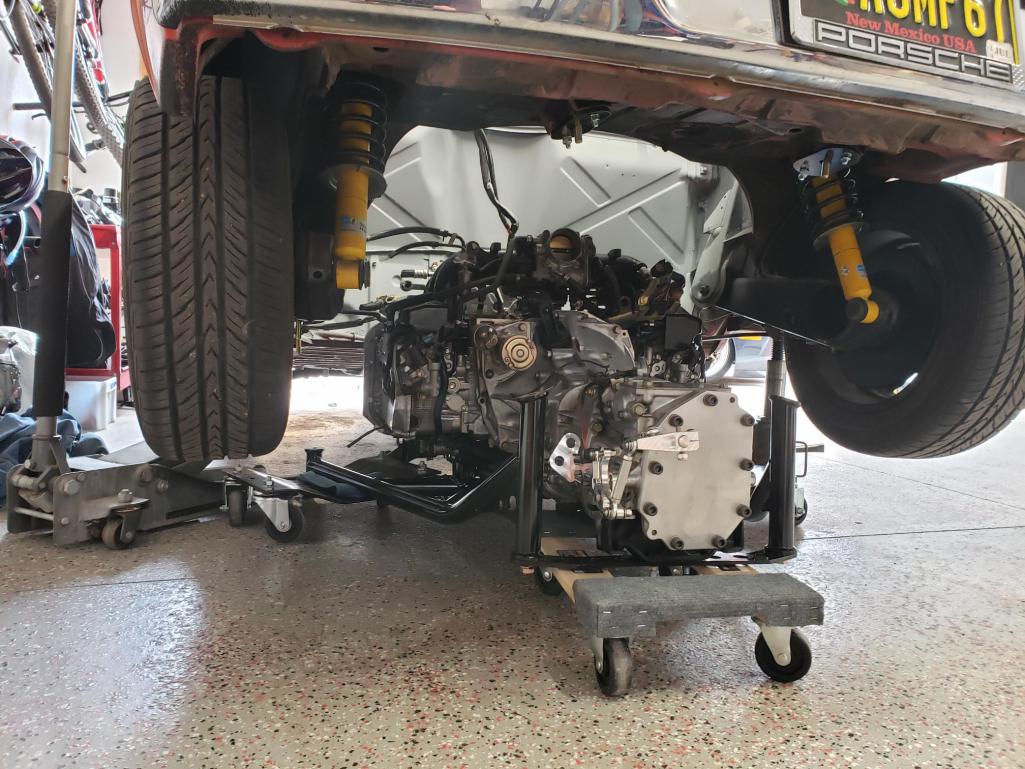 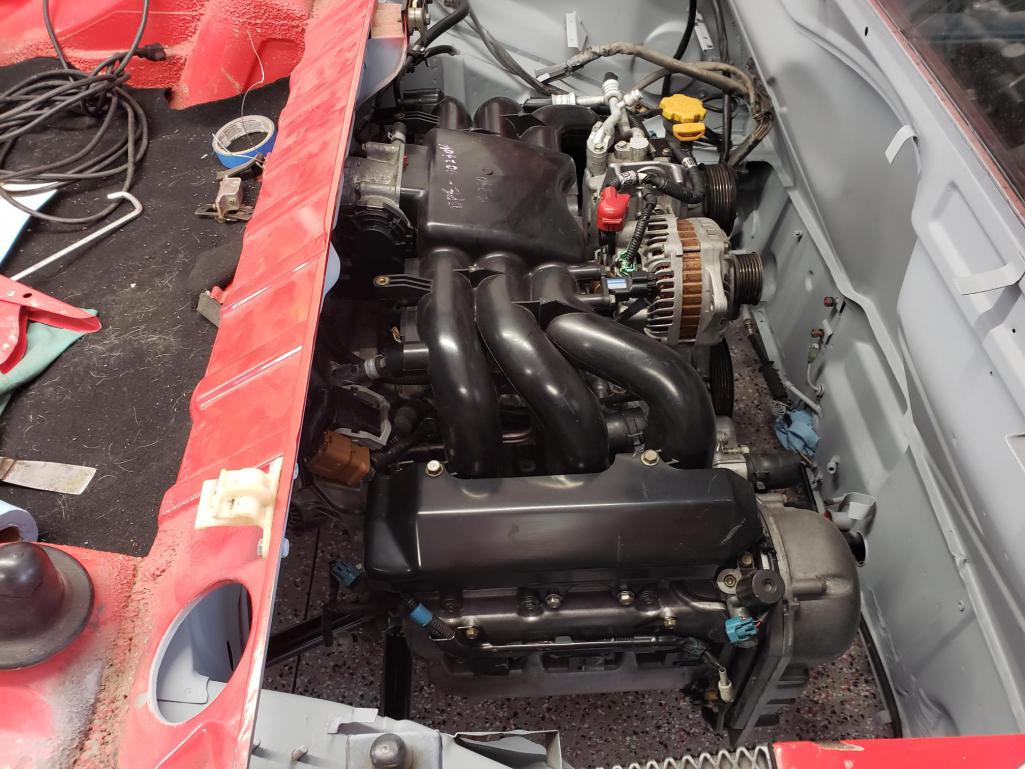 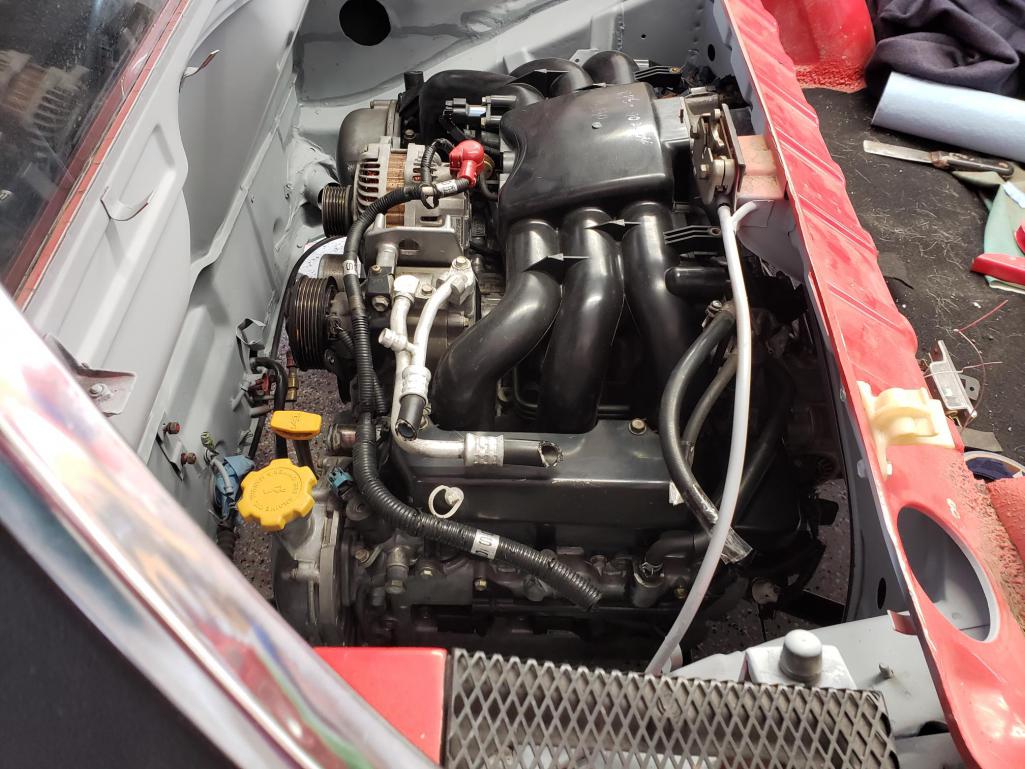 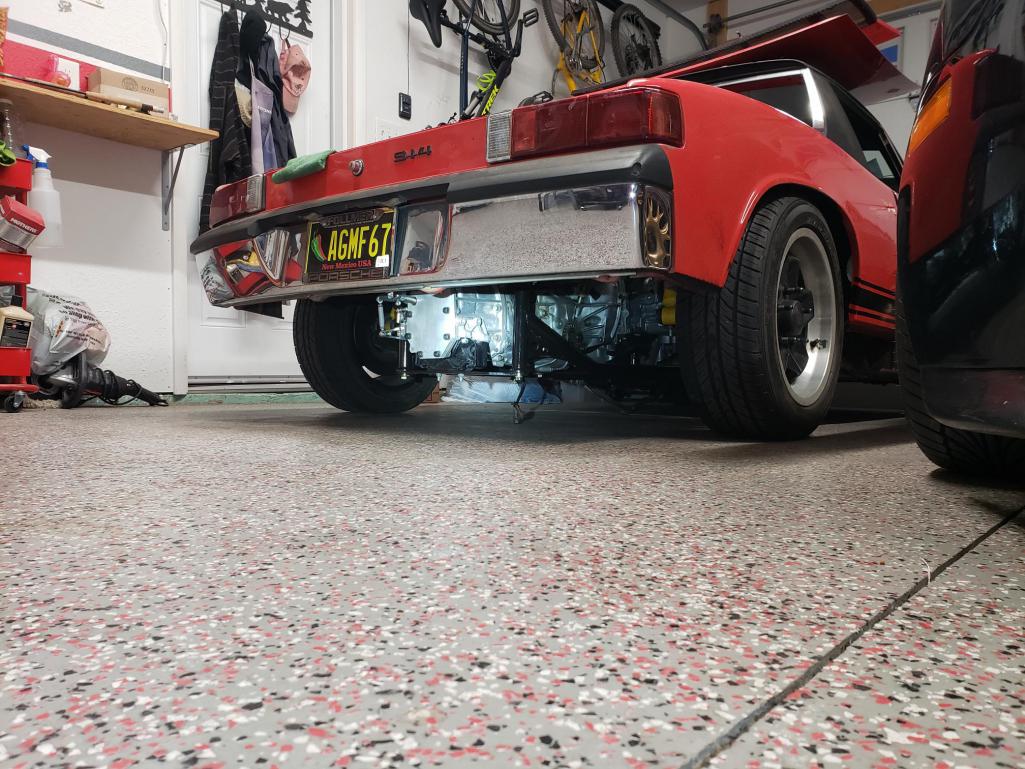 I'm amazed how much space there is at the front of the engine, and concerned about how little space there is at the throttle body. I may have to cut into the trunk for the air intake. Supposedly you can flip the intake manifold on the EZ30R, but it requires removing the AC compressor. I'll be doing AC on this car thanks to our hot desert summers, so I'll have to work with the clearance. I'm now working on mounting the MR2 shifter, then I'll get cables ordered. |
| emerygt350 |
 Mar 26 2023, 02:35 PM Mar 26 2023, 02:35 PM
Post
#107
|
|
Advanced Member     Group: Members Posts: 2,081 Joined: 20-July 21 From: Upstate, NY Member No.: 25,740 Region Association: North East States |
That is beautiful. What great work you are doing. Almost seems to fit better than the original.
|
| 76-914 |
 Mar 26 2023, 02:50 PM Mar 26 2023, 02:50 PM
Post
#108
|
|
Repeat Offender & Resident Subaru Antagonist           Group: Members Posts: 13,494 Joined: 23-January 09 From: Temecula, CA Member No.: 9,964 Region Association: Southern California 
|
I don't understand why folks are so concerned with that cut out for the TB/air filter. That area can always be welded back in later if someone wanted to take it back to an air sucker. If you do need to cut into the trunk I'd suggest you cut out a square or rectangular piece that is at least 2" larger on all sides. Drive it for awhile and once you're certain you don't need to shift it to or fro you can go ahead and trim a nice tight circle out of that piece you cut out, weld it back in place then you'll have a nice look. Leave ~1/4"free space between the silicon & metal. Trim the hole with edge guard to protect the silicone 90 that penetrates the metal. It's looking real nice. Keep after it. (IMG:style_emoticons/default/beerchug.gif)
|
| East coaster |
 Mar 26 2023, 08:20 PM Mar 26 2023, 08:20 PM
Post
#109
|
|
Senior Member    Group: Members Posts: 1,660 Joined: 28-March 03 From: Brigantine, NJ Member No.: 487 Region Association: None 
|
Nice work and progress!
|
| Front yard mechanic |
 Mar 27 2023, 05:34 AM Mar 27 2023, 05:34 AM
Post
#110
|
|
Senior Member    Group: Members Posts: 1,157 Joined: 23-July 15 From: New Mexico Member No.: 18,984 Region Association: None 
|
Looks great now take the engine back out and in a couple of more times for practice (IMG:style_emoticons/default/lol-2.gif)
|
| mgarrison |
 Mar 27 2023, 09:13 AM Mar 27 2023, 09:13 AM
Post
#111
|
|
Member   Group: Members Posts: 351 Joined: 14-February 20 From: Chandler, AZ Member No.: 23,922 Region Association: Southwest Region 
|
Nice progress! (IMG:style_emoticons/default/smilie_pokal.gif)
Have you looked into what headers your going to use? I was going to use the Outfront Motorsports headers, but believe they will hit my engine cradle...I believe the EZ36 I have, and the EZ30 your using both have the same exhaust port config. (IMG:style_emoticons/default/confused24.gif) |
| Mayne |
 Mar 27 2023, 10:36 AM Mar 27 2023, 10:36 AM
Post
#112
|
|
Member   Group: Members Posts: 254 Joined: 28-February 17 From: NM Member No.: 20,880 Region Association: None |
That is beautiful. What great work you are doing. Almost seems to fit better than the original. Thanks! Everyone who has seen the engine in the car can't believe how well that lump that was taking up space on my garage floor fits in the engine bay. Nice work and progress! Thanks, cheers! Looks great now take the engine back out and in a couple of more times for practice (IMG:style_emoticons/default/lol-2.gif) No doubt that will happen at least a few more times! |
| Mayne |
 Mar 27 2023, 10:50 AM Mar 27 2023, 10:50 AM
Post
#113
|
|
Member   Group: Members Posts: 254 Joined: 28-February 17 From: NM Member No.: 20,880 Region Association: None |
I don't understand why folks are so concerned with that cut out for the TB/air filter. That area can always be welded back in later if someone wanted to take it back to an air sucker. If you do need to cut into the trunk I'd suggest you cut out a square or rectangular piece that is at least 2" larger on all sides. Drive it for awhile and once you're certain you don't need to shift it to or fro you can go ahead and trim a nice tight circle out of that piece you cut out, weld it back in place then you'll have a nice look. Leave ~1/4"free space between the silicon & metal. Trim the hole with edge guard to protect the silicone 90 that penetrates the metal. It's looking real nice. Keep after it. (IMG:style_emoticons/default/beerchug.gif) Yeah, I do hesitate when it comes to cutting factory sheet metal, which is kind of ridiculous when I consider what I've already cut. Thanks for the tips and encouragement as always! Nice progress! (IMG:style_emoticons/default/smilie_pokal.gif) Have you looked into what headers your going to use? I was going to use the Outfront Motorsports headers, but believe they will hit my engine cradle...I believe the EZ36 I have, and the EZ30 your using both have the same exhaust port config. (IMG:style_emoticons/default/confused24.gif) So, I do think the Outfront headers will hit the cradle. A while back I talked to Jeff at JWK, who built the cradle, and he said he ordered his headers from Outfront unwelded at the flanges, then adjusted the angles and welded in some extra material. If I go that route, I'm going to see if they'll send me headers unwelded, but with maybe an extra inch on the primaries. That way, I can just cut and grind existing material until they fit. I'll report back on what they say. I have also reached out to Raptor SC in Australia, because they make some beautiful headers for the EZ30/36. They said they won't have them available until June or July and for whatever reason, they didn't want to give me dimensions until they were available. Protecting their design, maybe? |
| brant |
 Mar 27 2023, 10:59 AM Mar 27 2023, 10:59 AM
Post
#114
|
|
914 Wizard           Group: Members Posts: 11,617 Joined: 30-December 02 From: Colorado Member No.: 47 Region Association: Rocky Mountains 

|
Nice Job!
|
| Mayne |
 Oct 23 2023, 03:07 PM Oct 23 2023, 03:07 PM
Post
#115
|
|
Member   Group: Members Posts: 254 Joined: 28-February 17 From: NM Member No.: 20,880 Region Association: None |
It was a slow summer of progress on the 914. Had some traveling to do and much of the summer was just too hot in Albuquerque to feel very motivated to work in the garage. But I've been getting back to it recently so I thought I'd post up a few photos.
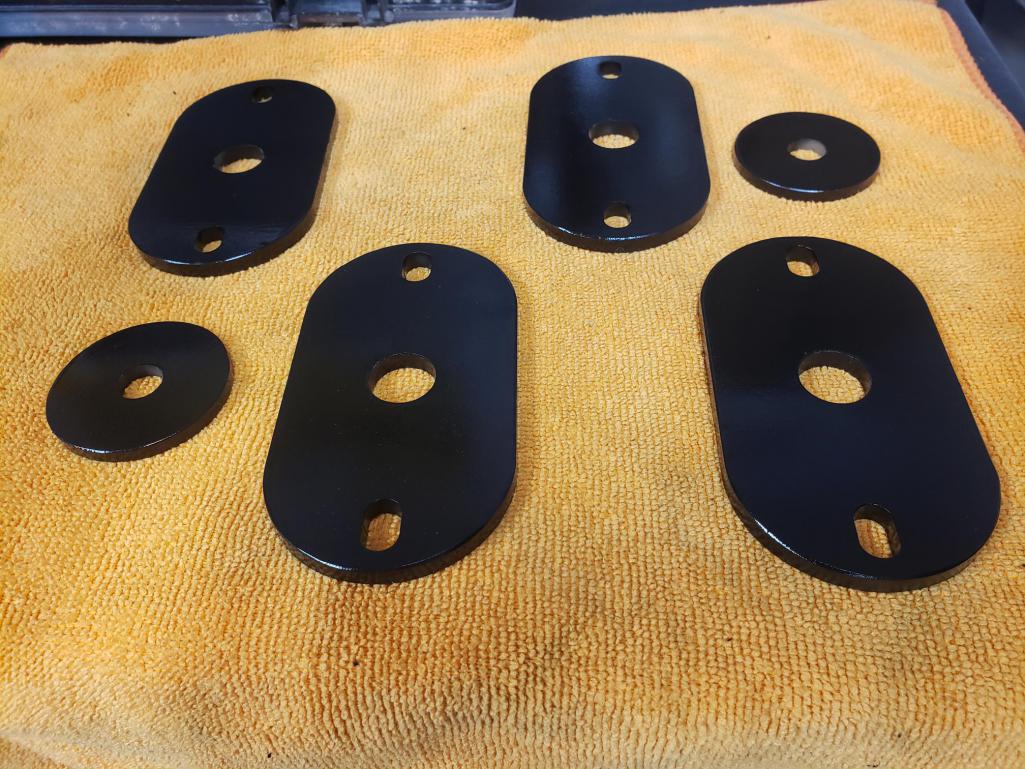
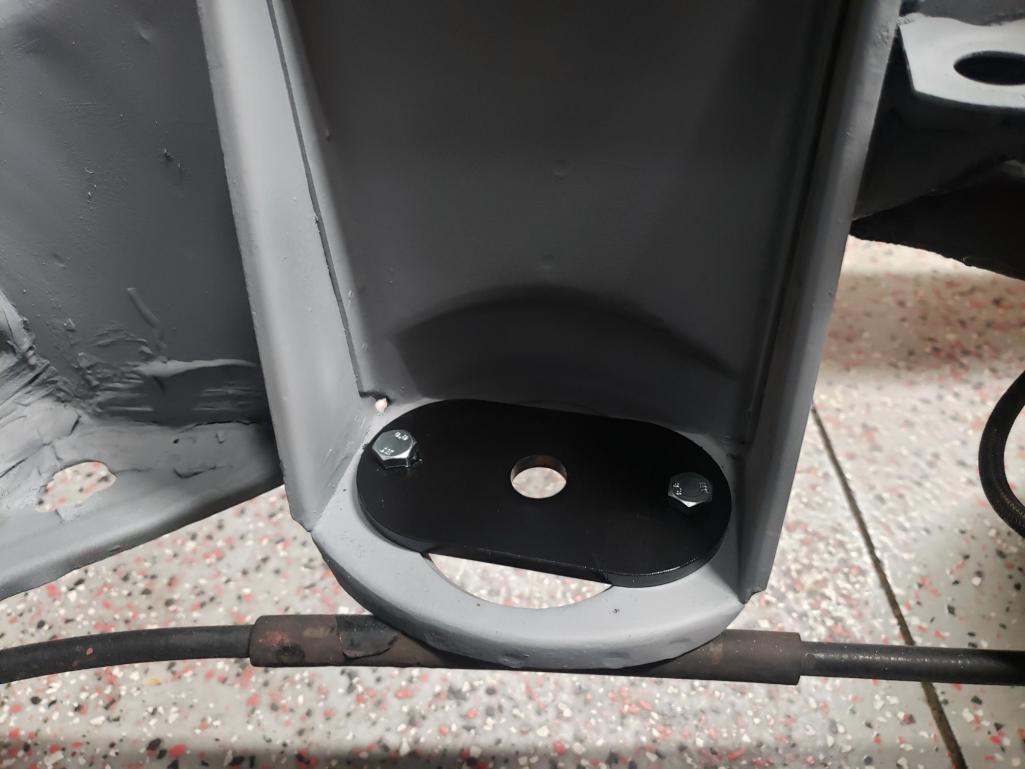
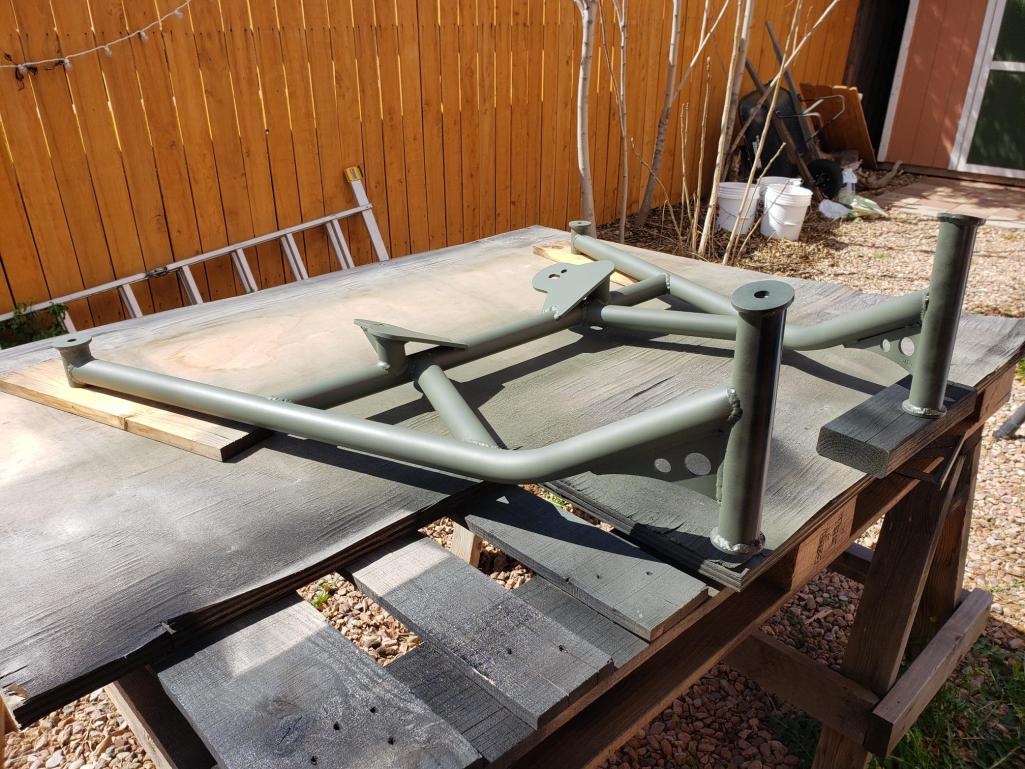
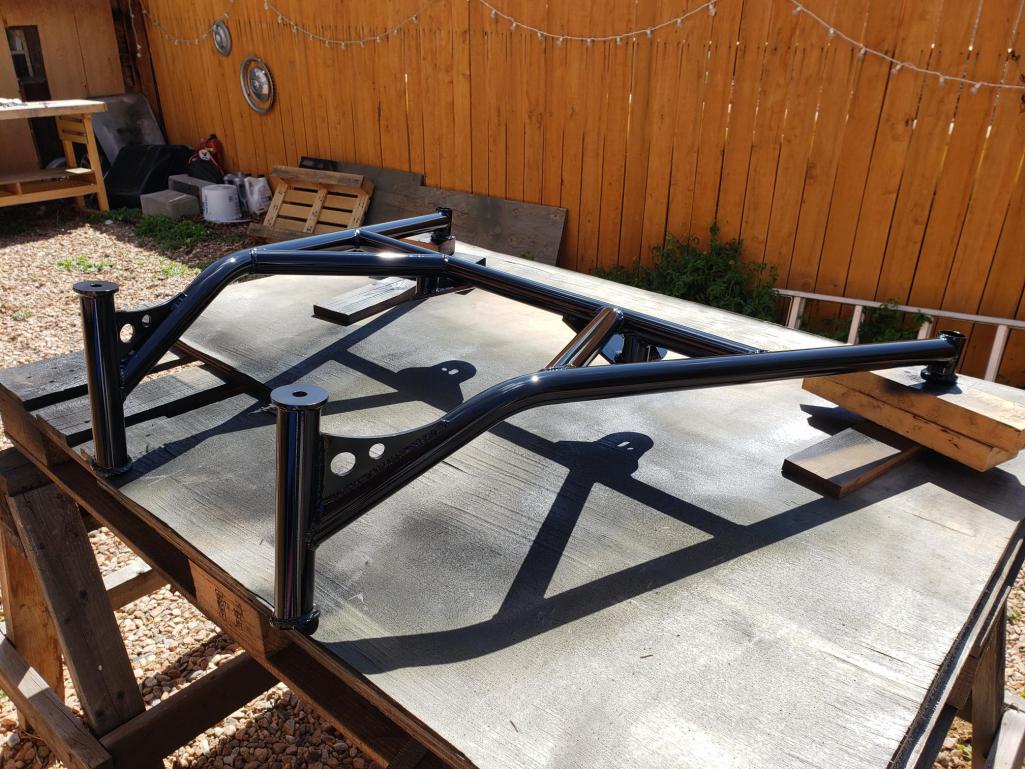
My Outfront headers for the EZ30R: 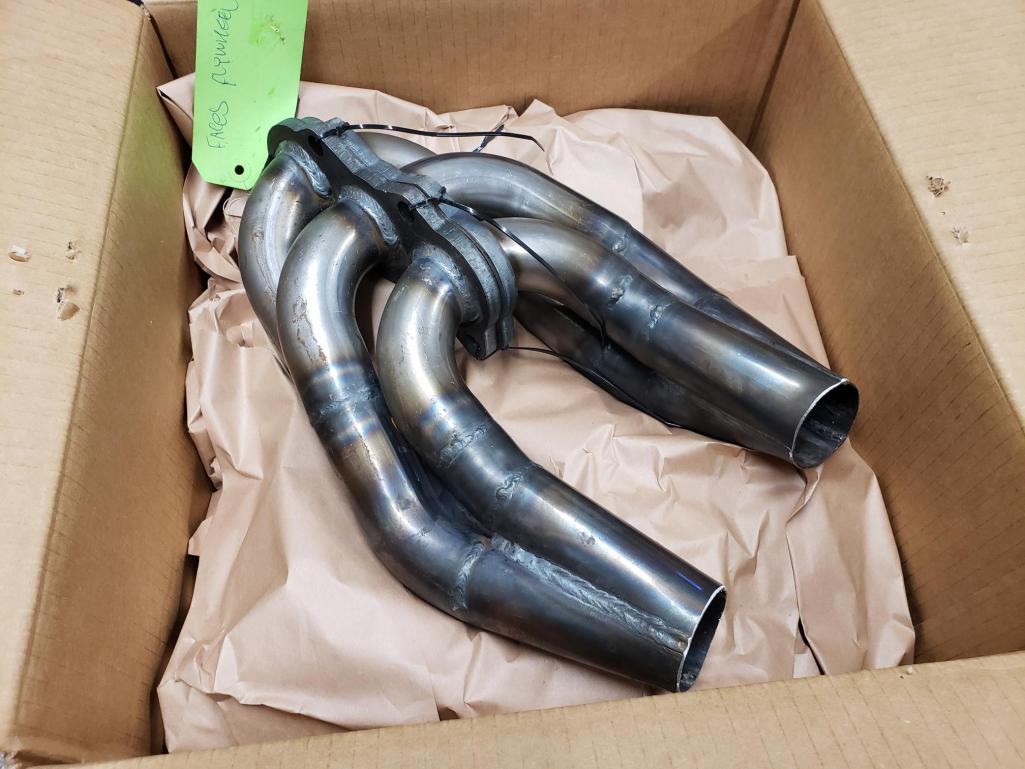 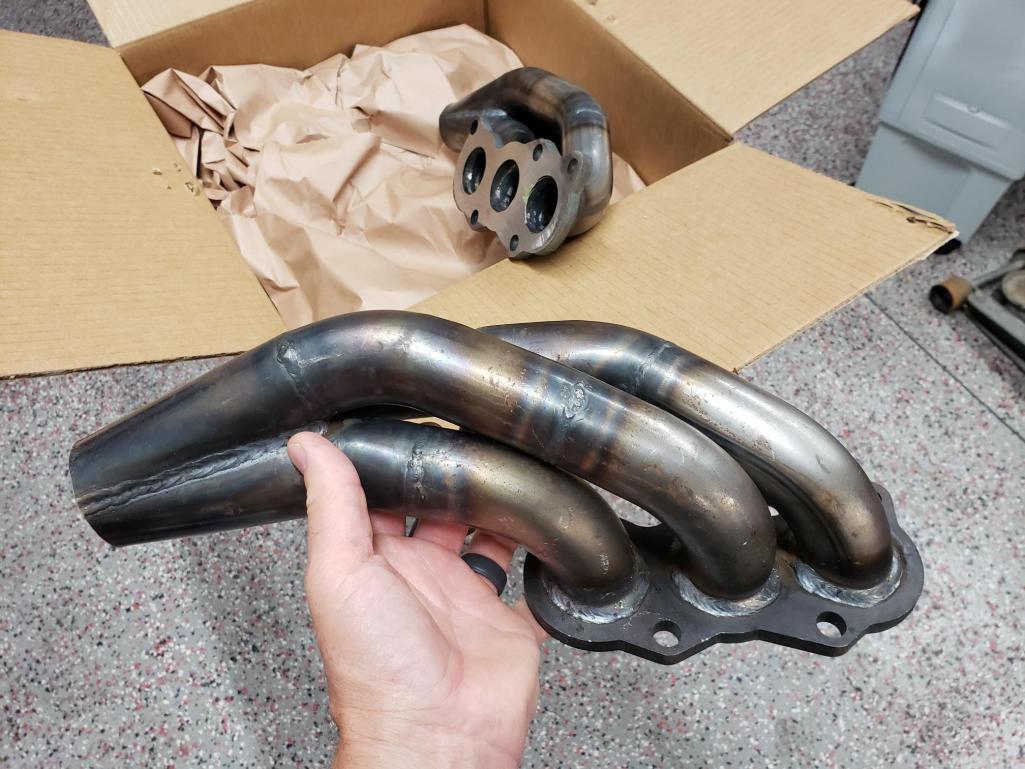 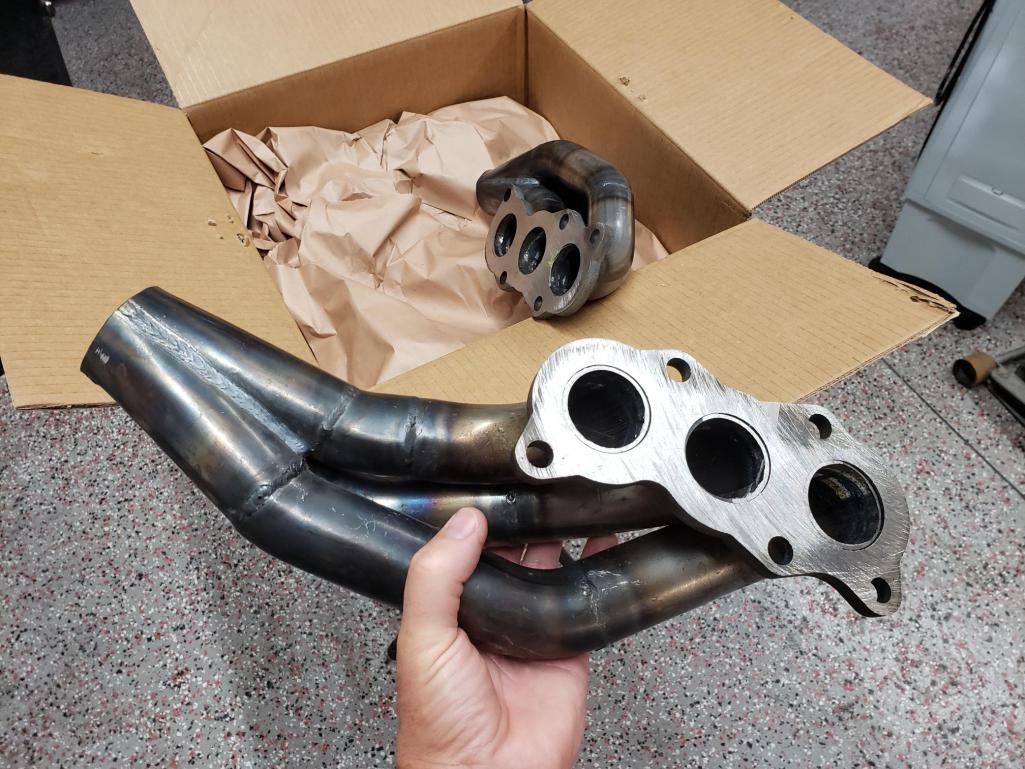 As I thought, these will not clear the engine cradle cross brace. Next I will remove the engine and explore a few ideas I have for creating the necessary clearance. Tune in for that adventure! Since I've stripped out most of the interior to deal with a few rust spots, I figured this would be a good time to add a reinforcement kit to the inner longitudinals. If this engine puts out even close to its potential power, I'll need a bit more rigidity. Inner long kit from Mad Dogs Motorsport: 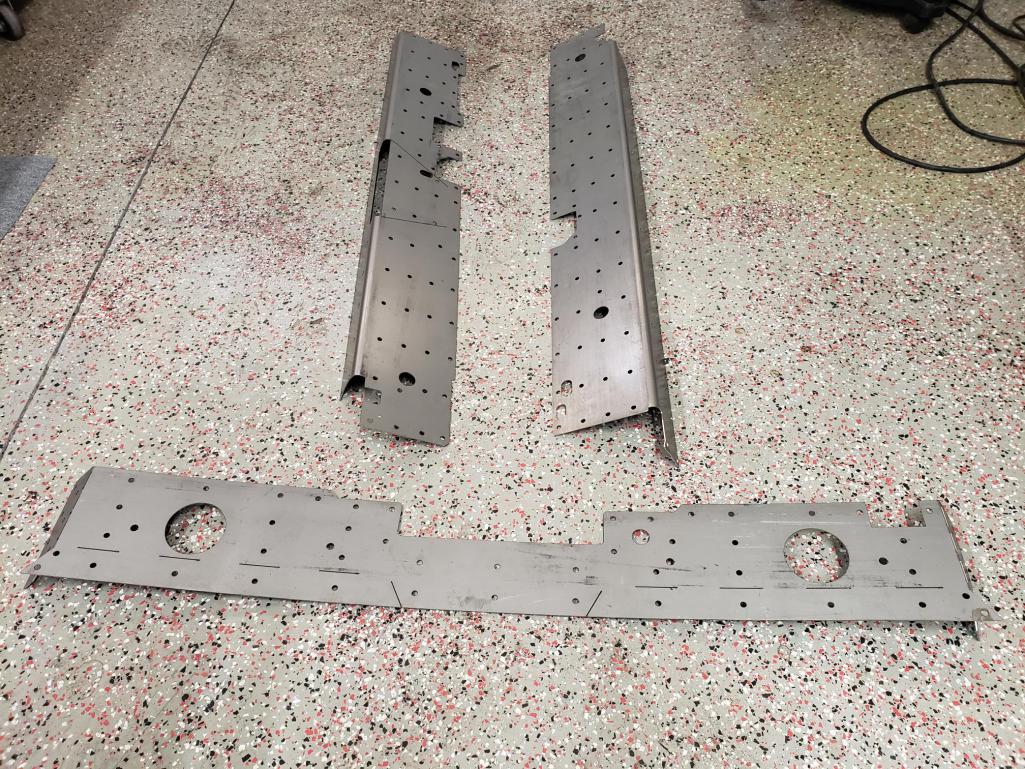 Before I get into welding the kit in place, I figured it'd be a good idea to make some door braces. Both my doors shut great and I don't want to loose that if possible. In looking at the door gaps and doing some measurements, I did come to the conclusion that the passenger side has sagged a tiny amount, like less than a millimeter. When I jack up the car at the center, it brought it nicely back to spec. So, as I made the passenger side brace, I fitted it with the car jacked a bit. Drivers side will be braced without the jack, thanks to good measurements and gaps. Here's a few photos of the way I build the first brace: 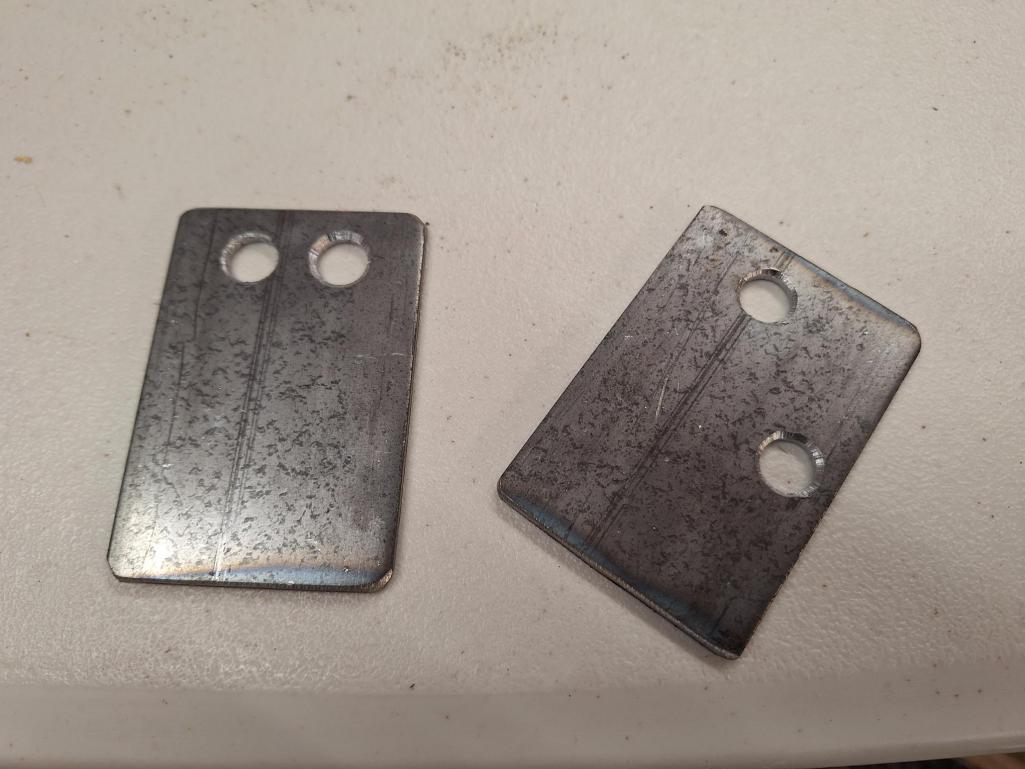 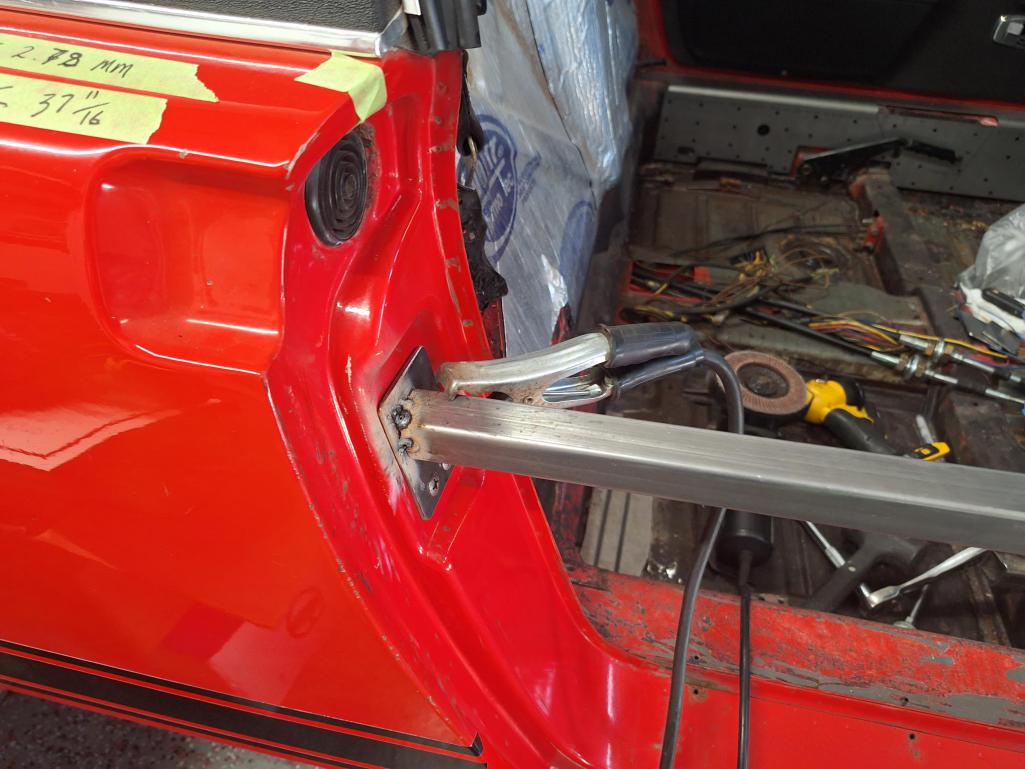 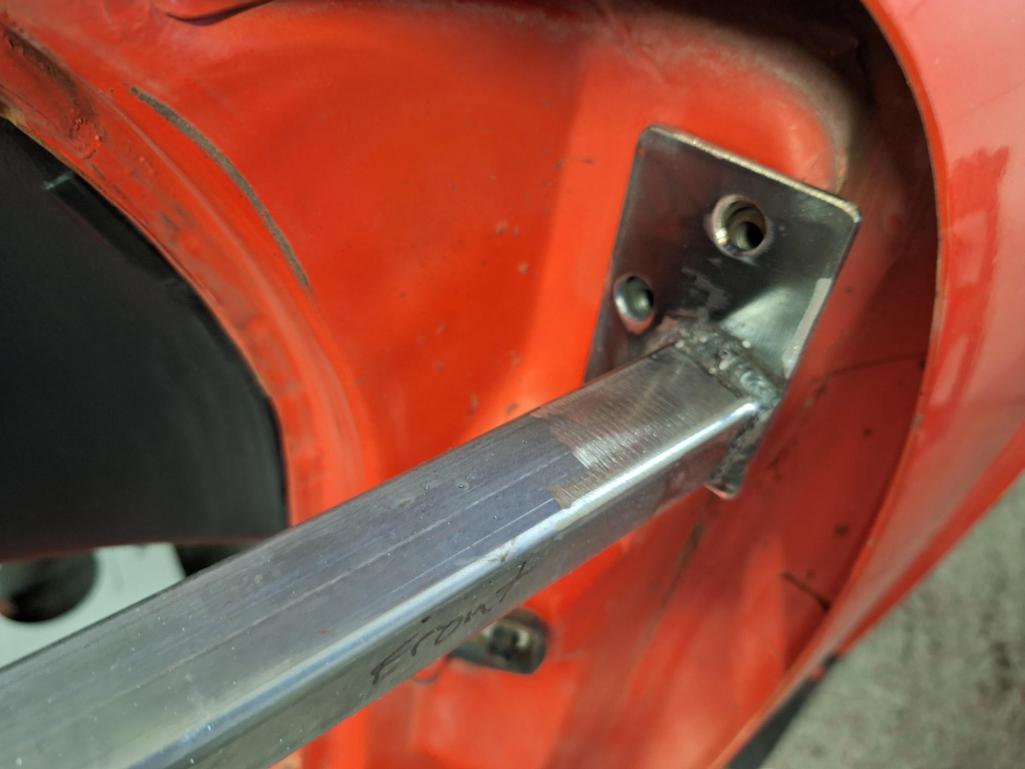 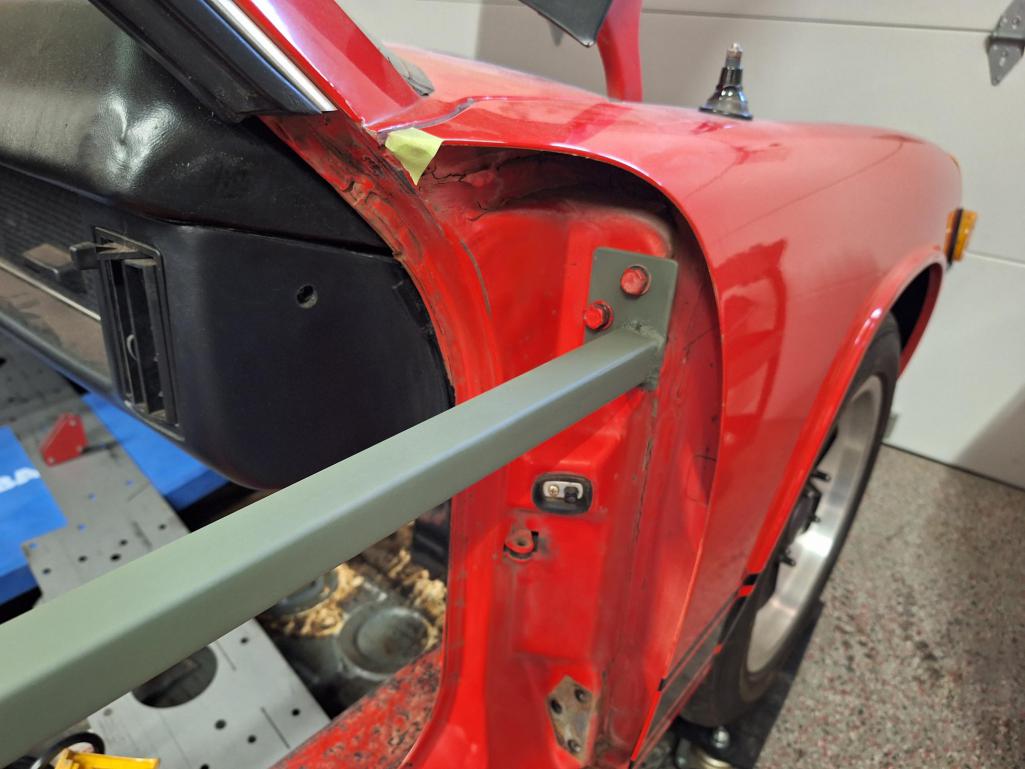 I feel happy with the way it came out, and if I do eventually rotisserie the body, they'll come in handy again. Next up, CV axle debacle! |
| burton73 |
 Oct 23 2023, 04:29 PM Oct 23 2023, 04:29 PM
Post
#116
|
|
burton73     Group: Members Posts: 3,510 Joined: 2-January 07 From: Los Angeles Member No.: 7,414 Region Association: Southern California 
|
Before you start to Weld in the reinforcement kit, I'd like to point out that several members cars have bent and the gaps have closed up because too much heat was generated during the welding. Take your time. Weld real slow, Let it cool in between. Just don't move too fast, it'll be great.
O yea, very nice job bringing this car back. Best Bob B (IMG:style_emoticons/default/first.gif) |
  |
1 User(s) are reading this topic (1 Guests and 0 Anonymous Users)
0 Members:

|
Lo-Fi Version | Time is now: 1st May 2024 - 05:19 PM |
Invision Power Board
v9.1.4 © 2024 IPS, Inc.


