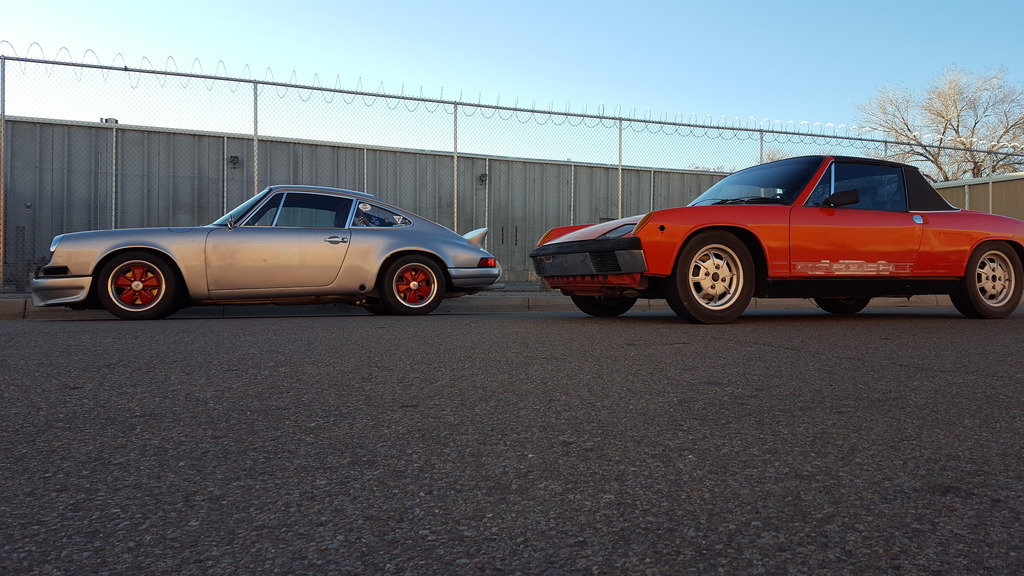
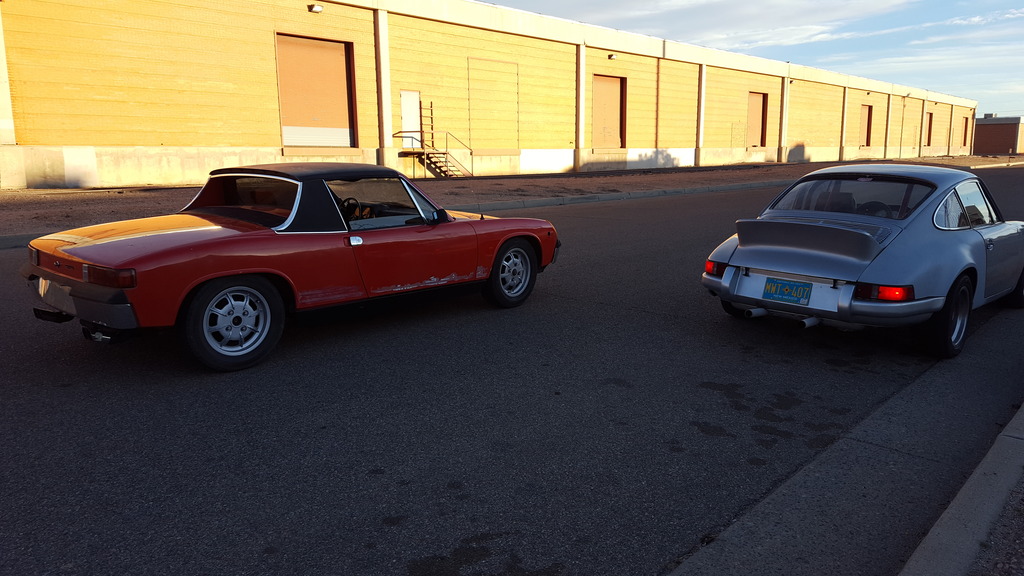
A little back story: my younger brother and I are car fanatics, especially those of the German variety. He owns multiple BMWs, an early 911 with RS bodywork, and a manual 928, and I own an early Boxster, a 944 Turbo, and now the 914.
Last summer, my brother went to check out an E36 parts car for his M3 in rural New Mexico. Sitting under some trees was this solid but rather forlorn looking 914:
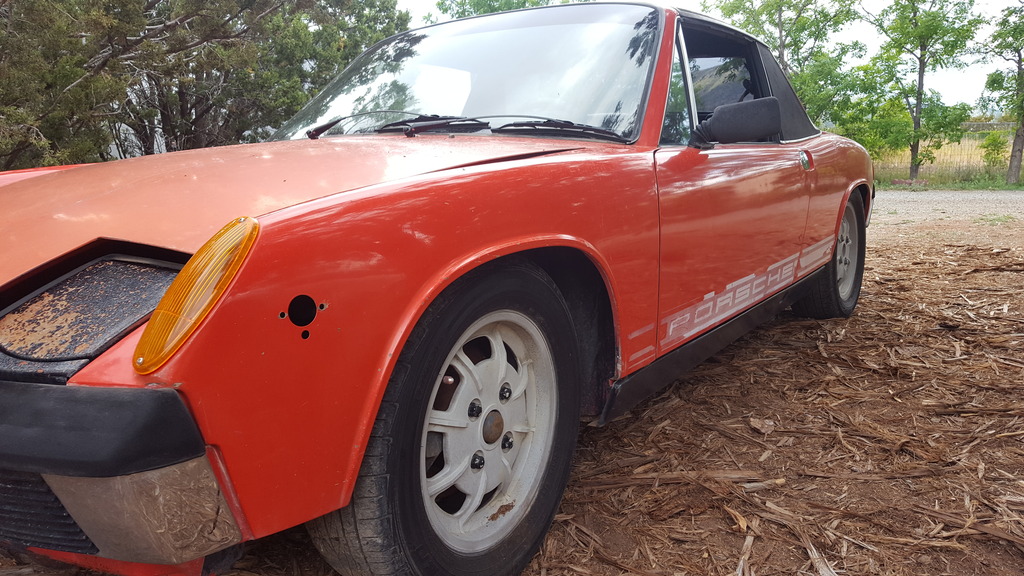
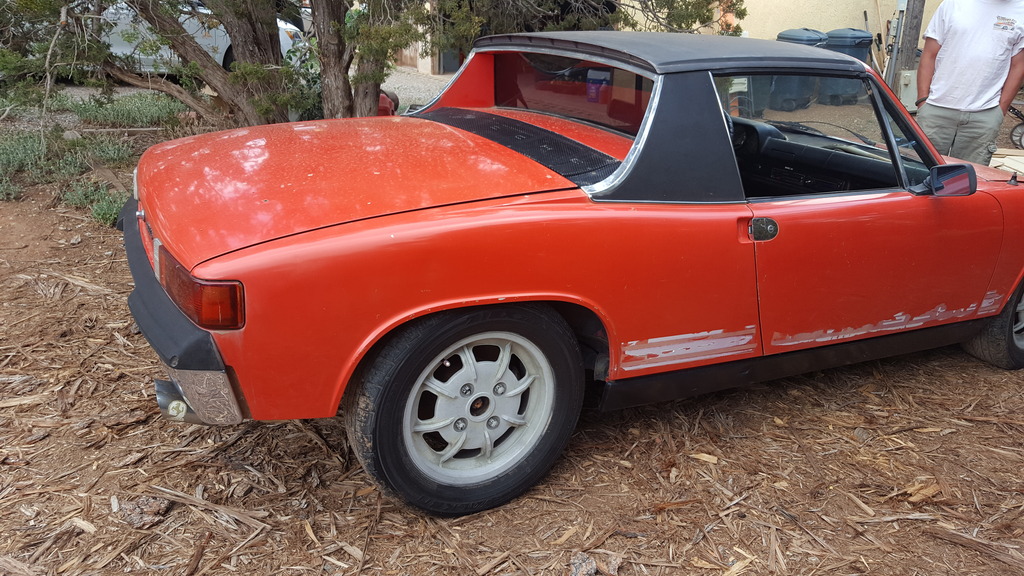
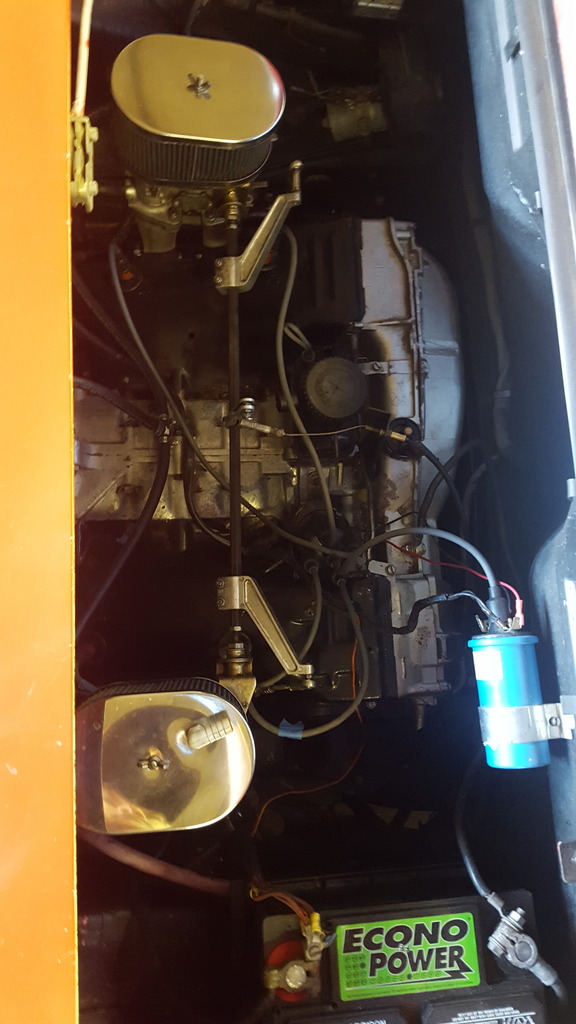
$1800 later, we towed home a mouse infested ran-when-parked 75 914. The 1.8 FI engine had been swapped out for a 1.7 with 1.8 heads and a single Weber carb, and the impact bumpers had been backdated to chrome bumpers. Mars Red with Mahle gas burners!
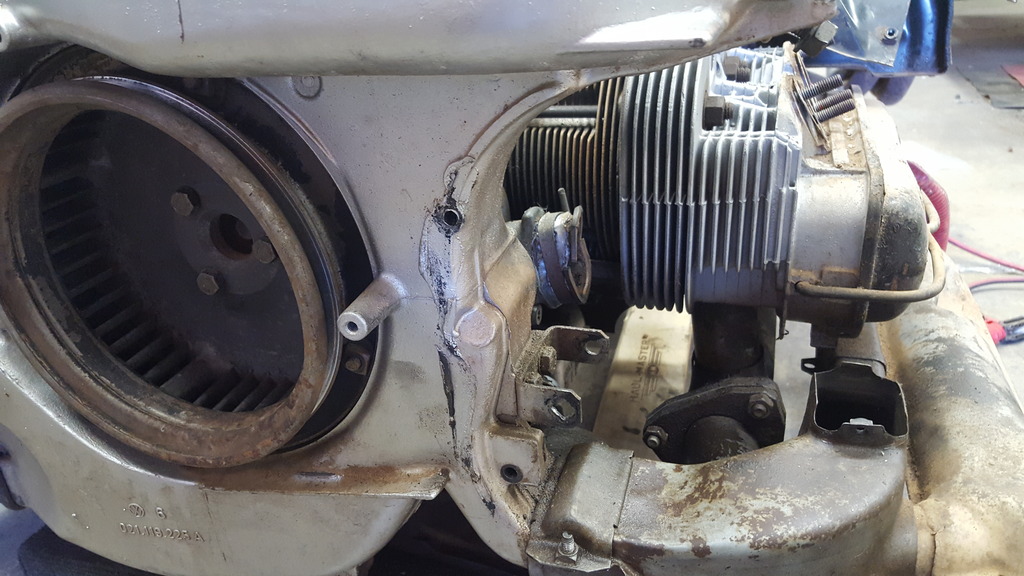
It had been parked because the previous owner thought it had developed a serious front main seal leak. We got it running with a minimum of effort and saw the significant oil leak. We impulsively dropped the motor and resealed the oil pump, suspecting that might solve the problem.
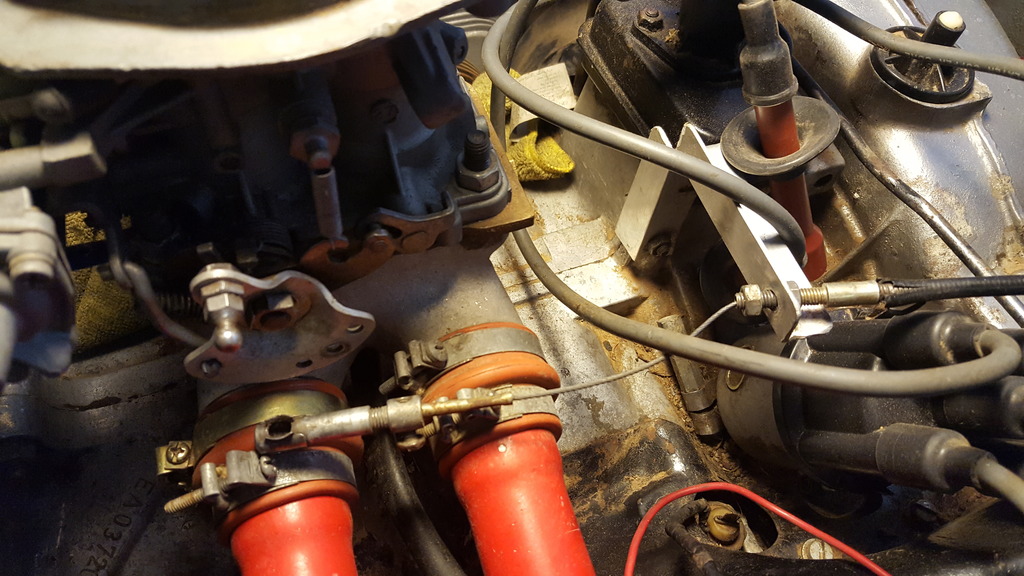
Motor back in, along with a dual Weber setup we came across, it seemed like the leak was fixed. But it was running so badly, we couldn't really drive it. Since my brother was working part time at a Ferrari shop that primarily builds vintage motors, we were able to get the carbs rebuilt for cheap by the excellent Ferrari mechanic.
Now with the car running much better, two thing were apparent, 914s are fun
 and we didn't fix the oil leak.
About this time, my growing love for this 914 was finally too much to resist. So my brother and I made a trade on his half of the purchase price for a ran-when-parked manual 928 that I had picked up. Still not sure who ended up with the better half of that deal, but we're both happy!
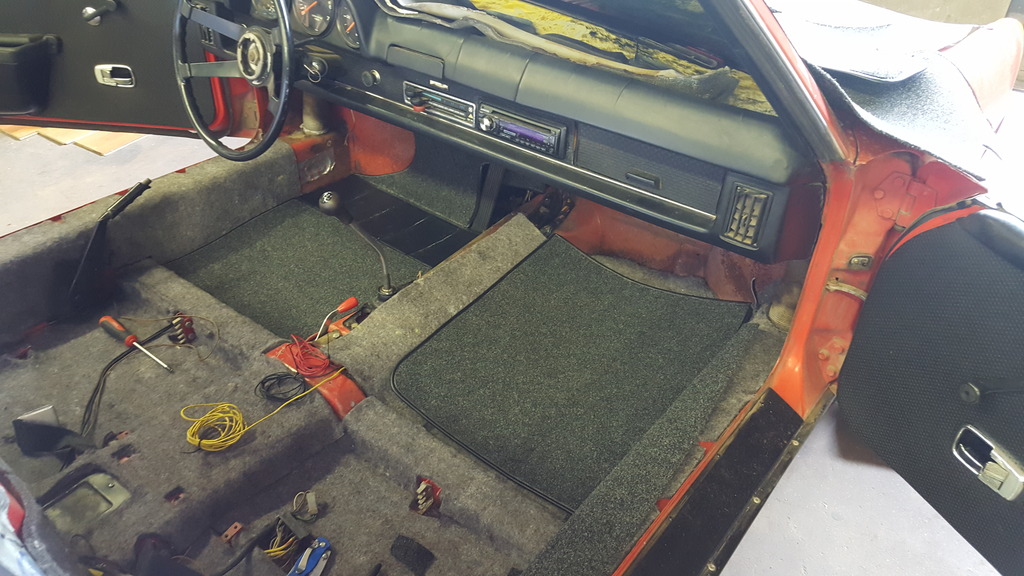
With the car mine now, I started in on some of the needed projects. Thanks to 914World, I solved the major oil leak with a bolt in thermostat pulley hole (quite a bit easier than dropping the motor). With that dealt with, I could see a decent driver on the horizon. More soon!
Cheers,
Jeremy

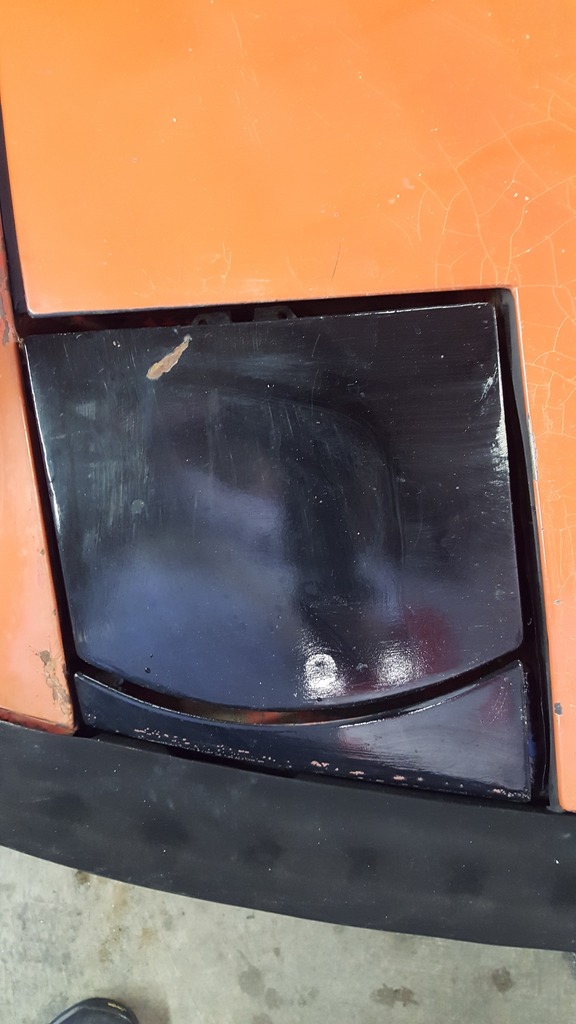
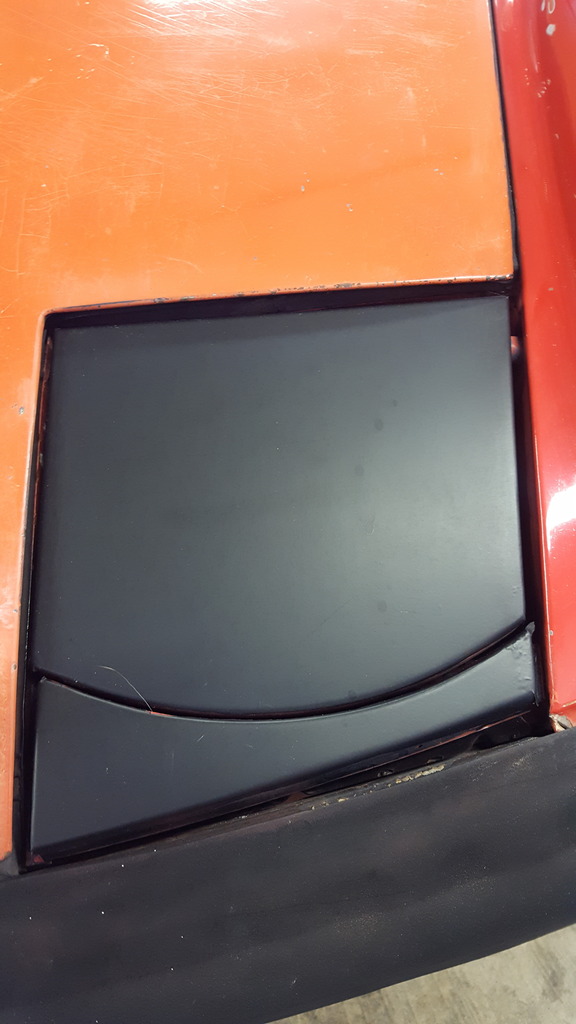
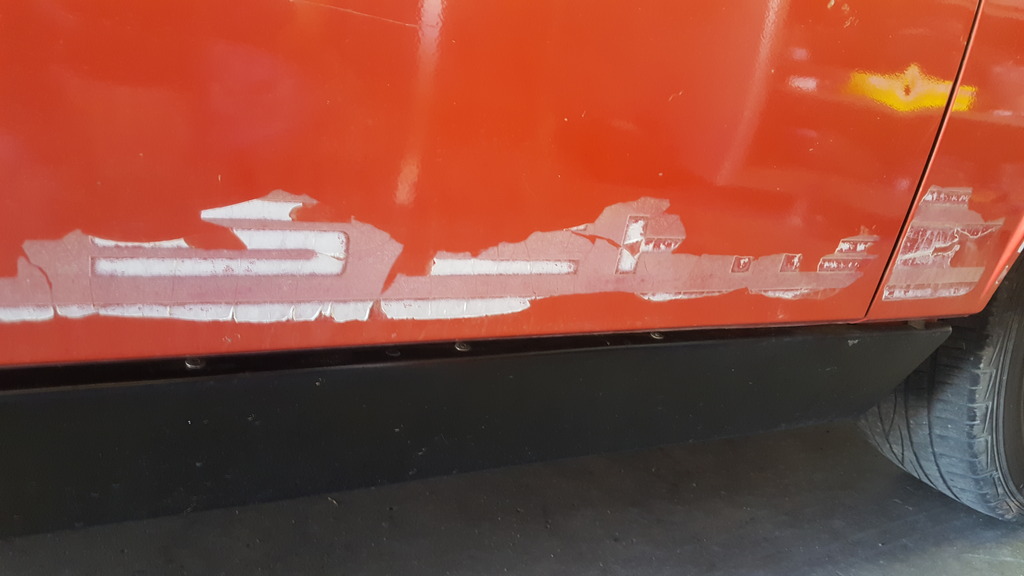
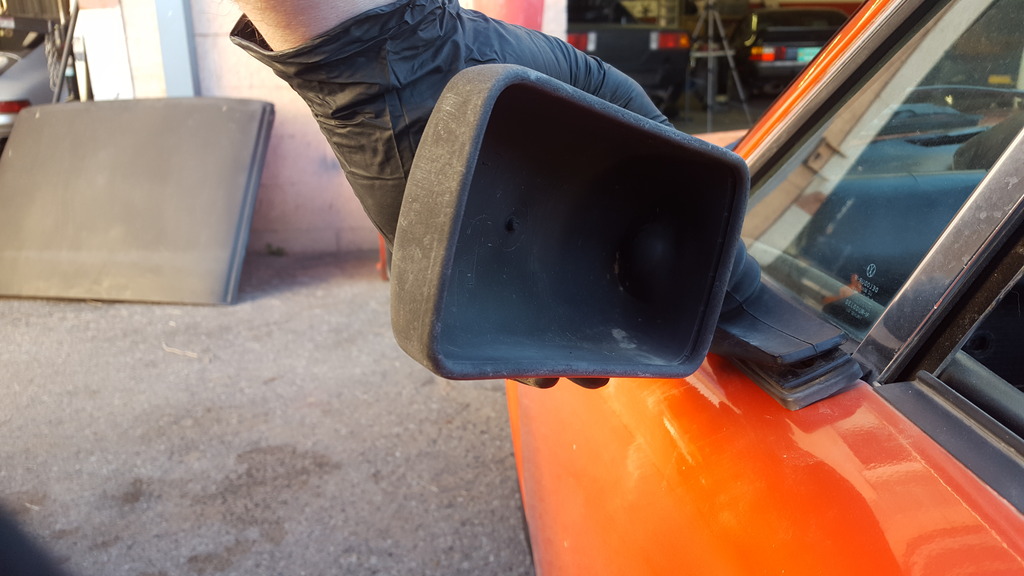
 at some point and looks awful. It will be smoothed out and I will wrap it in 3M 1080 Matte Black.
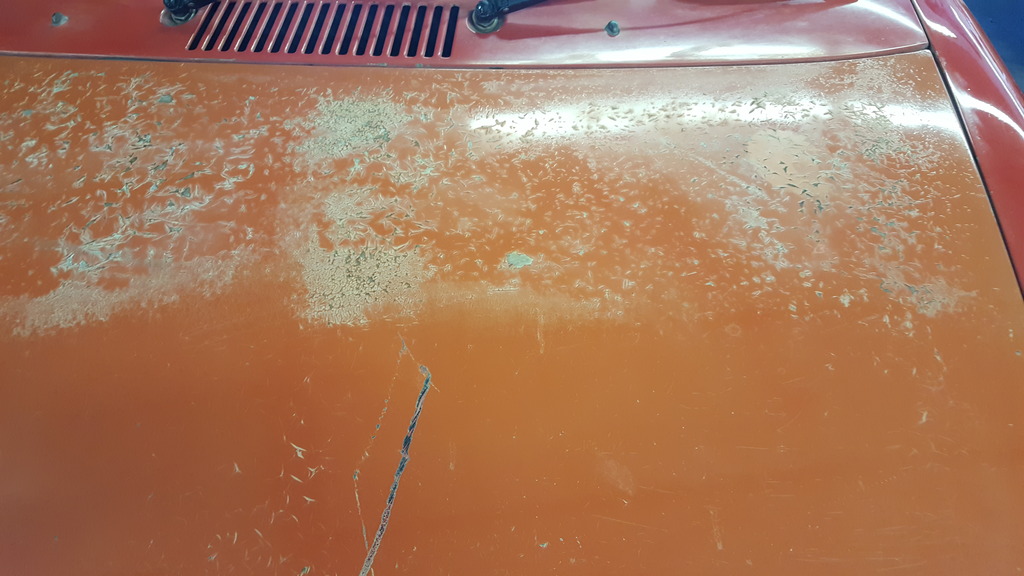
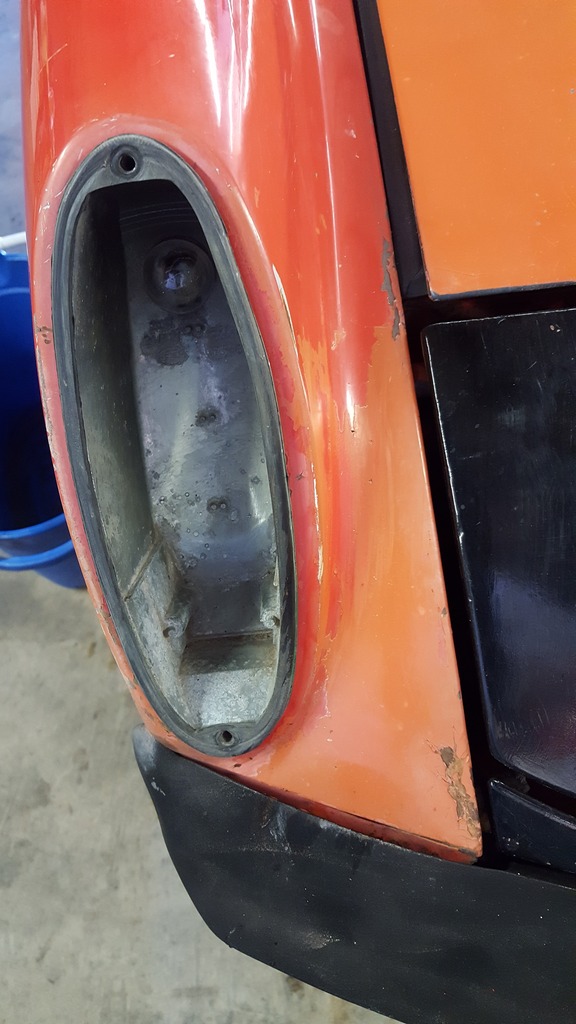
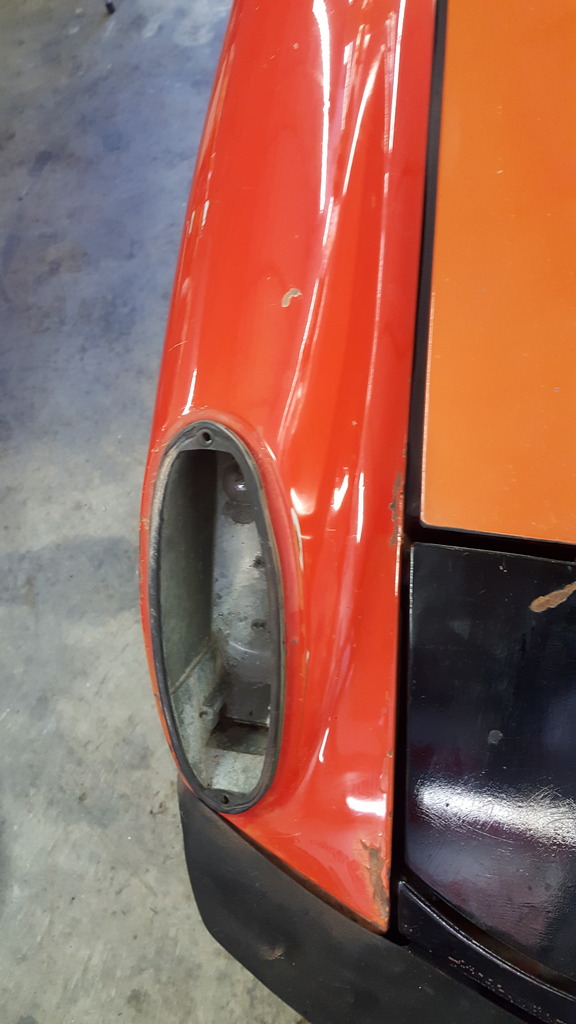
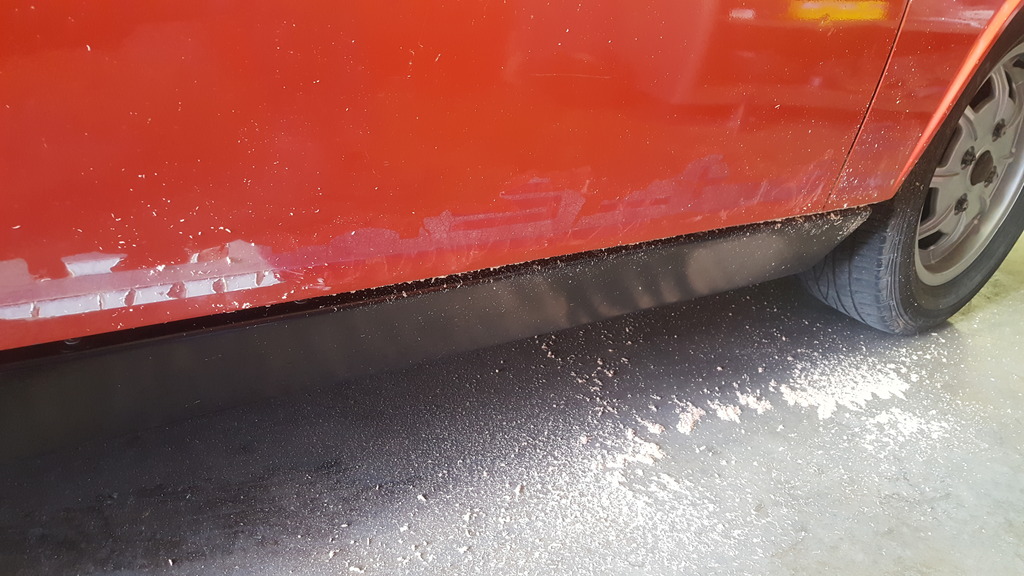


 Welding in a new patch would be a fairly easy thing to do.
