|
|

|
Porsche, and the Porsche crest are registered trademarks of Dr. Ing. h.c. F. Porsche AG.
This site is not affiliated with Porsche in any way. Its only purpose is to provide an online forum for car enthusiasts. All other trademarks are property of their respective owners. |
|
|
  |
| DRPHIL914 |
 Aug 21 2020, 01:06 PM Aug 21 2020, 01:06 PM
Post
#41
|
|
Dr. Phil      Group: Members Posts: 5,760 Joined: 9-December 09 From: Bluffton, SC Member No.: 11,106 Region Association: South East States 
|
lol i had the same thing happen to my 75 back in february , the original shift bushing gave out leaving me with 2&3 only , i also did the brass bushings and now shifting again like new. - btw i like the gold color on the wheels!!!
|
| rjames |
 Aug 21 2020, 01:17 PM Aug 21 2020, 01:17 PM
Post
#42
|
|
I'm made of metal     Group: Members Posts: 3,917 Joined: 24-July 05 From: Shoreline, WA Member No.: 4,467 Region Association: Pacific Northwest 
|
Nice job on bringing back this car into the world again. Love the color! (IMG:style_emoticons/default/beer.gif)
The only thing that I wish you'd done differently is fix the floor correctly instead of using fiberglass. (IMG:style_emoticons/default/icon8.gif) Welding in a new patch would be a fairly easy thing to do. |
| ndfrigi |
 Aug 21 2020, 01:31 PM Aug 21 2020, 01:31 PM
Post
#43
|
|
Advanced Member     Group: Members Posts: 2,928 Joined: 21-August 11 From: Orange County Member No.: 13,474 Region Association: Southern California 
|
On one drive, I suddenly lost the ability to shift into 4th and 5th. Could this be the culprit? Better: Also got a radio blank-off plate from 914Rubber: Best wishes to all! Looking great Jeremy on your car. That will definitely improved a lot on your shifting after replacing the coupler bushing. Maybe much as well replace the firewall bushing if it was not replaced yet or check if no much play on it. Congratulations! |
| Cairo94507 |
 Aug 21 2020, 01:46 PM Aug 21 2020, 01:46 PM
Post
#44
|
|
Michael      Group: Members Posts: 9,722 Joined: 1-November 08 From: Auburn, CA Member No.: 9,712 Region Association: Northern California 
|
Jeremy I like your car and that you keep working away as you are driving and enjoying it. I too wish you would address the front and rear trunk repairs properly. I get it is a time consuming thing and may cost a couple dollars. I would bet you could find the panels for almost nothing on here from a car getting parted out. Aside from that, it is looking nice. (IMG:style_emoticons/default/beerchug.gif)
|
| Root_Werks |
 Aug 21 2020, 04:34 PM Aug 21 2020, 04:34 PM
Post
#45
|
|
Village Idiot      Group: Members Posts: 8,308 Joined: 25-May 04 From: About 5NM from Canada Member No.: 2,105 Region Association: Pacific Northwest 
|
Drive, enjoy and keep improving over time. It's part of the fun of the project. Looks good, another 914 saved!
|
| Mayne |
 Aug 21 2020, 07:41 PM Aug 21 2020, 07:41 PM
Post
#46
|
|
Member   Group: Members Posts: 254 Joined: 28-February 17 From: NM Member No.: 20,880 Region Association: None |
lol i had the same thing happen to my 75 back in february , the original shift bushing gave out leaving me with 2&3 only , i also did the brass bushings and now shifting again like new. - btw i like the gold color on the wheels!!! Yeah the brass bushings made a big difference, until the linkage came apart! Wheels are done in Plastidip Vintage Gold. Nice job on bringing back this car into the world again. Love the color! (IMG:style_emoticons/default/beer.gif) The only thing that I wish you'd done differently is fix the floor correctly instead of using fiberglass. (IMG:style_emoticons/default/icon8.gif) Welding in a new patch would be a fairly easy thing to do. Jeremy I like your car and that you keep working away as you are driving and enjoying it. I too wish you would address the front and rear trunk repairs properly. I get it is a time consuming thing and may cost a couple dollars. I would bet you could find the panels for almost nothing on here from a car getting parted out. Aside from that, it is looking nice. (IMG:style_emoticons/default/beerchug.gif) I understand! It kind of made me cringe to do these half-assed fixes. I did a lot of rust repair on my old Datsun Roadster, so I know how satisfying it is to do it right. 70 Datsun Roadster inner fender repair: 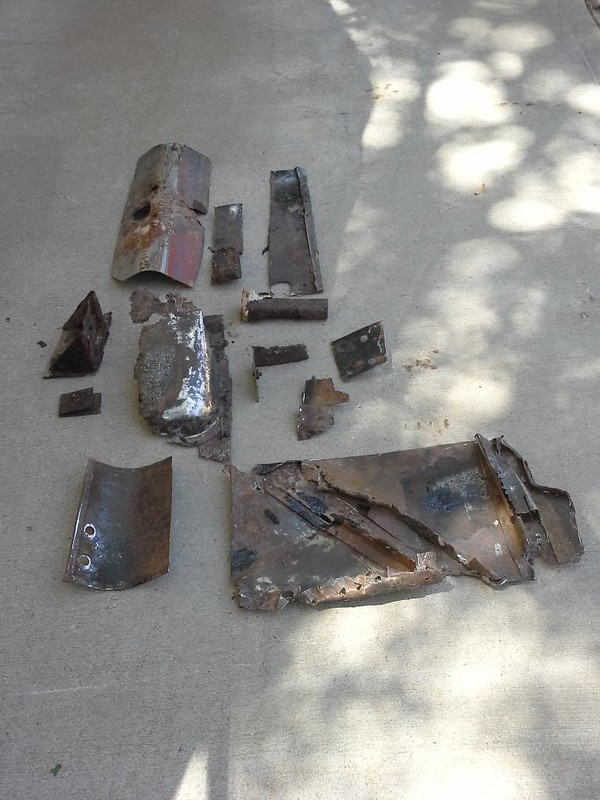 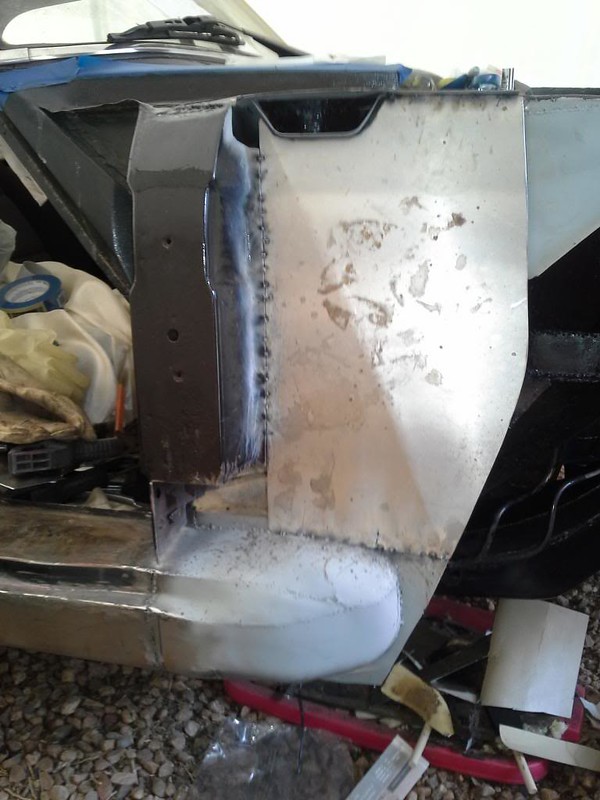 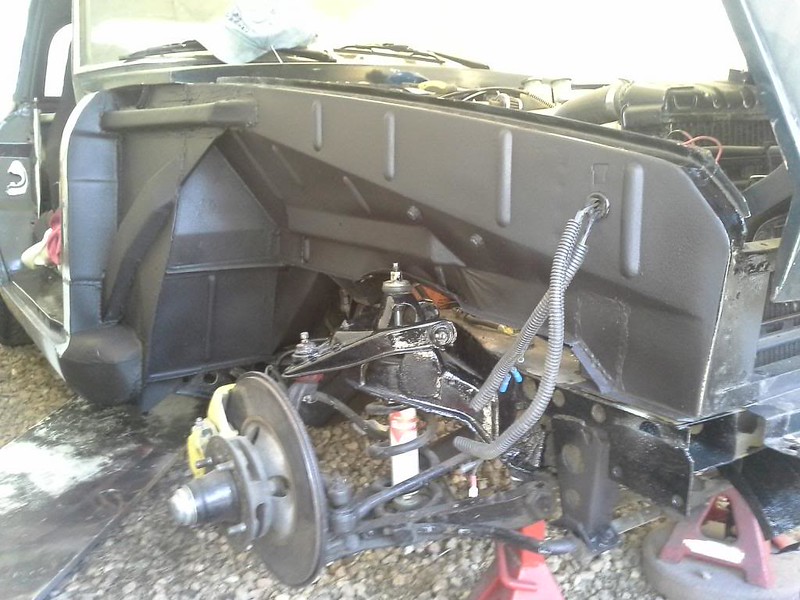 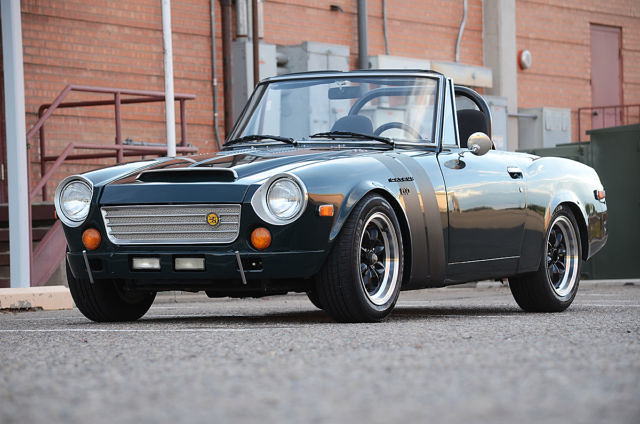 On the 914, they were temporary stop-gaps so I could use the car some and I didn't want to rush a welding job. I want those repairs to be high quality when I get to them. Thanks for the comments and encouraging words! |
| Mayne |
 Aug 21 2020, 07:44 PM Aug 21 2020, 07:44 PM
Post
#47
|
|
Member   Group: Members Posts: 254 Joined: 28-February 17 From: NM Member No.: 20,880 Region Association: None |
A shot from my most recent drive. The car didn't break on this one!
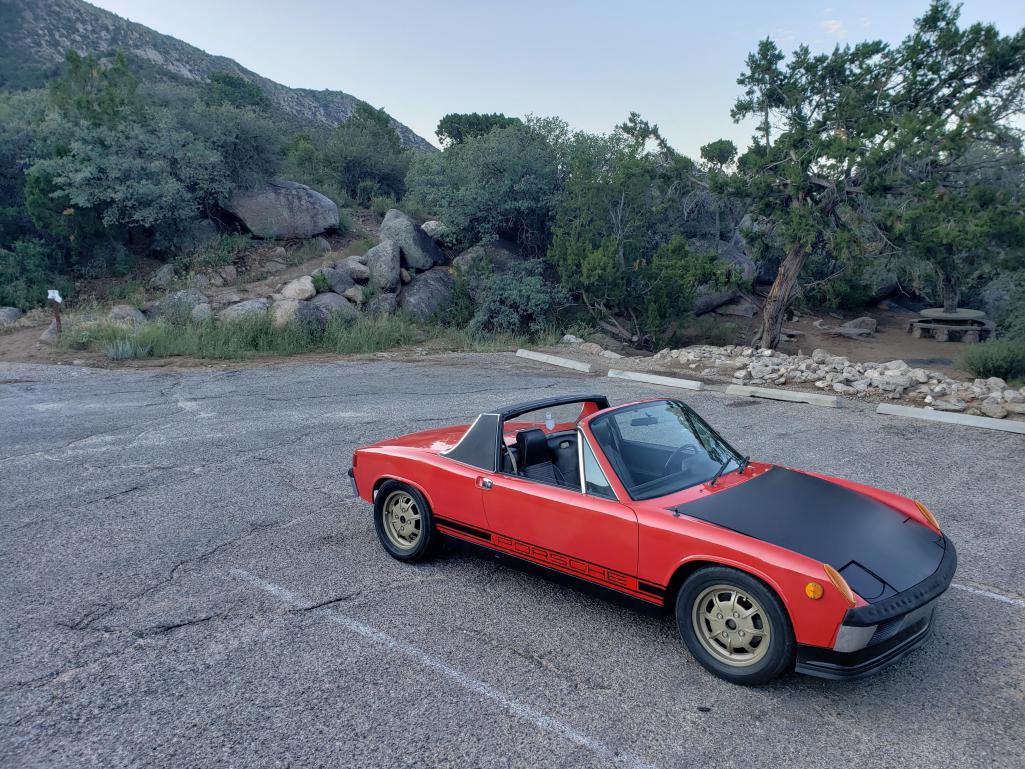 Time for my Friday beer! (IMG:style_emoticons/default/beer3.gif) |
| Mayne |
 Apr 1 2021, 04:07 PM Apr 1 2021, 04:07 PM
Post
#48
|
|
Member   Group: Members Posts: 254 Joined: 28-February 17 From: NM Member No.: 20,880 Region Association: None |
Here are a few updates of some work I've been doing on the teener. The center armrest has bugged me since I've owned the car, with it's torn and funky looking vinyl, especially now because the interior is looking pretty decent. I found this upholstery kit on eBay for like $30. It took forever to get, so much so that I pretty much gave up on getting it. Then one day, mystery package at the door!
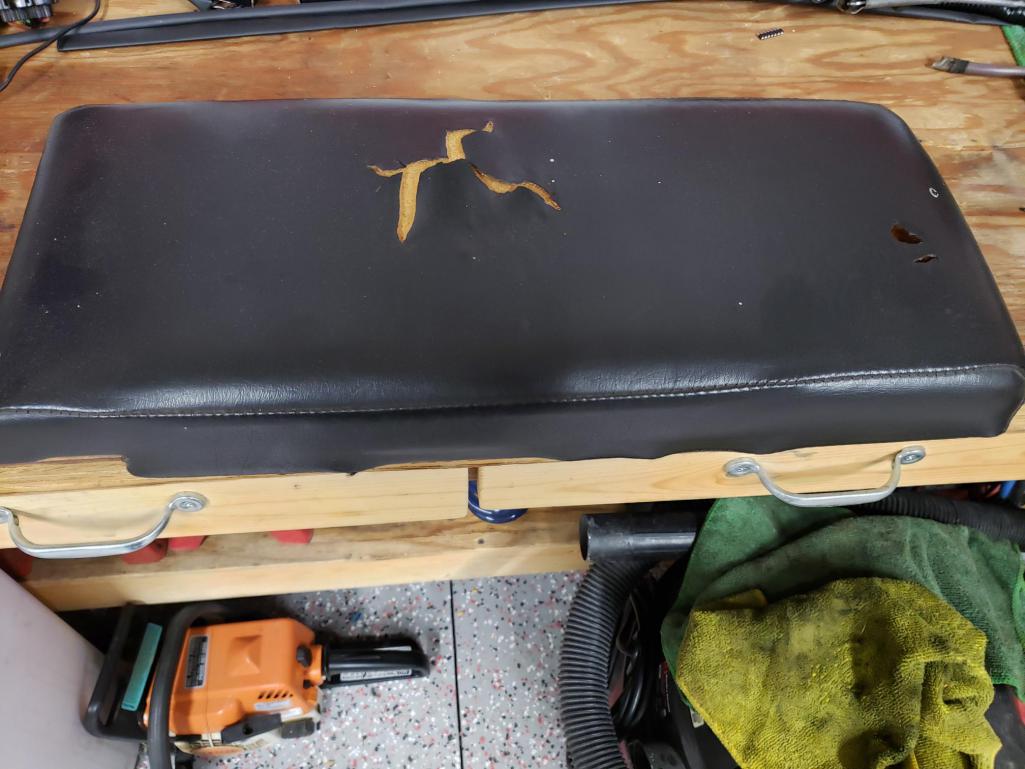 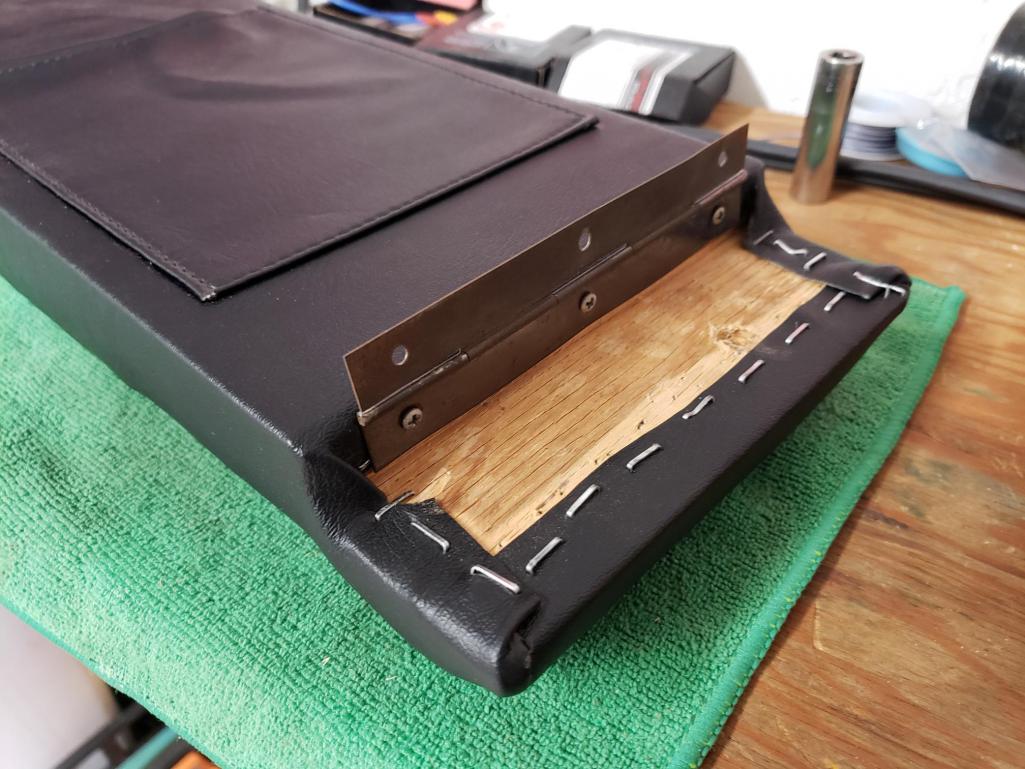 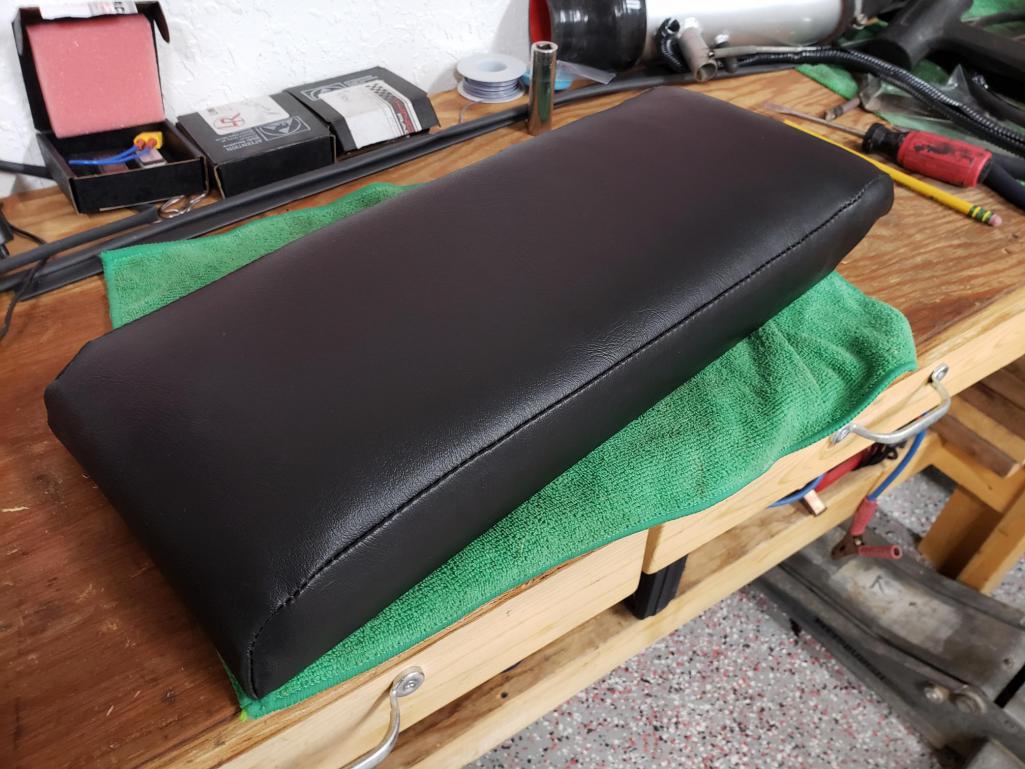 Then my brother Zach gave me an extra Porsche badge that he had blacked out for his dark grey 911. He didn't like it, but I though maybe it'd look cool on the matte black hood. I don't intend to run one when the car gets painted, but for now I like it. I cut off the pins on the back and stuck it on with 3M tape. 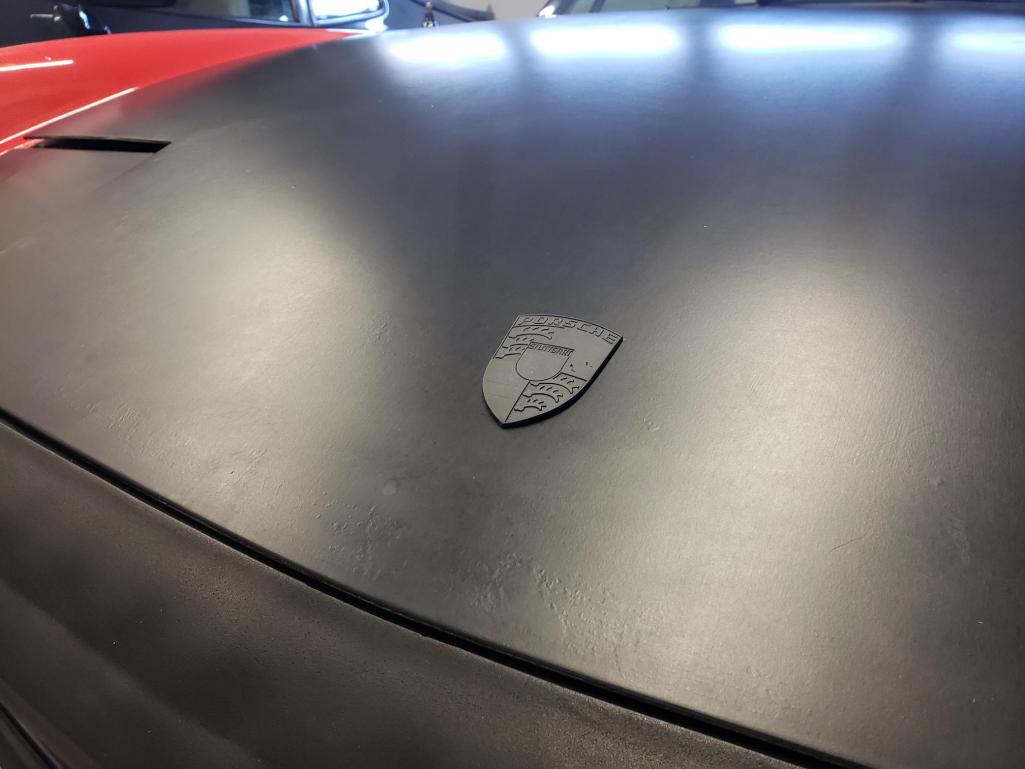 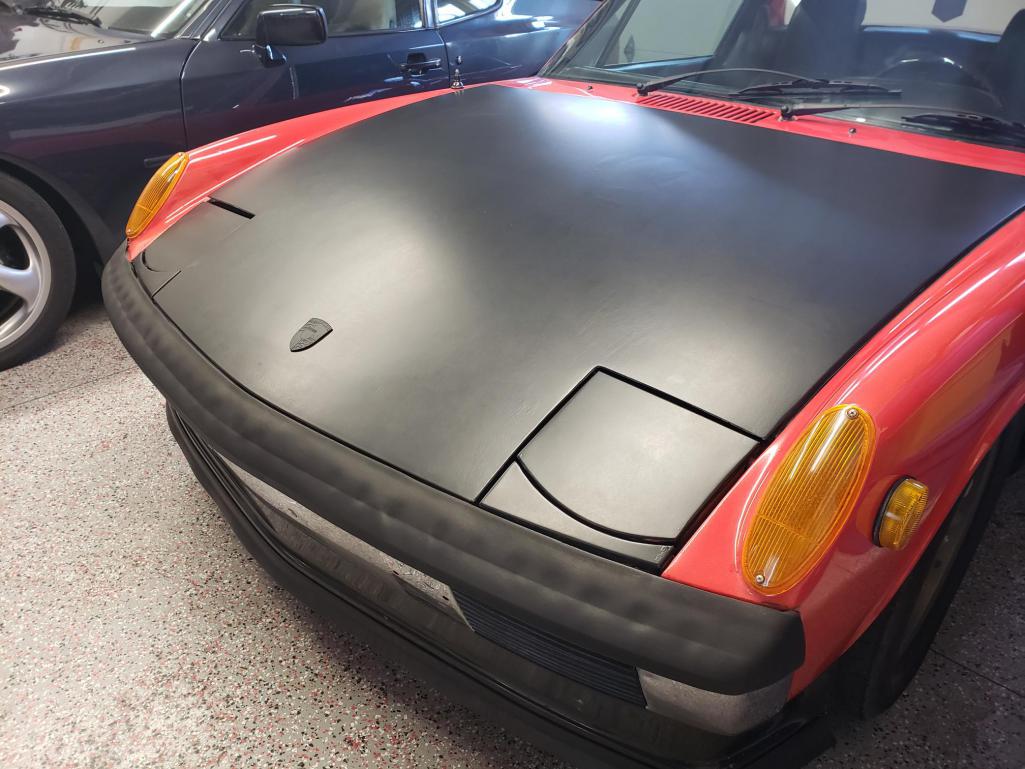 |
| Mayne |
 Apr 1 2021, 04:14 PM Apr 1 2021, 04:14 PM
Post
#49
|
|
Member   Group: Members Posts: 254 Joined: 28-February 17 From: NM Member No.: 20,880 Region Association: None |
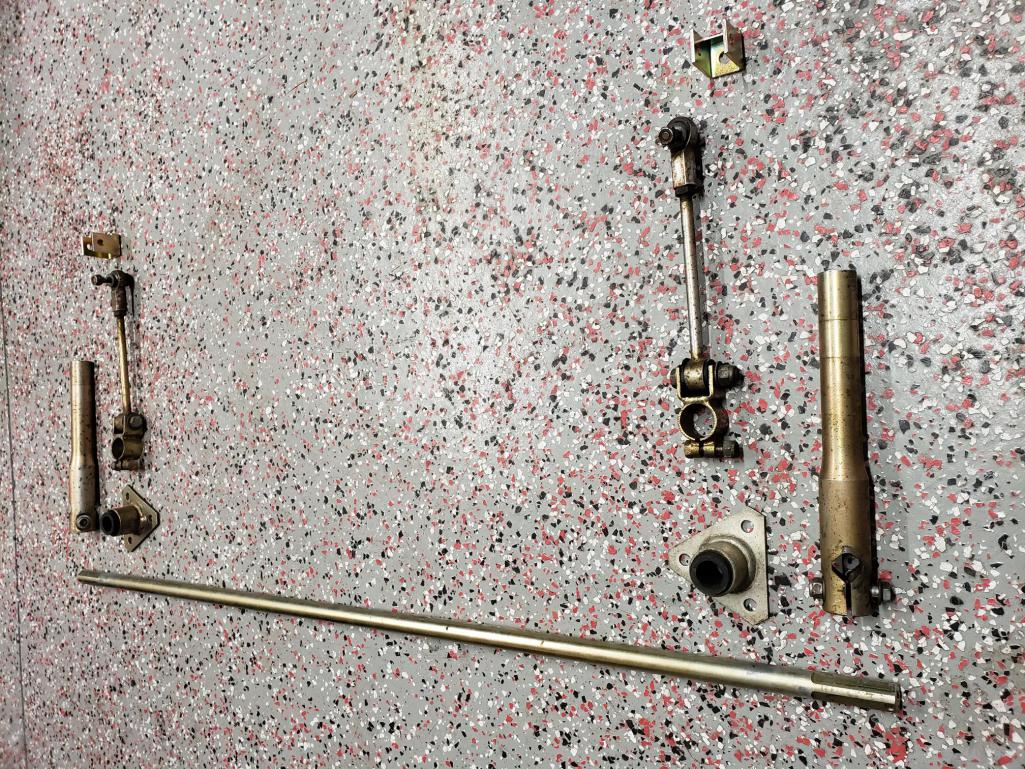
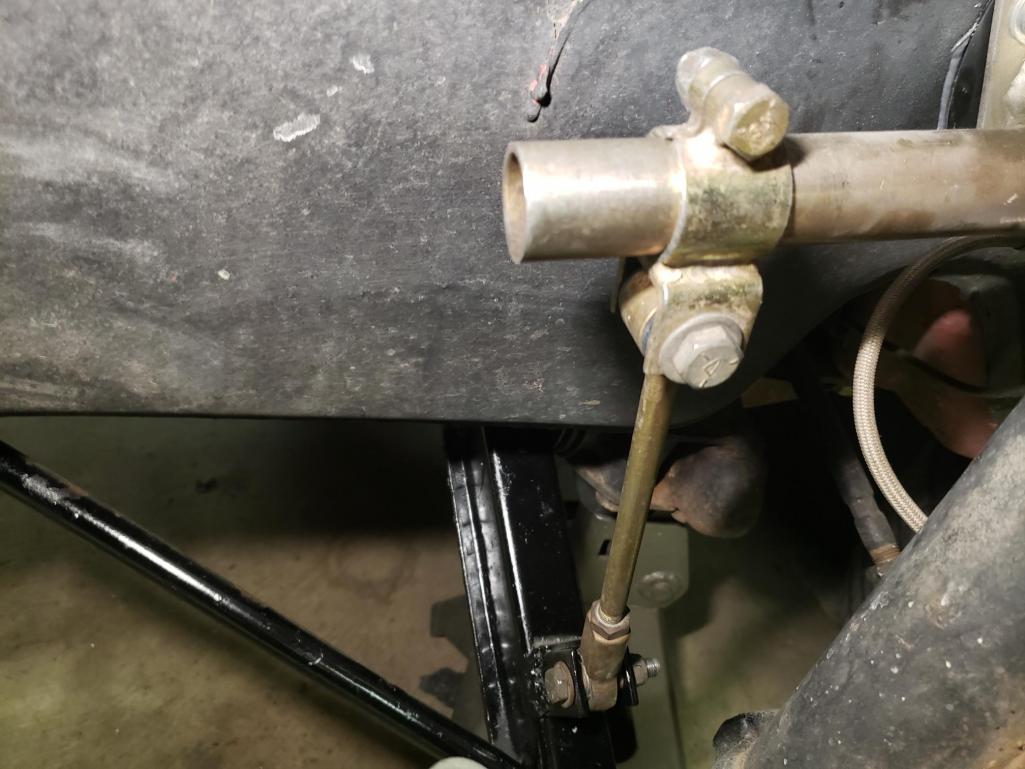
I also found a 19mm Weltmeister front sway bar on eBay. I was pretty excited about that and then when I had a chance to get some 165# Weltmeister rear springs from a forum member, that pushed it over the top. New rear Bilsteins followed for a nice little suspension upgrade.
  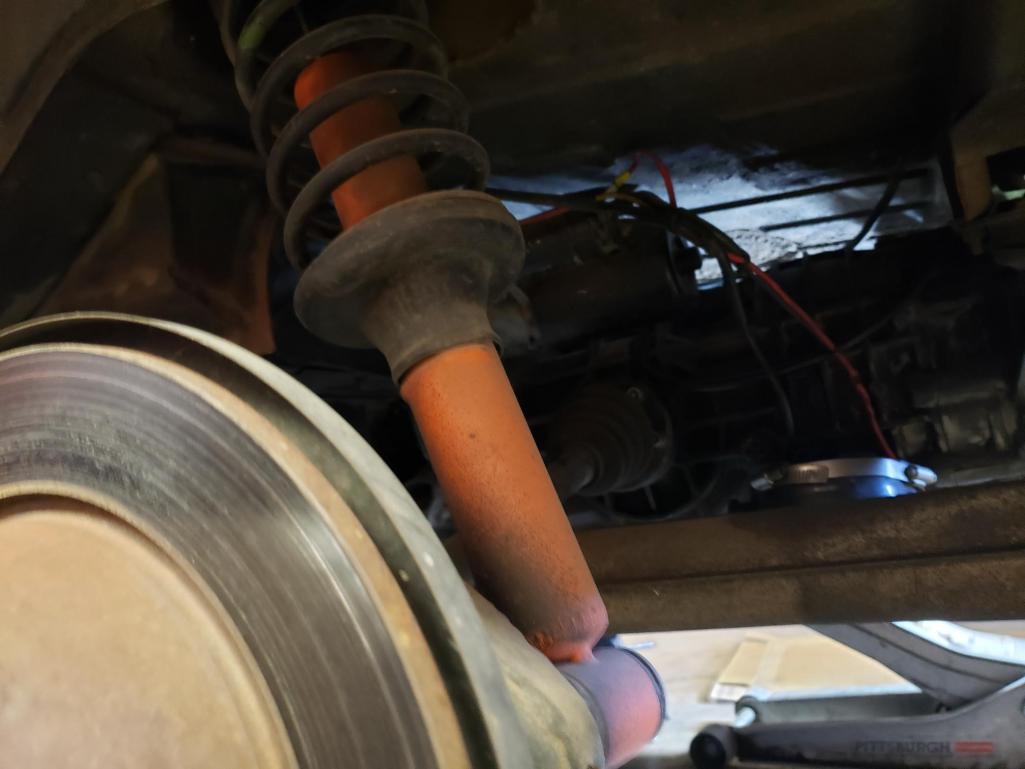 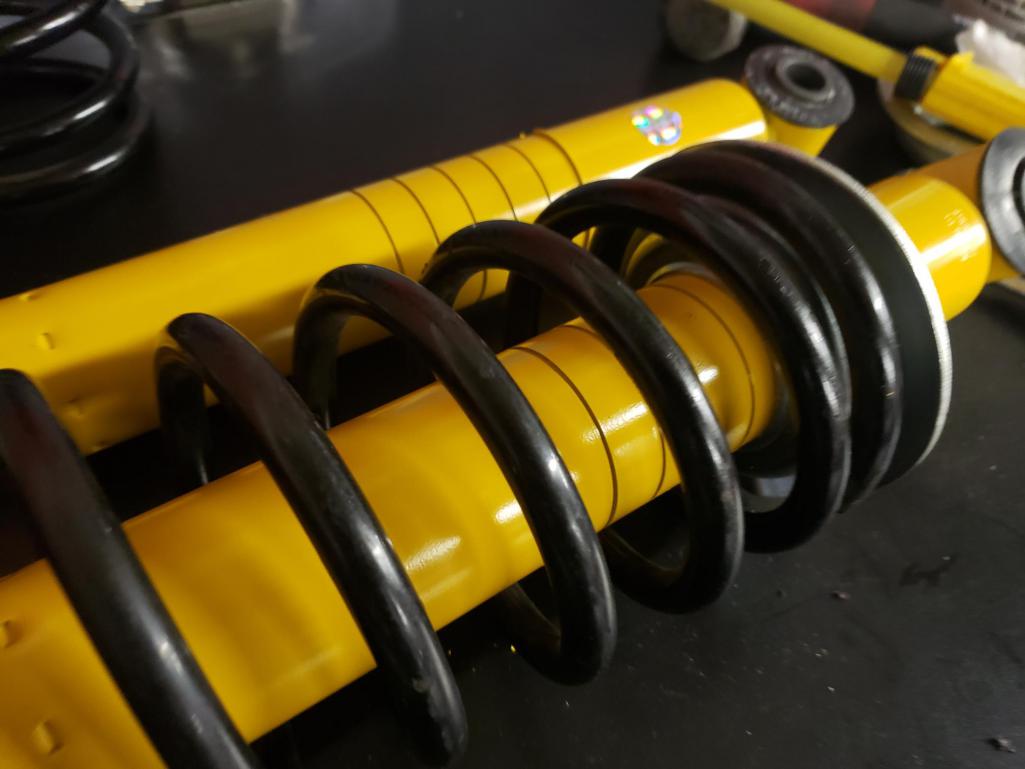 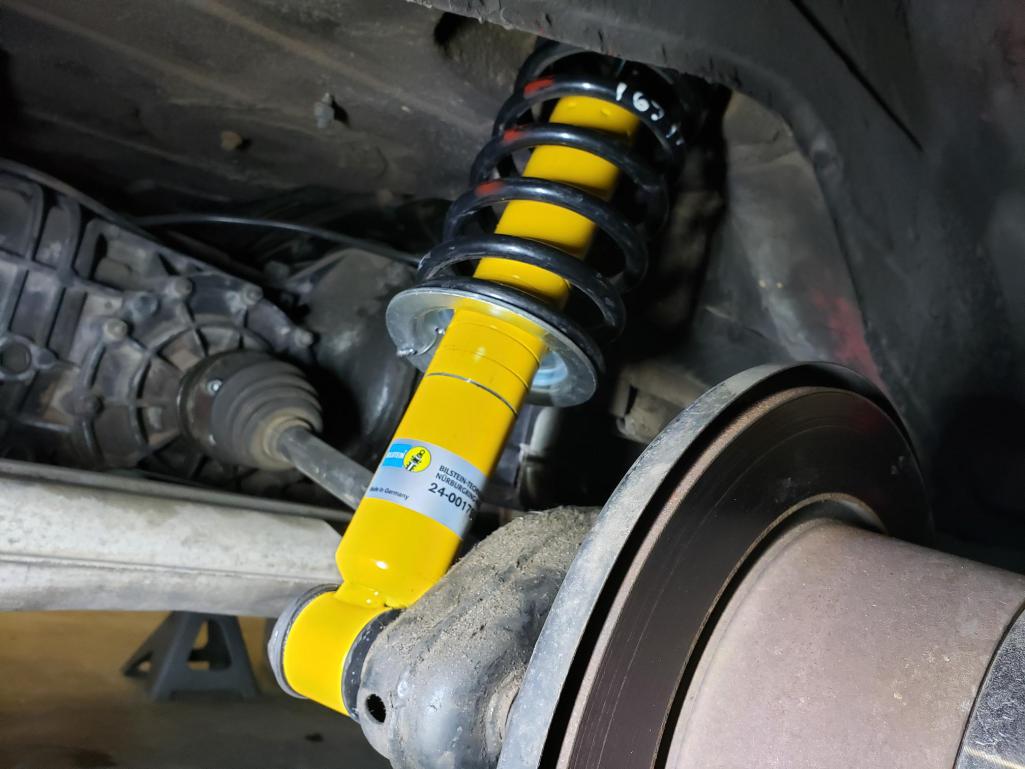 And, a little preview of coming attractions? 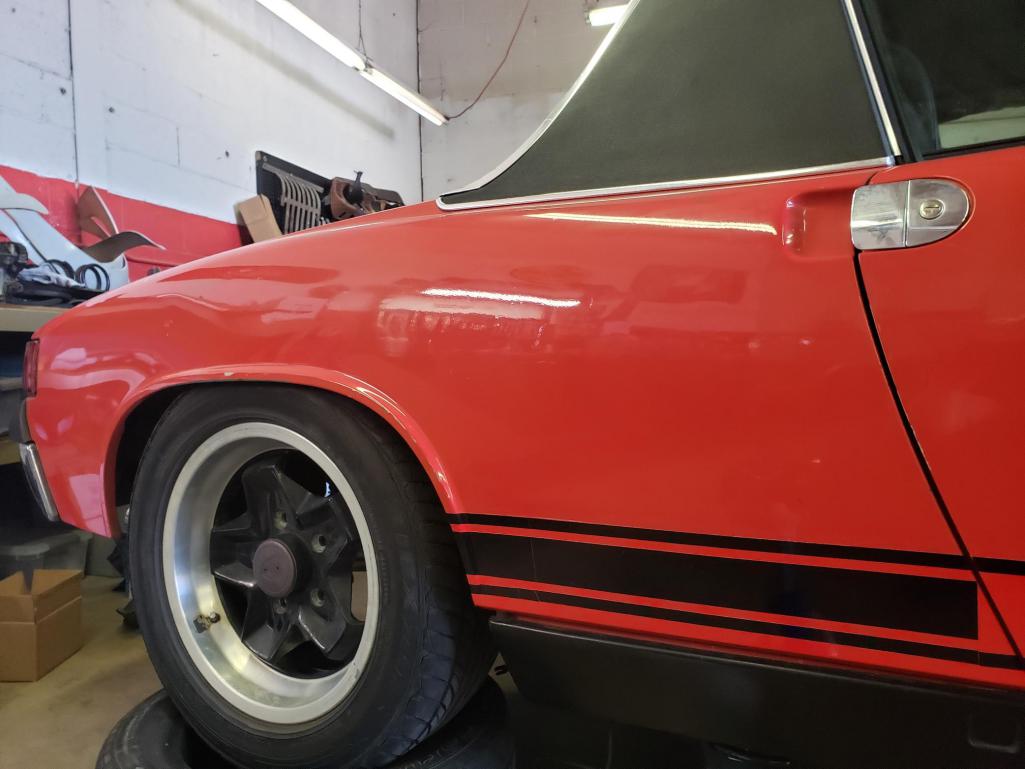 Cheers! |
| Mayne |
 Apr 25 2021, 09:37 AM Apr 25 2021, 09:37 AM
Post
#50
|
|
Member   Group: Members Posts: 254 Joined: 28-February 17 From: NM Member No.: 20,880 Region Association: None |
PMB five lug conversion complete!
The specs are as follow: PMB five lug kit, which includes new redrilled front rotors, new front wheel bearings, new redrilled rear rotors, redrilled rear 914 hubs, new rear wheel bearings. Also, 72mm bullet nose studs, 15x7 cookie cutters, 195/55-15 Sumitomos (I wanted 205/50 but my brother had these new tires that he donated to the project). The tires look pretty nice and I certainly don't need any more rubber for the street with the 1.7. I thought I took more pics of the rear but I guess not. There will be a video in a couple of days. Here are a few random photos from the conversion: 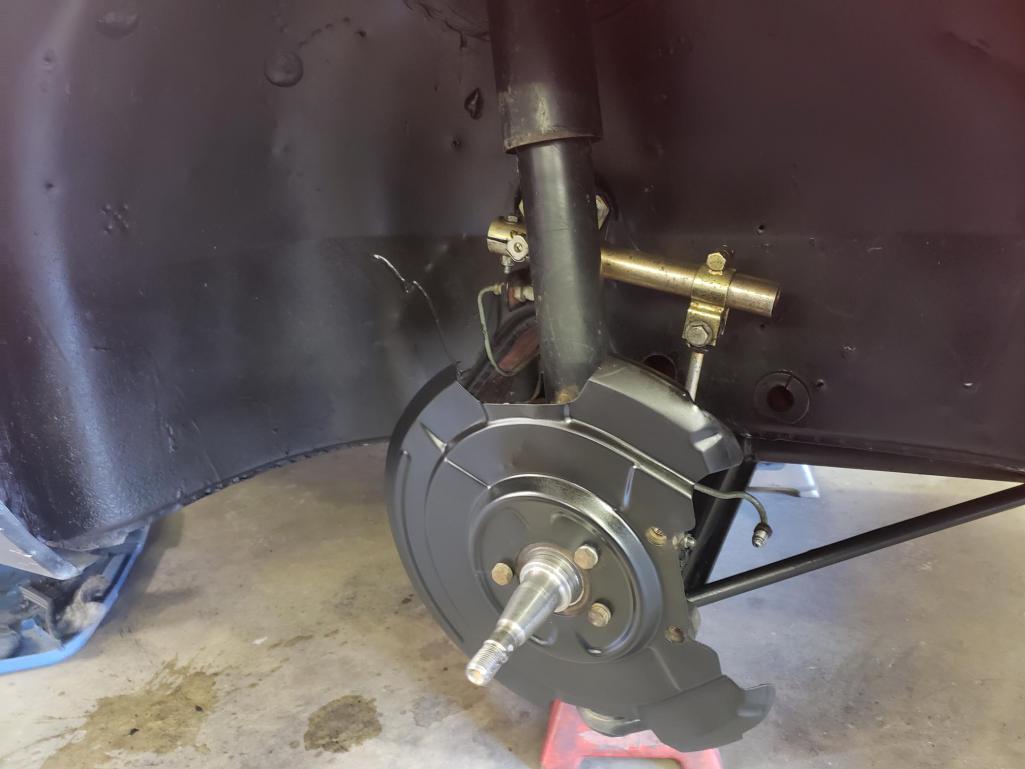 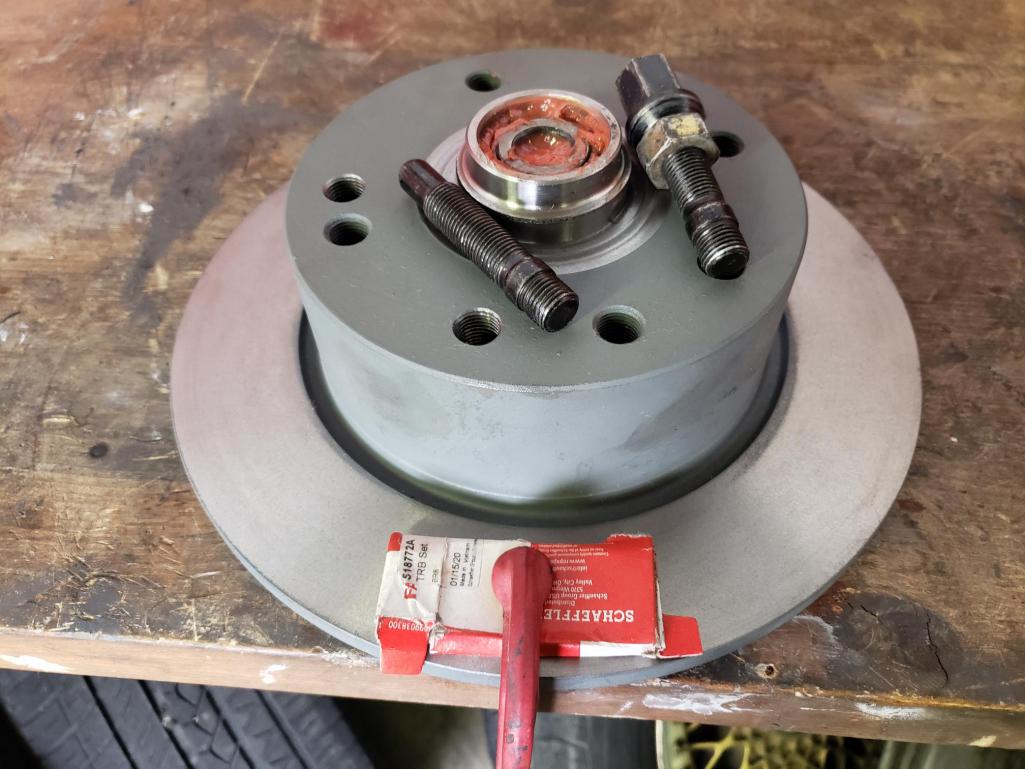 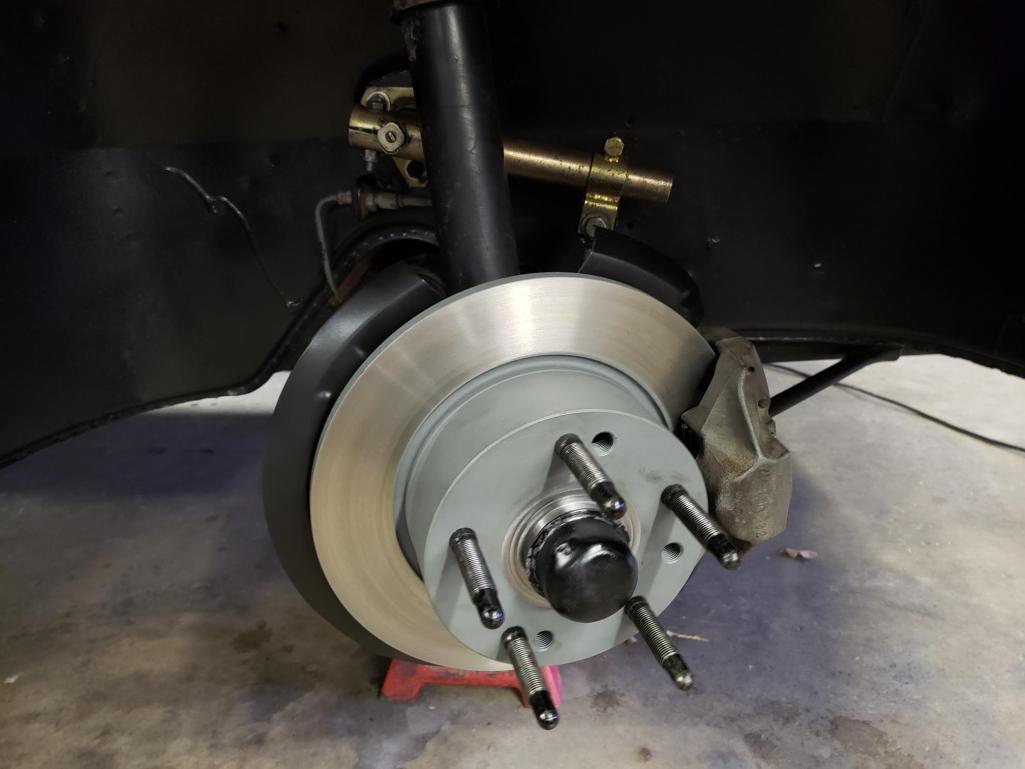 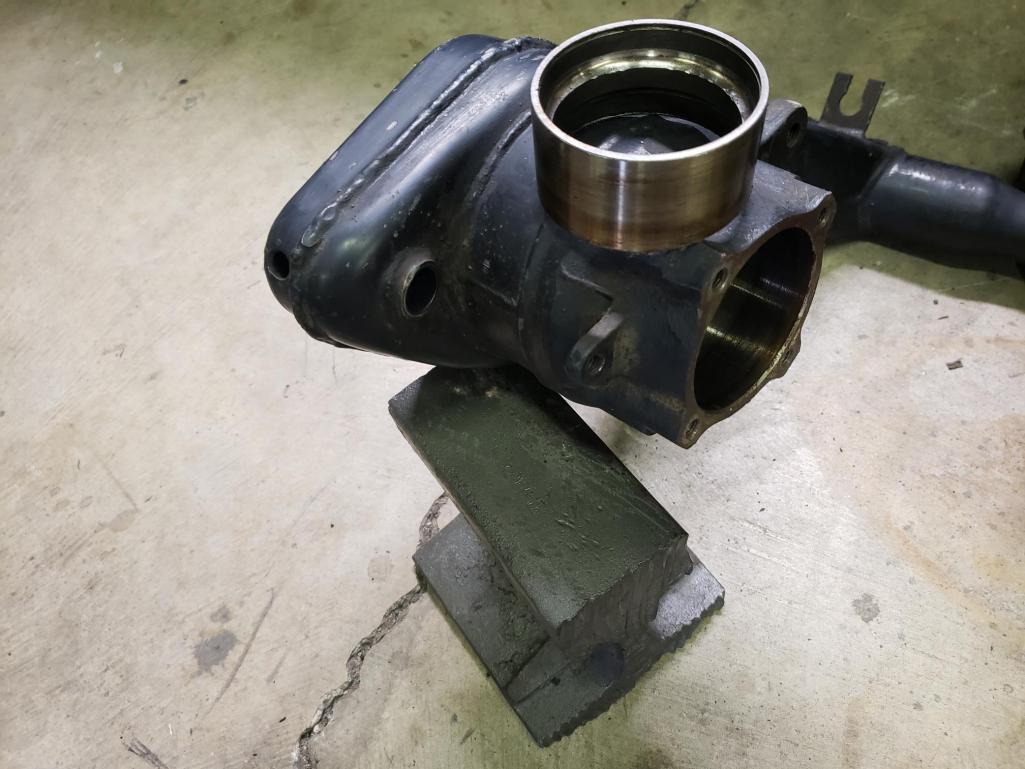 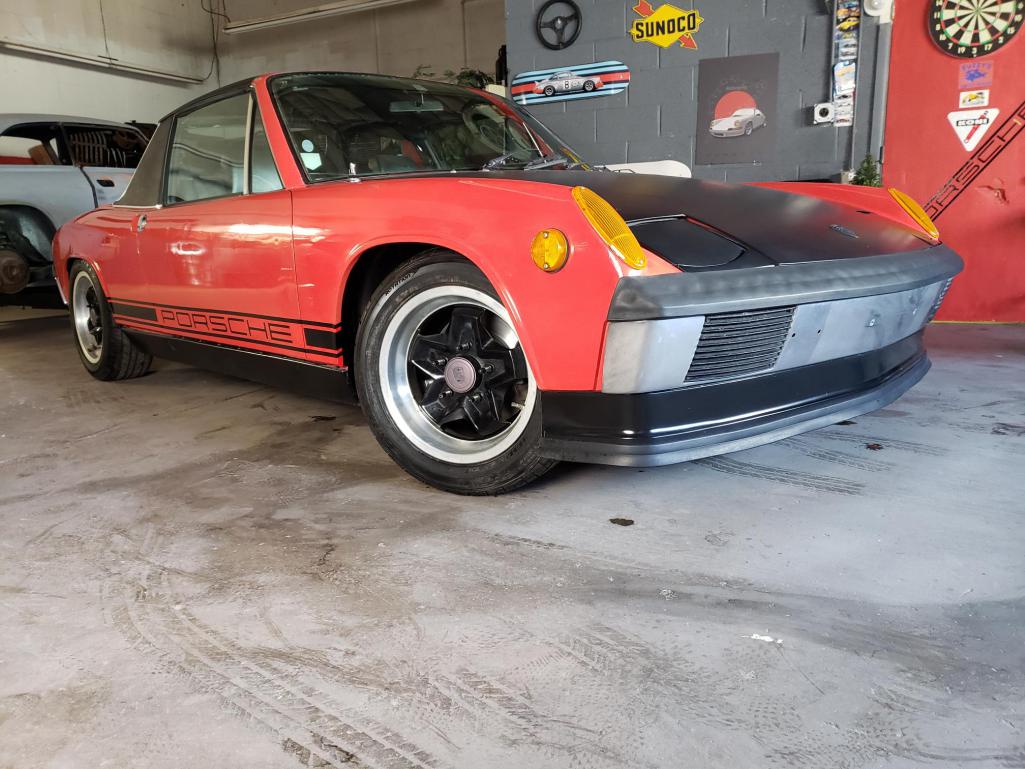 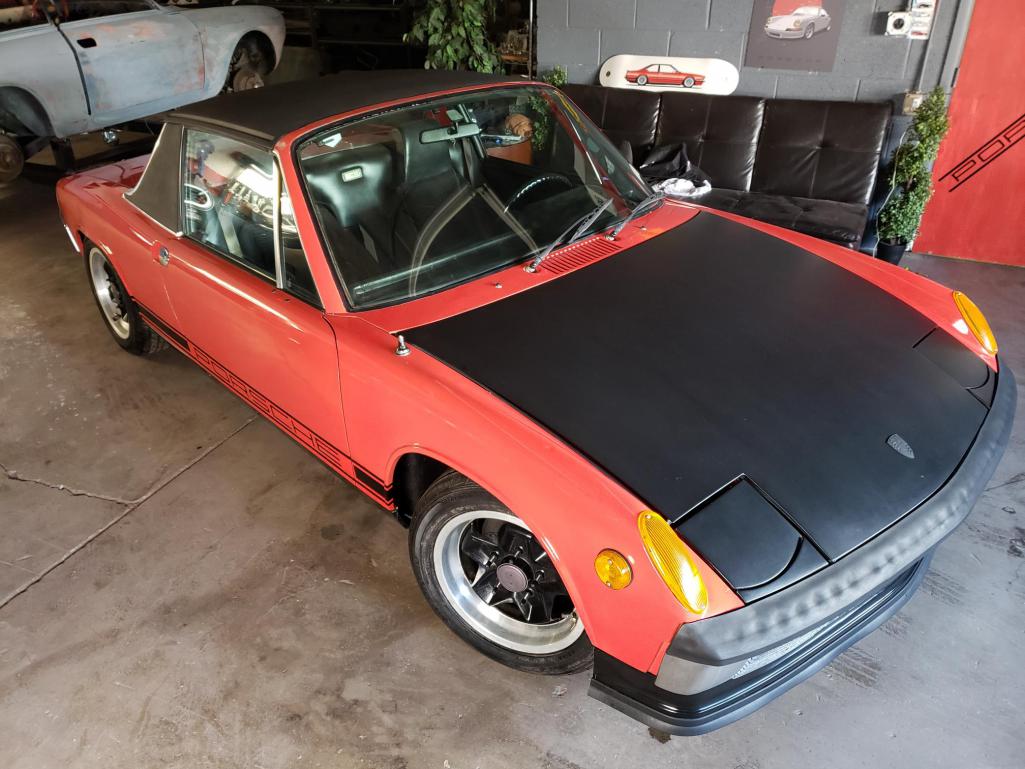 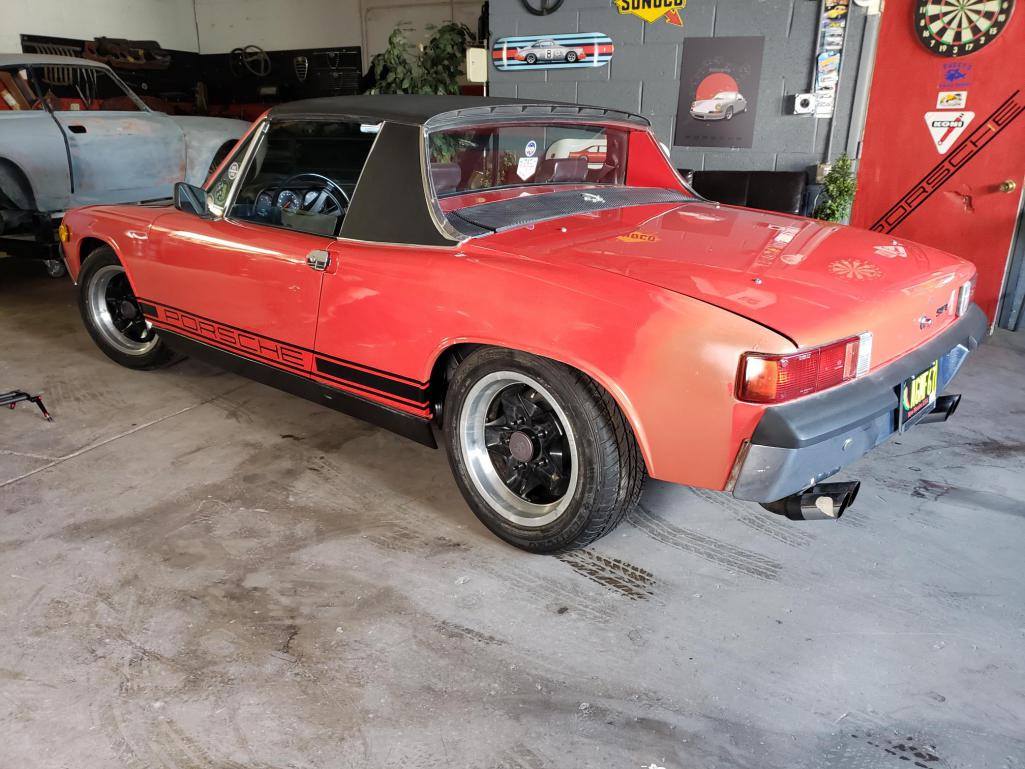 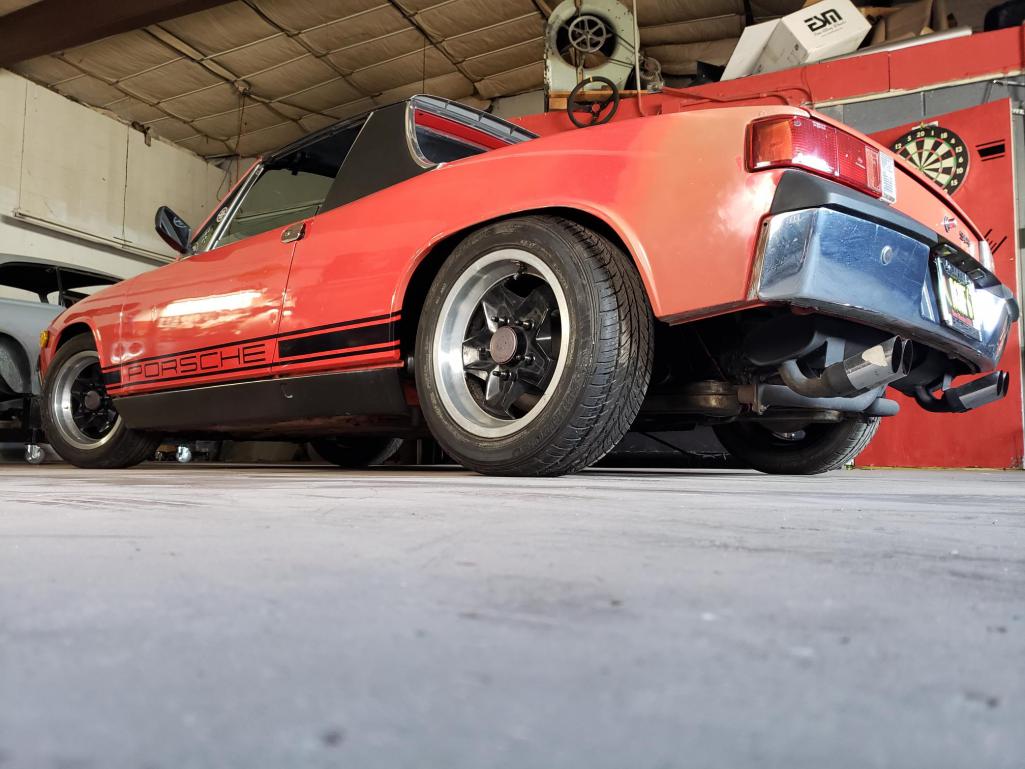 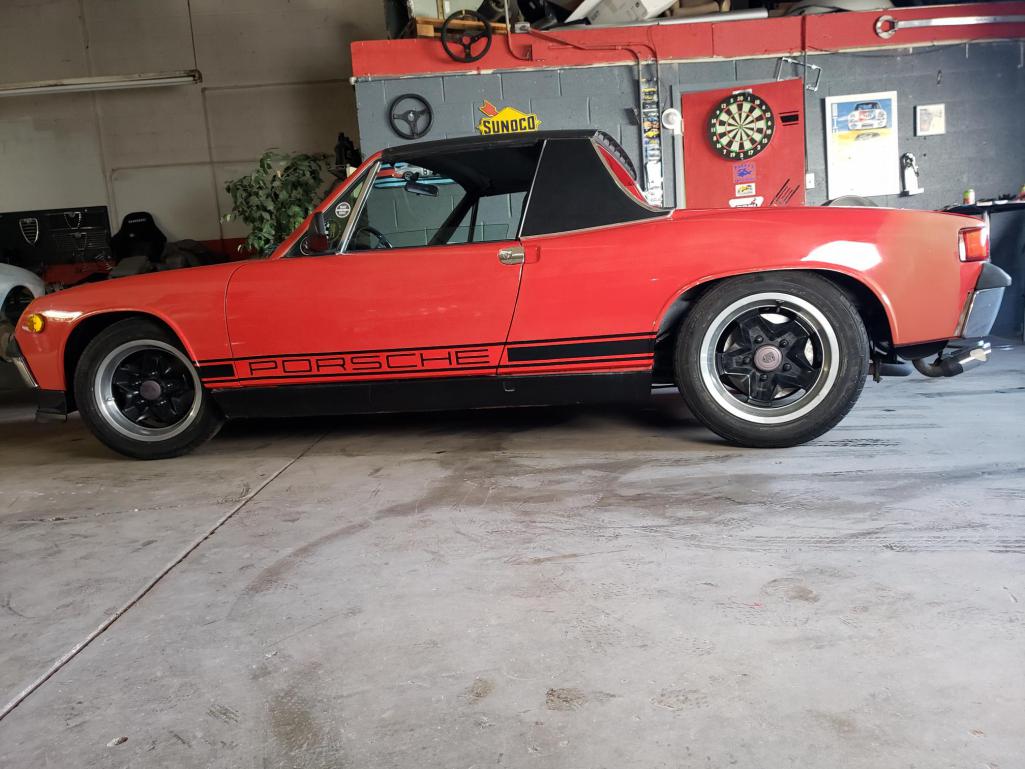 My rear calipers were frozen solid so they're out at PMB right now. Hopefully I can get those on in another week or so, then get it aligned and see how it feels. Cheers! |
| Mayne |
 Apr 26 2021, 08:11 PM Apr 26 2021, 08:11 PM
Post
#51
|
|
Member   Group: Members Posts: 254 Joined: 28-February 17 From: NM Member No.: 20,880 Region Association: None |
As promised, a video on the five lug install. This is part one, covering the front end. Mostly just me blathering on for a while, but hopefully informative for someone considering the swap.
Retromod YouTube |
| VegasRacer |
 Apr 27 2021, 12:48 AM Apr 27 2021, 12:48 AM
Post
#52
|
|
ELVIRA      Group: Benefactors Posts: 8,495 Joined: 27-March 03 From: Between Scylla and Charybdis Member No.: 481 Region Association: None 
 |
I normally don't like Cookies on a 914. But those are the right wheels for that car. (IMG:style_emoticons/default/first.gif)
I like the Skateboard Decks too. (IMG:style_emoticons/default/thumb3d.gif) |
| Mayne |
 May 9 2021, 09:35 AM May 9 2021, 09:35 AM
Post
#53
|
|
Member   Group: Members Posts: 254 Joined: 28-February 17 From: NM Member No.: 20,880 Region Association: None |
Okay, here's part 2 of the five lug swap video:
Retromod 914 five lug swap video My rear calipers from PMB shipped last Friday, so hopefully I can get it back on the road soon! (IMG:style_emoticons/default/driving.gif) |
| Mayne |
 Oct 29 2021, 11:08 AM Oct 29 2021, 11:08 AM
Post
#54
|
|
Member   Group: Members Posts: 254 Joined: 28-February 17 From: NM Member No.: 20,880 Region Association: None |
It was a busy summer getting our house ready for my older daughter's wedding, but work continues slowly on the 914. I got my rear calipers from PMB, and of course, they're absolutely beautifully done.
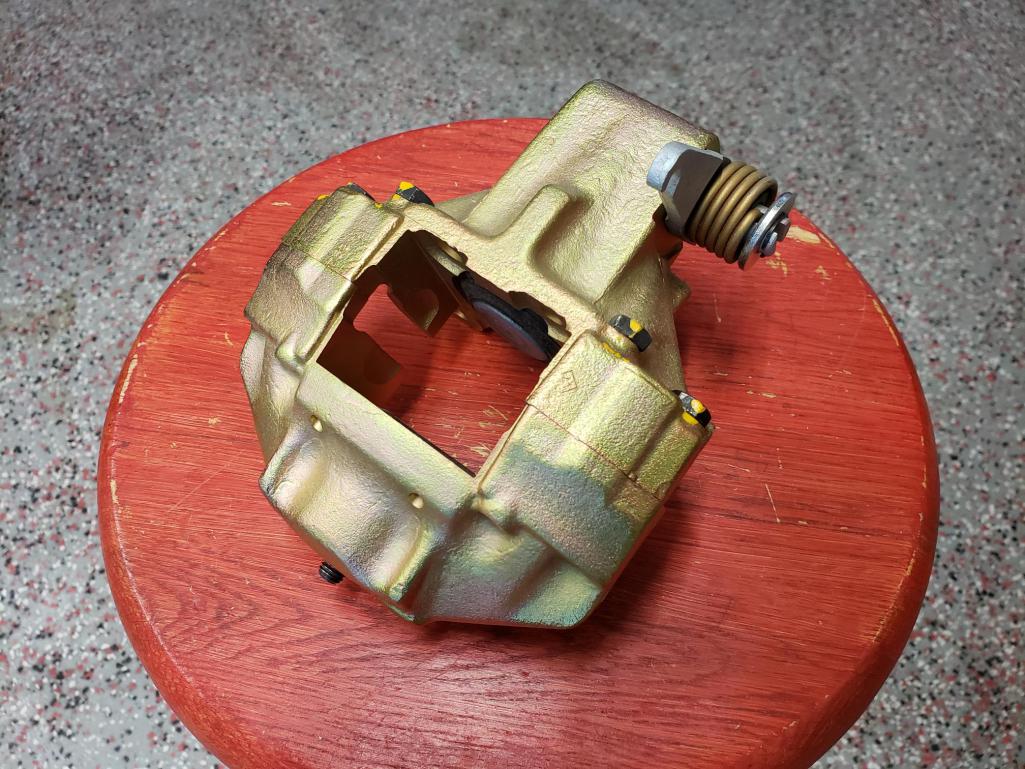 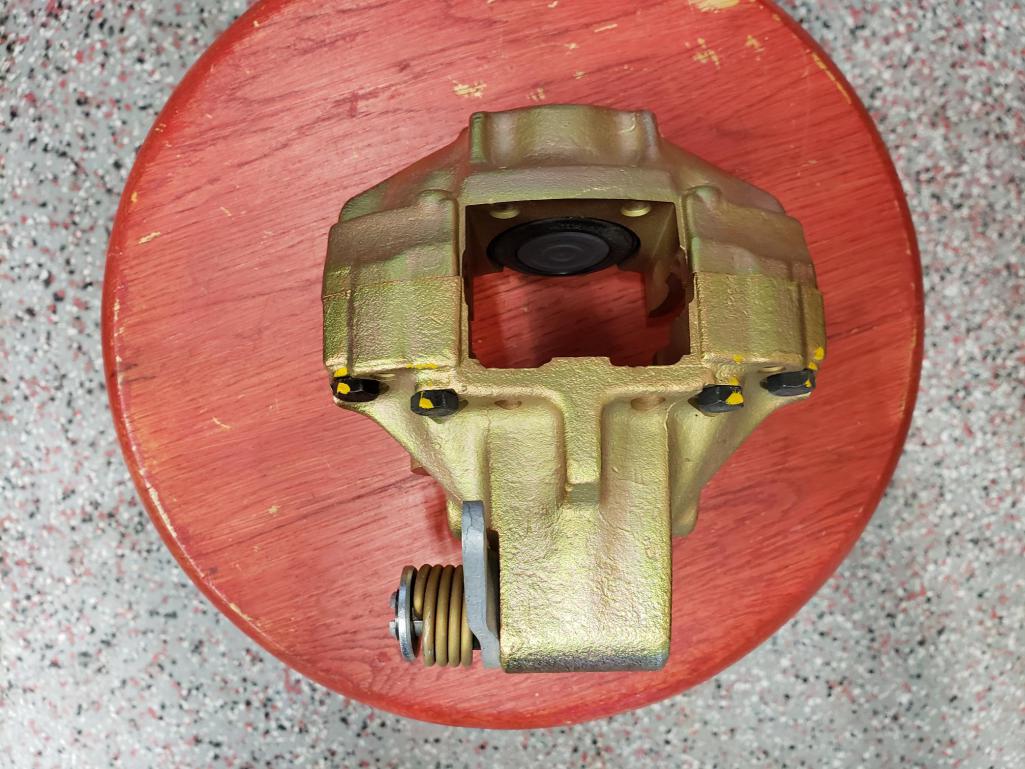 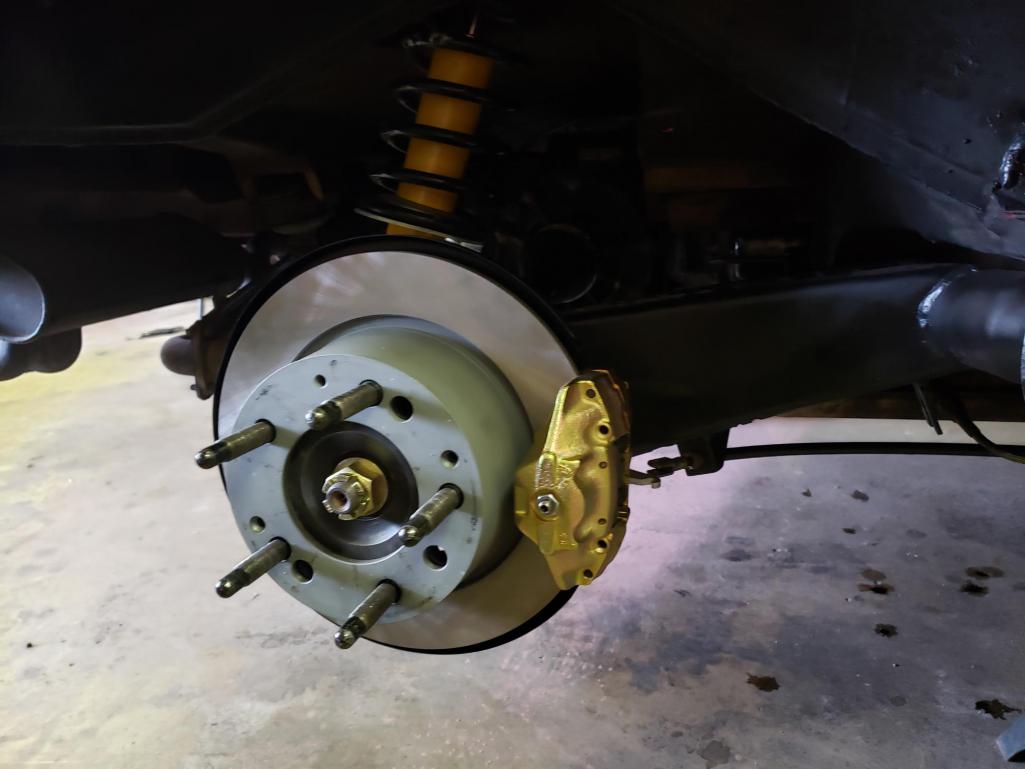 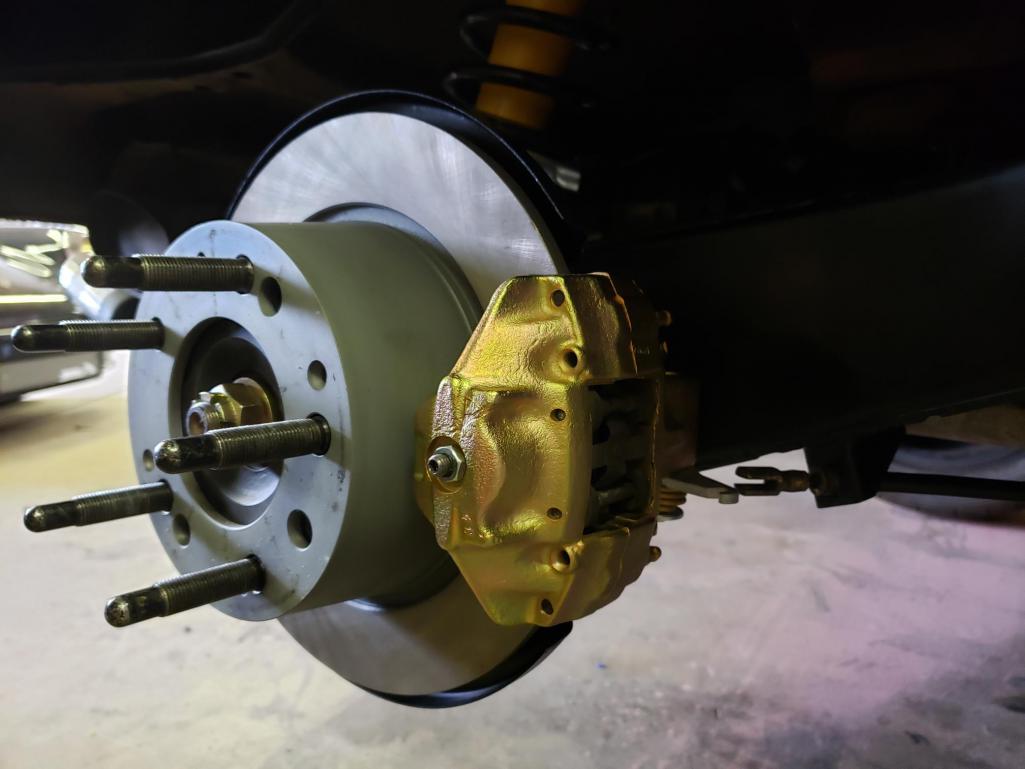 I'm still not totally happy with the brake performance, so there's some work to done. They just don't seem to bite as much as I think they should. Probably further adjustment on the rears and maybe replacing or rebuilding the pressure regulator? |
| Mayne |
 Oct 29 2021, 11:18 AM Oct 29 2021, 11:18 AM
Post
#55
|
|
Member   Group: Members Posts: 254 Joined: 28-February 17 From: NM Member No.: 20,880 Region Association: None |
In other news, I finally got a new radiator...for my aircooled Porsche? Yes, the cat's out of the bag! I will begin the process of doing an EZ30 Subaru swap on my car. I will work on the cooling system at the front first to keep the car on the road. Here's the Celica GTS radiator with dual fans that I got off eBay. $240 to my door. Looks like it should fit pretty well.
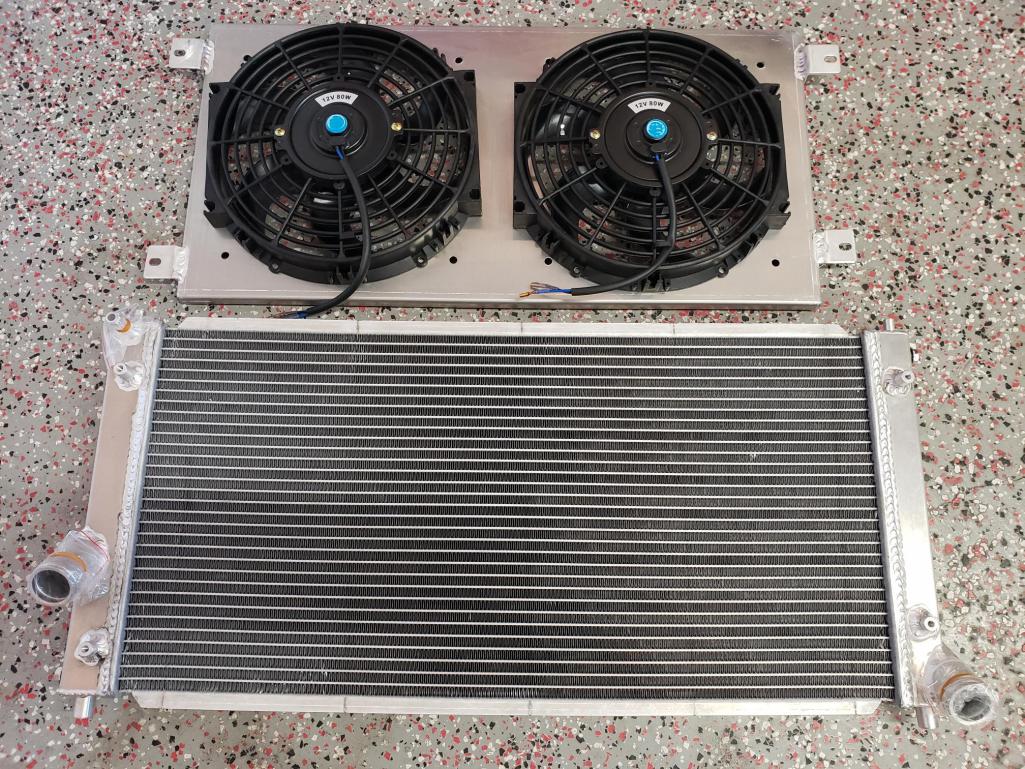 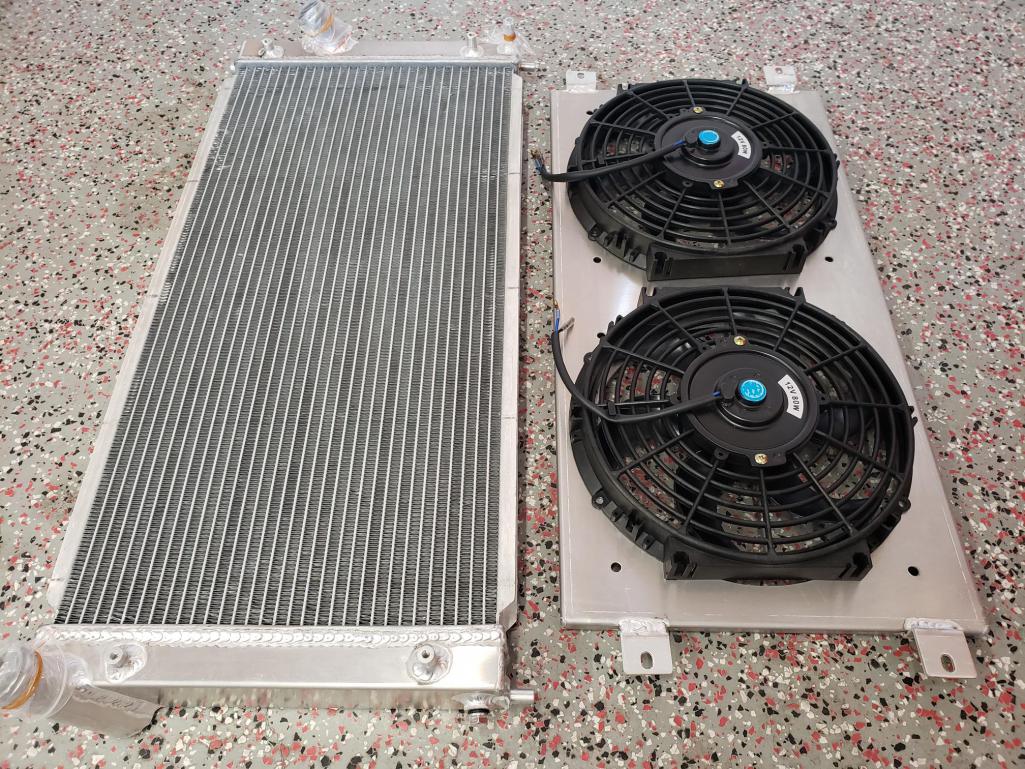 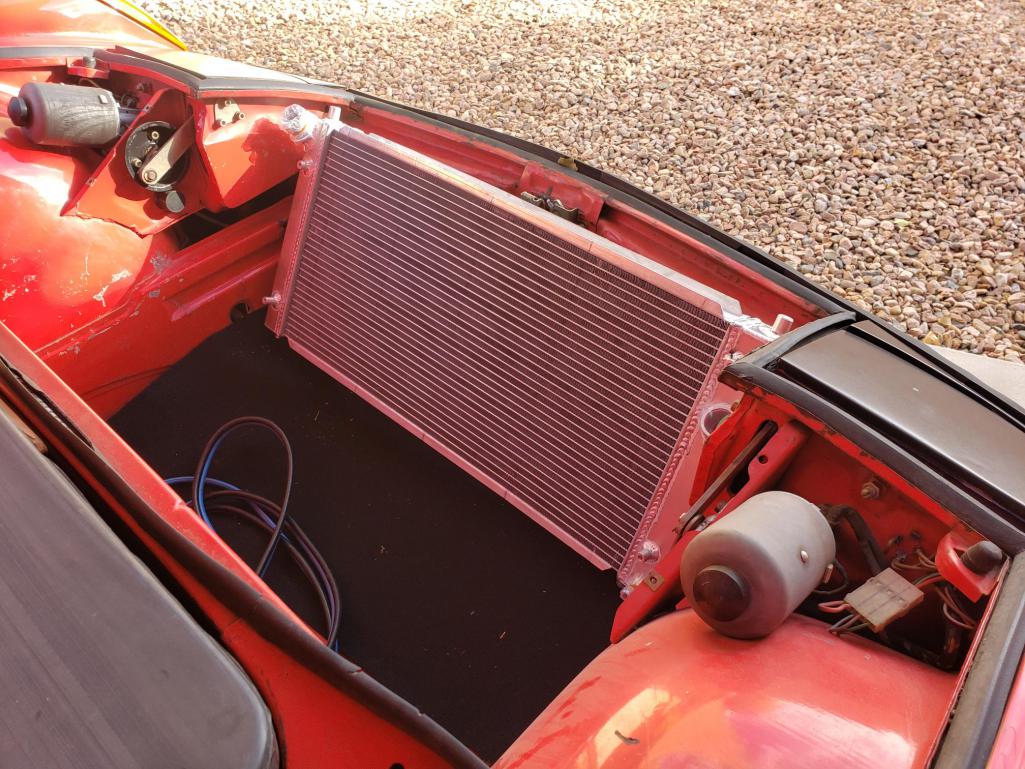 As previously shown, the floor of my trunk was cut out at some point for AC, so the plan for now is exit the air flow out the floor with ducting. I know some people concerns about the downward force of air creating front end lift, but I honestly don't know if I'll the car fast enough for it to be an issue. Time will tell, I guess! More to come as I continue to steal everyone's clever solutions to these swaps. |
| Mayne |
 Dec 1 2021, 07:11 PM Dec 1 2021, 07:11 PM
Post
#56
|
|
Member   Group: Members Posts: 254 Joined: 28-February 17 From: NM Member No.: 20,880 Region Association: None |
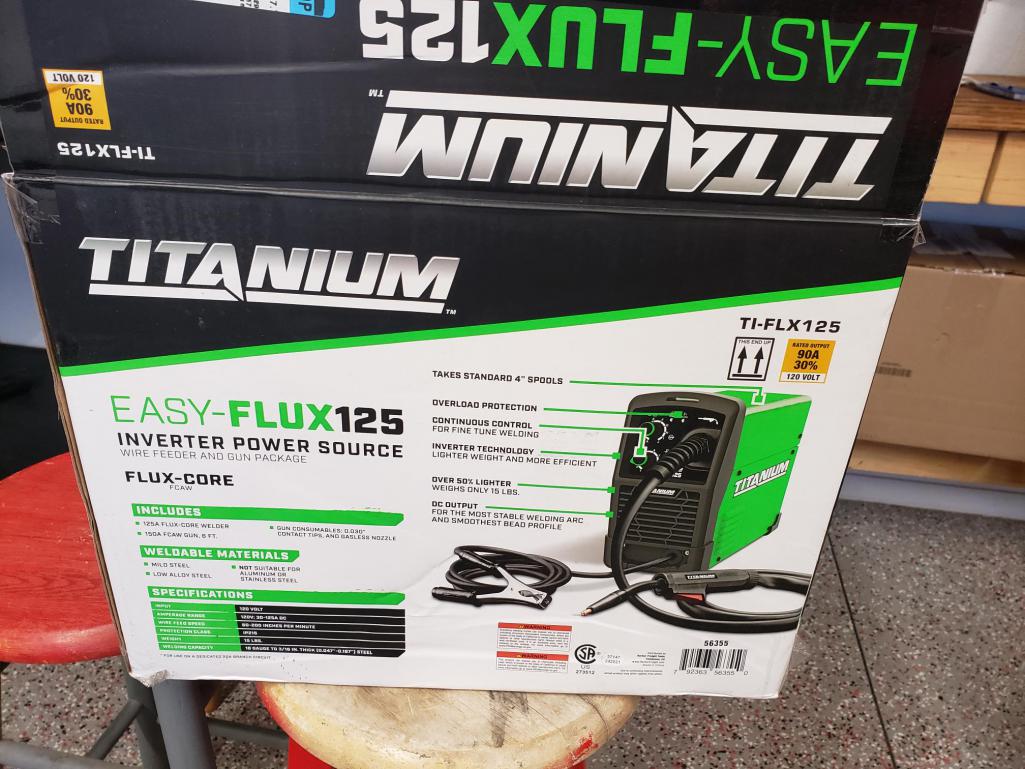
Now that I've committed to doing the Subaru EZ30 6 cylinder swap, I've been trying to make some progress. Focusing on the cooling system fabrication in the frunk, I'm making a little headway. The first thing I did was to buy a small Titanium flux core welder to replace my well-used Chicago Electric welder. Still a budget unit, but I like it fine.
 My first welding job was to make the frame that will accommodate the floating radiator mounts. One inch square tubing and some flat bar make up the bottom and sides. Not pretty welds, but they'll get the job done. 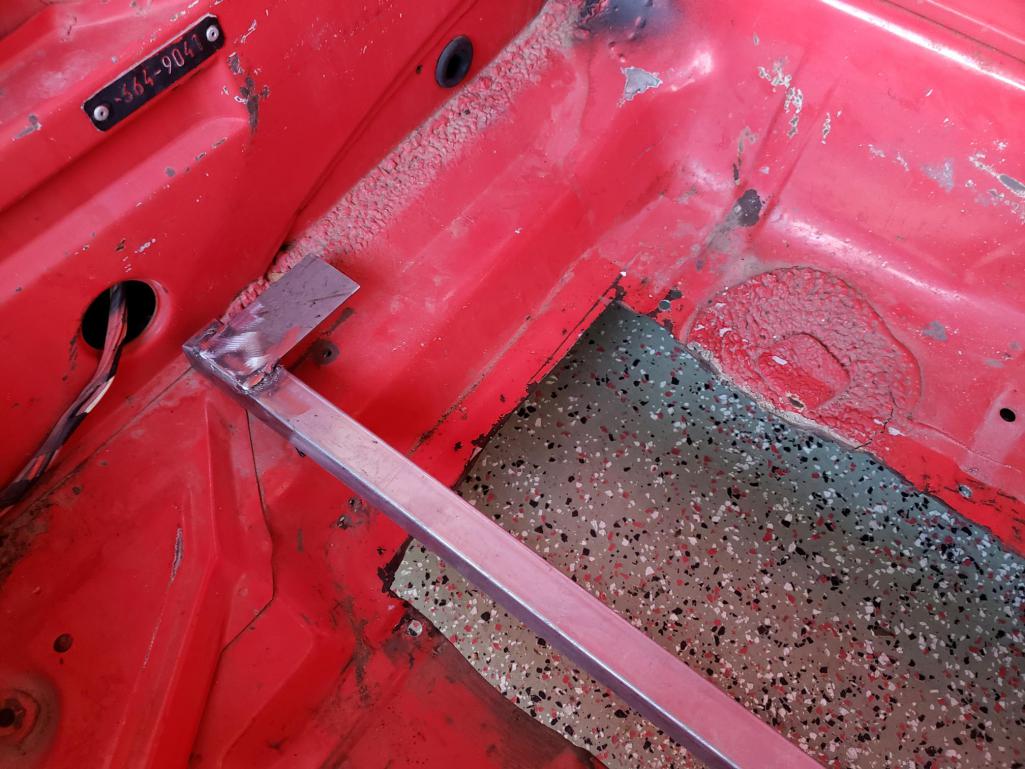 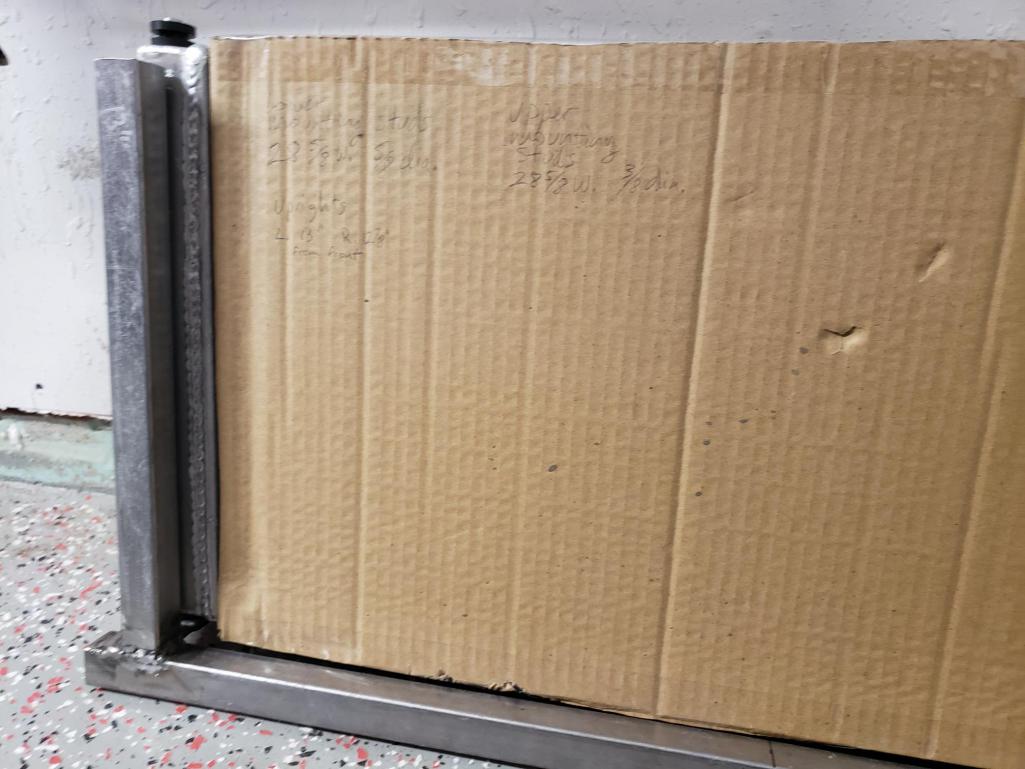 The flat bar tabs were drilled and grommeted for the bottom mounting posts on the radiator. 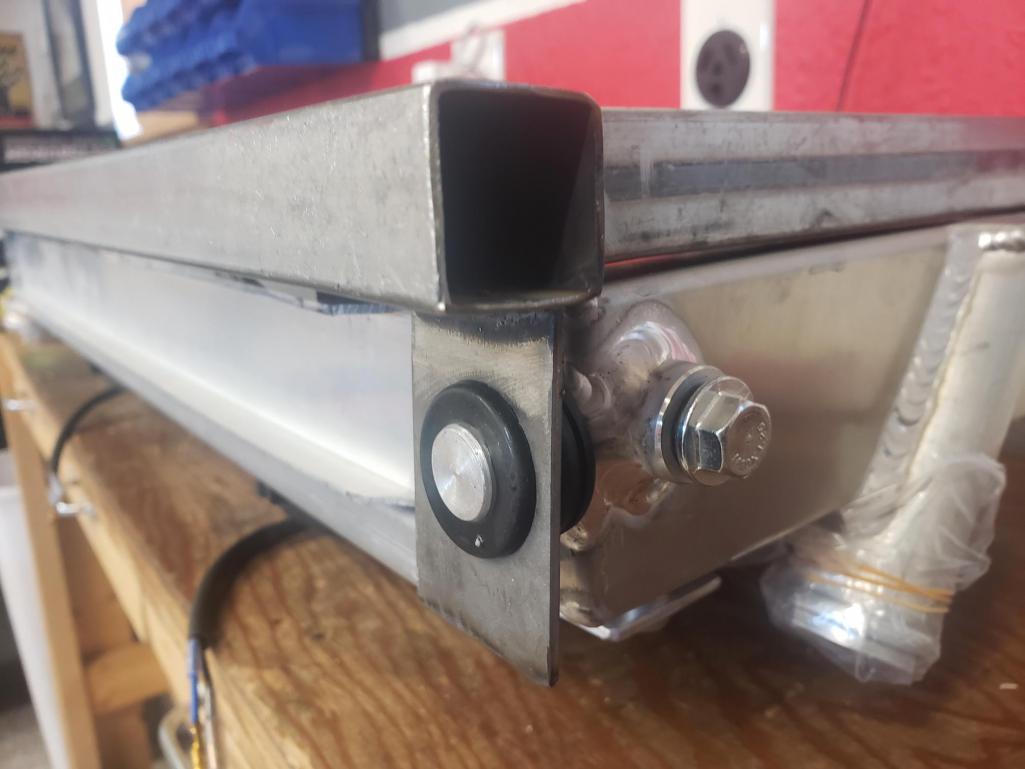 I should note that I basically ripped off the approach from forum member rmarx (how do you tag someone in a post?). Thanks for the ideas! As he did, I will make drilled and grommeted tabs for the top posts as well, that will mount below or above the sheet metal cowling that will cover the intake side. |
| Mayne |
 Dec 1 2021, 07:25 PM Dec 1 2021, 07:25 PM
Post
#57
|
|
Member   Group: Members Posts: 254 Joined: 28-February 17 From: NM Member No.: 20,880 Region Association: None |
The next thing I needed to deal with was the terribly cut out floor pan, courtesy of the PO. I know some feel it's not the best way to vent air out, but I've decided to do it throught the frunk floor. I ordered the vented floor pan from Patrick Motorsports. For $65, it's fairly cheap, and it was fun to order something from them. Probably the only item ever!
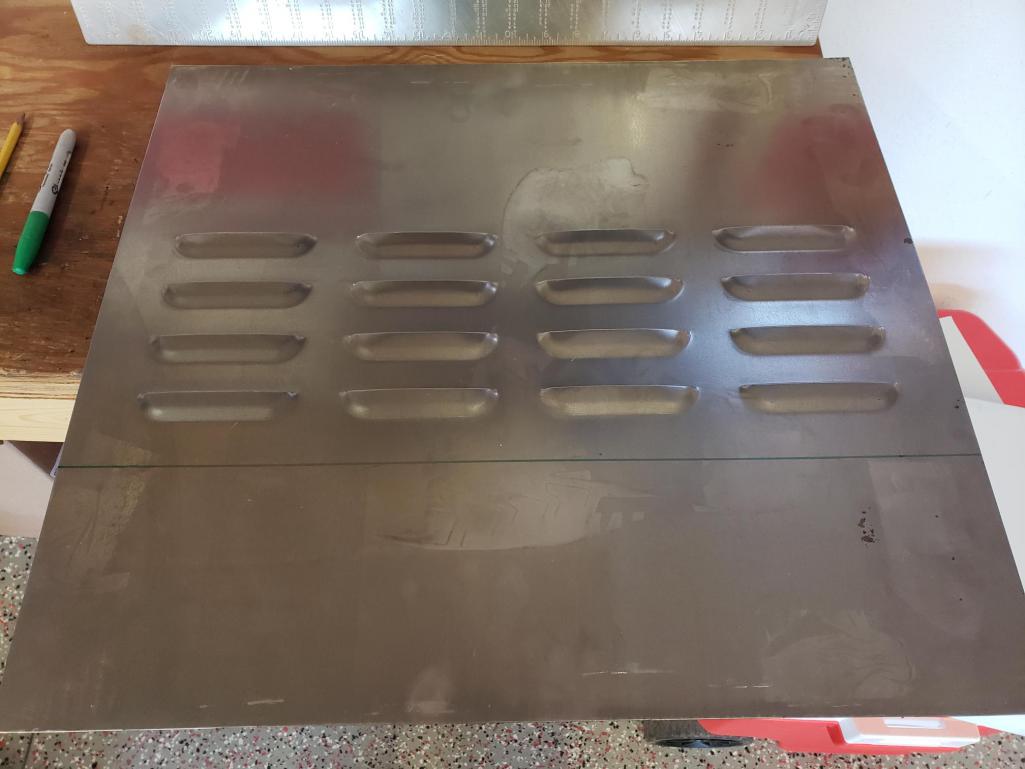 It's designed for an oil cooler, so for my purposes, I needed to get the louvers back closer to the bulkhead to accommodate the radiator and fans. So I lopped of the extra material and moved it to the other side. 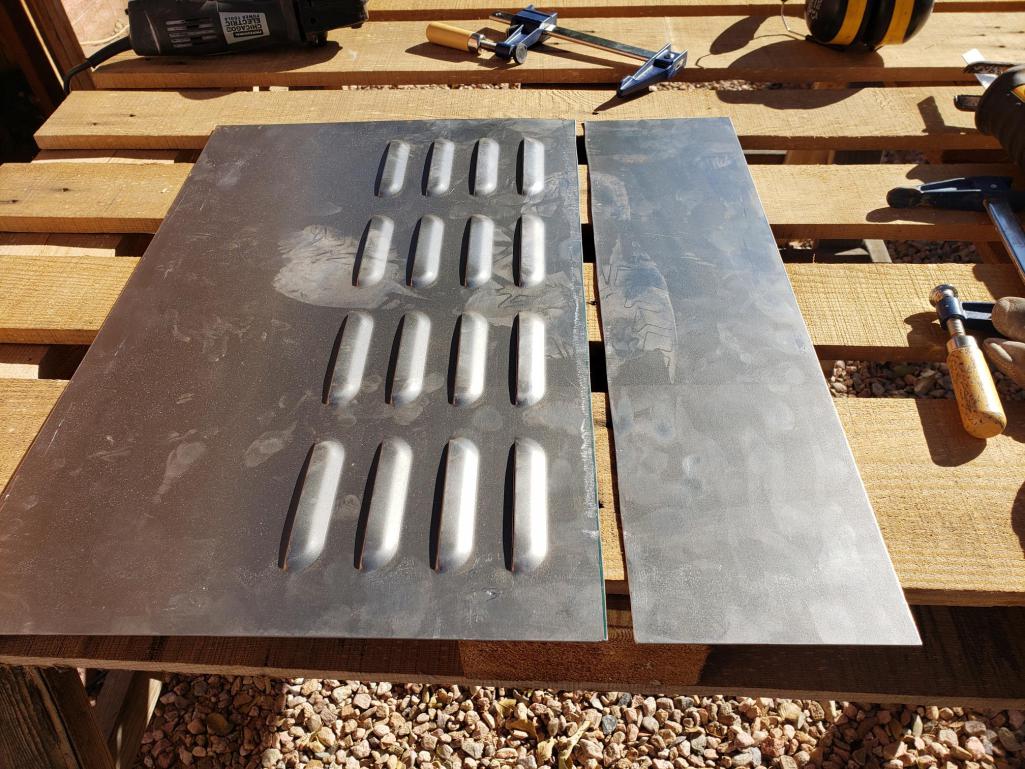 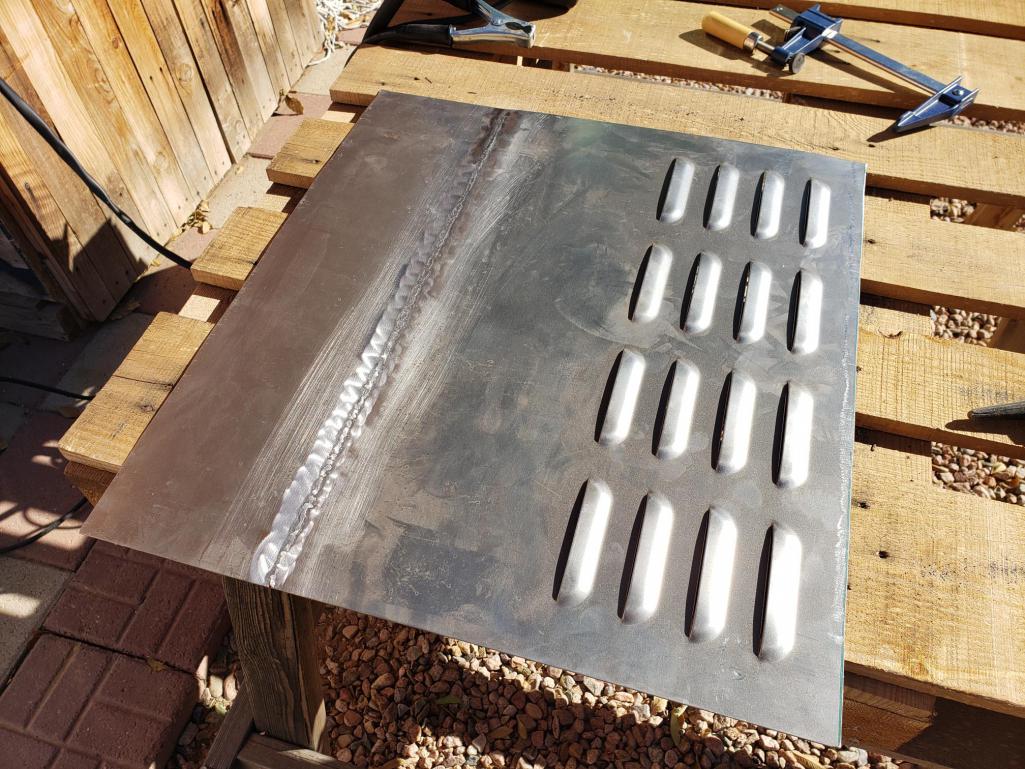 I cut it to the floor shape, then decided I needed more airflow. So I drilled a series of alternating 7/8" and 1 3/8" holes (trying to retain some strength), then covered them with expanded sheet metal to keep out rodents and debris. Wasn't too worried about covering the louvers. 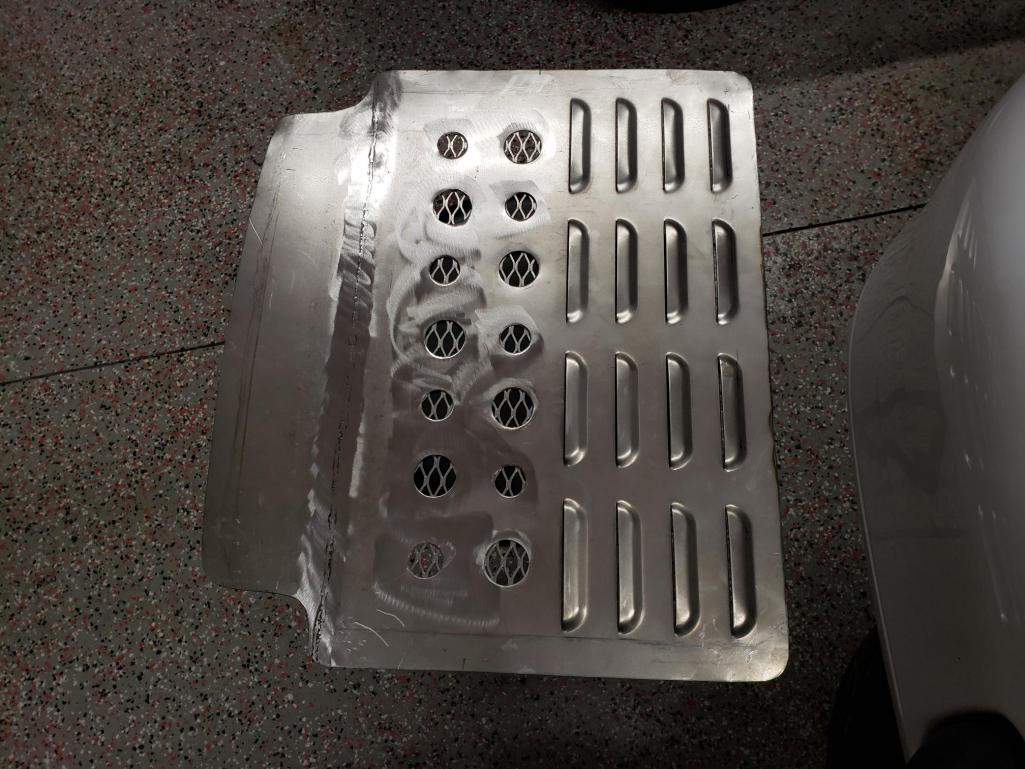 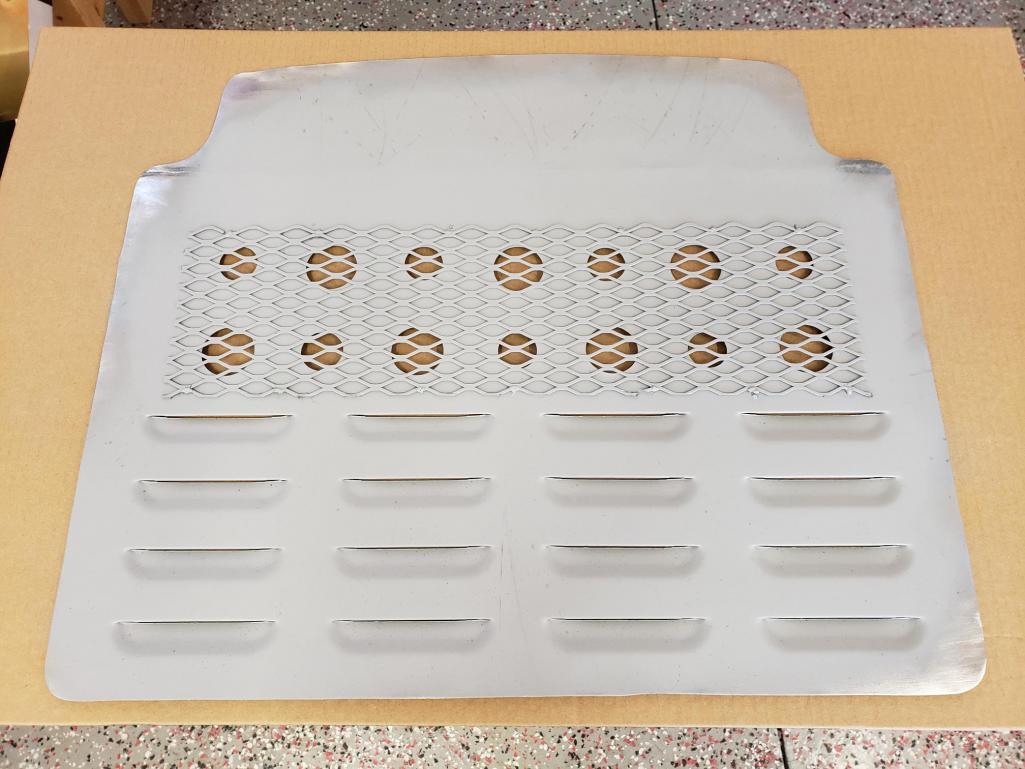 At this point the pan is mostly seam welded in place. I'll post a few pics when I get it primed and seam sealed. |
| Mayne |
 Jan 6 2022, 03:13 PM Jan 6 2022, 03:13 PM
Post
#58
|
|
Member   Group: Members Posts: 254 Joined: 28-February 17 From: NM Member No.: 20,880 Region Association: None |
Work continues on the frunk-mounted cooling system. I got the vented floor pan welded in place, seam-sealed and primed. It felt great to repair that floor pan, even though its a different approach than I may have envisioned originally.
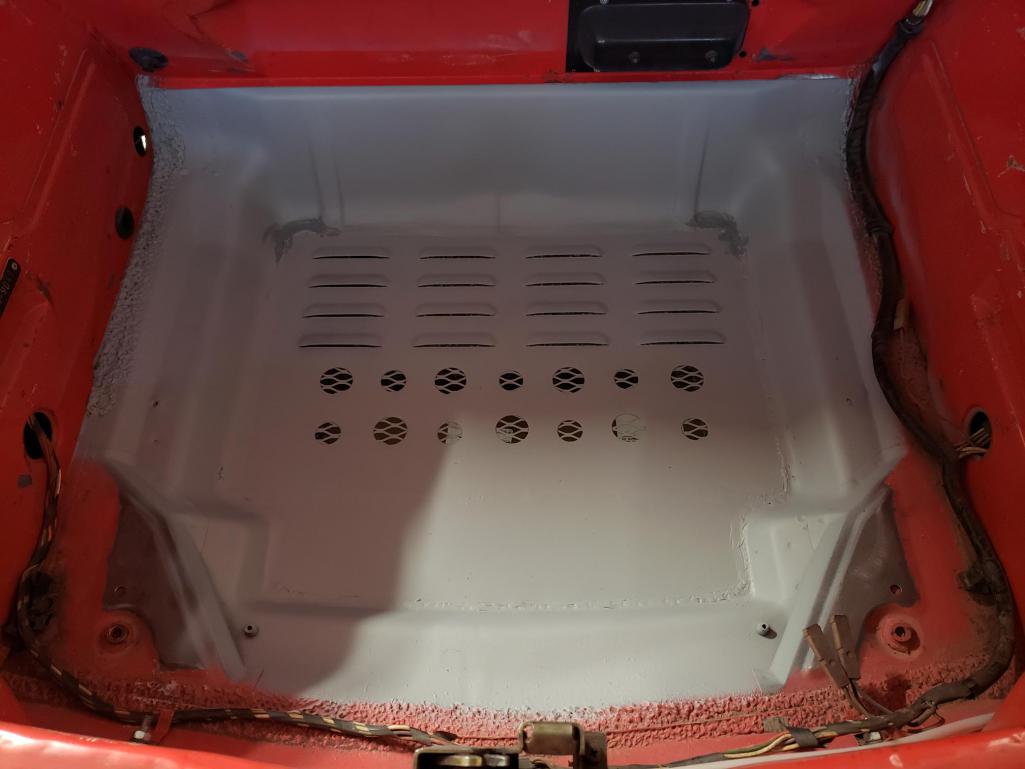 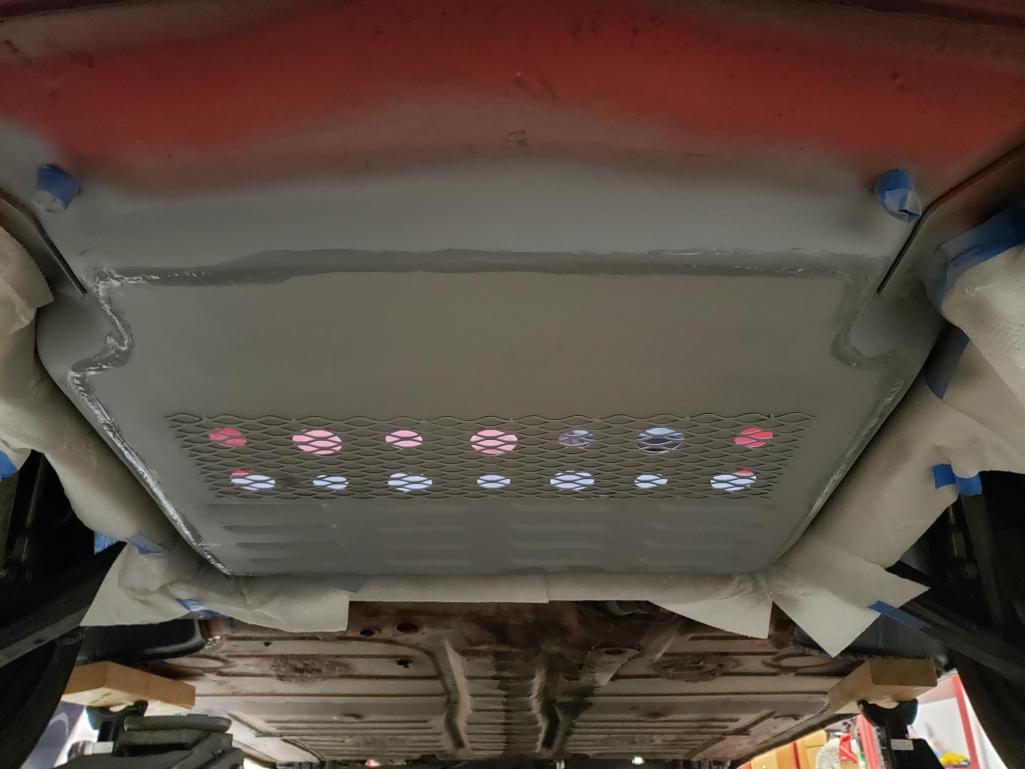 To mount the radiator frame to the floor, I made two tabs from 1/8" bar steel, drilled and bolted them to the bottom frame rail, then welded them to trunk floor. This way, the entire frame can be unbolted from the car relatively easily. 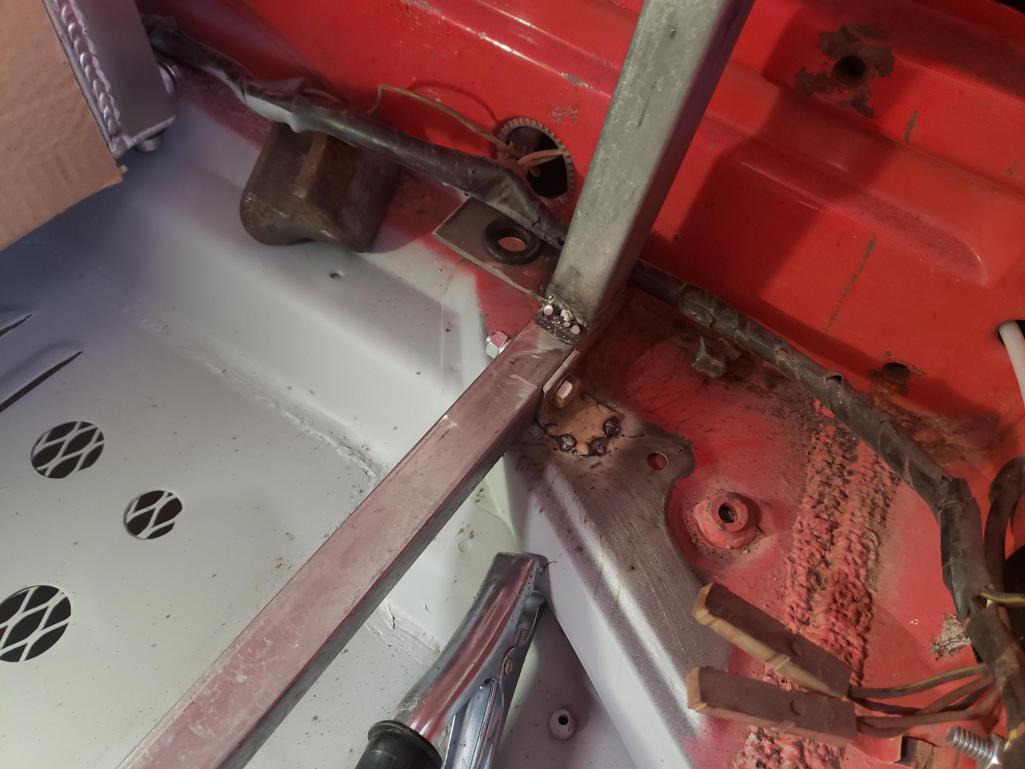 I bent and welded 1" bar steel supports to connect the upper frame to the front of the car. I lifted the weatherstripping and drilled holes for low-profile bolts to connect the supports. 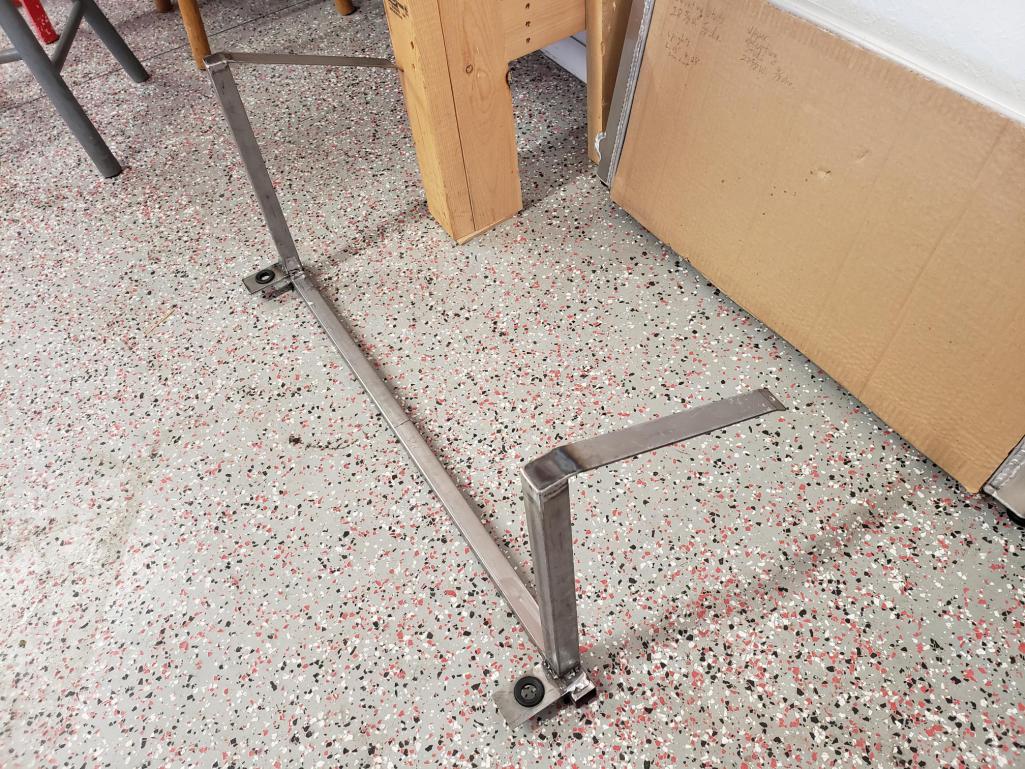 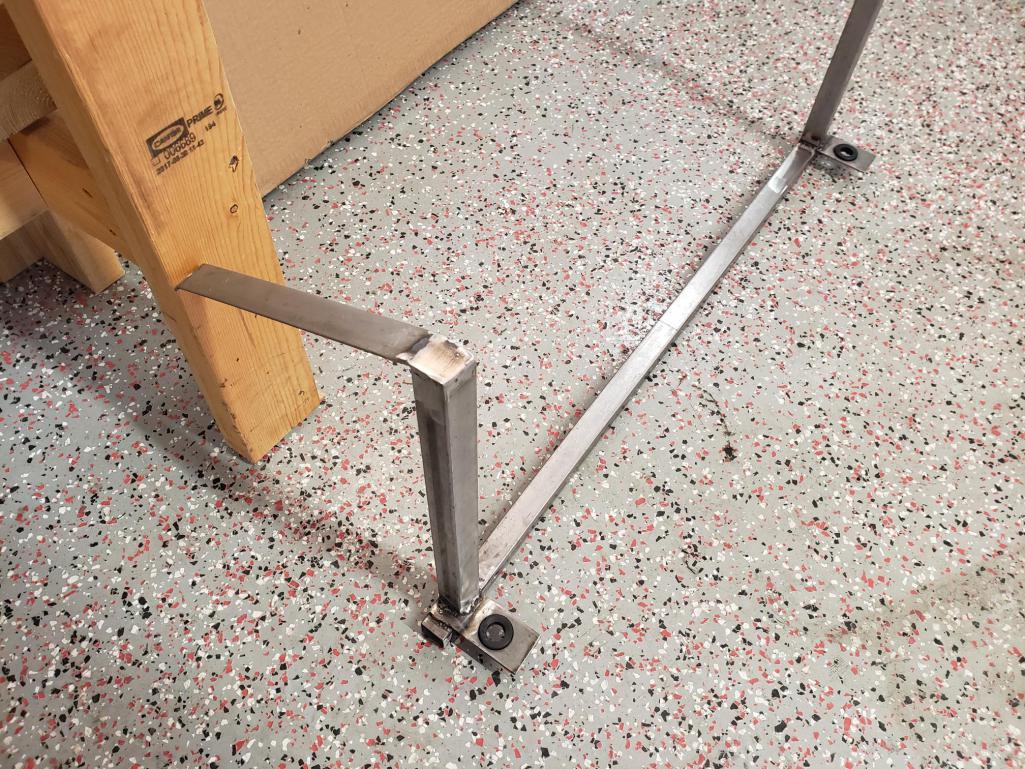 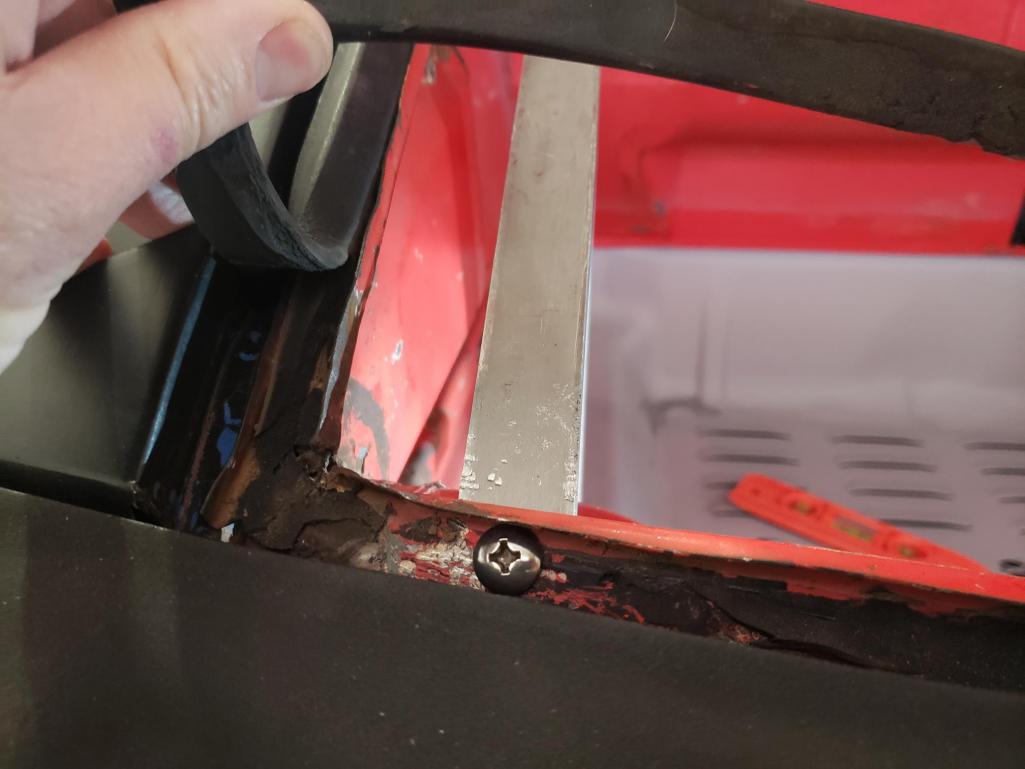 The final piece to be able to mount the radiator was to create tabs to be bolted to the upper frame supports that are also grommeted to the top rad mounting pins. By removing the bolts (nuts are welded underneath), I can easily remove the radiator. 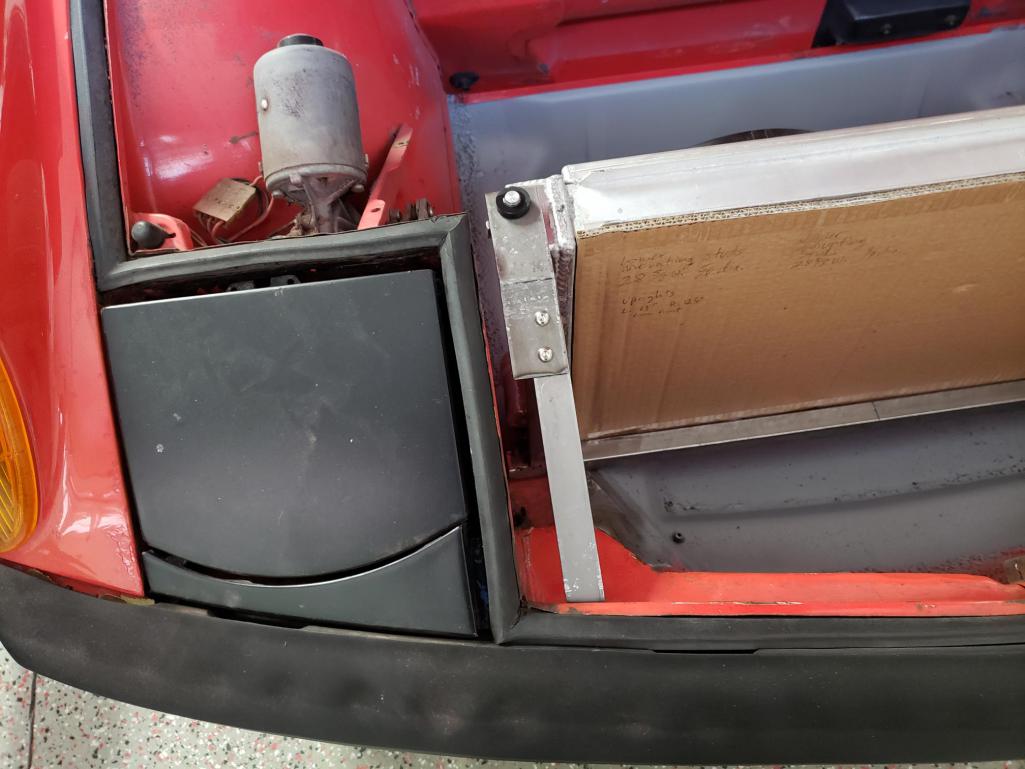 I'm actually going to re-do the tab design because I'm not happy with how it looks, but for now, the radiator is in position the way I planned. Next step with be to start on the shroud design and execution, so we'll see how that goes. Happy New Year! |
| brant |
 Jan 6 2022, 03:18 PM Jan 6 2022, 03:18 PM
Post
#59
|
|
914 Wizard           Group: Members Posts: 11,617 Joined: 30-December 02 From: Colorado Member No.: 47 Region Association: Rocky Mountains 

|
Nice Work !!
man that Datsun is sure pretty! brant |
| Mayne |
 Jan 6 2022, 03:30 PM Jan 6 2022, 03:30 PM
Post
#60
|
|
Member   Group: Members Posts: 254 Joined: 28-February 17 From: NM Member No.: 20,880 Region Association: None |
Nice Work !! man that Datsun is sure pretty! brant Thanks! I miss the old Roadster, especially when I'm hanging around some friends who still have them, but as sports cars go, they don't hold a candle to a 914! But here's some cool Datsun Roadster content from my bro's YouTube channel. The owner of the cars is a friend here in NM. YouTube |
  |
1 User(s) are reading this topic (1 Guests and 0 Anonymous Users)
0 Members:

|
Lo-Fi Version | Time is now: 1st May 2024 - 05:56 PM |
Invision Power Board
v9.1.4 © 2024 IPS, Inc.


