|
|
|
Porsche, and the Porsche crest are registered trademarks of Dr. Ing. h.c. F. Porsche AG.
This site is not affiliated with Porsche in any way. Its only purpose is to provide an online forum for car enthusiasts. All other trademarks are property of their respective owners. |
|
|

  |

| mgphoto |
 Aug 17 2018, 05:04 PM Aug 17 2018, 05:04 PM
Post
#21
|
|
"If there is a mistake it will find me"  Group: Members Posts: 1,338 Joined: 1-April 09 From: Los Angeles, CA Member No.: 10,225 Region Association: Southern California |
Been trying to upload 2 photos that show no seam sealer in the channel.
There is some between the inner and outer fender sections. 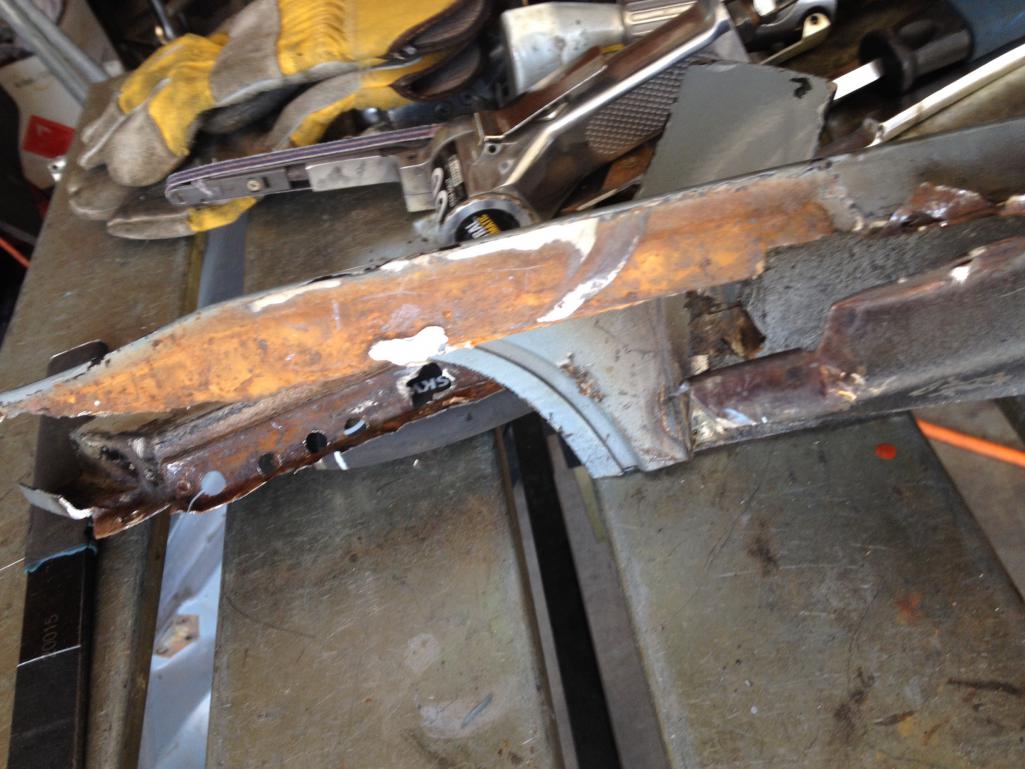 The photo below shows the inner fender spot welds drilled out, seam sealer can be seen in the holes. |
   |

 
|
| mgphoto |
Aug 17 2018, 05:06 PM
Post
#22
|
|
"If there is a mistake it will find me" Group: Members Posts: 1,338 Joined: 1-April 09 From: Los Angeles, CA Member No.: 10,225 Region Association: Southern California |
 |
|
|
|
| ruby914 |
Aug 20 2018, 10:06 AM
Post
#23
|
|
Senior Member Group: Members Posts: 720 Joined: 26-April 09 From: Hawthorne, Ca Member No.: 10,305 Region Association: None |
Thanks mqphoto,
I took the doors off and was finally able to take some decent photos as well. My car had no seam seal at all so this my help others understand the construction. From what I can tell the rear of the fender has a dubble wall construction that is spot welded in the channel. It may look like the spot welds connect the fender to the cowl but the fender and cowl are welded or brazed. My driver side had one weld at the rear the passenger side had three welds. What I did was put epoxy resin in the channel focusing on the weld. On top of that if the gap was big enough I put a very small bead of seam seal over the weld, top side. Some of the gaps were too small so I used a folder card to make a seal over the weld. Bottom side, I only sealed at the welds (above the horizontal seam) and the forward corner. Below the horizontal seam I sealed it all. Any water that passes thru the rubber seal will drip down my door jamb. I will seal my door stop hing opening from the back side. Attached thumbnail(s) 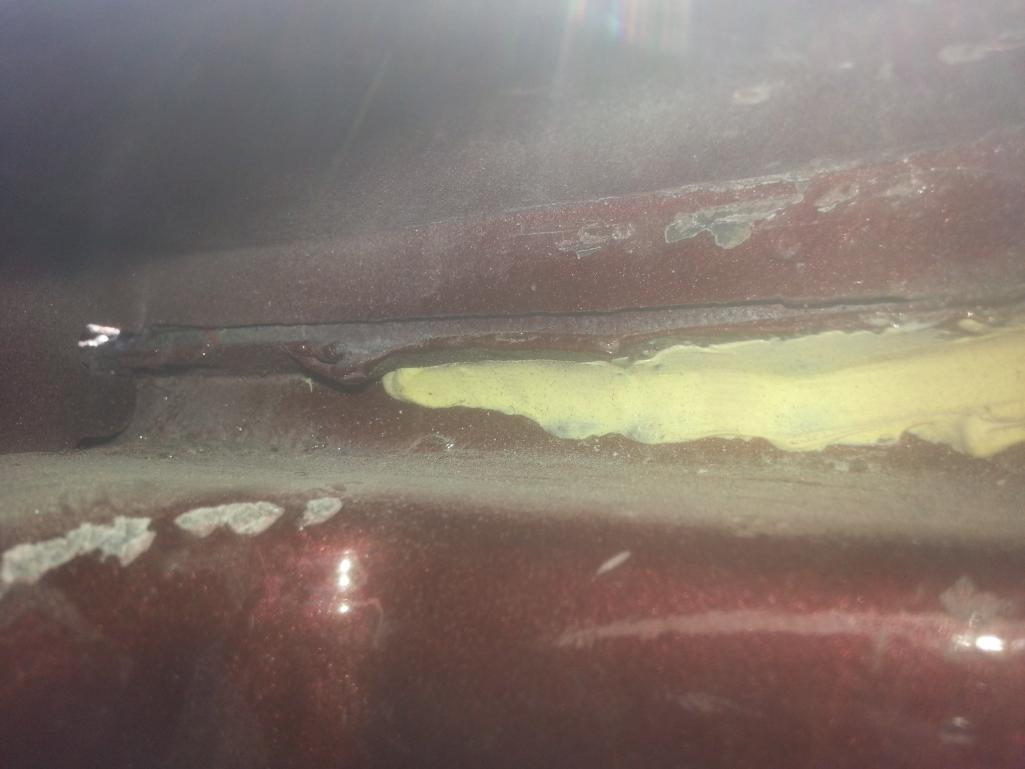 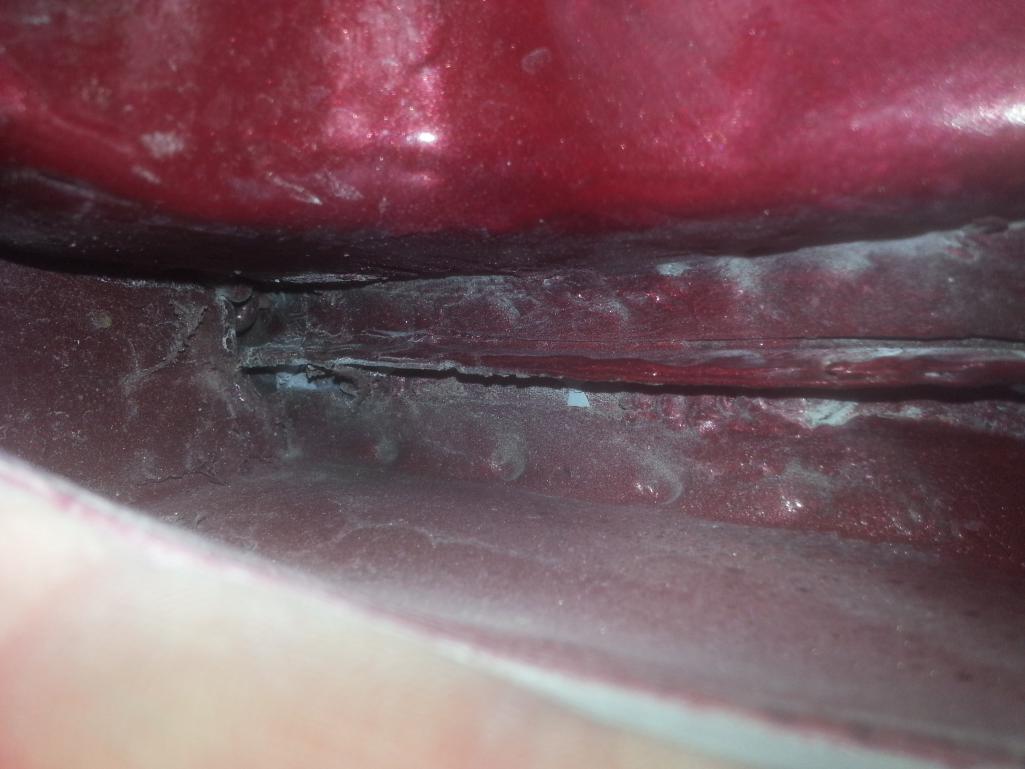 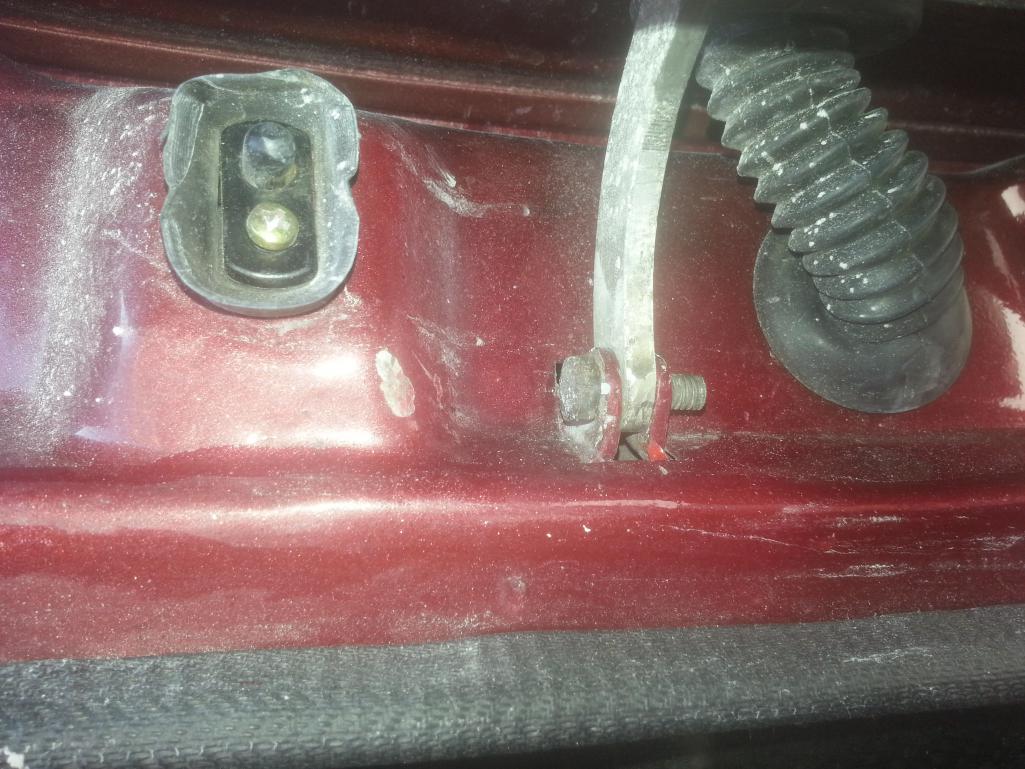
|
|
|
|
|
1 User(s) are reading this topic (1 Guests and 0 Anonymous Users)
0 Members:

|
Lo-Fi Version | Time is now: 6th May 2024 - 02:45 AM |
Invision Power Board
v9.1.4 © 2024 IPS, Inc.