|
|
|
Porsche, and the Porsche crest are registered trademarks of Dr. Ing. h.c. F. Porsche AG.
This site is not affiliated with Porsche in any way. Its only purpose is to provide an online forum for car enthusiasts. All other trademarks are property of their respective owners. |
|
|

  |

| mgarrison |
 Feb 29 2020, 09:54 AM Feb 29 2020, 09:54 AM
Post
#1
|
|
Member  Group: Members Posts: 416 Joined: 14-February 20 From: Chandler, AZ Member No.: 23,922 Region Association: Southwest Region |
Hello,
I new around here, but have been lurking for a bit trying to soak up all the 914 knowledge and information I could! I was looking into building a Factory Five 818 kit with the Subaru flat-4, but the cost of entry was a bit too high, and the time & space needed to build a car from scratch seemed overwhelming. But it got me thinking; that's basically a tube-framed 914 with an odd body. I wonder if anyone has put a Subaru flat-4 in a 914? A few Google searches later I learned that a lot of people had, and parts were out there to spend my money on! Long story short, I found two rollers with no engines or transmissions in Tucson, AZ a couple of hours South of me. Soon I rented a car hauler for a couple of days and my "Craft Project" (my wife's label) was begun. The rollers were a green 1971, and a red 1974. I wanted to restore the 71 because it just seemed to have more character. The 74 had been partially stripped for an electric conversion project, and seemed less "car like". Sadly, the 71 needed a bit more work than I was setup to handle. So, it had to be the 74 who I have simply labeled as "Red". I will try to track my build process here as best I can. I tend to get working on things and forget to document things, but will try to keep track. Here's Red when we got her home on the trailer and tucked away in the back yard for the moment. Mike 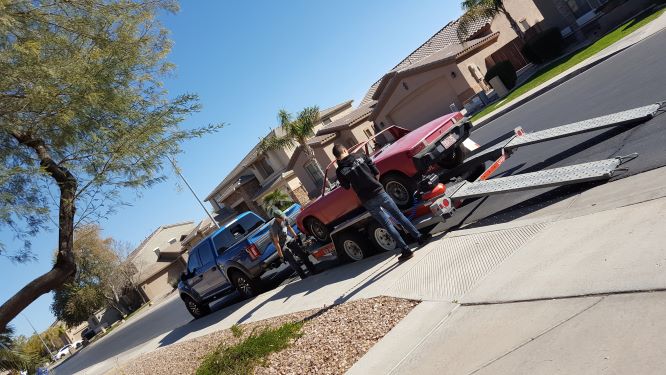 Attached image(s) 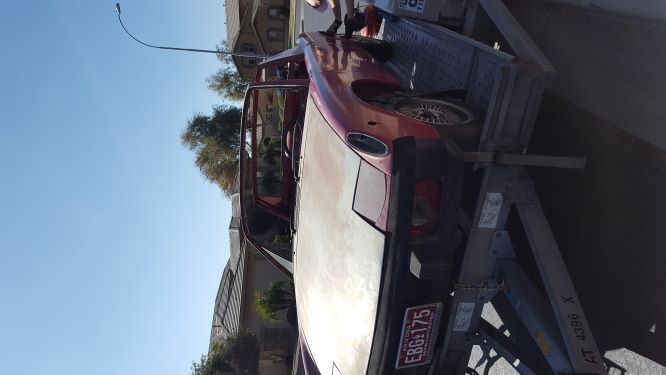
|
   |

 
|
| mgarrison |
Feb 29 2020, 09:56 AM
Post
#2
|
|
Member Group: Members Posts: 416 Joined: 14-February 20 From: Chandler, AZ Member No.: 23,922 Region Association: Southwest Region |
If anyone knows how to correctly rotate portrait images, please let me know - can't seem to figure that one out yet!
|
|
|
|
| mgarrison |
Feb 29 2020, 10:01 AM
Post
#3
|
|
Member Group: Members Posts: 416 Joined: 14-February 20 From: Chandler, AZ Member No.: 23,922 Region Association: Southwest Region |
We got Red tucked away in the back yard so that we could run down to Tucson again the next day to get the green 71.
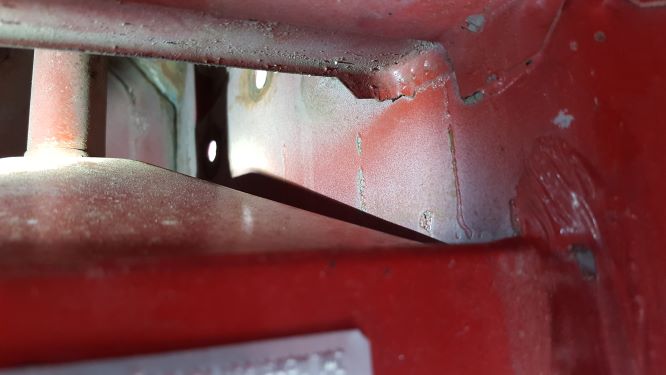
Once both cars were safely home, I started looking them over to see which one was going to work best, and what issues I might be facing. Red seems very solid, with almost no rust, and just a bad AC trunk floor repair to contend with. I documented the VIN, and entered it into my profile. 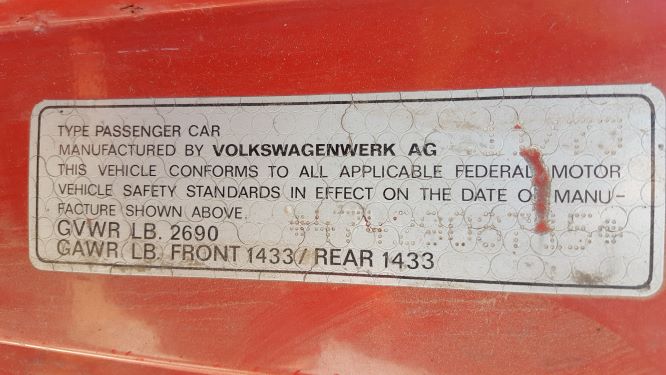 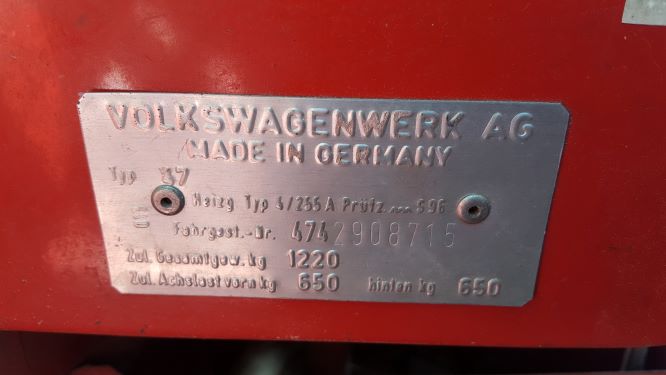 Here's the trunk floor "repair". They cut out the partially rusty front trunk floor from the green 71 and tacked it into Red! 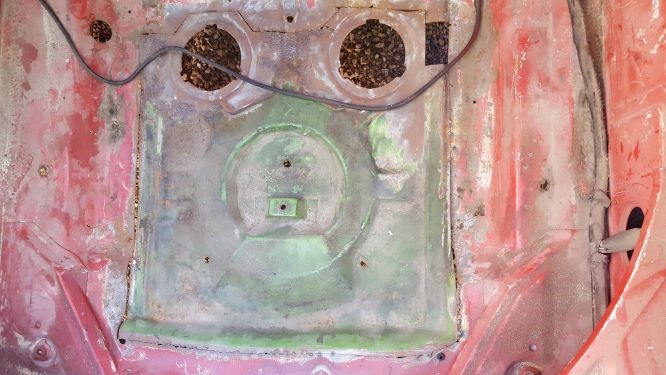 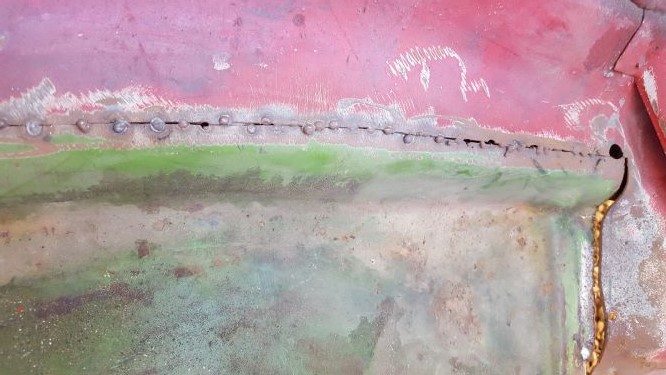 |
|
|
|
| mgarrison |
Feb 29 2020, 10:02 AM
Post
#4
|
|
Member Group: Members Posts: 416 Joined: 14-February 20 From: Chandler, AZ Member No.: 23,922 Region Association: Southwest Region |
Here is her temporary home until I decided she was the best candidate for rebuild.
 |
|
|
|
| mgarrison |
Feb 29 2020, 10:08 AM
Post
#5
|
|
Member Group: Members Posts: 416 Joined: 14-February 20 From: Chandler, AZ Member No.: 23,922 Region Association: Southwest Region |
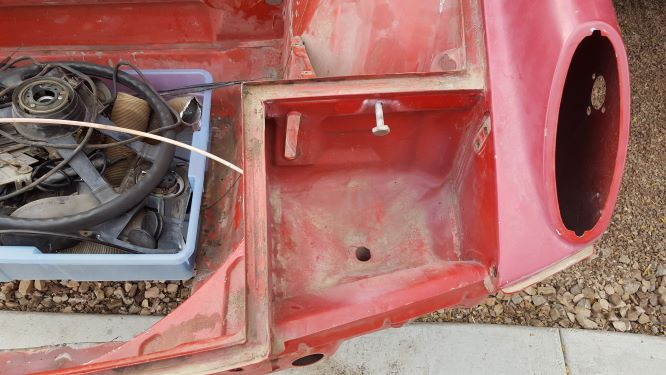
Once I got Red squared away in my working area, I started pulling the rest of the parts and pieces off her so that I can deal with any rust issues, repairs, etc. She looks really solid, thankfully!
 Someone had repainted the inside of the front trunk lid white, and they got over spray all over the dash. A bit of extra work to correct it. 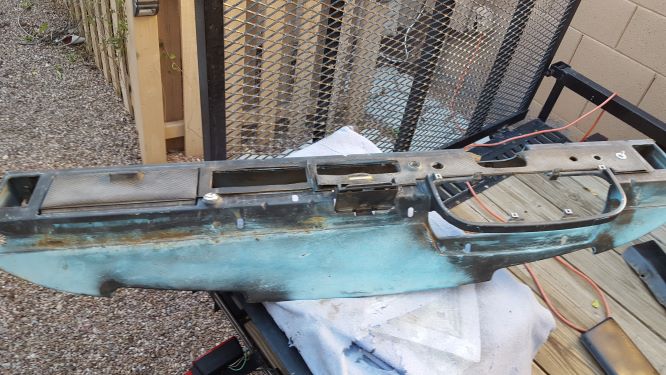 I pulled the outer rockers off, and despite five pounds of silt coming out, they still look amazingly rust free! 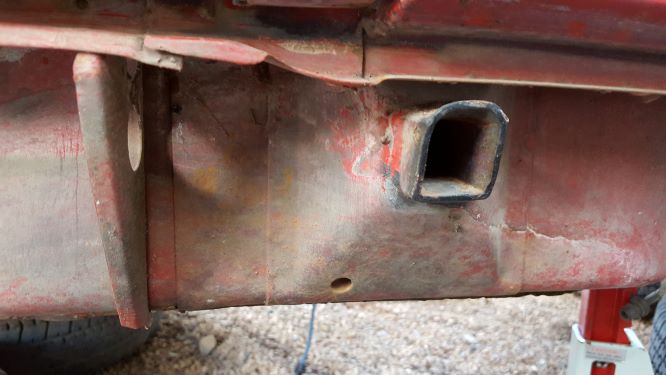 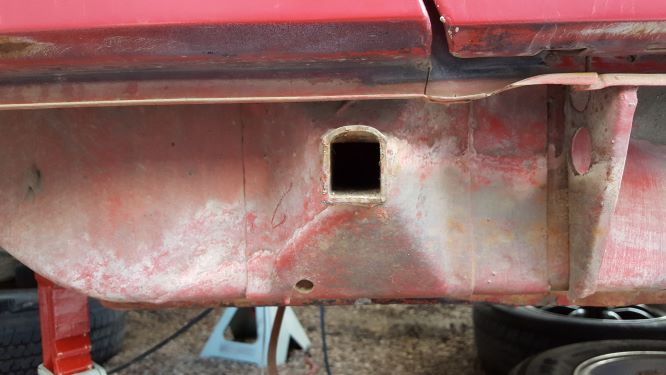 |
|
|
|
| mgarrison |
Feb 29 2020, 10:25 AM
Post
#6
|
|
Member Group: Members Posts: 416 Joined: 14-February 20 From: Chandler, AZ Member No.: 23,922 Region Association: Southwest Region |
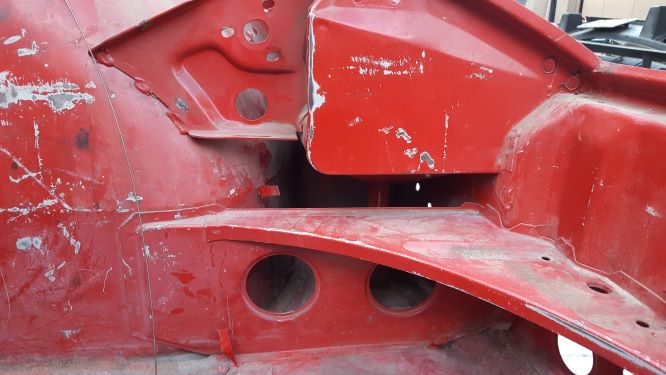
I managed to get the headlight assemblies all out, and focused on trying to clean up the tiny, hard to reach area under the headlight buckets. Not sure how you really get in there to clean, repair, etc. but it seems like even the Germans had a tough time getting paint back in there!
   |
|
|
|
| Mueller |
Feb 29 2020, 10:27 AM
Post
#7
|
|
914 Freak! Group: Members Posts: 17,155 Joined: 4-January 03 From: Antioch, CA Member No.: 87 Region Association: None |
The red car does look solid, I wish my car was a rust free as yours!
|
|
|
|
| JRust |
Feb 29 2020, 10:36 AM
Post
#8
|
|
914 Guru Group: Members Posts: 6,317 Joined: 10-January 03 From: Albany Oregon Member No.: 129 Region Association: Pacific Northwest |
Welcome to the madness. There are quite a few suby conversion on here. Did you decide on a suby motor? I'd recommend doing the ez30 6 conversion. With a Subaru trans as well. Lot's of help here with it. There is even a nice finished one for sale in the classifieds for $14,500. Your 74 is definitely in good shape rust wise. I'll be following along to see how it goes.
|
|
|
|
| Thunderchief |
Feb 29 2020, 10:44 AM
Post
#9
|
|
Member Group: Members Posts: 197 Joined: 12-August 19 From: Pasadena, CA. Member No.: 23,365 Region Association: Southern California |
Is it hard to get the headlight assembly out? I need to do that.
|
|
|
|
| mgarrison |
Feb 29 2020, 11:41 AM
Post
#10
|
|
Member Group: Members Posts: 416 Joined: 14-February 20 From: Chandler, AZ Member No.: 23,922 Region Association: Southwest Region |
QUOTE(Thunderchief @ Feb 29 2020, 09:44 AM)  Is it hard to get the headlight assembly out? I need to do that. It was not horrible, but not too obvious on a couple of parts either. Hardest part was getting the pivot shaft for the popups out. Still not sure exactly what worked in the end. Its 2 bolts on the outside, and 3 bolts on the inside of the car towards the middle of the trunk - I missed the upper inside bolt on the first side and could not figure out why it was not loose for a minute. The plastic connector plugged into the headlight on the drivers side crumbled into my hand when I tried to unplug it. |
|
|
|
| mgarrison |
Feb 29 2020, 11:43 AM
Post
#11
|
|
Member Group: Members Posts: 416 Joined: 14-February 20 From: Chandler, AZ Member No.: 23,922 Region Association: Southwest Region |
QUOTE(JRust @ Feb 29 2020, 09:36 AM) Welcome to the madness. There are quite a few suby conversion on here. Did you decide on a suby motor? I'd recommend doing the ez30 6 conversion. With a Subaru trans as well. Lot's of help here with it. There is even a nice finished one for sale in the classifieds for $14,500. Your 74 is definitely in good shape rust wise. I'll be following along to see how it goes. I am thinking a WRX motor and trans, but not a STI. Want to stick with the 5 speed. I grew up on early Saab turbos in the late 70's and really like small displacement turbo motors. Im hoping Ian will be back making cradles by the time I am ready. Not sure I want to tackle fab'ing a cradle up, but if push comes to shove...No way I will pay for the Renegade setup. |
|
|
|
| GermermanCarGuy |
Feb 29 2020, 04:34 PM
Post
#12
|
|
GermanCarGuy Group: Members Posts: 81 Joined: 13-May 14 From: Rapid City, SD Member No.: 17,346 Region Association: Upper MidWest |
I, too, am currently in the process of doing a subi conversion. You've got a better starting car (a lot less rust).
If you're thinking a 2.0 or 2.5 WRX conversion, I have a Small Car Performance Subaru 4 Cyl-Vanagon 4WD Engine Mount cradle that I'm not going to use (for sale). Several others on this site have used these cradles with no problems. I'm going a different route. If you're interested, PM me. RobF |
|
|
|
| mgarrison |
Feb 29 2020, 09:15 PM
Post
#13
|
|
Member Group: Members Posts: 416 Joined: 14-February 20 From: Chandler, AZ Member No.: 23,922 Region Association: Southwest Region |
After some wasted time repairing a sprinkler valve this morning, I was able to spend a few hours working on the 914.
Yesterday just for the heck of it I decided to buff out one of the fenders to see what the paint looked like under all the years. Not too bad considering! 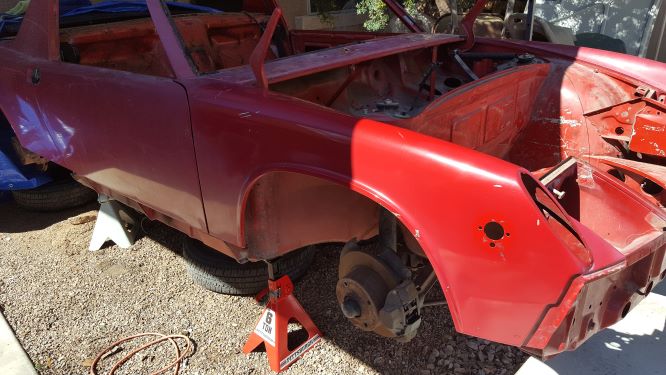 Its too bad I dont like/cant really see red very well. It would be a lot less work to just clean up the Bahia red than it will be to change the color! Oh well, the joys of being color blind... |
|
|
|
| mgarrison |
Feb 29 2020, 09:20 PM
Post
#14
|
|
Member Group: Members Posts: 416 Joined: 14-February 20 From: Chandler, AZ Member No.: 23,922 Region Association: Southwest Region |
Since all my garage space is taken up already, I had to get creative and create my own temporary, outside garage. It seems to work, at least until I start doing some serious engine and trans work. I may have to kick my son's Miata out of its spot at some point.
Here's the overnight, storage setup. 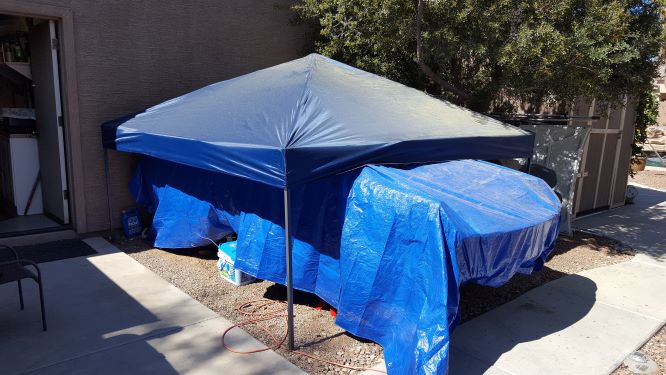 And the I'm working now, so leave me alone unless I am bleeding, screaming, or lodged under the car in a life threatening manner. 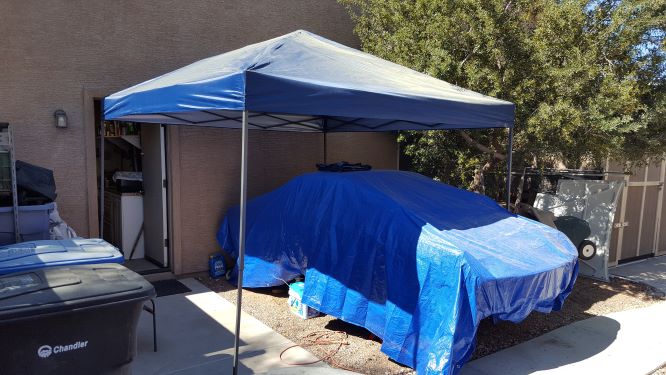 The pollen coming of the tree is a bit much this time of year though. 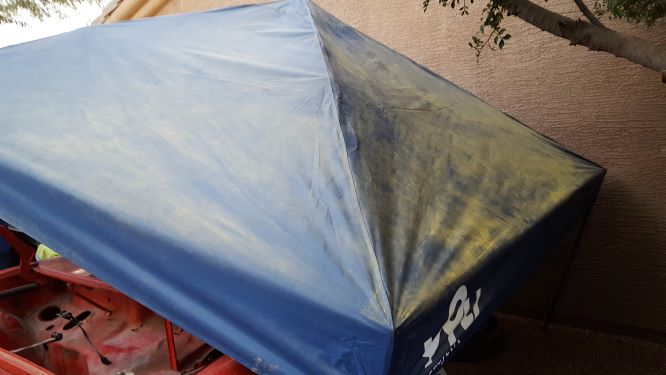 |
|
|
|
| mgarrison |
Feb 29 2020, 09:26 PM
Post
#15
|
|
Member Group: Members Posts: 416 Joined: 14-February 20 From: Chandler, AZ Member No.: 23,922 Region Association: Southwest Region |
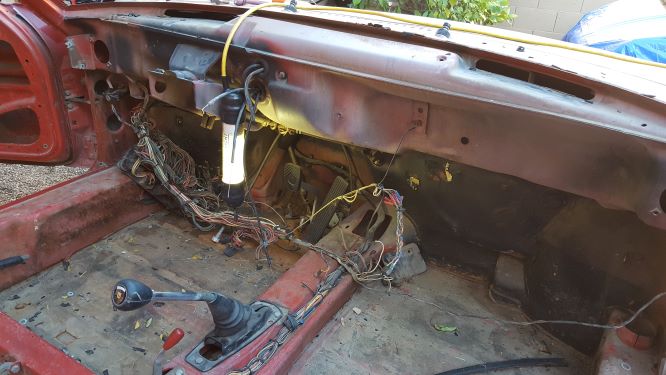
I did manage to get the pedal cluster out. Quite a bit of surface rust under there, but nothing seems to have gone very deep.
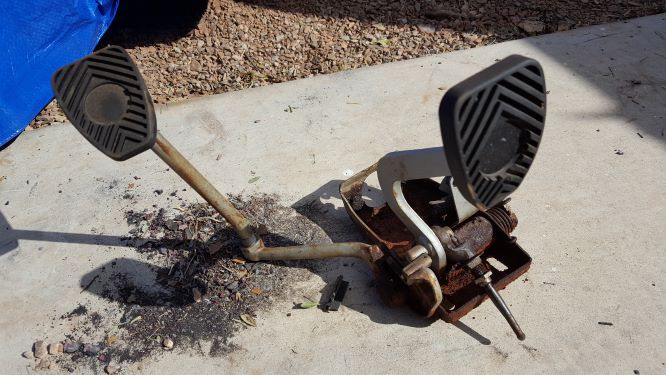 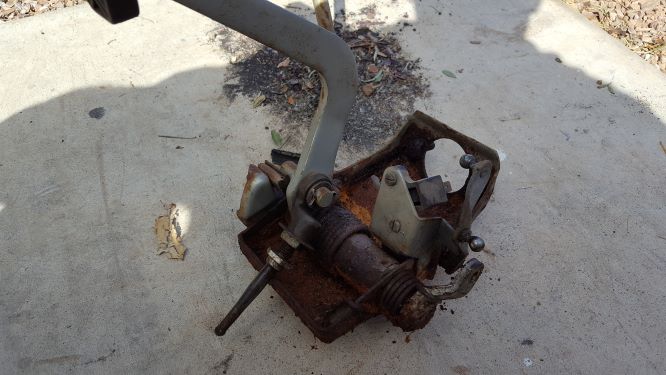 A bit of cleaning and sealing is due back here... 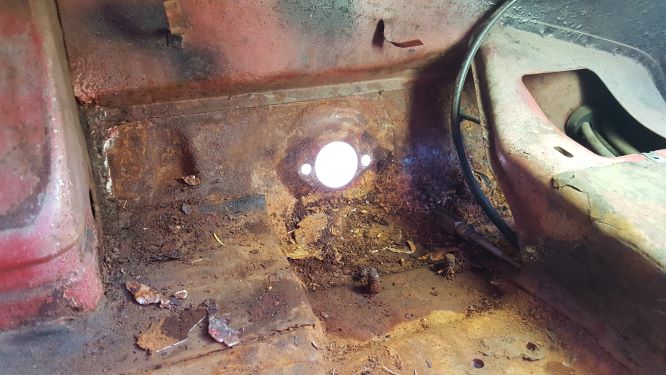 The wiring harness removal was way too much fun. Got 95% of it out intact in case its needed down the road, but it so old and crunchy I'm not sure it safe/worth using! 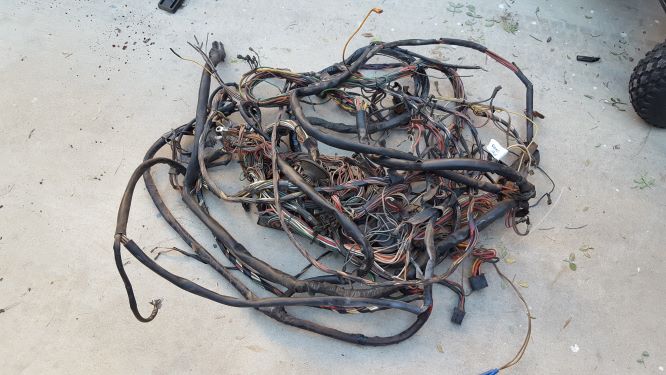 Does anybody have any amazing, creative ideas on how to clean out the tunnel area if you are not replacing any of the floor? Bit of a mess in there, and impossible to get to. Some kind of chimney sweep brush hooked to a drill??? 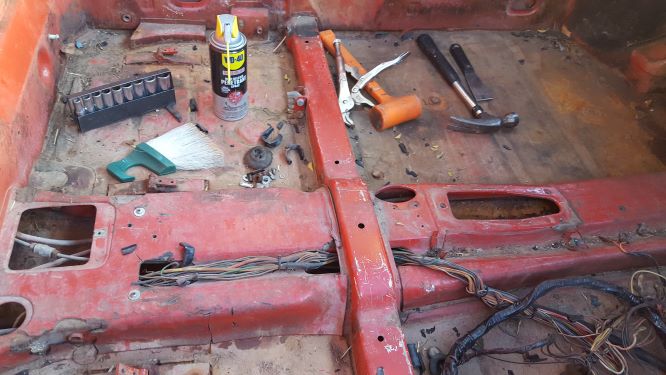 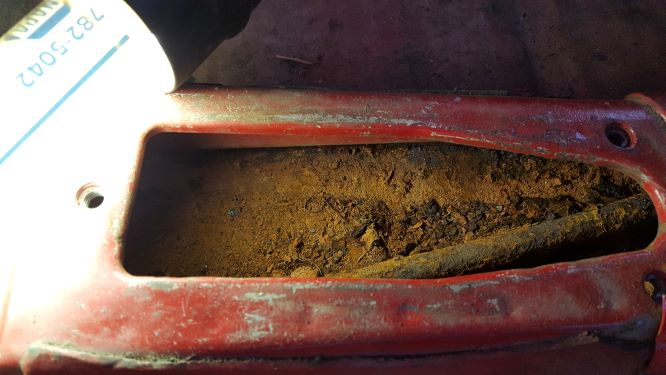 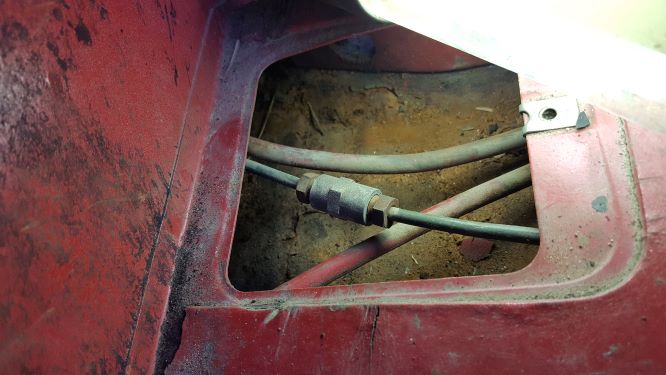 |
|
|
|
| mgarrison |
Feb 29 2020, 09:30 PM
Post
#16
|
|
Member Group: Members Posts: 416 Joined: 14-February 20 From: Chandler, AZ Member No.: 23,922 Region Association: Southwest Region |
I also pulled the read trunk lid off so I could remove the wiring harness from the rear of the car.
 I was checking out the battery tray, and it literally came off in my hand! Two very unsuccessful tack welds were not doing much to hold it in place. Looks like it may have been replaced around 2008 from the sticker still on the bottom. 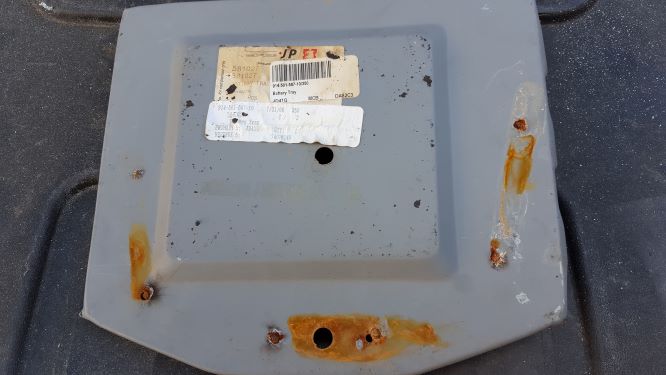 |
|
|
|
| billh1963 |
Mar 1 2020, 05:46 AM
Post
#17
|
|
Car Hoarder! Group: Members Posts: 3,433 Joined: 28-March 11 From: North Carolina Member No.: 12,871 Region Association: South East States |
You are starting with a very solid car....congratulations!
|
|
|
|
| Mayne |
Mar 1 2020, 08:28 AM
Post
#18
|
|
Member Group: Members Posts: 254 Joined: 28-February 17 From: NM Member No.: 20,880 Region Association: None |
Looks like you’re having fun! Keep posting so we can see this one come back to life.
|
|
|
|
| Literati914 |
Mar 1 2020, 10:52 AM
Post
#19
|
|
Advanced Member Group: Members Posts: 2,338 Joined: 16-November 06 From: Dallas, TX Member No.: 7,222 Region Association: Southwest Region |
QUOTE(mgarrison @ Feb 29 2020, 09:26 PM) .. Does anybody have any amazing, creative ideas on how to clean out the tunnel area if you are not replacing any of the floor? Bit of a mess in there, and impossible to get to. Some kind of chimney sweep brush hooked to a drill??? I'd like to know the same. I did get mine pretty clean though by using a shop-vac with a small wand/nozzle (shift rod, etc. removed)... I'm thinking next I'll use a landscape leaf blower and blast it from the Shift rod hole (@ the engine compartment) forward, and from the rear access hole in the tunnel - blow towards the pedal cluster area. Then I was thinking I'd maybe attach a cloth/sponge (soaked in diluted phosphoric acid solution) to the end of a long flexible rod .. and work it up in there everywhere, to stop/kill surface rust. Let that dry then use 'internal frame rust paint' paint from Eastwoods to spray for future protection (it comes with a long flexible applicator hose/nozzle w/ a fan pattern). Heck I might even go with a spray-on wax product after that (I forget the name), which is made for such situations. That's my plan so far - anyone got a better solution, we're all ears ! |
|
|
|
| mgarrison |
Mar 1 2020, 10:02 PM
Post
#20
|
|
Member Group: Members Posts: 416 Joined: 14-February 20 From: Chandler, AZ Member No.: 23,922 Region Association: Southwest Region |
Didn't seem like I got much done today, but I'll take what progress I can get!
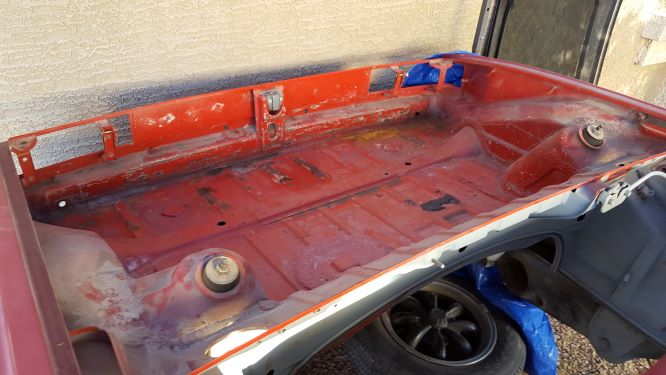
The first order of business was to eliminate the branch that I walked into three times yesterday! 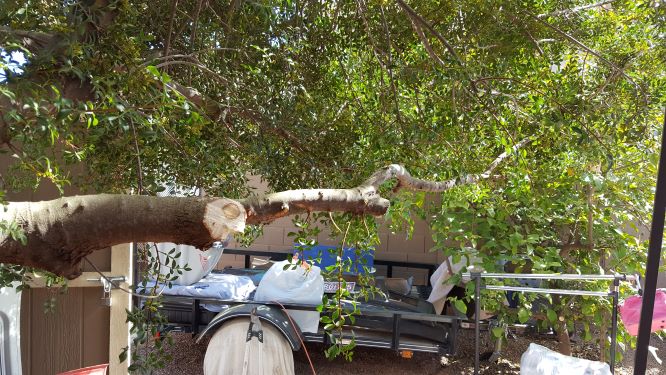 Forehead was getting sore from that stupid, low hanging branch... I managed to get the brake line and the fuel lines out of the tunnel with some help from above from my wife. That's not a 1 person job for sure! Once those were out, I thought I'd take a shot at the tar lining the floor. Need to say a big thanks to one of the posters here that showed using an oscillating tool on the tar - it jarred my addled brain enough to remember I had one of those from HF in my storage! It made fairly quick work of the tar, but does bog down a bit on the seam sealer. Floor looks like it is in pretty dang good shape except for a few dents from hitting things over the years - sure can't complain! 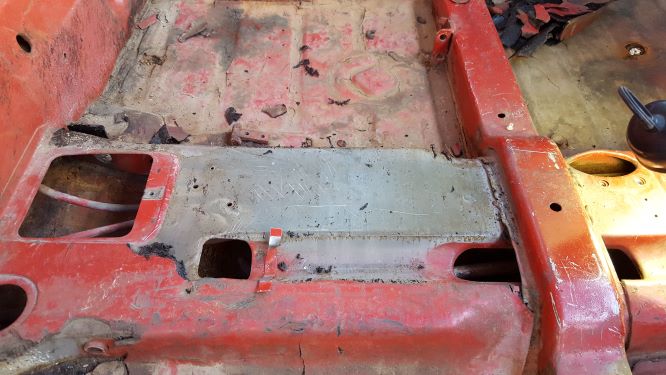 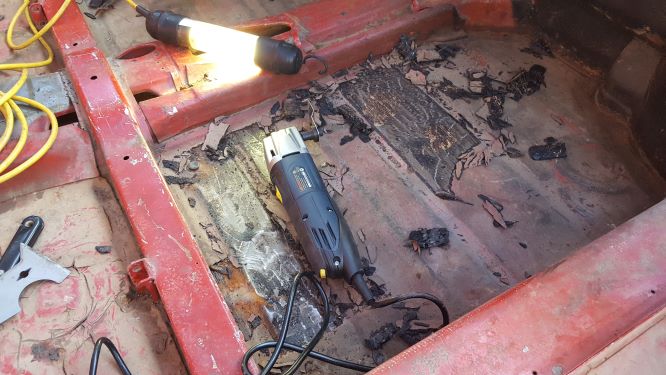 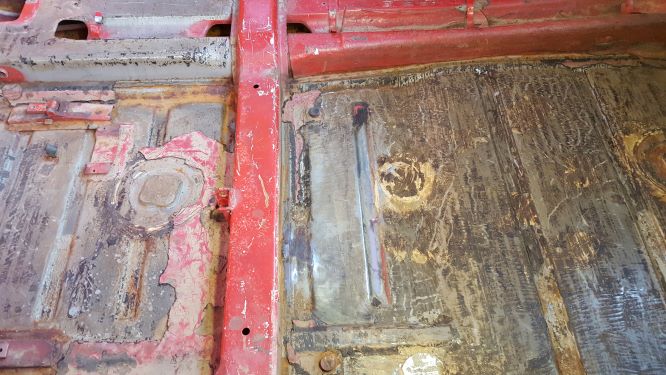 I had to bundle the car back up for the evening. Supposed to rain tomorrow...not supposed to happen this often in central AZ! |
|
|
|
|
1 User(s) are reading this topic (1 Guests and 0 Anonymous Users)
0 Members:

|
Lo-Fi Version | Time is now: 11th June 2026 - 02:13 PM |
Invision Power Board
v9.1.4 © 2026 IPS, Inc.